Introduction
Welcome to the world of PC troubleshooting! It’s frustrating when your computer starts acting up, and one of the common culprits behind these issues is a failing power supply. The power supply unit (PSU) is responsible for regulating and supplying electric power to the components of your PC. When it fails, it can lead to system crashes, random shutdowns, or even prevent your computer from turning on altogether.
Knowing how to check your PC power supply is an essential skill for any computer user. By diagnosing and determining if your power supply is the cause of the problem, you can avoid unnecessary repairs or part replacements.
In this guide, we will walk you through the process of checking your PC’s power supply, step by step. We will cover the signs of power supply failure, the tools you will need, and the methods for testing the power supply’s functionality. So, let’s dive in and get your PC up and running smoothly again!
Signs of Power Supply Failure
Before we begin the diagnostic process, it’s important to recognize the common signs of power supply failure. Identifying these symptoms can help you determine if the power supply is the root cause of your computer’s problems:
- Frequent System Crashes: If your PC experiences sudden crashes or reboots without any apparent reason, it could indicate a faulty power supply. Power fluctuations or insufficient power output can cause the system to shut down unexpectedly.
- Random Shutdowns: Random shutdowns that occur even when the computer is not under heavy load may be a result of a failing power supply. This can be especially concerning if it happens consistently.
- Failure to Power On: If your computer fails to power on at all, it could point to a dead power supply. Check if any lights or fans are working when you press the power button to confirm if it’s a power supply issue.
- Overheating Components: A malfunctioning power supply can cause the computer’s components, such as the CPU or graphics card, to overheat. If you notice unusually high temperatures, it’s worth considering the power supply as a potential culprit.
- Strange Noises: Unusual noises like buzzing, clicking, or grinding sounds coming from the power supply can indicate a mechanical failure. These noises should not be ignored and are signs that the power supply may need to be replaced.
- Inconsistent Peripheral Functionality: When the power supply isn’t functioning correctly, it might not provide enough power to connected devices. This can lead to intermittent or complete failure of peripherals like USB ports, external hard drives, or network adapters.
Keep in mind that these symptoms can also be caused by other hardware or software issues. Therefore, it’s essential to go through the proper diagnostic process to confirm if the power supply is indeed the problem.
Tools Needed for Power Supply Check
Before you begin testing your PC’s power supply, it’s important to gather the necessary tools to ensure an accurate diagnosis. Here are the essential tools you will need:
- Screwdriver: A screwdriver is required to open your computer case and access the power supply unit. Make sure you have the appropriate type of screwdriver for the screws on your case.
- Multimeter: A multimeter is a versatile tool that measures voltage, current, and resistance. It will be used to test the power supply output voltages and ensure they are within the acceptable range.
- Power Supply Tester: A power supply tester is a specialized tool designed specifically for testing power supplies. It simplifies the process by providing a quick and easy way to check the power supply’s functionality without the need for technical expertise.
- Anti-Static Wrist Strap: To prevent the buildup and discharge of static electricity, which can damage sensitive computer components, it’s recommended to use an anti-static wrist strap while working inside your computer case. This is especially important when handling the power supply.
- Replacement Power Supply (optional): If you have determined that your power supply is indeed faulty, having a replacement power supply on hand can save you time and effort in getting your PC back up and running.
While the screwdriver and multimeter are the primary tools needed for power supply testing, a power supply tester can provide a more convenient and efficient way to check the functionality of the power supply. If you don’t already have a power supply tester, it can be a worthwhile investment for future troubleshooting endeavors.
With these tools at your disposal, you’ll be well-equipped to perform a thorough power supply check and confidently diagnose any issues you may encounter.
Step 1: Unplug and Detach from PC
Before you begin testing your power supply, it’s essential to ensure your safety and prevent any potential damage to your computer. Follow these steps to safely unplug and detach the power supply:
- Power Down your PC: Save your work and shut down your computer properly. Make sure all applications are closed, and any ongoing processes are complete.
- Unplug Power Cord: Locate the power cord connected to your computer’s power supply unit (PSU) at the back of the case. Firmly grasp the plug and pull it out of the power socket.
- Disconnect Other Cables: Identify all the cables connected to the power supply, including the motherboard’s main power connector, CPU power connector, and any additional power connectors for graphics cards or other components. Carefully detach these connectors by holding the plastic connector and gently pulling it straight out.
- Remove Side Panel: Use the appropriate screwdriver to remove the screws securing the side panel of your computer case. Once the screws are removed, gently slide or lift off the side panel to expose the internal components.
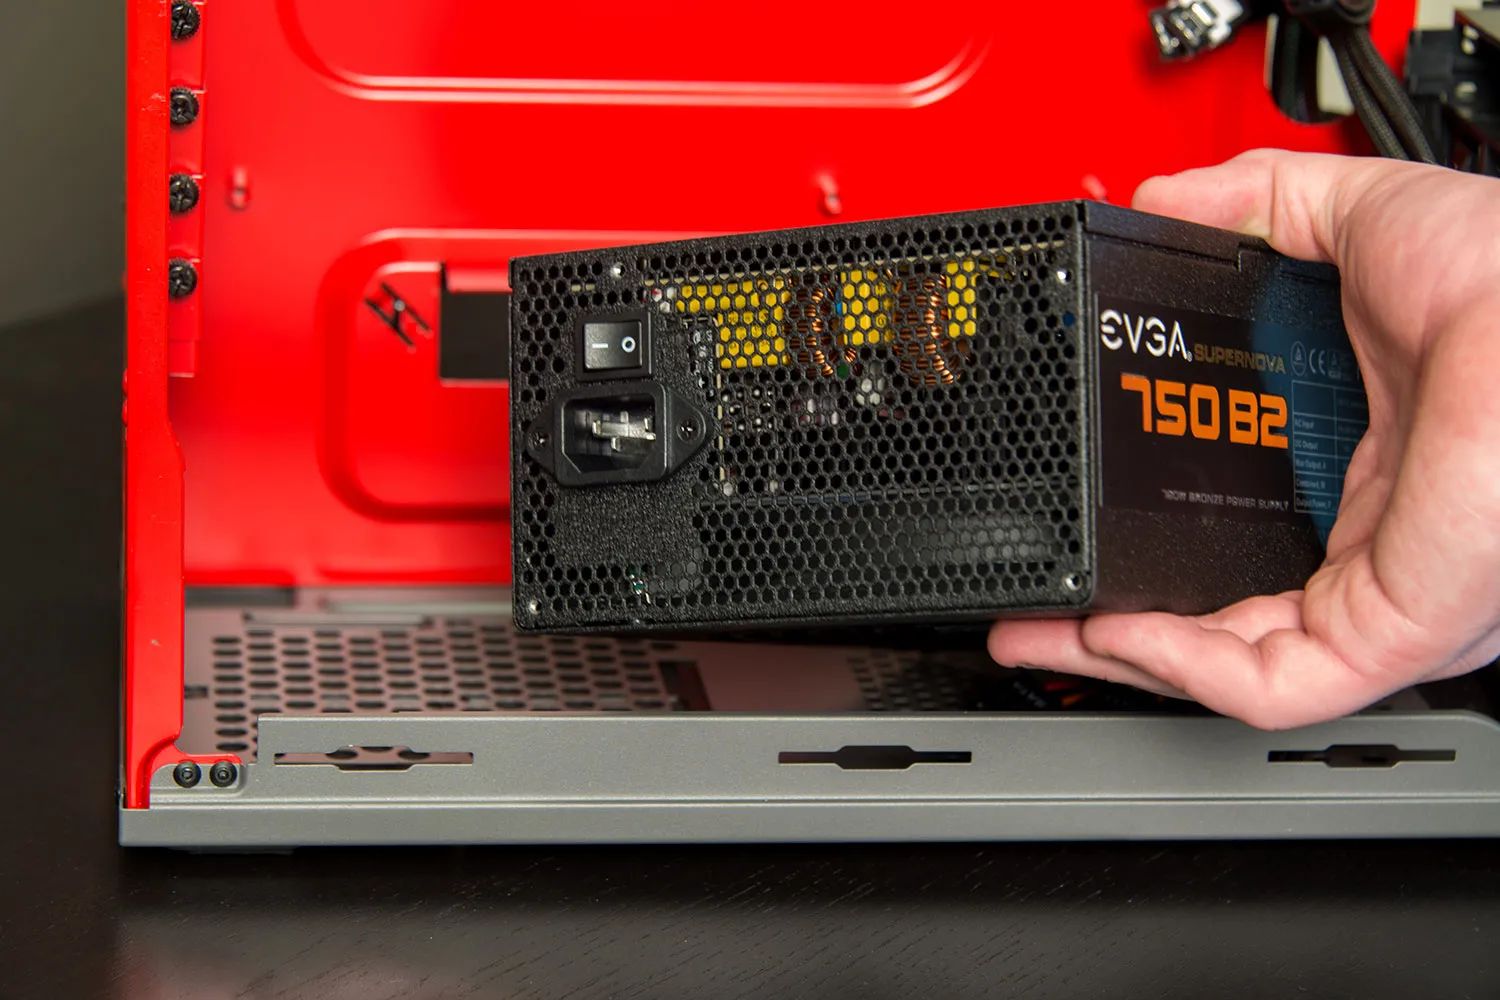
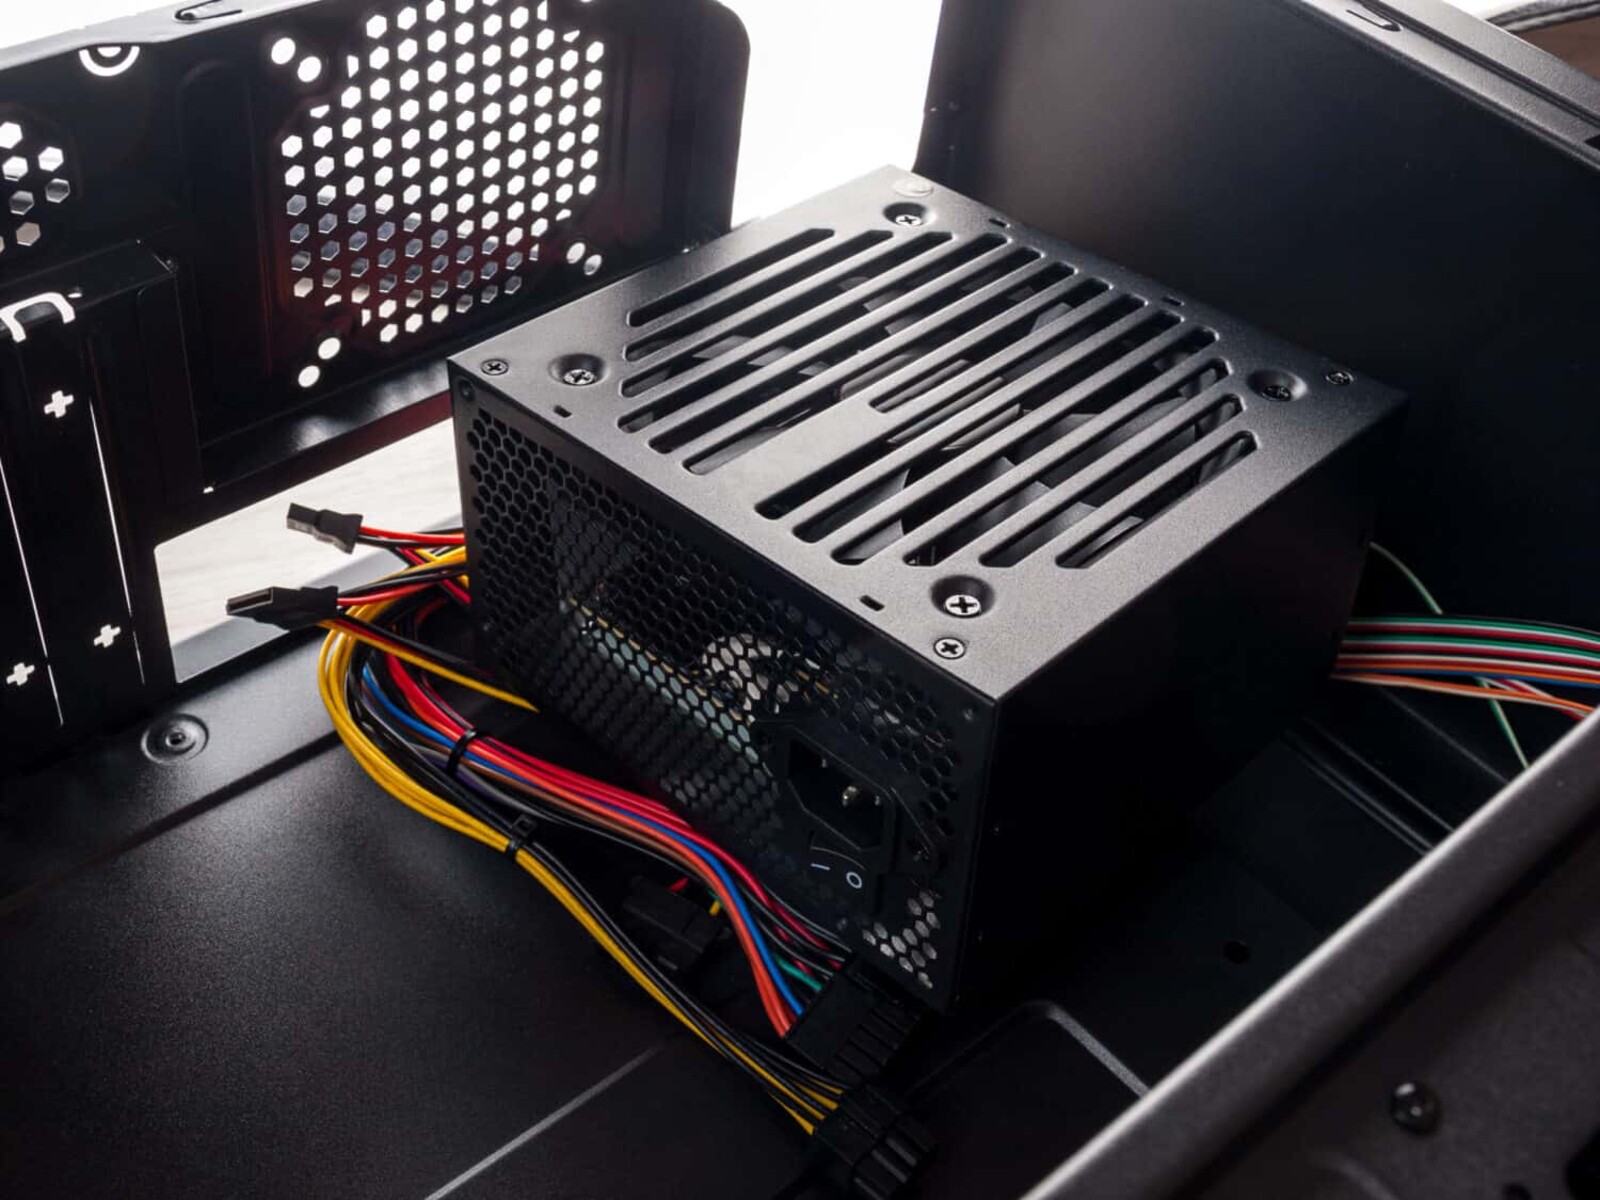
- Locate the Power Supply: Inside the case, locate the power supply unit, which is typically positioned at the back, near the top or bottom. Take note of the power supply’s orientation and make a mental or physical note of how it is installed.
- Disconnect Power Supply: Identify the screws or fasteners securing the power supply to the case. Carefully remove these screws and gently detach the power supply, ensuring you don’t apply excessive force or cause any damage.
By following these steps, you have safely unplugged and detached the power supply from your PC. With the power supply now separate from the system, you can proceed with the subsequent steps to determine its functionality.
Step 2: Inspect for Physical Damage
Once you have detached the power supply from your PC, it’s important to visually inspect it for any signs of physical damage. Physical damage can often be a culprit behind power supply issues. Follow these steps to conduct a thorough inspection:
- Examine the Exterior: Inspect the external casing of the power supply for any cracks, dents, or bulging. Pay close attention to the power supply fan, as damage or blockage in this area can cause overheating.
- Check the Cables: Inspect the cables connected to the power supply for any fraying, exposed wires, or loose connections. Damaged cables can affect the power supply’s functionality and pose a safety hazard.
- Inspect the Capacitors: Look for capacitors on the power supply’s circuit board, which are cylindrical components with metal tops. Check if any capacitors are swollen, leaking, or have a bulging top, as these are indications of a faulty power supply.
- Inspect the Power Supply Fan: Carefully examine the power supply fan for any dust buildup, obstructions, or signs of damage. A malfunctioning fan can lead to overheating and cause the power supply to fail.
- Smell for Burning Odors: Take note of any unusual smells, particularly burning odors, which could indicate a short circuit or electrical component failure.
While inspecting, it’s important to exercise caution and avoid touching any exposed components or circuitry. If you notice any physical damage or abnormalities during the inspection, it’s likely that your power supply is faulty and needs to be replaced.
If everything appears to be in good condition and without any visible signs of damage, you can proceed to the next step to test the functionality of the power supply.
Step 3: Test the Power Supply
Now that you have inspected the power supply for physical damage, it’s time to proceed with testing its functionality. Follow these steps to conduct a basic test of the power supply:
- Locate the 24-pin Connector: Identify the 24-pin power connector on the power supply. This connector provides power to the motherboard and is essential for the PC to function.
- Locate the Paperclip: Take a small paperclip or a piece of wire and bend it into a U-shape. This will be used to bridge two pins on the 24-pin connector.
- Bridge the Pins: Insert one end of the paperclip into the green wire pin (typically pin 16 or 17) and the other end into any black wire pin on the 24-pin connector. This will create a circuit and simulate the power signal.
- Switch On the Power Supply: Turn on the power supply by flipping the switch located on the back. You should hear the power supply’s fan start spinning.
- Observe the Fan Behavior: Watch the power supply fan to see if it spins consistently and smoothly. This indicates that the power supply is receiving power and functioning properly. If the fan doesn’t spin or behaves erratically, it’s likely that the power supply has a fault.
This basic test helps determine if the power supply is receiving power and if the fan is working. However, it doesn’t provide a comprehensive analysis of the power supply’s output voltages. For a more accurate assessment, it is recommended to use a multimeter or a power supply tester.
By conducting this initial test, you can get a preliminary indication of the power supply’s functionality and identify any major issues. If the power supply fails this basic test, it’s a strong indication that it needs to be replaced. Otherwise, you can proceed to the next steps to further assess its performance.
Step 4: Check for Proper Voltage Output
After conducting the basic power supply test, it’s time to delve deeper by checking the voltage output. This step will help determine if the power supply is delivering the correct voltages to the various components in your PC. Follow these steps to measure the voltage output:
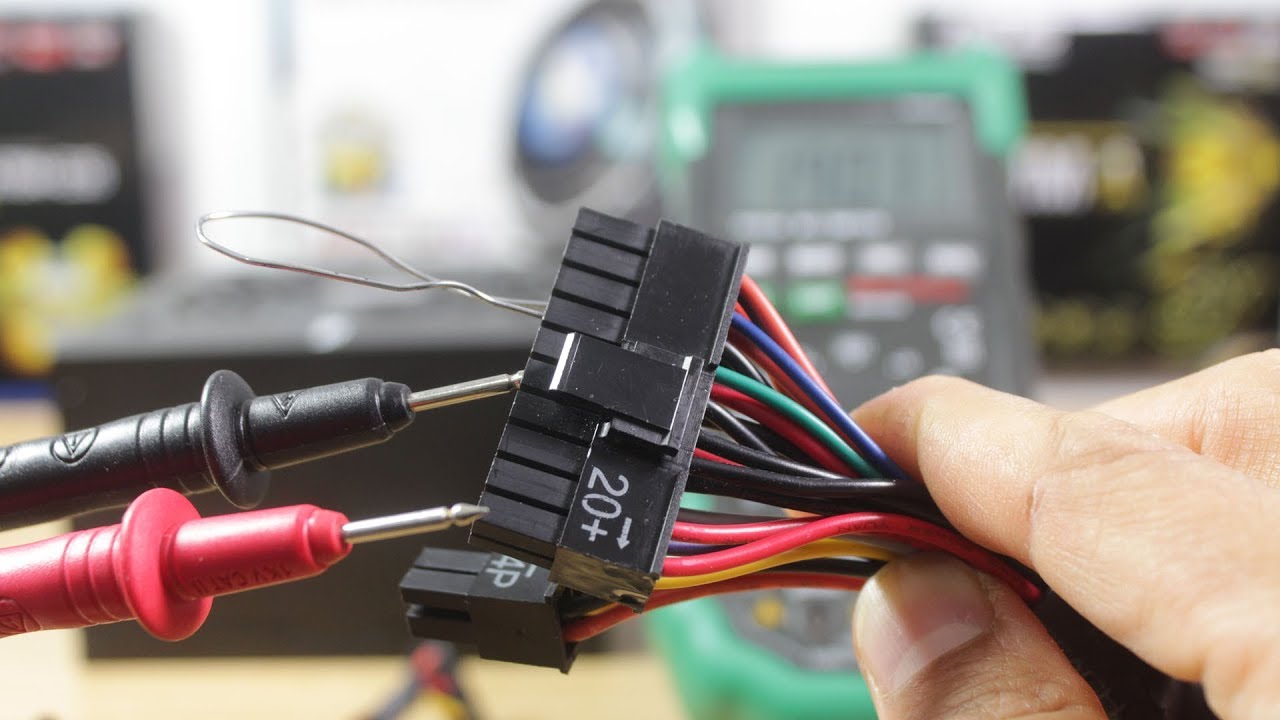
- Set Up the Multimeter: Set your multimeter to the DC voltage mode and ensure it is set to the appropriate range for measuring voltages (e.g., 20V).
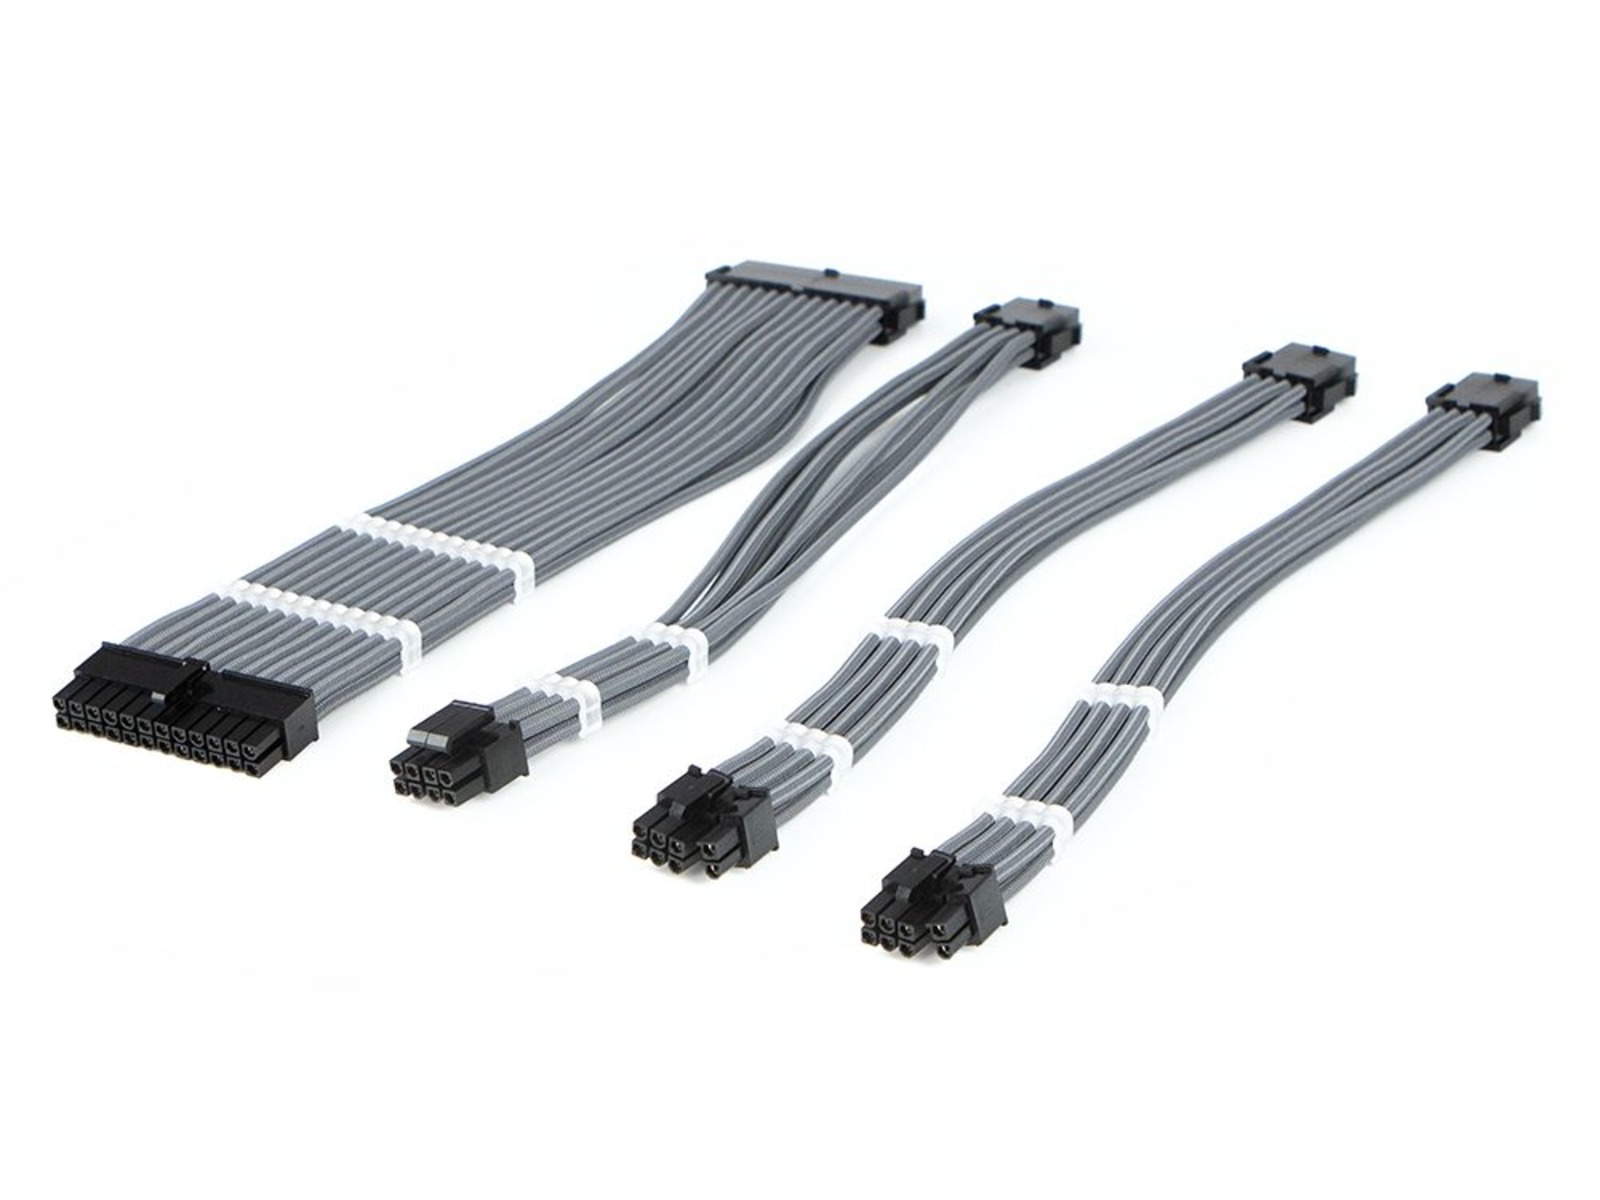
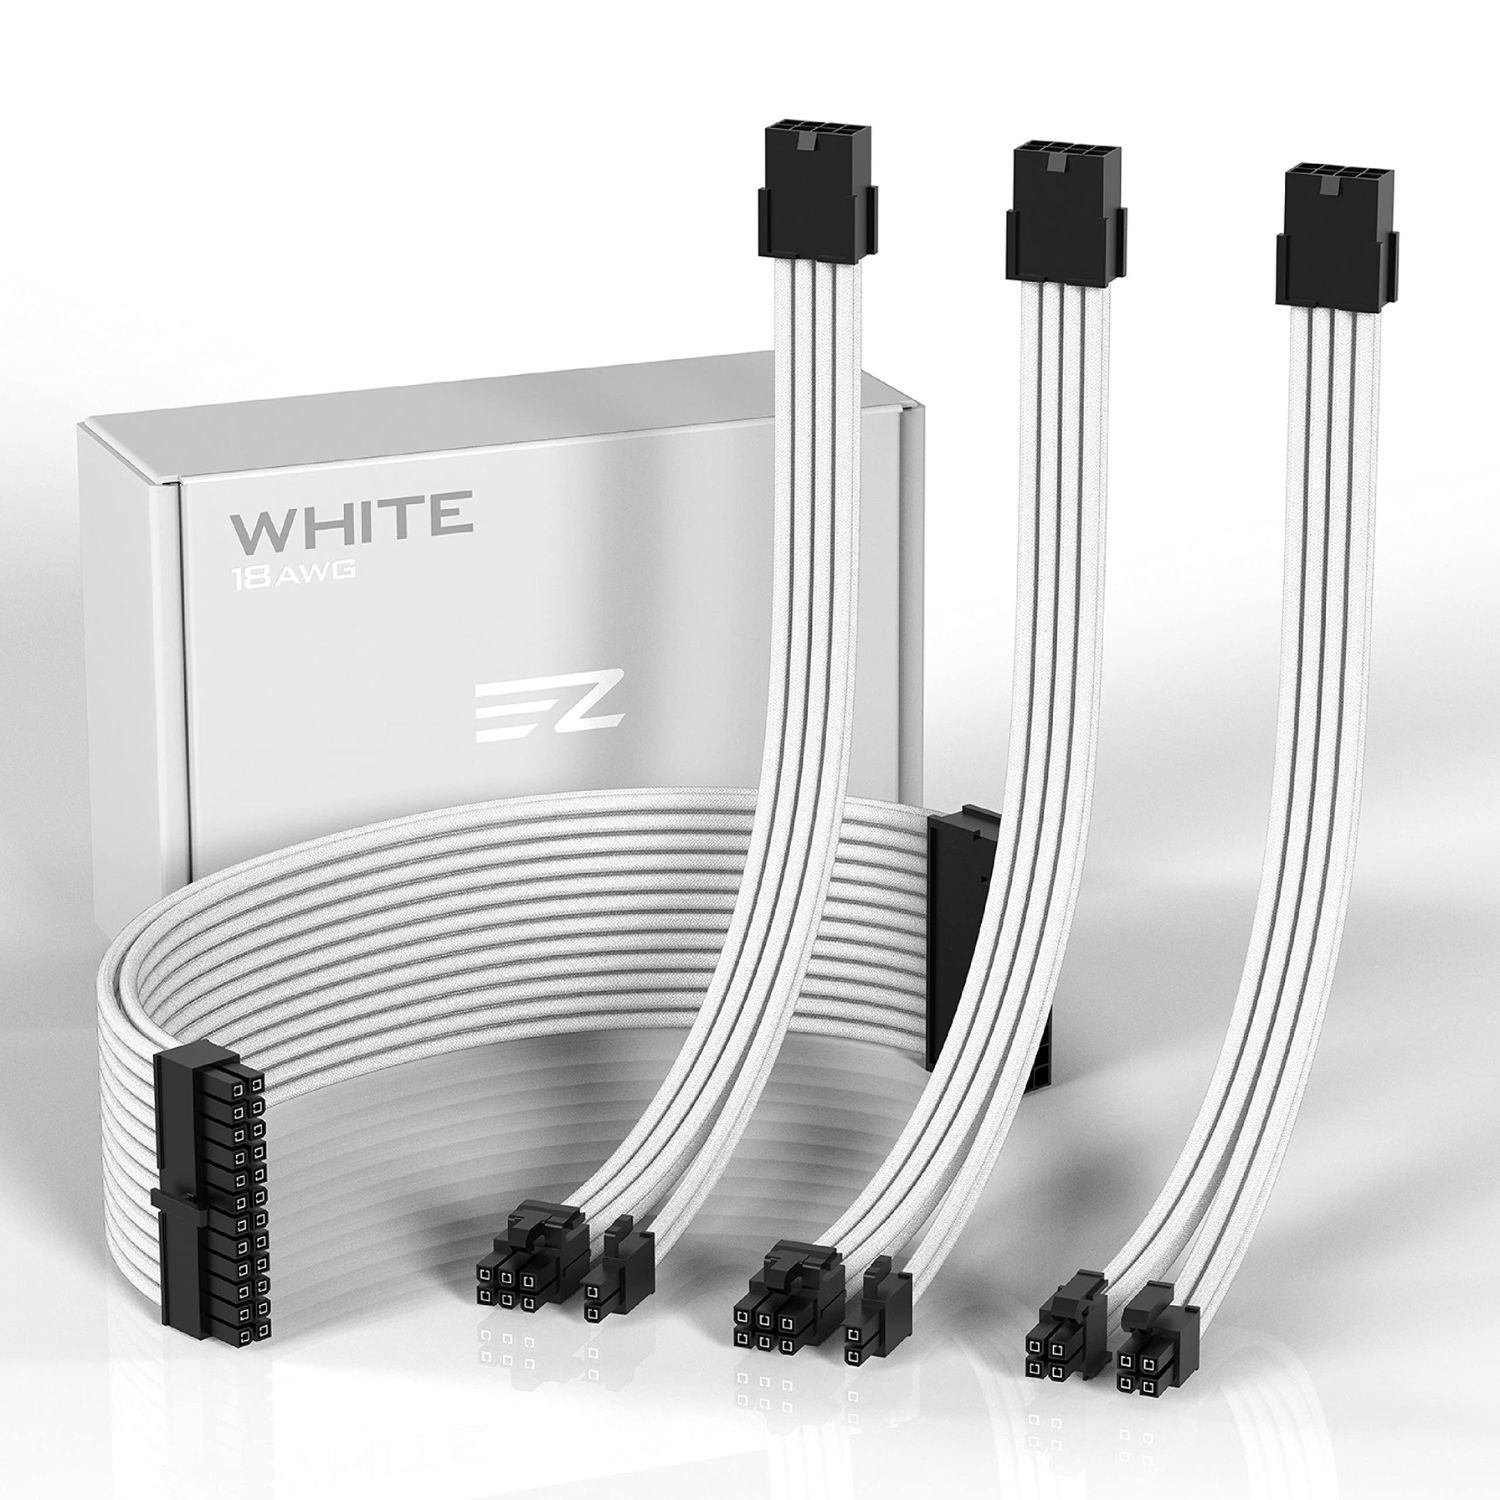
- Identify the Connectors: Locate the various connectors on the power supply. These connectors include the 24-pin motherboard connector, the 8-pin CPU connector, and any other power connectors for peripheral devices, such as SATA or PCIe connectors.
- Connect the Probe Wires: Take the black probe wire of the multimeter and connect it to a black ground wire in one of the connectors. Then, take the red probe wire and connect it to the corresponding colored wire for the desired voltage measurement.
- Measure Voltage: Turn on your PC and use the multimeter to measure the output voltage of each connector. Refer to the documentation of your motherboard or components to determine the expected voltage values, as they can vary.
- Compare Readings: Compare the voltage readings on the multimeter with the expected values. If the measured voltages deviate significantly from the expected values, it may indicate an issue with the power supply.
It’s important to note that power supply voltages can vary based on the load and system requirements, so slight fluctuations are normal. However, significant differences or unstable voltages could indicate a faulty power supply.
If you don’t have access to a multimeter, you can also use a power supply tester to measure the voltage output. A power supply tester simplifies the process by providing clear LED indicators for each voltage rail, making it easier to assess the power supply’s functionality.
By checking the voltage output, you can gain valuable insights into the performance of your power supply and identify any potential problems that may be affecting your PC’s stability and functionality.
Step 5: Measure the Power Supply Fan
As part of the power supply check, it’s crucial to assess the functionality of the power supply fan. The fan plays a critical role in keeping the power supply cool and preventing overheating. Follow these steps to measure the power supply fan:
- Reattach the Power Supply: Carefully reattach the power supply back into your computer case. Ensure it is properly aligned and secured with the screws or fasteners.
- Power On your PC: Plug in and connect the power supply to your PC. Flip the switch on the back of the power supply to turn it on.
- Observe the Fan Behavior: Watch and listen to the power supply fan as your PC powers on. Ensure that the fan spins smoothly and consistently without any unusual noises.
- Monitor the Fan Speed: Use monitoring software or BIOS settings to check the speed of the power supply fan. It should be within the normal operating range, typically between 800 and 1200 RPM.
- Check for Fan Obstructions: Inspect the power supply fan for any obstructions, such as dust, cables, or debris. Clear any blockages that may hinder the fan’s rotation and proper airflow.
A properly functioning power supply fan is essential for maintaining optimal temperature levels and preventing overheating. If the fan fails to spin, spins erratically, or produces abnormal noises, it indicates a potential issue with the power supply’s cooling system. In such cases, it may be necessary to replace the power supply to ensure proper cooling and prevent further hardware damage.
Regularly monitoring the fan speed and keeping the fan area clean can help prolong the lifespan of the power supply and maintain a stable operating environment for your PC.
Step 6: Test with a Power Supply Tester
Using a power supply tester is a convenient and efficient way to evaluate the functionality of your power supply. A power supply tester provides quick and accurate readings without the need for technical expertise. Follow these steps to test your power supply using a power supply tester:
- Connect the Power Supply Tester: Locate the 24-pin connector on your power supply tester and align it with the 24-pin connector on your power supply. Ensure that the connectors match and securely plug them together.
- Switch on the Power Supply: Flip the switch located on the back of the power supply to turn it on. The power supply tester will display various LED lights or an LCD screen, indicating the different voltage outputs.
- Check the LED Indicators: Observe the LED indicators or visual display on the power supply tester. The tester will indicate whether each voltage rail (e.g., +12V, +5V, +3.3V) is functioning correctly, and in some cases, alert you to potential issues.
- Interpret the Results: Refer to the user manual or documentation of your power supply tester to understand the meaning of the LED indicators or display readings. This will help you determine if your power supply is within acceptable limits.
- Monitor for Stability: Keep an eye on the tester readings for a steady display of voltages. Any fluctuations or inconsistencies could indicate an unstable power supply.
A power supply tester provides a comprehensive assessment of your power supply’s performance, allowing you to quickly diagnose any potential problems. It eliminates the need for manual measurements and simplifies the testing process.
If the power supply tester indicates abnormal readings or fails to display the expected voltages, there may be a fault with your power supply. In such cases, it is advisable to replace the power supply to ensure the reliable and efficient operation of your PC.
Remember to follow the manufacturer’s instructions for the power supply tester and exercise caution when handling electrical components.
Step 7: Reattach and Power On the PC
After you have completed the necessary checks and tests on your power supply, it’s time to reattach it to your PC and power it on. Follow these steps to safely reconnect and power on your PC:
- Ensure Proper Alignment: Carefully place the power supply back into the designated slot in your computer case. Align it properly using the previous markings or orientation.
- Secure the Power Supply: Use the screws or fasteners to secure the power supply in place. Make sure it is firmly attached to avoid any movement or vibrations.
- Reconnect the Cables: Attach the various cables from the power supply back to their respective connectors. Start with the 24-pin motherboard connector, followed by the CPU power connector, and any additional power connectors for peripheral devices.
- Reattach the Side Panel: Place the side panel back onto your computer case and secure it with the screws. Ensure that it is aligned correctly and properly seated to avoid any gaps.
- Plug in Peripherals: Connect any peripherals or devices to your PC, such as monitor, keyboard, and mouse.
- Power On: Plug the power cord back into the power supply and then into a power outlet. Flip the switch on the power supply to the “On” position.
- Boot Up the PC: Press the power button on your PC to boot it up. Watch for any error messages or unusual behavior during the startup process.
- Monitor for Stability: Keep an eye on your PC’s performance, checking for any recurring issues that were present before the power supply check. Monitor the temperature levels, fan speed, and overall system stability.
If you have successfully reattached and powered on your PC without encountering any problems or error messages, it is a good indication that your power supply is functioning correctly. However, remember to keep an eye on your PC’s performance in the coming days to ensure the stability of your system.
In case you continue to experience issues, it may be necessary to consult a professional or consider replacing the power supply to resolve persistent problems.
Conclusion
Checking the power supply of your PC is a crucial step in troubleshooting and ensuring the proper functioning of your computer. By following the steps outlined in this guide, you can diagnose power supply issues and determine whether a replacement is necessary. Remember, safety is key throughout the process, so always exercise caution and take appropriate measures to protect yourself and your components.
We began by discussing the signs of power supply failure, such as system crashes, random shutdowns, and failure to power on. Identifying these signs can help you pinpoint the cause of your PC’s problems.
We then discussed the tools needed for a power supply check, including a screwdriver, multimeter, power supply tester, and an anti-static wrist strap. Having these tools on hand ensures that you can accurately diagnose and test the power supply.
The step-by-step process covered in this guide outlined how to unplug and detach the power supply, inspect it for physical damage, perform basic tests, measure the voltage output, check the power supply fan, and use a power supply tester for a comprehensive assessment.
The final step involved reattaching the power supply to your PC, powering it on, and monitoring it for stability. Following these steps allows you to determine if the power supply is functioning correctly or if a replacement is necessary.
Remember, if you are unsure or uncomfortable with any aspect of the power supply check, it’s always advisable to seek professional assistance. An expert can provide guidance and ensure the safety of your computer components.
By knowing how to check your PC’s power supply, you can save time and money by quickly identifying and resolving power-related issues. Keeping your power supply in good condition leads to a more reliable and stable computing experience.
Now, armed with the knowledge and steps provided in this guide, you’re ready to tackle power supply troubleshooting and keep your PC running smoothly. Best of luck in your troubleshooting endeavors!