Introduction
When you encounter a situation where your PC refuses to start up after connecting your GPU to the PSU, it can be frustrating and perplexing. The GPU, or Graphics Processing Unit, is a crucial component responsible for rendering high-quality graphics in your computer. If your PC fails to start with the GPU connected, it could be indicative of an underlying issue.
There are several potential causes for this problem, ranging from insufficient power supply to faulty hardware or compatibility issues. In this article, we will explore some of the common reasons why your PC may not start when the GPU is connected to the PSU. We will also provide some troubleshooting steps to help you diagnose and resolve the issue.
It’s essential to note that troubleshooting PC hardware issues requires caution and knowledge. If you are not confident in your abilities, it may be wise to seek assistance from a professional technician. With that said, let’s dive into the possible causes and solutions for your PC startup problem.
Possible Causes
When your PC fails to start up after connecting your GPU to the PSU, there can be several potential causes. Understanding these causes will help you narrow down the issue and find the appropriate solution.
1. Insufficient Power Supply: One common reason for this problem is an insufficient power supply to the GPU. Graphics cards, especially high-performance ones, require a significant amount of power to function correctly. If your power supply unit (PSU) doesn’t deliver enough power or doesn’t have the necessary connectors for the GPU, your PC may fail to start or experience stability issues.
2. Faulty GPU: Another potential cause is a faulty GPU. If the graphics card itself is defective or damaged, it can prevent your PC from booting up. This could be due to various reasons such as overheating, physical damage, or manufacturing defects.
3. Incompatibility Issues: Sometimes, compatibility issues between the GPU and other components of your PC can lead to startup problems. This can occur if the GPU is not compatible with the motherboard, the power supply, or even the system’s BIOS. Incompatibility issues can arise due to differences in physical connections, power requirements, or software conflicts.
4. Driver Conflicts: Outdated or incompatible graphics drivers can also cause troubles while starting up your PC with the GPU connected. If the driver software does not communicate properly with the GPU or conflicts with other system components, it can result in a failure to boot.
5. Insufficient System Requirements: Lastly, insufficient system requirements can cause startup problems. Graphics cards often come with specified minimum requirements such as a particular CPU, a certain amount of RAM, or a specific power supply wattage. If your system falls short of these requirements, it may not be able to handle the GPU, leading to startup issues.
Understanding these potential causes will help you diagnose the problem and take the necessary steps to resolve it. In the next section, we will provide some troubleshooting steps to help you address the issue of your PC not starting up with the GPU connected to the PSU.
Insufficient Power Supply
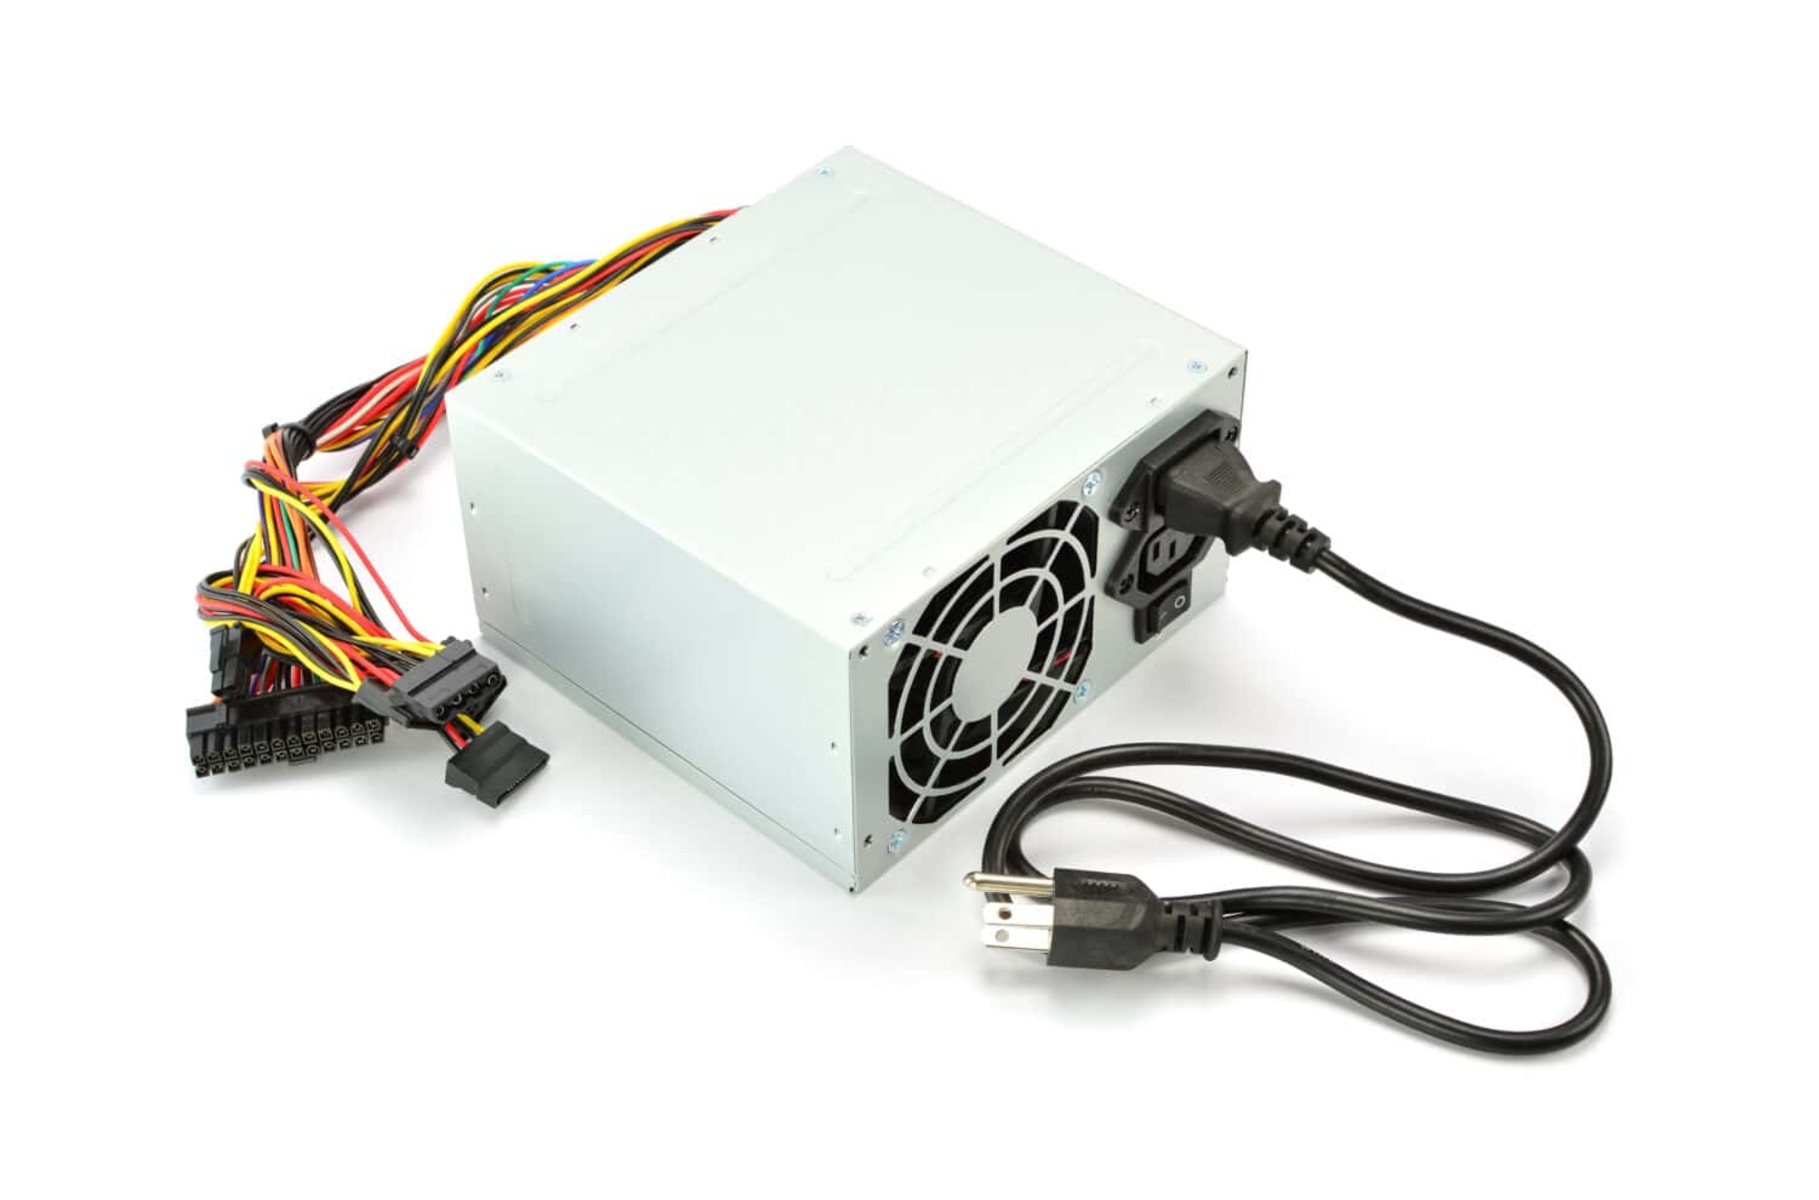
One of the common causes for your PC not starting up when the GPU is connected to the power supply is an insufficient power supply. Graphics cards, especially high-performance ones, demand a considerable amount of power to function properly. If your power supply unit (PSU) doesn’t deliver enough power or lacks the necessary connectors for the GPU, it can result in startup issues.
To determine if the power supply is the culprit, you can consider the following troubleshooting steps:
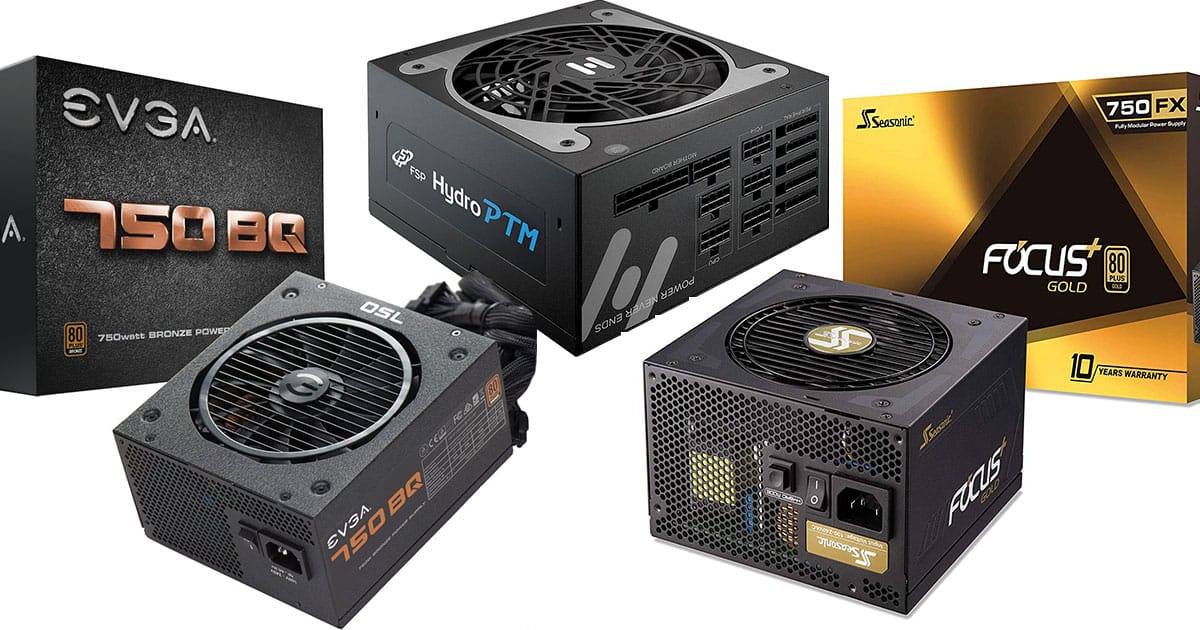
1. Check Power Supply Wattage: Start by checking the wattage of your power supply. Ensure that it meets or exceeds the power requirements of your GPU. High-end graphics cards often require PSU wattage of 500 watts or more. If your power supply falls short, you may need to upgrade to a higher wattage PSU.
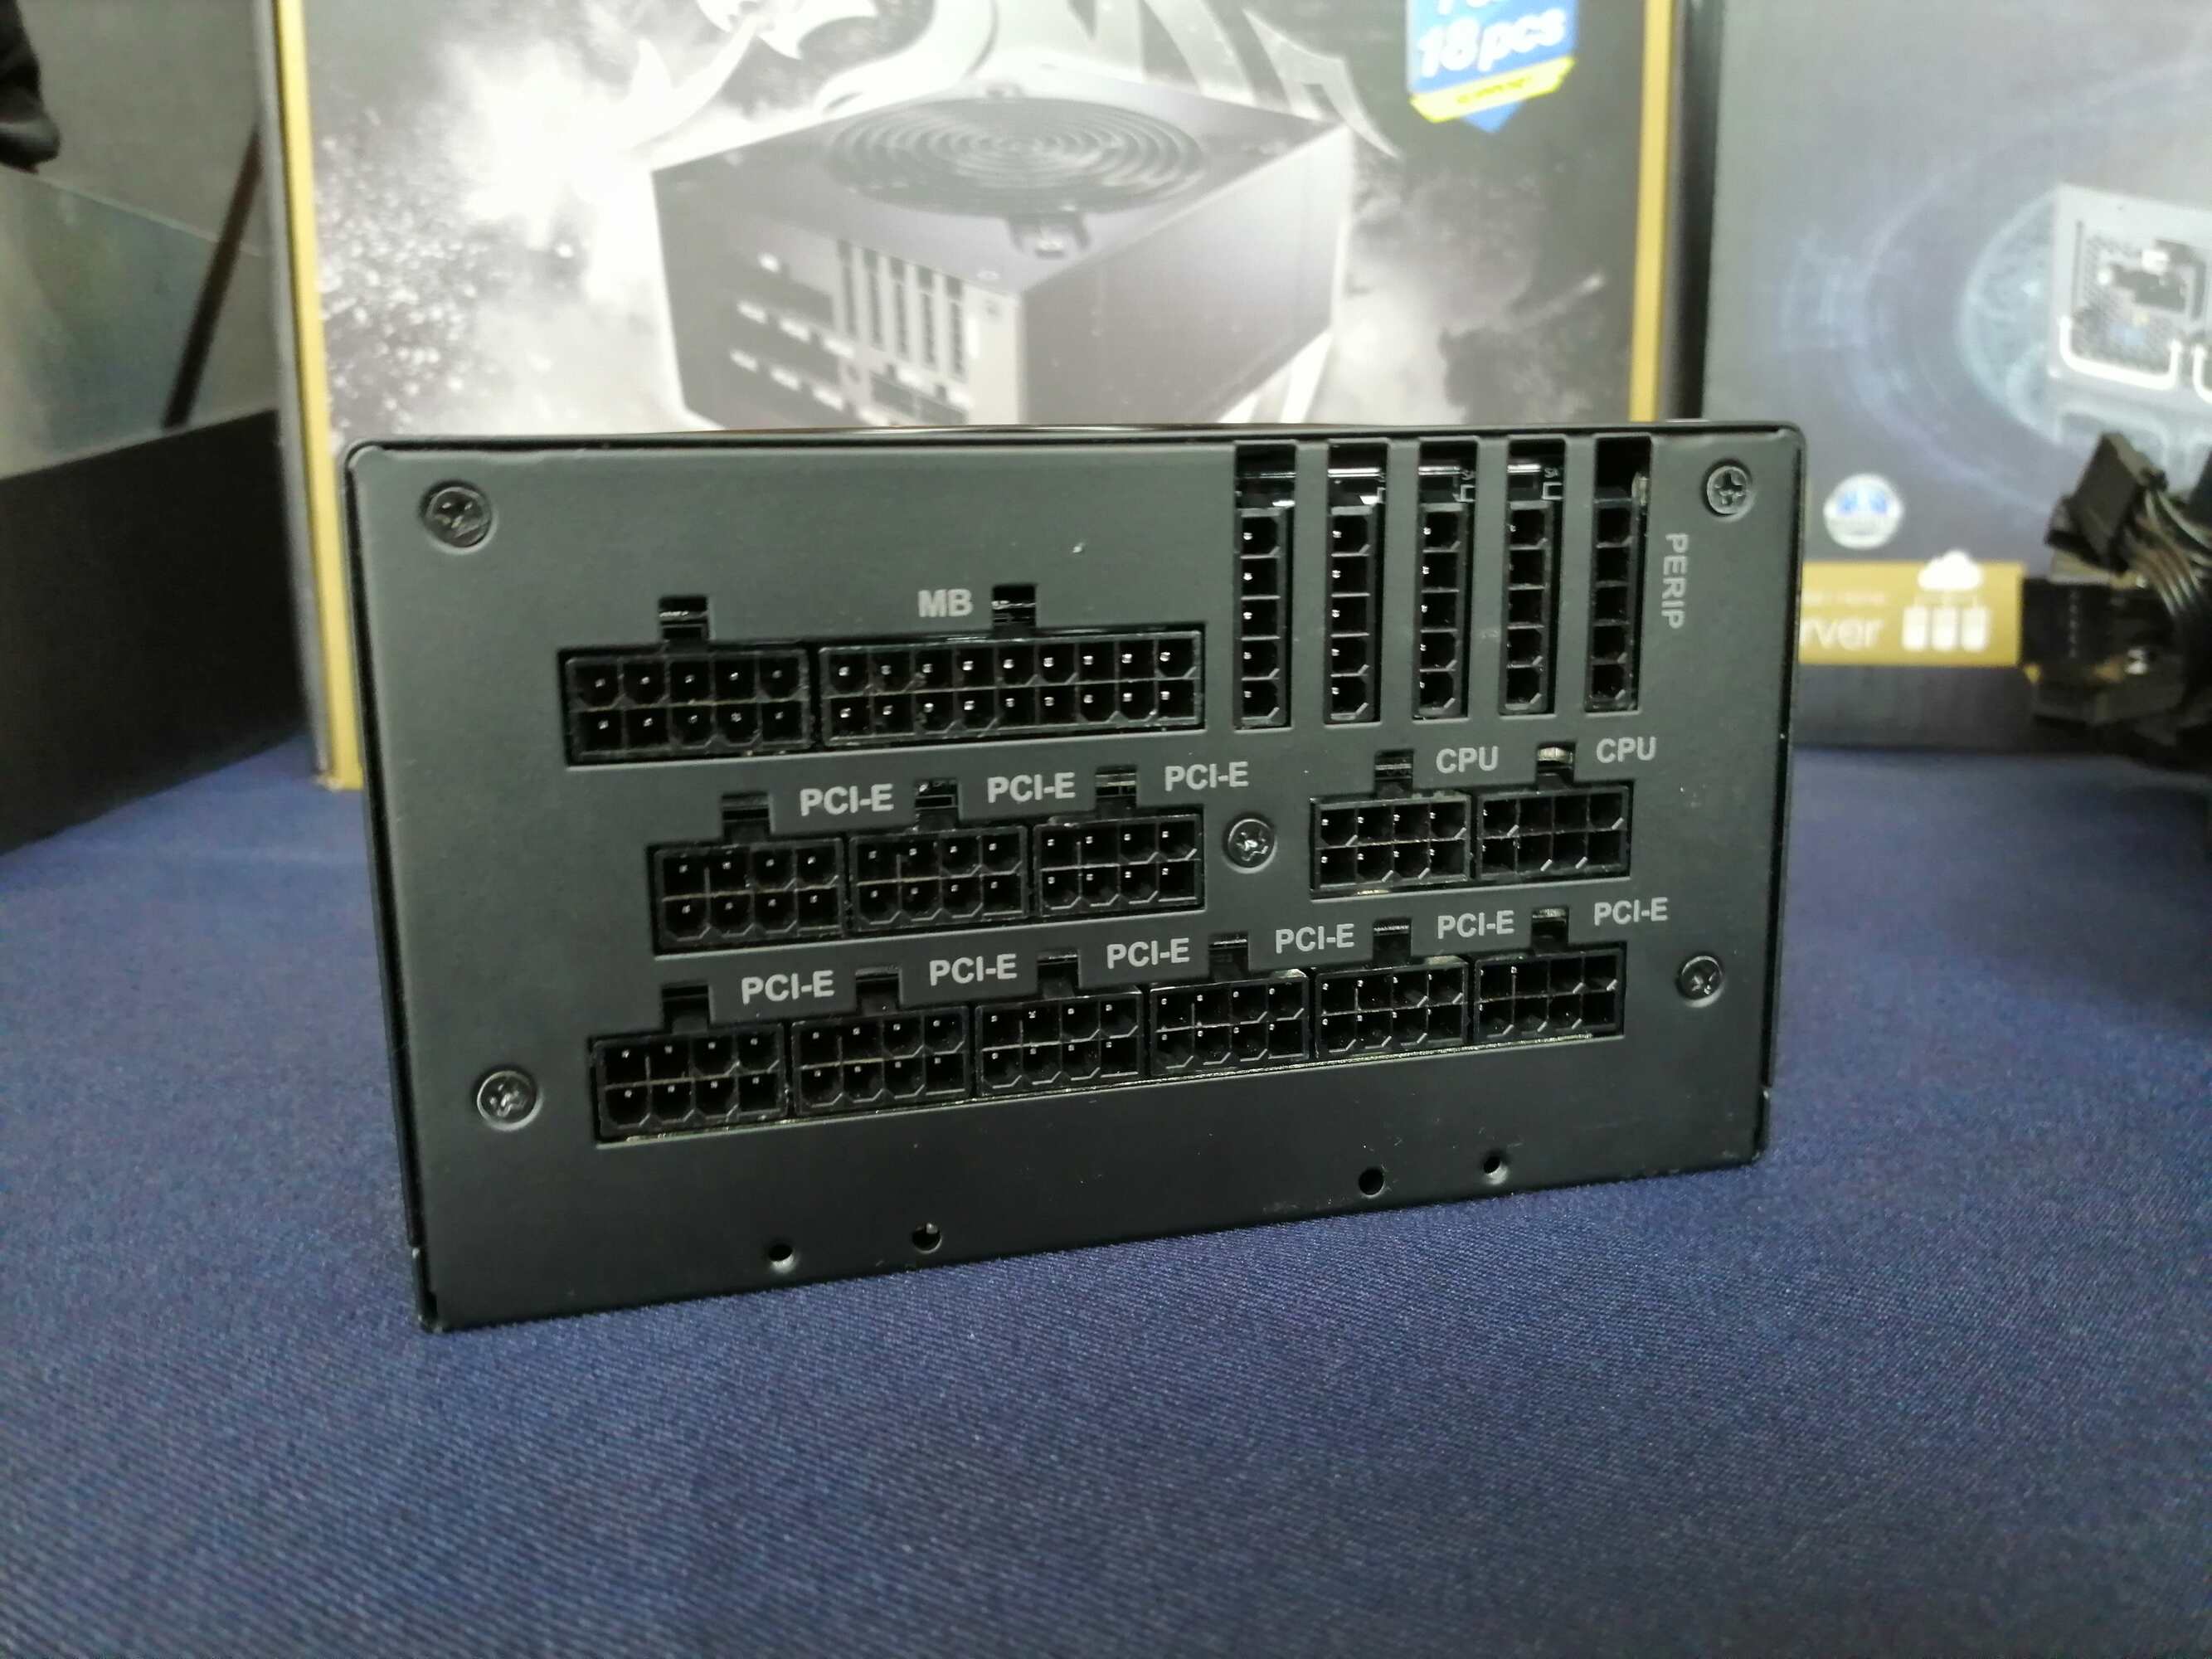
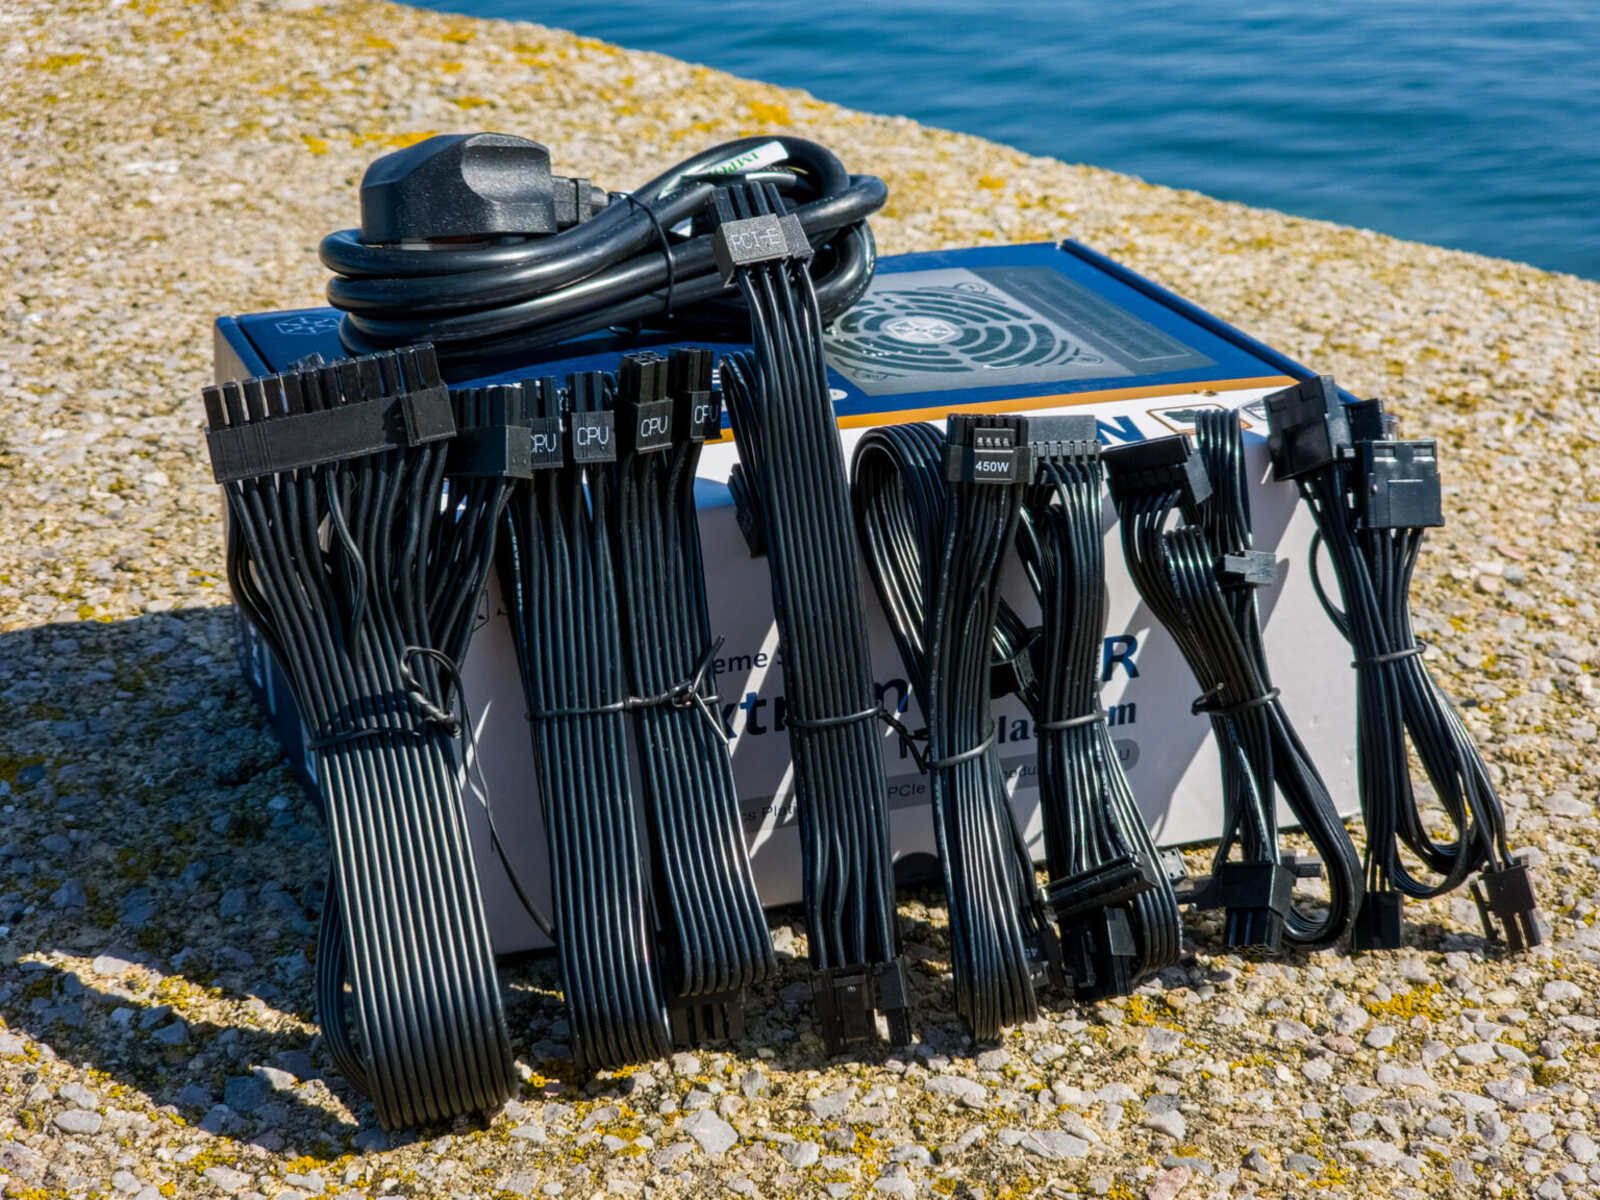
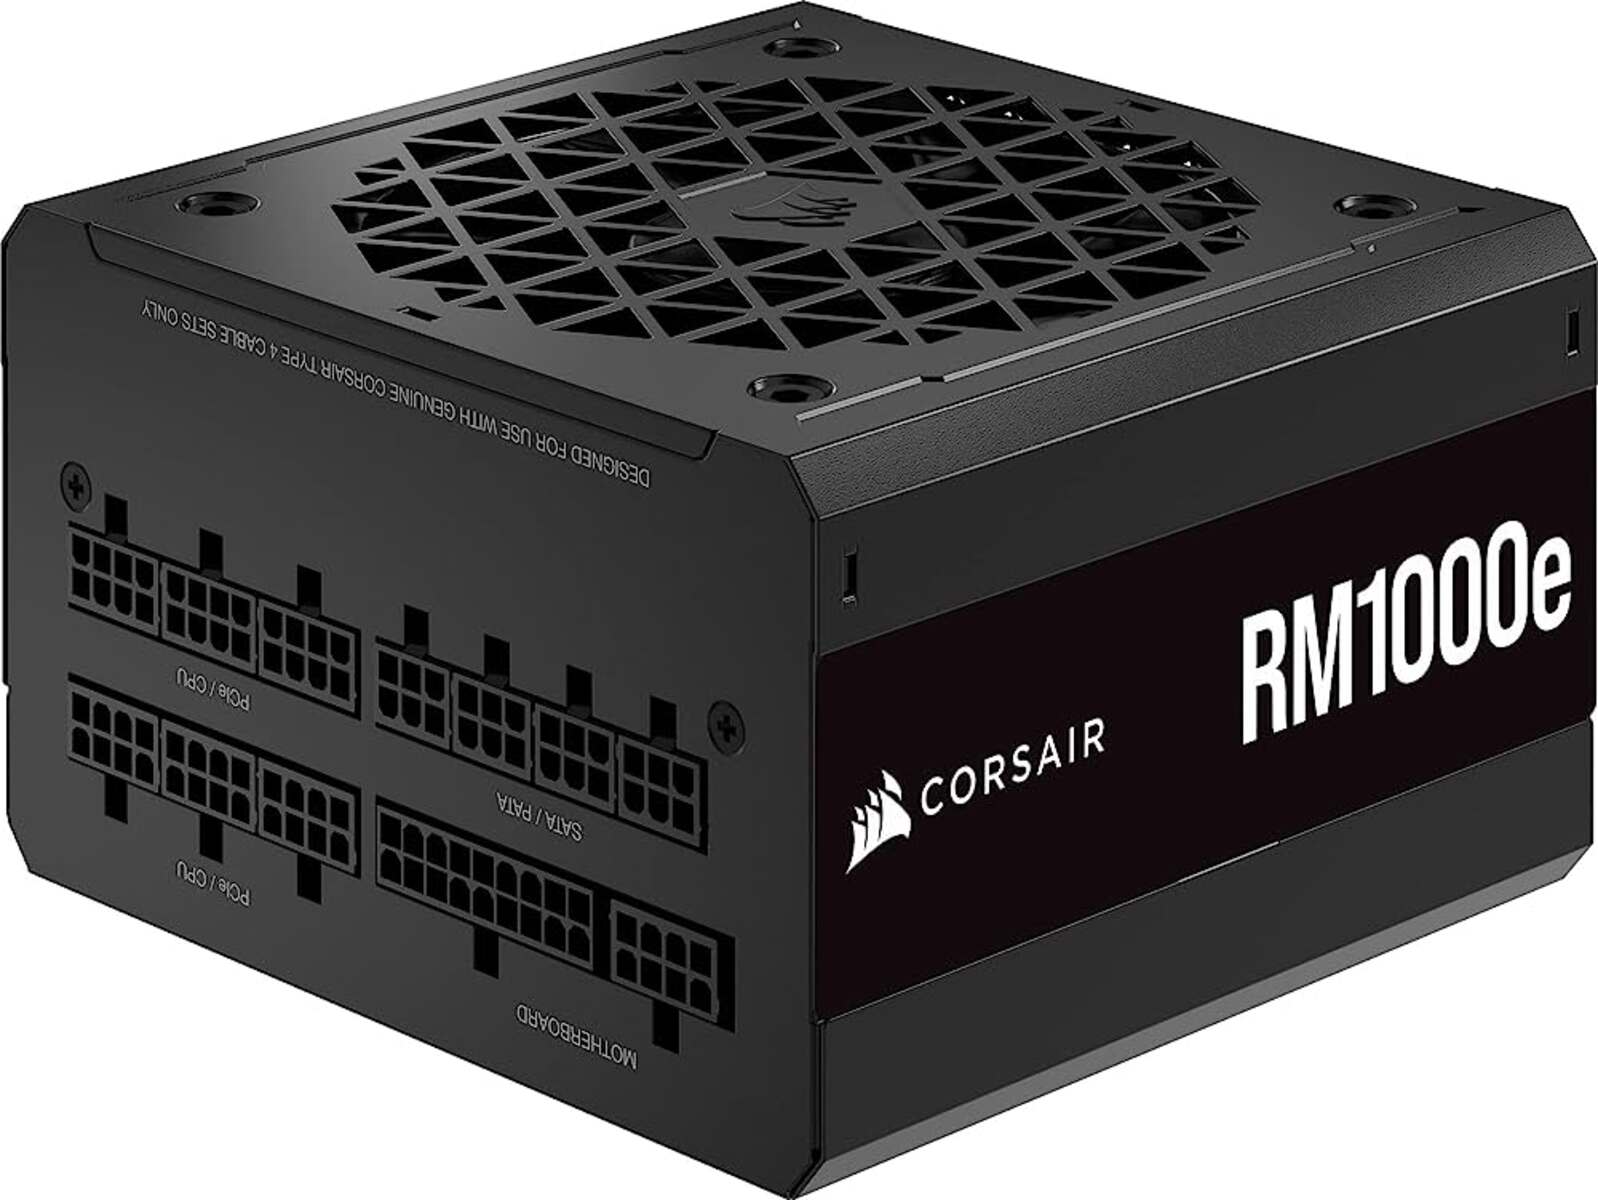
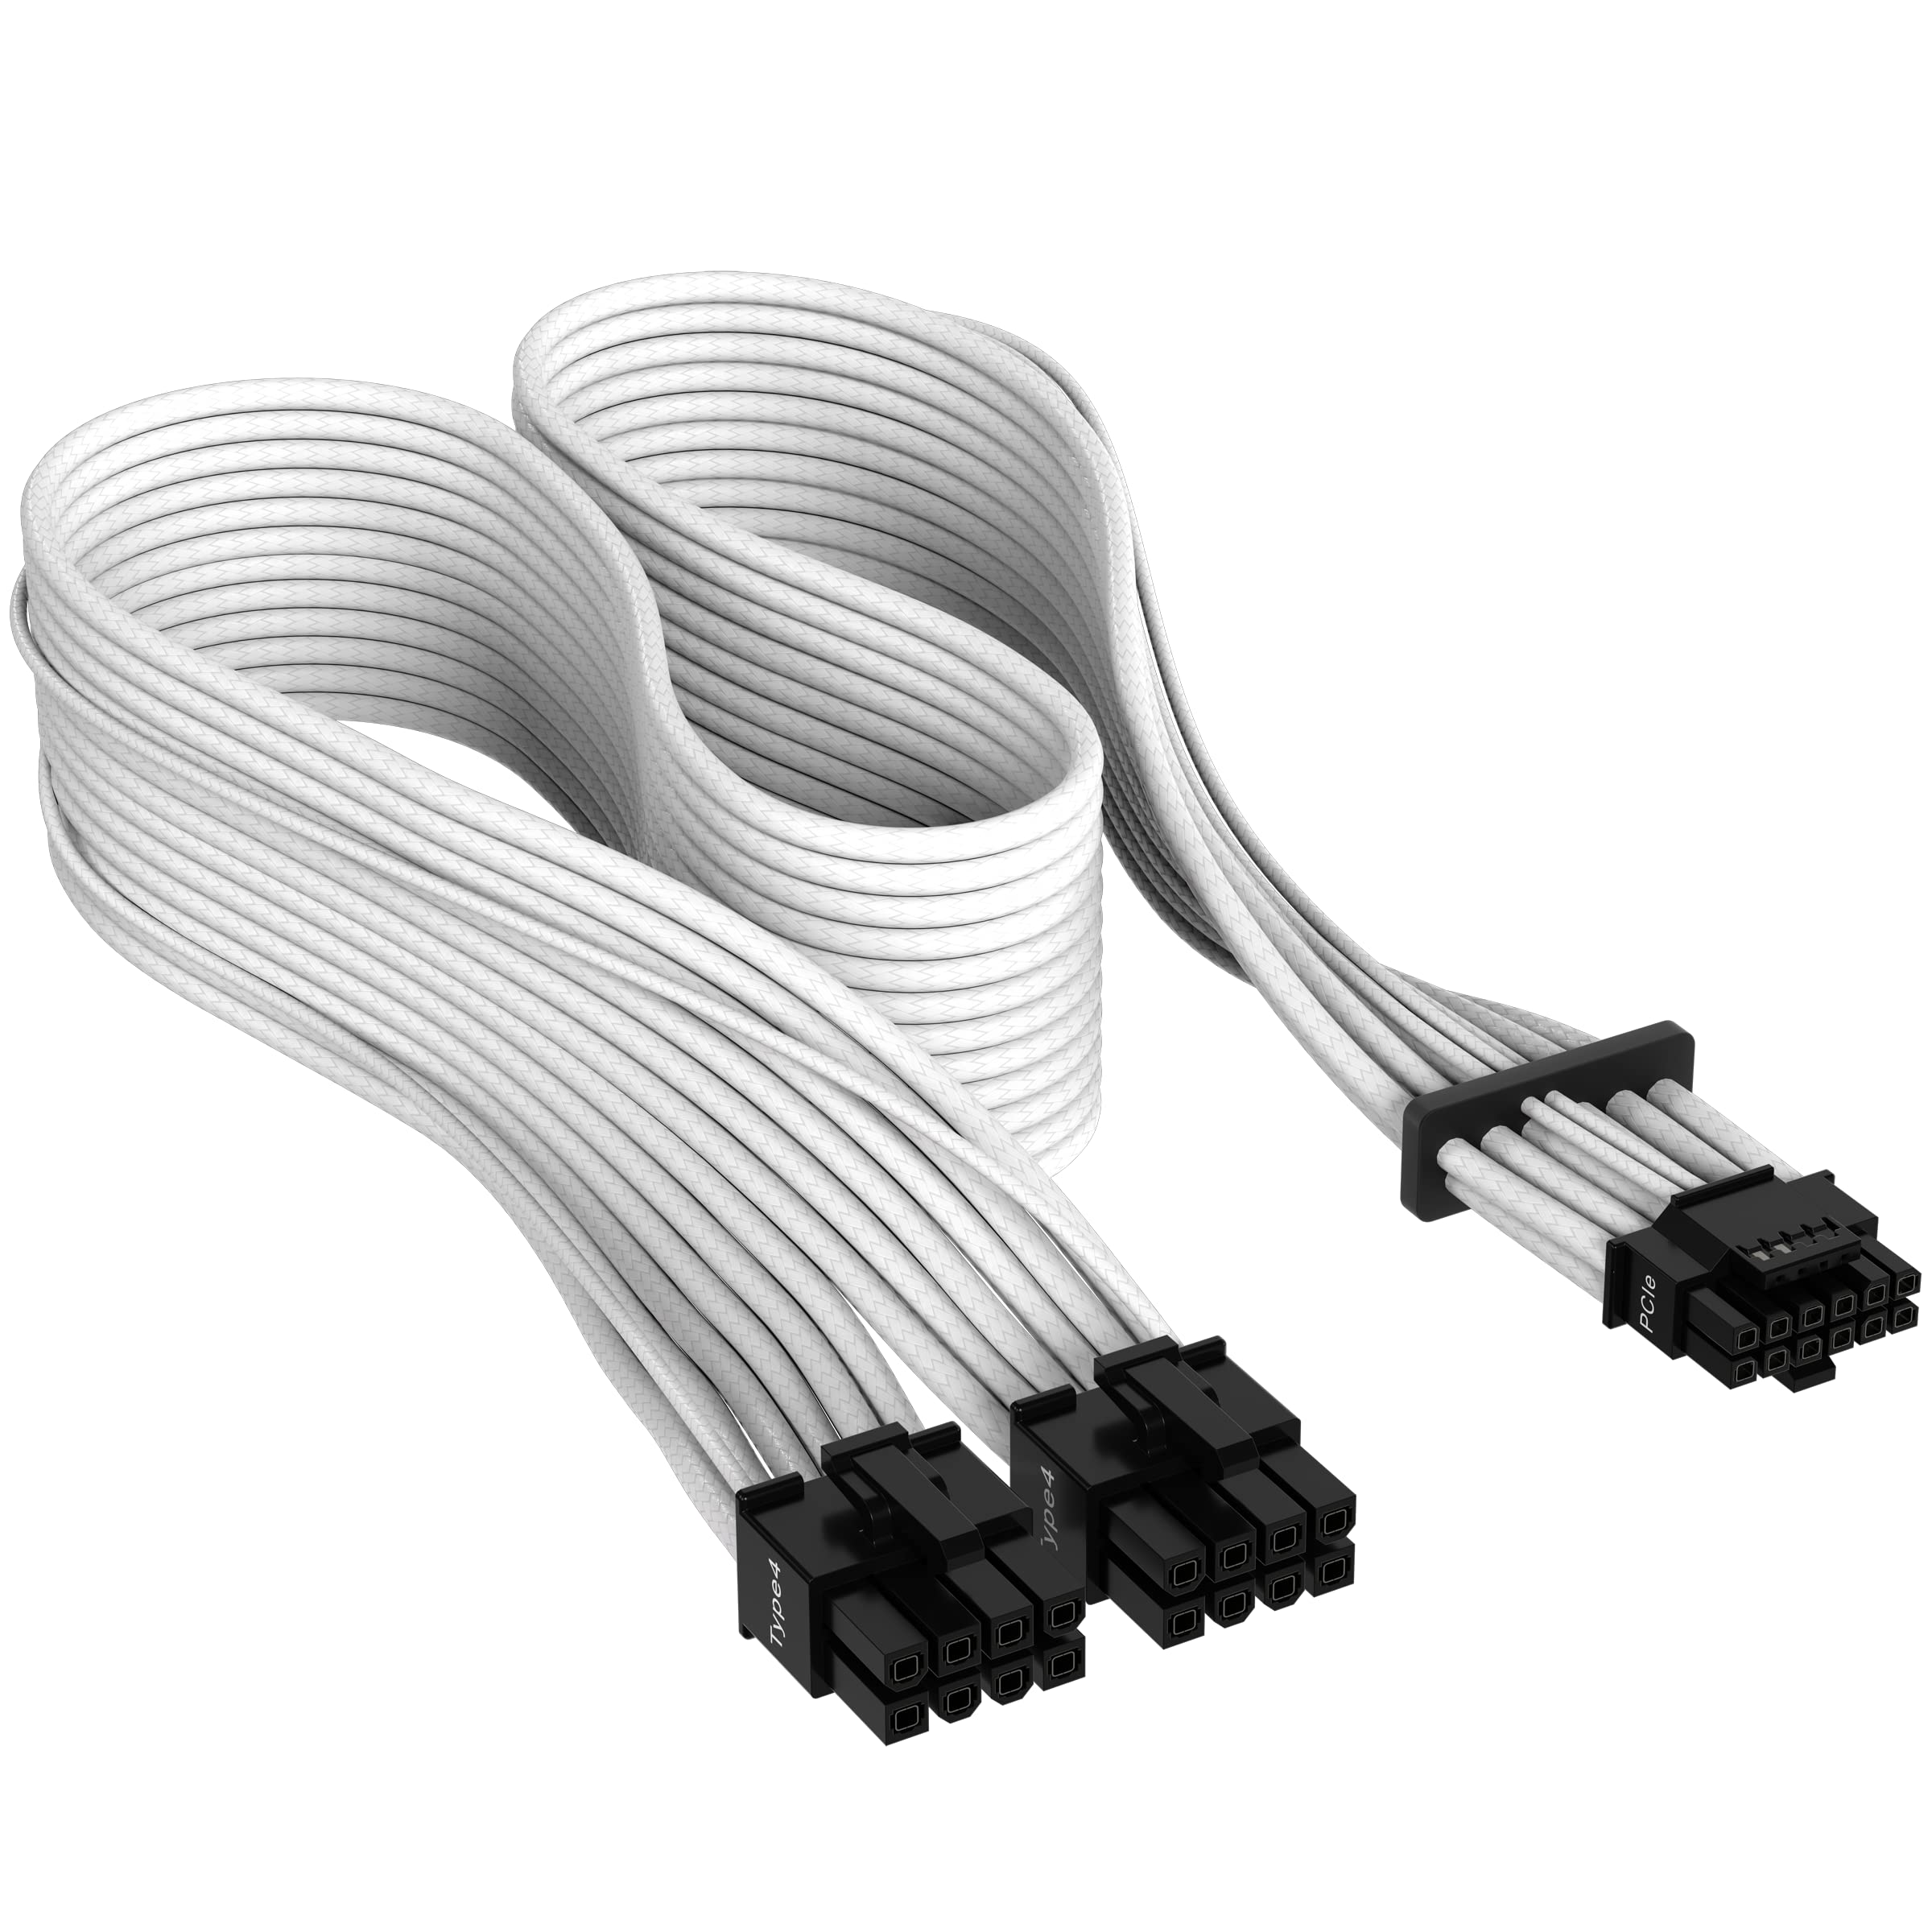
2. Verify Proper Power Connectors: Check that your power supply has the necessary cables and connectors to support your GPU. Modern GPUs often require additional power connectors, such as 6-pin or 8-pin PCIe connectors, for reliable operation. Make sure these connectors are securely plugged into the graphics card.
3. Distribute Power Properly: If your power supply has multiple PCIe power connectors, make sure you distribute the load evenly among them. Avoid overloading a single connector, as it may not supply sufficient power to the GPU. Check your GPU manufacturer’s guidelines or manual for any specific instructions on power distribution.
4. Upgrade the Power Supply Unit: If you have determined that your current PSU is insufficient, consider upgrading to a higher-wattage power supply. Ensure that the new PSU has the appropriate connectors for your GPU and provides enough power to support all your system components.
5. Consider Power Supply Efficiency: Additionally, take into account the efficiency rating of your power supply. Higher-efficiency PSUs convert more of the incoming AC power into DC power, reducing power wastage and generating less heat. This can help ensure a stable power delivery to your GPU.
By addressing any potential power supply issues, you can solve the problem of your PC not starting up when the GPU is connected. If the startup issue persists after verifying the power supply, you may need to investigate other possible causes, which we will cover in the upcoming sections.
Faulty GPU
A faulty GPU can be another reason why your PC fails to start up when the graphics card is connected to the power supply unit (PSU). A defective or damaged GPU can prevent the system from booting properly. There are several factors that can contribute to a faulty GPU, including overheating, physical damage, or manufacturing defects.
If you suspect that your GPU is the primary cause of the startup issue, try the following troubleshooting steps:
1. Check for Physical Damage: Inspect the GPU for any visible signs of physical damage, such as bent pins, cracks, or burned components. If you notice any damage, it is likely that the GPU is faulty and needs to be replaced.
2. Monitor GPU Temperatures: Overheating can cause a GPU to malfunction. Use monitoring software to check the temperatures of your graphics card during normal operation and while attempting to start up your PC. If the temperatures are unusually high or the GPU overheats quickly, it may indicate a cooling problem. Ensure that the fans on the GPU are spinning correctly and that the heatsink is free from dust and debris.
3. Test the GPU in a Different System: To determine if the GPU is the culprit, try installing it in a different compatible system. If the GPU fails to work in the alternate system, it is likely faulty. In this case, you should consider contacting the manufacturer for warranty support or arranging for a replacement.
4. Reseat the GPU: Sometimes, a faulty GPU can be caused by poor connection. Turn off your PC, unplug it from the power source, and carefully remove the GPU. Clean the PCI-E slot using compressed air or a soft brush to remove any debris, then reinsert the graphics card firmly. Ensure that it is properly seated and secured in the slot.
5. Consult a Professional: If you have tried the above steps and are still experiencing issues, it is recommended to consult a professional technician. They have the expertise and diagnostic tools to identify and resolve hardware issues effectively.
By following these troubleshooting steps, you can determine if a faulty GPU is causing your PC startup problems. If the GPU is indeed at fault, taking appropriate steps to repair or replace it will restore your system’s functionality.
Incompatibility Issues
Incompatibility between the GPU and other components of your PC can lead to startup problems when the graphics card is connected to the power supply unit (PSU). These compatibility issues can arise due to differences in physical connections, power requirements, or software conflicts. Resolving compatibility problems is crucial to ensure smooth operation of your system.
If you suspect that incompatibility is causing the startup issue, here are some troubleshooting steps you can take:
1. Check GPU Compatibility: Verify that your GPU is compatible with your motherboard. Look for any limitations or restrictions in the motherboard’s manual or specifications. Check if the GPU’s form factor (e.g., PCI Express x16) matches the available slot on your motherboard. Also, ensure that the power supply has the necessary connectors for the GPU.
2. BIOS Settings: Access your computer’s BIOS and check if there are any settings related to the GPU or PCIe configuration. Updating the BIOS to the latest version can sometimes resolve compatibility issues. However, exercise caution when updating BIOS, as improper flashing can lead to system instability.
3. Power Supply Compatibility: Verify that your power supply can provide sufficient power to the GPU. Some high-performance GPUs require dedicated power cables connected directly from the PSU. If your PSU does not have the required connectors, it may be necessary to upgrade to a more compatible power supply.
4. Driver Compatibility: Ensure that your GPU drivers are up to date and compatible with your operating system. Visit the GPU manufacturer’s website to download the latest driver version specifically designed for your graphics card and OS. Outdated or incompatible drivers can cause startup issues or result in poor performance.
5. Software Conflicts: Conflicts between installed software and the GPU drivers can also lead to incompatibility issues. Try uninstalling any recently installed programs or performing a clean reinstall of the operating system. This can help eliminate software conflicts that may be interfering with the proper functioning of the GPU.
6. Consult Manufacturer Documentation: If you’re unsure about compatibility or need specific guidance, consult the documentation and support resources provided by your GPU manufacturer. They may have detailed information, FAQs, or forums that can help you troubleshoot and resolve compatibility-related issues.
By addressing any incompatibility issues between your GPU and other components, you can successfully resolve the startup problems. Remember to double-check compatibility before purchasing any hardware to avoid future compatibility issues.
Troubleshooting Steps
When your PC fails to start up with the GPU connected to the power supply unit (PSU), it’s essential to perform troubleshooting steps to identify and resolve the issue. These steps will help you pinpoint the problem and take the necessary actions to get your system running smoothly again.
Here are some recommended troubleshooting steps:
1. Check Power Connections: Ensure that all power connections, including the ones for the GPU, are secure. Sometimes, a loose connection can cause startup issues. Disconnect and reconnect the power cables to the PSU and the graphics card to ensure a proper connection.
2. Test GPU on a Different System: If possible, test the GPU on a different compatible system. Connect it to another motherboard with a sufficient power supply to see if it starts up correctly. If the GPU works fine on the other system, it suggests that the issue may be with your PC rather than the GPU itself.
3. Update Graphics Drivers: Ensure that you have the latest graphics drivers installed. Outdated or incompatible drivers can lead to startup problems with the GPU. Visit the website of the GPU manufacturer or use their dedicated software to download and install the appropriate drivers for your graphics card and operating system.
4. Check System Requirements: Verify that your system meets the minimum requirements specified by the GPU manufacturer. Inadequate RAM, an outdated CPU, or an underpowered power supply can cause startup issues. Check the GPU’s documentation or the manufacturer’s website for the recommended system requirements.
5. Reset BIOS Settings: Resetting the BIOS settings to their default values can sometimes resolve compatibility issues. Access the BIOS setup utility and look for the “Reset” or “Load Default” option. Bear in mind that any customized settings in the BIOS will be reset to their defaults, so take note of any changes you have made before performing the reset.
6. Remove Non-Essential Components: To rule out any conflicts or hardware issues, disconnect any non-essential components from your system temporarily. Remove all extra peripherals and expansion cards, leaving only the GPU and the essential components required for booting. This helps isolate the problem and determine if any conflicting hardware is causing the startup issue.
7. Consult Technical Support: If you have gone through the above steps and are still experiencing startup problems, it may be beneficial to seek assistance from technical support or a professional technician. They can provide specialized guidance and help diagnose the issue more accurately.
By following these troubleshooting steps, you can effectively identify and resolve startup issues with your GPU connected to the power supply. Remember to proceed with caution and seek professional assistance if needed, especially when dealing with hardware components.
Check Power Connections
One of the first troubleshooting steps to take when your PC fails to start up with the GPU connected to the power supply unit (PSU) is to check the power connections. Loose or improperly connected power cables can cause startup issues and prevent the graphics card from receiving sufficient power.
Here are some steps to check the power connections:
1. Turn Off and Unplug: Before inspecting the power connections, ensure that your PC is turned off and unplugged from the power source. Working with live electrical components can be dangerous and may cause damage to your system.
2. Open the Case: Carefully open your PC case to access the internals of your computer. Refer to your PC or motherboard manual for instructions specific to your system.
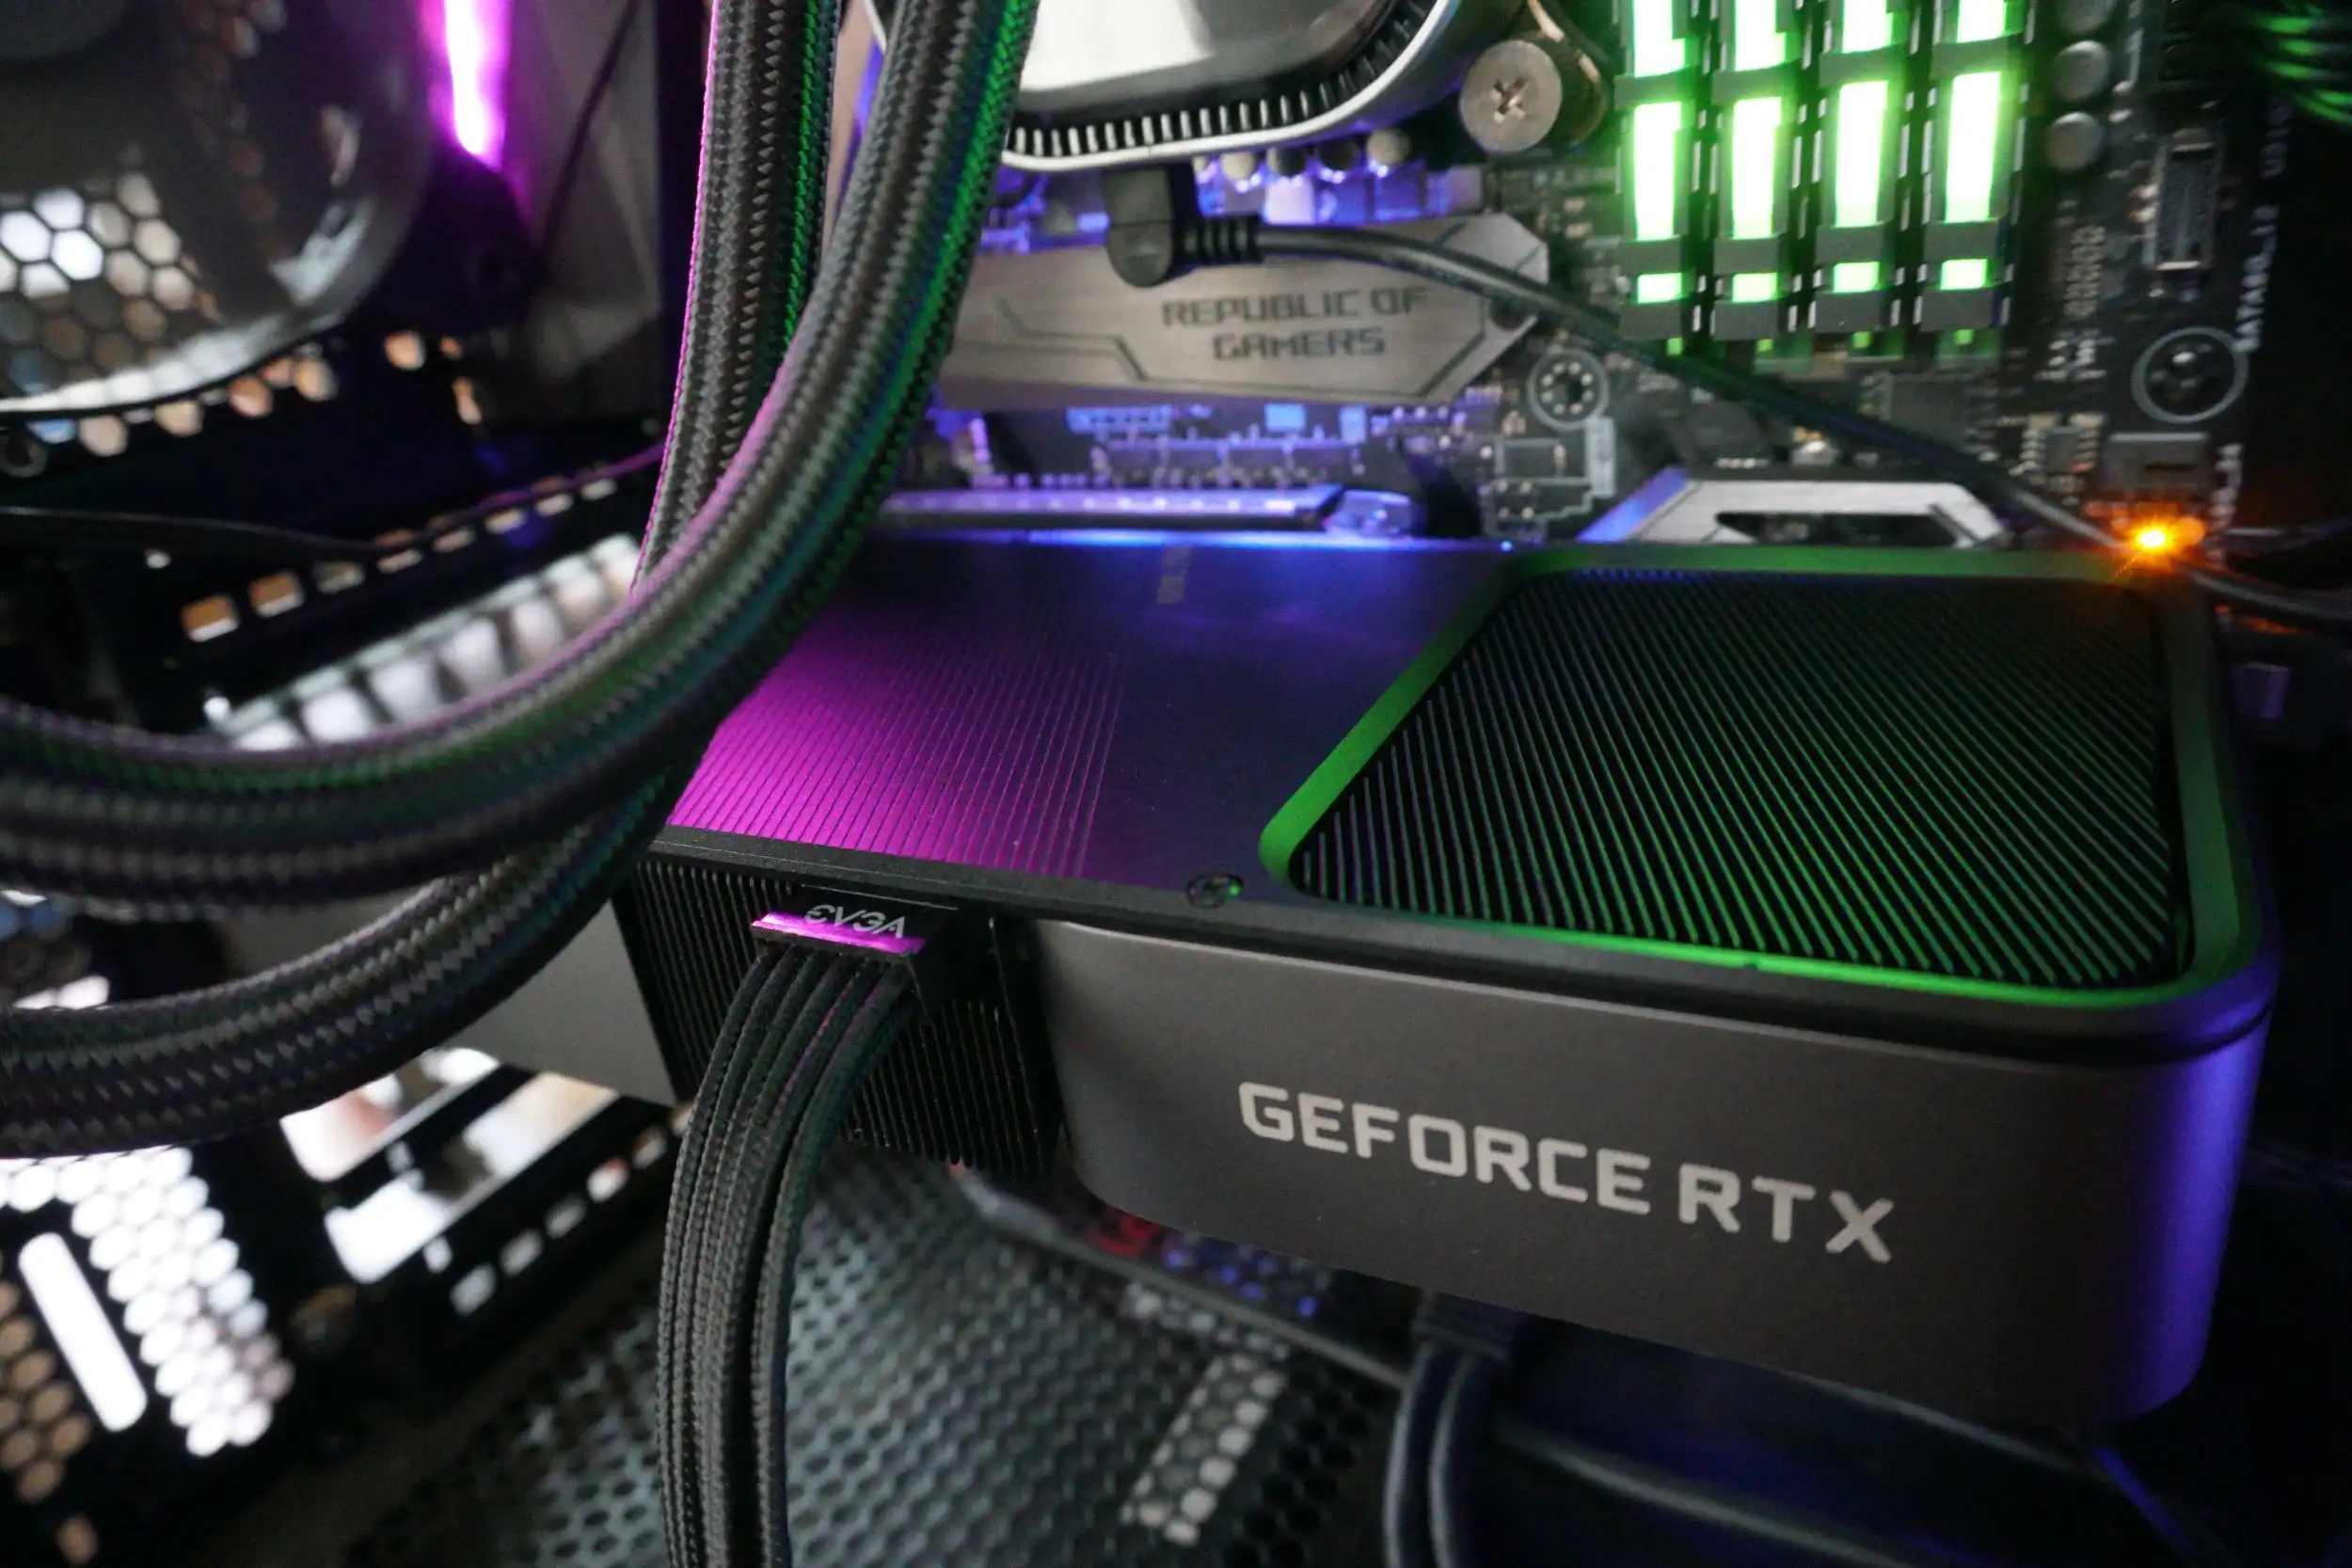
3. Identify Power Connectors: Locate the power connectors on the graphics card. Most modern GPUs require one or more dedicated power cables connected directly from the power supply. These connectors are usually 6-pin or 8-pin PCIe connectors.
4. Ensure Secure Connections: Check that all power cables connected to the graphics card are securely plugged in. Gently push the connectors into place until they are firmly seated in their respective ports. A loose connection can disrupt the power flow and cause startup issues.
5. Verify PSU Connections: Trace the power cables back to the power supply unit. Ensure that the cables are securely connected to the appropriate ports on the PSU. Again, push the connectors firmly to ensure a proper and secure connection.
6. Confirm Adequate Power Supply: Ensure that the power supply unit is capable of providing enough power to your entire system, including the GPU. Check the wattage rating of your PSU and compare it to the power requirements specified by the graphics card manufacturer. If your PSU is underpowered, it may not be able to deliver enough power to the GPU, resulting in startup issues.
7. Cable Management: While checking power connections, also take the opportunity to tidy up your cable management. Ensure that cables are neatly routed and secured using cable ties or velcro straps. This helps to improve airflow and prevent accidental unplugging of cables.
8. Reassemble and Test: Once you have double-checked all power connections, close the PC case and reconnect the power source. Power on your PC and observe if the startup problem persists. If the issue is resolved, your PC should boot up without any further complications.
By carefully inspecting and securing the power connections to your GPU, you can eliminate loose connection issues and ensure that the graphics card receives the necessary power to function correctly.
Test GPU on a Different System
If you are encountering startup issues with your PC when the GPU is connected to the power supply unit (PSU), testing the GPU on a different system can help determine whether the problem lies with the graphics card itself or with other components of your PC.
Here are the steps to test your GPU on a different system:
1. Find a Compatible System: Identify another computer that is compatible with your GPU. Ensure that the motherboard has a compatible PCIe slot and that the power supply can provide sufficient power to the graphics card. It’s best to use a system that is known to be in good working condition.
2. Set Up the Test System: If necessary, open the case of the second system and gently remove any existing graphics card from the PCIe slot. Refer to the system’s manual for instructions on how to install a new GPU.
3. Install the GPU: Carefully insert your GPU into the available PCIe slot of the test system. Ensure that the card is properly aligned and fully inserted into the slot. Secure the card in place using the retention mechanism or screw, if applicable.
4. Connecting Power and Cables: Connect the necessary power cables from the PSU to the GPU, ensuring a secure and proper connection. Refer to the GPU manufacturer’s instructions for any specific power requirements or cable configurations.
5. Power On the System: Once the GPU is installed and power connections are made, reconnect the power source to the test system and power it on. Monitor the system’s boot process and observe if it starts up properly.
6. Test GPU Performance: Once the system has successfully started up with the GPU connected, test the performance of the graphics card. Monitor graphics-intensive tasks, such as running games or rendering applications, to check if the GPU functions without any issues.
7. Compare Results: Compare the performance and stability of the GPU in the test system with its performance in your original PC. If the GPU functions correctly and the system starts up without any problems in the test system, it suggests that the issue lies with other components of your PC, such as the motherboard or power supply.
8. Diagnose Further: If the GPU still exhibits startup issues or fails to function properly in the test system, it indicates a potential problem with the graphics card itself. In this case, you may need to contact the manufacturer for warranty support or consider purchasing a replacement GPU.
Testing the GPU on a different system provides valuable insight into whether the graphics card is the cause of the startup issues. This step can help you determine the appropriate course of action to resolve the problem effectively.
Update Graphics Drivers
Outdated or incompatible graphics drivers can contribute to startup problems when the GPU is connected to the power supply unit (PSU). In such cases, updating the graphics drivers to the latest version can help resolve compatibility issues and ensure the proper functioning of the GPU.
Here are the steps to update your graphics drivers:
1. Identify your GPU: Determine the make and model of your graphics card. You can find this information in the device manager, the GPU manufacturer’s website, or by referring to the documentation that came with your GPU.
2. Visit the manufacturer’s website: Go to the website of the GPU manufacturer, such as NVIDIA, AMD, or Intel. Locate the support or drivers section of the website.
3. Find the correct drivers: Search for the drivers specific to your GPU model and operating system. Be sure to download the drivers that match your system configuration accurately to avoid compatibility issues.
4. Download the drivers: Once you have found the appropriate drivers, download them to your computer. Save them in a location where you can easily access them, such as the Downloads folder.
5. Uninstall existing drivers: Before installing the new drivers, it’s recommended to uninstall any existing graphics drivers on your system. To do this, open the Device Manager, locate the Display Adapters category, right-click on your GPU, and select Uninstall Device. Check the box to delete the driver software for the device.
6. Install the new drivers: Run the installer for the downloaded drivers and follow the on-screen instructions. Ensure that you select the option for a clean installation if given the choice. This will remove any remnants of previous drivers and ensure a fresh installation.
7. Restart your computer: After the installation is complete, restart your computer to finalize the driver update process. This helps ensure that any changes take effect and that the GPU starts up correctly with the updated drivers.
8. Test the GPU: Once your computer has rebooted, check if the startup issues have been resolved. Monitor the GPU’s performance during graphics-intensive tasks to ensure that it functions properly with the updated drivers.
Updating your GPU drivers is a crucial step in addressing compatibility issues and ensuring optimal performance. By following these steps, you can resolve any driver-related problems and improve the stability and functionality of your GPU.
Check System Requirements
One possible reason for experiencing startup issues when the GPU is connected to the power supply unit (PSU) is that your system may not meet the minimum system requirements specified by the GPU manufacturer. Inadequate system resources can hinder the proper functioning of the graphics card and result in startup problems.
To ensure that your system meets the necessary requirements, follow these steps:
1. GPU Specifications: Identify the make and model of your GPU. Check the manufacturer’s website or the documentation that came with the card to find the specific system requirements.
2. CPU and RAM: Verify that your processor (CPU) and random-access memory (RAM) meet the minimum specifications mentioned by the GPU manufacturer. Inadequate CPU performance or insufficient RAM can lead to functional issues or cause system instability.
3. Power Supply Requirements: Check the power supply requirements for your graphics card. Ensure that your PSU meets the recommended wattage and provides the necessary connectors for the GPU. An underpowered PSU can result in startup failures or instability.
4. PCIe Slot Compatibility: Confirm that your motherboard has a compatible PCIe slot for the GPU. Different GPUs may require different slot versions (e.g., PCIe 2.0 or PCIe 3.0). Ensure that the GPU and the motherboard are compatible in terms of slot configuration.
5. Display Output: Check the display output requirements of your GPU. Verify if your monitor supports the required resolution and refresh rate specified by the graphics card manufacturer. Incompatible display settings can cause issues during startup or result in a blank screen.
6. Software Dependencies: Some GPUs may have specific software dependencies or requirements. For example, they may require a minimum version of the operating system or specific versions of driver libraries. Ensure that your system meets these software requirements.
7. BIOS Updates: Check if there are any recommended BIOS updates for your motherboard. Occasionally, BIOS updates can include improvements or bug fixes that enhance compatibility with newer GPUs. However, exercise caution when updating BIOS, as improper flashing can lead to system instability.
By thoroughly checking your system’s specifications against the GPU’s requirements, you can determine if your PC meets the necessary criteria for proper GPU functioning. If your system falls short in any of these areas, you may need to consider upgrading or replacing components to ensure compatibility and resolve startup issues.
Conclusion
Experiencing startup issues when your PC has the GPU connected to the power supply unit (PSU) can be frustrating, but there are several potential causes and troubleshooting steps to resolve the problem.
In this article, we explored common causes such as insufficient power supply, faulty GPU, incompatibility issues, outdated drivers, and insufficient system requirements. By understanding these potential issues, you can narrow down the problem and take the appropriate actions to get your PC up and running with the GPU connected.
It is important to check the power connections, ensuring they are secure and the power supply is sufficient. Testing the GPU on a different system can help determine if the issue lies with the graphics card itself or other components of your PC. Updating the graphics drivers to the latest versions can address compatibility issues, while verifying that your system meets the GPU’s minimum requirements is crucial for smooth operation.
Remember, troubleshooting PC hardware issues requires caution and, if necessary, consulting a professional technician is advisable. They can provide expert guidance and assistance when dealing with complex hardware problems.
By following the troubleshooting steps outlined in this article, you can diagnose and resolve startup issues when your PC has the GPU connected to the PSU. With a properly functioning GPU, you can enjoy smooth graphics performance and an enhanced computing experience.