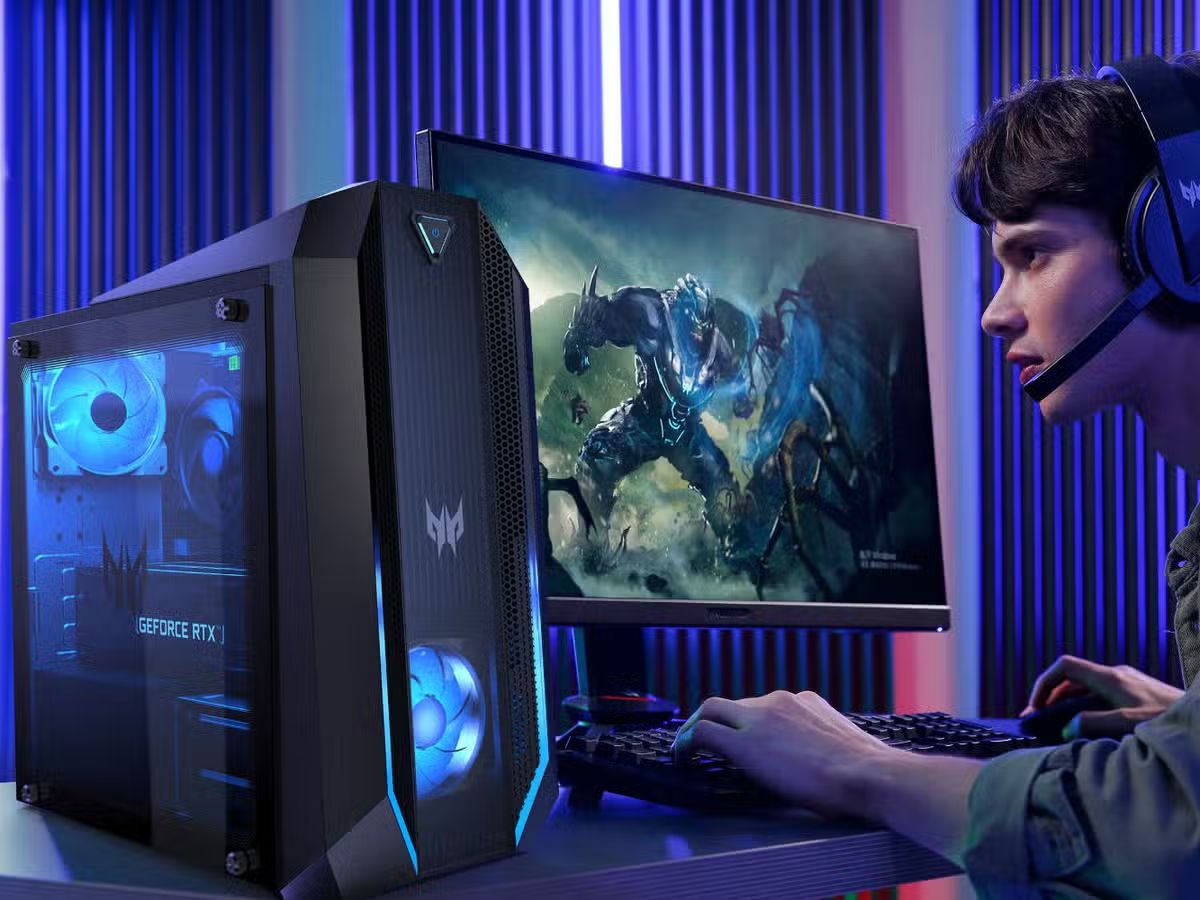
Introduction
Whether you’re an avid gamer, a graphic designer, or simply curious about the performance of your computer, testing your GPU (Graphics Processing Unit) is an essential step. The GPU plays a crucial role in rendering graphics and accelerating complex calculations, making it a critical component of your system’s performance.
Testing your GPU allows you to assess its capabilities, identify any issues or bottlenecks, and optimize its performance for the tasks you intend to carry out. This article aims to guide you through the process of testing your GPU, step by step.
Before we delve into the details, it’s important to understand the system requirements for GPU testing. You need a computer with a compatible GPU, ideally a dedicated one, although integrated GPUs can also be tested. Additionally, make sure you have the necessary software installed to carry out the tests effectively.
There are various software applications available in the market that can help you evaluate your GPU’s performance. These tools provide stress tests, benchmarking, temperature monitoring, and other essential features. Some popular options include FurMark, 3DMark, and MSI Afterburner. You can choose the software that best suits your needs and preferences.
Now that you have a general overview, let’s dive into the step-by-step process of testing your GPU.
System Requirements
Before proceeding with testing your GPU, it’s important to ensure that your system meets the necessary requirements. Here are the essential system requirements for GPU testing:
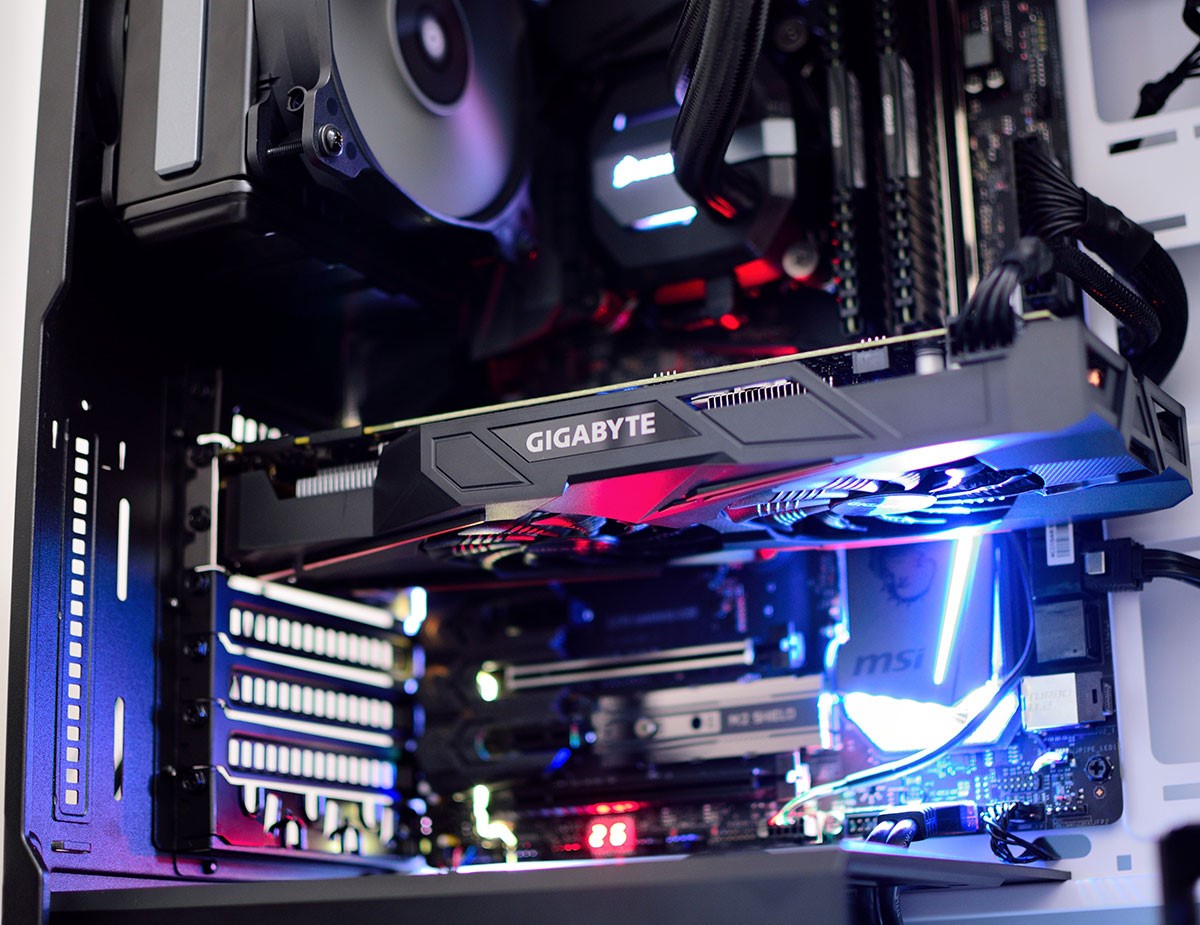
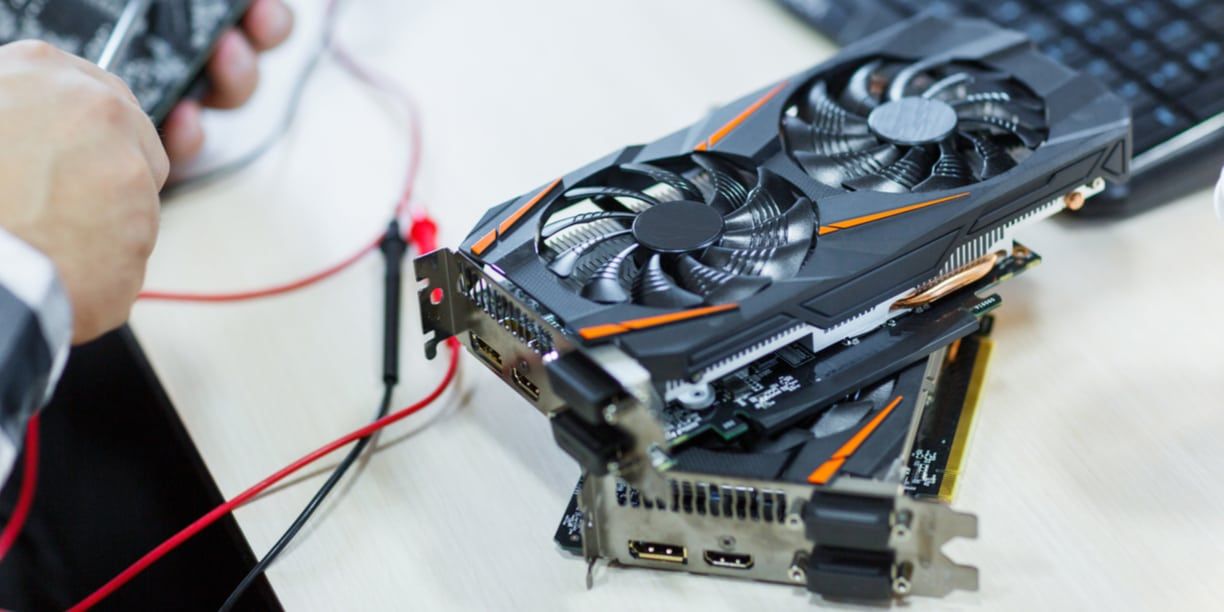
- Compatible GPU: You will need a graphics card with GPU capabilities. This can be a dedicated graphics card or an integrated GPU. Check the specifications of your GPU to determine if it can be tested.
- GPU Drivers: Make sure you have the latest drivers installed for your GPU. Outdated or incompatible drivers can affect the performance and reliability of your GPU tests. Visit the manufacturer’s website to download and install the latest drivers for your specific GPU model.
- Power Supply: Ensure that your power supply unit (PSU) can handle the power requirements of your GPU during stress testing. High-performance GPUs can draw a significant amount of power, so it’s crucial to have a reliable and capable power supply.
- Cooling: Heat dissipation is a critical factor for GPU performance. Ensure that your computer has adequate cooling solutions, such as fans or liquid cooling systems, to prevent overheating during extended testing sessions.
- Software: Install the appropriate software for GPU testing. There are numerous options available, such as FurMark, 3DMark, and MSI Afterburner, to name a few. Choose a software solution that provides stress testing, benchmarking, temperature monitoring, and other essential features.
By ensuring that your system meets these requirements, you can proceed with confidence to test your GPU effectively and accurately. Having the necessary hardware and software elements in place will allow you to gain a comprehensive understanding of your GPU’s capabilities and performance.
Testing Software
When it comes to testing your GPU, having the right software is crucial for accurate and reliable results. Here are some widely used testing software options:
- FurMark: FurMark is a popular GPU stress test software that pushes your graphics card to its limits by rendering a complex 3D scene. It helps identify stability issues and overheating problems by subjecting your GPU to a rigorous workload.
- 3DMark: 3DMark is a comprehensive benchmarking tool that evaluates your graphics card’s performance through a series of tests and provides a benchmark score. It allows you to compare your GPU’s performance to other similar models and assess its relative performance in different scenarios.
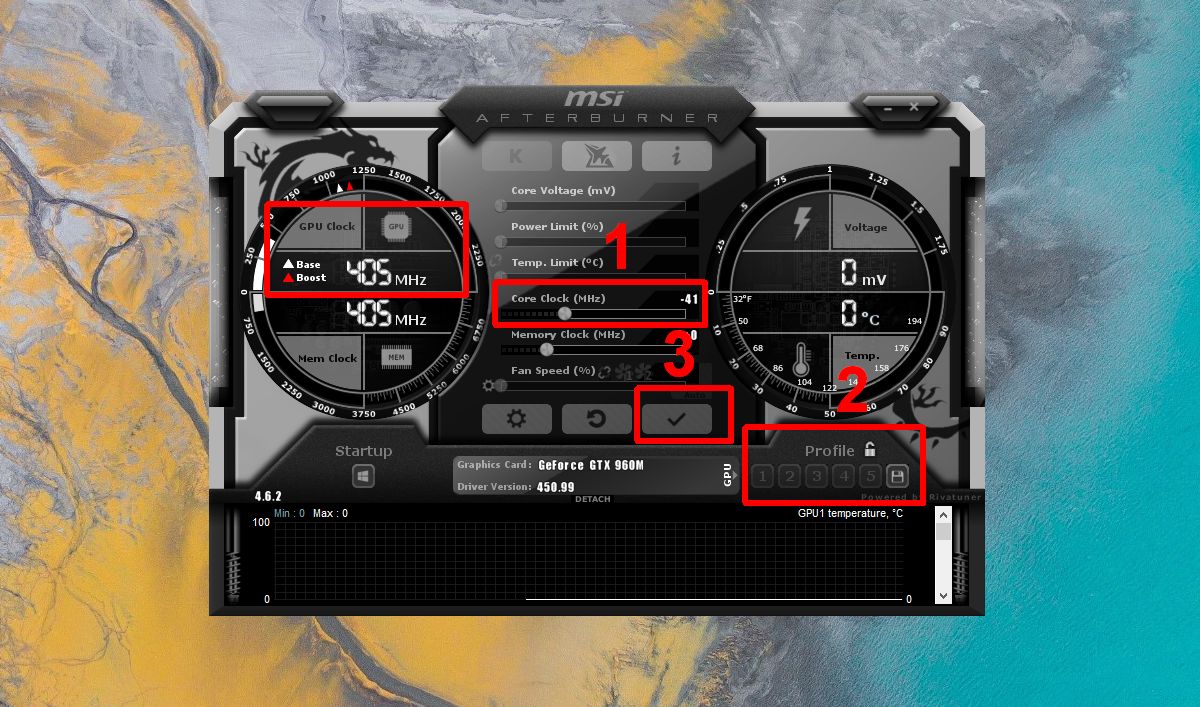
- MSI Afterburner: MSI Afterburner is a versatile software utility that not only allows you to monitor your GPU’s temperature, usage, and clock speeds but also provides overclocking features. It enables you to tweak your GPU settings to achieve optimal performance under safe limits.
- GPU-Z: GPU-Z is a lightweight utility that provides detailed information about your graphics card, including GPU clock speeds, memory usage, driver version, and more. It is often used in conjunction with other testing software to monitor GPU statistics during stress tests.
Each of these software options offers unique features and functionalities. Consider your specific testing requirements and preferences when choosing the software that best suits your needs. It’s also important to keep your software up to date by regularly checking for updates from the respective software developers.
Remember, it’s essential to use reliable and trusted software to ensure accurate testing and avoid potential compatibility issues. Always download software from official sources to minimize the risk of malware or compromised versions.
Now that we have covered the testing software, let’s dive into the step-by-step process of testing your GPU.
Step 1: Checking GPU Specifications
Before diving into stress testing and benchmarking, it’s essential to gather information about your GPU’s specifications. This step will not only help you understand the capabilities of your graphics card but also ensure that your testing is tailored to its specific parameters.
To check your GPU specifications:
- Open the control panel or settings menu on your operating system.
- Navigate to the “Display” or “Graphics” section where you can find information about your GPU.
- Look for details such as the GPU model, VRAM (Video Random Access Memory) size, and clock speeds. These specifications will help you understand the performance and capabilities of your GPU.
Alternatively, you can use software utilities like GPU-Z or the manufacturer’s official software to gather detailed information about your GPU’s specifications.
By understanding your GPU’s specifications, you will have a better idea of its performance potential and limitations. This knowledge will allow you to set realistic expectations for your stress testing and benchmarking process.
Once you have gathered the necessary information about your GPU, you can proceed to the next step.
Step 2: Running GPU Stress Tests
Now that you have familiarized yourself with your GPU’s specifications, it’s time to put it to the test with stress testing. Stress testing helps evaluate the stability, thermal performance, and overall capabilities of your graphics card when subjected to a heavy workload.
To run a GPU stress test:
- Ensure that you have closed any unnecessary applications or processes running in the background to allocate maximum resources to the stress test.
- Launch your preferred stress testing software, such as FurMark or MSI Kombustor.
- Set the desired stress test parameters, such as the resolution, duration, and intensity level. Keep in mind that higher intensity levels will put more strain on your GPU.
- Start the stress test and monitor your GPU’s performance metrics, such as temperature, fan speed, and clock speeds, in real-time using software like MSI Afterburner or GPU-Z.
- Let the stress test run for the specified duration or until you are satisfied with the results.
During the stress test, pay close attention to your GPU’s temperature as excessive heat can lead to decreased performance or even hardware damage. If the temperature exceeds safe limits, consider improving your system’s cooling or adjusting your GPU’s fan curves using software utilities, if available.
Keep in mind that stress testing can put a heavy load on your GPU and may cause increased power consumption and heat generation. It is important to monitor your system’s power supply capabilities and maintain proper cooling to ensure a stable testing environment.
Once the stress test is complete, you can proceed to the next step to evaluate your GPU’s performance and benchmark results.
Step 3: Monitoring GPU Temperature
Monitoring the temperature of your GPU is crucial during stress testing to ensure optimal performance and prevent overheating-related issues. High temperatures can cause stability problems, throttling, or even permanent damage to your graphics card. Therefore, it is essential to keep a close eye on your GPU’s temperature throughout the testing process.
To monitor GPU temperature:
- Use dedicated monitoring software like MSI Afterburner, GPU-Z, or the software provided by your graphics card manufacturer.
- Open the monitoring software and look for the temperature reading of your GPU.
- During the stress test, observe any fluctuations or increasing trends in the temperature. If the temperature exceeds the acceptable threshold, it is an indication that your GPU may need better cooling or that the stress test settings are too intense.
- Consider adjusting your system’s cooling solution, such as increasing fan speeds or improving airflow within your computer case, to keep the GPU temperature in check.
It is worth noting that the acceptable temperature range varies depending on the manufacturer and model of your GPU. Generally, it is recommended to keep the temperature below 85-90 degrees Celsius for optimal performance and longevity. However, some GPUs may have different thermal limits, so it’s important to refer to the specific guidelines provided by the manufacturer.
By closely monitoring your GPU’s temperature, you can ensure that it remains within safe limits and identify any potential cooling issues that may require attention.
With the GPU temperature under control, it’s time to move on to the next step of analyzing your GPU’s performance and benchmark results.
Step 4: Analyzing Performance and Benchmark Results
After stress testing your GPU, it’s time to analyze the performance and benchmark results to gain insights into your graphics card’s capabilities and compare it to other models.
To analyze performance and benchmark results:
- If you used benchmarking software like 3DMark, review the generated benchmark score. This score represents the overall performance of your GPU in comparison to other similar models.
- Take note of any specific test results within the benchmarking software, such as individual frame rates, graphics quality, and other performance indicators. These details can help you assess how your GPU handles different tasks and gaming scenarios.
- If you are using stress testing software like FurMark, analyze the stability of your GPU during the stress test. Look for any artifacts (visual anomalies) or crashes that may indicate stability issues.
- Compare your GPU’s performance and benchmark results to other GPUs of similar specifications and models. This can help you gauge the relative performance and identify any areas where your GPU excels or falls behind.
- Consider the specific requirements of your intended usage. If you primarily use your GPU for gaming, compare its performance to the recommended system requirements of the games you play. This will help you determine whether your GPU meets the necessary specifications for a smooth gaming experience.
Remember that benchmarking results are not the sole determinant of your GPU’s performance. Real-world usage and specific application requirements may vary. However, benchmarking provides a helpful reference point for comparing different GPUs and assessing their capabilities.
Make sure to regularly update your benchmarking software to access the latest tests and compare your GPU’s performance to the most current models available in the market.
With the performance and benchmark results in hand, you can proceed to the next step to check for artifacts or perform an artifacts test on your GPU.
Step 5: Checking for Artifacts or Artifacts Testing
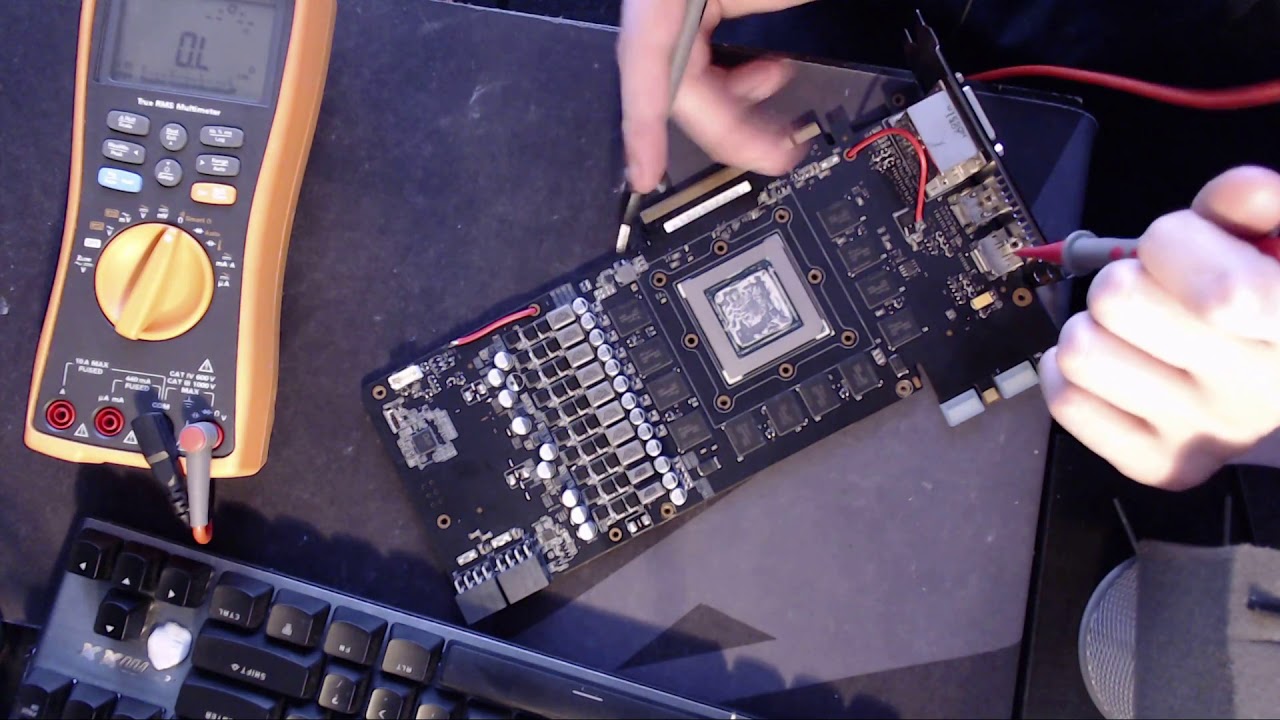
Checking for artifacts is an important step in testing your GPU’s stability and performance. Artifacts are visual abnormalities or distortions that may appear on the screen during intense graphics processing. These anomalies can indicate potential issues with your GPU’s hardware or overclocking settings.
To check for artifacts or perform an artifacts test:
- Use stress testing software that includes an artifacts test, such as FurMark or Unigine Heaven.
- Launch the artifacts test and follow the on-screen instructions.
- Pay close attention to the visuals on your screen during the test. Look for any flickering, distorted textures, or unusual patterns. These are potential artifacts and may indicate a problem with your GPU.
- If you encounter artifacts during the test, evaluate the intensity and frequency of their occurrence. Severe or frequent artifacts may indicate a hardware issue that requires further investigation or potential warranty claim.
- If no artifacts are observed, it is an indication of good stability and performance for your GPU.
It is important to note that artifacts can also be caused by factors other than the GPU, such as faulty drivers, incompatible software, or overheating. Therefore, it is essential to ensure that your system is properly maintained, and all software and drivers are up to date.
If you encounter artifacts during normal usage, such as running games or graphic-intensive applications, it may be necessary to further investigate the cause of the issue. This could involve troubleshooting software conflicts, updating drivers, or even seeking professional assistance to diagnose and resolve the problem.
By performing an artifacts test, you can identify potential issues with your GPU’s hardware or software settings and take appropriate measures to ensure optimal performance and stability.
Now that you have checked for artifacts, let’s proceed to the final step, which involves updating your GPU drivers.
Step 6: Updating GPU Drivers
Updating your GPU drivers is an essential step in maintaining optimal performance, compatibility, and stability for your graphics card. GPU driver updates often include bug fixes, performance improvements, and support for new games or applications. Therefore, it is important to regularly check for and install the latest GPU drivers provided by the manufacturer.
To update your GPU drivers:
- Identify the manufacturer and model of your GPU. This information can be found in the specifications section of your GPU or through system diagnostic tools like CPU-Z or GPU-Z.
- Visit the official website of your GPU manufacturer – such as Nvidia, AMD, or Intel – and locate the “Support” or “Drivers” section.
- Search for your specific GPU model and operating system to find the latest drivers available.
- Download the appropriate driver package for your operating system.
- Run the downloaded installer and follow the on-screen instructions to update your GPU drivers.
- After installation, restart your computer to ensure the changes take effect.
It is important to note that updating GPU drivers can sometimes lead to compatibility issues or unforeseen bugs. Therefore, it is advisable to create a system restore point or back up your important data before proceeding with driver updates. This allows you to revert to a previous stable configuration if any issues arise.
Additionally, some GPUs offer software utilities, such as Nvidia GeForce Experience or AMD Radeon Software, that can automate the driver update process and offer additional features like game optimizations and GPU performance monitoring. Consider using these utilities for a seamless and convenient driver update experience.
By keeping your GPU drivers up to date, you ensure that your graphics card is capable of delivering optimal performance and compatibility with the latest software and games available.
With the completion of this final step, you have successfully tested and optimized your GPU for better performance and stability.
Conclusion
Testing your GPU is a crucial step in optimizing your computer’s performance, especially for tasks that require graphics-intensive workloads like gaming or graphic design. By following the step-by-step process outlined in this guide, you can effectively evaluate your GPU’s capabilities and identify any potential issues that may impact its performance.
In the introductory section, we discussed the importance of GPU testing and the system requirements necessary for a successful testing process. We also highlighted the significance of using reliable testing software and provided recommendations for popular options.
We then walked through each step of the testing process in detail. We covered checking GPU specifications to understand its performance potential, running stress tests to assess stability and performance under heavy workloads, monitoring GPU temperature to prevent overheating, analyzing performance and benchmark results to evaluate relative performance, checking for artifacts to identify any hardware or software issues, and updating GPU drivers to ensure optimal compatibility and stability.
It’s crucial to remember that testing your GPU is an ongoing process. As new software and games are released, it is recommended to regularly update your drivers and retest your GPU to stay up to date with the latest improvements and optimizations.
By following these steps and consistently testing your GPU, you can optimize its performance, identify any issues early on, and make informed decisions when it comes to overclocking, upgrading, or troubleshooting your graphics card.
So, take the time to test your GPU and unlock the full potential of your computer for an enhanced gaming, graphic design, or general computing experience.
Happy GPU testing!