Introduction
When it comes to testing a GPU (Graphics Processing Unit), many people assume that a computer is necessary. However, there are scenarios where you might need to test a GPU without a PC. Perhaps you have a spare GPU lying around and want to verify its functionality, or maybe you are troubleshooting an issue and want to rule out any potential problems with the PC itself. Whatever the reason, testing a GPU without a PC is indeed possible.
In this article, we will guide you through the process of testing a GPU without the need for a computer. We will discuss the tools and equipment you will need for this task, walk you through step-by-step instructions, and provide tips for troubleshooting common issues that may arise during the process.
It’s important to note that testing a GPU without a PC is not as straightforward as simply plugging it in and expecting it to work. However, with the right tools and methods, you can effectively assess the functionality of a GPU and determine if it is in working condition.
Whether you are a computer enthusiast, a tech hobbyist, or a professional troubleshooting technician, the ability to test a GPU without a PC can be a valuable skill to possess. So, let’s dive in and explore the various techniques you can use to test a GPU without the need for a computer!
Why Test a GPU Without a PC?
You might be wondering why it’s necessary to test a GPU without a PC when most GPUs are designed to work specifically with computers. While it’s true that the primary purpose of a GPU is to provide graphical capabilities to a computer, there are a few reasons why testing a GPU without a PC can be beneficial.
Firstly, testing a GPU without a PC allows you to verify its functionality without the need for a complete computer setup. This can be particularly useful if you have a spare GPU lying around and want to determine if it’s still in working condition. Rather than going through the hassle of assembling a complete computer system, you can perform a standalone test to quickly assess if the GPU is operational.
Secondly, testing a GPU without a PC can help you troubleshoot hardware issues. If you’re experiencing graphical problems on your computer, it can be challenging to determine whether the issue lies with the GPU or other components. By testing the GPU separately, you can isolate it from the rest of the system and identify if it’s the culprit behind any performance or display issues.
Additionally, testing a GPU without a PC can be useful for those involved in hardware testing, repair, or overclocking. Professionals and enthusiasts in these fields often need to assess the performance and stability of GPUs without the interference of other system components. By testing the GPU in isolation, they can gather accurate data and make informed decisions regarding any necessary repairs or optimizations.
Lastly, testing a GPU without a PC can be a valuable skill for troubleshooting technicians who frequently encounter various hardware issues. Being able to assess the functionality of a GPU independently can save time and effort in diagnosing and repairing computer systems. It allows technicians to quickly rule out GPU-related issues before they delve deeper into the troubleshooting process.
Overall, testing a GPU without a PC can provide convenience, aid in troubleshooting hardware issues, benefit hardware professionals and enthusiasts, and save time in diagnostic processes. Now that we’ve established the importance of testing a GPU without a PC, let’s move on to the tools and equipment you’ll need for this task.
Tools and Equipment Needed
Before you begin testing a GPU without a PC, it’s essential to gather the necessary tools and equipment. While you won’t need an entire computer setup, there are a few key items that will facilitate the testing process.
Here are the tools and equipment you’ll need:
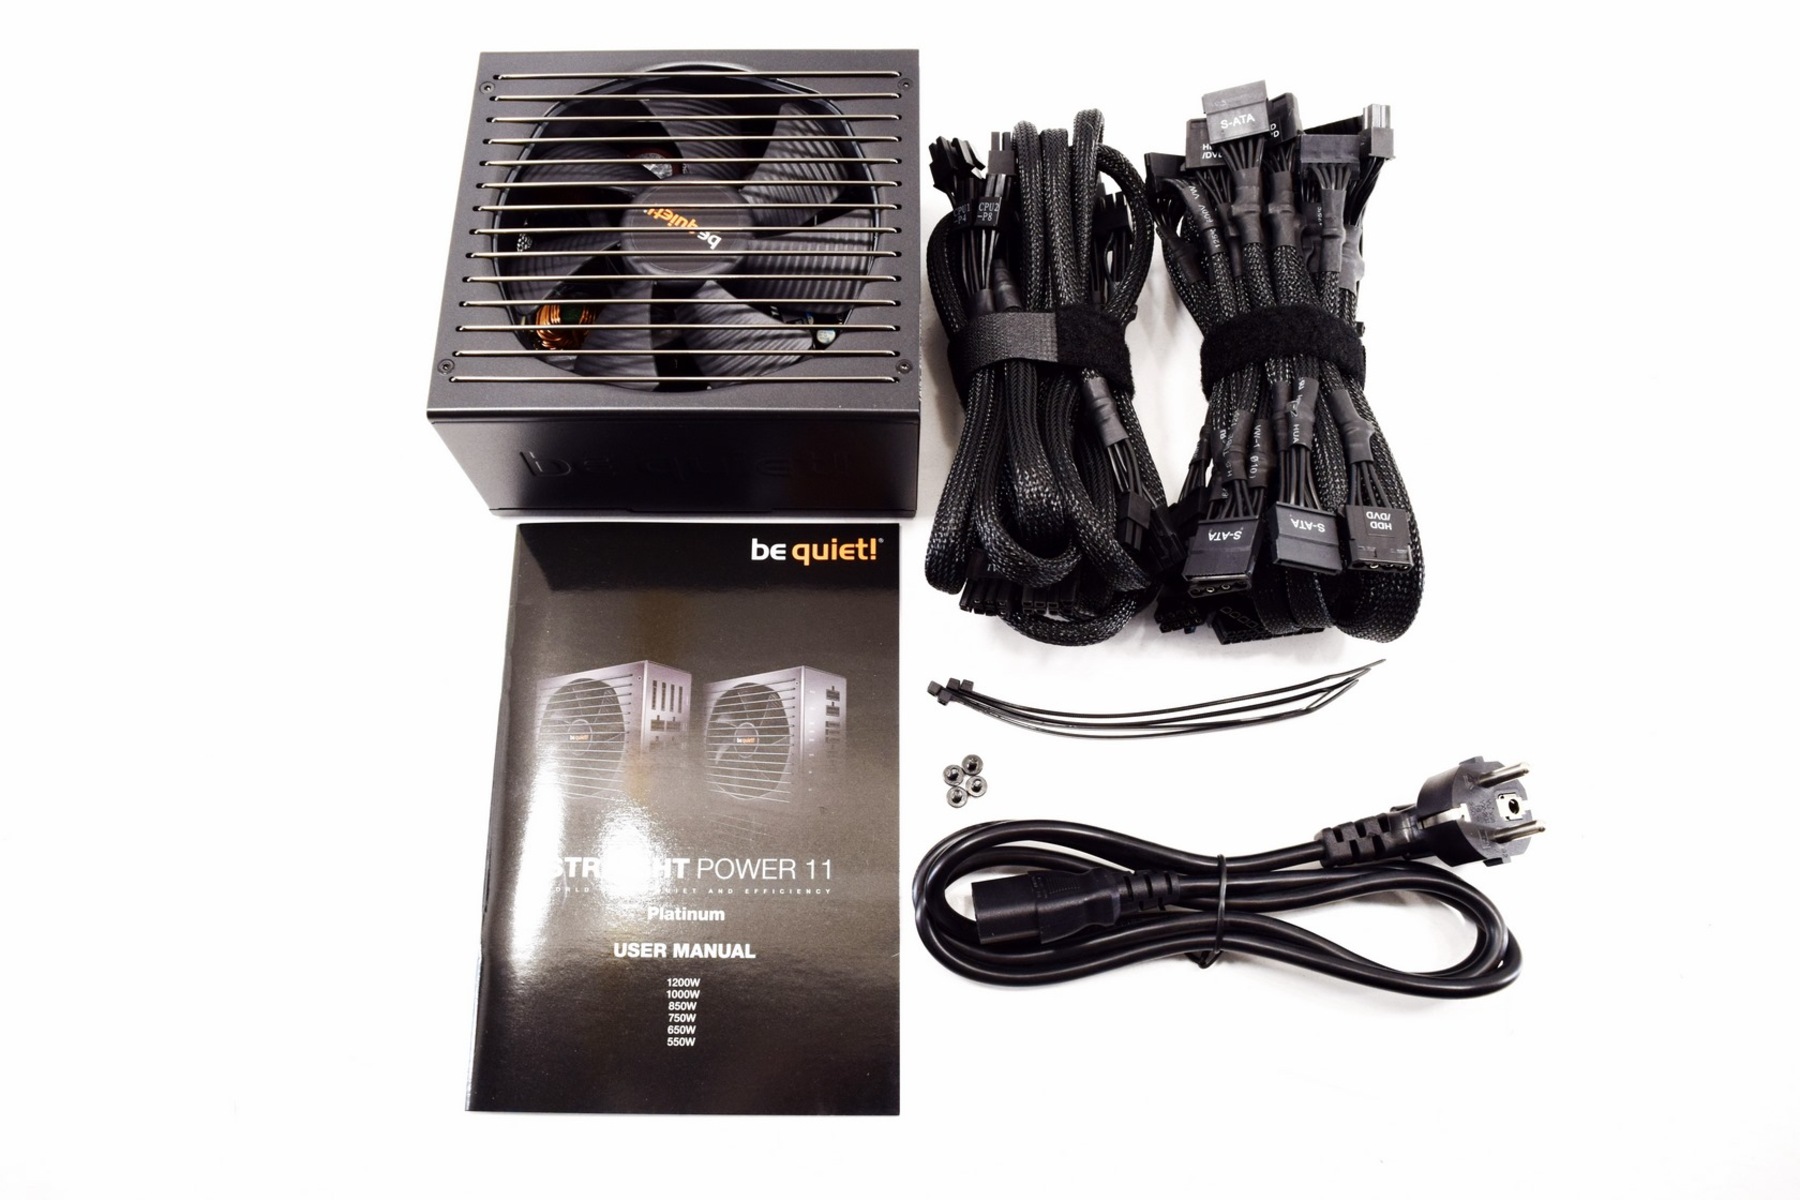
- External power supply: Since you won’t be connecting the GPU to a computer, you’ll need an external power supply to provide power. Ensure that the power supply has the appropriate connectors to interface with the GPU.
- Monitor or TV: To check the video output of the GPU, you’ll need a monitor or a TV with compatible video input ports.
- Video cables: Depending on the available ports on your GPU and display device, you may need various video cables such as HDMI, DisplayPort, DVI, or VGA.
- Adapter cables: In case your GPU or display device has different video ports, adapter cables can help establish the necessary connections.
- Thermal paste (optional): If you plan to test the GPU’s thermal performance, you may need thermal paste to ensure effective heat transfer between the GPU and its cooling system.
- Anti-static measures: To protect the GPU from any electrostatic damage, consider using an anti-static mat, wrist strap, or gloves.
It’s important to note that the specific tools and equipment needed may vary depending on the type and model of the GPU you are testing. Make sure to consult the GPU manufacturer’s documentation or online resources for any additional requirements or recommendations.
Now that you have gathered the necessary tools and equipment, you’re ready to proceed with the GPU testing process. In the next section, we will discuss how to check for physical damage on the GPU.
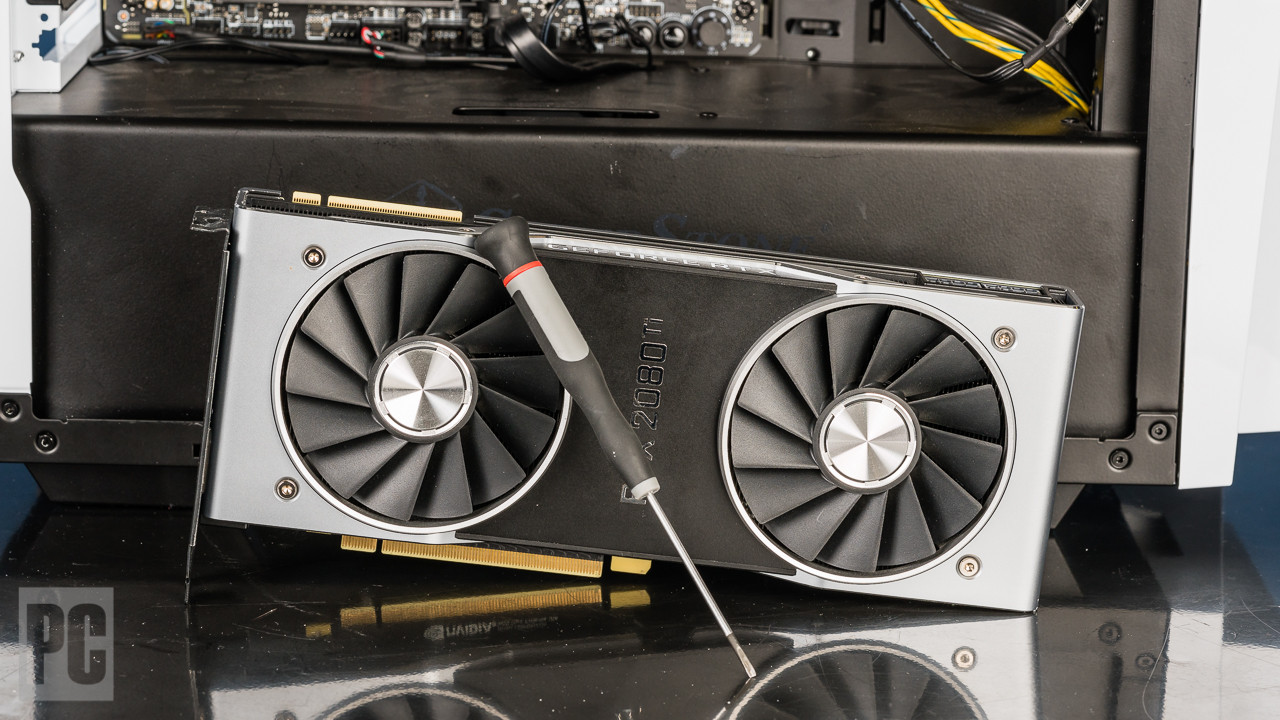
Checking for Physical Damage
Before you start testing a GPU without a PC, it’s essential to inspect it for any physical damage. Physical damage can significantly affect the performance and functionality of a GPU. Here are the steps to check for physical damage:
- Visually inspect the GPU: Carefully examine the GPU for any signs of physical damage, such as bent or broken connectors, damaged capacitors, or burnt components. Look for any visible abnormalities that may indicate a problem.
- Check the connectors: Ensure that the GPU connectors are clean, undamaged, and securely affixed. Loose or damaged connectors can result in poor connections and unreliable performance.
- Inspect the circuit board: Examine the PCB (Printed Circuit Board) of the GPU for any signs of burnt traces or damaged components. Damaged circuitry can lead to various issues, including instability, artifacts, or complete failure.
- Examine the cooling system: If the GPU has a dedicated cooling system, such as fans or heat sinks, check for any obstructions, dust buildup, or malfunctioning components. Overheating can cause severe performance problems or even permanent damage to the GPU.
If you notice any physical damage or abnormalities during the inspection, it’s best to consult a professional technician or contact the GPU manufacturer for further guidance. Attempting to test or use a damaged GPU may worsen the problem or lead to further hardware issues.
Once you have checked for physical damage and ensured that the GPU is in good condition, you can proceed to the next step: using an external power supply. We will discuss this in detail in the following section.
Using an External Power Supply
When testing a GPU without a PC, one of the crucial steps is to provide power to the graphics card through an external power supply. Since you won’t be connecting the GPU to a computer’s power supply, you’ll need to use an alternative power source. Here’s how you can effectively use an external power supply:
- Prepare the external power supply: Ensure that the external power supply is compatible with the GPU and has the necessary connectors. Make sure it can deliver the required power without exceeding the GPU’s specifications.
- Connect the power cables: Connect the appropriate power cables from the external power supply to the GPU. Match the connectors on the GPU with the corresponding cables from the power supply.
- Ensure a secure connection: Double-check that the power cables are firmly and securely connected to both the GPU and the external power supply. Loose connections can lead to power delivery issues and instability.
- Power on the external power supply: Turn on the external power supply and verify that it is supplying power to the GPU. You may see LED indicators or hear fans spinning, indicating that power is being supplied.
It’s important to note that the specific steps may vary depending on the GPU and the external power supply you are using. Always refer to the GPU manufacturer’s documentation for any specific instructions or precautions associated with using an external power supply.
Once you have successfully connected the GPU to the external power supply, you can proceed to the next step: connecting the GPU to a monitor or TV to check for video output. We will explore this further in the following section.
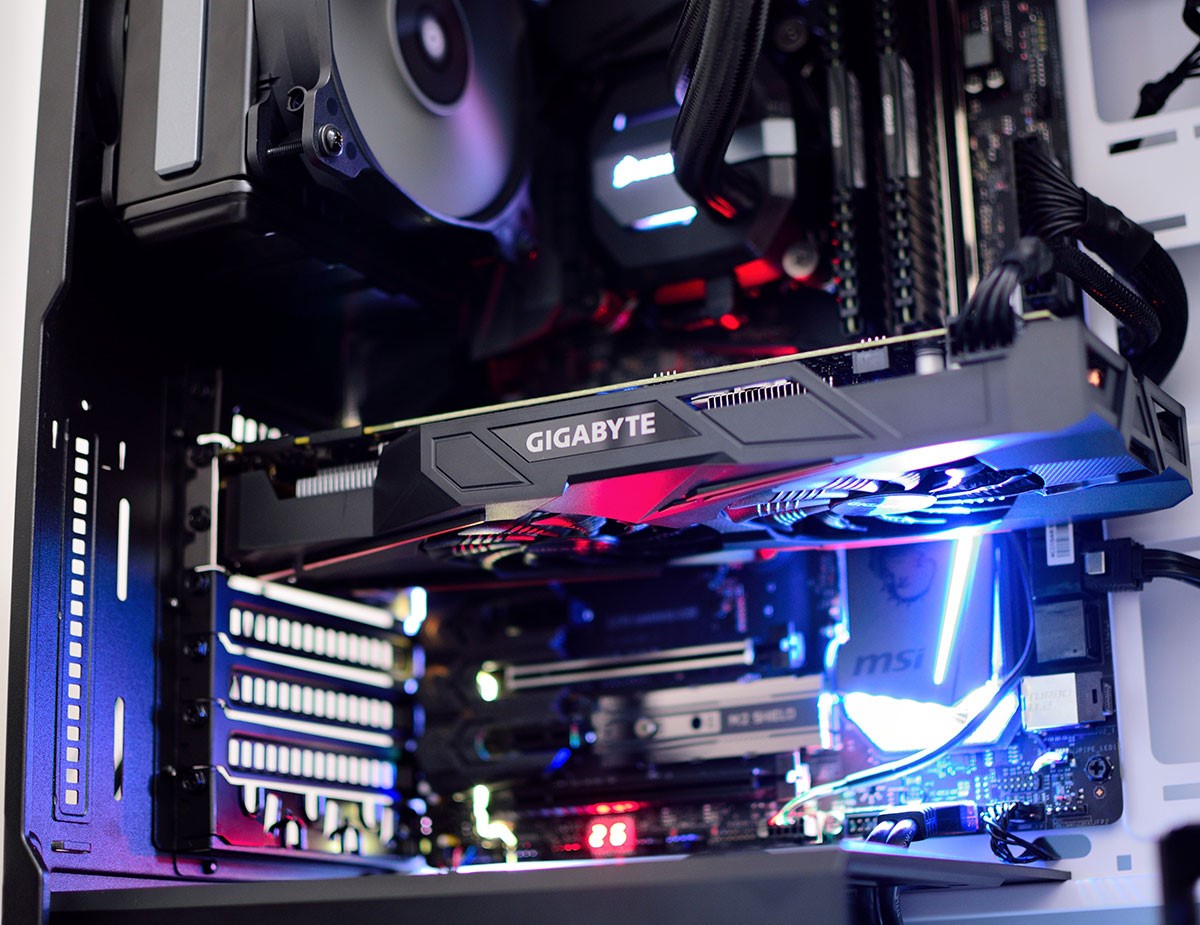
Connecting to a Monitor or TV
After providing power to the GPU using an external power supply, the next step in testing a GPU without a PC is to connect it to a monitor or TV to check for video output. This will allow you to determine if the GPU is sending a signal to the display device. Here’s how you can connect the GPU to a monitor or TV:
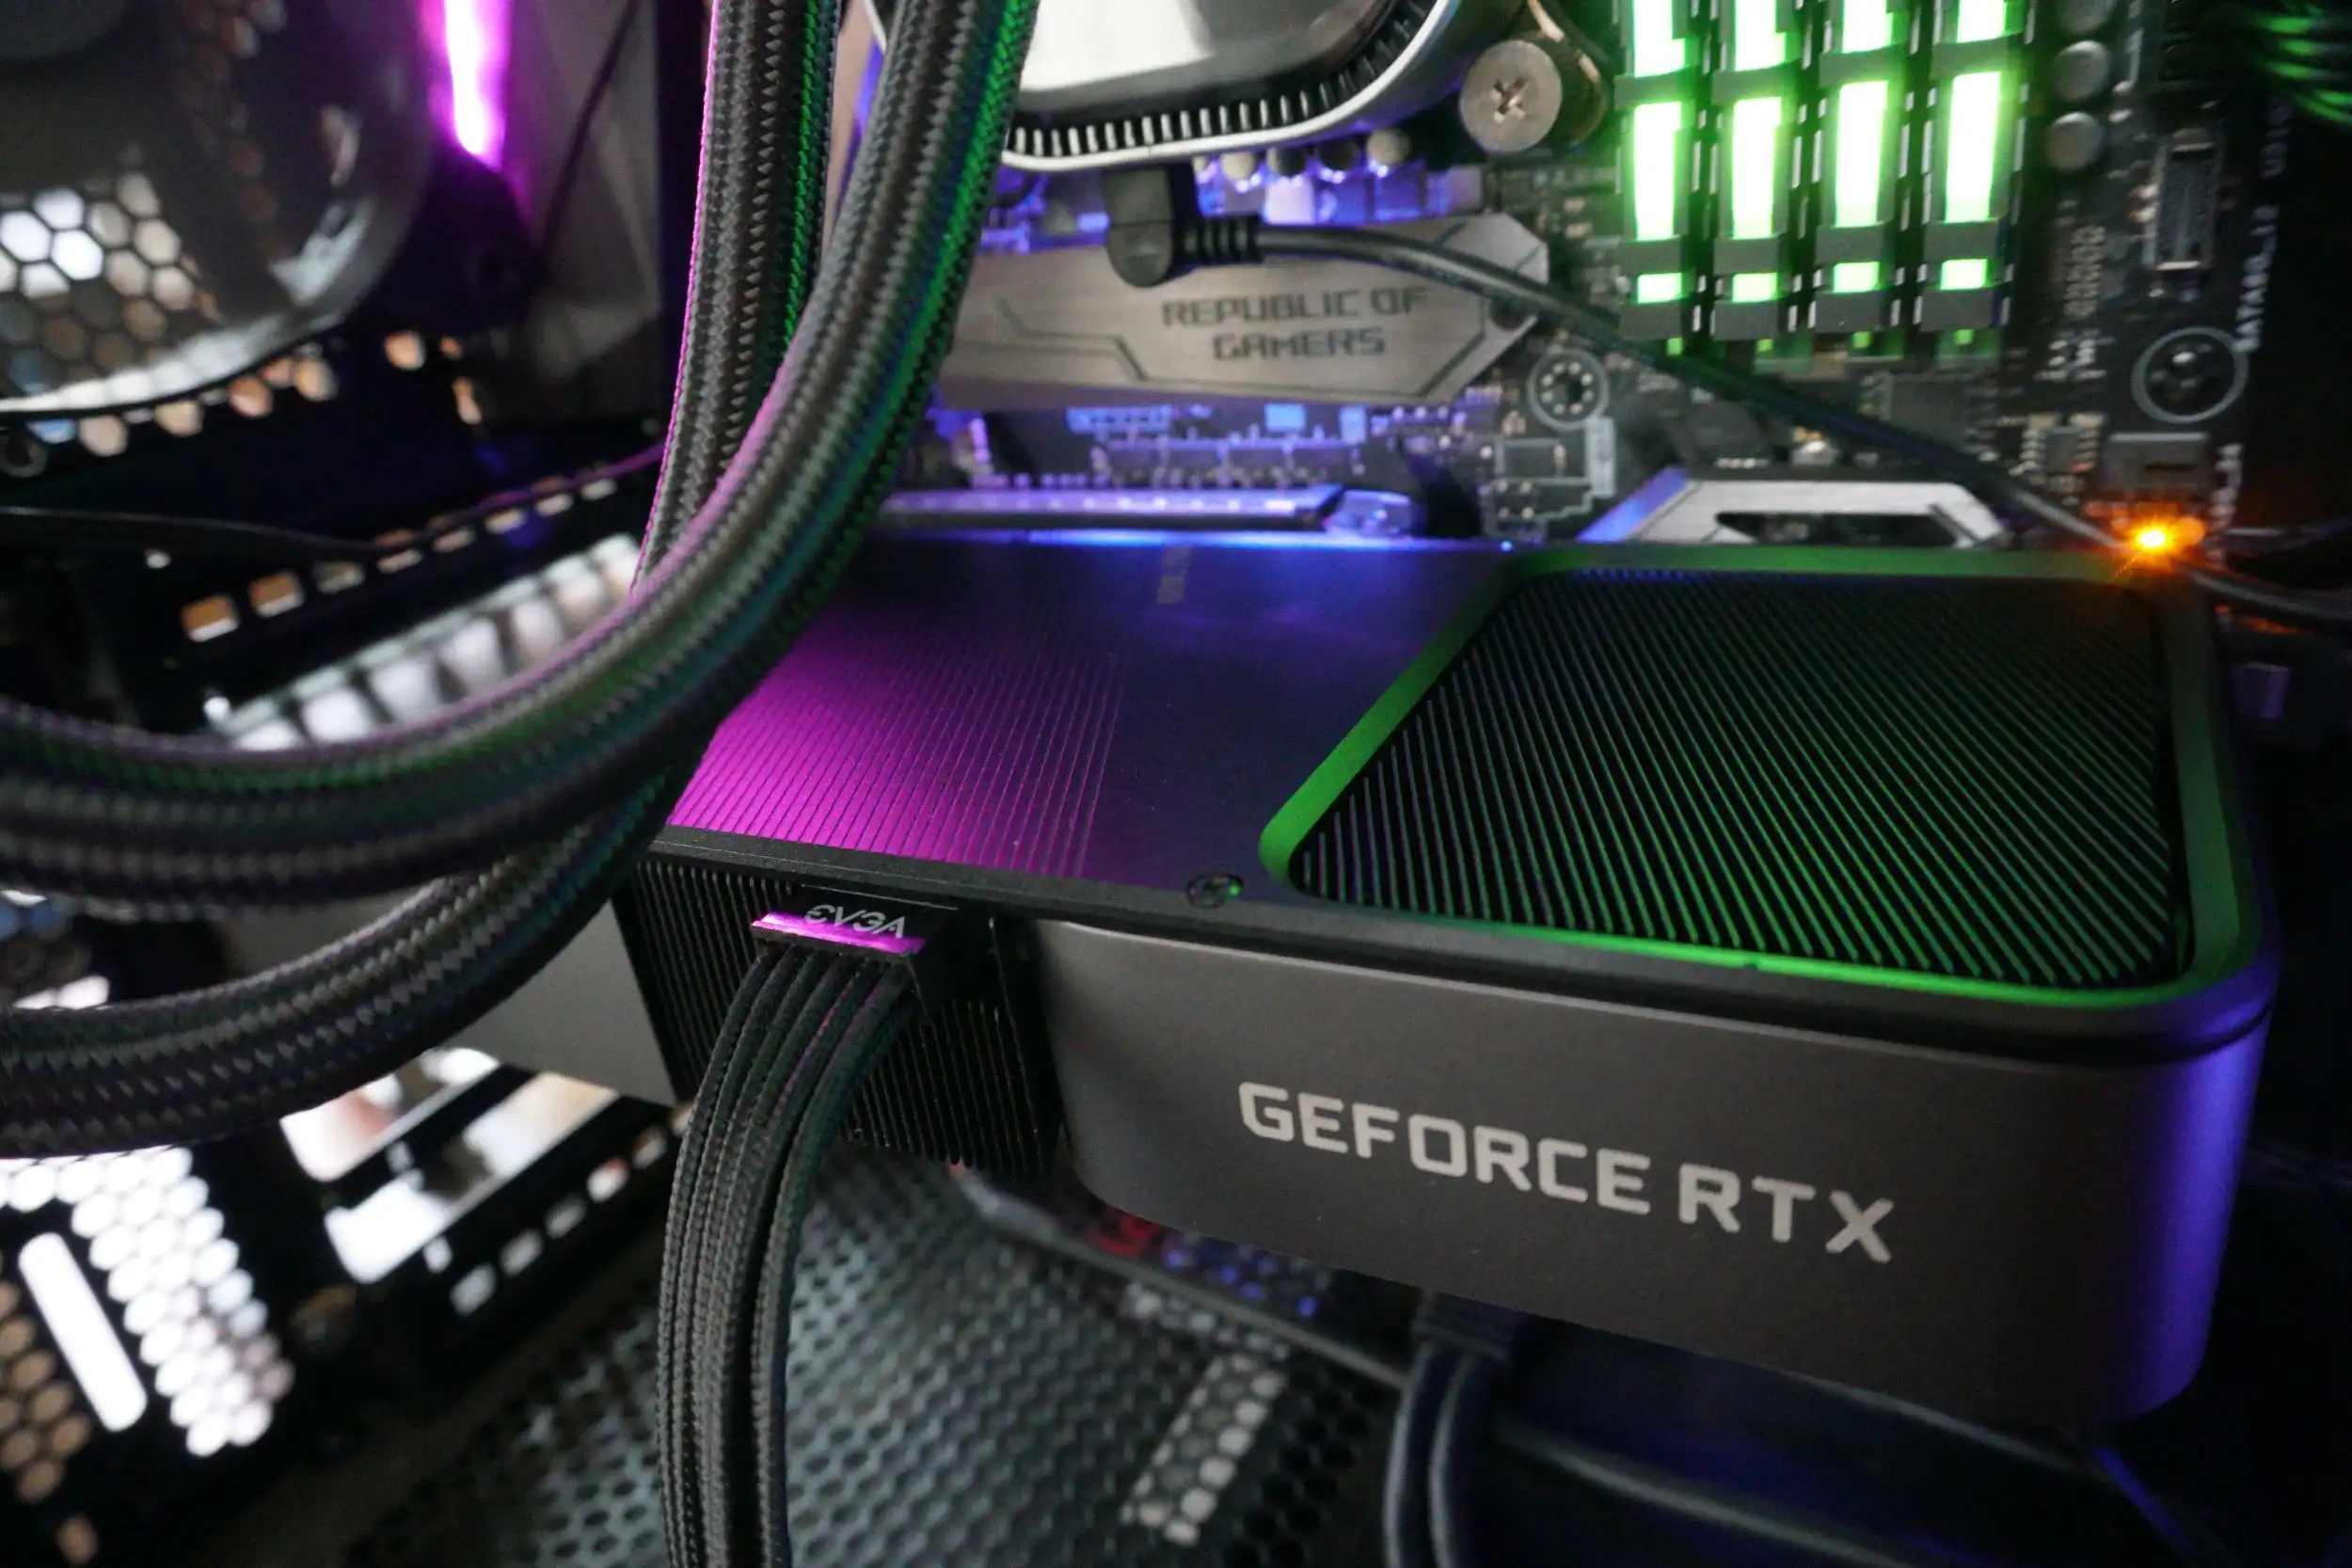
- Identify the available ports: Identify the video ports on the GPU that are compatible with your monitor or TV. Common video ports include HDMI, DisplayPort, DVI, and VGA.
- Choose the appropriate video cable: Select the video cable that matches the video ports on both the GPU and the monitor or TV. If the ports are different, you may need to use adapter cables to establish the connection.
- Connect the GPU to the display device: Plug one end of the video cable into the GPU’s video port and the other end into the corresponding port on the monitor or TV.
- Power on the monitor or TV: Turn on the display device and make sure it is set to the correct input source that matches the video cable connection (e.g., HDMI 1, DisplayPort, etc.).
Once the GPU is connected to the monitor or TV, you should see the display device recognize the presence of a signal. It may take a few moments for the signal to appear, so allow some time for the connection to establish properly.
If you don’t see any video output after waiting for a reasonable amount of time, double-check the cable connections, ensure that the monitor or TV is configured correctly, and verify that the GPU is functioning properly. We will discuss how to test for video output in the next section.
Now that you have successfully connected the GPU to a monitor or TV, we can move on to the next step: testing for video output.
Testing for Video Output
After connecting the GPU to a monitor or TV, it’s time to test for video output. This step will help determine if the GPU is successfully sending a display signal to the connected device. Here’s how you can test for video output:
- Power on the GPU: If the GPU has a power switch or button, ensure it is turned on. This will activate the graphics card and allow it to send a video signal.
- Power on the monitor or TV: Make sure the display device is powered on and set to the correct input source that matches the video cable connection.
- Observe for video output: Check the monitor or TV screen to see if any video output is displayed. You should see the GPU’s video output, such as a BIOS screen, startup logo, or desktop environment.
- Verify video quality: Assess the video quality to ensure that there are no artifacts, distortions, or unusual patterns. These issues may indicate a problem with the GPU’s video output signals.
- Check for multiple display support: If your GPU supports multiple displays, you can connect additional monitors or TVs to test for video output on those as well.
If you do not see any video output or encounter display issues, double-check the cable connections, ensure that the GPU is properly powered, and check the display device settings. If the problem persists, it could indicate a faulty GPU or compatibility issues with the monitor or TV.
Testing for video output is a crucial step in determining the functionality of the GPU without a PC. If the GPU successfully displays video output without any abnormalities, it indicates that the GPU is likely working correctly.
In the next section, we will discuss how to inspect the GPU for overheating issues, which is an important aspect of testing a GPU’s performance and stability.
Inspecting for Overheating Issues
Inspecting for overheating issues is a crucial step when testing a GPU without a PC, as excessive heat can negatively impact the performance and longevity of the graphics card. Here’s how you can effectively inspect for overheating issues:
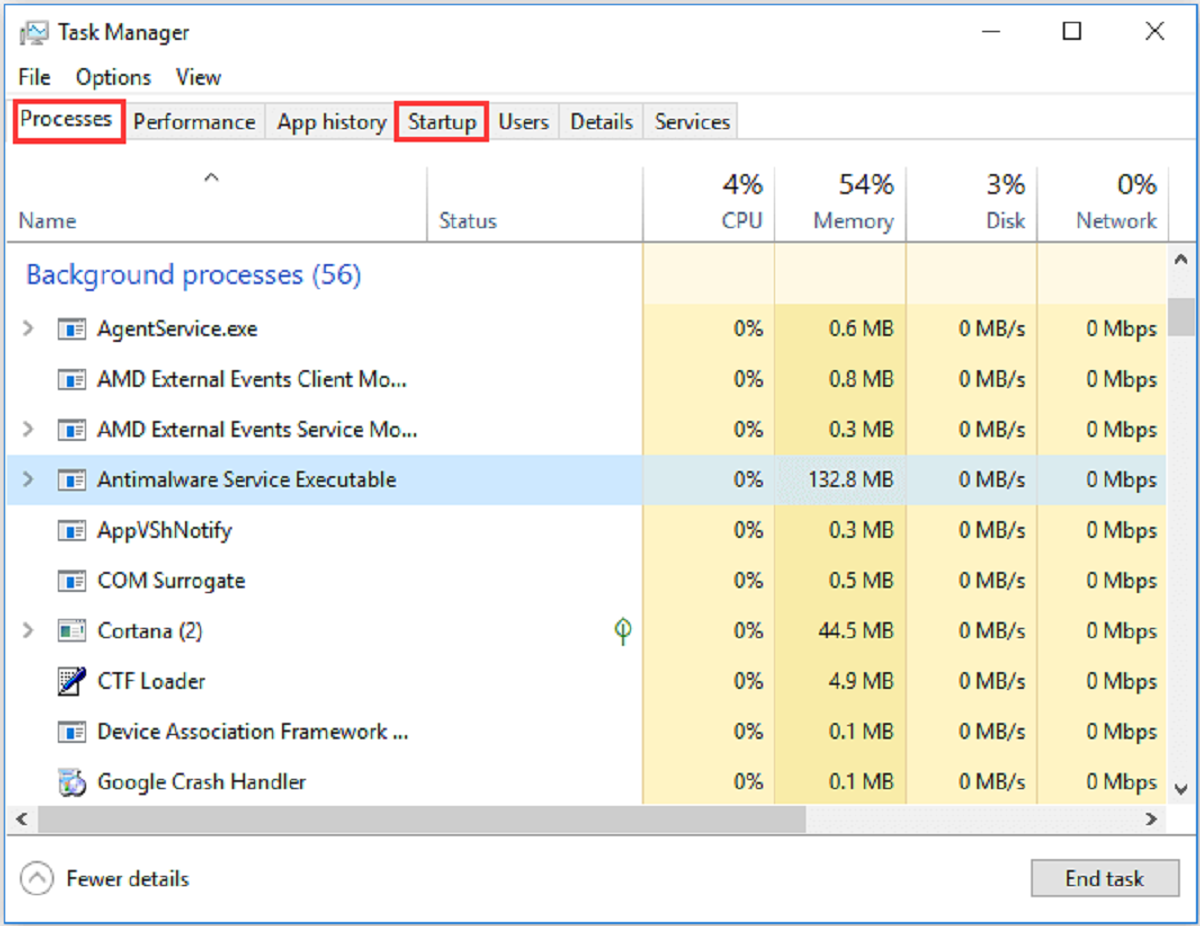
- Monitor the GPU temperature: Use a temperature monitoring tool or software to keep an eye on the GPU’s temperature. There are several third-party applications available that can provide real-time temperature readings.
- Observe the temperature range: During the testing process, monitor the GPU’s temperature and ensure it remains within the recommended operating temperature range provided by the manufacturer. Excessive heat can lead to throttling, artifacts, and even permanent damage to the GPU.
- Inspect the cooling system: Check the fans or other cooling mechanisms on the GPU for proper function. Ensure that the fans are spinning smoothly and without any unusual noises. If you have access to the GPU’s heatsink, verify that it is properly seated and in good condition.
- Clean the GPU: If you notice excessive dust or debris on the GPU’s cooling system, carefully clean it using compressed air or a soft brush. Accumulated dust can impede airflow, leading to higher temperatures.
- Consider thermal paste replacement: Over time, the thermal paste between the GPU and its cooler may degrade, resulting in reduced heat transfer. If you are experienced and comfortable with the process, you may choose to remove the cooler, clean off the old thermal paste, and apply a fresh, high-quality thermal paste.
Ensuring that the GPU operates within safe temperature limits is essential for maintaining its performance and preventing overheating-related issues. If you notice the GPU temperature rising excessively or encounter instability during the testing process, it may be necessary to address the cooling system or thermal management of the graphics card.
Inspecting for overheating issues not only helps in testing the GPU’s thermal performance but also contributes to its longevity and overall reliability. By meticulously monitoring and maintaining proper temperatures, you can optimize the GPU’s performance and prevent potential hardware failures.
In the next section, we will discuss how to perform a benchmark test on the GPU, which will help assess its performance capabilities.
Performing a Benchmark Test
Performing a benchmark test on the GPU is an important step to evaluate its performance capabilities and determine its ability to handle graphics-intensive tasks. Here’s how you can effectively perform a benchmark test on a GPU without a PC:
- Choose a benchmarking tool: Select a reliable and widely-used benchmarking tool specifically designed for GPUs. Popular options include 3DMark, Unigine Heaven, and FurMark.
- Install the benchmarking software: Download and install the benchmarking software on a separate computer or laptop. This will serve as the control device for running the benchmark tests.
- Connect to the GPU: Connect the GPU you’re testing to the control device using an external power supply and the appropriate cable connections to the monitor or TV.
- Run the benchmark test: Open the benchmarking software on the control device and select the desired test or benchmark suite. Follow the instructions provided by the software to initiate the test. This will put the GPU through various graphics-intensive tasks to measure its performance.
- Monitor the results: During the benchmark test, closely monitor the performance metrics displayed by the software. These metrics commonly include average and minimum frame rates, GPU temperature, and overall score. Pay close attention to any abnormalities or performance issues that may arise.
- Compare the results: After completing the benchmark test, compare the obtained results with the average scores or performance metrics of similar GPUs. This will provide you with an indication of how well your GPU is performing compared to others of the same model.
A benchmark test not only helps evaluate the GPU’s performance capabilities but also identifies any potential bottlenecks or anomalies that may affect its overall performance. It provides valuable data for hardware enthusiasts, gamers, and professionals who require optimal GPU performance.
In the final section, we will discuss common issues that can arise during the GPU testing process and provide troubleshooting tips to overcome them.
Troubleshooting Common Issues
While testing a GPU without a PC, you may come across several common issues that can hinder the testing process. Here are some troubleshooting tips to help you overcome these issues:
- No video output: If you’re not getting any video output, first double-check the cable connections between the GPU and the display device. Try using a different video cable or port to rule out any connectivity issues. Make sure the display device is set to the correct input source. If the problem persists, it could indicate a faulty GPU or compatibility problem.
- Artifacts or display abnormalities: If you notice strange artifacts, graphical glitches, or unusual patterns on the screen, it could be a sign of a faulty GPU or incompatible drivers. Try updating the GPU drivers to the latest version or reinstalling them. If the issue persists, it could indicate a hardware problem with the GPU.
- Overheating and thermal issues: If the GPU temperature is excessively high during testing, make sure the cooling system is functioning correctly. Check for dust buildup and clean the cooling system if necessary. Ensure that the fans are spinning smoothly and that the GPU is adequately seated and making proper contact with the cooler. If the temperature remains high despite these measures, consider replacing the thermal paste.
- Power supply compatibility: Ensure that the external power supply you’re using is compatible with the GPU and can provide sufficient power. Verify that the power cables are securely connected to both the GPU and the power supply. If the GPU is not receiving adequate power, it may not function correctly.
- Compatibility and driver issues: Sometimes, GPUs may have compatibility or driver issues with certain operating systems or other hardware components. Make sure you have the latest compatible drivers installed for the GPU. Check the GPU manufacturer’s website for any specific compatibility or driver updates.
If you encounter any other issues during the GPU testing process, consult the GPU manufacturer’s documentation or online resources for troubleshooting guides and support. It’s important to remember that troubleshooting GPU issues without a PC can be challenging, and in some cases, it may be necessary to consult a professional technician for assistance.
By carefully troubleshooting and addressing these common issues, you can ensure a smoother testing process and obtain accurate results about the functionality and performance of the GPU.
With the troubleshooting tips provided, you should be well-equipped to handle common issues that may arise during the GPU testing process.
Conclusion
Testing a GPU without a PC may initially seem like a daunting task, but with the right tools, equipment, and techniques, it is indeed possible. By following the steps outlined in this guide, you can effectively assess the functionality and performance of a GPU without the need for a complete computer setup.
We began by understanding the importance of testing a GPU without a PC, including scenarios where it can be beneficial. Whether you have a spare GPU to test, need to troubleshoot hardware issues, or are involved in hardware testing, being able to test a GPU independently is a valuable skill to possess.
We then discussed the tools and equipment needed for testing, including an external power supply, monitor or TV, video cables, and anti-static measures. Ensuring you have the appropriate tools and connections sets the foundation for a successful GPU test.
We explored the steps to check for physical damage, using an external power supply, connecting to a monitor or TV, testing for video output, inspecting for overheating issues, performing a benchmark test, and troubleshooting common issues that may arise during the testing process. Each step is crucial in thoroughly assessing the GPU’s functionality and identifying any potential problems.
Remember, troubleshooting is an important aspect of GPU testing, especially when encountering issues such as no video output, artifacts, overheating, power supply compatibility, and driver problems. Taking the time to troubleshoot and address these issues can lead to more accurate results and a better understanding of the GPU’s capabilities.
Testing a GPU without a PC offers convenience, efficiency in troubleshooting, and the ability to assess the GPU’s performance in isolation. By following the steps and employing the tips provided in this guide, you can confidently test a GPU without the need for a PC and make informed decisions about its functionality.
Now, armed with this knowledge, you’re ready to embark on the journey of testing a GPU without a PC. Whether you’re a computer enthusiast, a tech hobbyist, or a troubleshooting technician, you now have the skills and understanding to effectively test a GPU on its own. Happy testing!