Introduction
A Graphics Processing Unit (GPU) is a vital component of a computer system that handles all the complex graphical calculations required for gaming, video editing, and other graphics-intensive tasks. Just like any other hardware component, GPUs can sometimes fail or degrade over time due to various reasons. In this article, we will explore the signs that indicate your GPU might be failing and discuss the steps you can take to test and diagnose the issue.
A failing GPU can manifest in different ways, ranging from sudden system crashes and graphical glitches to performance degradation and overheating. Identifying the signs early on can help prevent further damage and ensure the smooth functioning of your computer system.
Before jumping into the troubleshooting process, it is important to determine whether the issues you are experiencing are indeed related to your GPU or if they could be caused by other factors like software conflicts or power supply problems. However, if you have ruled out other potential causes and suspect that your GPU may be the culprit, it is time to test it to confirm your suspicions.
Testing a GPU for failure involves several steps, including monitoring temperatures, running stress tests, checking for artifacts, updating graphics drivers, checking the power supply, cleaning the GPU, and even testing it in another system if possible. By following these steps, you can gather valuable information about the health of your GPU and make informed decisions about whether it needs to be repaired or replaced.
In the following sections, we will delve into each of these steps in detail and provide you with the necessary guidance to perform the tests effectively. Remember, diagnosing and testing hardware issues requires a certain level of technical knowledge, so it is always advisable to seek professional help if you are unsure about any aspect of the process.
Signs of a failing GPU
A failing GPU can exhibit several signs that indicate something is wrong with its functionality. Recognizing these signs early on can help you take appropriate measures to address the issue and prevent further damage. Here are some common signs of a failing GPU:
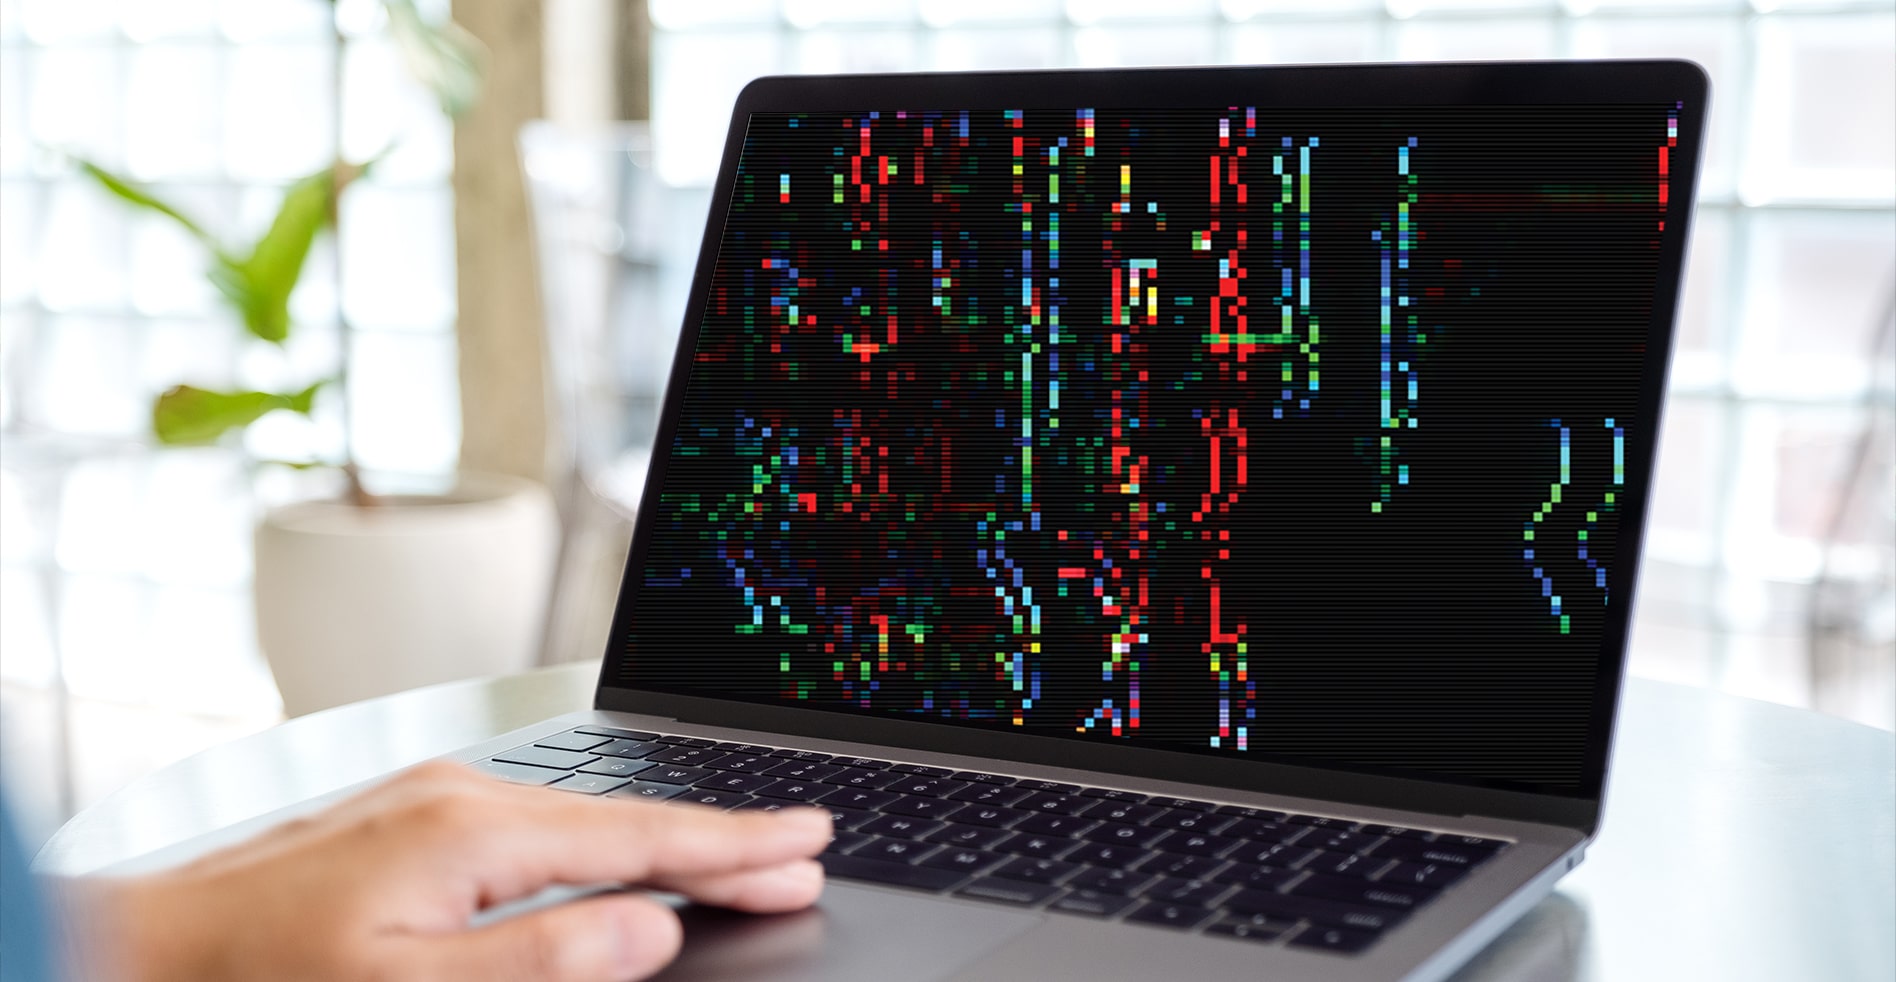
- Graphic glitches or artifacts: One of the most noticeable signs of a failing GPU is the appearance of graphical glitches or artifacts on the screen. These can take the form of weird lines, flickering, or random shapes appearing on the display. If you notice consistent or worsening graphical anomalies, it could be a sign that your GPU is failing.
- System crashes or freezes: A failing GPU can cause your computer system to crash or freeze frequently, especially during graphics-intensive tasks like gaming or video rendering. If you experience sudden system crashes or freezes, particularly when performing demanding graphical operations, it is likely that your GPU is struggling and potentially failing.
- Performance degradation: If you notice a significant drop in performance, such as sluggish frame rates in games or slow rendering of graphics and videos, it could be a sign of GPU failure. A failing GPU may struggle to keep up with the demands of resource-intensive tasks, causing a noticeable decline in performance.
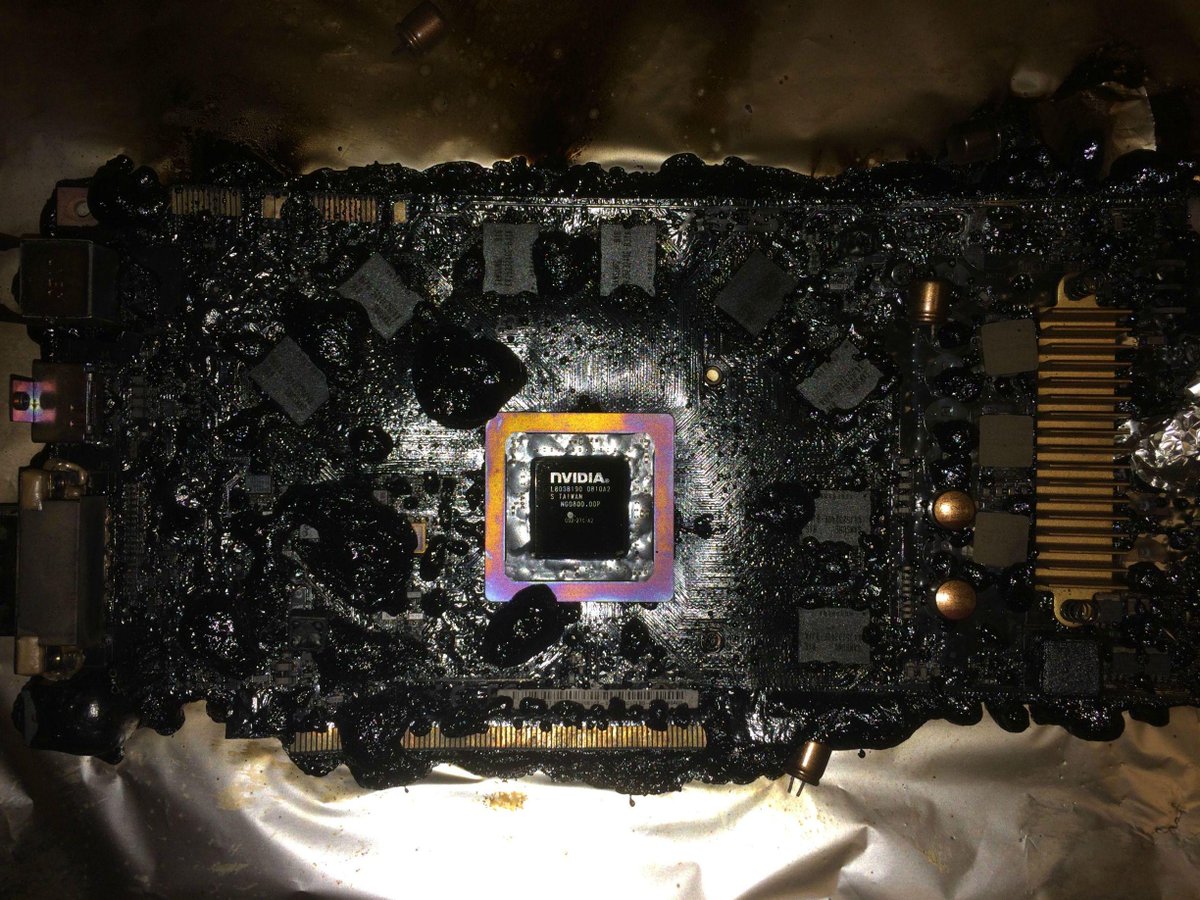
- Overheating: GPUs generate heat during operation, and proper cooling is crucial to maintain their optimal performance. However, if your GPU is consistently running at high temperatures, reaching excessively hot levels, it could indicate a problem. Overheating can lead to GPU failure or even system shutdowns to protect the hardware from damage.
- Artifacts during boot-up: If you notice artifacts or graphical glitches during the boot-up process, even before the operating system loads, it is likely that your GPU is experiencing issues. These artifacts can appear as distorted images, flickering screens, or colored lines.
It’s important to note that these signs alone may not conclusively confirm GPU failure, as they can also be caused by other factors such as outdated drivers, software conflicts, or insufficient power supply. However, if you experience multiple signs mentioned above, it is a strong indication that your GPU is failing and needs further investigation.
In the next sections, we will explore various tests and steps you can take to validate your suspicions and diagnose the exact problem with your GPU.
Checking temperatures
Overheating is one of the common causes of GPU failure, so it is important to monitor the temperatures of your graphics card regularly. Excessive heat can lead to performance issues, crashes, and even permanent damage to the GPU. Here’s how you can check the temperatures of your GPU:
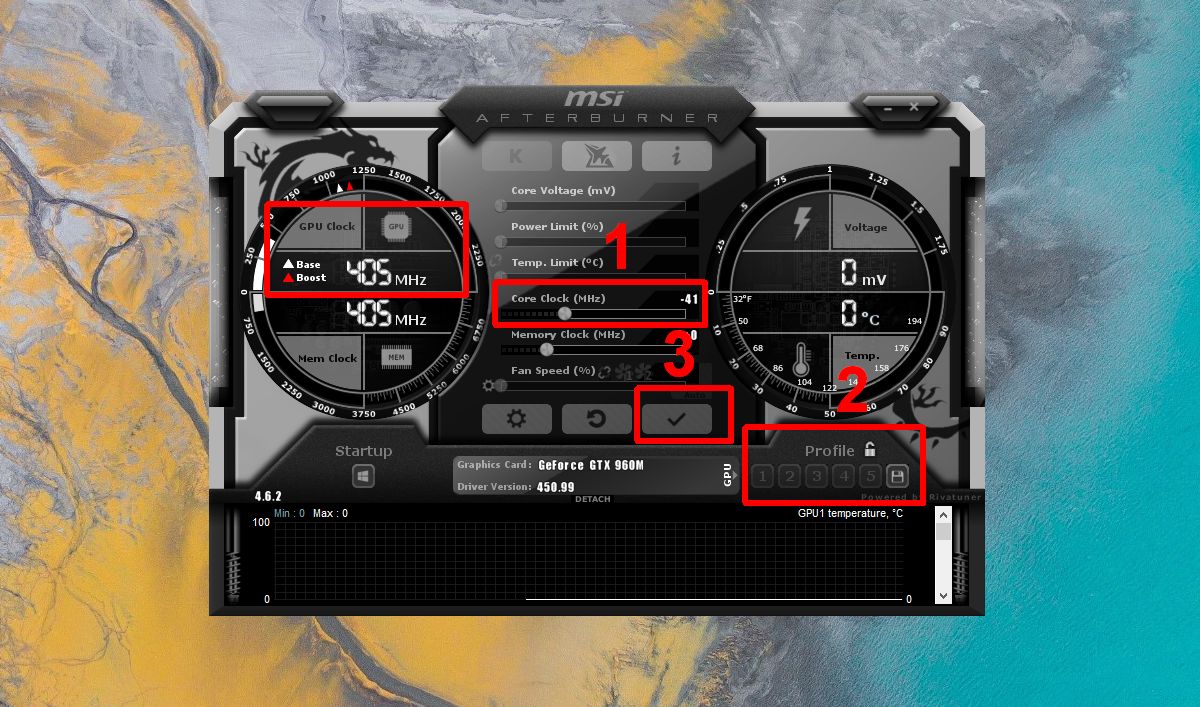
- Use GPU monitoring tools: There are several software applications available that allow you to monitor the temperature of your GPU in real-time. Some popular options include MSI Afterburner, HWMonitor, and GPU-Z. These tools provide detailed information about core temperature, fan speed, and other vital statistics related to your GPU.
- Check system BIOS: Some computer systems offer temperature monitoring options in the BIOS settings. You can access the BIOS by restarting your computer and pressing the designated key (usually DEL or F2) during the startup process. Look for temperature-related information in the BIOS and note any abnormal readings.
- Physical inspection: While monitoring software provides accurate readings, a quick physical inspection can also reveal signs of overheating. Check if the heatsink and fan on your GPU are free from dust or other blockages that could impede proper airflow. Ensure that the fans are spinning smoothly and that the heatsink is making proper contact with the GPU chip.
Typically, a GPU operating temperature should fall within the range of 60 to 85 degrees Celsius, depending on the specific model and the workload being placed on the GPU. If you notice consistently high temperatures that exceed these ranges, it is a cause for concern. In such cases, you may need to take steps to improve the cooling of your system by cleaning the dust from GPU fans and heatsinks, improving case airflow, or considering aftermarket cooling solutions.
Checking the GPU temperatures is an essential step in diagnosing potential issues related to overheating. By monitoring temperatures regularly, you can identify if high temperatures are indeed contributing to the problems you are experiencing with your GPU. If the temperatures remain within the acceptable range, you can rule out overheating as the primary cause and move on to the next steps of testing and troubleshooting.
Running stress tests
Running stress tests on your GPU is an effective way to assess its stability and performance under heavy workloads. Stress tests simulate intense graphical tasks that push the GPU to its limits, allowing you to identify any potential issues or weaknesses. Here’s how you can run stress tests on your GPU:
- Use dedicated stress test software: There are several software programs available specifically designed for stress testing GPUs. Examples include FurMark, 3DMark, and Unigine Heaven. These tools stress your GPU by rendering complex 3D graphics to evaluate its performance and stability. They often provide detailed metrics and benchmark scores to assess the health of your GPU.
- Monitor temperatures during stress tests: While running stress tests, closely monitor the temperatures of your GPU using the monitoring tools mentioned earlier. This will help you ensure that the GPU does not overheat during the testing process. If the temperatures exceed safe limits or if the GPU crashes or exhibits graphical glitches, it could indicate a problem with heat dissipation or overall stability.
- Observe system stability: Pay attention to how your system performs during stress tests. Look for signs of instability such as system crashes, freezes, or graphical artifacts. If your GPU cannot handle the stress, it may lead to these issues. However, it’s important to note that stress testing your GPU pushes it to its limits, and some stress test results may not necessarily reflect real-world performance.
- Perform different stress test scenarios: Run stress tests with different settings to evaluate your GPU’s performance at varying workloads. This will help you identify if the issues you are experiencing are specific to certain types of tasks or if they persist across different scenarios. For example, you can test the GPU under heavy gaming loads, video rendering, or other graphics-intensive applications.
Running stress tests on your GPU provides a controlled environment to put your graphics card through demanding workloads. It allows you to observe how your GPU handles the stress and if any issues arise during the testing process. However, it’s important to note that stress testing can put a significant load on the GPU and might generate higher temperatures than everyday usage. Ensure proper cooling and monitor temperatures closely to avoid any potential damage.
If your GPU passes stress tests without any issues, it indicates that it is capable of handling intense graphical tasks. However, if your GPU encounters crashes, overheating, or graphical artifacts during the stress tests, it suggests that there might be an underlying issue with the GPU that needs further investigation and possibly repairs.
Checking for artifacts
Artifacts are abnormal visual distortions or irregularities that can appear on the screen when the GPU is under stress or experiencing issues. These artifacts can take the form of pixelation, flickering, color distortion, or random graphical elements appearing on the display. Checking for artifacts is an important step in diagnosing GPU problems. Here’s how you can check for artifacts:
- Inspect during normal usage: Pay attention to your screen during regular usage, like browsing the web or working on documents. Look for any sudden or recurring graphical anomalies, such as flickering, lines, or strange color patterns. Artifacts that appear during light usage can indicate potential issues with the GPU.
- Stress test the GPU: As mentioned earlier, running stress tests is not only useful for evaluating performance but also for detecting artifacts. During stress tests, keep a close eye on the display for any abnormalities. If you notice any flickering, texture errors, or sudden graphical glitches, it could indicate an underlying problem with the GPU.
- Try different applications: Test your GPU with different applications that rely on intense graphics processing. Try running games, 3D modeling software, or video editing programs to see if any artifacts occur. If you consistently experience artifacts in certain applications, it suggests that the issue may be related to compatibility or driver problems.
- Check for artifacts during boot-up: Restart your computer and closely observe the screen during the boot-up process. If you notice artifacts even before the operating system loads, it indicates a potential hardware issue with the GPU.
Artifacts are a clear indication that the GPU is experiencing problems. However, it’s important to note that artifacts can also be caused by other factors such as faulty cables, incompatible drivers, or monitor issues. To confirm that the artifacts are indeed related to the GPU, you can try connecting a different monitor or using a different cable to eliminate these possibilities.
If you consistently notice artifacts during normal usage or stress tests, it’s advisable to document the specific patterns or behaviors of the artifacts and seek professional assistance. A trained technician can further diagnose the issue and provide recommendations for repairing or replacing the failing GPU.
Updating graphics drivers
Outdated or incompatible graphics drivers can sometimes cause issues and performance problems with your GPU. Keeping your graphics drivers up to date is an important step in maintaining the stability and functionality of your GPU. Here’s how you can update your graphics drivers:
- Identify your GPU model: Before updating your graphics drivers, you need to determine the exact model of your GPU. You can find this information in the Device Manager on Windows or the System Information menu on macOS.
- Check manufacturer’s website: Visit the website of the GPU manufacturer, such as NVIDIA or AMD, and navigate to the support or driver download section. Enter the details of your GPU model and operating system to find the latest drivers available for your specific configuration.
- Automatic driver update: Many GPU manufacturers provide software tools that can automatically detect and update the drivers for your GPU. These tools, such as NVIDIA GeForce Experience or AMD Radeon Software, simplify the updating process by identifying the correct drivers for your GPU and downloading them directly.
- Manual driver installation: If you prefer to update the drivers manually, you can download the latest driver package from the manufacturer’s website. Once downloaded, run the installer and follow the on-screen instructions to install the updated drivers. It’s recommended to uninstall the existing drivers before installing the new ones for a clean installation.
- Verify driver installation: After updating the drivers, restart your computer and verify if the new drivers have been successfully installed. You can check the driver version in the Device Manager on Windows or the System Information menu on macOS.
- Test GPU performance: After updating the drivers, it’s a good practice to perform some tests to ensure that the GPU is functioning properly. Run benchmarking software or test your GPU with graphics-intensive applications to check for any improvements in performance or stability.
Updating your graphics drivers can help resolve compatibility issues, improve performance, and address known bugs or vulnerabilities. It’s essential to keep your drivers up to date to ensure the optimal functioning of your GPU. However, in some cases, updating the drivers may not immediately fix issues related to a failing GPU. If you continue to experience problems after updating the drivers, it may indicate deeper hardware-related issues that require further investigation.
Remember to periodically check for driver updates and install them as they become available. This will ensure that your GPU is running with the latest optimizations and bug fixes provided by the manufacturer.
Checking power supply
The power supply unit (PSU) is responsible for providing the necessary power to all the components in your computer system, including the GPU. A faulty or insufficient power supply can cause various issues, including GPU instability and performance problems. Here’s how you can check your power supply:
- Check wattage: Ensure that your power supply has enough wattage to support the power requirements of your GPU. Check the specifications of your GPU and compare it with the wattage rating of your power supply. If your power supply does not meet the required wattage, it may result in instability and reduced performance.
- Inspect cables and connections: Make sure all the power cables connecting the power supply to the GPU are securely plugged in. Check for any loose connections or damaged cables that could cause power fluctuations. It’s also a good idea to verify that the cables are the correct type for your GPU and power supply.
- Measure voltage outputs: Use a multimeter to measure the voltage outputs from the power supply. The +12V, +5V, and +3.3V rails should provide stable voltage readings. Any significant deviations from the specified values could indicate problems with the power supply.
- Consider a power supply tester: If you have access to a power supply tester, it can help determine if the power supply is functioning correctly. These testers simulate the load on the power supply and provide readings on its overall performance and health.
- Test with a different power supply: If you suspect that the power supply is the cause of GPU issues, you can try replacing it temporarily with a known-good power supply to see if the problems persist. If the issues disappear with the new power supply, it indicates that the previous power supply was at fault.
- Seek professional help: If you are unsure about checking the power supply or lack the necessary tools, it’s recommended to seek assistance from a qualified technician. They can perform comprehensive tests and provide appropriate recommendations based on the specific issues you are experiencing.
Checking the power supply is crucial as it directly affects the stability and performance of your GPU. An inadequate or faulty power supply can cause a range of problems, including GPU crashes, artifacts, and system instability. If you suspect that your power supply may be the culprit, it’s important to address the issue promptly to prevent further damage to your GPU or other components.
Remember, a reliable and sufficient power supply is essential for the optimal functioning of your GPU. If you have confirmed that your power supply is not the cause of the issues, you can move on to other troubleshooting steps to further diagnose the problem with your GPU.
Cleaning the GPU
Over time, dust and debris can accumulate on the surface and inside the cooling components of your GPU, hindering proper airflow and causing overheating. Cleaning your GPU regularly is an essential maintenance task that can help improve its performance and prevent potential issues. Here’s how you can clean your GPU:
- Gather the necessary tools: Before starting the cleaning process, gather a soft, lint-free cloth or microfiber cloth, compressed air canister or air compressor, and isopropyl alcohol (optional) for more thorough cleaning.
- Power off and unplug your computer: Before handling any internal components, it’s crucial to power off your computer and unplug it from the power source. This ensures your safety and protects the hardware from any accidental damage.
- Remove the GPU from the computer: Depending on your computer setup, you may need to remove the GPU from its slot. Refer to your computer’s manual or online resources for specific instructions on how to safely remove the GPU. Be sure to handle the GPU carefully and avoid touching the sensitive electronic components.
- Clean the exterior: Use the soft cloth to gently wipe the exterior of the GPU, removing any dust or smudges. Avoid applying excessive pressure or using abrasive materials that may scratch the surface.
- Clean the fan and heatsink: Use the compressed air canister or air compressor to blow away any dust or debris from the fan and heatsink. Hold the fan blades in place with a finger to prevent them from spinning uncontrollably while cleaning. This helps remove accumulated dust that may obstruct airflow and cause overheating.
- Thoroughly clean the GPU’s contacts: If you want to perform a more thorough cleaning, you can use isopropyl alcohol to clean the GPU’s electrical contacts. Apply a small amount of alcohol to a lint-free cloth or cotton swab and gently wipe the contacts to remove any dirt or residue.
- Reinstall the GPU: Once the cleaning process is complete, carefully reinsert the GPU in its slot and ensure it is securely seated. Reattach any necessary power cables or connectors you may have disconnected during the removal process.
- Test the GPU: After cleaning and reinstalling the GPU, power on your computer and test the GPU’s performance. Monitor temperatures and look out for any improvements in cooling or stability. If the issues you were experiencing were related to dust or overheating, you should notice a difference.
Cleaning your GPU on a regular basis prevents dust buildup and helps maintain optimal cooling performance. It is especially important for gaming or other graphics-intensive tasks that put a heavy load on the GPU. By keeping your GPU clean, you reduce the risk of overheating, performance degradation, and potential GPU failures.
Remember to perform regular cleaning routines for your GPU, especially in environments with high dust or pet hair. Cleaning intervals may vary depending on usage and environmental conditions, so it’s recommended to check and clean your GPU periodically to ensure its longevity and proper functioning.
Testing the GPU in another system
If you have access to another computer system, testing your GPU in that system can provide valuable insight into whether the GPU is the source of the issues you are experiencing. This step helps in isolating whether the problems lie with the GPU or other components within your original system. Here’s how you can test the GPU in another system:
- Choose a compatible system: Find a computer system that is compatible with your GPU. Ensure that the system has an available PCIe slot and meets the power supply requirements for your GPU model.
- Prepare the system: Power off the system and unplug it from the power source. Open the computer case and locate an available PCIe slot. Remove any previously installed GPU if necessary.
- Install the GPU: Carefully install your GPU into the available PCIe slot, ensuring that it is secure and properly seated. Connect any necessary power cables to the GPU.
- Power on the system: Plug in the power cable and power on the system. If the system starts up successfully without any error messages or visual artifacts, it indicates that the GPU is compatible and functioning in the new system.
- Test GPU performance and stability: Run demanding graphics applications or games to stress the GPU and assess its performance and stability. Monitor temperatures and observe for any issues such as crashes, freezes, or graphical artifacts. This will help determine if the GPU performs as expected in the new system.
- Compare results with the original system: If the GPU performs well and exhibits no issues in the new system, it suggests that the GPU is likely not the cause of the problems you were experiencing in your original system. This can indicate that the issues lie elsewhere, such as with the power supply, motherboard, or other components in your original system.
Testing your GPU in another system helps in pinpointing the source of the issues you are facing. If the GPU performs flawlessly in the new system, it suggests that the GPU itself is not faulty. This can save you time and effort in troubleshooting and help direct your focus towards diagnosing and resolving problems within your original system.
However, if you encounter similar issues with the GPU in the new system, it indicates that there may be an underlying problem with the GPU itself. Further investigation or contacting the manufacturer’s support may be necessary to address the GPU-related issues.
Remember, testing the GPU in another system should be done with caution and only if you have the necessary knowledge and access to another compatible system. Take proper precautions to avoid any damage to the GPU or other components, and always follow appropriate safety guidelines when working with computer hardware.
Conclusion
Testing and diagnosing a failing GPU is essential for maintaining the stability and performance of your computer system. By recognizing the signs of a failing GPU, such as graphical glitches, system crashes, performance degradation, overheating, and artifacts, you can take the necessary steps to identify and address the issue.
Throughout this article, we have discussed various methods to test a failing GPU, including checking temperatures, running stress tests, checking for artifacts, updating graphics drivers, checking power supply, cleaning the GPU, and testing it in another system. These steps can help identify potential problems, determine the cause of the issues, and guide you towards effective troubleshooting solutions.
It’s important to note that while these tests can provide valuable insights, diagnosing hardware issues can be complex, and it may be necessary to seek professional help if you are unsure or if the problems persist. A trained technician can perform more in-depth evaluations and offer appropriate solutions based on your specific situation.
Regular maintenance and care for your GPU, including cleaning, updating drivers, and monitoring temperatures, can help extend its lifespan and ensure optimal performance. Additionally, using high-quality power supplies, adequate cooling solutions, and proper installation techniques can contribute to the longevity and reliability of your GPU.
Remember, the GPU is a critical component in your computer system, particularly for tasks that require intensive graphics processing. By staying vigilant, performing regular checks, and taking prompt action when issues arise, you can proactively address GPU problems and enjoy a smooth and stable computing experience.