Introduction
Welcome to the world of OneDrive, a cloud storage and file-sharing platform provided by Microsoft. With OneDrive, you can securely store and access your files from anywhere, on any device. Whether you’re using a PC, laptop, or tablet, accessing your OneDrive files is a breeze. In this guide, we’ll walk you through the steps to access your OneDrive on your PC.
OneDrive offers numerous benefits, such as convenient file storage, easy collaboration with others, and seamless file syncing across devices. By utilizing OneDrive on your PC, you can easily access your files, share them with others, and ensure that your important documents are always backed up securely in the cloud.
By following the steps outlined in this guide, you’ll be able to sign in to your Microsoft account, download and install OneDrive on your PC, and access and manage your files and folders effortlessly. Additionally, we’ll cover how to sync files and folders so that you have the latest versions readily available on both your PC and in the cloud.
Whether you’re a student working on a project, a professional managing important documents, or simply someone seeking a reliable file storage solution, OneDrive has got you covered. So, let’s dive in and explore how to access OneDrive on your PC.
Step 1: Sign in to your Microsoft Account
The first step to accessing OneDrive on your PC is to sign in to your Microsoft account. If you already have a Microsoft account, such as an Outlook or Hotmail email address, you can use that to sign in. If you don’t have a Microsoft account, you can easily create one by visiting the Microsoft account creation page.
To sign in to your Microsoft account, follow these simple steps:
- Open a web browser on your PC and visit the Microsoft sign-in page.
- Enter your Microsoft email address or phone number in the provided field.
- Click on the “Next” button.
- Enter your password in the password field.
- Click on the “Sign In” button.
Once you have successfully signed in to your Microsoft account, you will have access to a wide range of Microsoft services, including OneDrive. It’s important to note that you need to have an active internet connection to sign in to your Microsoft account.
If you encounter any issues while signing in to your Microsoft account, make sure you have entered the correct email address and password. If you have forgotten your password, you can reset it by following the prompts on the sign-in page.
Now that you have successfully signed in to your Microsoft account, you are ready to move on to the next step: downloading and installing OneDrive on your PC.
Step 2: Download and Install OneDrive on your PC
Once you have signed in to your Microsoft account, the next step is to download and install the OneDrive application on your PC. Follow these simple steps to get started:
- Open a web browser on your PC and visit the official Microsoft OneDrive website.
- Click on the “Downloads” or “Get OneDrive” button.
- Depending on your operating system, click on the appropriate download link for Windows.
- A file named “OneDriveSetup.exe” or similar will begin downloading.
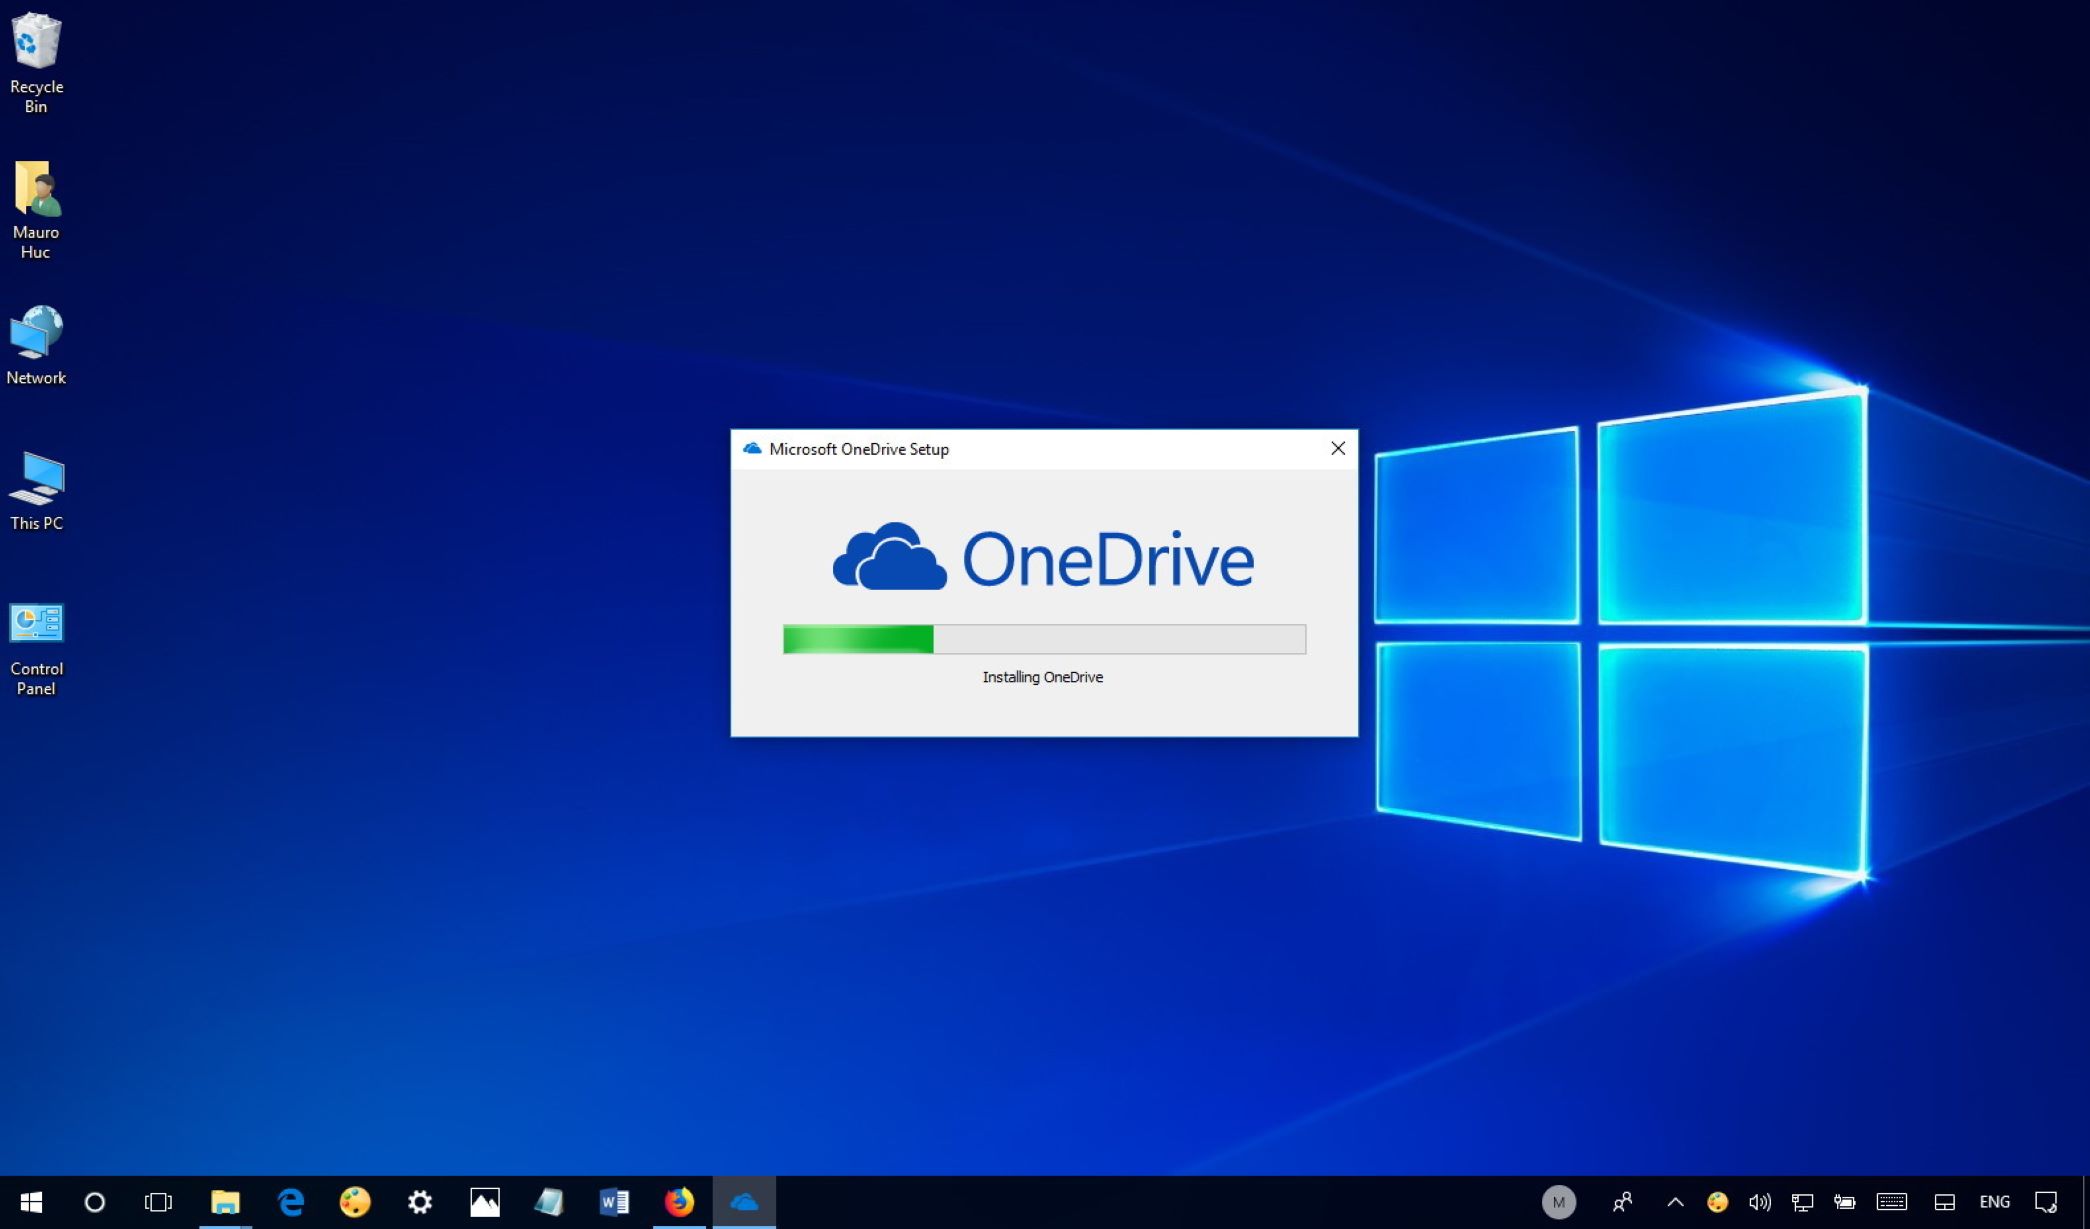
- Once the download is complete, locate the downloaded file and double-click on it to run the installer.
- Follow the on-screen instructions to complete the installation process.
During the installation, you may be asked to sign in to your Microsoft account again. Make sure to use the same account you signed in with earlier. Once the installation is complete, you’ll see a notification that OneDrive has been successfully installed on your PC.
After the installation, you can choose to customize your OneDrive settings. You can select the folders you want to sync to your PC, enable or disable file-on-demand, and configure other preferences.
It’s worth noting that if you’re using a Windows 10 PC, the OneDrive application may already be pre-installed. In this case, you can locate it by searching for “OneDrive” in the Windows search bar and simply sign in with your Microsoft account to access your files.
With OneDrive successfully installed on your PC, you’re now ready to move on to the next step: launching the OneDrive application.
Step 3: Launch OneDrive
After installing OneDrive on your PC, the next step is to launch the application. By launching OneDrive, you can access and manage your files and folders stored in the cloud. Follow these simple steps to launch OneDrive:
- Locate the OneDrive icon in your system tray or taskbar. It typically appears as a white cloud icon.
- Click on the OneDrive icon to open the application.
- If you’re launching OneDrive for the first time, you may be prompted to sign in to your Microsoft account again. Enter your email address and password and click on the “Sign In” button.
- Once you’ve signed in, the OneDrive application will open, displaying your files and folders.
Alternatively, you can also launch OneDrive by searching for it in the Windows search bar. Simply type “OneDrive” and click on the application when it appears in the search results.
When you launch OneDrive, it will automatically start syncing your files and folders to your PC. This means that any changes you make to your files or folders in OneDrive will be reflected both on your PC and in the cloud. The sync process ensures that you always have the latest versions of your files, regardless of which device you’re accessing them from.
It’s important to note that the syncing process may take some time, depending on the size of your files and the speed of your internet connection. You can monitor the progress of the sync by clicking on the OneDrive icon in your system tray or taskbar.
Now that you have successfully launched OneDrive, you’re ready to move on to the next step: signing in to OneDrive on your PC.
Step 4: Sign in to OneDrive on your PC
Once you have launched the OneDrive application on your PC, the next step is to sign in to your OneDrive account. By signing in, you will have access to all your files and folders stored in the cloud. Follow these steps to sign in to OneDrive on your PC:
- In the OneDrive application window, you will see a sign-in screen.
- Enter your Microsoft email address or phone number in the provided field.
- Click on the “Next” button.
- Enter your password in the password field.
- Click on the “Sign In” button.
Once you have successfully signed in to your OneDrive account, the application will start syncing your files and folders. This process ensures that the files on your PC are up to date with the files stored in the cloud.
If you have enabled two-factor authentication on your Microsoft account, you may be prompted to enter a verification code sent to your registered email or phone number. Simply enter the code in the provided field to complete the sign-in process.
It’s important to note that you need to have an active internet connection to sign in to OneDrive on your PC. Once signed in, you can access your files and folders even when you’re offline, as long as the files have been synced to your PC beforehand.
If you encounter any issues while signing in to OneDrive, double-check your email address and password to ensure they are correct. If you have forgotten your password, you can click on the “Forgot my password” link to regain access to your account.
Now that you have successfully signed in to OneDrive on your PC, you’re ready to move on to the next step: accessing and managing your files and folders on OneDrive.
Step 5: Access and Manage your Files and Folders on OneDrive
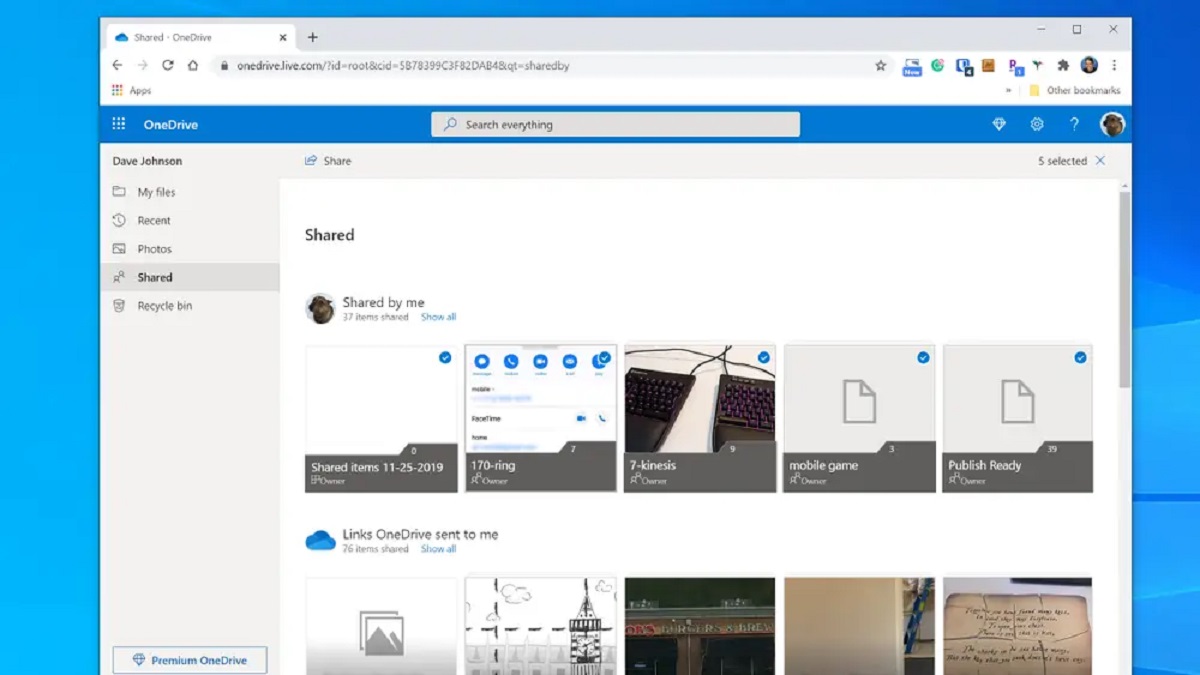
Now that you have signed in to OneDrive on your PC, you can easily access and manage your files and folders stored in the cloud. OneDrive provides a user-friendly interface that allows you to organize and interact with your files effortlessly. Follow these steps to access and manage your files and folders on OneDrive:
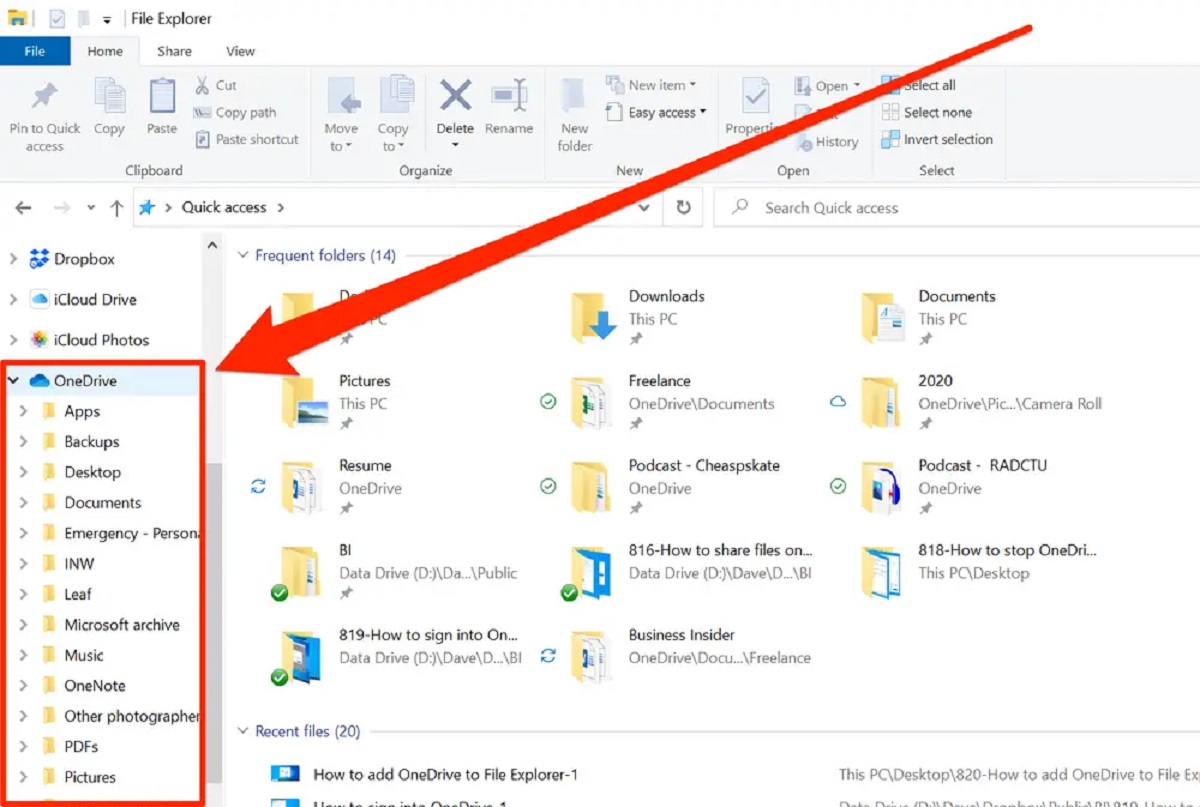
- In the OneDrive application window, you will see a list of your files and folders.
- To open a file or folder, simply double-click on it. It will open using the default application associated with its file type.
- If you want to navigate through your folders, you can use the navigation pane on the left side of the application window. Click on the folder names to expand or collapse them.
- You can perform various actions on your files and folders. Right-click on a file or folder to see a context menu with options such as open, rename, delete, and share. You can also select multiple files or folders to perform bulk actions.
- OneDrive also provides search functionality. You can use the search bar at the top of the application window to quickly find specific files or folders by name.
- When you make changes to a file or folder on your PC, the changes will be automatically synced to your OneDrive account. Similarly, changes made to files or folders in OneDrive will be reflected on your PC.
- If you want to upload files or folders to OneDrive from your PC, you can simply drag and drop them into the OneDrive application window. Alternatively, you can use the “Upload” button in the toolbar to select files or folders to upload.
With these simple steps, you can easily access, organize, and manage your files and folders on OneDrive. Whether you’re creating new documents, editing existing files, or sharing files with others, OneDrive provides a seamless experience to enhance your productivity.
Now that you know how to access and manage your files and folders on OneDrive, let’s move on to the next step: syncing files and folders to OneDrive so that you have access to them across multiple devices.
Step 6: Sync Files and Folders to OneDrive
One of the key advantages of using OneDrive is the ability to sync your files and folders across multiple devices. By syncing your files, you ensure that you always have the latest versions available, regardless of which device you’re using. Follow these steps to sync files and folders to OneDrive:
- In the OneDrive application window on your PC, click on the cloud icon in the taskbar or system tray to open the OneDrive menu.
- Click on the “More” option, usually represented by three dots.
- Select “Settings” from the dropdown menu.
- In the Settings tab, click on the “Choose folders” button.
- A new window will appear, displaying a list of folders on your PC.
- Select the folders that you want to sync to OneDrive by checking the boxes next to their names.
- Click on the “OK” button to save your selection.
- OneDrive will now start syncing the selected folders to your account. The syncing process may take some time, depending on the size of your files and the speed of your internet connection.
- You can monitor the sync progress in the OneDrive menu.
- Once the sync is complete, you can access and manage your synced files and folders from any device with the OneDrive application or through the OneDrive website.
It’s important to note that you can also choose to enable or disable file-on-demand in the Settings tab of the OneDrive application. When you enable file-on-demand, you can see all your files and folders in the OneDrive folder on your PC, but they are not downloaded until you open or access them. This feature saves storage space on your local drive while still giving you easy access to all your files.
By syncing your files and folders to OneDrive, you can enjoy seamless access and collaboration across devices. Your files will be securely stored in the cloud, providing peace of mind knowing that your important documents are safely backed up.
With this step complete, you have successfully learned how to sync files and folders to OneDrive. You are now empowered to access and manage your files on any device, ensuring productivity and flexibility in your workflow.
Conclusion
Congratulations! You have successfully learned how to access OneDrive on your PC. By signing in to your Microsoft account, downloading and installing the OneDrive application, and signing in to OneDrive on your PC, you can now easily access and manage your files and folders stored in the cloud.
OneDrive offers a seamless and convenient file storage solution that allows you to store, sync, and share your files across multiple devices. With the ability to access your files from anywhere, collaboration becomes effortless, whether you’re working on a project with colleagues or sharing files with friends and family.
Remember, after launching the OneDrive application, you can sign in to your OneDrive account and enjoy the benefits of secure file storage and synchronization. Take advantage of features like folder navigation, search functionality, and the ability to perform actions on your files and folders with just a few clicks.
Furthermore, by syncing files and folders to OneDrive, you ensure that the latest versions of your files are always available, regardless of the device you’re using. Whether you’re working on your PC, laptop, or mobile device, your files are at your fingertips.
With the accessibility, convenience, and seamless integration of OneDrive on your PC, you can streamline your workflow, enhance productivity, and ensure that your important files are backed up securely in the cloud.
So, don’t hesitate to explore all the features and functionalities that OneDrive has to offer. Start accessing, managing, and syncing your files and folders on OneDrive today, and enjoy the benefits of a reliable and versatile cloud storage solution.