Introduction
Welcome to our guide on how to see if a PC case works without a motherboard. If you’re a computer enthusiast or someone who is building their own PC, you may find yourself needing to test the functionality of your PC case before installing all the components. This can be especially useful when troubleshooting or conducting preliminary checks.
Testing a PC case without a motherboard can save you time and effort by allowing you to identify any issues before installing the main components. By following the step-by-step instructions in this guide, you’ll be able to determine if the case’s power supply, fans, and front panel connectors are working properly.
Before we dive into the specifics, it’s important to note that this guide assumes you have a basic understanding of computer hardware and safety precautions. If you’re new to building PCs, it’s recommended to consult online resources or seek assistance from an experienced individual.
Now that we’ve covered the basics, let’s move on to testing the power supply of your PC case.
Testing the Power Supply
The first step in determining if your PC case works without a motherboard is to test the power supply. This is essential because it provides the necessary power to all the components in your computer. To test the power supply, you will need a few tools:
- A power supply tester or a multimeter
- A power cord
- A paperclip or jumper wire
Here’s how you can proceed with testing the power supply:
- First, make sure that the power supply switch is turned off and disconnected from the power outlet.
- Next, connect the power cord to the power supply unit and the other end to a wall socket.
- If you have a power supply tester, simply plug it into the 24-pin ATX connector on the power supply. The tester will display the voltage levels and confirm if it is working correctly.
- If you don’t have a power supply tester, you can use a multimeter. Set the multimeter to DC voltage mode and touch the red probe to the 12V pin and the black probe to a ground pin on the 24-pin ATX connector. The multimeter should display a voltage reading around 12V.
- If you don’t have any of the above tools, you can perform a basic test by using a paperclip or jumper wire. Take a paperclip or jumper wire and bend it into a U shape. Insert one end of the paperclip or jumper wire into the green wire pin of the 24-pin ATX connector and the other end into any of the black wire pins. This will simulate turning on the power supply.
- Once you have performed the test, you should hear the power supply fan spinning and feel air coming out of the case. This indicates that the power supply is functioning correctly.
By testing the power supply, you can ensure that it is delivering the necessary power for your PC components. If the power supply fails the test, it may be faulty and should be replaced.
Now that we have verified the functionality of the power supply, let’s move on to connecting it to the PC case.
Connecting the Power Supply to the Case
Now that we’ve tested the power supply and confirmed that it is working correctly, the next step is connecting it to the PC case. This will allow the power supply to provide power to the different components of your computer. Here’s how you can proceed:
- Ensure that the power supply is turned off and unplugged from the power outlet.
- Locate the power supply mounting area in your PC case. This is typically located at the top or bottom of the case.
- Align the screw holes on the power supply with the corresponding mounting holes in the case.
- Secure the power supply to the case using the provided screws. Make sure the power supply is firmly attached and doesn’t move around.
- Now, locate the power supply cables. These cables provide power to the different components of your computer.
- Connect the main 24-pin ATX power cable from the power supply to the corresponding ATX power connector on the motherboard. Ensure that it is firmly connected.
- If your motherboard requires an additional 4 or 8-pin power connector, connect the corresponding cables from the power supply to the motherboard.
- If your case has any case-specific power connectors, such as USB or audio connectors, consult the case manual and connect them to the appropriate headers on the motherboard.
- Once all the connections are made, double-check to ensure that everything is properly secured and connected.
Connecting the power supply to the case is a crucial step in the PC building process. It ensures that the power supply can deliver power to all the components, allowing them to function properly. Taking the time to securely attach the power supply and properly connect the cables will help ensure a stable and efficient power supply for your computer.
With the power supply successfully connected, we can now move on to connecting the case fans.
Connecting the Case Fans
Case fans are essential for maintaining proper airflow and keeping your computer cool. Connecting the case fans correctly will ensure optimal cooling performance. Let’s explore the steps to connect the case fans:
- Identify the case fan headers on your motherboard. These headers are usually labeled as “CHA_FAN” or “SYS_FAN”. Refer to your motherboard manual if you’re unsure.
- Locate the corresponding connectors from the case fans. These connectors are typically 3-pin or 4-pin connectors.
- Align the connectors of the case fans with the case fan headers on the motherboard.
- Gently insert the connectors into the headers, ensuring a secure connection.
- If your case fans have RGB lighting, they may require additional connections. Refer to the fan’s manual for instructions on connecting the RGB cables to the appropriate headers on the motherboard or RGB controller.
- Once all the case fans are connected, you can manage their speeds and monitor their performance through the BIOS or motherboard software. Consult your motherboard manual for guidance on adjusting fan speeds.
Properly connecting the case fans ensures that they receive power from the motherboard and can function effectively. It allows for efficient cooling and helps prevent overheating, which can negatively impact the performance and lifespan of your components.
After connecting the case fans, we can move on to connecting the HDD/SSD.
Connecting the HDD/SSD
The next step in setting up your PC case is connecting the HDD (Hard Disk Drive) or SSD (Solid State Drive). These storage devices store your operating system, applications, and files. Here’s how to connect them:
- Locate the drive bays in your PC case. These are typically metal trays or slots designed to hold the HDDs or SSDs. Refer to your case manual if you’re unsure.
- If you have an HDD, ensure that the jumper settings are correctly configured. If you have an SSD, skip this step as they don’t require jumper settings.
- Place the HDD or SSD into one of the drive bays. Align the screw holes of the drive with the corresponding holes in the drive bay.
- Secure the drive in place using screws, typically provided with your PC case.
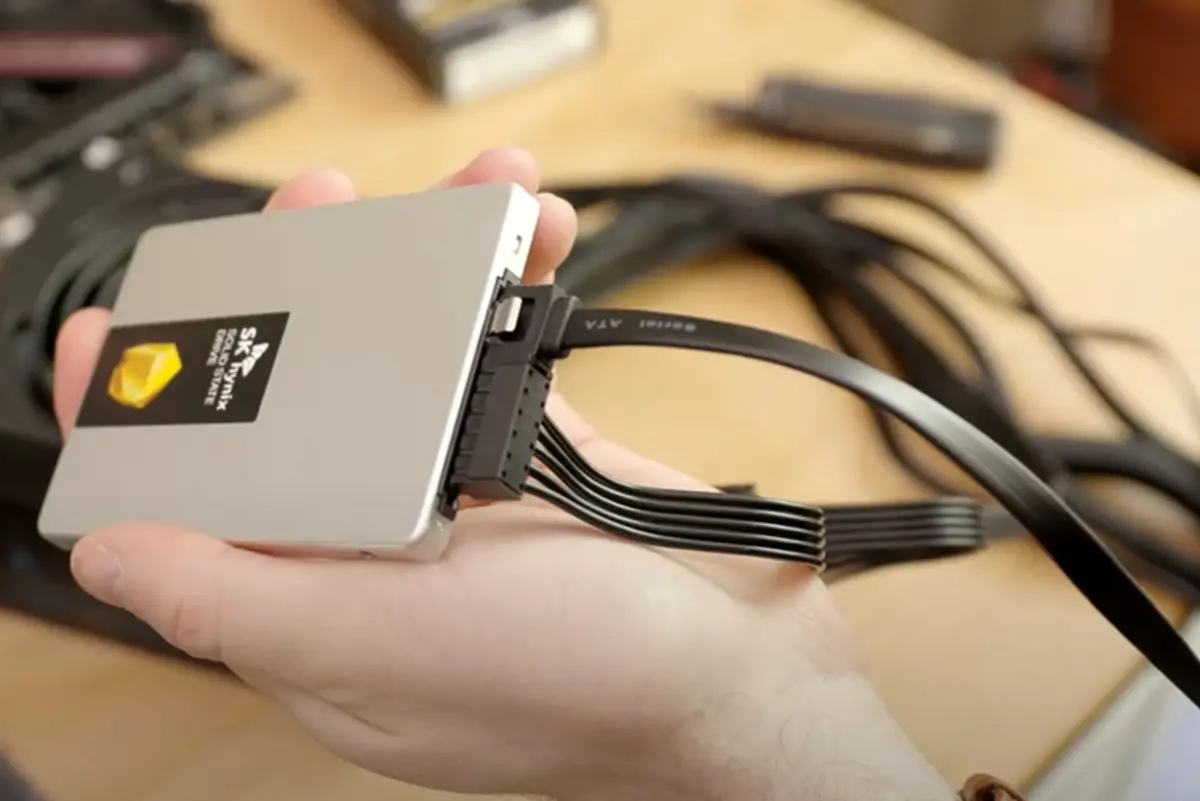
- Locate the SATA data cables. These cables transfer data between the HDD/SSD and the motherboard.
- Connect one end of the SATA data cable to the SATA port on the HDD/SSD.
- Connect the other end of the SATA data cable to an available SATA port on the motherboard.
- Next, locate the SATA power cables from the power supply. These cables provide power to the HDD/SSD.
- Connect one end of the SATA power cable to the power connector on the HDD/SSD.
- Connect the other end of the SATA power cable to an available SATA power connector from the power supply.
Once the HDD/SSD is securely installed and connected, it can be detected by the motherboard. You can then proceed with installing your operating system and transferring files to the drive.
With the HDD/SSD successfully connected, we can move on to connecting the front panel connectors.
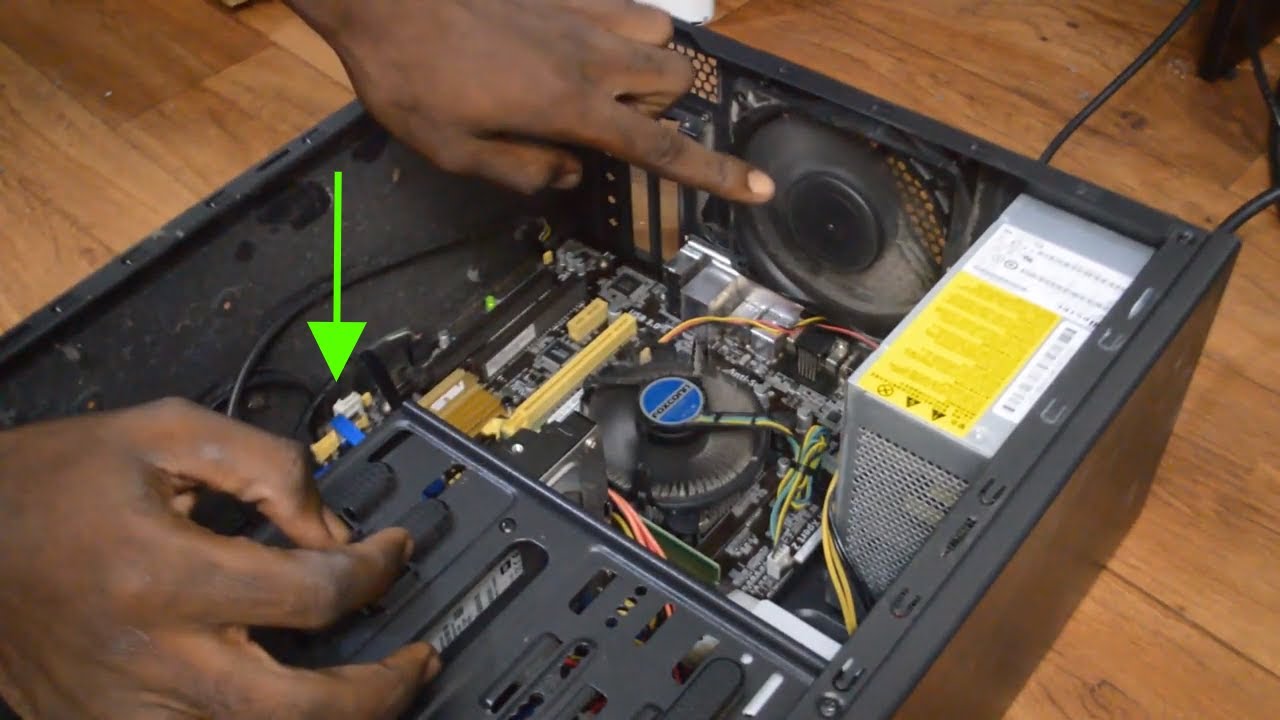
Connecting the Front Panel Connectors
Connecting the front panel connectors is an important step in setting up your PC case. These connectors allow you to interact with your computer through the power button, reset button, USB ports, audio jacks, and other interfaces located on the front of the case. Here’s how you can connect them:
- Refer to your motherboard manual to identify the location and names of the front panel connectors.
- Locate the front panel connectors on your PC case. These are a set of individual wires or a single panel with multiple connectors.
- Match the labels of the front panel connectors with the corresponding pins on the motherboard.
- Connect the power switch connector to the power switch header on the motherboard. It allows you to turn your computer on and off.
- Connect the reset switch connector to the reset switch header on the motherboard. This is used to restart your computer.
- Connect the HDD LED indicator connector to the HDD LED header on the motherboard. It shows activity on your hard drive.
- Connect the power LED indicator connector to the power LED header on the motherboard. It indicates the power status of your computer.
- If your case has USB ports on the front panel, connect the USB connectors to the USB headers on the motherboard.
- If your case has audio jacks, connect the audio connectors to the audio headers on the motherboard.
- Ensure that all connections are secure and correctly aligned. Double-check the motherboard manual and case manual, if available, to verify the connections.
Properly connecting the front panel connectors allows you to easily access and control your computer’s functions and peripherals. It ensures that the power buttons, USB ports, and audio jacks are functional and correctly integrated with the motherboard.
With the front panel connectors successfully connected, we can now move on to connecting peripherals such as monitors, keyboard, and mouse.
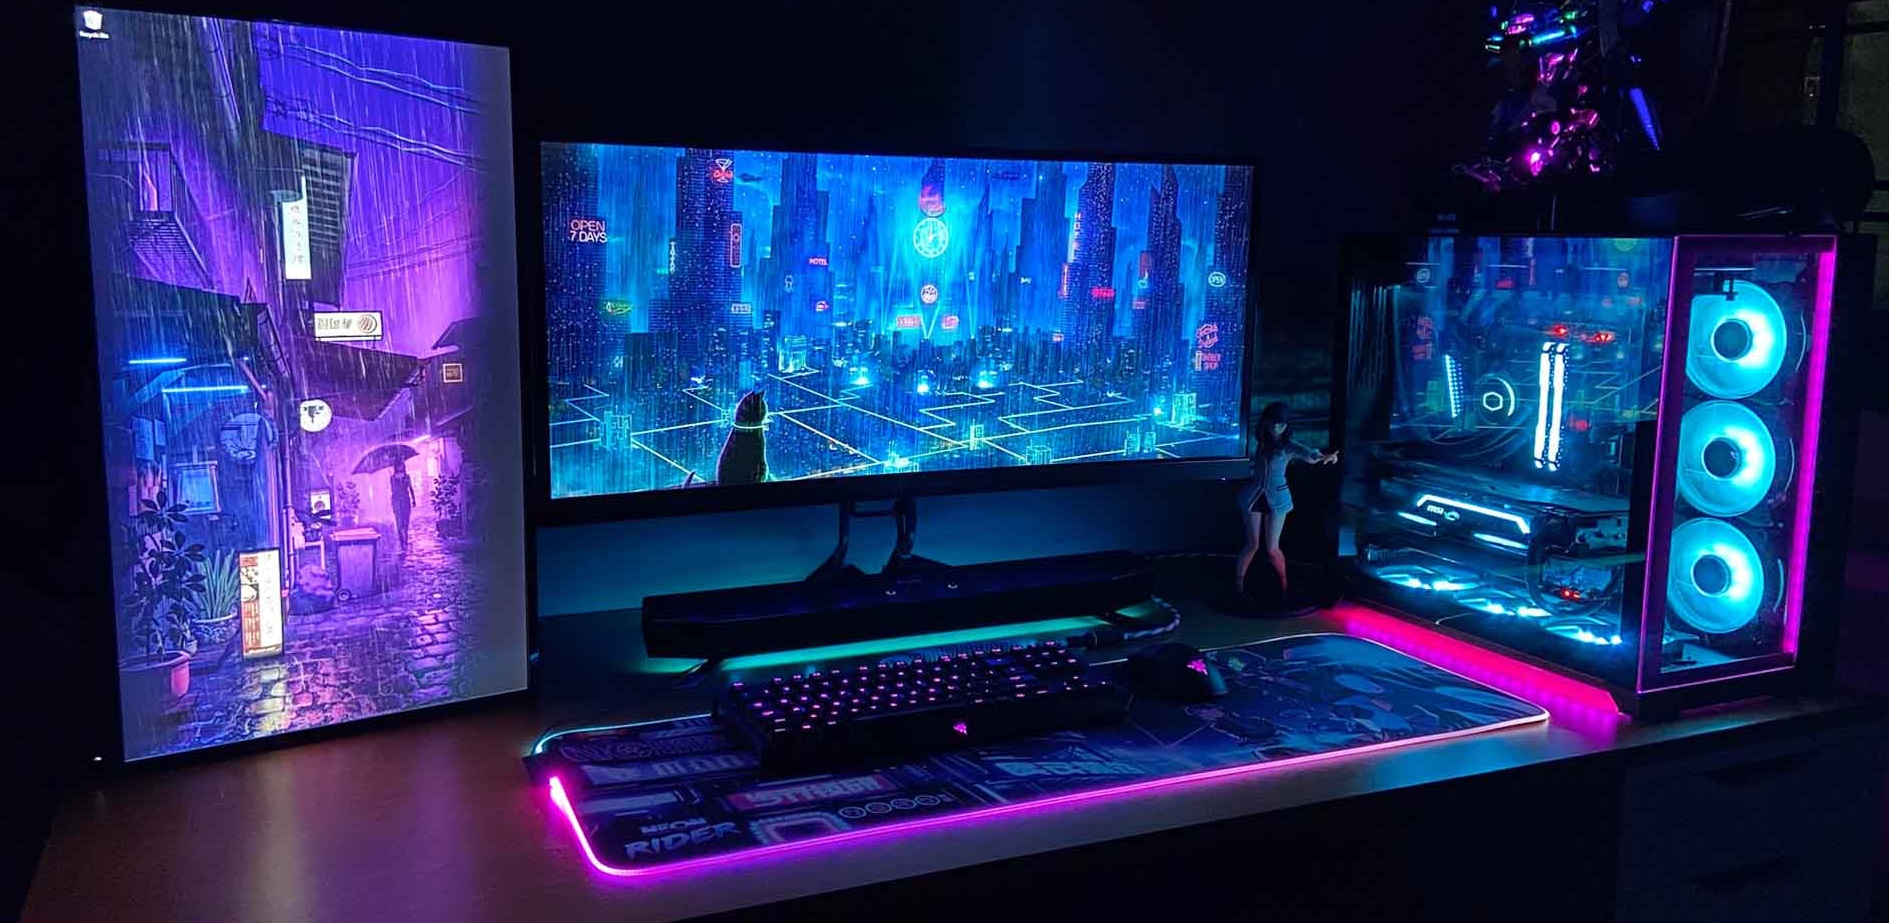
Connecting Peripherals
Connecting peripherals is the final step in setting up your PC case. Peripherals include devices like monitors, keyboards, mice, speakers, and other external devices. Here’s how you can connect them:
- Connect your monitor to the appropriate port on the graphics card or motherboard, depending on whether you have a dedicated graphics card or integrated graphics.
- Connect your keyboard and mouse to available USB ports on the front or back of the PC case.
- If you have external speakers or headphones, connect them to the audio ports on the motherboard or sound card.
- Ensure that all cables are securely connected and aligned with their respective ports.
- Double-check that all peripherals are powered on and functioning correctly.
Connecting peripherals allows you to interact with your computer and enjoy its full functionality. By ensuring that all cables are properly connected and peripherals are powered on, you can minimize any issues or compatibility problems.
With the peripherals successfully connected, we can now move on to turning on the PC case.
Turning on the PC Case
After completing all the necessary connections, it’s time to turn on the PC case and see if everything is working as expected. Follow these steps to power on your PC:
- Ensure that all the connections, including the power supply, case fans, HDD/SSD, front panel connectors, and peripherals, are properly secured and connected.
- Double-check that the power supply switch on the back of the case is in the “on” position.
- Locate the power button on the front of the case.
- Press the power button to turn on the PC.
- Observe the computer components, such as the fans and lights, to confirm that they are running and functioning properly.
- If you have a display connected to the computer, it should show the initial boot process.
- Listen for any unusual sounds or beeps, as they may indicate an issue with the hardware or connections.
If everything powers on smoothly and you can see the initial boot process, congratulations! You have successfully tested and turned on your PC case without a motherboard.
If you encounter any problems, refer back to the previous sections and double-check your connections. It’s important to troubleshoot and address any issues before proceeding further with the installation of the motherboard and other components.
Now that you have successfully turned on the PC case, you can continue with the installation of the motherboard and other components, which will complete the setup of your computer.
Troubleshooting Tips
While setting up your PC case without a motherboard, you may encounter some challenges or issues. Here are a few troubleshooting tips to help you overcome common problems:
- Double-check your connections: Ensure that all cables, connectors, and components are properly connected and securely seated. Loose connections can cause issues with power delivery, data transfer, and component functionality.
- Verify power supply functionality: If your PC case is not turning on or components are not receiving power, retest your power supply using a power supply tester or multimeter. Faulty power supplies can lead to various issues, including system instability or no power at all.
- Check for correct voltage settings: If you’re using a voltage selector switch on the power supply, make sure it is set to the correct voltage for your regional power standards. Using the wrong voltage can damage components or prevent proper power delivery.
- Ensure proper grounding: Static electricity can damage delicate components. Make sure you touch a grounded metal surface or wear an anti-static wrist strap to discharge any built-up static before handling components.
- Refer to manuals and guides: Consult the manuals and guides that came with your PC case, power supply, motherboard, and other components. These resources can provide specific instructions and troubleshooting steps for your particular setup.
- Perform component-specific troubleshooting: If you’re experiencing issues with a specific component, such as case fans not spinning or HDD/SSD not being detected, refer to the component’s manual or online resources for troubleshooting steps tailored to that component.
- Seek external assistance: If troubleshooting steps don’t resolve the issue, consider seeking help from online forums, tech communities, or professional technicians who can provide additional guidance or insights into the problem.
Remember, troubleshooting is part of the PC building process, and it’s normal to encounter some challenges along the way. Patience and thorough troubleshooting can help you identify and resolve issues, ensuring a smooth and successful setup of your PC case.
With these troubleshooting tips in mind, you’re better equipped to handle any challenges that may arise during the setup process.
Conclusion
Congratulations on successfully setting up and testing your PC case without a motherboard. This process allows you to ensure the functionality of essential components such as the power supply, case fans, HDD/SSD, front panel connectors, and peripherals before proceeding with the complete installation of your computer.
By following the step-by-step instructions provided in this guide, you have gained valuable knowledge and skills in connecting and troubleshooting various aspects of your PC case. From testing the power supply to connecting peripherals, these steps are crucial for a smooth and efficient setup.
Remember to maintain safety precautions throughout the process, such as grounding yourself properly and handling components with care to prevent any damage from static electricity.
If you encountered any challenges or issues during the setup, the troubleshooting section provided helpful tips and suggestions to overcome common problems. Refer back to the troubleshooting steps and consult relevant manuals or online resources for further assistance.
Now that you have successfully completed the initial setup, you can proceed with installing the motherboard, CPU, RAM, graphics card, and other components. Building your own PC allows for customization and flexibility, enabling you to create a system that meets your specific needs and requirements.
Good luck with the rest of your PC building journey, and may your new computer provide you with countless hours of productivity, entertainment, and enjoyment!