Introduction
When purchasing a new PC case, you may have noticed that it comes with a small bag of tiny screws. These seemingly insignificant items often leave users wondering why they are included and what purpose they serve in the overall assembly process. In this article, we will delve into the world of these tiny screws and explore their importance in securing components within a PC case.
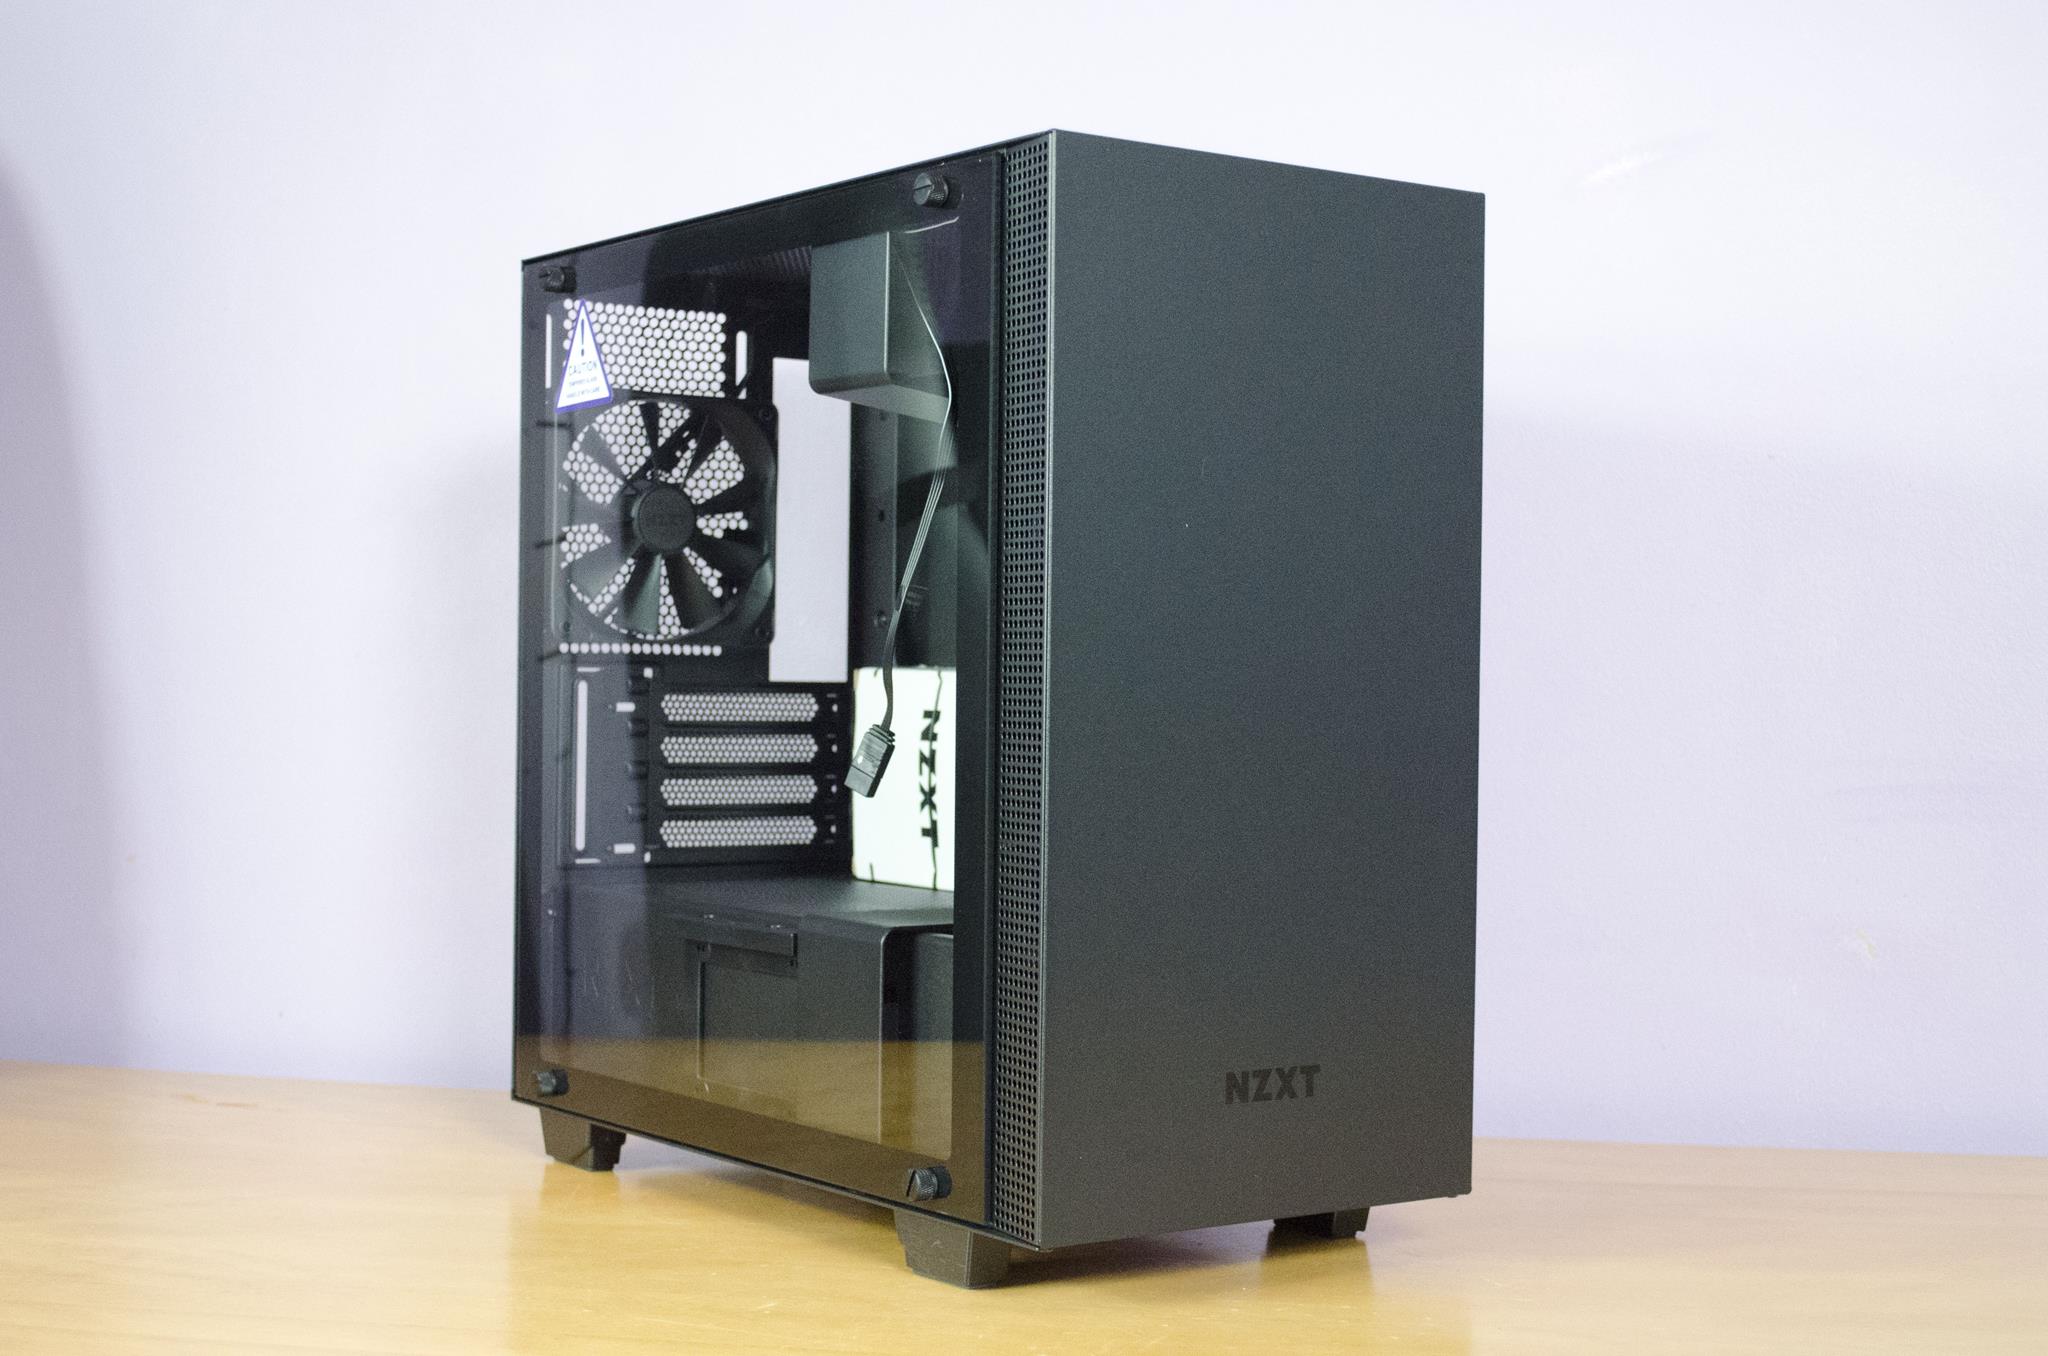
PC cases are specifically designed to house all the necessary components of a computer system, including the motherboard, graphics card, hard drives, and more. These components need to be securely fastened to the case to ensure stability and prevent any potential damage or dislodging. This is where the tiny screws come into play.
The screws provided with a PC case are designed to fit perfectly with the pre-drilled holes present on the case and the various components. They are typically made of durable materials such as steel or brass to withstand the strain and provide a strong, stable connection. Without these screws, the components inside the case would be prone to movement, leading to potential malfunctions or even physical damage.
Furthermore, the use of screws allows for easy installation and removal of components when necessary. Whether you are upgrading or troubleshooting your PC, having the proper screws makes the process much simpler. Plus, they provide a more secure hold compared to other methods, such as adhesive tapes or plastic clips.
While the inclusion of the tiny screws may seem like a small detail, they play a crucial role in the overall functionality and longevity of your PC. Understanding their purpose and knowing how to use them correctly will not only ensure a successful assembly but also help maintain the integrity of your system.
Why Do PC Cases Come With Tiny Screws?
PC cases come with tiny screws for several important reasons. Let’s explore these reasons and understand why these screws are necessary for assembling a computer system.
1. Secure Mounting: One of the primary purposes of the tiny screws is to securely mount various components within the PC case. As mentioned earlier, these screws fit into pre-drilled holes on the case and the components, providing a stable and secure connection. This prevents any movement or displacement of the components, ensuring that they remain firmly in place.
2. Vibration Dampening: In addition to providing a secure hold, the screws also help dampen vibrations that can occur during operation. PC components, such as hard drives and fans, generate vibrations while running. The screws act as a barrier, minimizing the transfer of vibrations to the case itself, which could potentially amplify noise or cause unnecessary shaking of the system.
3. EMI Shielding: Another important reason why PC cases come with tiny screws is to provide electromagnetic interference (EMI) shielding. EMI refers to the electrical noise that can interfere with the proper functioning of various computer components. By tightly fastening components with screws, the case acts as a grounded shield, reducing the risk of EMI and ensuring smooth operation.
4. Accessibility for Maintenance: The tiny screws allow for easy access to the components inside the PC case. When you need to upgrade or replace a part, removing the screws helps to open the case and gain access to the relevant component. This ease of maintenance is crucial for troubleshooting issues or making hardware upgrades without causing any potential damage.
5. Compatibility: PC cases are designed to accommodate a variety of components from different manufacturers. The inclusion of different types and sizes of screws ensures compatibility with various components, making them versatile and adaptable to different hardware configurations.
In summary, the tiny screws that come with PC cases serve multiple purposes. They provide secure mounting, dampen vibrations, offer EMI shielding, enable easy maintenance, and ensure compatibility with diverse components. As trivial as they may seem, these tiny screws play a significant role in the overall stability and functionality of your computer system.
Different Types of Screws Used in PC Cases
PC cases include various types of screws, each designed to serve a specific purpose in the assembly process. Understanding these different types of screws will help you identify and use them correctly. Let’s explore the most common types of screws found in PC cases:
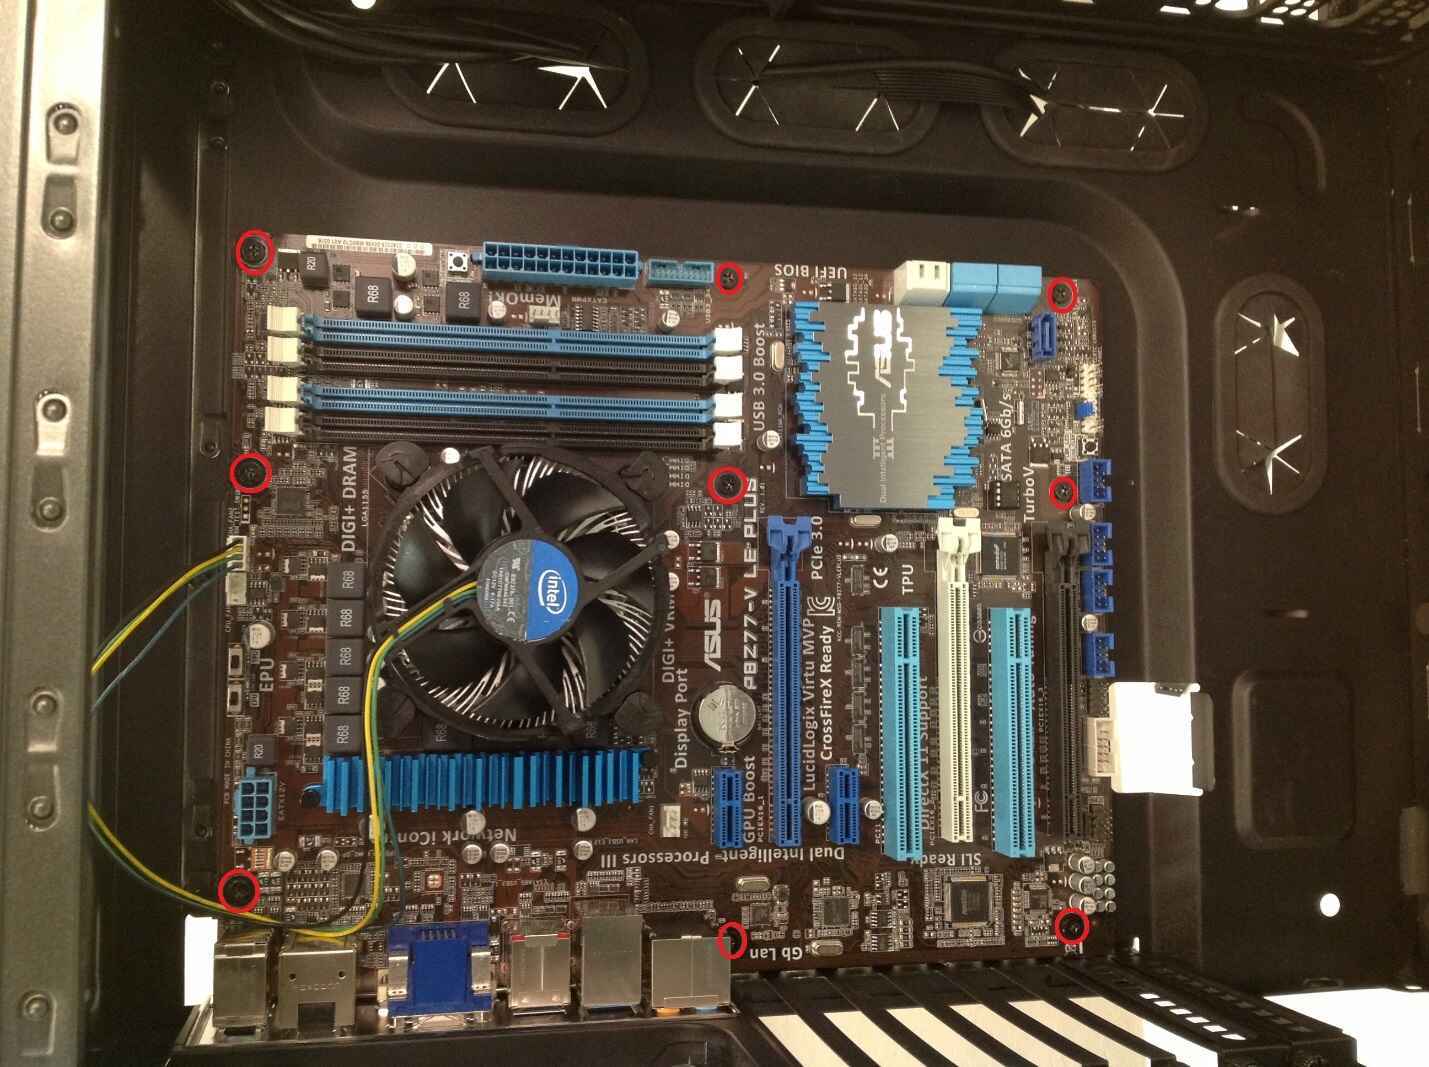
1. Motherboard Standoff Screws: These screws are used to elevate and secure the motherboard within the case. They have a threaded end that fits into pre-drilled holes on the case, and a raised end that provides clearance for the motherboard to be mounted. The standoff screws ensure that the motherboard is properly aligned and securely mounted, preventing any contact with the case, which could cause electrical shorts.
2. Hard Drive Screws: These screws are used to secure hard drives and solid-state drives (SSDs) in their drive bays. They are typically shorter and have a broad, flat head, allowing them to firmly attach the drive to the drive bay. Hard drive screws are essential for preventing any movement or vibration, ensuring the stability and reliable operation of storage devices.
3. Fan Screws: These screws are used to mount fans onto the case or radiators for liquid cooling solutions. Fan screws are longer than other types of screws and have a fine thread that allows for a secure hold. They are often accompanied by rubber grommets or washers to provide additional vibration isolation and prevent damage to the fan or radiator.
4. Expansion Card Screws: Expansion card screws are used to secure expansion cards, such as graphics cards or sound cards, in their respective slots on the motherboard. These screws typically have a coarse thread and are longer than other screws, ensuring a solid connection between the card and the case. Properly securing expansion cards prevents any movement or potential damage during transportation or operation.
5. PSU Screws: These screws are used to secure the power supply unit (PSU) to the case. They are often larger than other screws and have a coarse or fine thread, depending on the case and PSU requirements. PSU screws help to hold the power supply firmly in place, preventing any shifting or potential damage to the PSU or other components.
It is important to note that different PC cases and components may require additional or specialized screws, such as M.2 standoff screws or optical drive screws. Always refer to the case and component manuals for specific information on the required screws.
By familiarizing yourself with these different types of screws, you can easily identify and utilize the appropriate screws for each component. Properly securing the components ensures the stability, functionality, and longevity of your computer system.
How to Identify and Use the Tiny Screws
Identifying and using the tiny screws that come with PC cases may seem daunting, especially if you are new to computer assembly. However, with a few simple guidelines, you can easily identify the screws and use them correctly. Here’s how:
1. Read the Manual: Always start by referring to the PC case and component manuals. These documents usually provide detailed information about the types and sizes of screws required for specific components. Check the illustrations or parts list to identify the screws included with the case.
2. Look for Labels: Some manufacturers label the bags or compartments containing the screws with their specific use or component. Look for labels such as “Motherboard Standoff Screws,” “Hard Drive Screws,” or similar descriptions. This can help you quickly identify the screws you need for a particular component.
3. Size and Shape: Examine the screws and compare their size and shape to the pre-drilled holes or components they are intended to secure. Motherboard standoff screws will have a threaded end and a raised end to elevate the motherboard, while hard drive screws will usually have a flat, broad head.
4. Thread Type: Pay attention to the thread type of the screws. Some screws, like fan screws, have a fine thread, while others, like expansion card screws, have a coarse thread. Make sure to match the correct thread type with the corresponding component to ensure a secure fit.
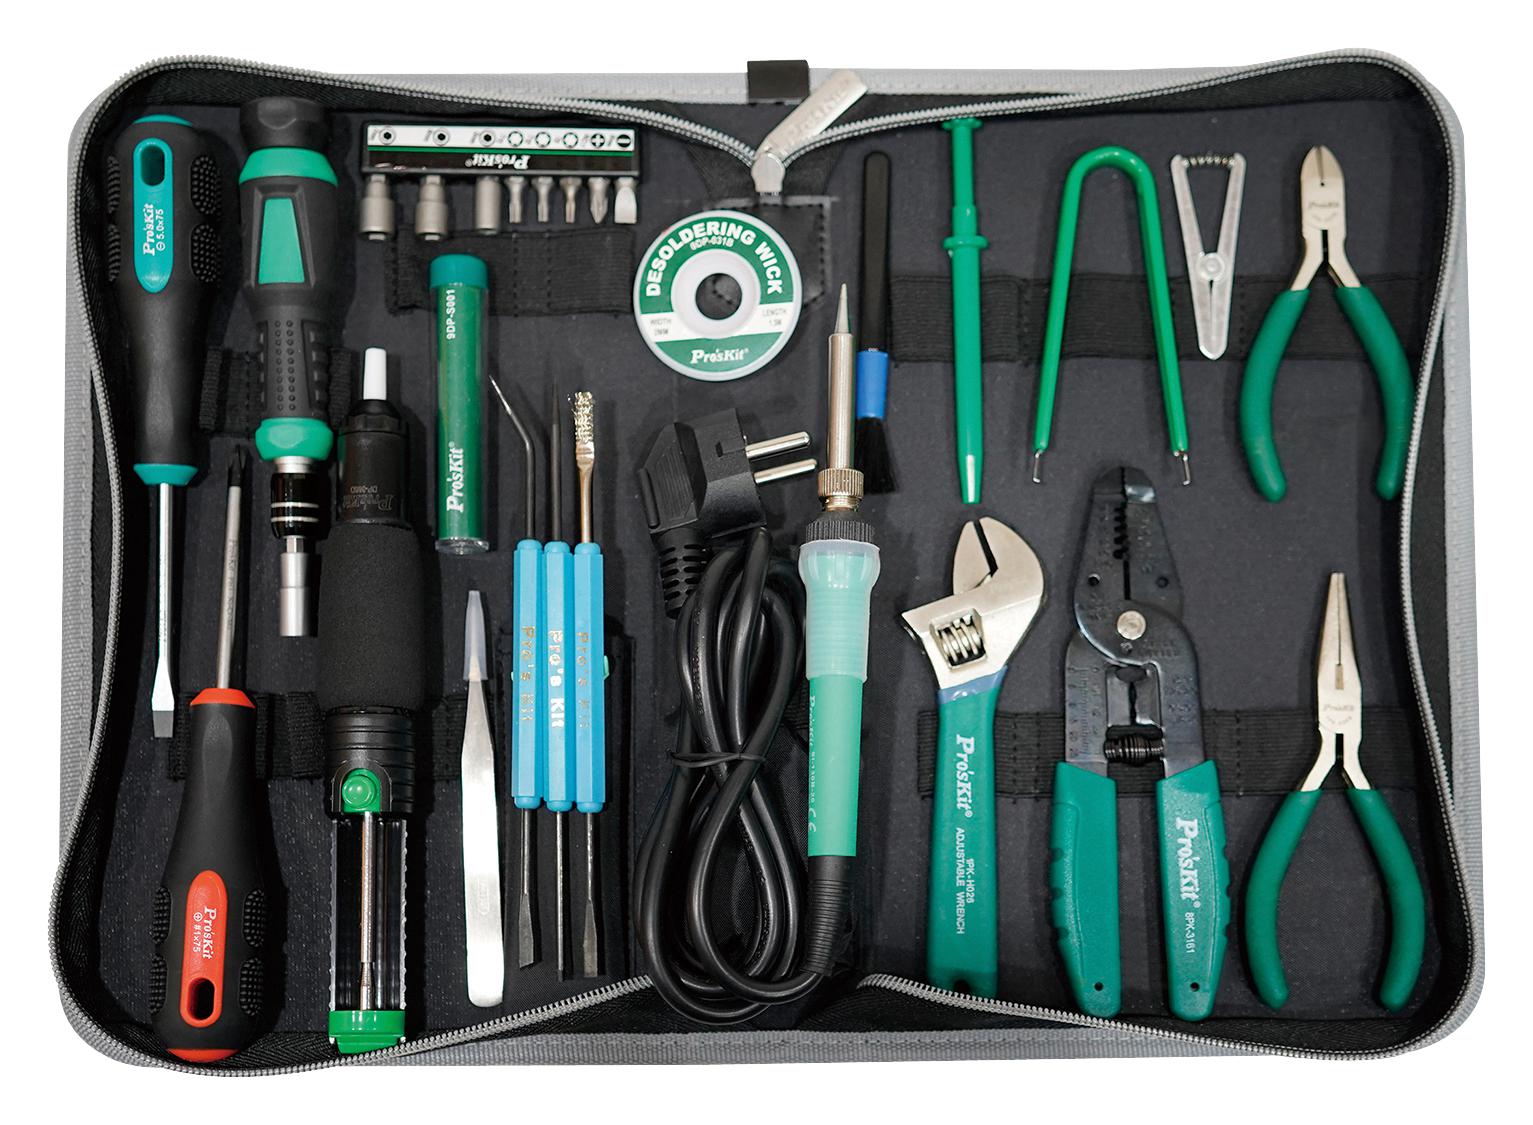
5. Use a Magnetic Screwdriver: Using a magnetic screwdriver can make handling the tiny screws much easier. The magnetic tip will hold the screw in place, preventing it from getting lost or dropping into hard-to-reach areas. This is especially helpful when working in tight spaces within the PC case.
6. Apply Proper Torque: When tightening screws, it’s crucial not to overtighten them, as this could damage the components or strip the threads. Apply sufficient torque to ensure a secure hold, but avoid excessive force. Use a screwdriver or screwdriver handle that provides good grip and control to avoid any accidental slips.
Remember, if you encounter any difficulties or have specific questions about screw identification or usage, consult the manufacturer’s support or community forums for further guidance.
By following these guidelines, you can confidently identify and use the tiny screws that come with your PC case. Proper usage ensures the secure and reliable assembly of your computer components.
Tips for Organizing and Keeping Track of the Screws
Assembling a PC involves using various types and sizes of screws. Keeping these tiny screws organized and easily accessible is essential for a smooth assembly process and minimizing the risk of losing them. Here are some helpful tips for organizing and keeping track of the screws:
1. Use Magnetic Trays or Small Containers: Invest in small magnetic trays or containers to keep the screws organized. These trays have magnetic bases that help keep the screws in place, preventing them from rolling off the table or getting mixed up with other components. Label the trays or containers to designate specific screw types or components, making it easier to find the right screws when needed.
2. Create a Screw Diagram: Before starting the assembly process, create a diagram or take pictures of the case and components with the corresponding screw locations. This will help you remember where each screw should go and minimize the chances of using the wrong screws in the wrong places.
3. Arrange Screws in Sequence: Arrange the screws in a specific sequence based on the assembly process. For example, start with motherboard standoff screws, followed by hard drive screws, expansion card screws, and so on. This will streamline the assembly process and minimize the time spent searching for the right screws.
4. Use Ziplock Bags or Labelled Pouches: For larger projects or when working with multiple cases or components, use ziplock bags or labelled pouches to separate and organize the screws. Write the name or description of the component on each bag or pouch to ensure easy identification and retrieval when required.
5. Keep Extras and Miscellaneous Screws Separate: It is common to have extra screws or miscellaneous screws that do not belong to any specific component. Keep these screws in a separate container or compartment to avoid unintentionally using them in the wrong places. It is always better to consult the manual or manufacturer’s instructions before assuming that an extra screw is needed.
6. Double-Check Before Moving On: As you progress with the assembly, take a moment to double-check that all the screws are properly tightened and secure. This will help ensure that no screws are missed or left loose, which could lead to potential issues down the line.
Remember, organization and attention to detail are key when it comes to keeping track of screws. By implementing these tips, you can maintain an organized workspace and ensure a successful assembly process.
Frequently Asked Questions About Tiny Screws in PC Cases
Assembling a PC and dealing with tiny screws can raise various questions and concerns. Here are some frequently asked questions about the tiny screws found in PC cases:
1. What should I do if I lose a tiny screw?
If you lose a tiny screw during assembly, first check if you have any extra screws provided with the case. If not, you can purchase replacement screws from hardware or electronics stores. It’s always a good idea to keep a small assortment of common screws handy for such situations.
2. Can I use a different type of screw if I can’t find the exact one?
It is generally recommended to use the exact type of screw specified for each component. Using a different type of screw may not provide a secure fit or could potentially damage the component or case. If you are unable to find the right screw, consider contacting the manufacturer or seeking advice from experienced computer builders.
3. Can I reuse screws when upgrading components?
In most cases, you can reuse screws when upgrading components. However, ensure that the screws are in good condition and have not been damaged in any way. It’s always a good practice to inspect the screws and replace them if they show signs of wear or degradation.
4. How tight should I tighten the screws?
When tightening screws, apply enough torque to ensure a secure connection, but avoid overtightening. Tighten the screws until they are snug but not excessively tight, as this could strip the threads or damage the components. Use a screwdriver handle that provides good grip and control to avoid using excessive force.
5. Can I use adhesive or tape instead of screws?
While adhesive or tape might seem like a convenient alternative, it is generally not recommended for securing components in a PC case. Adhesive or tape may not provide a secure enough hold and can make it more challenging to upgrade or replace components in the future. Screws offer a more reliable and versatile mounting solution.
6. Are there any safety precautions I should take when handling tiny screws?
When handling tiny screws, it’s important to work in a well-lit area and use a clean, clutter-free workspace. Avoid dropping screws inside the case or allowing them to roll off the table, as this can be challenging to retrieve. Additionally, be careful not to apply excessive force or use tools that are too large, as this could damage the screws or components.
By addressing these frequently asked questions, you can gain a better understanding of the importance and proper handling of the tiny screws in PC cases. Remember to exercise caution and refer to manufacturer instructions when in doubt.
Conclusion
The tiny screws that come with PC cases may seem like small details, but they play a crucial role in the assembly and functionality of your computer system. These screws are designed to securely mount components, dampen vibrations, provide EMI shielding, and allow for easy maintenance. By understanding the different types of screws and how to use them correctly, you can ensure a successful and reliable assembly process.
Organizing and keeping track of the screws is equally important. Utilizing magnetic trays, small containers, or labelled pouches will help you stay organized and prevent the loss or mix-up of screws. Creating a screw diagram and double-checking each screw’s placement will minimize errors and ensure a proper fit for each component.
When working with tiny screws, it is essential to handle them with care, apply the appropriate torque, and avoid overtightening. Using the exact type of screw specified for each component is recommended to ensure a secure fit and prevent any potential damage.
By following these guidelines and addressing frequently asked questions about tiny screws in PC cases, you will be better equipped to assemble your computer system with confidence and maintain its stability and functionality over time.