Introduction
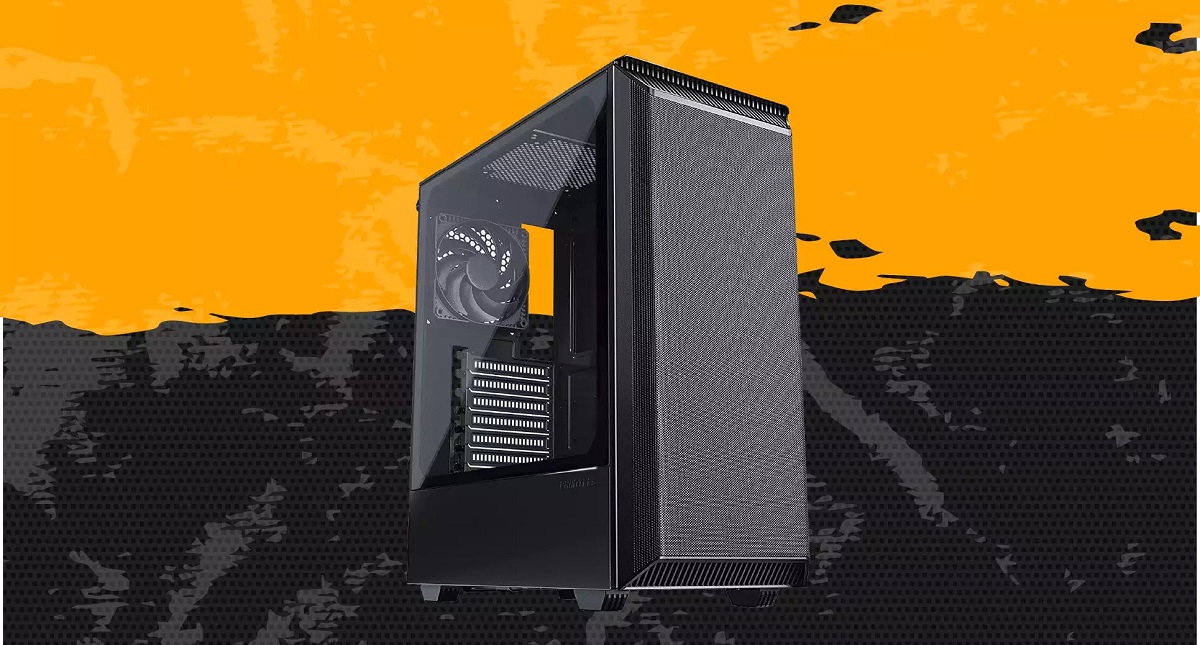
Welcome to our step-by-step guide on how to take the front part off of a PC case. Whether you are looking to clean the fan filters, replace the front panel, or upgrade your components, removing the front part of the PC case is an essential process you need to be familiar with. While it may seem daunting at first, with the right tools and techniques, you can easily accomplish this task.
Before we dive into the detailed steps, it’s important to note that every PC case is unique, and the process of removing the front panel may vary slightly between different models and manufacturers. However, the general steps outlined in this guide will provide you with a good starting point for most cases. Be sure to consult the documentation or support resources for your specific case if you encounter any difficulties along the way.
To successfully remove the front part of your PC case, you will need a few tools and materials. These include:
- Screwdriver set (both flathead and Phillips head)
- Anti-static wrist strap (optional but recommended)
- Soft cloth or compressed air for cleaning
- Patience and careful attention to detail
Now that you have the necessary tools ready, let’s proceed to the next section, where we will prepare the PC case for removing the front part.
Tools and Materials Needed
Before you begin the process of removing the front part of your PC case, it’s important to gather the necessary tools and materials. Having these items on hand will ensure a smooth and efficient experience. Here are the tools and materials you will need:
- Screwdriver set: You will need both flathead and Phillips head screwdrivers to remove the screws that hold the front panel in place. Make sure the screwdrivers you have are the appropriate sizes for the screws in your PC case.
- Anti-static wrist strap: While not essential, an anti-static wrist strap can help protect your PC components from damage caused by static electricity. It is recommended to use one to prevent any accidental discharge during the process.
- Soft cloth or compressed air: It’s a good idea to have a soft cloth or compressed air canister available to clean any dust or debris that may have accumulated inside the PC case. This will help maintain optimal airflow and prevent overheating.
- Patience and careful attention to detail: Removing the front part of a PC case requires patience and precision. Take your time to avoid damaging any components or connectors. Pay close attention to how the front panel is attached to the case to ensure you can reassemble it correctly later.
By having these tools and materials ready, you’ll be well-prepared to begin the process of removing the front part of your PC case. In the next section, we will guide you through preparing the PC case before starting the removal process. Stay tuned!
Preparing the PC Case
Before you start removing the front part of your PC case, it’s important to take some preparatory steps to ensure a smooth and safe process. This section will guide you through the necessary preparations:
- Turn off and unplug your PC: To avoid any risk of electrical shock or damage to your components, make sure your PC is powered off and unplugged from the wall outlet.
- Ground yourself: Static electricity can damage sensitive PC components. Before you begin, ground yourself by touching a grounded metal object or by wearing an anti-static wrist strap.
- Clear your workspace: Find a clean and static-free surface to work on. Remove any clutter or objects that could potentially damage your PC or obstruct your work area.
- Locate the screws: Examine the front part of your PC case and identify the screws that hold it in place. These screws are usually located on the top, bottom, or sides of the front panel. Take note of their locations and the type of screwdriver you’ll need to remove them.
- Remove any components attached to the front panel: If your PC case has any additional components attached to the front panel, such as LED lights or fan controllers, disconnect them carefully before proceeding. Consult the documentation provided with your PC case for specific instructions on removing these components.
Once you have completed these preparatory steps, you’re now ready to move on to the next section, where we will guide you through removing the side panels of your PC case. Taking these precautions and properly preparing your PC case will help prevent any accidental damage and ensure a successful removal of the front part. Let’s proceed!
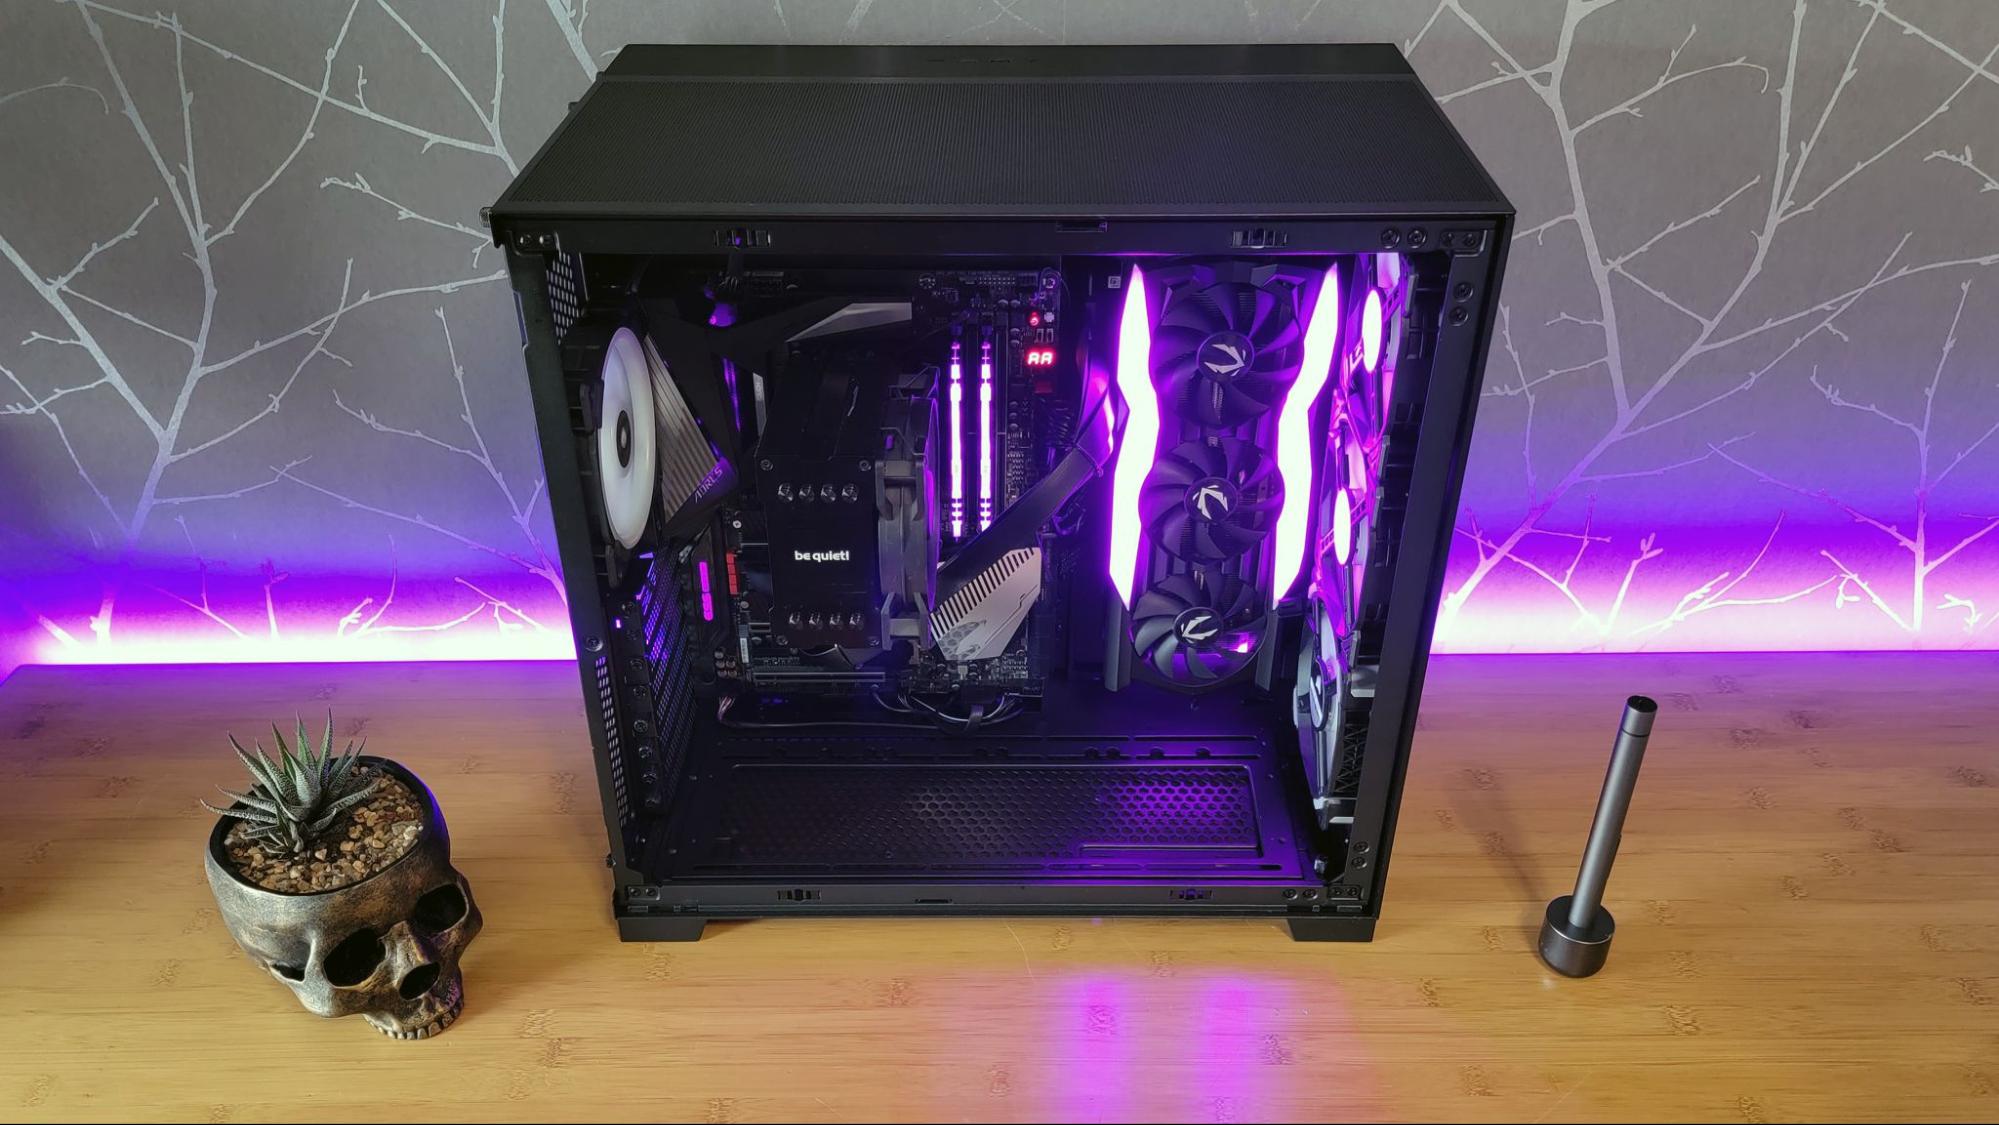
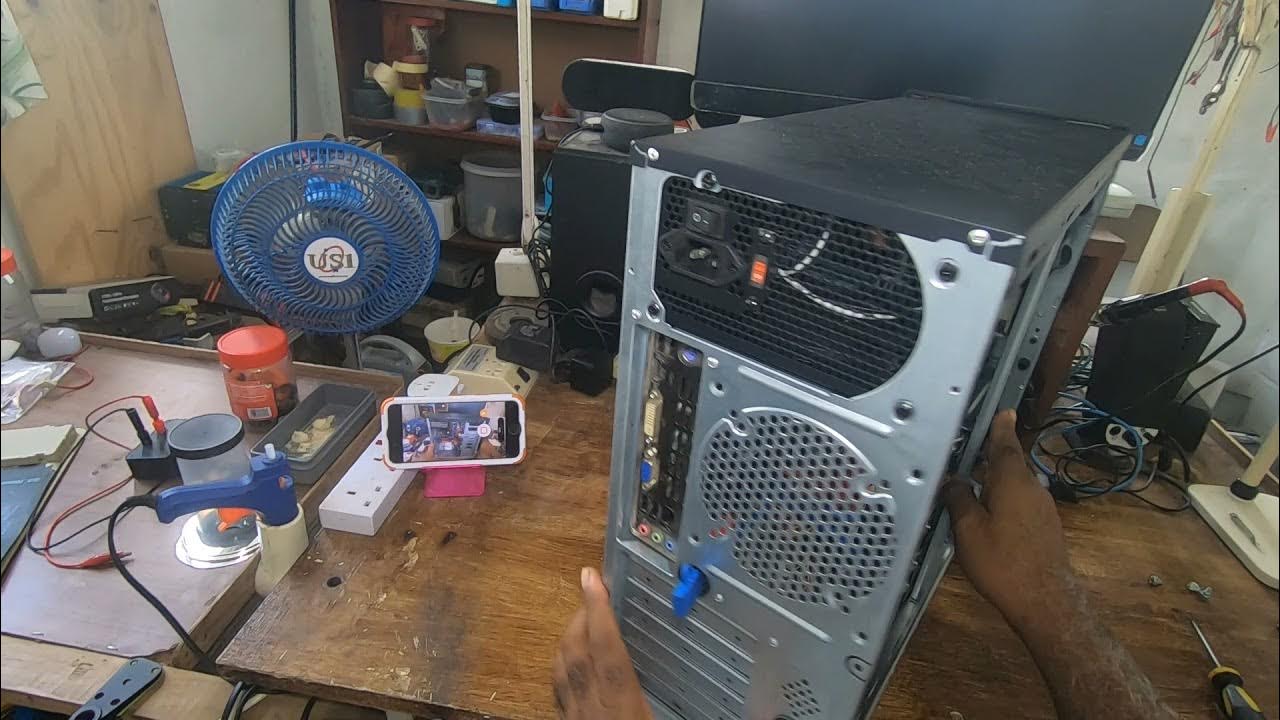
Removing the Side Panels
Before you can access the front part of your PC case, you need to remove the side panels. These panels are usually held in place by screws or latches. Follow these steps to remove the side panels:
- Consult your PC case manual: Different PC cases may have varying methods for removing the side panels. Therefore, it’s essential to refer to the instruction manual that came with your case for specific guidance.
- Locate the screws or latches: Look for screws located at the back of the case that secure the side panels. If your case uses latches, you’ll typically find them on the rear or top of the panel.
- Unscrew or unlatch the side panels: Use a screwdriver to remove the screws or press the latches to release the side panels. Be sure to keep the screws in a safe place to avoid misplacing them.
- Gently slide or lift off the side panels: Once the screws are removed or the latches released, gently slide the side panel backward or lift it upward to detach it from the case. Be cautious to avoid any cables or wires that may be connected to the panel.
- Set the side panels aside: Place the removed side panels in a secure location, away from your workspace, to prevent any damage or accidental tripping.
With the side panels successfully removed, you now have access to the internal components and can proceed with the next steps of removing the front part of your PC case. In the next section, we will guide you through disconnecting the cables and wires associated with the front panel. Let’s continue with the process!
Disconnecting Cables and Wires
Before you can completely remove the front part of your PC case, you’ll need to disconnect any cables and wires that are connected to the front panel. These can include power switches, LED lights, USB connectors, audio jacks, and more. Take the following steps to disconnect these cables and wires:
- Identify the connectors: Inspect the front panel and locate the connectors that are attached to it. These connectors may vary depending on the specific features of your PC case. It’s important to identify each connector to ensure proper reconnection later.
- Handle connectors with care: Gently grip the connectors and avoid pulling on the wires directly. Applying too much force may damage the connectors or their attached cables.
- Disconnect power switches and LED lights: Most PC cases will have power switch and LED light connectors. These are typically small, multi-colored cables with pins. Carefully detach them by firmly holding the connector and gently pulling it away from the front panel.
- Disconnect USB and audio connectors: If your PC case has front USB ports or audio jacks, they will also have corresponding connectors. These can either be individual cables or grouped in a single connector. Disconnect them by firmly grasping the connector and pulling it away from the front panel.
- Organize and secure disconnected cables: As you disconnect each cable or wire, take a moment to organize them and ensure they don’t get tangled or damaged. You can secure them with twist ties or zip ties for easier management.
By following these steps, you should be able to disconnect all the cables and wires associated with the front panel of your PC case. In the next section, we will guide you through the process of removing the front part itself. Stay tuned!
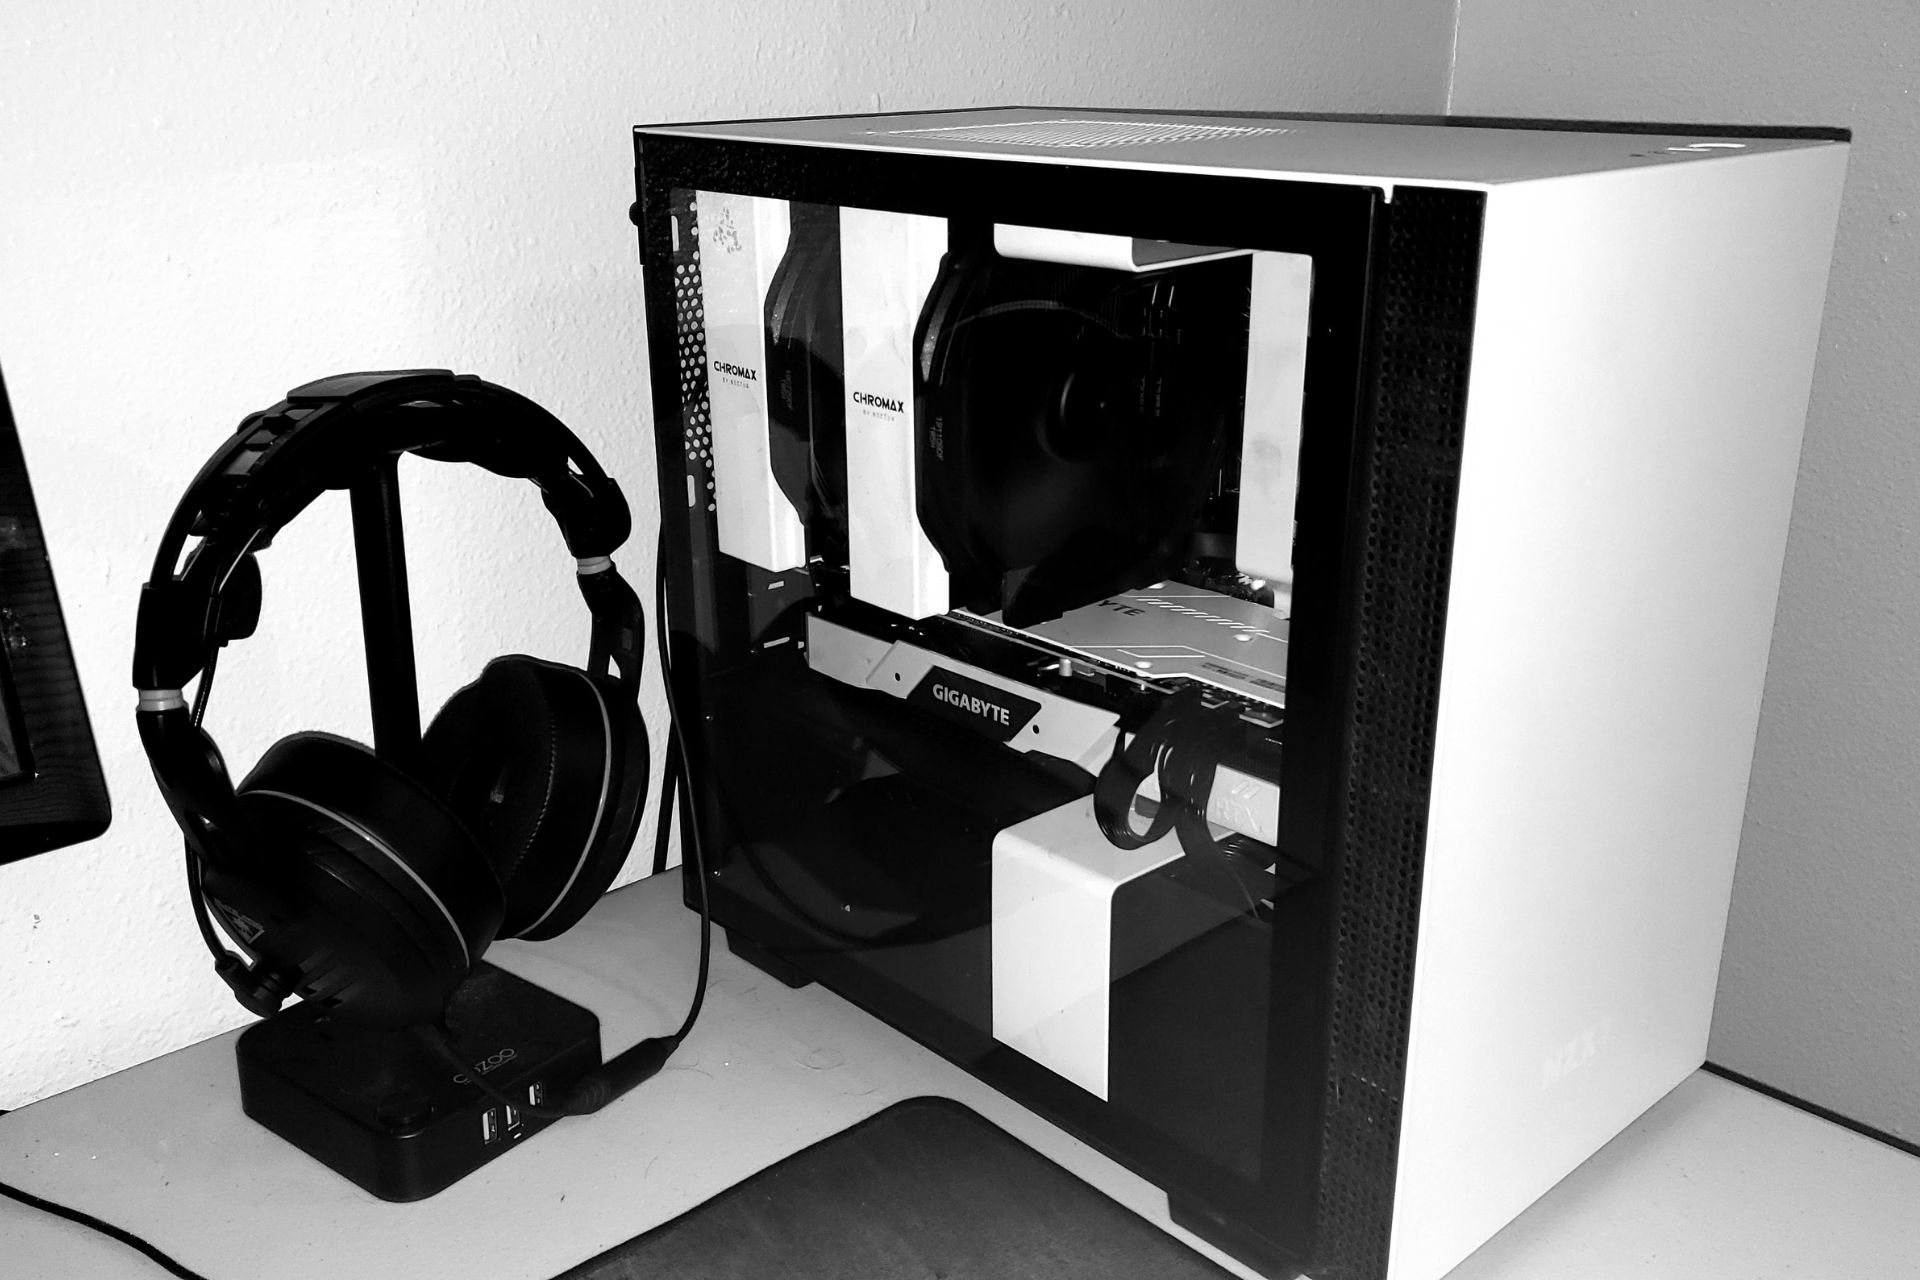
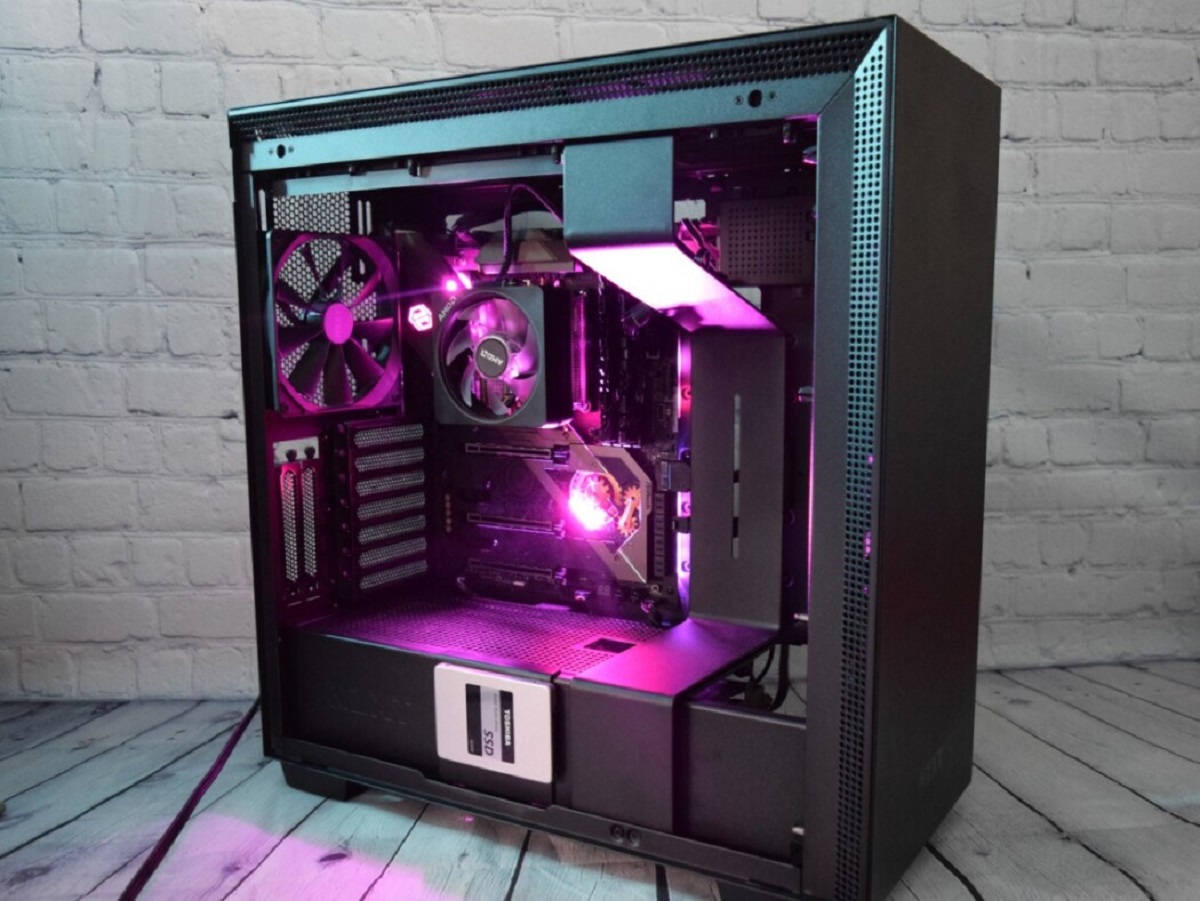
Removing the Front Part of the PC Case
Now that you’ve prepared the PC case, removed the side panels, and disconnected the cables and wires, it’s time to remove the front part of your PC case. Follow these steps to successfully remove the front panel:
- Examine the front panel: Take a close look at the front panel and identify any additional screws or attachments that may hold it in place. These can vary depending on the design of your PC case.
- Remove screws or attachments: Using the appropriate screwdriver or tool, carefully remove any screws or attachments securing the front panel. Keep them in a safe place as you will need them later for reassembly.
- Gently pry or slide off the front panel: With the screws or attachments removed, gently pry or slide off the front panel. Apply even pressure and ensure you’re not forcing it. In some cases, the front panel may be attached by clips or hooks, so be attentive to how it is connected.
- Set the front panel aside: Once the front panel is removed, place it safely in a clean and protected area to prevent any scratches or damage.
- Clean or perform necessary maintenance: With the front panel removed, take the opportunity to clean the fan filters or perform any maintenance tasks you had in mind. Use a soft cloth or compressed air to remove dust and debris.
After successfully removing the front part of your PC case, you can proceed with any upgrades, replacements, or cleaning you had planned. Remember to take note of how the front panel was originally installed to assist with the reassembly process. In the next section, we will guide you through reassembling the PC case. Let’s move forward!
Reassembling the PC Case
Once you have finished cleaning, making upgrades, or replacing components, it’s time to reassemble the PC case. Follow these steps to put everything back together:
- Retrieve the front panel: Take the front panel that you set aside and ensure it’s clean and free of any dust or debris.
- Align the front panel: Carefully align the front panel with the corresponding slots or hooks on the PC case. Ensure that any tabs or connectors match up with their respective sockets.
- Attach screws or re-clip: Insert and tighten any screws or reattach the clips, hooks, or attachments that hold the front panel securely in place. Use the same screws you removed during the disassembly process.
- Reconnect cables and wires: Take each cable or wire that you disconnected earlier and reconnect them to their respective ports on the front panel. Ensure a secure connection, aligning the pins or connectors properly.
- Replace the side panels: Slide or place the side panels back onto the PC case and secure them with the screws or latches. Ensure they are properly aligned and flush with the case.
- Double-check everything: Before you power on your PC, double-check that all cables and wires are properly connected, panels are securely in place, and any attachments or upgrades you made are functioning correctly.
Once you have completed these steps, you have successfully reassembled your PC case. Ensure you plug in your PC, power it on, and check that everything is working as intended. If any issues arise, double-check your connections and troubleshoot accordingly. By following this guide, you should be able to confidently remove and reattach the front part of your PC case for future maintenance or upgrades. Congratulations on your successful reassembly!
Conclusion
Congratulations! You have successfully learned how to remove the front part of your PC case. By following the step-by-step guide provided, you can confidently clean your PC case, replace the front panel, or upgrade your components without any hassle.
Remember to always refer to the specific instructions and documentation for your PC case model, as there may be slight differences in the removal process. Take your time during each step and exercise caution to avoid any damage to your PC components.
Preparation is key before starting any PC case modification or maintenance task. Ensure that you have the necessary tools and materials, such as a screwdriver set and an anti-static wrist strap, at your disposal to ensure a smooth process.
Be sure to pay attention to the connectors when disconnecting cables and wires from the front panel of your PC case. Organize and secure the cables properly to avoid tangling or damage. And always ground yourself and power off your PC before beginning any work.
Finally, when reassembling your PC case, take care to align the front panel correctly, securely attach screws or clips, and ensure that all cables and wires are reconnected properly. Double-check everything before powering on your PC to ensure that all components are functioning correctly.
By following these instructions and taking the necessary precautions, you can safely and successfully remove the front part of your PC case. Whether you’re performing routine maintenance or making upgrades, this guide will help you accomplish your goals.
Remember, the process may be slightly different for each PC case model, so always consult the specific manual or manufacturer’s instructions when in doubt. Enjoy your newfound knowledge and happy PC case maintenance!