Overview
The USB cord is an essential component of a PC case, allowing for the connectivity and communication between various devices and the computer itself. It plays a critical role in enabling the transfer of data, providing power to USB devices, and facilitating seamless interaction with external peripherals.
Whether you’re a casual computer user or a tech-savvy enthusiast, understanding the functionality and purpose of the USB cord in your PC case is crucial. This article will provide an overview of the USB cord’s role, its connection points within the case, and how it enables you to connect and utilize USB devices.
From the power supply unit to the internal headers and front panel connectors, this article will guide you through the various components that make the USB cord an essential part of your PC case. We will also discuss common troubleshooting tips for resolving USB issues and ensuring optimal functionality.
In summary, the USB cord in your PC case is the link that allows your computer to connect and communicate with a wide range of external devices. By understanding its functionality and various connection points, you’ll be able to make the most out of your USB-enabled peripherals and ensure a seamless computing experience.
Power Supply Unit (PSU)
The power supply unit (PSU) is a vital component in a PC case that provides electrical power to the various internal components. It plays a crucial role in powering not only the motherboard and processor but also the USB ports located on the case.
When it comes to USB connectivity, the PSU supplies the necessary voltage and current to ensure that USB devices receive adequate power to function properly. It converts the AC power from your wall outlet into DC power that can be utilized by the computer’s components, including the USB ports.
The USB cord is connected to the PSU with the help of internal cables. These cables are responsible for delivering the power from the PSU to the USB ports located on the front or top panel of the PC case. It’s important to note that the voltage and current supplied by the PSU to the USB ports are regulated to ensure the safe and efficient operation of connected devices.
Modern PSUs typically provide multiple USB ports, allowing you to connect a variety of USB devices simultaneously. The PSU ensures that each USB device receives an appropriate power supply, preventing overloading and potential damage to the devices or the power supply itself.
In summary, the power supply unit in your PC case is responsible for supplying the necessary power to the USB ports. It converts the AC power from the wall outlet into DC power, ensuring that USB devices receive adequate power to function properly. The PSU’s role in the USB connection process is crucial for maintaining the reliable performance of your computer’s peripherals.
Motherboard
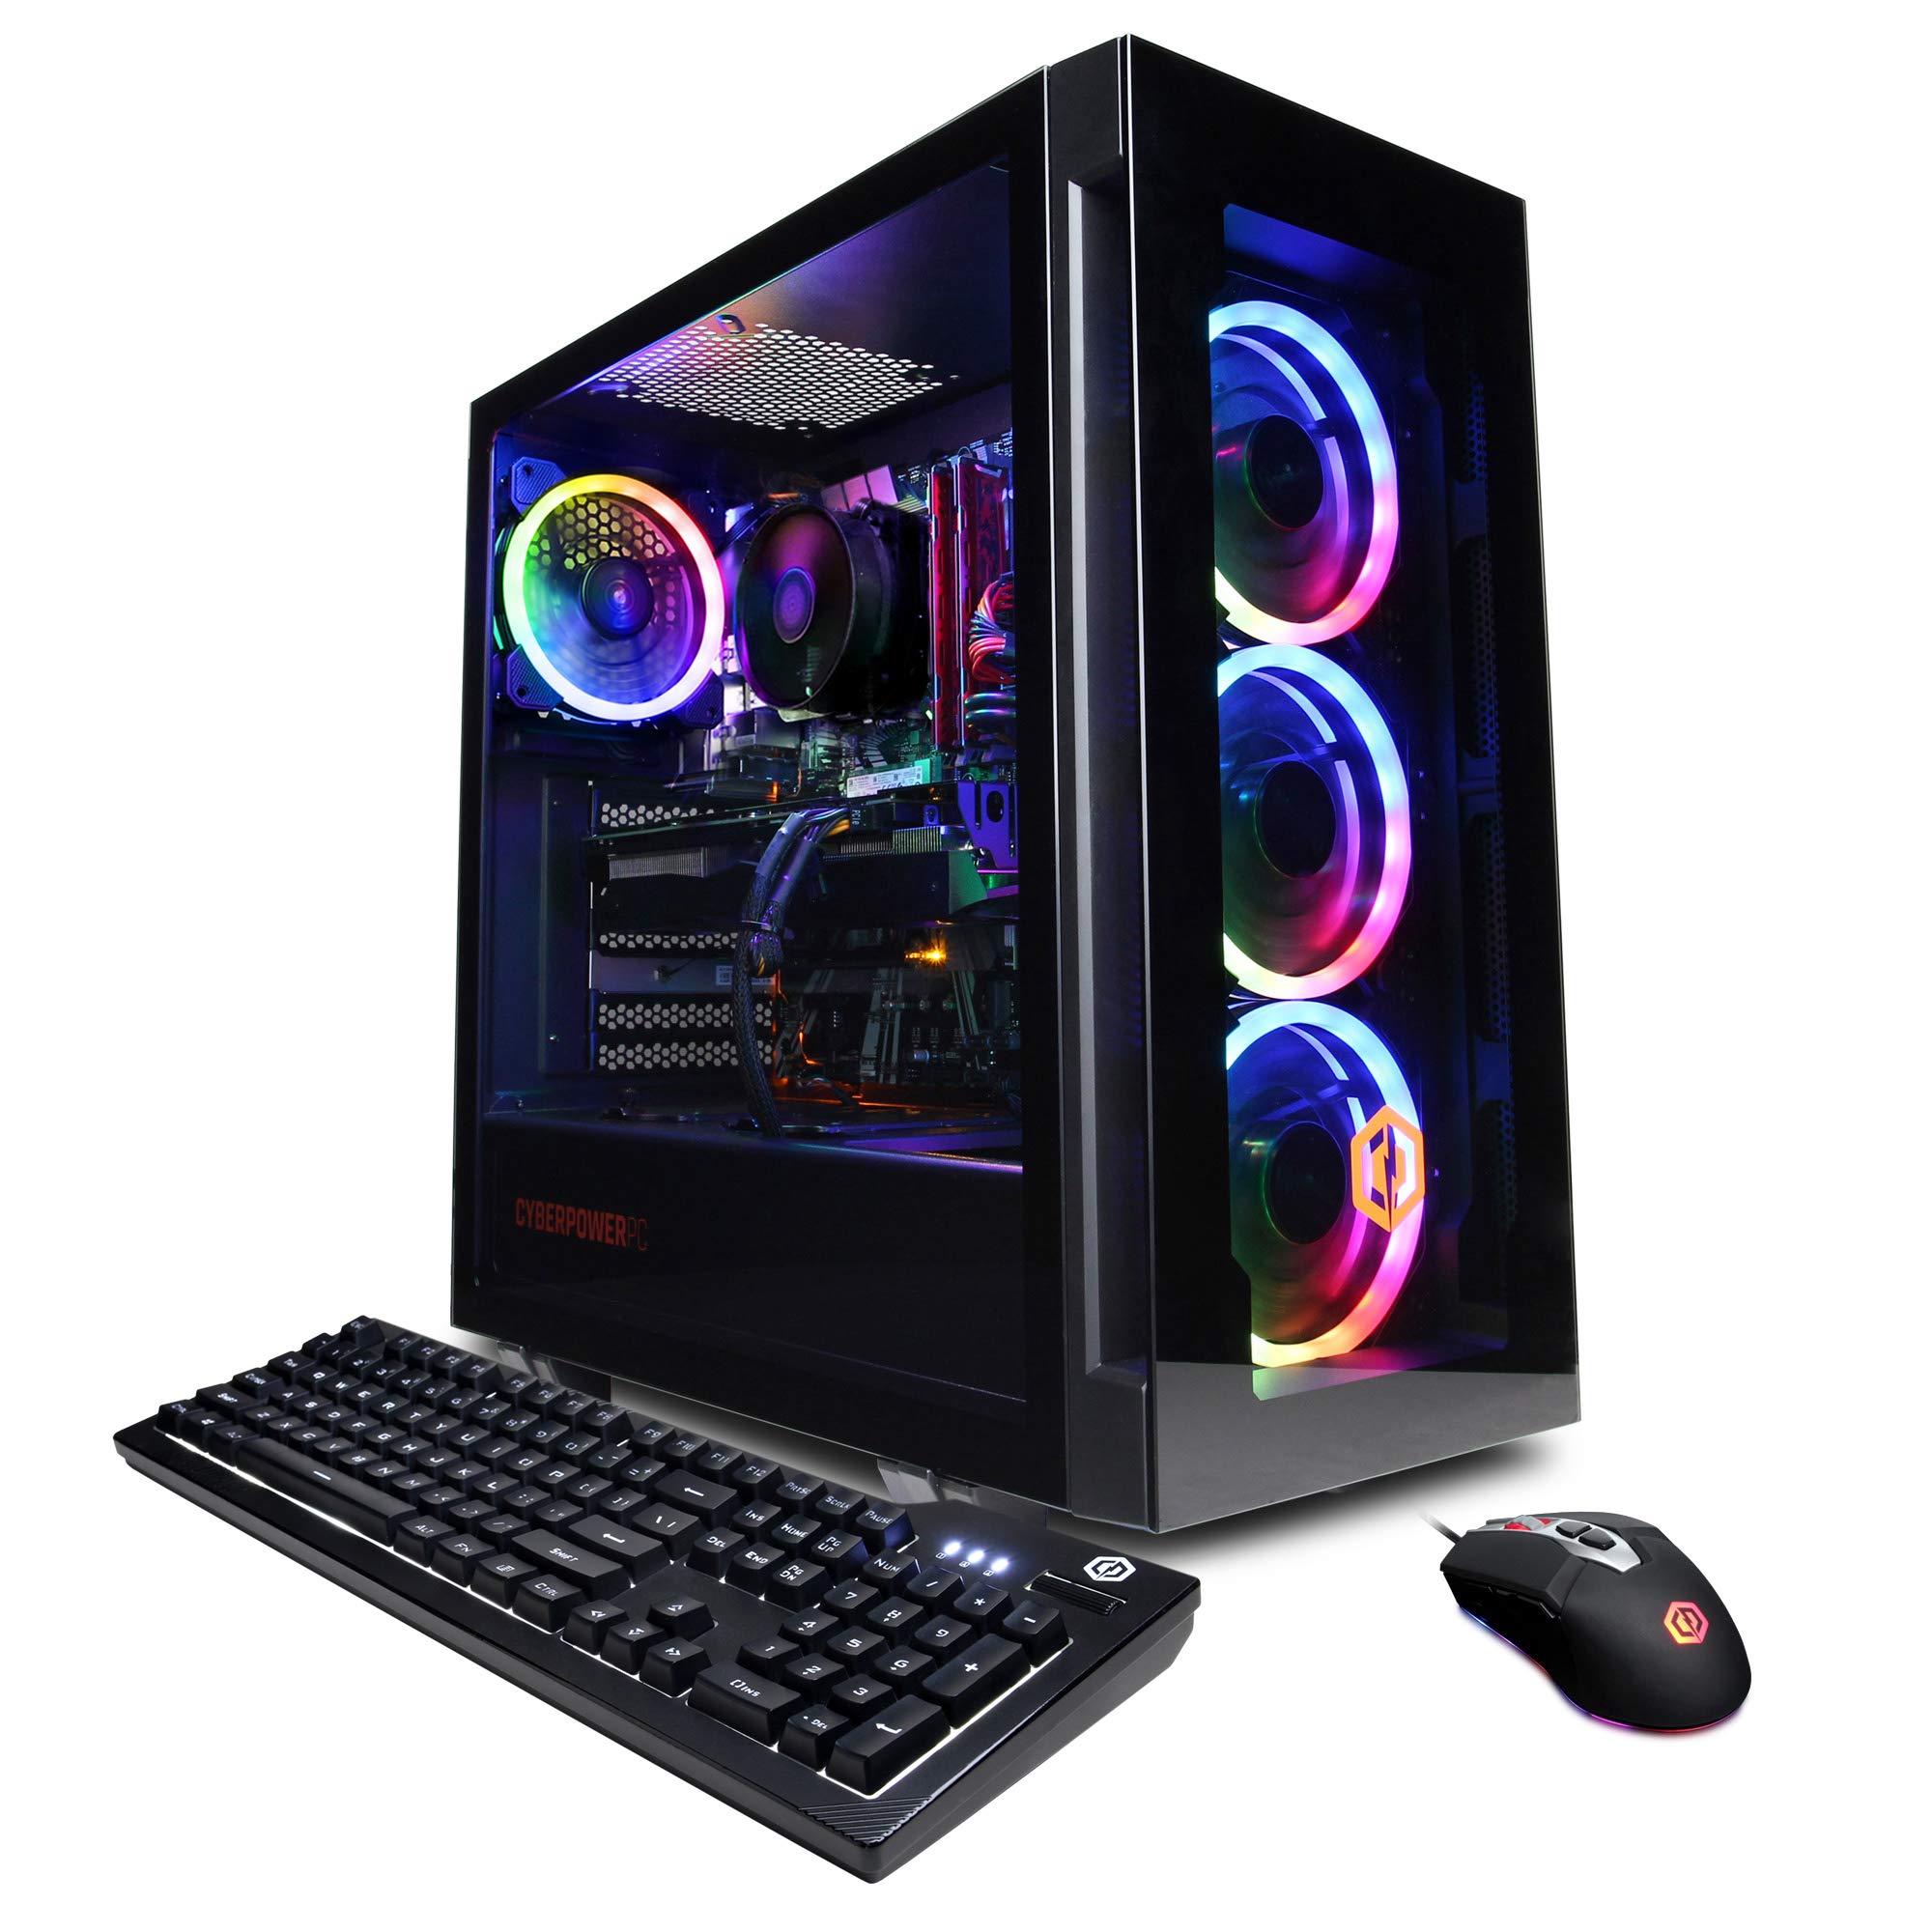
The motherboard is the central hub of a PC case, connecting all the internal components and providing the necessary infrastructure for communication and data transfer. When it comes to USB connectivity, the motherboard plays a vital role in facilitating the connection between the USB cord and the various USB devices.
Within the motherboard, you will find USB headers or connectors. These headers are specifically designed to accommodate the USB cord and allow for seamless integration between the motherboard and USB devices. The USB headers are usually located along the edges of the motherboard or in specific designated sections.
Modern motherboards offer different types of USB headers, including USB 2.0 and USB 3.0 headers. USB 2.0 headers are the most common and support data transfer speeds of up to 480 Mbps. USB 3.0 headers, on the other hand, provide faster data transfer speeds of up to 5 Gbps, making them ideal for high-speed USB devices.
Connecting the USB cord to the motherboard is a straightforward process. The USB cord typically consists of a connector that corresponds to the USB header on the motherboard. Simply align the pins on the connector with the header and gently plug it in. Ensure that the connection is secure to avoid any loose connections that may affect the functionality of the USB devices.
The USB connectors on the motherboard also provide power to the USB devices. This means that when you connect a USB device to the PC case via the USB cord, it not only establishes a data connection but also receives the necessary power to function correctly.
In summary, the motherboard serves as the central connecting point for the USB cord in a PC case. It provides USB headers or connectors that facilitate the connection between the motherboard and USB devices. The motherboard also supplies power to the USB devices, making it an essential component for seamless USB connectivity.
Front Panel Connectors
Front panel connectors are an integral part of a PC case and play a crucial role in connecting various peripherals and devices to the motherboard. In terms of USB connectivity, front panel connectors allow you to easily access and utilize the USB ports located on the front or top panel of your PC case.
Front panel connectors typically include a set of pins and headers that correspond to the different functions and features of the PC case. This includes power buttons, audio jacks, LED indicators, and of course, USB ports. Each USB port on the front panel of the case has a corresponding pair of pins on the motherboard, known as USB headers.
To connect the USB cord to the front panel connectors, you will need to identify the correct USB headers on the motherboard and match them to the pins on the front panel. The USB cord will have a connector that corresponds to these pins. Simply align the pins properly and gently plug in the connector, ensuring a secure connection.
It’s important to note that front panel connectors may vary depending on the PC case and motherboard manufacturer. Therefore, it is advisable to consult the user manual or documentation provided with your PC case and motherboard to identify the correct pins and headers for USB connectivity.
Once the USB cord is connected to the front panel connectors, the USB ports on the front or top panel of the case become accessible for connecting USB devices such as flash drives, keyboards, mice, or external hard drives. These ports provide convenient access to USB connectivity, allowing you to quickly transfer data, charge devices, or expand your system’s capabilities.
In summary, front panel connectors serve as the gateway for USB connectivity on the external part of your PC case. By connecting the USB cord to the corresponding pins and headers on the motherboard, you can take advantage of the USB ports located on the front or top panel of the case, enabling seamless access to various USB devices and peripherals.
Internal USB Ports
In addition to the USB ports located on the front or top panel of the PC case, there are also internal USB ports within the case itself. These internal ports provide connectivity options for expanding the number of USB devices that can be connected to your computer.
The internal USB ports are usually found on the motherboard and are called USB headers. They are designed to accommodate additional USB cables, allowing you to connect devices such as USB hubs, card readers, or internal USB-based peripherals like Wi-Fi or Bluetooth adapters.
Just like the front panel connectors, internal USB headers consist of a set of pins that correspond to the different USB functions. The USB cord can be connected to these headers using the appropriate connector, which matches the pin configuration.
It’s important to check the motherboard’s documentation to identify the specific internal USB headers and their locations. Motherboards may have different numbers and types of internal USB headers, depending on the model and manufacturer.
Once connected, the internal USB ports allow for seamless integration of additional USB devices within the PC case. This not only expands the number of USB devices you can utilize but also helps keep the internal cable management clean and organized.
Internal USB ports are particularly useful for upgrading or expanding your system’s capabilities. For example, if you need to add more USB ports to your computer or connect specialized USB devices, you can easily do so by utilizing the internal USB headers and cables.
In summary, internal USB ports, also known as USB headers, provide additional connectivity options within the PC case. By connecting the USB cord to these headers, you can expand the number of USB devices that can be connected to your computer. This flexibility allows for easy upgrades and customization of your system’s USB capabilities.
USB 2.0/3.0 Headers
USB 2.0 and USB 3.0 headers are specific types of internal USB ports found on the motherboard. They are designed to provide faster data transfer speeds and enhanced functionality compared to the standard USB ports located on the front or top panel of the PC case.
USB 2.0 headers, also known as USB 2.0 internal connectors, are the most common type of internal USB ports found on motherboards. They support data transfer speeds of up to 480 Mbps, making them suitable for connecting a wide range of USB devices.
USB 3.0 headers, on the other hand, are designed to support the latest USB 3.0 technology. They offer significantly faster data transfer speeds of up to 5 Gbps, delivering improved performance for high-bandwidth USB devices such as external hard drives, SSDs, and high-resolution webcams.
When connecting the USB cord to the USB 2.0 or USB 3.0 headers, it is essential to ensure that you properly identify the correct header on the motherboard. While USB 2.0 and USB 3.0 headers may look similar, they have distinct pin configurations and may be labeled accordingly on the motherboard.
The USB cord will have a corresponding connector for either USB 2.0 or USB 3.0 headers. Align the pins on the connector with the pin configuration of the specific header and gently plug it in. It is crucial to make a secure connection to ensure optimal performance and functionality.
It’s worth noting that USB 3.0 headers are backward compatible, meaning you can connect USB 2.0 devices to a USB 3.0 header and still achieve USB 2.0 speeds. However, to take advantage of the faster speeds offered by USB 3.0, you need to connect USB 3.0 devices to a USB 3.0 header.
In summary, USB 2.0 and USB 3.0 headers provide internal USB ports on the motherboard, offering faster data transfer speeds and enhanced functionality. By connecting the USB cord to the corresponding header, you can take advantage of USB 2.0 or USB 3.0 technology, depending on the specific header type. This allows for improved performance and compatibility with a wide range of USB devices.
USB Cable Management
Proper cable management is essential for maintaining an organized and clutter-free PC case, and this includes managing the USB cables effectively. With multiple USB devices and connectors, it’s important to keep the cables neat and tidy to ensure better airflow, easy access, and reduce the risk of damage or interference.
Here are some tips for managing your USB cables:
- Use cable ties or straps: Use cable ties or straps to bundle and secure the USB cables together. This helps to prevent them from tangling or getting in the way of other components within the case. It also makes it easier to identify specific USB cables when needed.
- Route cables behind the motherboard: The backside of the motherboard tray often has space for routing cables. Use this space to route USB cables neatly and out of sight. This helps to keep the interior of the case looking clean and organized.
- Utilize cable management features: Many modern PC cases have dedicated cable management features, such as cable routing holes or tie-down points. Take advantage of these features to guide USB cables along designated paths and secure them in place.
- Consider cable sleeves or covers: Cable sleeves or covers can be used to bundle USB cables together and create a cleaner appearance. Additionally, they can help protect cables from damage or fraying over time.
- Label the USB cables: It can be helpful to label the USB cables, especially if you have multiple USB devices connected. Labeling can make it easier to identify which USB cable belongs to which device, simplifying troubleshooting or rearranging of USB connections.
By implementing these tips, you can effectively manage your USB cables and create a clean and organized PC case. Not only does this enhance the aesthetics of your setup, but it also improves airflow and makes it easier to access and maintain your USB devices.
In summary, proper USB cable management is crucial for keeping your PC case organized and maintaining optimal functionality. By using cable ties or straps, routing cables behind the motherboard, utilizing cable management features, considering cable sleeves or covers, and labeling the USB cables, you can ensure a clean and clutter-free PC case while facilitating easy access and better airflow.
USB Ports on the Case
The USB ports on the case are the physical connectors that allow you to connect USB devices directly to your PC. They provide convenient access to USB connectivity without having to reach behind the computer or access the internal components.
Modern PC cases typically offer a range of USB ports on the front or top panel of the case. These ports come in different types, including USB 2.0, USB 3.0, and the newer USB 3.1 or USB-C ports. The number and type of USB ports can vary depending on the specific case model and manufacturer.
The USB ports on the case serve as the external interface for connecting USB devices such as keyboards, mice, printers, external storage devices, and many other peripherals. They provide a simple and accessible way to expand the functionality and versatility of your computer system.
When connecting USB devices to the USB ports on the case, you need to use the USB cord that came with the device or a compatible USB cord. Simply plug one end of the USB cord into the USB port on the device and the other end into one of the available USB ports on the case.
The USB ports on the case are typically labeled to indicate their type and function. This makes it easier to identify the specific ports and determine their capabilities. USB 3.0 ports, for example, are often color-coded in blue to differentiate them from USB 2.0 ports.
It’s important to note that the USB ports on the case are connected to the motherboard through internal cables. These cables transmit both data and power between the USB ports and the motherboard, allowing for seamless communication and device functionality.
In summary, the USB ports on the case provide easy and accessible connectivity options for USB devices. They serve as the external interface for expanding the functionality of your computer system. Understanding the different types of USB ports and properly connecting USB devices to these ports allows for efficient data transfer and seamless integration of peripherals.
Connecting USB Devices
Connecting USB devices to your PC is a straightforward process that allows you to expand the functionality and capabilities of your computer. Whether you’re connecting a keyboard, mouse, printer, or external storage device, here are the steps to properly connect USB devices:
- Identify the USB port: Locate the USB port on your PC case where you will be plugging in the USB device. Depending on the case, the ports may be on the front, top, or back of the case. Look for the appropriate USB symbol or labeling to guide you.
- Prepare the USB device: Ensure that the USB device you want to connect is powered on, if applicable. Also, make sure that you have the necessary drivers installed for the device, although most modern devices are plug-and-play, meaning they are automatically recognized by your computer.
- Grab the USB cord: Retrieve the USB cord that came with the USB device or use a compatible USB cord. Make sure it is undamaged and in good condition.
- Align the USB connector: Take the USB connector at the end of the cord and align it with the USB port on the PC case. Ensure that the connector is facing the correct way, as USB connectors are designed to be inserted in a specific orientation.
- Plug in the USB connector: Gently insert the USB connector into the USB port. Apply steady and even pressure until the connector is fully inserted into the port. Avoid using excessive force, as this can damage the USB port or the connector.
- Device recognition and setup: Once the USB device is connected, your computer will typically recognize it automatically. It may prompt you to install any necessary drivers or software if it’s a new device. Follow the on-screen instructions to complete the setup process.
After completing these steps, your USB device should be successfully connected and ready for use. You can then start utilizing its features and functionality to enhance your computing experience.
It’s important to note that when disconnecting a USB device, it is recommended to safely eject or disconnect the device through your operating system. This helps to ensure that all data is properly saved and that there is no risk of data corruption.
In summary, connecting USB devices to your PC is a simple process that involves identifying the appropriate USB port, preparing the device, aligning and inserting the USB connector, and going through any necessary recognition and setup steps. Following these steps correctly will allow you to seamlessly integrate USB devices with your computer system and take advantage of their features and functionalities.
Troubleshooting USB Issues
USB connectivity issues can sometimes arise, preventing proper communication and functionality between your computer and USB devices. If you encounter any problems with your USB devices, here are some common troubleshooting steps to help resolve the issues:
- Check physical connections: Ensure that the USB devices are properly plugged into the USB ports on your PC case. Verify that the connectors are securely inserted without any loose connections.
- Try different USB ports: If one USB port seems to be causing issues, try connecting the USB device to a different USB port on the case. This can help determine if the problem lies with a specific port or with the device itself.
- Update drivers: Outdated or corrupted USB drivers can lead to connectivity problems. Visit the manufacturer’s website and download the latest drivers for your motherboard or specific USB controllers to ensure compatibility and optimal performance.
- Uninstall and reinstall USB drivers: If updating the drivers does not resolve the issue, try uninstalling the USB drivers completely and then reinstalling them. This can help refresh the driver installation and resolve any conflicts or issues.
- Check USB device compatibility: Ensure that the USB device you are connecting is compatible with your computer’s operating system and USB version. Some devices may require specific drivers or firmware updates to work correctly.
- Reset the USB controllers: You can reset the USB controllers by accessing the Device Manager on your computer. Locate the Universal Serial Bus controllers section, right-click on each USB controller, and select “Uninstall device”. After uninstalling all USB controllers, restart your computer to automatically reinstall them.
- Check for power issues: Insufficient power supply can cause USB connectivity problems. Ensure that your computer’s power supply is adequate for the USB devices connected. Consider disconnecting unnecessary USB devices to reduce the overall power demand.
- Scan for malware: Malware infections can sometimes affect USB connectivity. Run a thorough scan with reliable antivirus software to check for any malware or viruses that may be causing the issue.
- Reset BIOS settings: In some cases, incorrect BIOS settings can interfere with USB functionality. Access your computer’s BIOS settings and restore the default settings to eliminate any potential conflicts or misconfigurations.
- Consider specialized USB troubleshooting tools: If the above steps do not resolve the issue, there are specialized USB troubleshooting tools available that can help diagnose and fix more complex USB problems. These tools can provide detailed information about USB ports, controllers, and devices, helping to pinpoint the exact cause of the issue.
By following these troubleshooting steps, you can often resolve common USB connectivity problems and restore proper functionality to your USB devices. However, if the issue persists, it may be necessary to seek professional assistance or consider replacing the USB device or PC component.
In summary, troubleshooting USB issues involves checking physical connections, ensuring proper drivers and compatibility, resetting USB controllers, scanning for malware, and considering power and BIOS settings. These steps can help identify and resolve common USB connectivity problems, ensuring a smooth and reliable USB experience.
Conclusion
The USB cord is a crucial component in your PC case, enabling seamless connectivity and communication between your computer and a wide range of USB devices. Understanding the role and functionality of the USB cord, as well as its connection points within the case, is essential for maximizing the use of USB devices.
We explored the various components involved in USB connectivity, including the power supply unit (PSU), motherboard, front panel connectors, internal USB ports, and the USB ports on the case. Each of these components plays a vital role in ensuring proper USB functionality and providing power and data transfer capabilities.
By properly connecting USB devices to your PC, you can expand its capabilities and enhance your computing experience. We discussed the steps involved in connecting USB devices, including identifying the USB port, preparing the USB device, aligning and plugging in the USB connector, and completing any necessary recognition and setup processes.
Furthermore, in the event of USB connectivity issues, we provided troubleshooting tips to help resolve common problems. These steps included checking physical connections, updating drivers, resetting USB controllers, checking for compatibility and power issues, and utilizing specialized USB troubleshooting tools if necessary.
By following the information and guidelines provided in this article, you will be better equipped to manage USB connectivity in your PC case, ensuring seamless data transfer, power supply, and interaction with USB devices.
Remember, proper cable management and organization are also essential for maintaining an efficient and clutter-free system. Take advantage of cable ties, routing options, and management features within your case to ensure neat and tidy USB connections.
In summary, the USB cord in your PC case is the vital link that allows your computer to communicate and connect with various USB devices. Whether you’re using USB 2.0 or USB 3.0 headers, front panel connectors, or internal USB ports, understanding the components and their functionality will help you make the most efficient use of USB devices and optimize your computing experience.