Introduction
Welcome to our guide on how to connect fans to your PC case! Properly connecting fans is an essential step in optimizing the cooling performance of your computer and ensuring that it remains cool under heavy workloads. Whether you’re a seasoned enthusiast or a beginner, understanding the process of connecting fans is crucial to maintaining a well-ventilated and efficient system.
When it comes to PC cooling, fans play a significant role in dissipating heat generated by the components. By improving airflow, fans help prevent overheating, which can lead to performance issues and even hardware damage. However, it’s not just about thrusting the fans into any available spot; careful consideration and proper connection are necessary for optimal results.
In this guide, we will walk you through the step-by-step process of connecting fans to your PC case. We’ll provide you with the essential information you need to gather, the tools required, and explanations of various fan connectors and headers. By the end of this guide, you’ll be equipped with the knowledge to keep your PC running cool and efficiently, no matter the workload.
Whether you’re looking to add additional fans to your system or replace existing ones, this guide will cover it all. So, let’s get started with the necessary tools and equipment you’ll need for this process.
Step 1: Gather the necessary tools and equipment
Before you begin connecting fans to your PC case, it’s important to ensure you have the necessary tools and equipment on hand. This will make the process smoother and help you avoid any hiccups along the way. Here are the essential tools and equipment you’ll need:
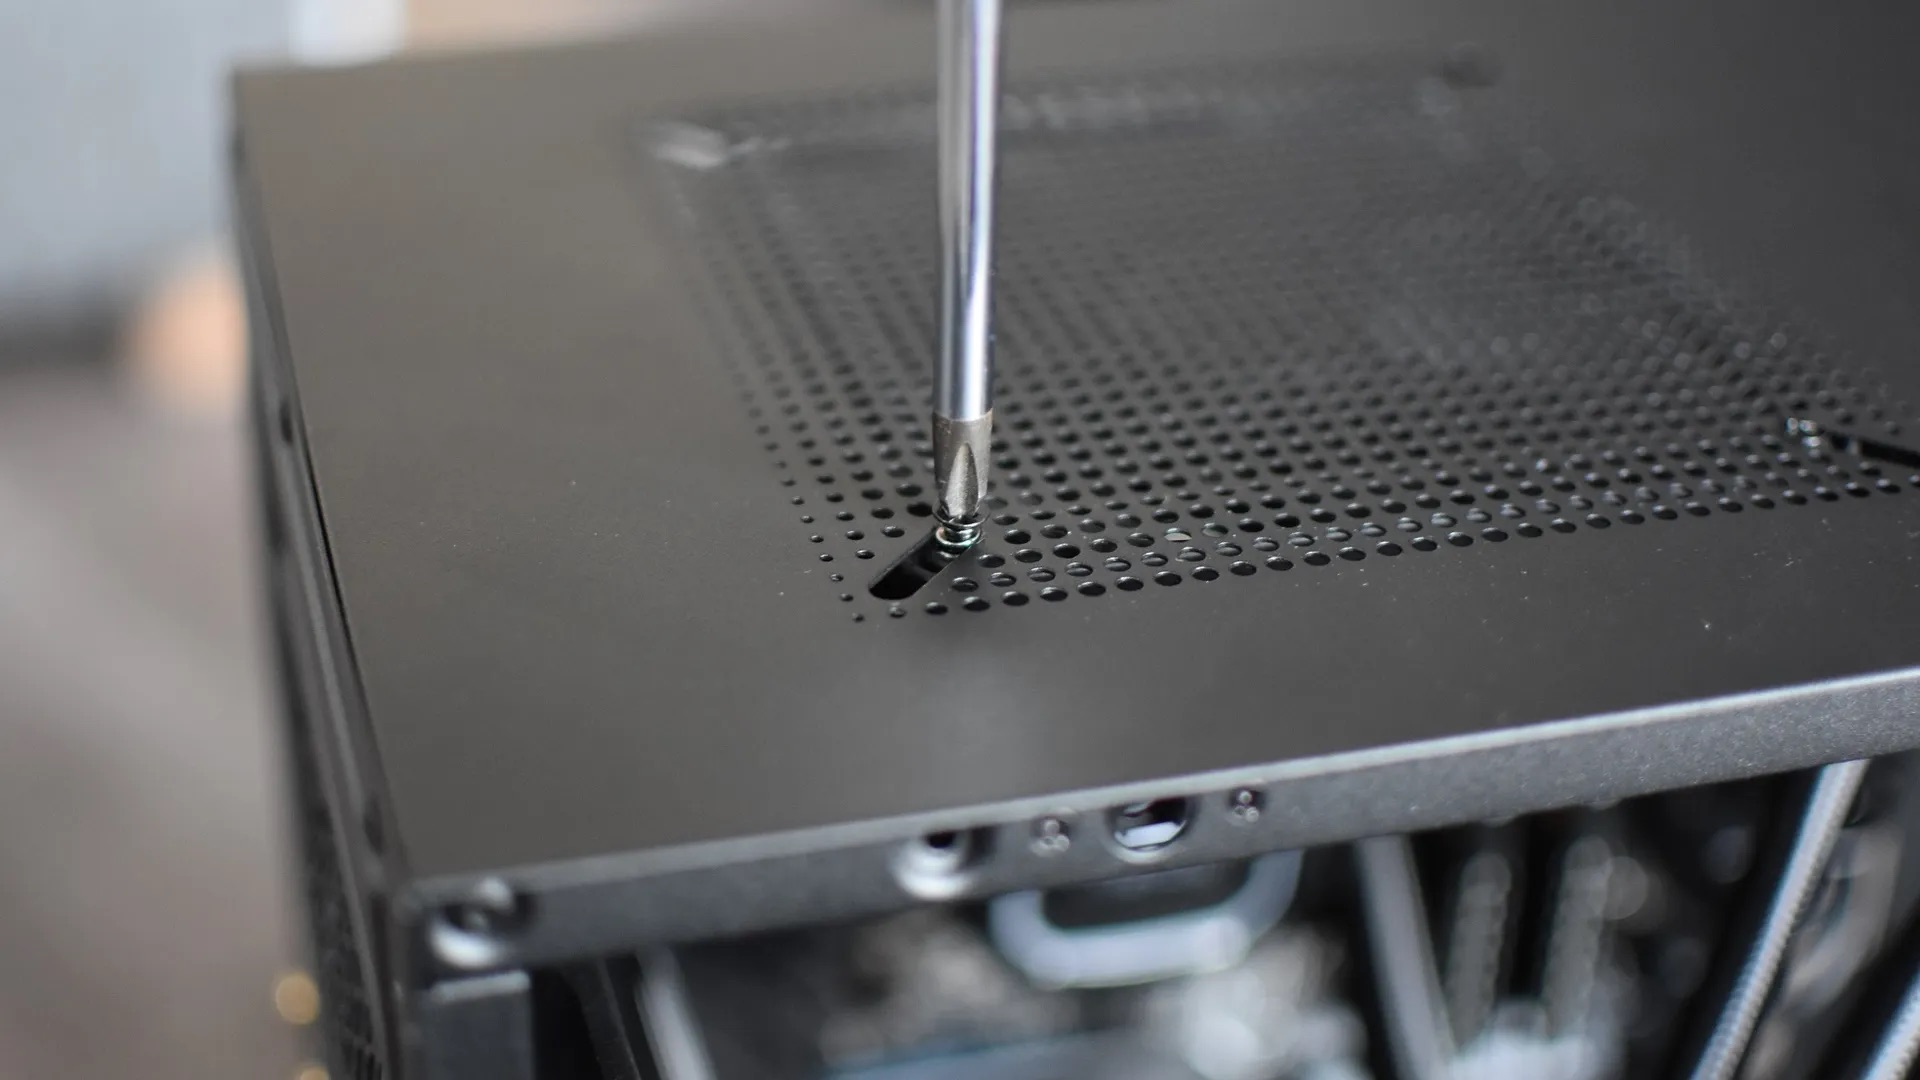
- Screwdriver: Depending on your PC case, you may need a Phillips or flat-head screwdriver to remove the side panel or access the internal components. Make sure you have the appropriate screwdriver for your case.
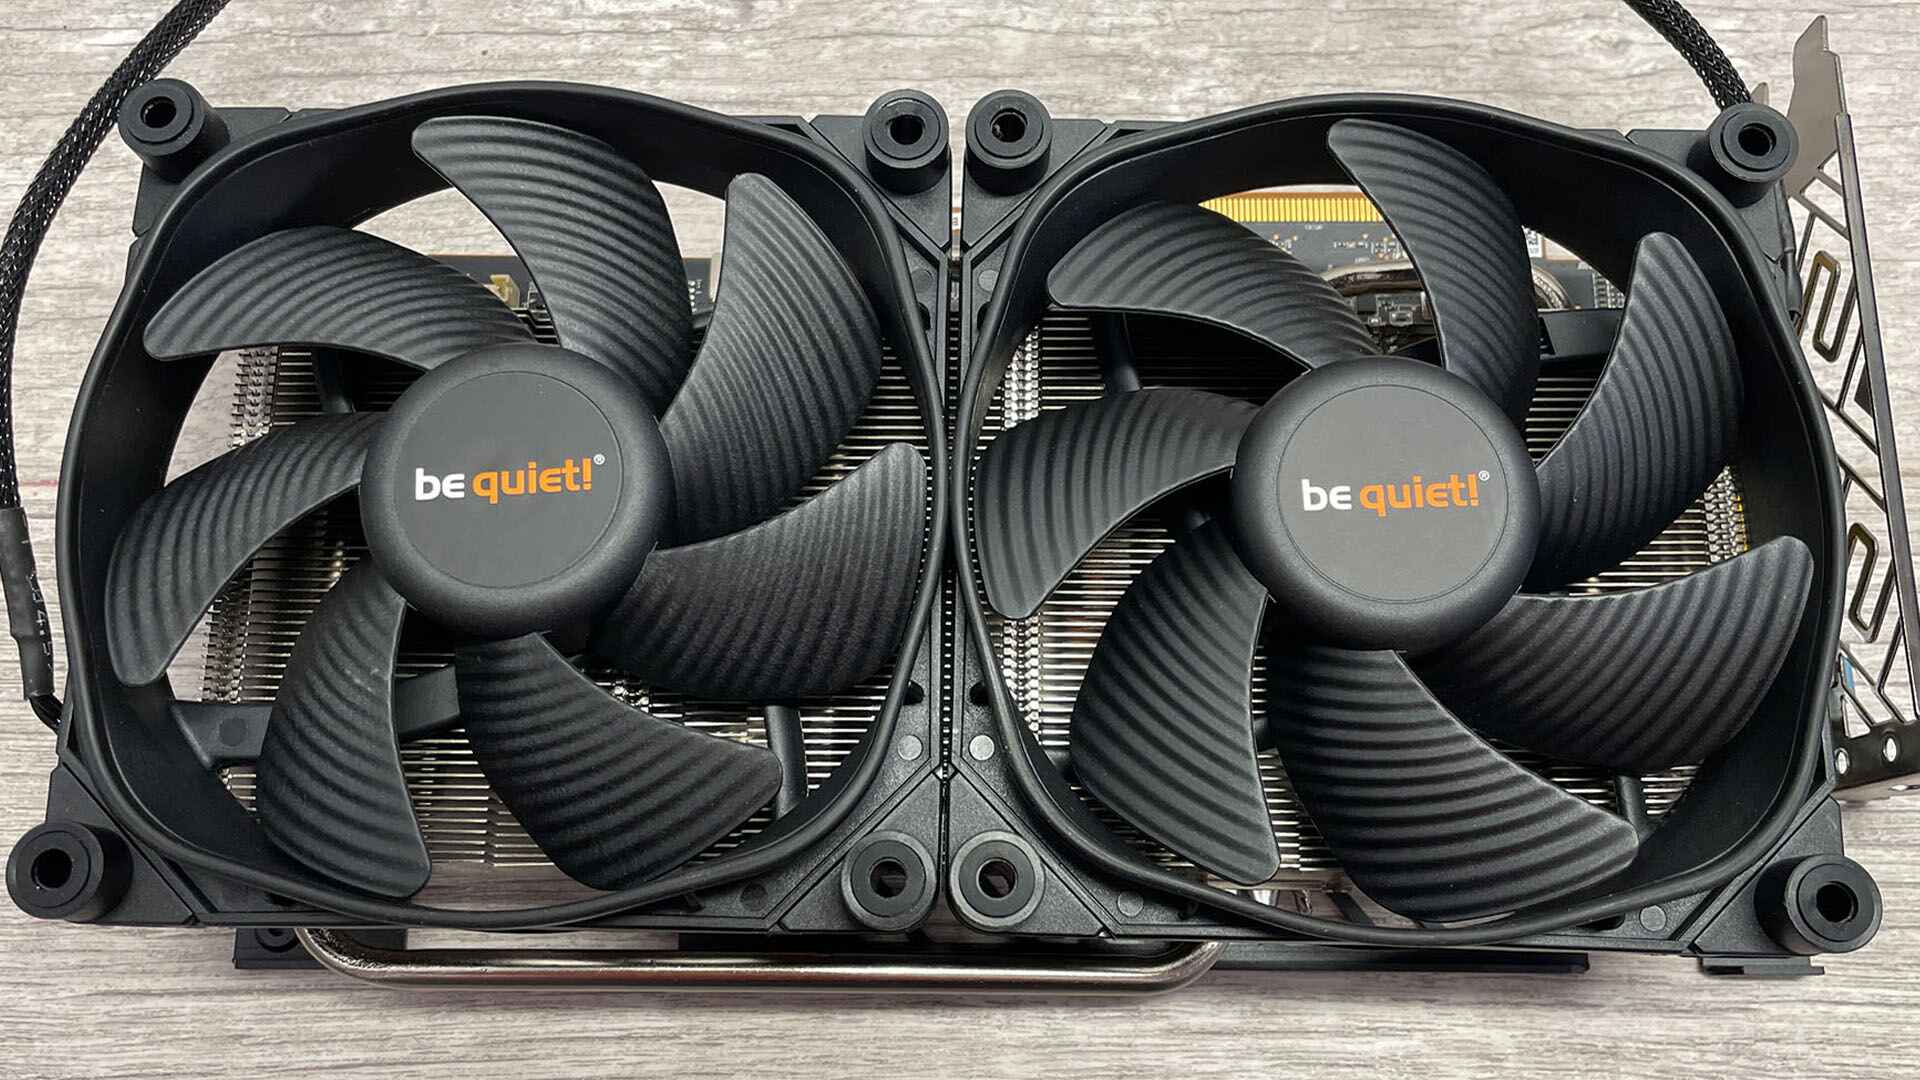
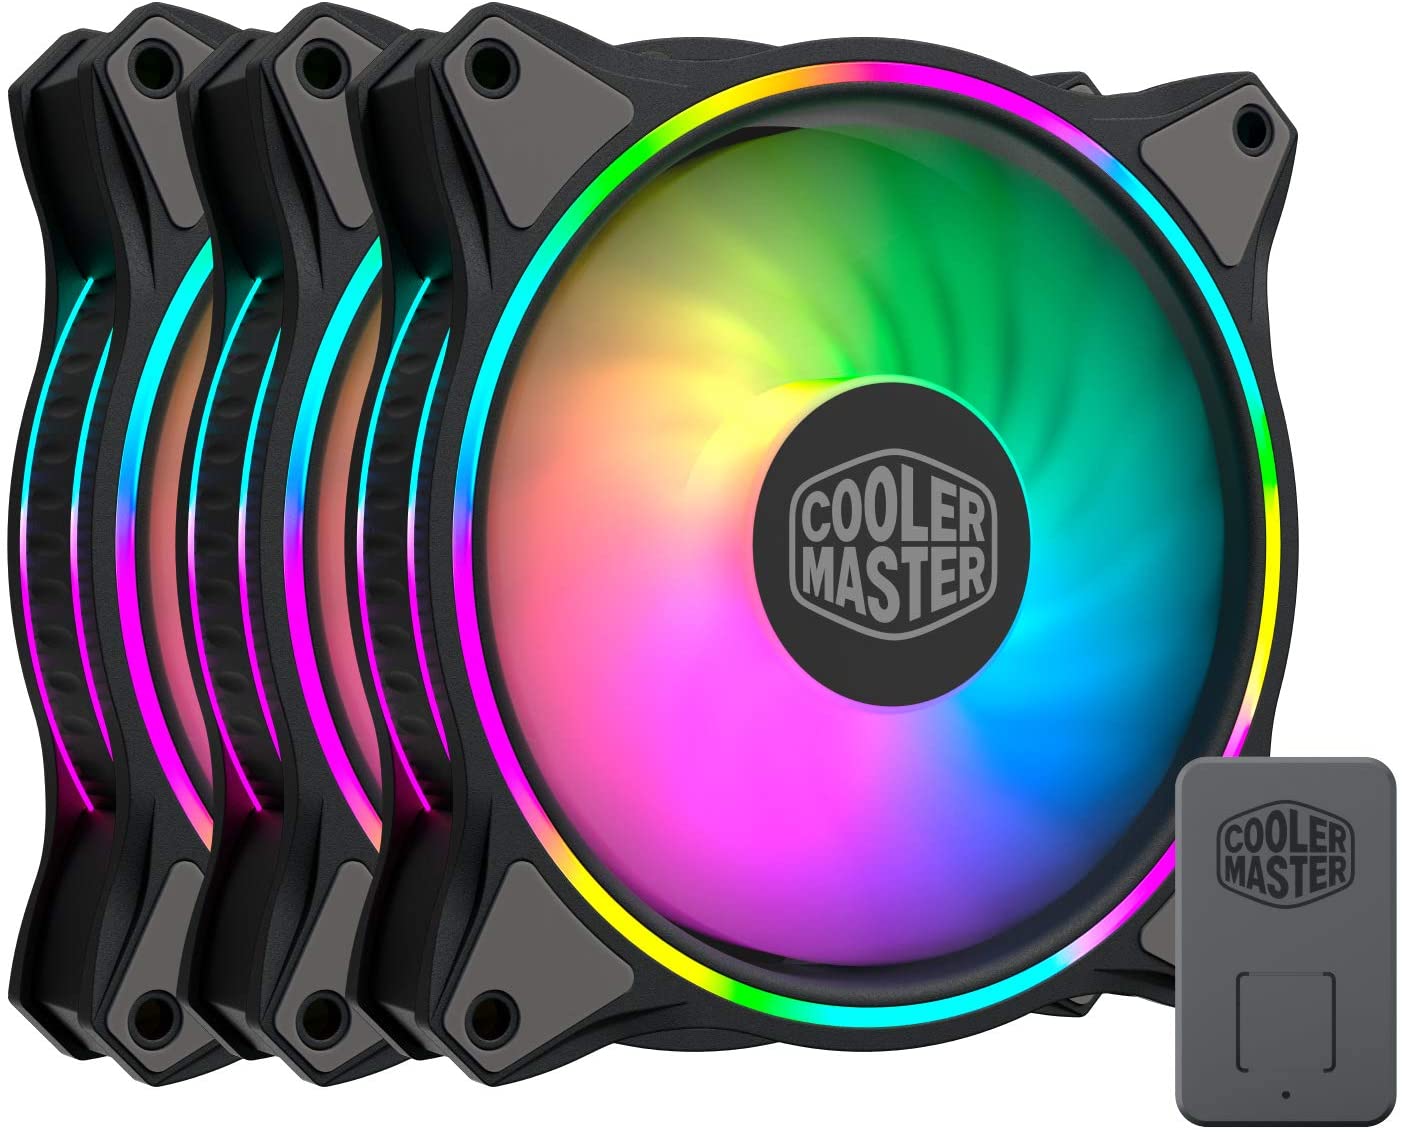
- Fans: If you’re adding new fans to your system, make sure you have the desired number and size of fans. Fans come in different sizes, such as 120mm or 140mm, and can be either intake or exhaust fans. Ensure your fans are compatible with your case.
- Fan cable extensions/splitters: These optional accessories are helpful if you need to extend the length of your fan cables or connect multiple fans to a single fan header on your motherboard.
- Thermal paste (optional): If you’re removing and reinstalling the CPU cooler, you may need thermal paste to ensure proper heat transfer between the CPU and the cooler. Check if your CPU cooler requires reapplication of thermal paste.
- Anti-static wristband (optional): While not mandatory, an anti-static wristband can help prevent static discharge that could potentially damage sensitive components during the installation process. It’s a good precaution to consider, especially if you frequently work with computer hardware.
Once you have gathered all the necessary tools and equipment, you’re ready to move on to the next step. In the following section, we’ll guide you on locating the fan connectors on your PC case.
Step 2: Locate the fan connectors on the PC case
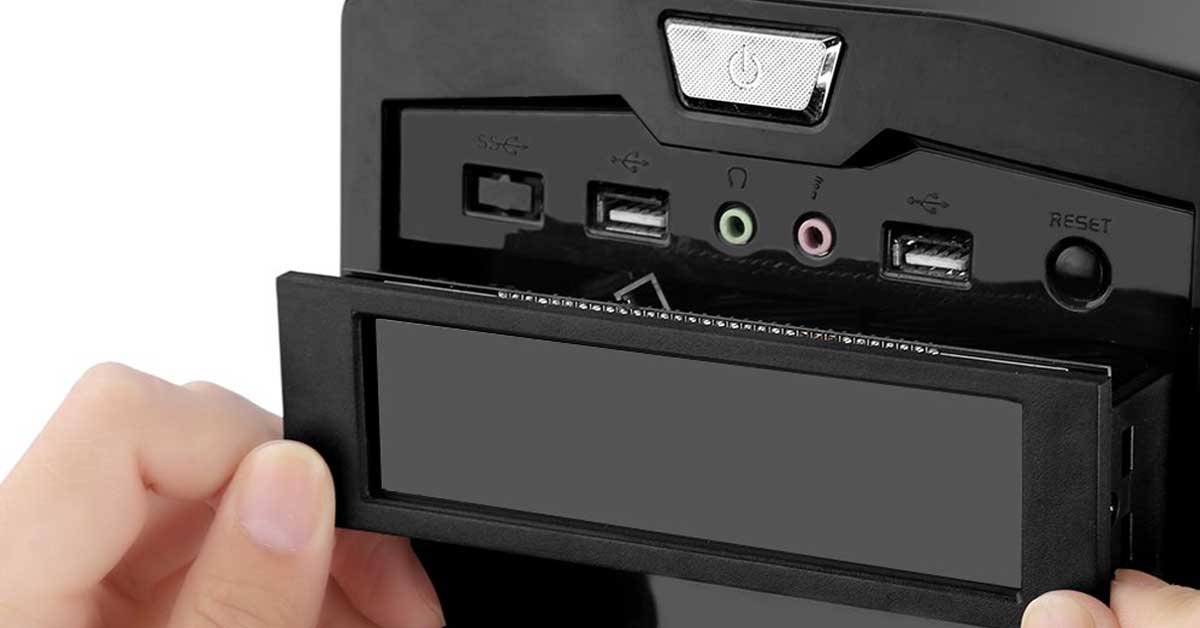
Before you can connect your fans, you need to locate the fan connectors on your PC case. These connectors are typically found on the motherboard or in a dedicated fan controller hub. Here’s how you can identify and locate them:
- Check the motherboard: The most common location for fan connectors is on the motherboard itself. Look for small, rectangular, 3 or 4-pin connectors labeled “SYS_FAN,” “CHA_FAN,” or something similar. These labels indicate the fan headers where you will connect your case fans.
- Inspect the fan controller: If your PC case has a built-in fan controller, you may find fan connectors on the front or top of the case or in a dedicated compartment. Consult your PC case manual or manufacturer’s website to locate the fan controller and its connectors.
- Identify the number of fan connectors: Once you have located the fan connectors, take note of how many are available. This will determine how many fans you can connect directly to the motherboard or fan controller. If you have more fans than available connectors, don’t worry—we’ll discuss solutions for that later in the guide.
Once you have identified the location and number of the fan connectors, you’re ready to move on to the next step. In the following section, we will discuss how to identify the type and size of fans you have.
Step 3: Identify the type and size of fans you have
Before connecting your fans, it’s important to identify the type and size of the fans you have. This information will help you determine how to properly connect them and ensure compatibility with your PC case. Here’s how you can identify the type and size of your fans:
- Check the markings and labels: Most fans have markings or labels on the fan frame that indicate the manufacturer, model number, and fan specifications. These markings can be found on the front or back of the fan. Look for information such as “120mm” or “140mm” to identify the size of the fan. Additionally, the fan may indicate whether it is an intake or exhaust fan.
- Measure the fan size: If the fan markings are not visible or you want to verify the size, you can measure the fan yourself. Using a ruler or tape measure, measure the distance from one end of the fan to the opposite end. This will give you the fan’s size in millimeters, commonly referred to as “mm.”
- Refer to your fan’s specifications: If you still have the fan’s packaging or have access to the manufacturer’s website, you can refer to the fan’s specifications for detailed information. This will include the fan’s size, type (intake or exhaust), airflow rating (measured in cubic feet per minute or CFM), and noise level (measured in decibels or dB).
By identifying the type and size of your fans, you can better understand how to connect them and optimize their placement within your PC case. In the next step, we will discuss how to determine the number of available fan headers on your motherboard.
Step 4: Determine the number of available fan headers on the motherboard
Once you have identified the type and size of your fans, the next step is to determine the number of available fan headers on your motherboard. Fan headers are the connectors on the motherboard that allow you to connect your fans directly for power and control. Here’s how you can determine the number of available fan headers:
- Refer to the motherboard manual: The motherboard manual is the best source of information regarding the layout and features of your specific motherboard model. It will typically have a section dedicated to the layout of the board, including the locations and details of the fan headers. Consult the manual to identify the number and type of fan headers available.
- Inspect the motherboard: If you don’t have access to the manual or prefer a visual inspection, you can physically look at the motherboard. Fan headers on most motherboards are small, rectangular connectors located near the CPU socket or around the edges of the board. Look for the labels next to the connectors to identify them as fan headers.
- Count the fan headers: Once you have located the fan headers, count how many are available for connecting your fans. Keep in mind that some motherboards may have a mix of 3-pin and 4-pin headers. The number of fan headers will determine how many fans you can connect directly to the motherboard without additional hardware.
Determining the number of available fan headers will help you plan how to connect your fans and ensure that you have enough available slots for all your fans. In the next step, we will guide you on how to connect the fans to the motherboard fan headers.
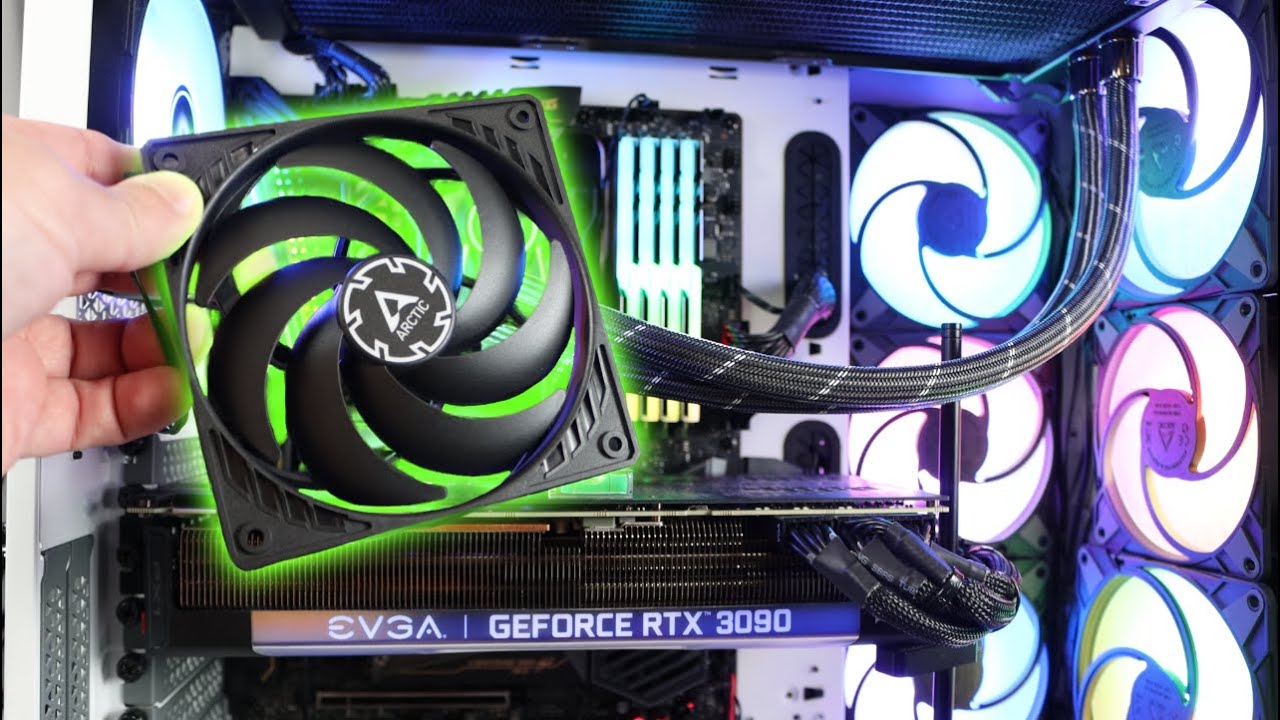
Step 5: Connect the fans to the motherboard fan headers
Now that you have determined the number of available fan headers on your motherboard, it’s time to connect the fans. Connecting the fans to the motherboard fan headers will provide them with power and allow you to control their speed. Here’s how you can do it:
- Locate the fan cable: Each fan will have a cable with a male connector at the end. This connector will match the type of fan headers on your motherboard (either 3-pin or 4-pin). It’s important to note that 3-pin fans can be connected to a 4-pin header, but the extra pin will not be used for fan speed control.
- Align the connector: Take the fan cable’s male connector and align it with the corresponding fan header on the motherboard. The connector should only fit in one direction – ensure that the alignment is correct before proceeding.
- Connect the fan: Once the connector is aligned, gently push it onto the fan header, applying even pressure until it clicks into place. Ensure that it is securely attached to the fan header to guarantee a stable connection and proper functionality.
- Repeat for other fans: If you have multiple fans to connect, repeat the process for each fan. Make sure to connect them to separate fan headers if available, or consider using fan cable extensions or splitters if you have more fans than available headers.
By connecting your fans to the motherboard fan headers, you will be able to control their speed through the system BIOS or specialized software. This allows you to customize the cooling performance based on your preferences and the temperature of your components. In the next step, we will discuss securing the fans to the PC case.
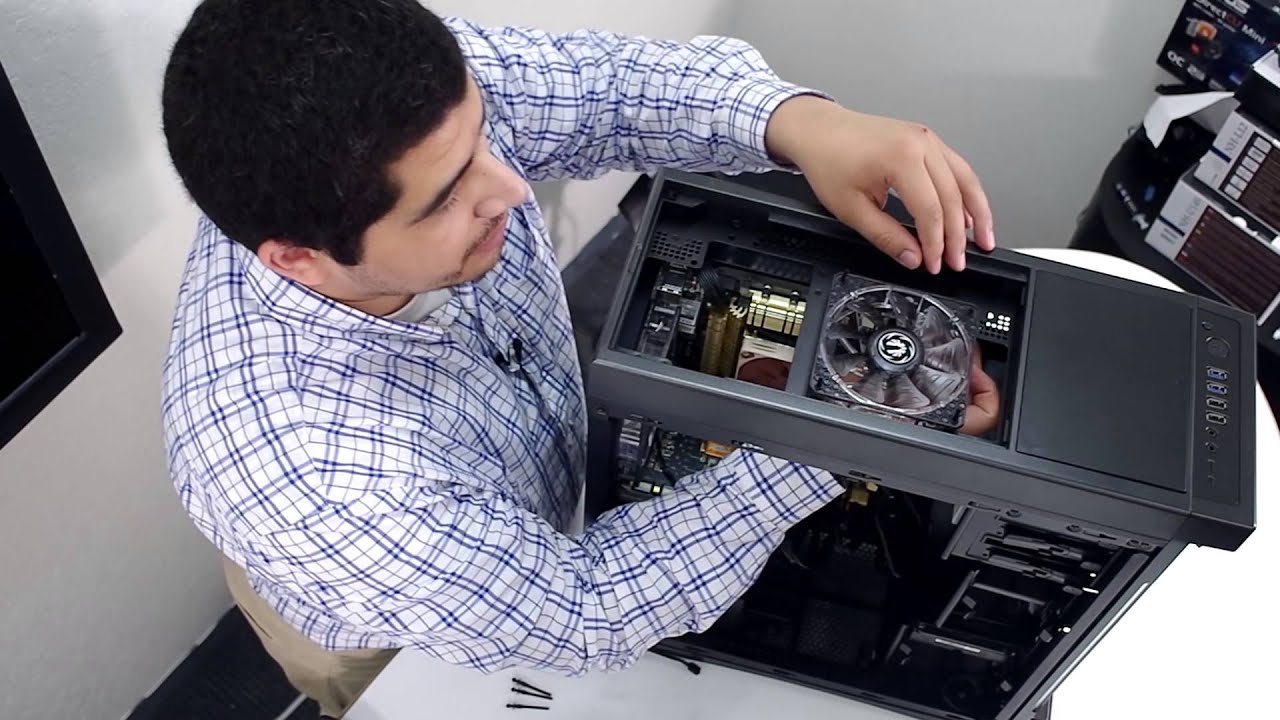
Step 6: Secure the fans to the PC case
After connecting your fans to the motherboard, the next step is to secure them to the PC case. Properly securing the fans ensures stability and prevents any unwanted vibrations or movement that could affect their performance. Here’s how you can secure the fans to the PC case:
- Identify the mounting points: Look for designated mounting points in your PC case where fans can be installed. These mounting points are usually located on the front, rear, top, or sides of the case. Refer to your PC case manual or manufacturer’s website for specific instructions on fan placement.
- Position the fans: Determine the desired location for each fan, taking into account factors such as airflow direction, clearance from other components, and cable management. Most cases have intake fans at the front and bottom and exhaust fans at the rear and top, but this may vary depending on the case design and your cooling needs.
- Ensure proper alignment: Align the screw holes on the fans with the corresponding mounting holes on the case. Make sure the fans are aligned properly to ensure a secure fit.
- Secure the fans: Use the screws provided with your PC case or fans to secure them in place. Insert the screws through the fan screw holes and into the mounting holes on the case. Tighten the screws gently but firmly to avoid damaging the fans or the case.
- Check for stability: After securing the fans, gently give them a slight push to check for any wobbling or instability. If a fan feels loose, double-check the screws and tighten them if necessary.
By properly securing the fans to the PC case, you ensure that they function optimally and provide efficient airflow to cool your components. In the next step, we will discuss connecting the fans to a fan controller or hub if applicable.
Step 7: Connect the fans to a fan controller or hub (if applicable)
In some cases, your PC may have a dedicated fan controller or hub that provides additional functionalities for managing and controlling the fans. If your PC case includes a fan controller or hub, you can connect your fans to it for centralized control. Here’s how you can connect the fans to a fan controller or hub:
- Locate the fan controller or hub: Check your PC case manual or manufacturer’s website to identify the location of the fan controller or hub. It is typically a separate unit with multiple connectors designed specifically for fan connectivity.
- Connect the fans to the controller or hub: Take the male connector at the end of each fan cable and align it with the corresponding female connector on the fan controller or hub. Ensure the alignment is correct before gently pushing the connectors together until they click into place.
- Secure the connections: Once the fan cables are connected to the fan controller or hub, ensure that the connections are secure. Check for any loose connections and gently tug on the cables to verify that they are properly attached.
- Follow the fan controller or hub instructions: Refer to the fan controller or hub instructions provided by the case manufacturer to configure and control the fans. This may involve adjusting fan speeds, setting up fan profiles, and monitoring temperatures.
Connecting your fans to a fan controller or hub provides centralized control and can simplify the management of fan operation. It allows you to adjust fan speeds and ensure the optimal cooling performance for your system. In the next step, we will discuss how to test the functionality of the connected fans.
Step 8: Test the functionality of the connected fans
Once you have connected your fans to the motherboard or fan controller, it’s crucial to test their functionality to ensure that they are working properly. Testing the fans will help you identify any issues and make any necessary adjustments before putting your system under heavy load. Here’s how you can test the functionality of the connected fans:
- Power on your PC: Start your PC and allow it to boot up normally. Make sure all the fans are connected and securely mounted in the case.
- Enter the BIOS: During the boot up process, enter the BIOS settings by pressing the designated key (usually Del, F2, or F10) as indicated on your screen. Consult your motherboard manual if unsure.
- Navigate to fan control settings: Once in the BIOS, navigate to the fan control section. The location may vary depending on the BIOS manufacturer, but it is typically found under the “Hardware” or “PC Health” section.
- Check fan speed and control options: In the fan control settings, you should be able to see the fan speed values for each connected fan. Ensure that the fans are running at an appropriate speed and that you have the option to manually adjust their speed if desired.
- Monitor temperatures: While in the BIOS, monitor the temperatures of your CPU and other components. Ensure that the fan speeds adjust accordingly to keep the temperatures within acceptable ranges.
- Exit BIOS and test under load: Once you have verified the fan control settings in the BIOS, exit and let your system boot into the operating system. Open up a task or program that puts your system under load, such as a demanding game or benchmark. Monitor the temperatures and observe how the fans respond to the increased heat output.
- Listen for abnormal noises: During the testing phase, pay attention to any unusual noises coming from the fans. Grinding, clicking, or rattling sounds may indicate a problem and should be addressed promptly.
By testing the functionality of the connected fans, you can ensure that they are operating correctly and providing sufficient cooling for your system. If you encounter any issues or notice inadequate cooling, troubleshooting may be required to identify and resolve the problem. Remember to consult your motherboard or fan controller manual for more specific instructions and options for fan control.
Conclusion
Connecting fans to your PC case is an essential step in maintaining optimal cooling and preventing overheating of your components. By following the steps outlined in this guide, you should now have a solid understanding of how to connect fans to your PC case successfully. Let’s do a quick recap of the steps covered:
- Gather the necessary tools and equipment for the installation.
- Locate the fan connectors on the PC case, either on the motherboard or dedicated fan controller.
- Identify the type and size of your fans, ensuring compatibility with your case.
- Determine the number of available fan headers on the motherboard.
- Connect the fans to the motherboard fan headers using the appropriate connectors.
- Secure the fans to the PC case using screws provided with your case or fans.
- Connect the fans to a fan controller or hub (if applicable) for centralized control.
- Test the functionality of the connected fans through BIOS settings and monitor temperatures under load.
Remember, proper airflow and cooling are crucial for the stability and performance of your PC. Periodically clean the fans and ensure that they are free from dust and obstructions for optimal performance. Additionally, consider adjusting fan speeds or fan placement if you encounter temperature issues or excessive noise during operation.
Now that you have successfully connected your fans, you can enjoy a well-cooled and efficient system that will keep your components running smoothly. Happy computing!