Why You Need a Case Fan
A case fan is a crucial component of any computer setup, whether it’s a gaming rig or a workstation. Its primary function is to cool down the internal components of your PC, preventing overheating and ensuring stable and reliable performance. Without a case fan, your computer would be at risk of thermal damage, reduced lifespan, and potential system crashes.
Modern CPUs and graphics cards generate a significant amount of heat when running intensive tasks. This heat needs to be dissipated efficiently to maintain optimal operating temperatures. If the heat is not properly vented from the case, it can lead to thermal throttling, where the computer automatically reduces its performance to prevent damage.
By installing a case fan, you can ensure that hot air is effectively removed from the system, allowing cool air to take its place. This cycle of air circulation helps maintain a cool and stable environment, which is essential for the longevity and performance of your PC’s critical components.
One of the most significant benefits of having a case fan is the improved overall system performance. When your computer operates at lower temperatures, it can perform tasks more efficiently since the components are not under stress due to heat. This can result in faster processing times, smoother multitasking, and a more enjoyable computing experience.
Additionally, a case fan can help reduce the noise level of your computer. When components such as the CPU or GPU heat up, their fans typically rev up to higher speeds to compensate for the increased temperature. This can lead to a noticeable increase in fan noise, which can be distracting and annoying. Installing a case fan can help dissipate heat more effectively, reducing the need for components to work at maximum capacity and minimizing fan noise in the process.
Lastly, a case fan can extend the lifespan of your computer system. Excessive heat can cause damage to internal components, leading to premature failure. By maintaining the optimal operating temperatures, a case fan can help preserve the integrity of your hardware, allowing you to enjoy your PC for years to come without the worry of expensive repairs or replacement parts.
In summary, a case fan is a vital component for any computer system. It helps regulate temperature, enhance performance, reduce fan noise, and extend the lifespan of your PC. Whether you are a casual user or a dedicated gamer, investing in a quality case fan is a smart decision that will benefit your computer’s overall health and performance.
Choosing the Right Case Fan
When it comes to selecting a case fan for your computer, there are several factors to consider to ensure you make the right choice. The following are some key points to keep in mind when choosing the right case fan.
Firstly, you need to determine the size of the case fan you require. Case fans come in various sizes, including 80mm, 120mm, and 140mm. The size you choose will depend on the available space in your computer case and the airflow requirements of your system. Larger fans generally move more air but may not fit in smaller cases, so it’s important to measure the available space before making a purchase.
Next, consider the airflow and static pressure rating of the case fan. Airflow refers to the amount of air a fan can move, while static pressure refers to its ability to push air through obstructions like filters or heatsinks. If you have a system with restrictive airflow or components that require efficient cooling, such as high-end CPUs or graphics cards, you may want to opt for fans with higher static pressure ratings.
Noise level is another crucial factor to consider. Case fans produce varying levels of noise, typically measured in decibels (dB). If you prioritize a quiet computing environment, look for fans with lower dB ratings or models advertised as “silent” or “quiet.” However, bear in mind that lower noise levels may come at the cost of lower airflow or higher prices.
It’s also essential to evaluate the fan’s connector type and power source compatibility. The most common connector types are three-pin and four-pin (PWM). Three-pin fans can be controlled via voltage regulation, while four-pin fans allow for more precise control through pulse-width modulation. Additionally, ensure that the fan you choose is compatible with your power supply unit (PSU) or motherboard headers.
Budget is another consideration when selecting a case fan. There is a wide range of options available, varying in price based on brand, features, and performance. Decide on a budget that suits your needs and objectives, and then research and compare different fan models to find the one that offers the best value for money.
Lastly, pay attention to the overall aesthetic design of the case fan. Many manufacturers offer fans with different lighting effects and color schemes, allowing you to match the fan with your computer’s overall theme or personal preference. While aesthetics may not directly affect the fan’s functionality, it can contribute to the overall visual appeal of your PC.
In summary, when choosing the right case fan, consider factors such as size, airflow and static pressure, noise level, connector type, power source compatibility, budget, and aesthetic design. By carefully evaluating these factors, you can select a case fan that meets your specific requirements and helps maintain optimal cooling for your computer system.
Gather Your Tools and Materials
Before you begin installing a case fan in your PC, it’s essential to gather all the necessary tools and materials. Having everything prepared beforehand will make the installation process smoother and more efficient. Here is a list of tools and materials you will need:
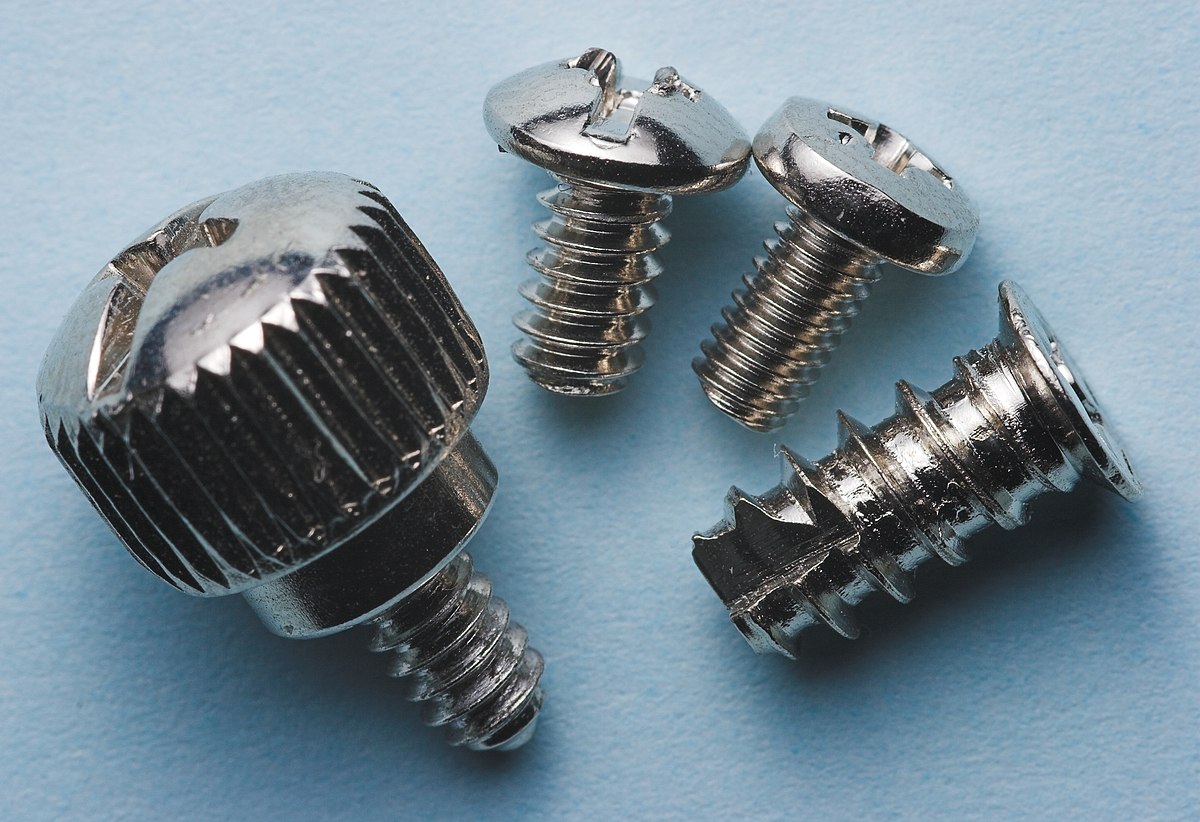
- Screwdriver: You will need a screwdriver to remove the side panel of your computer case and secure the case fan in place. Make sure you have the appropriate size and type of screwdriver for the screws used in your case.
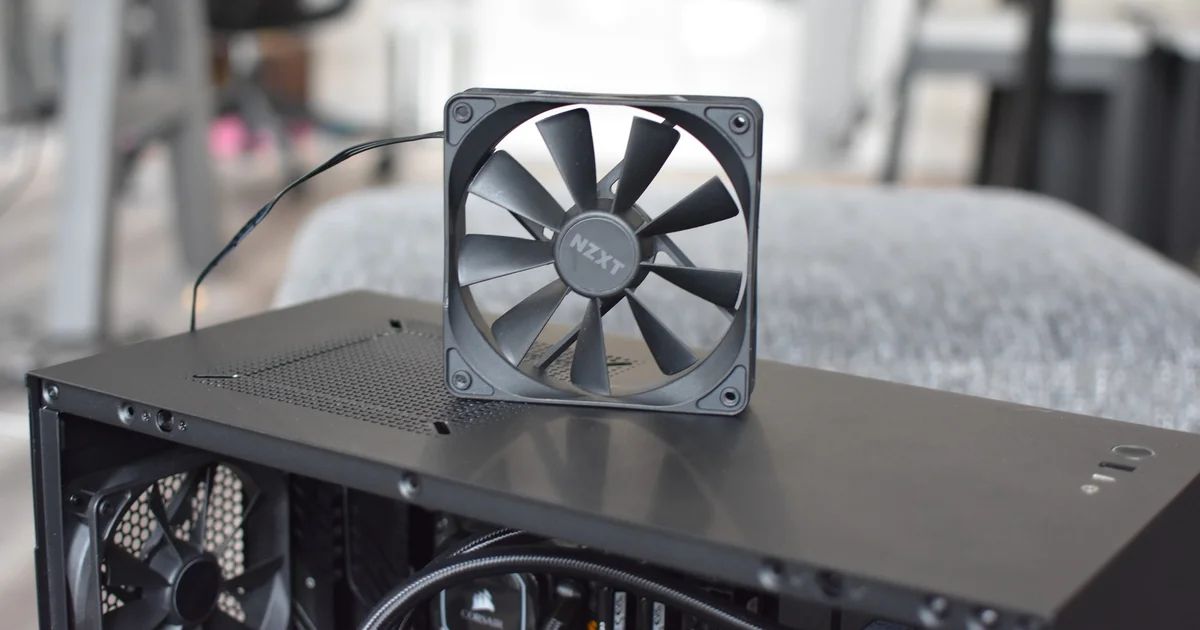
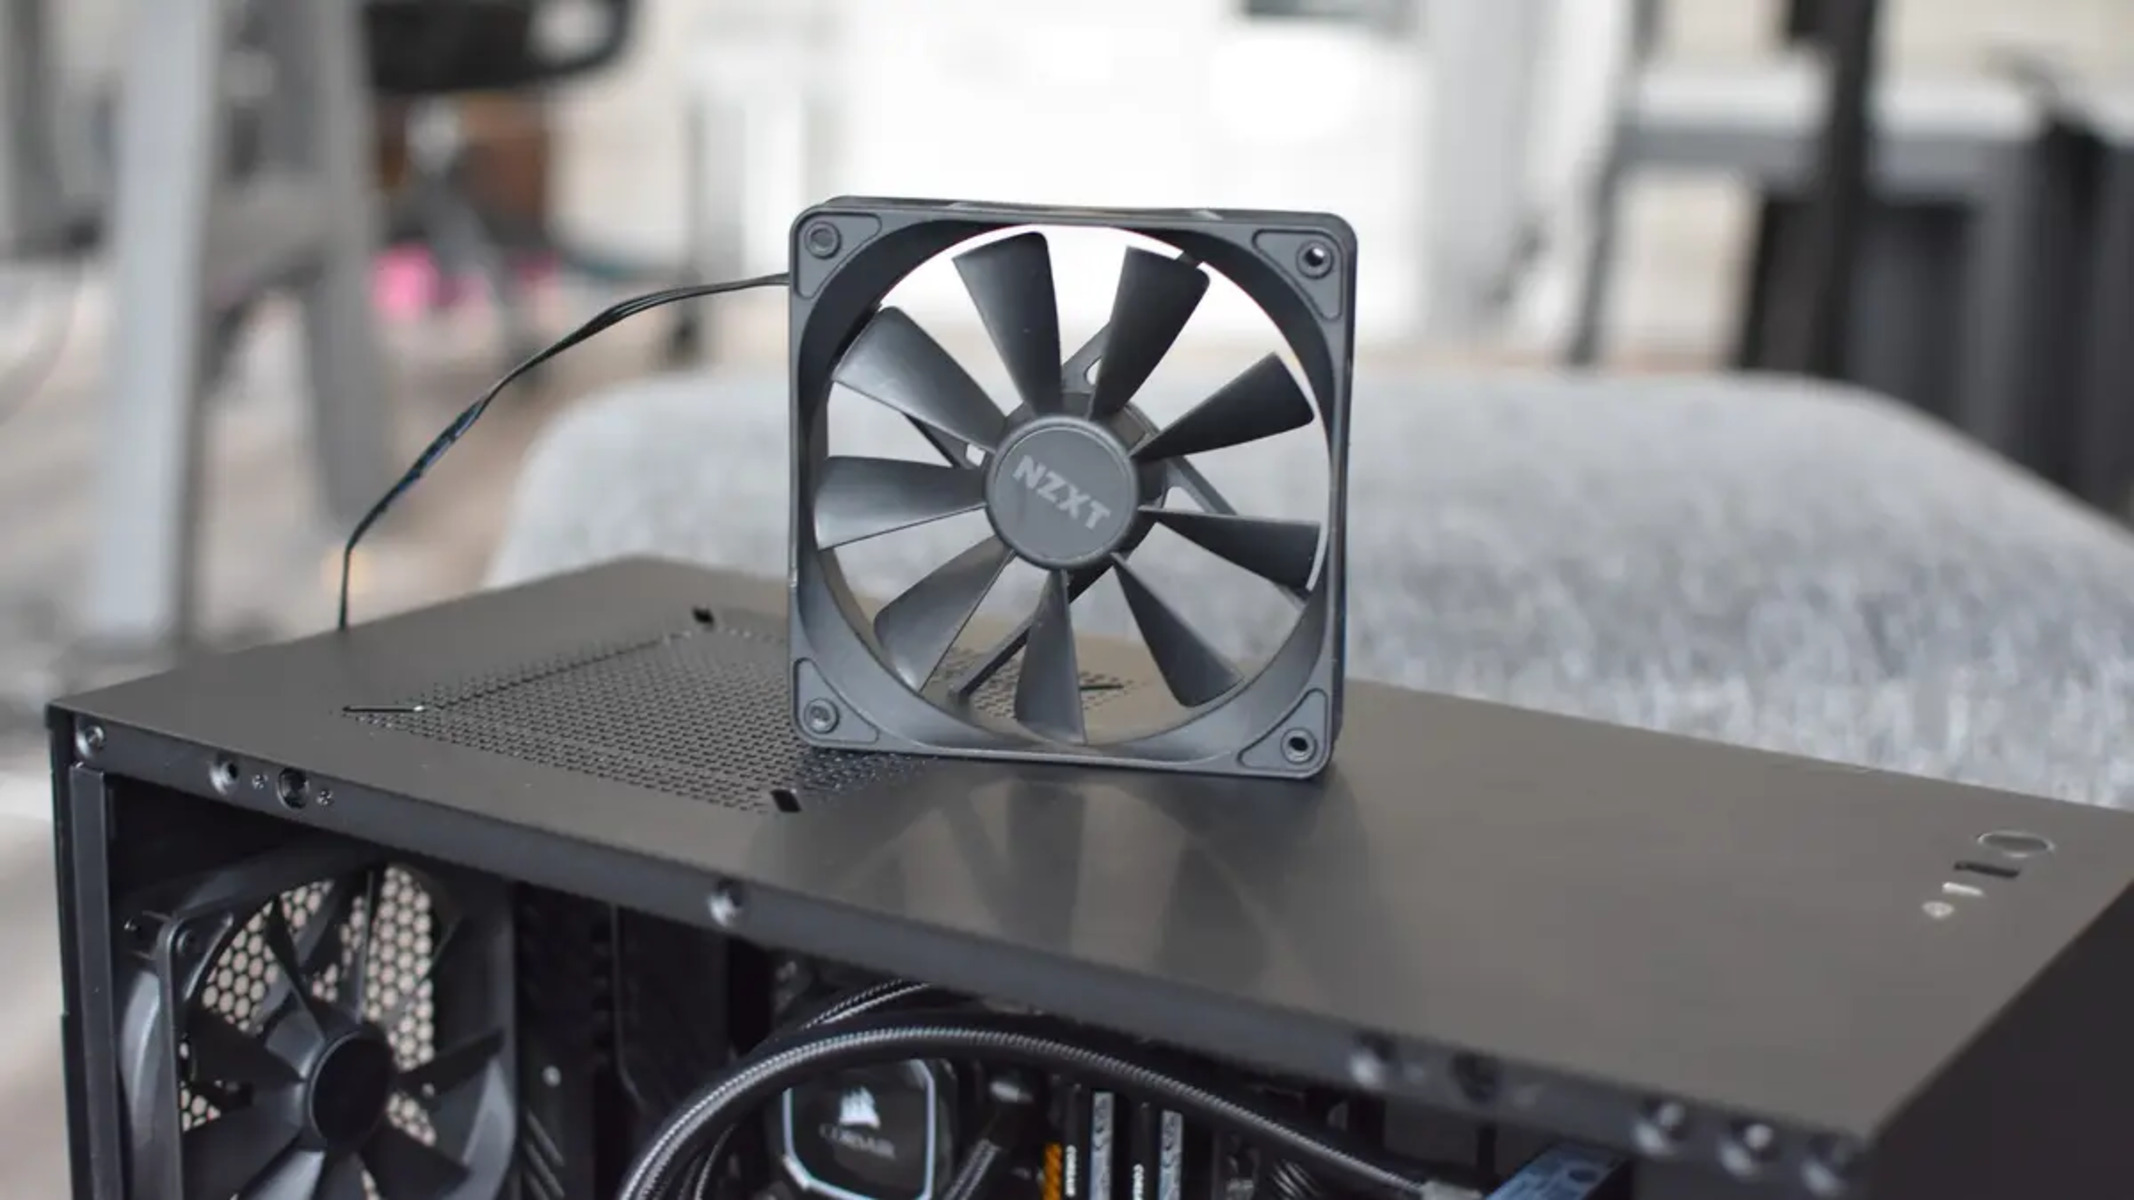
- Case fan: Of course, you will need the case fan itself. Choose a fan that fits your system’s requirements in terms of size, airflow, and noise level, as discussed in the previous section.
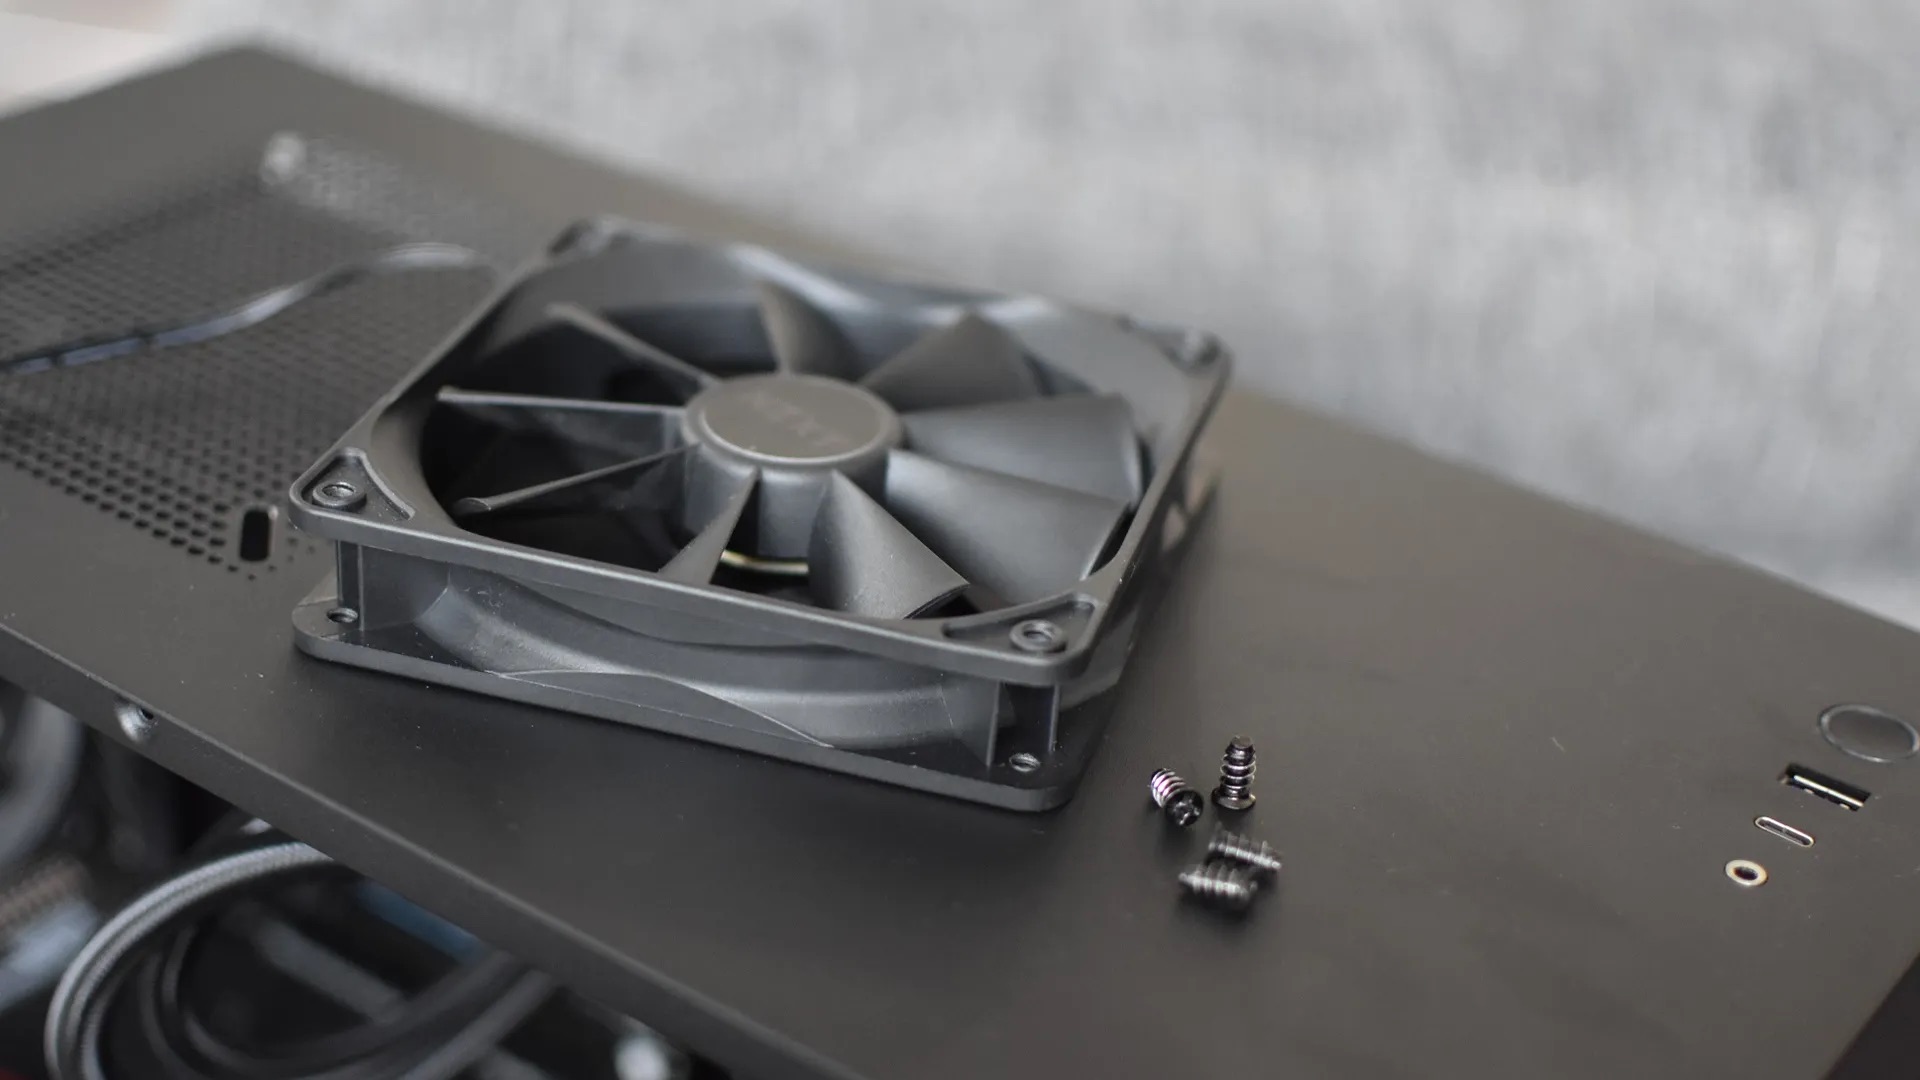
- Mounting screws: Most case fans come with mounting screws included. However, it’s worth double-checking to ensure you have the required screws. If not, you may need to purchase them separately, making sure they are the right size for your fan and case.
- Anti-static wrist strap (optional): While not mandatory, an anti-static wrist strap can be beneficial to prevent static electricity discharge that could potentially damage your computer’s sensitive components. If you have one, it’s a good idea to use it during the installation process.
- Cable ties (optional): Cable ties can help with cable management and keep wires organized, providing a cleaner and more orderly internal setup. If you want to optimize airflow and aesthetics, having a few cable ties on hand can be useful.
- Thermal compound (optional): If you’re replacing a CPU cooler or heat sink along with installing a new case fan, you may need to apply thermal compound. Thermal compound aids in heat transfer between the CPU and the cooler, maximizing cooling efficiency. Check whether your cooler requires it and have some thermal compound ready if necessary.
Double-check that you have all the tools and materials listed above before proceeding with the installation. This will ensure that you don’t encounter any delays or setbacks during the process. Additionally, having everything prepared will help you focus on the installation itself and ensure a successful outcome.
Preparing Your PC Case
Before you can install a case fan, it’s important to prepare your PC case to ensure a smooth and efficient installation process. Below are the steps to follow in order to prepare your PC case:
- Power off and unplug your computer: Before you begin working on your PC case, make sure to shut down your computer properly and disconnect it from the power source. This will help prevent any potential electrical hazards and ensure your safety during the installation process.
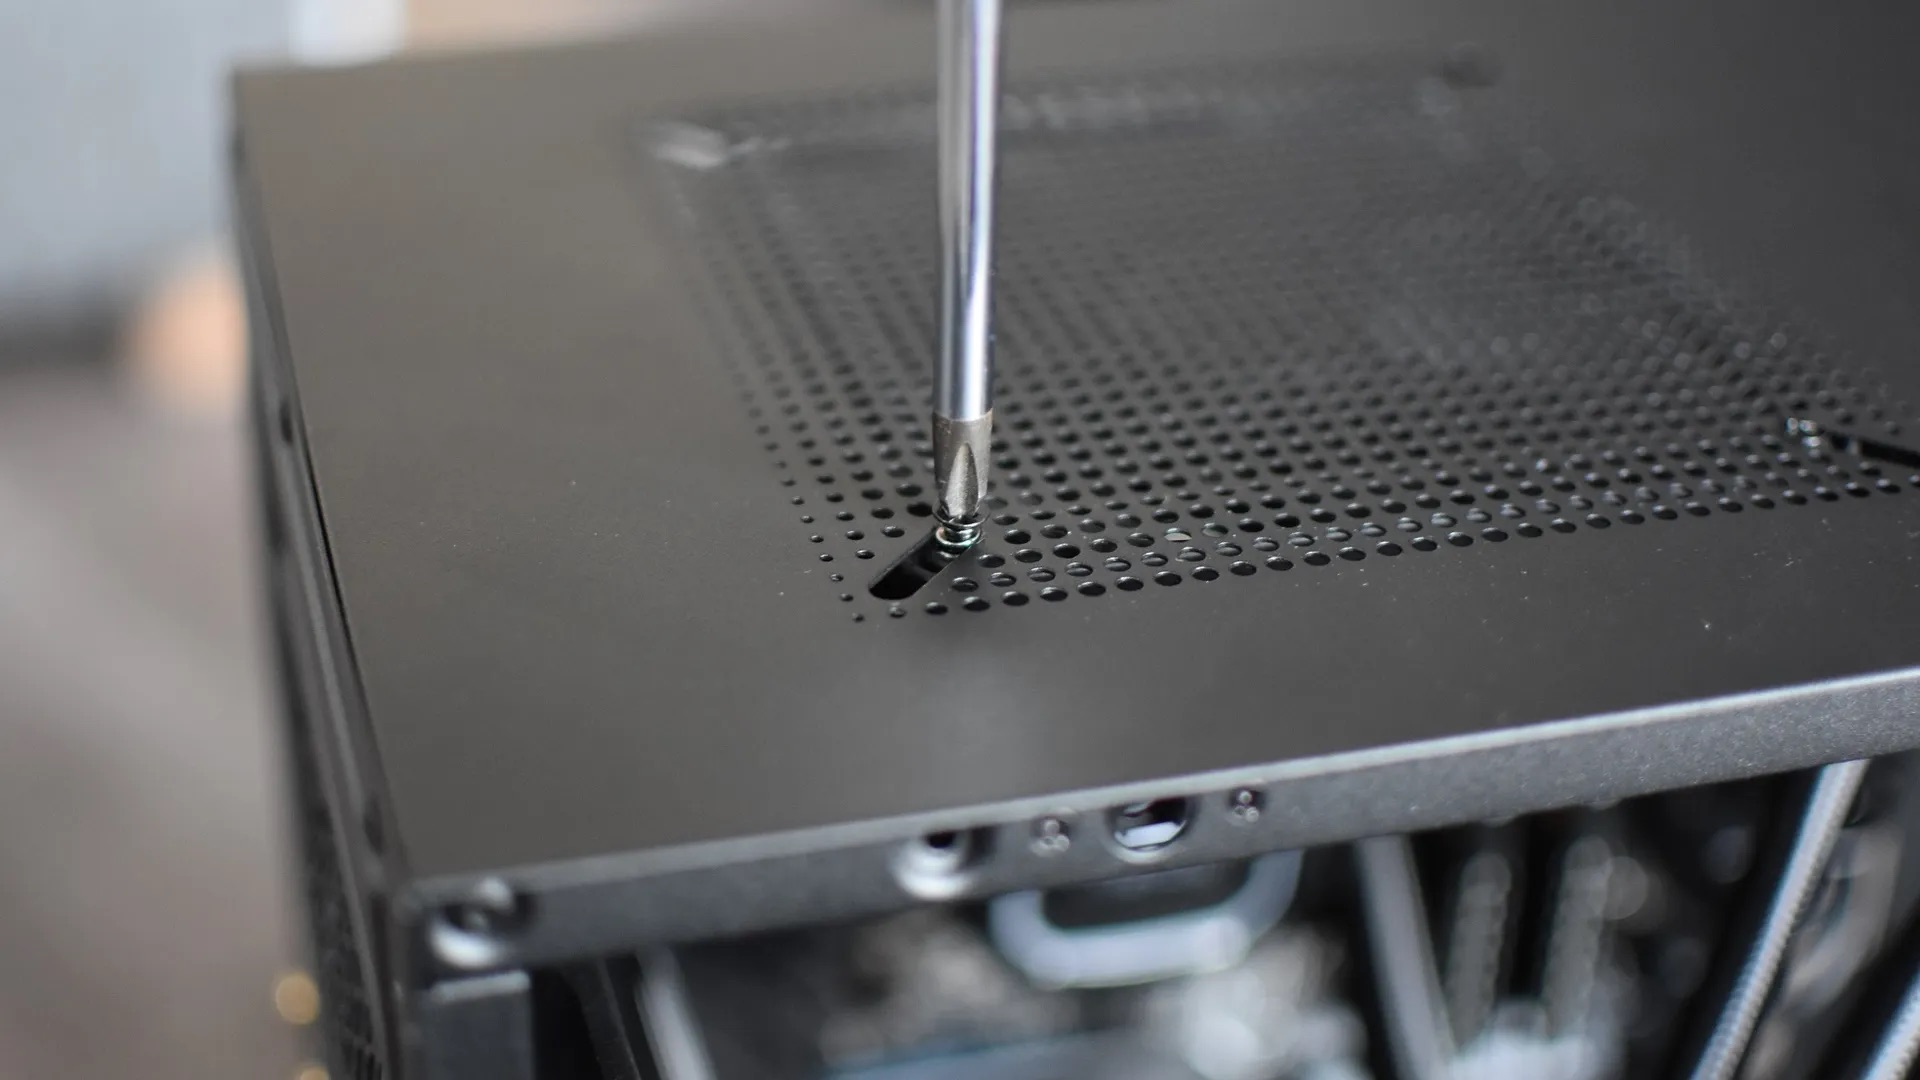
- Remove the side panel: Most PC cases have a removable side panel that provides access to the internal components. Use your screwdriver to remove the screws or fasteners holding the side panel in place. Carefully slide off the panel and set it aside in a safe location.
- Inspect the internal components: Take a moment to visually inspect the inside of your PC case. Look for any dust buildup, obstructions, or cables that may interfere with the installation of the case fan. This is a good opportunity to clean any dust or debris using compressed air or a soft cloth.
- Identify the mounting location: Determine where you want to install the case fan inside your PC case. Look for an available fan mounting point that matches the size of your chosen fan. Most cases have mounting points at the front, rear, or top, but this can vary depending on the case model.
- Check for fan filters: Some PC cases come equipped with built-in fan filters to help reduce dust accumulation. If your case has fan filters, remove them and clean them thoroughly to ensure optimal airflow. This step will also prevent any restriction to the airflow caused by clogged filters.
- Plan the cable routing: Consider how you will route the cables of the case fan to the nearest available power source or motherboard header. Planning the cable routing in advance will help minimize cable clutter and ensure a clean and organized internal setup.
By following these steps, you will effectively prepare your PC case for the installation of a case fan. Taking the time to prepare the case will ensure that the fan can be installed smoothly and that it can provide optimal cooling to your system. Once your case is prepared, you can move on to positioning and attaching the case fan, as outlined in the next section.
Positioning the Case Fan
Properly positioning the case fan is crucial for maximizing its cooling efficiency and maintaining optimal airflow within your PC case. Here are the steps to follow when positioning the case fan:
- Identify the desired airflow direction: Determine the direction in which you want the case fan to blow air. Typically, the fan should be positioned to pull fresh air into the case from the front or bottom and exhaust hot air out of the case from the rear or top. This direction helps establish a continuous airflow that removes heat effectively.
- Consider component-specific cooling: Take into account the specific cooling requirements of your computer’s components. For instance, if you have a high-performance CPU or graphics card that tends to generate a lot of heat, consider positioning the case fan in a way that directs airflow toward these components for enhanced cooling.
- Avoid obstructing other components: Ensure that the installation of the case fan does not obstruct other components like RAM modules, PCIe slots, or cables. Check the clearance between the fan and adjacent components to avoid any potential interference or damage.
- Take advantage of fan mounts: Utilize the dedicated fan mounts available in your PC case to position the case fan securely. These mounts are designed to hold the fan in place and prevent any vibrations or movement during operation. Align the fan with the mount holes and ensure a snug fit.
- Consider additional cooling options: Depending on your PC case’s design and available space, you may have the option to install multiple case fans. Strategically positioning additional fans in areas prone to high heat accumulation, such as near the CPU or graphics card, can provide extra cooling benefits.
- Ensure proper clearance and orientation: Confirm that there is adequate clearance within your PC case to accommodate the case fan. If necessary, adjust the orientation of the fan to fit in the available space without obstructing any components or cables. This ensures that the fan can function optimally and maintain proper airflow.
By carefully considering the airflow direction, component-specific cooling needs, and potential obstructions, you can position the case fan in an optimal location within your PC case. Proper positioning will contribute to efficient heat dissipation, improved system stability, and enhanced overall performance.
Attaching the Case Fan to the Case
Once you have properly positioned the case fan, it’s time to securely attach it to your PC case. Follow these steps to ensure a stable and reliable installation:
- Align the mounting holes: Place the case fan in position, aligning its mounting holes with the corresponding fan mounts in your PC case. This step is crucial for a secure attachment and proper alignment with the intended airflow direction.
- Insert the mounting screws: Insert the provided mounting screws through the case fan’s mounting holes and into the fan mounts on your PC case. Apply gentle pressure to secure the fan in place, but avoid overtightening the screws, as it can lead to damage or vibration issues.
- Ensure stability and vibration reduction: Once the screws are in place, double-check the stability of the case fan. Ensure that it is securely fastened and that there is no movement or wobbling. If necessary, make minor adjustments to achieve a stable and balanced installation.
- Check for clearance: Verify that there is sufficient clearance between the case fan and any adjacent components or cables. Ensure that the fan blades can rotate freely without any obstructions that could impede airflow or cause damage.
- Strategize cable routing: Plan how you will route the power cable of the case fan for efficient cable management. Consider the location of the nearest available power source or motherboard fan header. It’s important to prevent cable tangling or blocking other system components.
- If using cable ties: If desired, use cable ties to secure the power cable and any other associated cables. This step will help keep the cables organized and prevent them from interfering with the fan’s operation or other components in the case. Ensure that the cable ties are not overly tight, allowing for flexibility and adjustments if needed.
By following these steps, you can attach the case fan securely to your PC case. A stable attachment will ensure optimal airflow and cooling performance, preventing any potential issues such as vibrations, noise, or inefficient cooling.
Connecting the Case Fan to Power
Once the case fan is securely attached to your PC case, it’s time to connect it to a power source to ensure proper operation. Follow these steps to successfully connect the case fan to power:
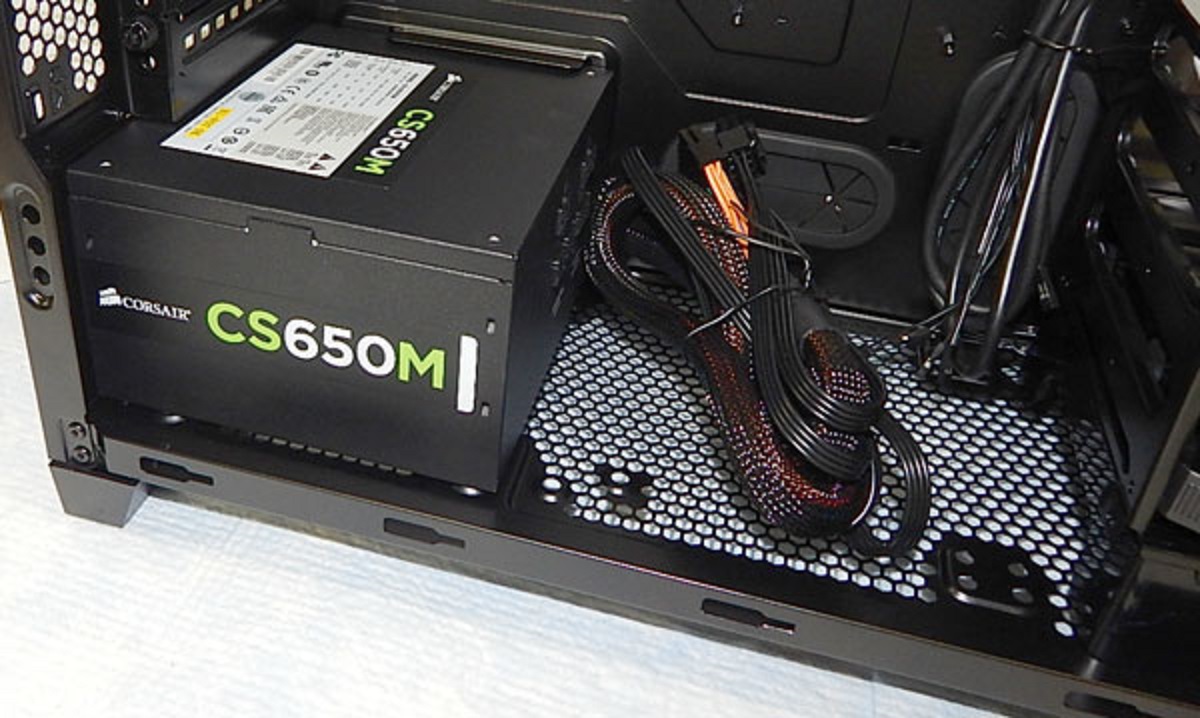
- Identify the power source: Determine the appropriate power source for your case fan. This can be either a motherboard fan header or a direct connection to the power supply unit (PSU), depending on the type of fan and available connections in your system.
- For motherboard fan header: If connecting the case fan to a motherboard fan header, locate the appropriate fan header on your motherboard. Fan headers are usually labeled and can support various types of fans, such as three-pin or four-pin (PWM). Refer to your motherboard manual for specific instructions on locating and connecting to the fan header.
- For PSU connection: In some cases, you may prefer to connect the case fan directly to the PSU. To do this, you will need a molex-to-fan adapter cable. This cable converts the standard Molex connector from the PSU into the necessary fan connector for the case fan. Connect the adapter cable to the case fan, and then plug the Molex end into an available connector from the PSU.
- Align the connector: Align the three-pin or four-pin connector on the case fan with the corresponding pins on the fan header or adapter cable. The connector is typically keyed to ensure proper alignment, so take care not to force it in the wrong direction.
- Secure the connection: Push the connector firmly onto the fan header or adapter cable until you hear or feel a solid click, confirming a secure connection. Ensure that the connection is tight and snug to prevent any accidental disconnections during operation.
- Manage excess cables: If you have excess cable length, use cable ties or cable management solutions to neatly bundle and secure the cables, preventing them from obstructing airflow or interfering with other components.
- Testing the fan: Once the case fan is connected to power, power on your computer and verify that the fan spins properly. Monitor the fan’s performance to ensure that it is operating smoothly and providing the desired airflow.
By following these steps, you can effectively connect the case fan to power and ensure that it functions correctly within your PC system. Proper power connection is essential to provide the necessary cooling for your components, contributing to overall system stability and performance.
Testing and Troubleshooting
After installing and connecting the case fan to power, it’s important to test its functionality and address any potential issues. Follow these steps to test the case fan and troubleshoot any problems that may arise:
- Power on your computer: Start your computer and enter the operating system to begin the testing process. Ensure that all components are running properly, including the case fan that you installed.
- Monitor the fan speed and temperature: Use software utilities or BIOS settings to monitor the fan speed and the temperatures of your CPU and other critical components. Verify that the case fan is operating at the expected speed and contributing to temperature reduction.
- Listen for any unusual noises: Pay attention to any abnormal sounds coming from the case fan, such as grinding, clicking, or rattling noises. Such noises could indicate a faulty fan or improper installation. If you hear any unusual sounds, power down your computer and inspect the fan for any visible issues.
- Check for proper airflow: Physically feel the airflow coming from the case fan. Ensure that it is moving in the intended direction and providing adequate airflow to cool your system. If you notice weak or inconsistent airflow, double-check the fan’s position, secure attachment, and any potential obstructions.
- Addressing troubleshooting issues: If you encounter any problems during the testing process, such as fan failure, noise issues, or inadequate cooling performance, there are a few troubleshooting steps you can take. First, verify that the fan is securely attached and connected to power. Check for any loose connections or damaged cables. If the issue persists, consider replacing the fan with a new one or consult with a professional technician for further assistance.
- Regular maintenance and cleaning: To ensure the continued optimal performance of your case fan, it’s important to regularly clean and maintain your PC system. Dust and debris can accumulate over time, affecting fan performance and airflow. Schedule periodic cleaning sessions to remove any dust buildup and maintain the efficiency of your case fan.
By following these testing and troubleshooting steps, you can ensure that your case fan is functioning correctly and providing the necessary cooling for your PC system. Regular maintenance and attention to any issues that arise will help maximize the lifespan and performance of your case fan.
Final Thoughts
Installing a case fan is a vital step in maintaining the health and performance of your PC system. With proper cooling, you can prevent heat-related issues, optimize system performance, and extend the lifespan of your components.
When choosing a case fan, consider factors such as size, airflow, noise level, power source compatibility, and budget. Finding the right balance for your specific needs will ensure optimal cooling and overall system efficiency.
Properly preparing your PC case, positioning the case fan correctly, and securely attaching it are crucial steps in the installation process. Take care to avoid obstructions and ensure adequate airflow throughout your system.
Connecting the case fan to power requires careful attention to detail, whether it’s connecting to a motherboard fan header or the PSU. Secure connections and proper cable management will prevent potential issues and ensure the case fan performs as intended.
Testing the case fan and addressing any troubleshooting issues are essential steps to confirm its functionality and address any potential problems. Regular maintenance and cleaning will help maintain optimal performance over time.
By following these guidelines, you can install and utilize a case fan effectively, providing enhanced cooling, reducing system noise, and ensuring the longevity and stability of your PC system.
So, don’t overlook the importance of a case fan in your computer setup. Invest in a quality case fan and follow the installation steps outlined in this article to keep your system cool, quiet, and running smoothly for years to come.