Introduction
Computer case fans are essential components in maintaining the coolness and proper airflow inside your computer. Over time, however, they may start to malfunction or become noisy, indicating the need for replacement. Removing a computer case fan requires a few simple steps, and with the right tools and precautions, you can easily accomplish this task.
In this guide, we will walk you through the process of removing a computer case fan. Whether you need to replace a faulty fan or clean a dusty one, this step-by-step tutorial will provide you with the necessary guidance to complete the task successfully.
Before we begin, it’s important to note that computer case fans come in different sizes and configurations, so the exact steps may vary slightly depending on the specific fan model and the computer case you have. It’s always a good idea to consult the user manual for your computer case and the fan manufacturer’s instructions for any specific guidelines.
Now, let’s gather the necessary tools and get started with removing a computer case fan!
Tools needed
Before you begin the process of removing a computer case fan, make sure you have the following tools:
- Screwdriver (size may vary depending on the fan screws)
- Anti-static wristband (optional, but recommended to prevent static damage to computer components)
- Cleaning brush or compressed air canister (if you plan to clean the fan)
The screwdriver is essential for removing the mounting screws that secure the fan to the computer case. Depending on the fan model, you may need a Phillips screwdriver or a flathead screwdriver. It’s important to have the correct size to avoid damaging the screws or the fan itself.
An anti-static wristband is not necessary for removing a computer case fan, but it can be a helpful precaution to prevent static electricity from damaging sensitive computer components. If you have one, it’s worth wearing it while working inside the computer case.
If you plan to clean the fan during the removal process, a cleaning brush or a can of compressed air can be handy tools. These allow you to remove dust and debris from the fan blades and ensure optimal performance.
Now that you have gathered all the necessary tools, you are ready to move on to the next step: powering down the computer.
Step 1: Power down the computer
The first and most crucial step before removing a computer case fan is to power down the computer completely. Shutting down the computer properly ensures that no power is running through the system, reducing the risk of electric shock or damage to internal components.
To power down your computer, follow these steps:
- Save any open files and close all running applications.
- Click on the Start menu or press the Windows key.
- Select the “Power” option.
- Choose “Shut down” from the dropdown menu.
- Wait for the computer to shut down completely. You might see a screen indicating that it’s safe to turn off the computer.
It’s important to wait for the computer to fully shut down before proceeding to the next steps. This ensures that all internal components have ceased operation and there is no residual electrical charge.
If you are using a laptop, make sure to disconnect the charger as well. This ensures that the laptop is running on battery power only and eliminates any potential electrical hazards.
Once the computer is completely powered down, you can move on to the next step, which involves disconnecting all cables and peripherals from the computer case.
Step 2: Disconnect all cables and peripherals
Before proceeding with the removal of the computer case fan, it is essential to disconnect all cables and peripherals connected to your computer. This ensures that there are no potential obstructions or interference during the removal process.
Follow these steps to disconnect all cables and peripherals:
- Turn off the main power switch (if applicable) on the back of the computer case. This cuts off power supply to the internal components.
- Unplug the power cable from the back of the computer case. This completely removes the electrical connection.
- Disconnect any other cables connected to the computer, such as the monitor cable, keyboard, mouse, and any USB devices.
- If you have external devices or peripherals that are mounted or attached to the computer case, such as external hard drives or printers, make sure to disconnect them as well.
Take your time to carefully disconnect all the cables and peripherals, making note of where each cable was connected. This will make reassembly easier later on.
Once all the cables and peripherals are disconnected, you can proceed to the next step, which involves opening the computer case.
Step 3: Open the computer case
Now that all the cables and peripherals are disconnected, it’s time to open the computer case. Opening the case provides access to the internal components, including the fan that you want to remove.
Follow these steps to open the computer case:
- Locate the screws or latches that hold the computer case panels in place. These are usually located at the back or side of the case.
- Before removing any screws, ensure that you are grounded to prevent static discharge. You can do this by wearing an anti-static wristband or by touching a grounded metal object.
- Using a screwdriver or your fingers, remove the screws or unlatch the latches that secure the side panel of the computer case.
- Once the screws or latches are removed, gently slide or swing open the side panel to expose the internal components.
Some computer cases may have multiple side panels or additional covers that need to be removed. If this is the case, repeat the above steps to open all the necessary panels or covers.
As you open the computer case, be cautious of any cables or wires that may be connected to the motherboard, storage devices, or other components. Take note of their positions and avoid pulling or damaging them.
With the computer case open, you are now ready to locate the computer case fan that needs to be removed. This will be covered in the next step.
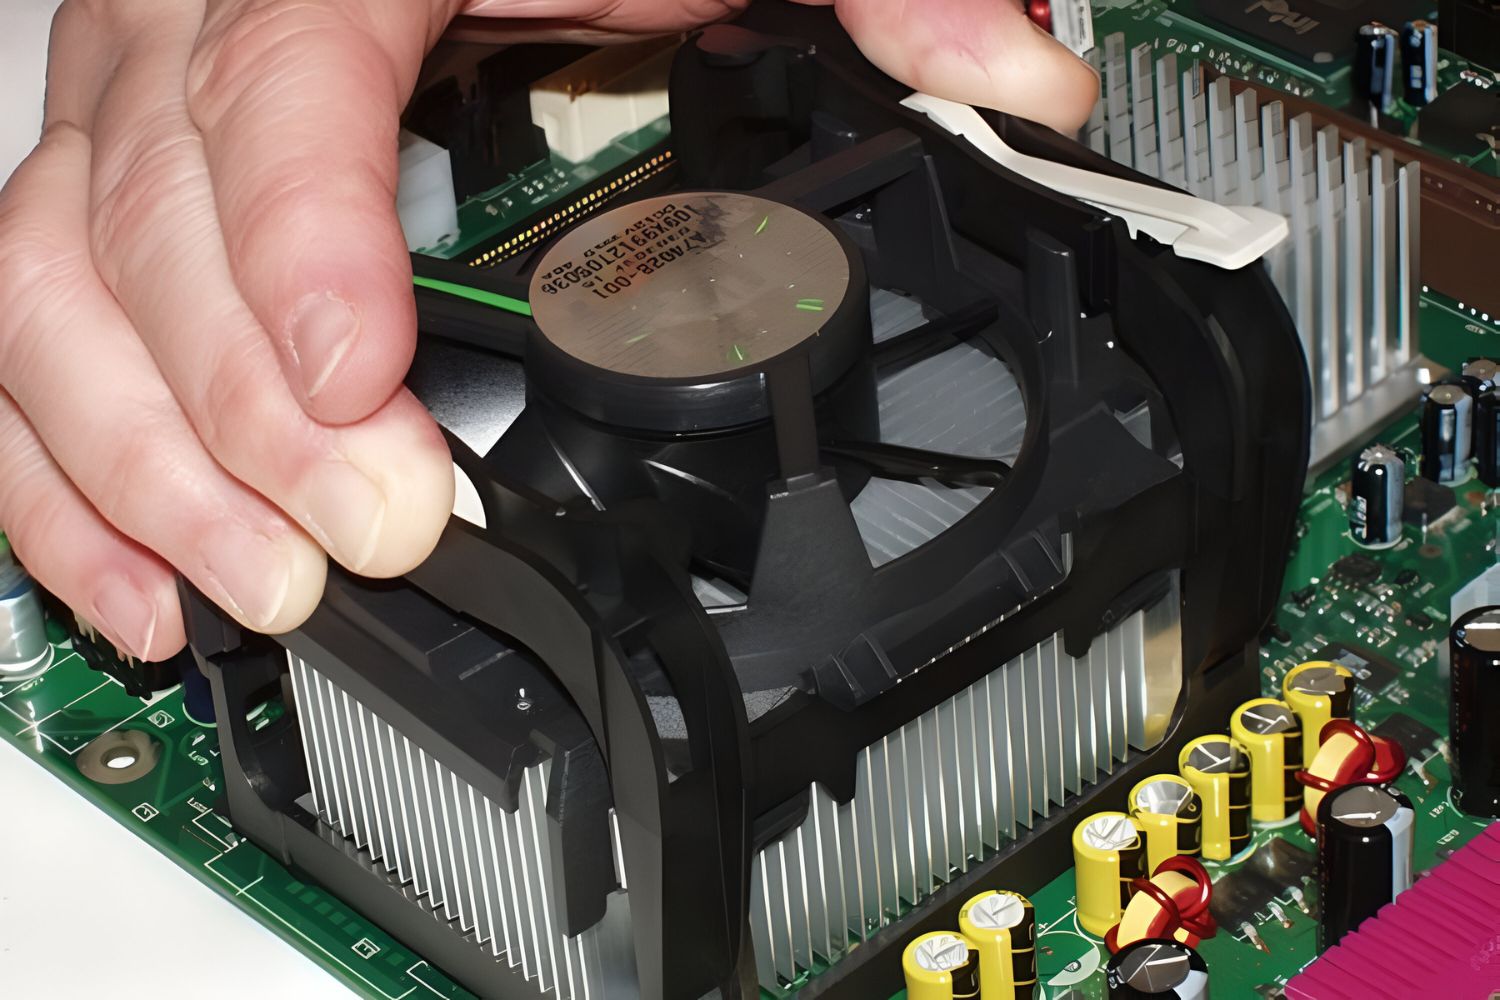
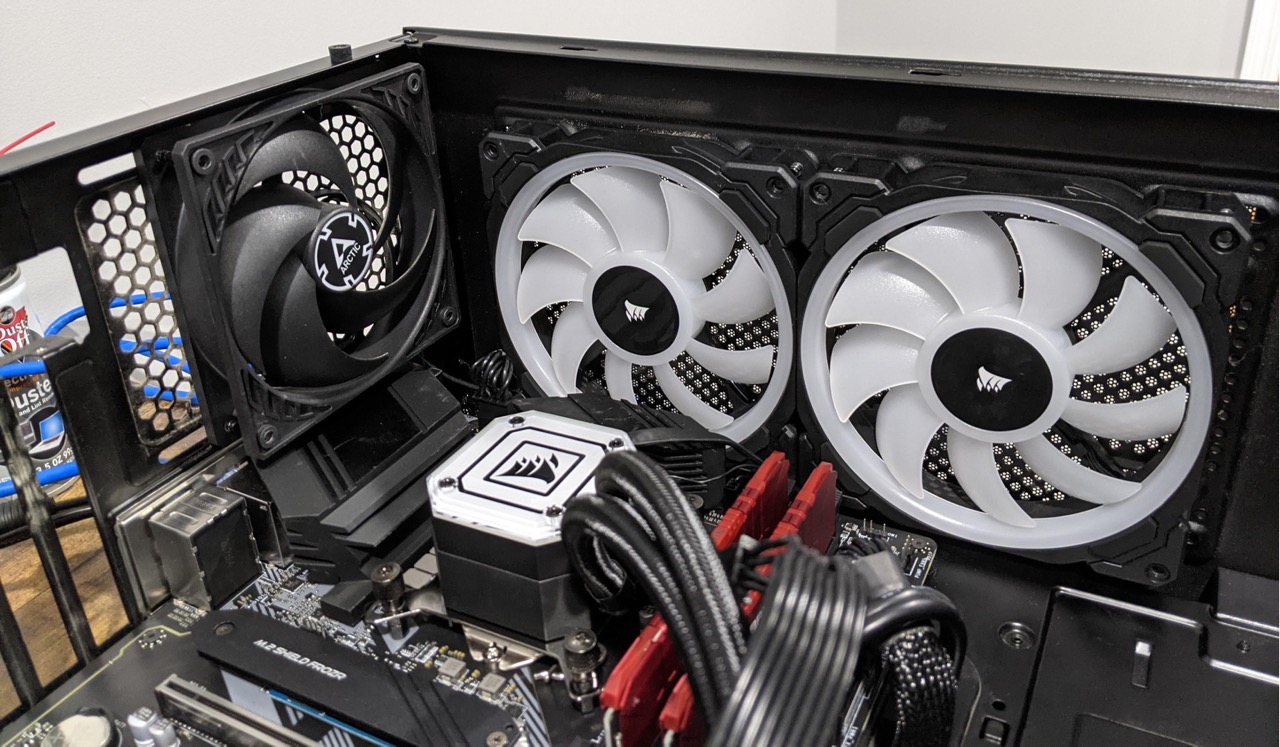
Step 4: Locate the fan
After opening the computer case, the next step is to locate the fan that you wish to remove. In most cases, the fan is easily identifiable, as it is typically positioned near the front or rear of the computer case and is attached to a mounting bracket.
Follow these steps to locate the fan:
- Take a moment to visually inspect the internal components of your computer case. Look for a fan that is attached to a rectangular or circular frame, usually made of plastic or metal.
- The fan is commonly located near the front or rear of the case, as these areas allow for optimal airflow. It may be positioned near the top, bottom, or side panel of the computer case, depending on the design.
- Identify the wires connected to the fan. The fan will have a power cable that is plugged into a header on the motherboard or a fan controller. This cable provides power to the fan and allows it to operate.
- Take note of any other cables or connectors that may be connected to the fan, such as RGB lighting cables or additional fan control cables. These may vary depending on the specific fan model and features.
As you locate the fan, it’s important to be observant and make note of any abnormal noise, dust accumulation, or signs of damage. This information will help you determine if the fan needs cleaning, replacement, or further troubleshooting.
Once you have located the fan and familiarized yourself with its positioning and connections, you can proceed to the next step: unplugging the fan wire.
Step 5: Unplug the fan wire
Now that you have located the computer case fan, it’s time to unplug the fan wire. Disconnecting the fan wire ensures that the fan is no longer powered and allows you to safely remove it from the computer case.
Follow these steps to unplug the fan wire:
- Identify the power cable connected to the fan. This cable is typically a small, three or four-pin connector.
- Gently grasp the plastic connector housing and wiggle it from side to side while pulling it away from the fan header on the motherboard or the fan controller. Be careful not to pull on the wires themselves, as this can damage the connector or the fan.
- If the fan’s power cable is connected to a fan controller or a separate power supply unit, follow the same process to disconnect the cable from the respective connectors.
While unplugging the fan wire, be mindful of any other cables or connectors that may be in close proximity. Ensure that you are only removing the fan’s power cable and not accidentally disconnecting other important connections.
Once the fan wire is successfully unplugged, you can proceed to the next step: removing the mounting screws that secure the fan to the computer case.
Step 6: Remove the mounting screws
With the fan wire successfully unplugged, the next step in removing a computer case fan is to remove the mounting screws that secure it to the computer case. These screws keep the fan firmly in place and prevent it from moving or vibrating during operation.
Follow these steps to remove the mounting screws:
- Examine the fan to locate the screws that secure it to the computer case. The number of screws may vary depending on the fan size and model.
- Using a screwdriver appropriate for the screw type (Phillips or flathead), carefully unscrew each mounting screw in a counterclockwise direction.
- Gently set aside the screws in a safe place to avoid misplacing them.
It’s important to note that some computer cases may use different types of mounting mechanisms, such as clips or push pins, instead of screws. In such cases, refer to the computer case manual or the fan manufacturer’s instructions for the appropriate method to remove the fan.
While removing the mounting screws, be cautious of any other components or cables that may be near the fan. Take extra care not to damage or dislodge any other parts as you unscrew the fan.
Once all the mounting screws are removed, you can move on to the next step: gently detaching the fan from the computer case.
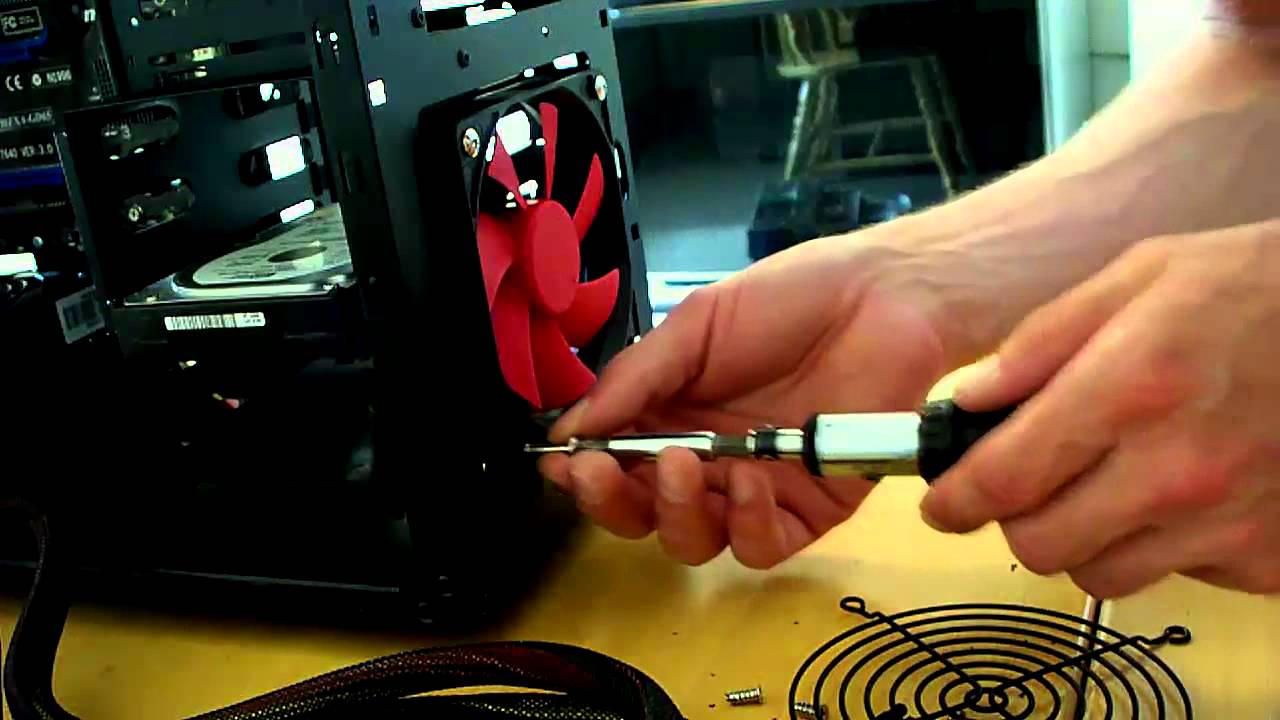
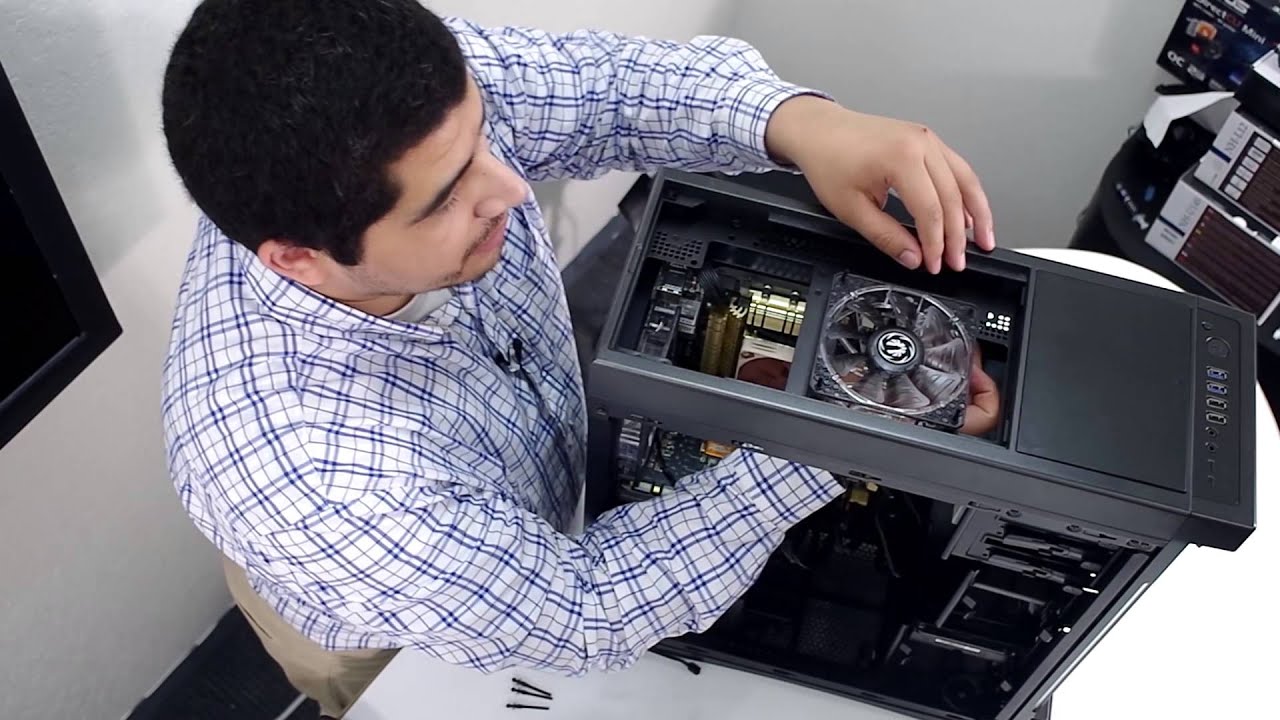
Step 7: Gently detach the fan from the case
With the mounting screws removed, you are now ready to detach the computer case fan from its position within the case. It’s important to approach this step with caution to avoid causing any damage to the fan or the surrounding components.
Follow these steps to gently detach the fan from the case:
- Hold the fan securely by the edges or the plastic frame to avoid touching or applying pressure on the fan blades.
- Slowly and carefully slide or lift the fan away from the computer case, taking note of any cables or wires that may still be connected.
- If you encounter resistance, double-check for any remaining screws or clips that may still be holding the fan in place. Remove any additional fasteners as necessary.
- Once the fan feels loose, continue gently pulling it away from the case until it is completely detached.
Be mindful of the cables or wires connected to the fan as you detach it. If there are any additional connectors or cables, unplug them from their respective headers or ports before completely removing the fan.
During this step, be careful not to exert excessive force or pull on the fan. Applying too much pressure can cause damage to the fan or the surrounding components within the computer case.
With the fan successfully detached from the case, you can choose to proceed to the next step of cleaning the fan or move on to replacing it, depending on your needs.
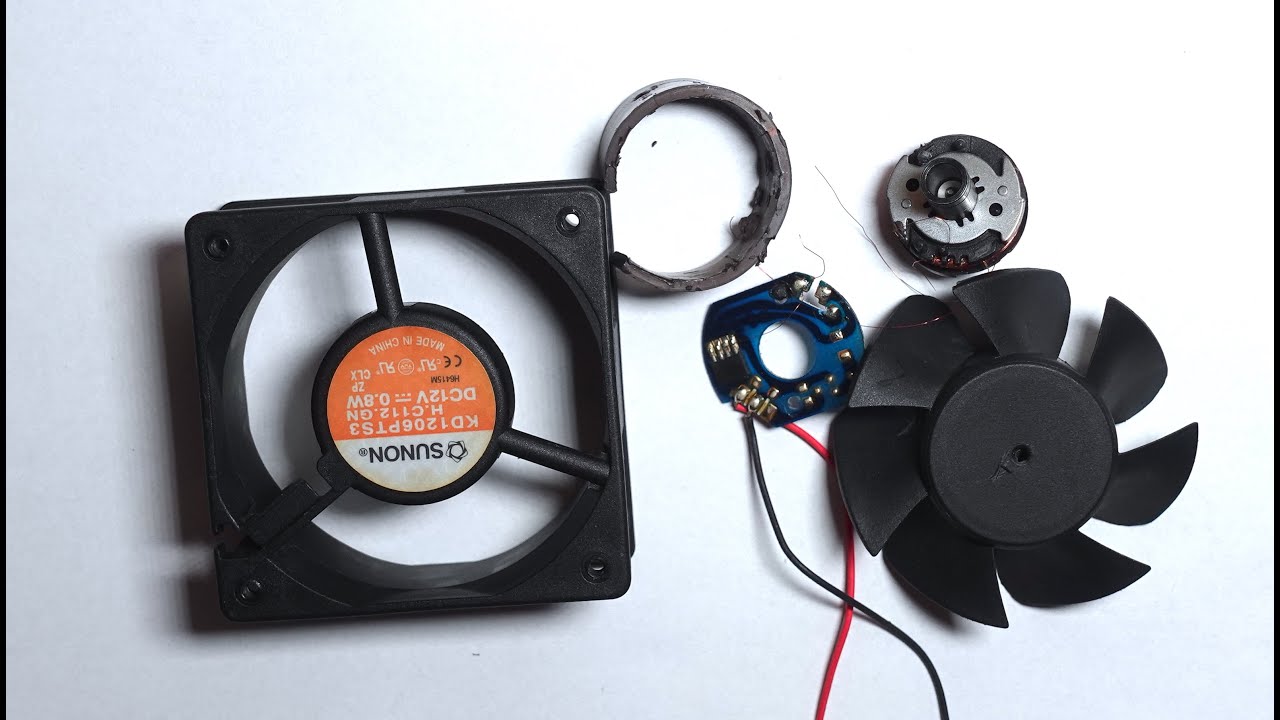
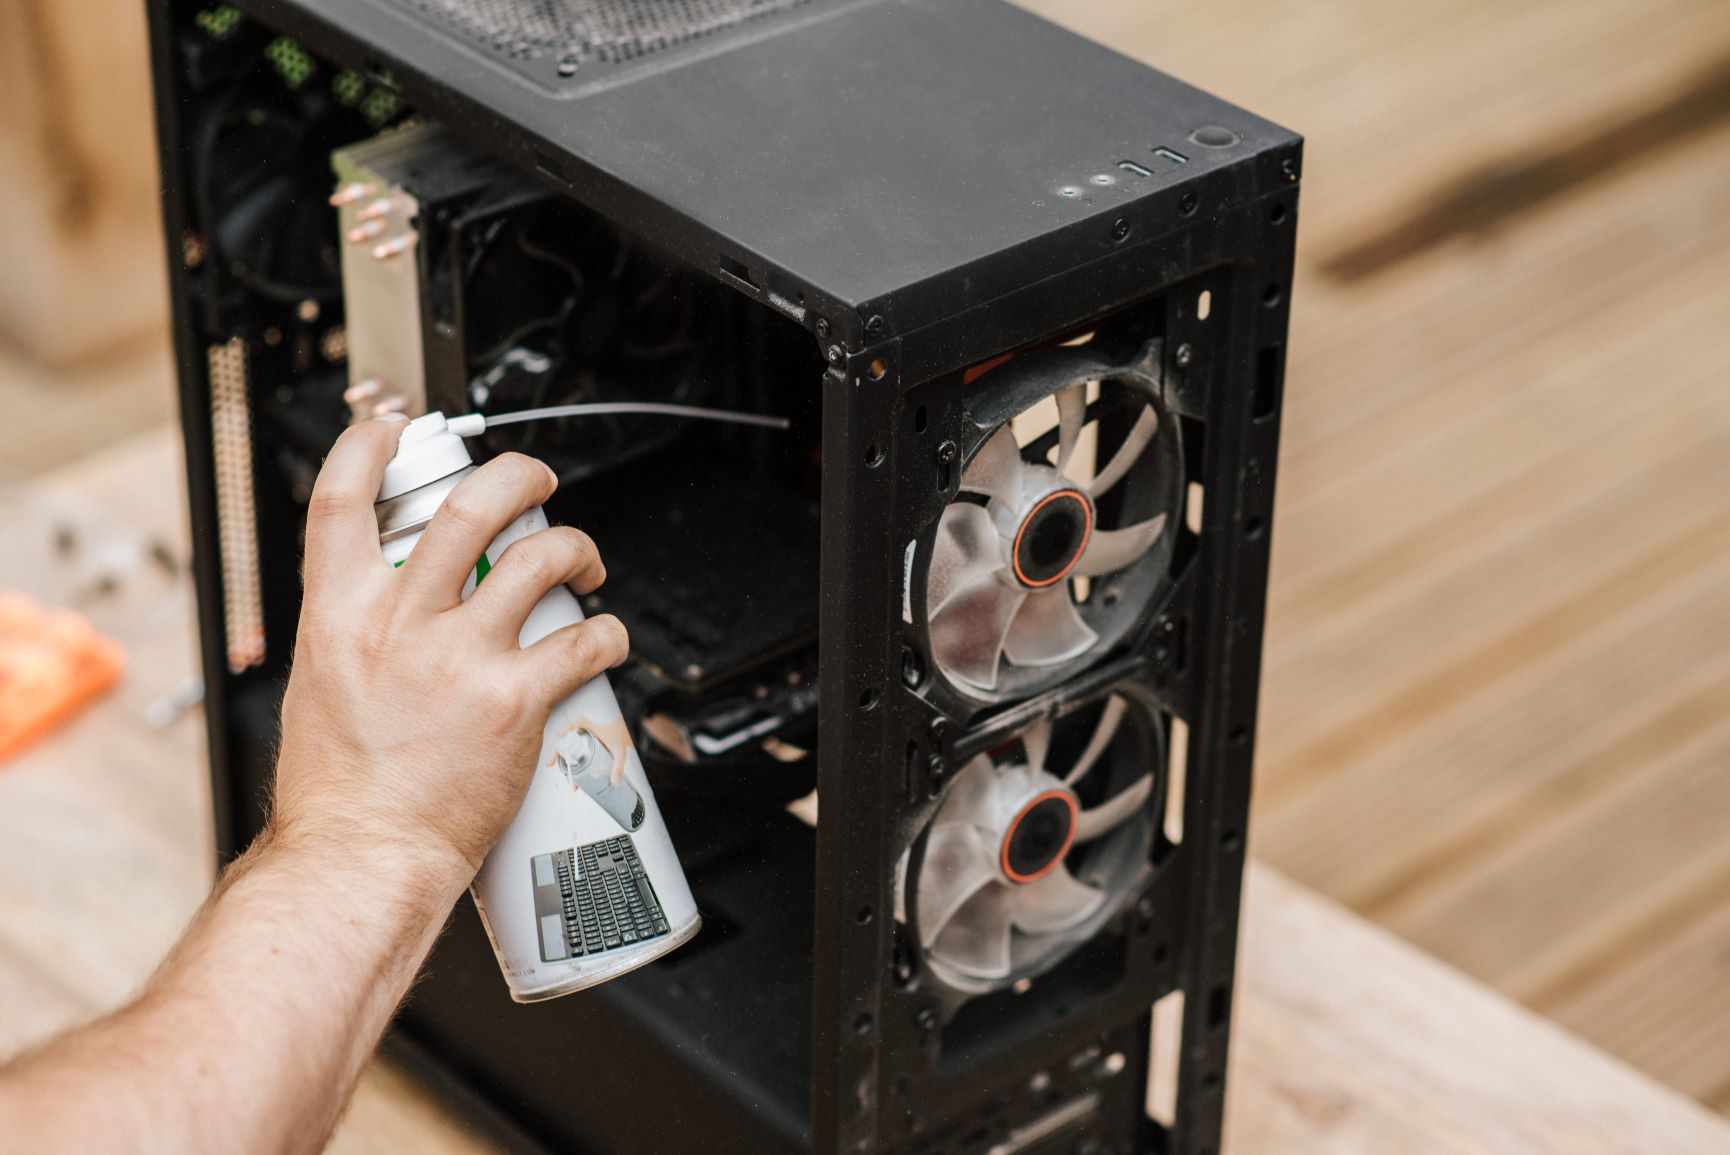
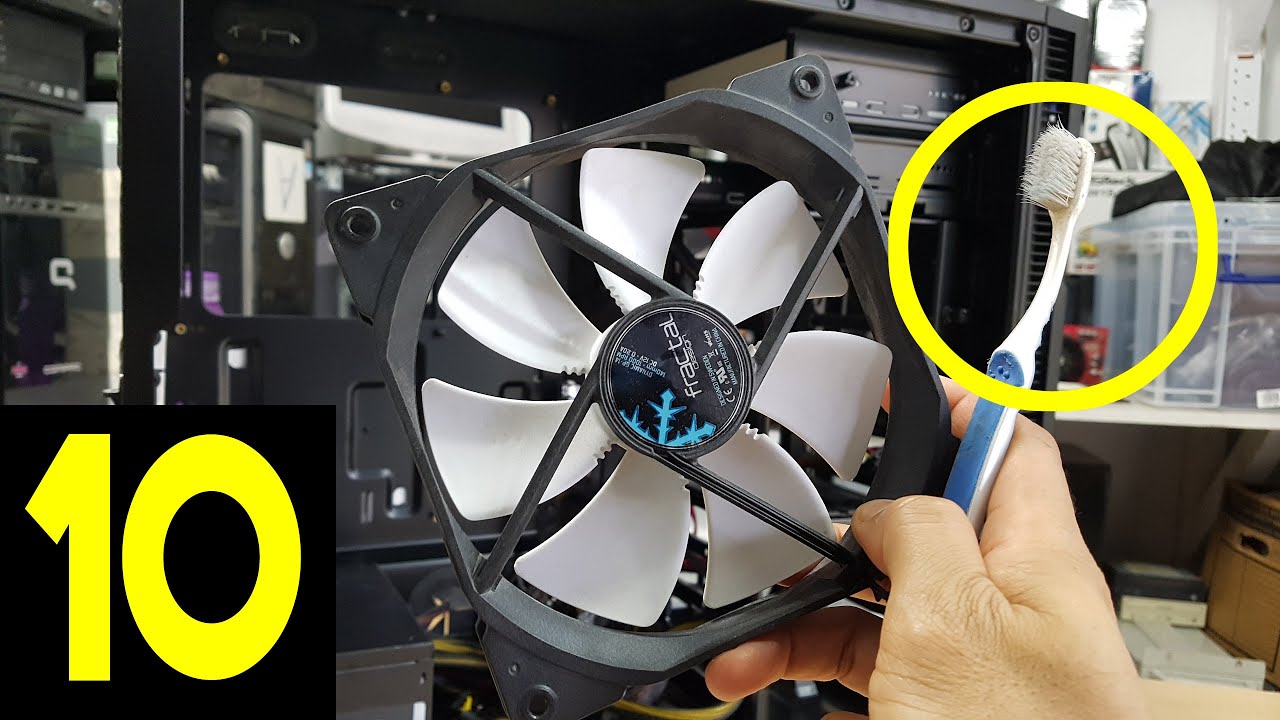
Step 8: Clean the fan (optional)
Cleaning the computer case fan is an optional step but highly recommended, as it helps improve airflow and ensure proper cooling of your system. Over time, dust and debris can accumulate on the fan blades and hinder its performance. Cleaning the fan can be done easily and effectively.
Follow these steps to clean the fan:
- Use a cleaning brush or a can of compressed air to gently remove dust and debris from the fan blades. Hold the fan securely and avoid applying excessive force to prevent damage.
- If using a cleaning brush, carefully brush along the fan blades, dislodging any accumulated dust. Be thorough but gentle to avoid bending or damaging the blades.
- If using compressed air, hold the can upright and use short bursts of air to blow away the dust. Direct the compressed air away from the computer components to prevent forcing the dust further into the system.
- Pay attention to the areas around the fan, including any ventilation grilles or filters. Clean these areas using the same method to ensure optimal airflow.
It’s important to perform the cleaning in a well-ventilated area to prevent inhaling the dust particles. If necessary, wear a dust mask or use a vacuum cleaner to safely collect the dislodged dust.
Regularly cleaning the computer case fan helps maintain its efficiency and prolong its lifespan. It is especially important if you notice excessive noise or an increase in the temperature of your system. Cleaning the fan can help alleviate these issues.
Once you have finished cleaning the fan, you can proceed to the next step: replacing the fan if needed. If you do not wish to replace the fan, you can skip to the reassembling step.
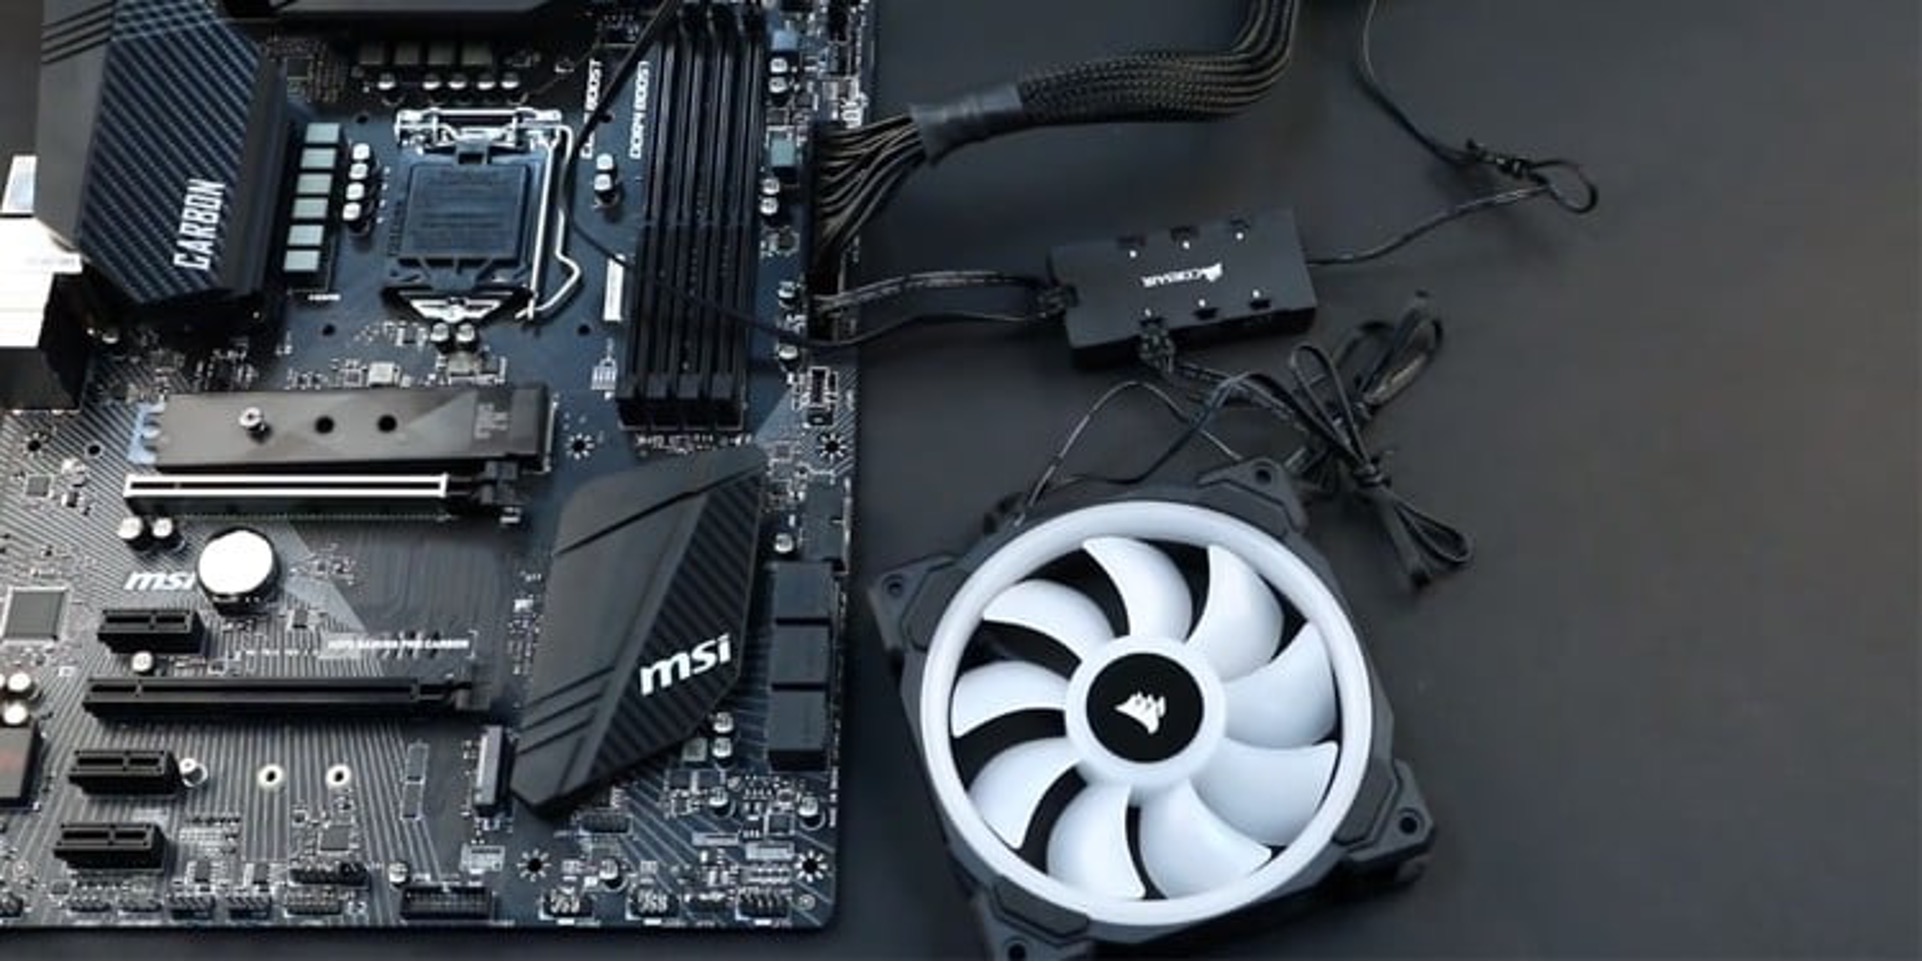
Step 9: Replace the fan (if needed)
If the computer case fan you removed is faulty, damaged, or beyond repair, it’s important to replace it with a new one. Replacing a fan ensures that your computer receives proper cooling and prevents overheating of the internal components.
Follow these steps to replace the fan:
- Acquire a replacement fan that is compatible with your computer case. Make sure to check the size, voltage, and connector type to ensure a proper fit.
- Gently position the new fan in the same location from where you removed the old one. Align the mounting holes of the fan with the corresponding holes in the computer case.
- Insert the mounting screws into the holes and tighten them securely, but be careful not to overtighten and risk damaging the fan or the case.
- If the fan has a separate power cable, connect it to the appropriate header on the motherboard or fan controller. Ensure the connection is secure and properly aligned.
- Double-check that all cables and wires are clear and properly connected, avoiding any potential obstructions or pinches.
It’s important to ensure that the replacement fan is properly aligned and securely mounted. Loose or misaligned fans can cause vibrations and noise, impacting their efficiency and overall performance.
If you are unsure about the process, consult the user manual for your computer case or seek assistance from a knowledgeable technician to ensure a successful fan replacement.
Once you have replaced the fan, you can proceed to the final step: reassembling the computer case.
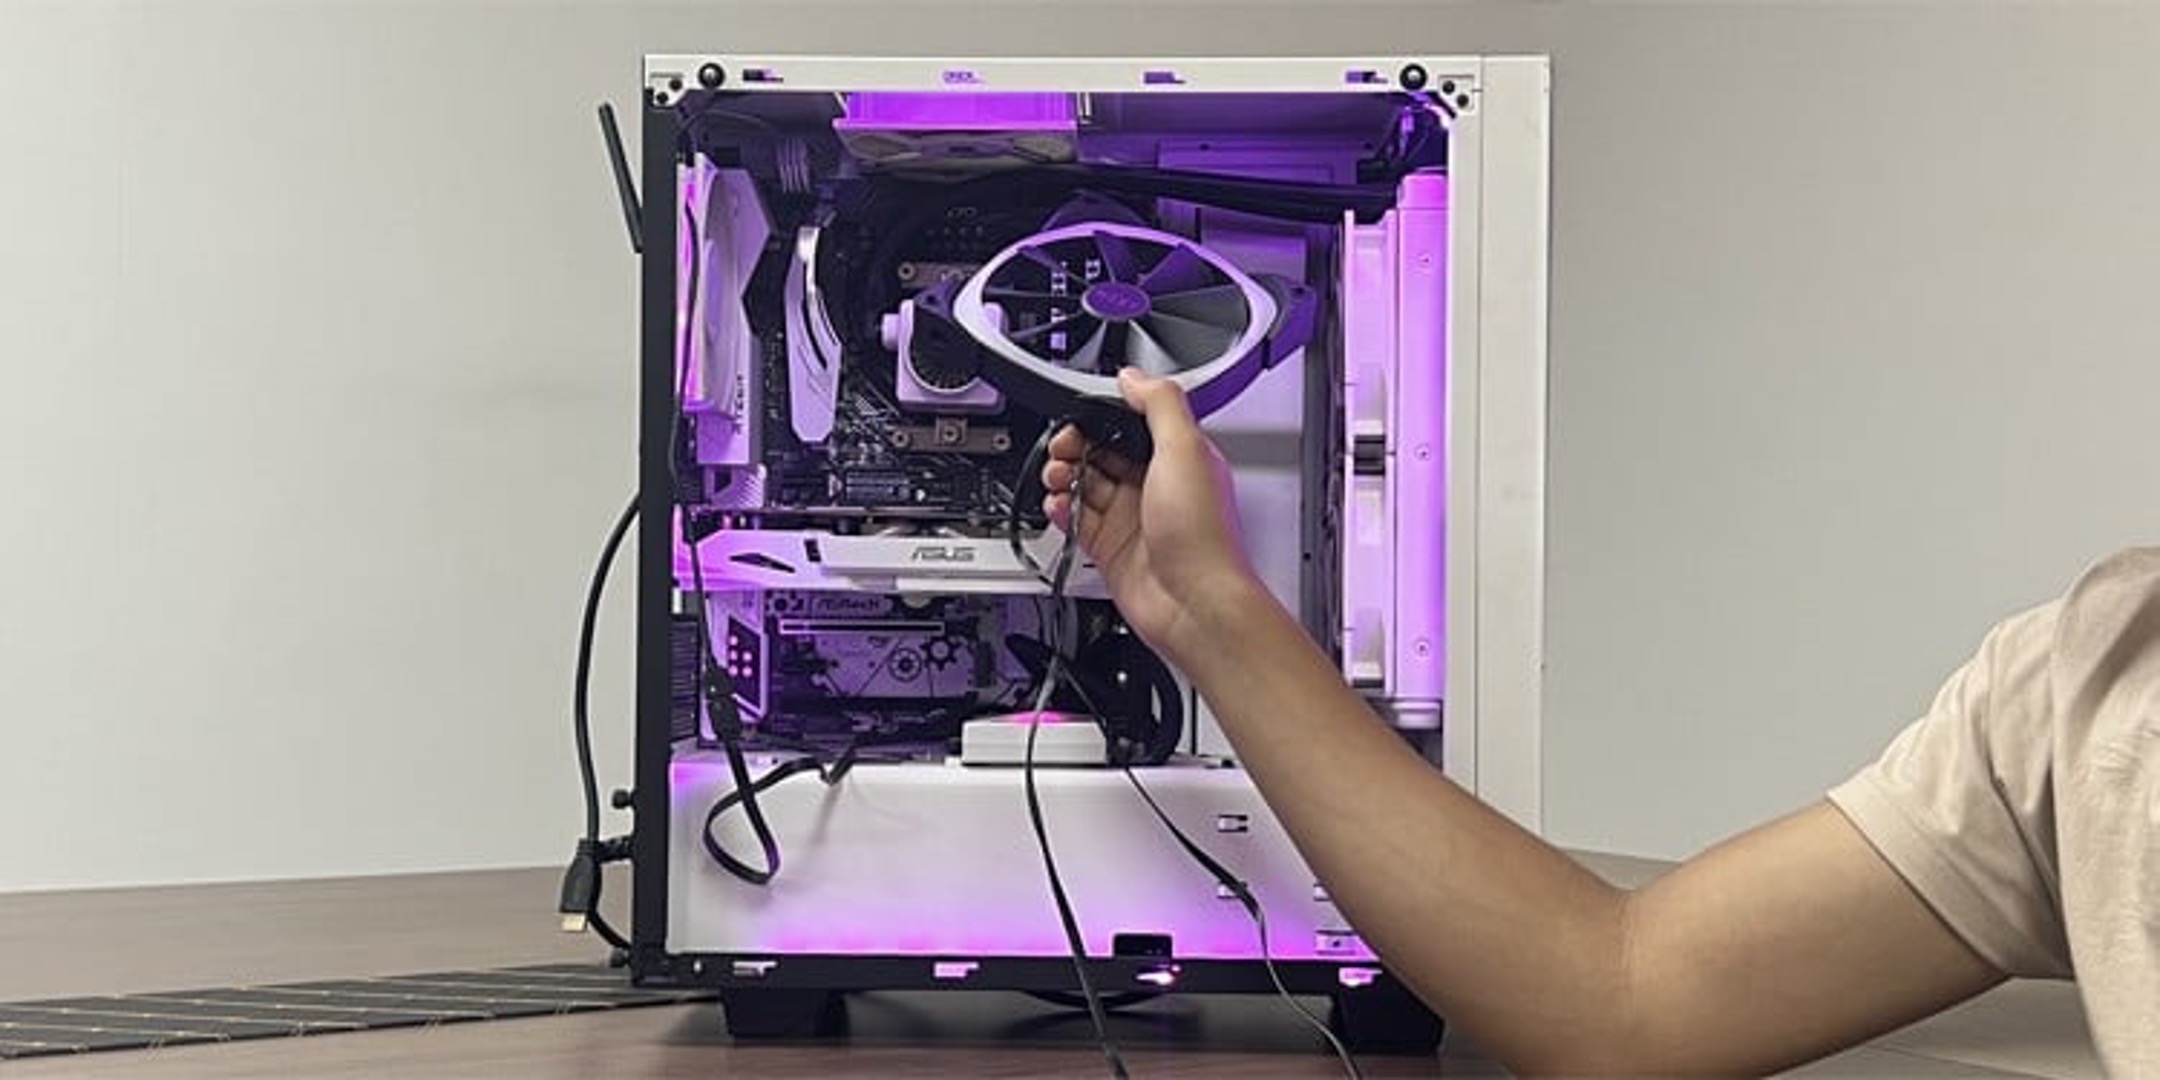
Step 10: Reassemble the computer case
After completing the necessary tasks like cleaning or replacing the fan, it’s time to reassemble the computer case. Properly reassembling the case ensures that all components are secured and aligned correctly, promoting optimal performance and protection.
Follow these steps to reassemble the computer case:
- Gently position the side panel(s) back on the computer case, aligning the screw holes or latches.
- Using the appropriate screwdriver, re-insert and tighten the screws or latch the side panel(s) securely.
- Reconnect all the cables and peripherals to the appropriate ports on the computer case. Ensure that the connections are snug and properly aligned.
- If you had disconnected the power cable, plug it back into the computer case and turn on the main power switch.
- Power on the computer and check for proper operation of the newly installed or cleaned fan. Listen for any abnormal noises or vibrations.
Take a moment to visually inspect the computer case to ensure that everything is properly reassembled. Verify that all cables are neatly organized and not obstructing any fans or components.
If you replaced the fan, monitor the system’s temperature and ensure that it remains within acceptable ranges during normal operation. Excessive heat may indicate improper fan installation or inadequate cooling.
With the computer case reassembled and the fan functioning properly, you have successfully completed the process of removing and replacing a computer case fan.
Remember, proper maintenance and regular cleaning of the computer case and fans can help keep your system running smoothly and extend its lifespan.
Conclusion
Removing and replacing a computer case fan is a straightforward process that can be accomplished with a few simple steps. Whether you need to replace a faulty fan or clean a dusty one, following the proper procedures ensures the smooth operation and longevity of your computer system.
Throughout this guide, we have covered the essential steps involved in removing a computer case fan. From powering down the computer and disconnecting cables to opening the case, locating the fan, and successfully detaching it, each step plays a crucial role in the safe removal process. We have also discussed optional steps such as cleaning the fan and replacing it if necessary.
Remember, it’s essential to exercise caution when working inside your computer case. Take note of the specific instructions for your computer case and fan to ensure proper removal and reinstallation. Use the appropriate tools and avoid applying excessive force or causing damage to the fan or other components.
By following these steps and practicing regular maintenance, you can ensure proper airflow, efficient cooling, and optimal performance of your computer system. Taking the time to remove and replace a computer case fan when needed will contribute to a quieter and more reliable computing experience.
Now that you’re equipped with the knowledge and steps required, you can confidently proceed with removing, cleaning, or replacing a computer case fan whenever the need arises.