Introduction
Welcome to our guide on how to remove a computer case fan. Whether you’re experiencing noisy fan operation, overheating issues, or simply looking to upgrade to a more efficient fan, this step-by-step tutorial will help you safely and effectively remove and replace your computer case fan.
Computer case fans play a crucial role in maintaining optimal operating temperatures for the internal components of your computer. Over time, these fans can accumulate dust and debris, leading to poor performance and potential system overheating. Regular maintenance and occasional replacement of case fans are essential to keep your computer running smoothly.
In the following sections, we will outline the necessary tools, safety precautions, and step-by-step instructions to guide you through the process. Whether you’re a computer enthusiast or a novice DIY-er, our comprehensive guide will ensure that you can confidently remove your computer case fan and perform any necessary cleaning or upgrades.
Before we dive into the steps, it’s important to note that computer cases and internals can vary, so the exact process may differ slightly depending on your specific computer model. However, the general principles discussed in this guide will apply to most standard computer cases and fans.
So, let’s get started and learn how to remove a computer case fan!
Tools Needed
Before you begin removing the computer case fan, it’s essential to gather the necessary tools to ensure a smooth and efficient process. Here are the tools you will need:
- Screwdriver: Depending on the type of screws used to secure the fan, you may require a Phillips or flathead screwdriver. Make sure to have the appropriate size for your specific case.
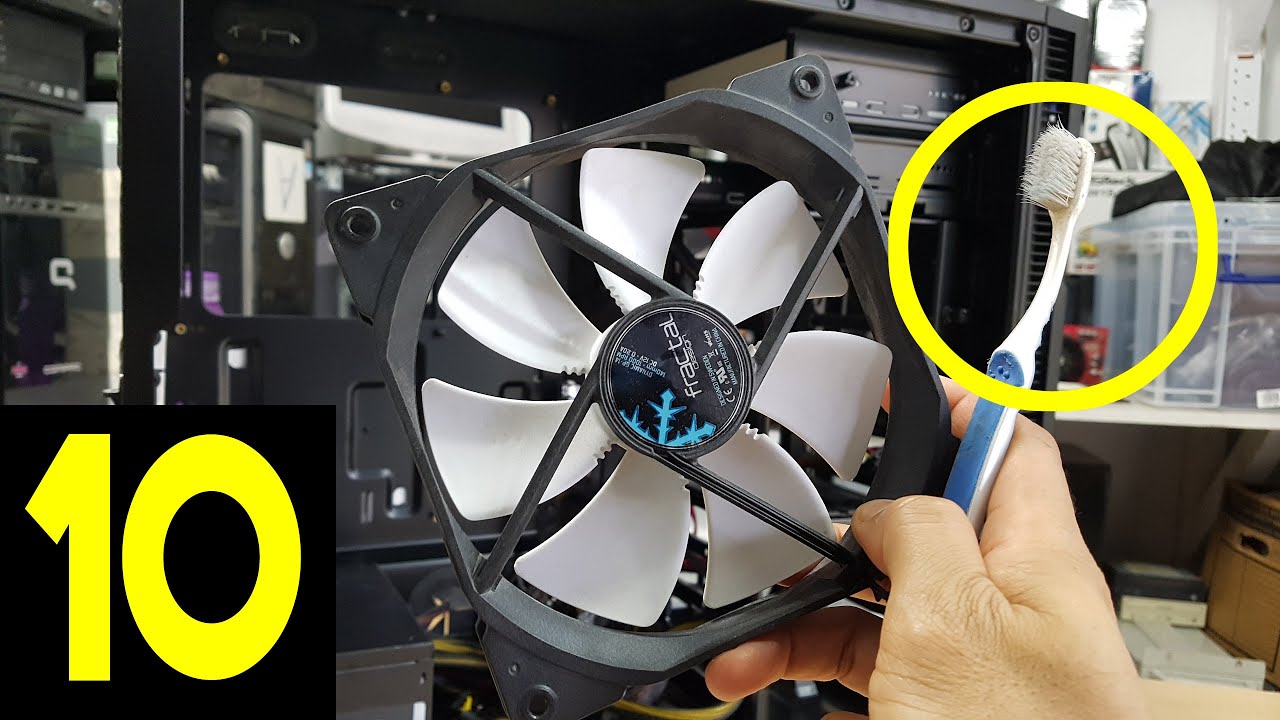
- Cotton swabs or soft brush: These will come in handy when cleaning off dust and debris from the fan blades and surrounding areas.
- Compressed air or an air blower: This tool is useful for blowing away stubborn dust particles that may be difficult to remove with just a brush or cotton swabs.
- Anti-static wristband (optional): If you want to take extra precautions against electrostatic discharge, which could potentially damage sensitive computer components, consider using an anti-static wristband.
Ensuring you have the right tools beforehand will save you time and frustration during the fan removal process. Double-check to make sure you have all the necessary items nearby before proceeding with the steps.
Once you’re confident that you have everything you need, it’s time to move on to the next step: turning off the computer and unplugging the power cord.
Step 1: Turn off the computer and unplug
The first step in safely removing a computer case fan is to shut down your computer and unplug it from the power source. This is crucial to ensure your safety and prevent any electrical accidents or damage to your computer components.
To turn off your computer, go to the Start menu, click on the Power button, and select Shut Down. Wait for your computer to fully shut down before proceeding.
Once your computer is powered off, locate the power cord connected to the back of your computer tower. Carefully unplug it from the power outlet or surge protector. It’s important to disconnect the power cord to avoid any potential electric shocks while working inside the computer case.
Additionally, if you’re using a laptop or a device with a built-in battery, make sure to power it off and disconnect it from any power sources as well.
After you have turned off and unplugged your computer, give it a few minutes to discharge any remaining electricity. This will help to minimize the risk of electrostatic discharge (ESD) when working with the internal components.
Now that your computer is completely powered down and disconnected from the power source, you can proceed to the next step: opening the computer case.
Step 2: Open the computer case
With your computer fully powered down and unplugged, it’s time to open the computer case to access the internal components and remove the case fan. Here’s how to do it:
- Locate the screws or latches: Look for the screws or latches that hold the computer case panels in place. These are usually located on the back or side of the case. Some cases may have screws that need to be unscrewed, while others may have latches that need to be released.
- Remove the screws or release the latches: Using a screwdriver, remove the screws by turning them counterclockwise. If your case has latches, carefully release them by pushing or sliding them in the appropriate direction.
- Remove the side panel: Once the screws or latches are removed, gently slide the side panel of the computer case away from the rest of the case. Some cases may require you to lift the panel upwards, while others may require sliding it towards the back of the case.
- Set aside the side panel: Place the removed side panel in a safe and convenient location where it won’t get damaged or in the way.
Congratulations! You have successfully opened the computer case and gained access to the internal components. Take a moment to familiarize yourself with the layout of the case and locate the computer case fan you wish to remove.
Be cautious while working inside the computer case, as it contains delicate components. Avoid touching any other components unnecessarily and proceed to the next step: locating the computer case fan.
Step 3: Locate the computer case fan
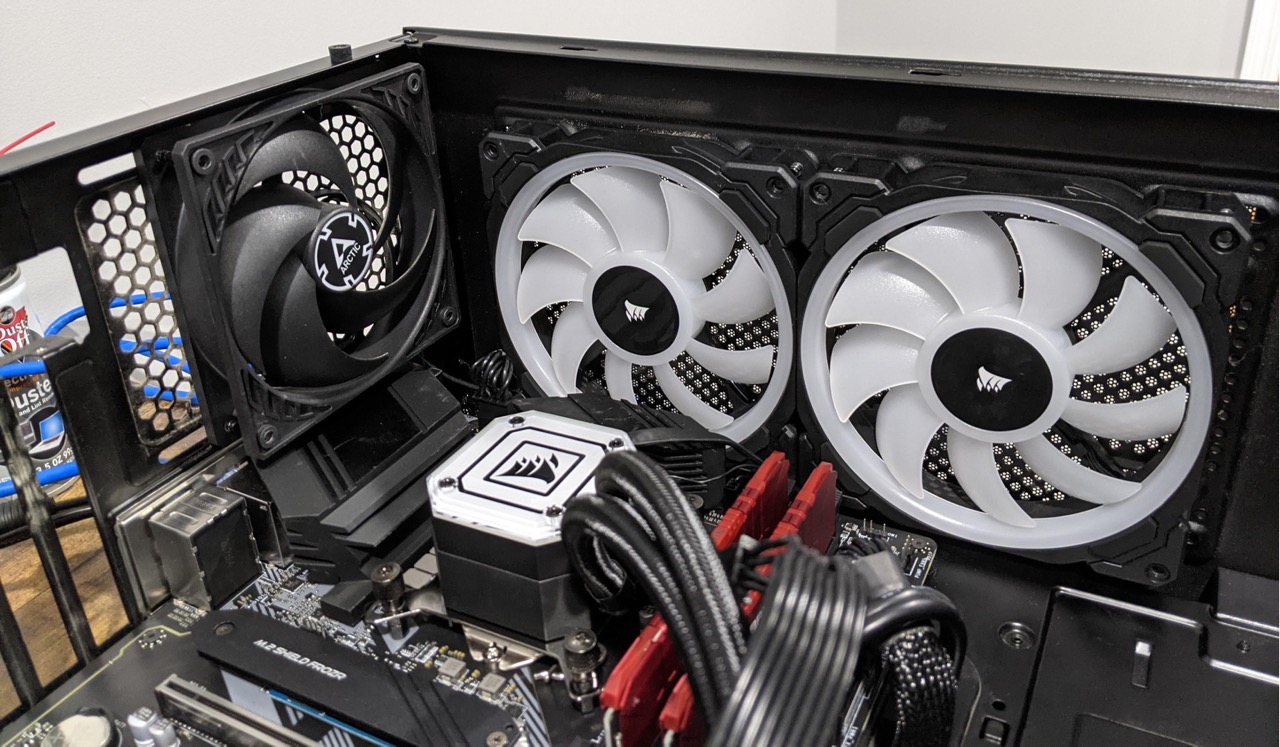
Now that you have opened the computer case, it’s time to locate the computer case fan that you want to remove. The fan is typically mounted on either the front, rear, or side panel of the case, depending on the case design. Here’s how to locate the fan:
- Observe the internal components: Take a moment to observe the inside of the computer case. Look for any visible fans or fan mounts. The fan may be easily spotted due to its distinctive shape and fan blades.
- Identify the fan’s location: Once you’ve located the fan, determine its exact location and orientation within the case. Note any screws or fasteners that may be securing the fan to the case.
- Identify the fan’s power cable: Look for the power cable connected to the fan. It usually consists of a bundle of wires with a plastic connector that plugs into the motherboard or a fan controller. This cable supplies power to the fan to operate.
It’s important to properly identify the fan that you want to remove to avoid disconnecting or damaging other fans or components unintentionally. Take note of its position, any securing screws or fasteners, and the power cable connected to it.
With the fan’s location identified, you’re now ready to proceed to the next step: disconnecting the fan power cable.
Step 4: Disconnect the fan power cable
Before removing the computer case fan, it’s crucial to disconnect its power cable to prevent any potential damage or accidents. Here’s how to proceed:
- Locate the fan power cable: Look for the cable that connects the fan to the motherboard or a fan controller. It is usually a bundle of wires with a plastic connector.
- Gently unplug the fan power cable: Carefully grip the plastic connector and gently pull it away from the socket on the motherboard or fan controller. Avoid pulling on the wires themselves, as this can cause damage.
- Ensure a clean disconnection: Once the power cable is disconnected, double-check that it is fully detached from the socket. Inspect the connector for any signs of damage or bent pins.
By disconnecting the fan power cable, you ensure that the fan is completely powered off and won’t accidentally turn on during the removal process. This step is essential for your safety and the preservation of both the fan and your motherboard or fan controller.
If you plan to replace the fan with a new one, make sure to keep the power cable in a safe place to use it for connecting the new fan later. Now that the fan’s power cable is disconnected, you can move on to the next step: removing any screws or fasteners securing the fan to the case.
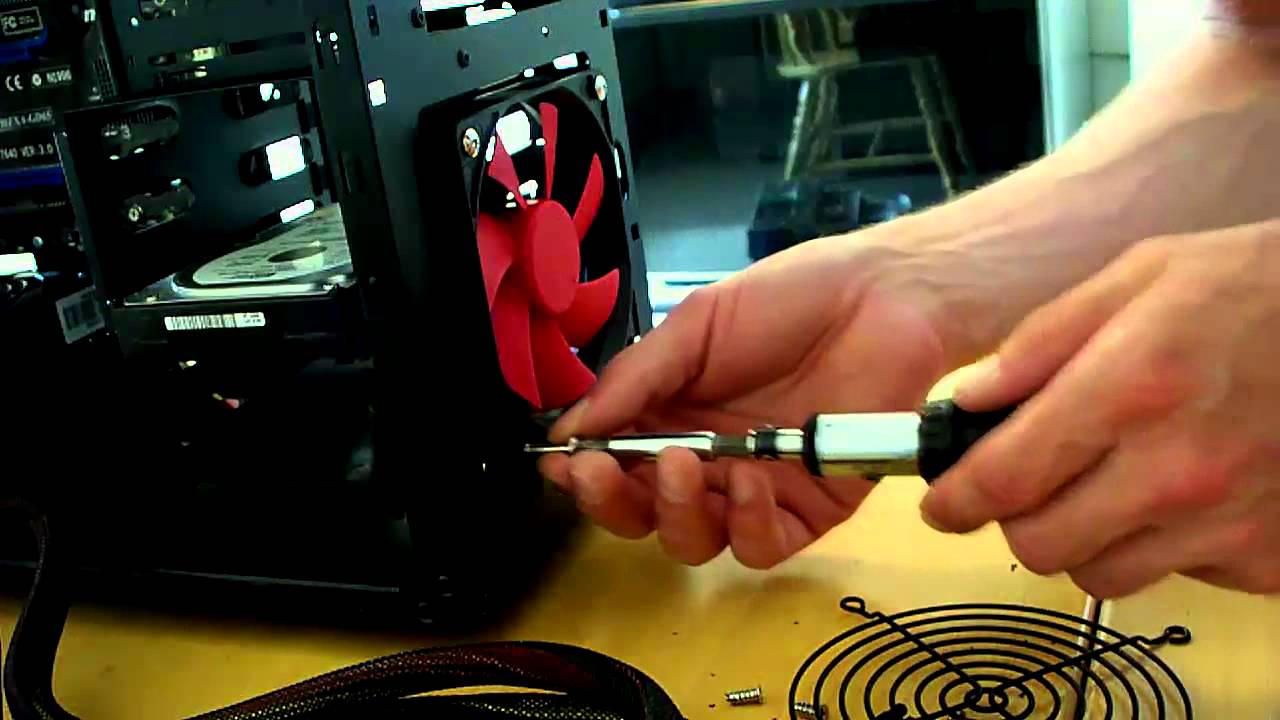
Step 5: Remove any screws or fasteners
With the fan power cable disconnected, you can now proceed to remove any screws or fasteners that are securing the computer case fan to the case. Here’s what you need to do:
- Locate the screws or fasteners: Take a close look at the fan and note the presence of any screws or fasteners that are holding it in place. These screws or fasteners may be positioned on the corners or sides of the fan.
- Use the appropriate tool: Depending on the type of screws or fasteners used, you may need a Phillips head or flathead screwdriver. Ensure that you have the correct tool handy.
- Remove the screws or fasteners: Using the screwdriver, carefully turn the screws counterclockwise to loosen and remove them. If the fan is secured by fasteners, carefully unfasten them by following the manufacturer’s instructions.
- Set aside the screws or fasteners: To avoid misplacing the screws or fasteners, set them aside in a safe place for later use or disposal.
Removing the screws or fasteners allows you to detach the computer case fan from the case. Make sure to keep track of the number of screws or fasteners removed, as you will need the same number when installing a new fan (if applicable).
Now that the fan is no longer secured by screws or fasteners, you can proceed to the next step: gently removing the fan from the case.
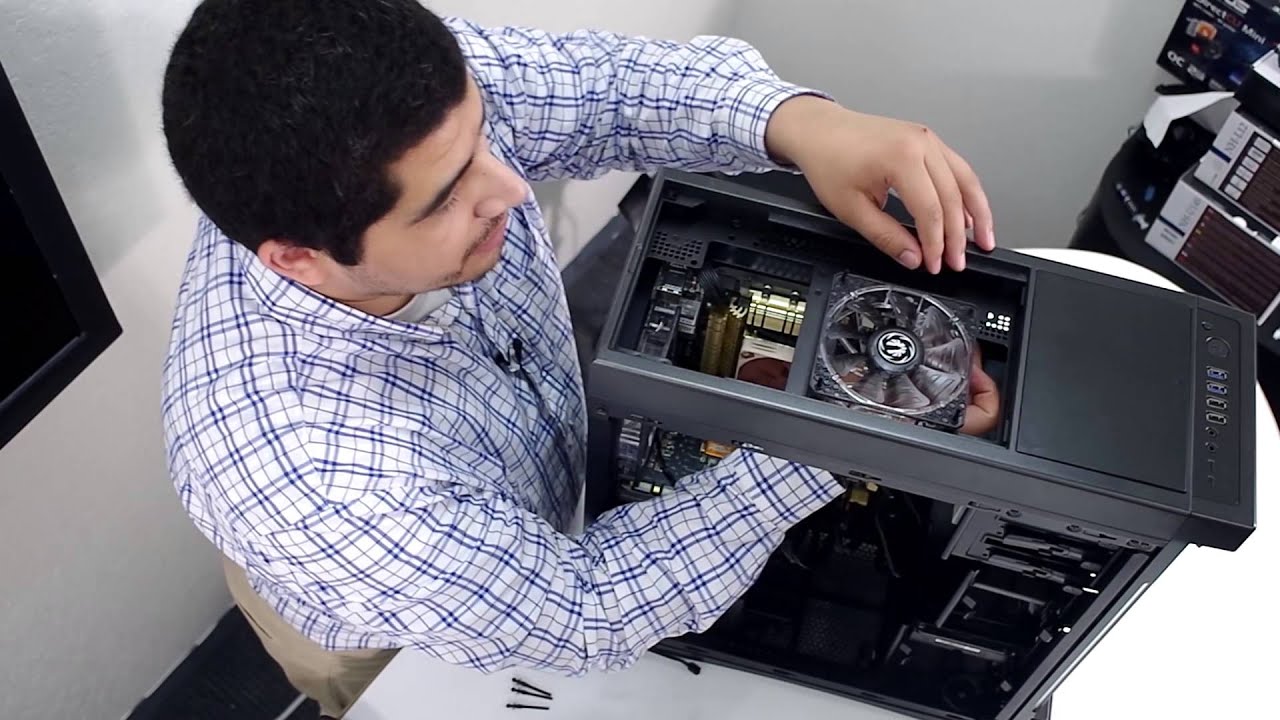
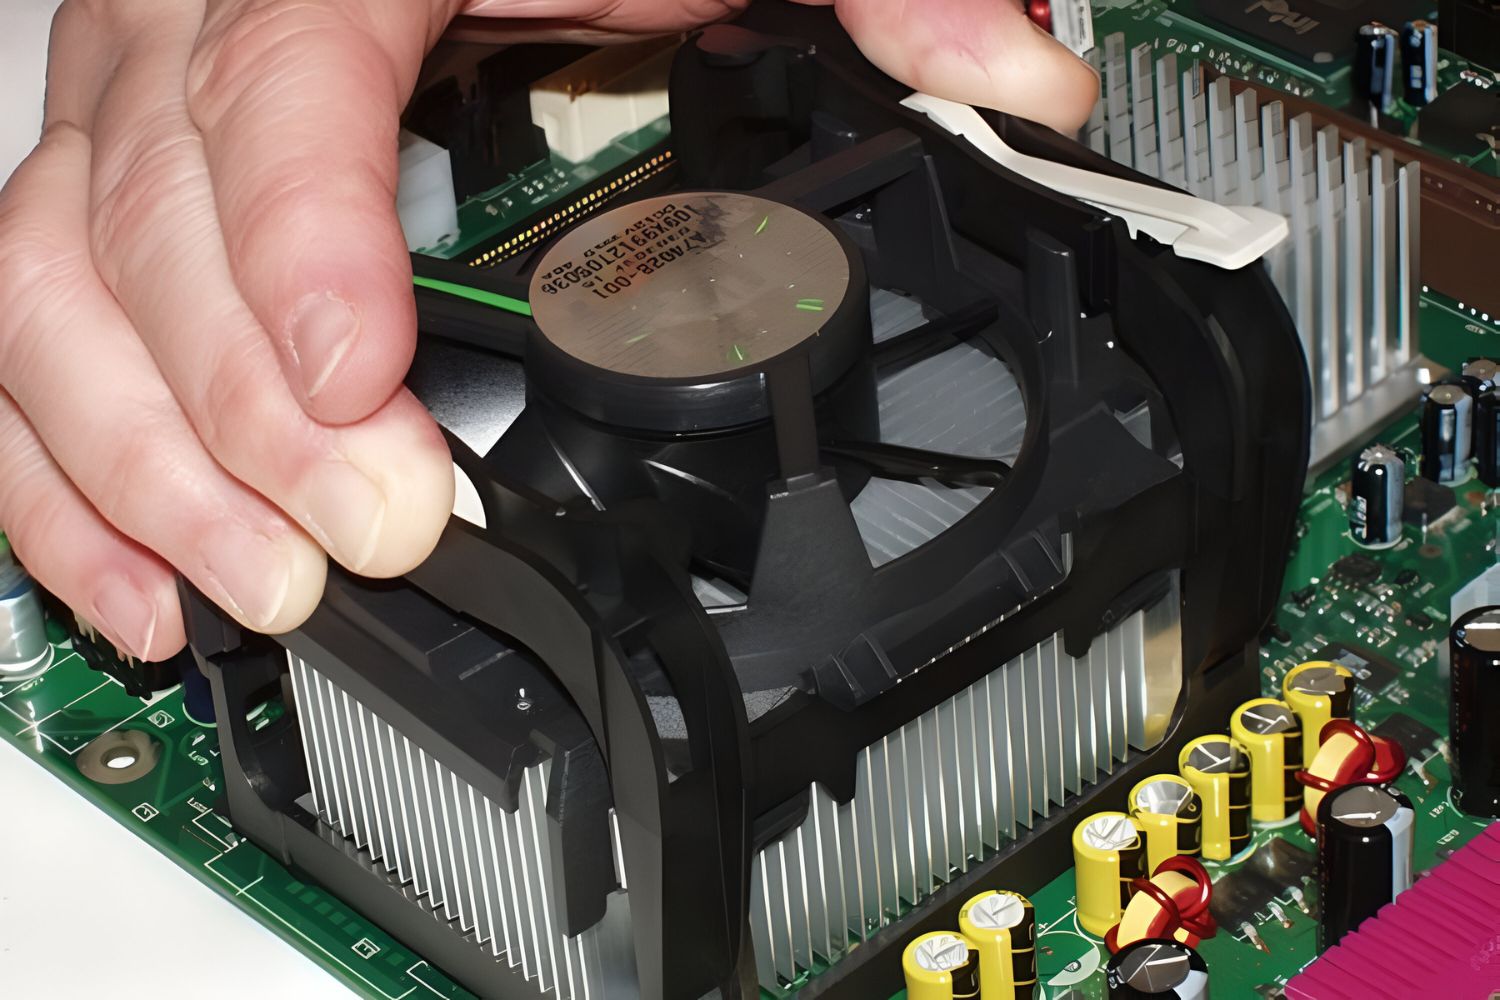
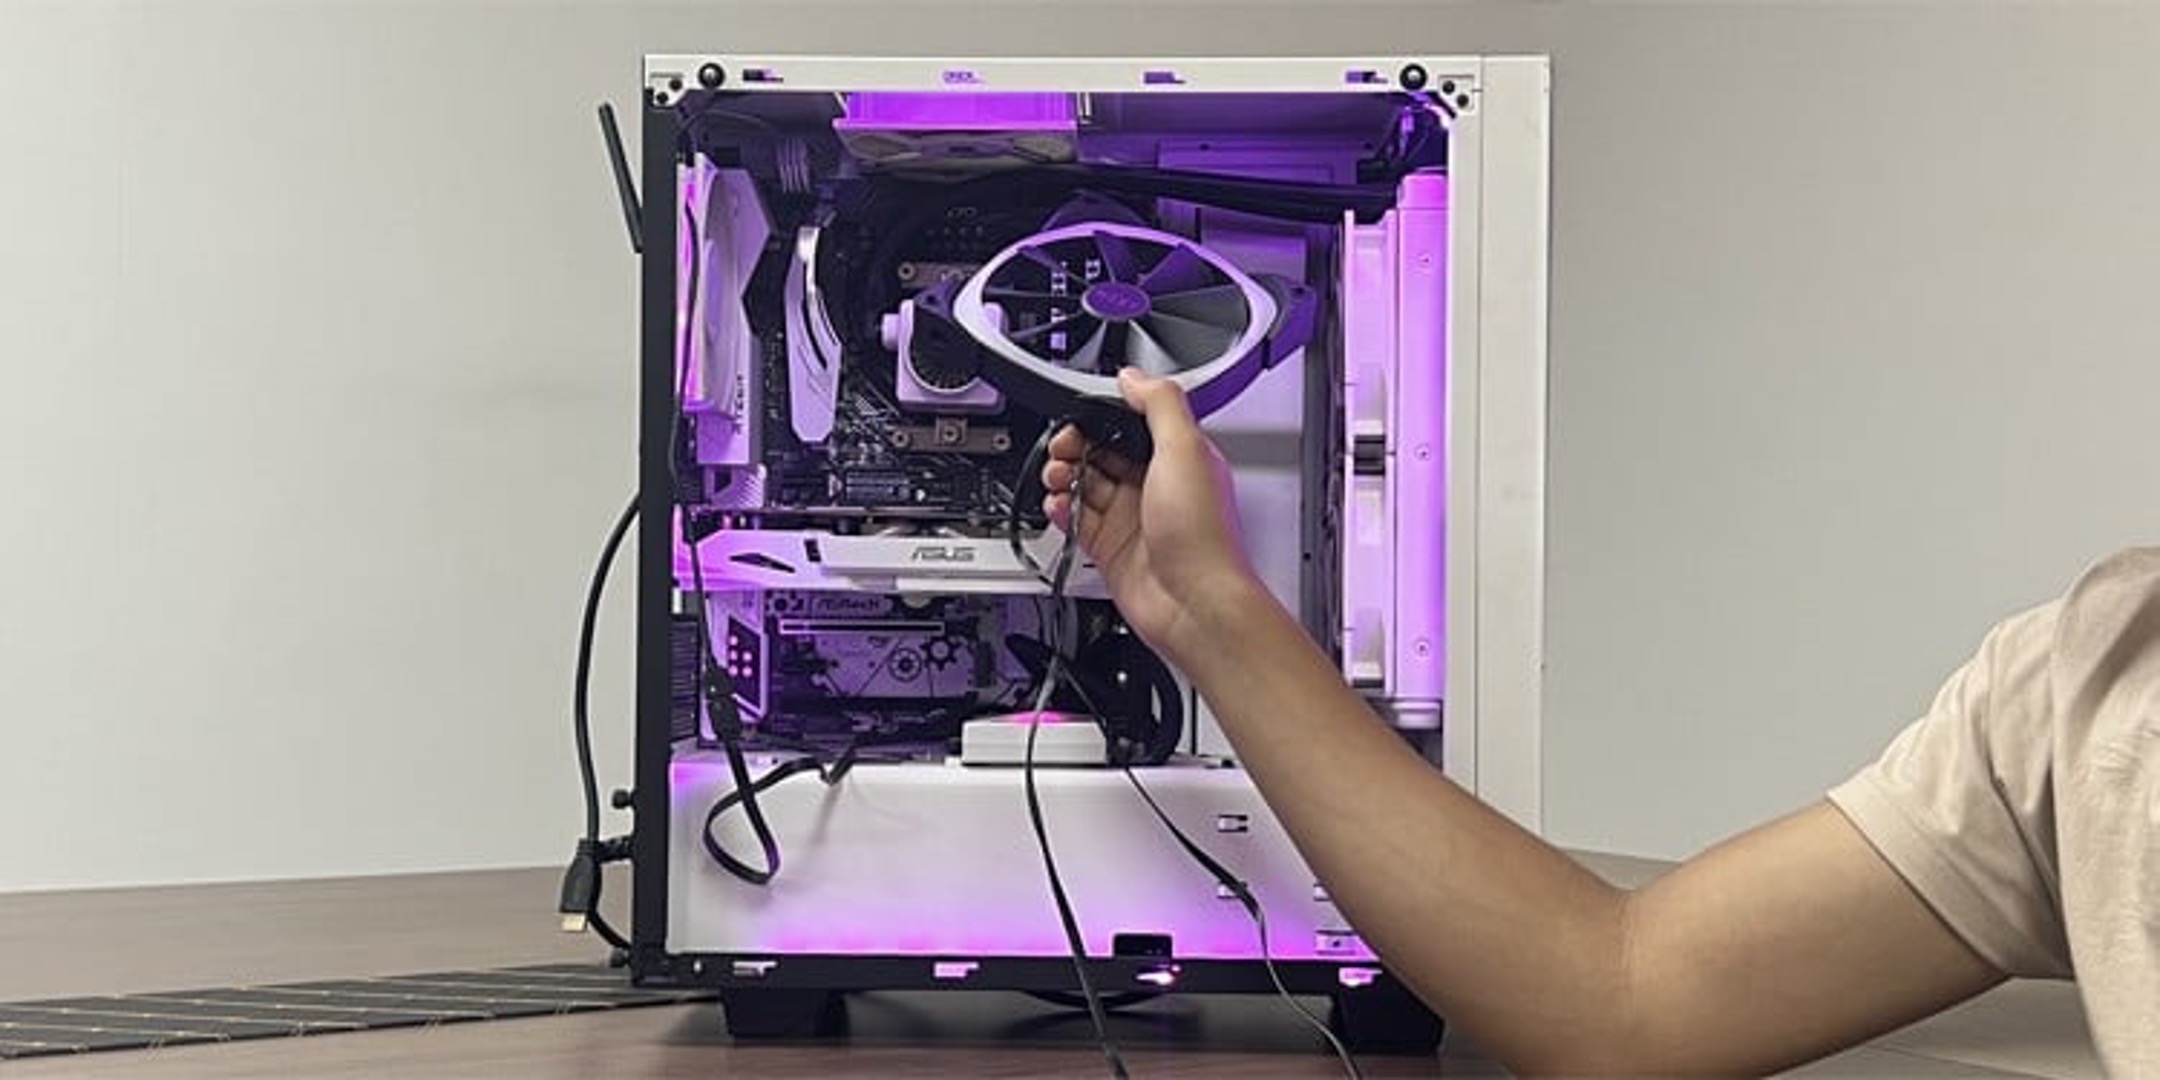
Step 6: Gently remove the fan from the case
Now that the screws or fasteners securing the fan have been removed, it’s time to carefully remove the computer case fan from its position. Follow these steps to ensure a smooth removal process:
- Securely hold the fan: Use a firm grip on the fan to prevent accidental drops or damage during removal. Be cautious of any delicate components or wires that may be connected to the fan.
- Gently wiggle the fan: Slowly and gently wiggle the fan from side to side while pulling it away from the case. This helps loosen any residual adhesive or friction between the fan and the case.
- Pay attention to any resistance: If you encounter resistance while removing the fan, stop immediately. Double-check if there are any remaining screws or fasteners that may still be attached. Also, ensure that no other cables or wires are still connected to the fan.
- Remove the fan completely: Once the fan is free from any resistance, continue pulling it until it is completely detached from the case. Handle the fan with care, making sure not to damage any of its components or the surrounding computer parts.
It’s crucial to be gentle when removing the fan to avoid damaging the fan blades, the case, or any other internal components. Take your time and exercise caution throughout the process.
With the computer case fan successfully removed, you can now proceed to the next step: cleaning the fan and the surrounding area.
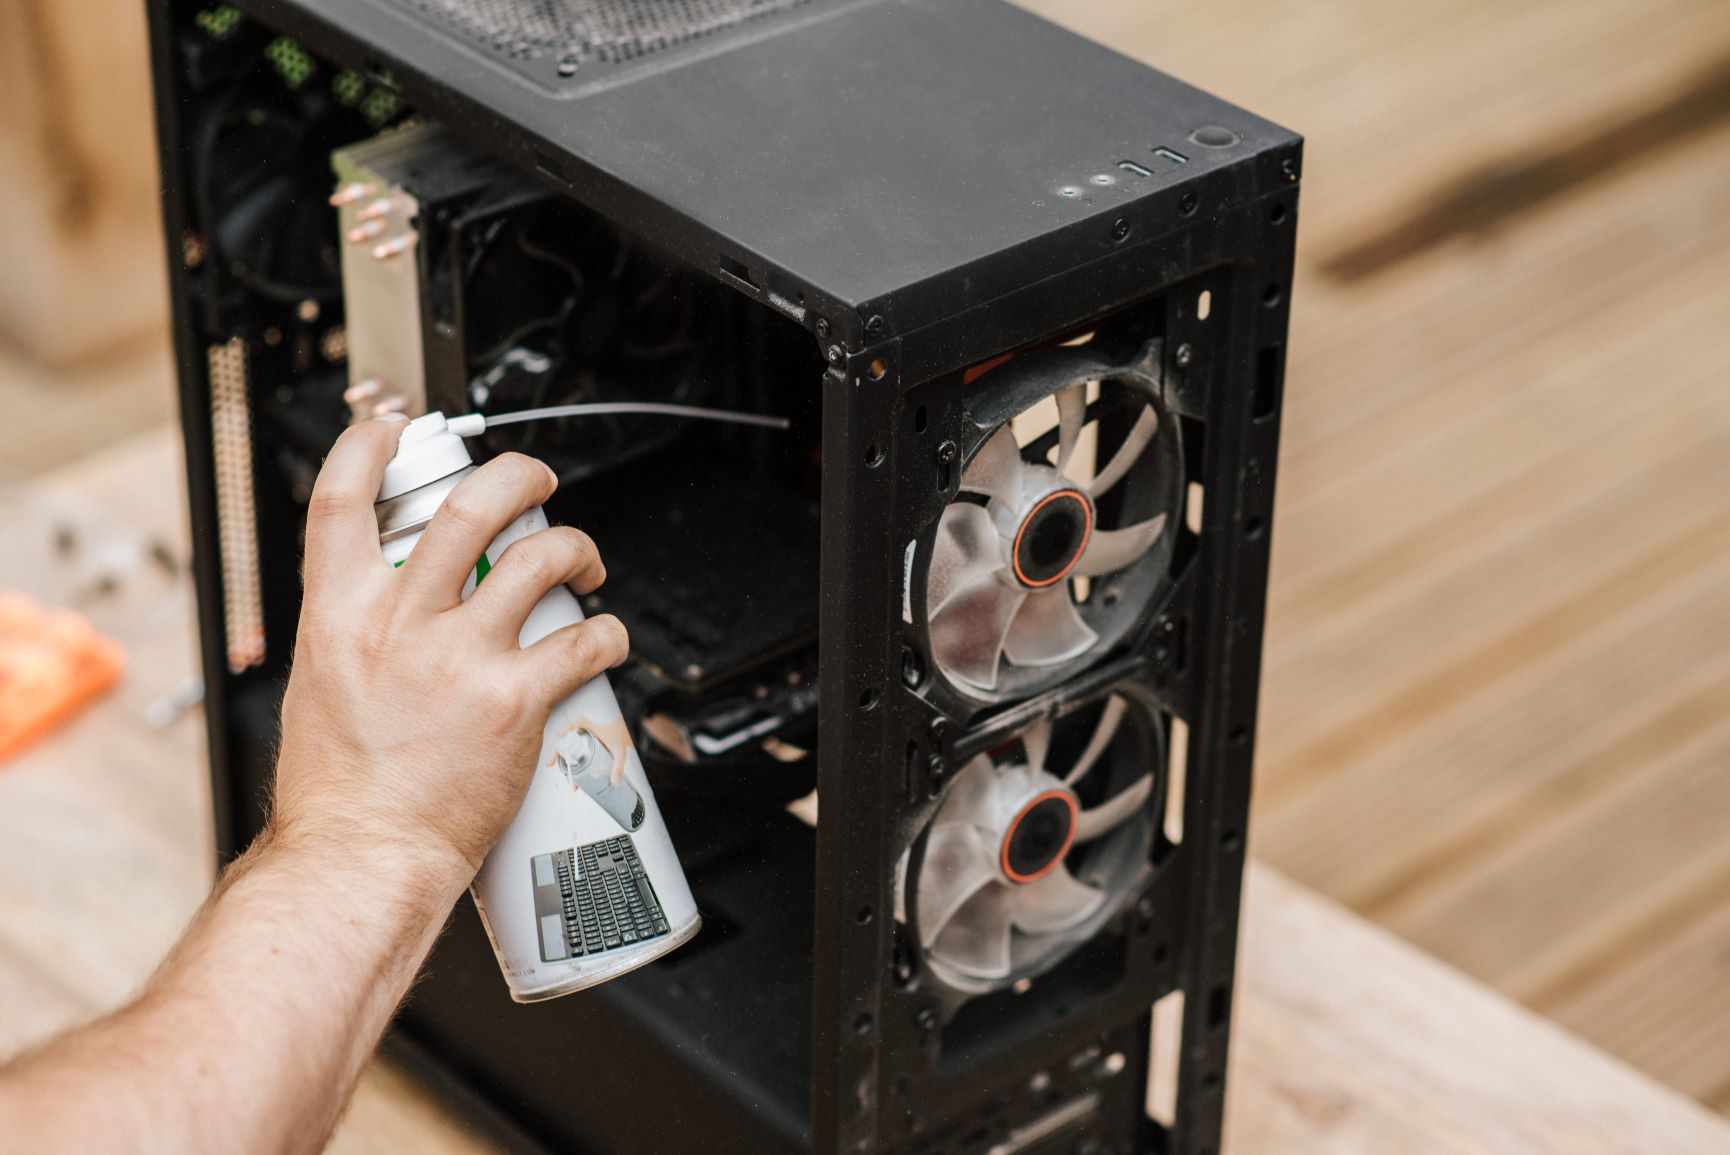
Step 7: Clean the fan and surrounding area
After you have removed the computer case fan, it’s essential to clean both the fan and the surrounding area to ensure optimal performance and prevent the buildup of dust and debris. Follow these steps to effectively clean the fan and its surroundings:
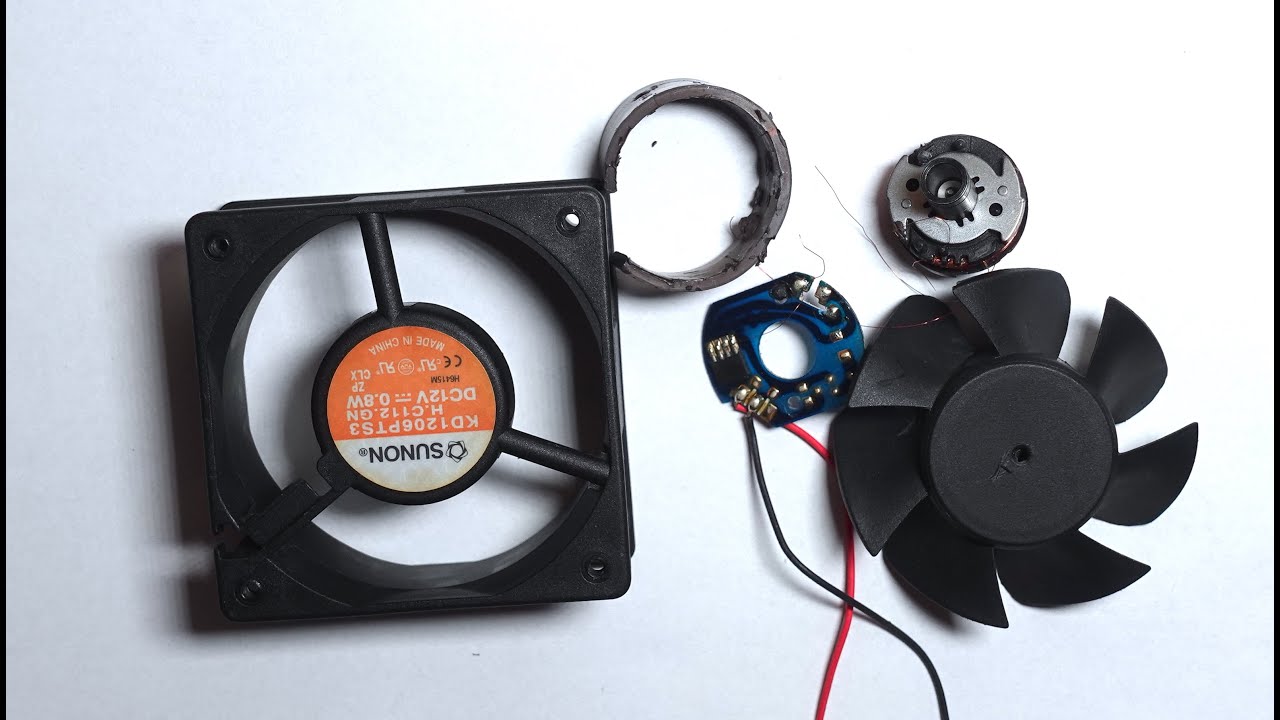
- Inspect the fan blades: Take a close look at the fan blades to assess the level of dust and debris buildup. Use a flashlight if needed to properly see any hard-to-spot areas.
- Remove loose debris: Gently brush or blow away loose dust and debris from the fan blades using a soft brush or compressed air. Be careful not to apply too much force to avoid damaging the fan.
- Use cotton swabs for stubborn dirt: If there is stubborn dirt or grime on the fan blades, dampen a cotton swab with isopropyl alcohol or a 50/50 mixture of water and vinegar. Carefully wipe the affected areas to remove the dirt.
- Clean the surrounding area: Apart from the fan itself, clean the surrounding area as well. Brush away any dust or debris from the fan mount and the nearby components using a soft brush or compressed air.
- Inspect for any damage: While cleaning, check the fan for any signs of damage, such as bent or broken blades. If you notice any significant damage, it may be necessary to replace the fan entirely.
Regular cleaning of the fan and its surrounding area helps maintain proper airflow and prevents overheating. It also reduces the strain on the fan motor, allowing it to operate more efficiently.
Once the fan and the surrounding area are clean and free from debris, you can proceed to the next step (if applicable): installing the new fan.
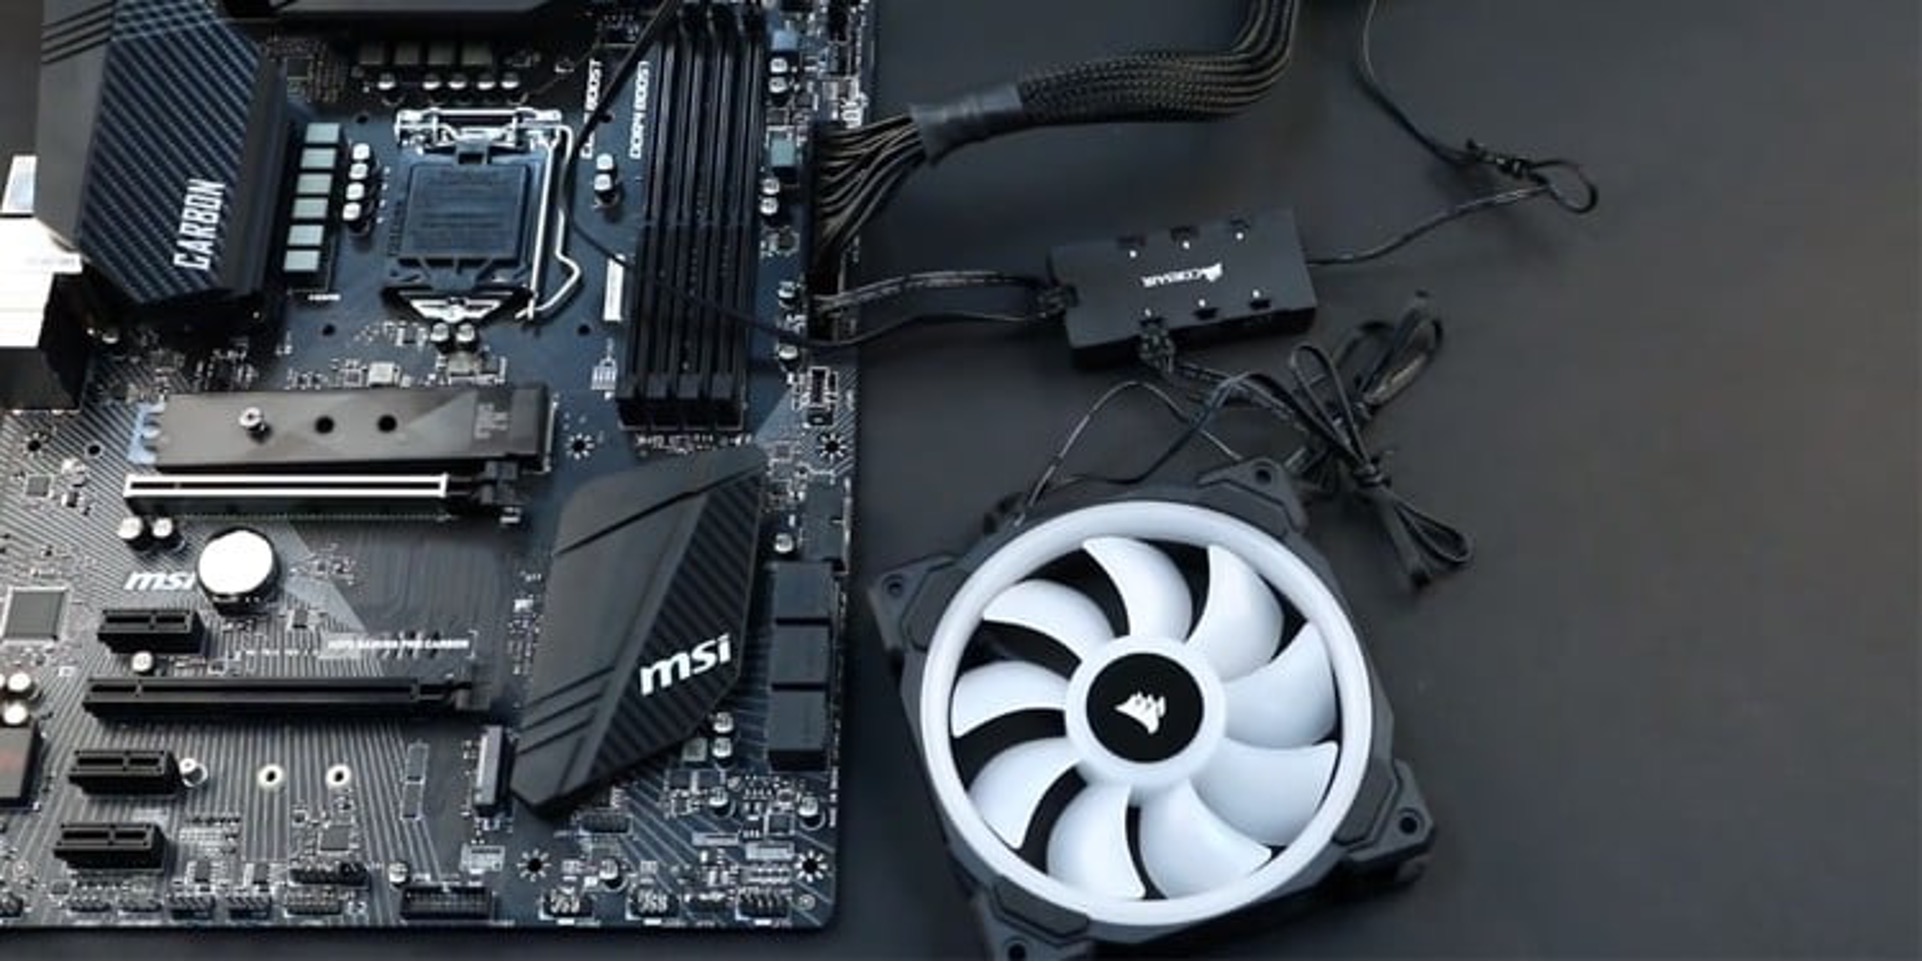
Step 8: Install the new fan (if applicable)
If you are replacing the old fan with a new one, this step will guide you through the installation process. Here’s how to install the new fan:
- Refer to the fan’s manual: Familiarize yourself with the instructions provided by the manufacturer for installing the specific model of the new fan. These instructions may vary depending on the fan type and design.
- Position the new fan: Carefully align the screw holes or fastener slots on the new fan with the corresponding slots on the computer case. Ensure that the fan is oriented correctly so that the airflow direction aligns with the intended airflow path.
- Secure the fan: Depending on the fan design, use screws or fasteners to secure the new fan in place. Insert the screws through the designated holes or fasten the new fan according to the manufacturer’s instructions.
- Tighten the screws or fasteners: Gently tighten the screws or fasteners to securely hold the new fan in place. Be cautious not to overtighten, as this can damage the fan or strip the screw holes.
- Connect the fan power cable: If you disconnected the power cable from the old fan, now is the time to connect the power cable to the corresponding socket on the motherboard or fan controller. Ensure a secure and proper connection.
When installing the new fan, make sure to be mindful of any other components, cables, or obstacles that may be in close proximity. Double-check that the fan is correctly installed and securely fastened.
If you are not installing a new fan and instead decided to clean the existing one, skip this step and proceed directly to the next step: reattaching the fan power cable.
Step 9: Reattach the fan power cable
Now that the new fan (if applicable) is securely installed, it’s time to reattach the fan power cable. Follow these steps to ensure a proper and secure connection:
- Locate the fan power cable: Identify the fan power cable that you disconnected in an earlier step. This cable typically has a plastic connector with pins or sockets that match the header on the motherboard or fan controller.
- Align the connector: Align the connector on the fan power cable with the corresponding socket on the motherboard or fan controller. Make sure the pins on the connector match the sockets on the header.
- Push the connector in: Insert the connector into the socket firmly but gently. The connector should fit snugly and make a solid connection. Avoid forcing or bending the pins to prevent damage.
- Ensure a secure connection: Once the connector is inserted, give it a gentle tug to ensure it is securely attached. A proper connection is essential to ensure the fan receives power and functions correctly.
Reattaching the fan power cable ensures that the fan receives power and can operate effectively. A loose or incomplete connection may result in the fan not running or functioning optimally.
After reattaching the fan power cable, you’re now ready for the final step: closing the computer case.
Step 10: Close the computer case
With the fan successfully reattached and everything in place, it’s time to close the computer case to protect the internal components and ensure proper airflow. Follow these steps to close the case:
- Position the side panel: Take the side panel that you removed at the beginning of the process and align it with the case. Ensure that all the edges and corners of the panel align properly with the corresponding edges and corners of the case.
- Slide the panel into place: Carefully slide the side panel back into position. Make sure it fits snugly and is aligned with the case. If there were screws or latches holding the panel, ensure that they line up with the corresponding holes or slots on the case.
- Secure the panel: If your case has screws, use a screwdriver to tighten them clockwise. If your case has latches, push or slide them back into place until they securely hold the side panel in position.
- Double-check the closure: Give the side panel a gentle nudge to ensure it is properly secured and doesn’t move or wiggle. A secure closure is essential to prevent dust, debris, and unwanted airflow.
Once the computer case is securely closed, you have completed the process of removing and replacing the computer case fan. Congratulations! Your computer is now ready to be powered on and run with the new or cleaned fan.
Remember to keep the area around your computer clean and free from excessive dust buildup to ensure proper cooling and the longevity of your components. Regularly check for any unusual fan noises or performance issues that may require further maintenance or troubleshooting.
With these steps, you can confidently remove and replace a computer case fan, ensuring optimal performance and a cooler-running system.
Conclusion
Removing and replacing a computer case fan is a relatively straightforward process that can greatly improve the cooling and performance of your computer. By following the step-by-step guide outlined in this article, you can safely and effectively remove the old fan, clean it, or install a new one.
Regular maintenance of the computer case fan is essential for preventing overheating and ensuring optimal airflow within the system. Dust and debris can accumulate over time, hindering the fan’s performance and potentially leading to system damage. By removing the fan and cleaning it, you can keep your computer running at peak efficiency.
If you decide to replace the old fan, make sure to choose a fan that is compatible with your computer case and meets your specific airflow requirements. Consider factors such as fan size, noise levels, and performance to find the best fit for your needs. If you are unsure, consult the manufacturer’s guidelines or seek assistance from a professional.
Remember to always prioritize safety when working with computer components. Turn off and unplug your computer before starting the process, and be cautious of static electricity by using an anti-static wristband if necessary.
By following the steps outlined in this guide, you can confidently remove and replace a computer case fan, maintaining a cool and efficient system. Regularly monitor your computer’s temperatures and listen for any abnormal fan noises, as these can be indicators of potential issues that may require further attention.
With proper maintenance and care, your computer case fan will contribute to a smoother and more reliable computing experience.