Introduction
Welcome to our guide on how to remove a case fan that is attached via anti-vibration mounts. Case fans are essential components in a computer system as they help regulate temperature and keep the system running smoothly. Anti-vibration mounts are used to minimize noise and vibrations caused by the fan’s operation.
At some point, you may need to remove a case fan to clean it, replace it, or perform maintenance on other components of your computer. Removing a fan attached via anti-vibration mounts may seem tricky, but with the right tools and techniques, it can be a straightforward process.
In this guide, we will walk you through the step-by-step process of removing a case fan attached via anti-vibration mounts. We will also provide optional instructions for installing a replacement fan if needed. Whether you are a novice or have some experience with computer hardware, this guide will help you successfully remove a case fan without any hassle.
Before we dive into the removal process, it’s important to note that safety should always be a priority. Make sure to shut down your computer, unplug it, and take anti-static precautions before opening the case. Additionally, ensure that you have the necessary tools and materials listed below to perform the removal effectively.
Tools and Materials Needed
Before you start the process of removing a case fan attached via anti-vibration mounts, it’s important to gather the necessary tools and materials. Having these on hand will ensure that you have everything you need to complete the task efficiently. Here are the tools and materials you will need:
- Screwdriver set (may vary depending on the type of screws used)
- Anti-static wrist strap (optional, but recommended)
- Compressed air or a can of compressed air
- Isopropyl alcohol or a mild cleaning solution
- Cotton swabs or a soft brush for cleaning
- Replacement fan (optional, if you plan to install a new fan)
The screwdriver set is essential for removing the screws that secure the fan to the case. It’s important to have a screwdriver that fits the screws correctly to avoid damaging them. Additionally, an anti-static wrist strap is recommended to prevent static electricity from damaging the sensitive components of the computer.
Compressed air or a can of compressed air will be useful for removing dust and debris from the fan and surrounding components. Isopropyl alcohol or a mild cleaning solution can be used to clean the fan blades and other parts of the fan if necessary. Cotton swabs or a soft brush will help with applying the cleaning solution and removing any stubborn dirt or grime.
Lastly, if you plan to install a new fan after removing the old one, you will need a replacement fan. Make sure to choose a fan that is compatible with your computer case and meets your cooling needs. It’s always a good idea to consult the manufacturer’s specifications or seek assistance from a knowledgeable professional if you are unsure.
By gathering these tools and materials before starting the removal process, you will be prepared and equipped to handle the task effectively. Now that you have everything you need, let’s move on to the step-by-step instructions to remove a case fan attached via anti-vibration mounts.
Step 1: Shut Down Your Computer and Unplug It
Before you begin removing the case fan, it’s important to ensure the safety of yourself and your computer. To do so, start by shutting down your computer properly. Close any open programs or files, save your work, and then click on the “Shutdown” option from the Start menu. Allow your computer to completely power off before proceeding.
Once your computer is shut down, unplug it from the power source. This step is crucial to prevent any electrical accidents or damage during the fan removal process. Locate the power cord connected to your computer tower or the main power cable if you are using a laptop. Firmly remove the power cord from the power outlet or power strip.
In addition to unplugging your computer from the power source, it’s also a good idea to disconnect any other external devices or peripherals that are connected to your computer. This includes devices like printers, scanners, USB drives, and external hard drives. Removing these connections eliminates any potential interference during the process and allows for easier access to the computer case.
By shutting down your computer properly and unplugging it from the power source, you significantly reduce the risk of electrical accidents or damage to your computer. Always remember to handle computer components with care and follow safety precautions throughout the fan removal process. With the first step complete, you are now ready to move on to the next step of opening your computer case.
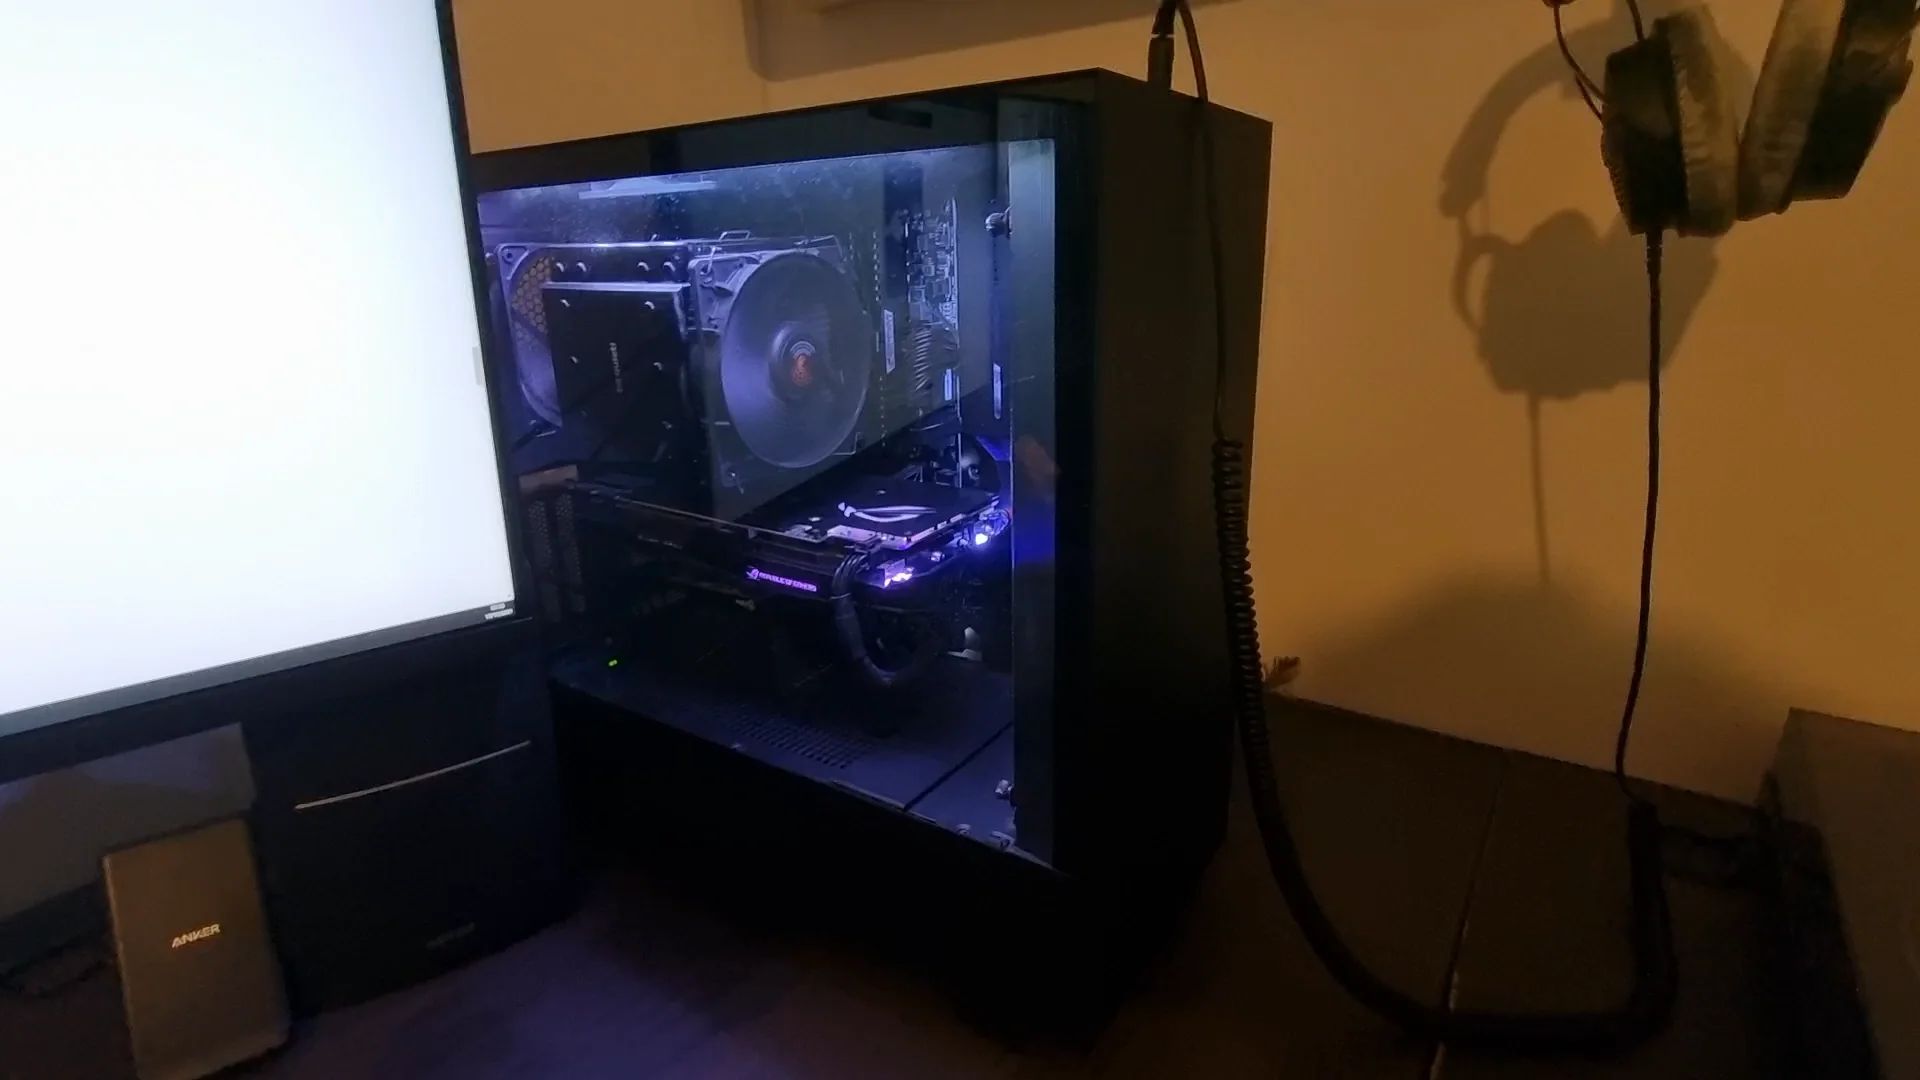
Step 2: Open Your Computer Case
Now that you have shut down your computer and unplugged it from the power source, it’s time to open your computer case. Opening the case will give you access to the internal components, including the case fan that you want to remove. The steps to open the computer case may vary depending on the type of case you have, so refer to the manufacturer’s instructions if available. However, here is a general guide on how to do it:
- Locate the screws or fasteners that secure the side panels of your computer case. These are usually located on the back of the case.
- Using a screwdriver or your hand, loosen and remove the screws or fasteners from one of the side panels. Keep the removed screws or fasteners in a safe place as you will need them to close the case later.
- Gently slide the side panel away from the case, exposing the internal components. Be careful not to force it or apply too much pressure.
Some computer cases may have different mechanisms for opening, such as a latch or a sliding mechanism. Familiarize yourself with your case’s specific design to ensure a smooth opening process.
Once the case is open, take a moment to familiarize yourself with the internal layout. Identify the location of the case fan that you want to remove. It is typically located near the front or rear of the case, mounted either on the top or side panel.
Remember, when working inside the computer case, it’s important to handle the components with care and avoid touching any sensitive parts. Static electricity can damage computer components, so consider wearing an anti-static wrist strap while performing the removal process. With your computer case open, you’re now ready to move on to the next step of identifying the anti-vibration mounts.
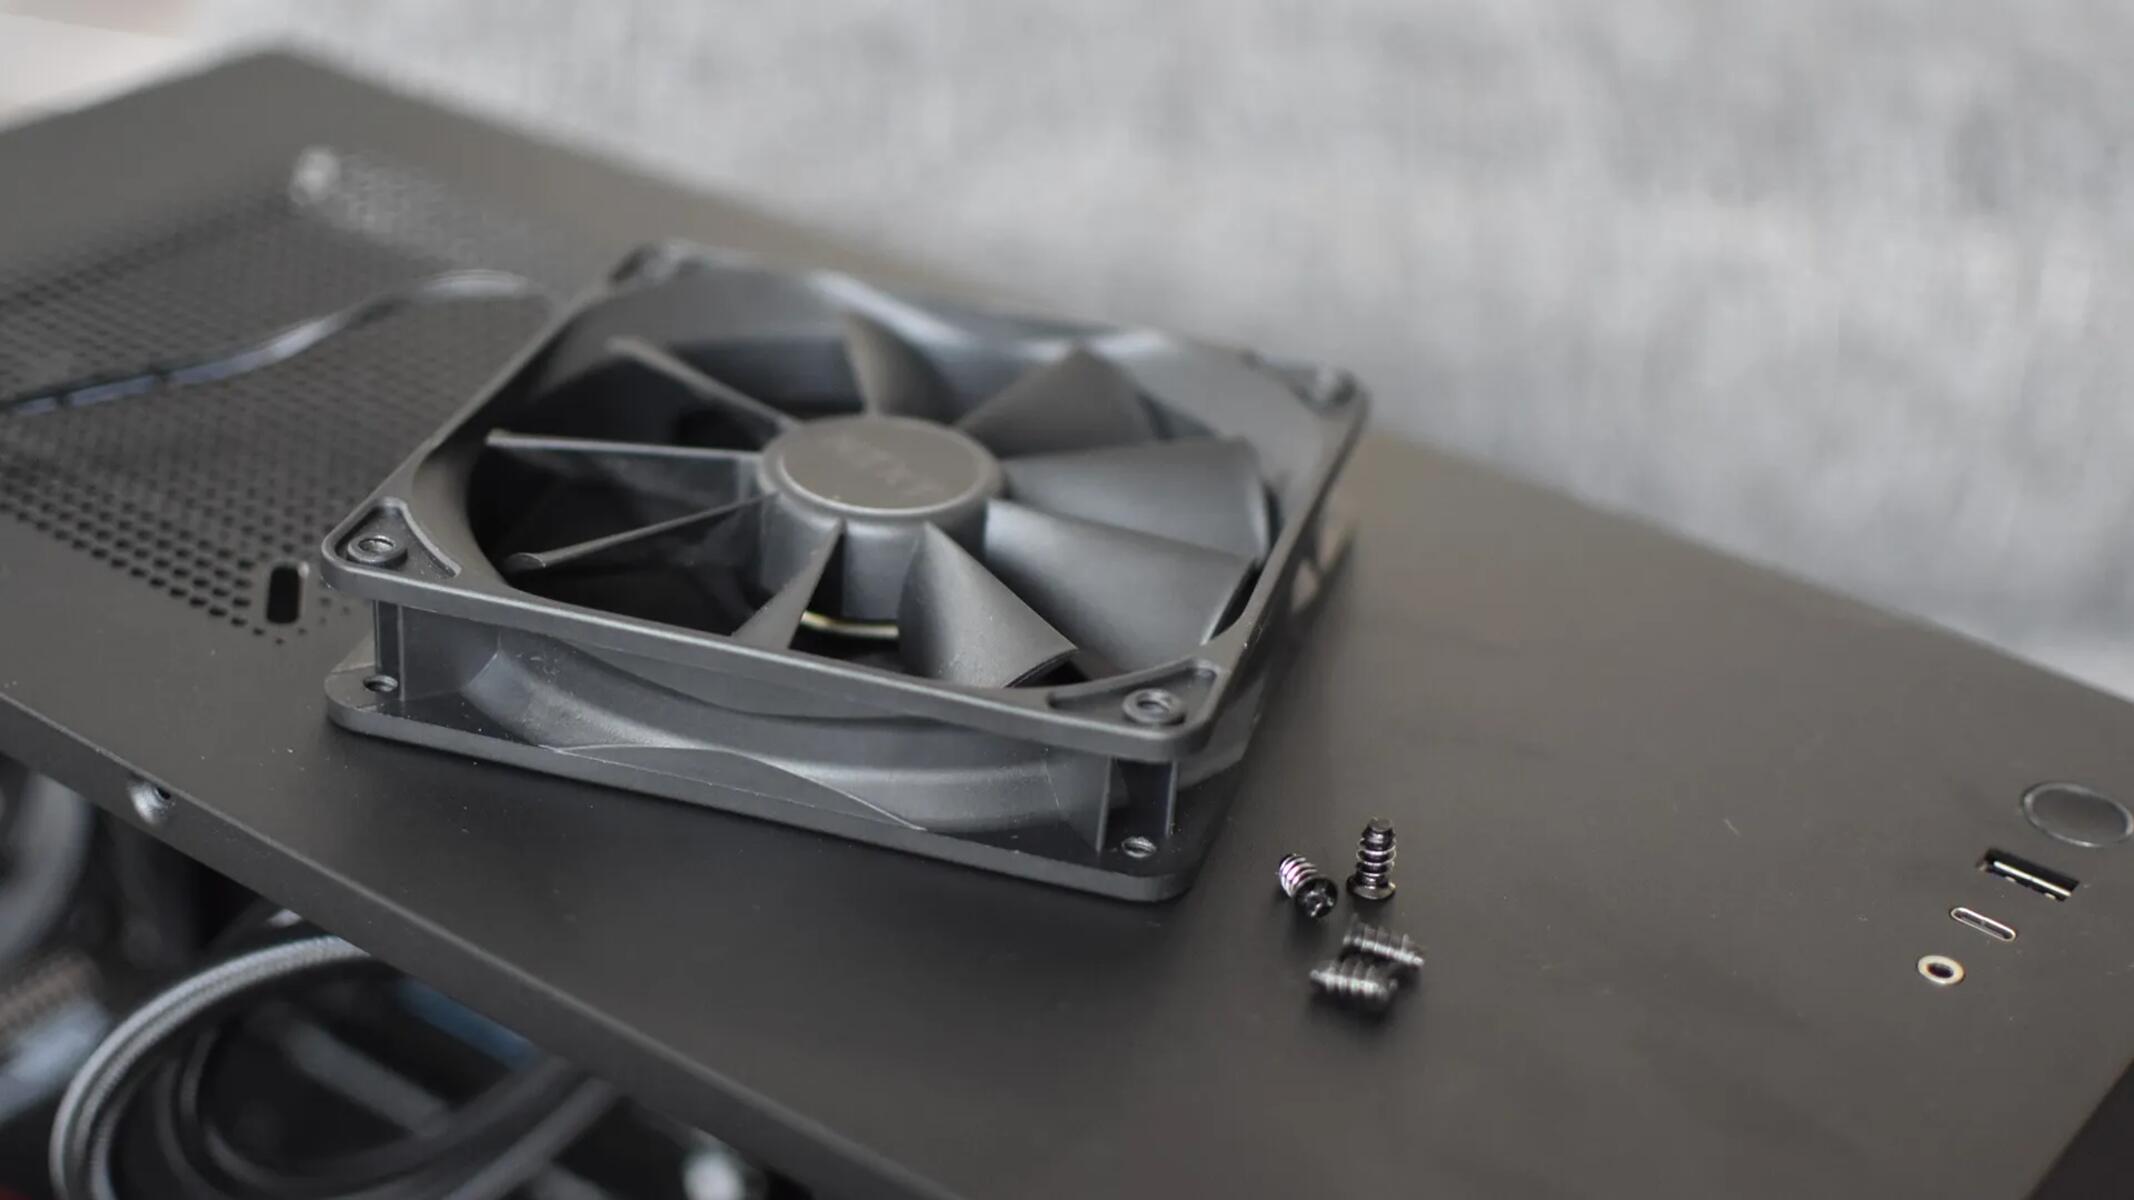
Step 3: Identify the Anti-Vibration Mounts
In this step, you will need to identify the anti-vibration mounts that are securing the case fan. Anti-vibration mounts are designed to minimize noise and vibrations caused by the fan’s operation, and they typically consist of rubber or silicone materials. Here’s how you can identify them:
- Locate the case fan that you want to remove inside your computer case. Look for the fan attached to the side panel or mounted on the top or bottom of the case.
- Inspect the area where the case fan is mounted. You should be able to see rubber or silicone mounts between the fan and the case panel.
- Observe how many anti-vibration mounts are holding the fan in place. This will vary depending on the fan and case design, but most fans are attached with four mounts.
The rubber or silicone mounts are essential for minimizing noise and vibrations transmitted from the fan to the computer case. These mounts act as shock absorbers, reducing the impact of the fan’s operation on the case and improving overall system performance.
By identifying the anti-vibration mounts, you will have a better understanding of how the fan is secured to the case. This knowledge will be helpful in the following steps as you work to remove the fan. Now that you know where the mounts are located and their purpose, let’s move on to the next step of removing the fan screws.
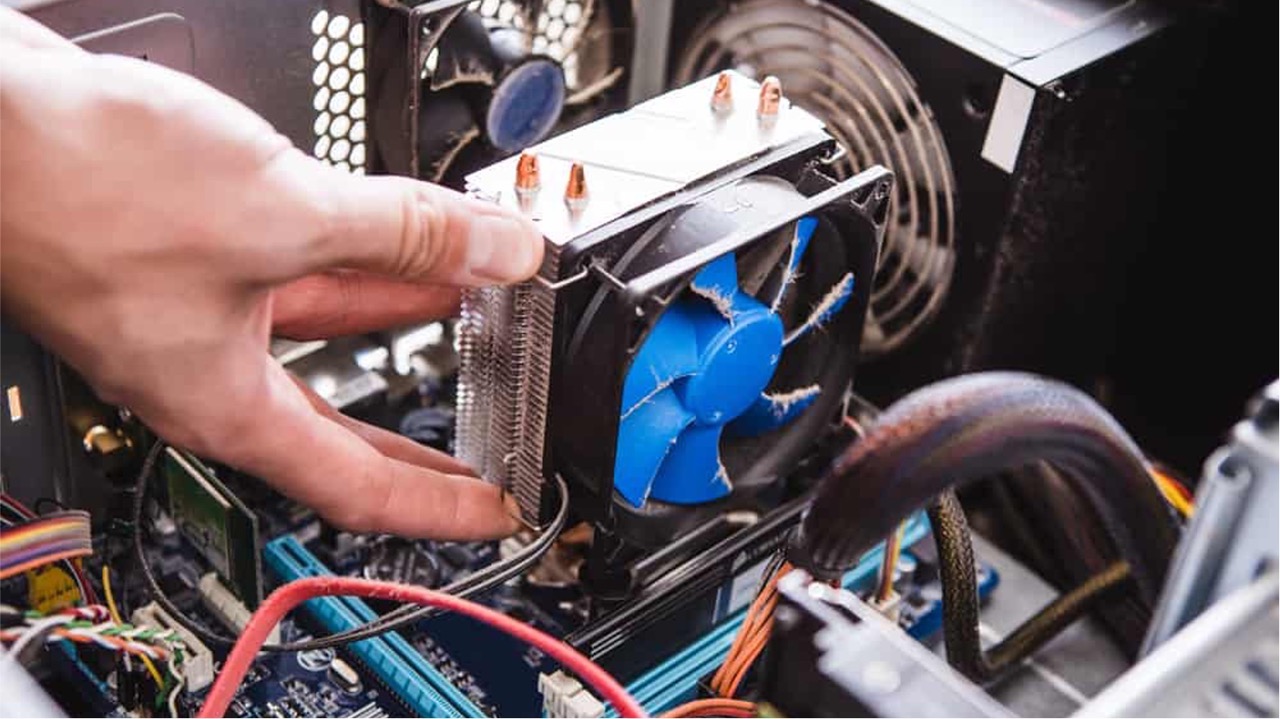
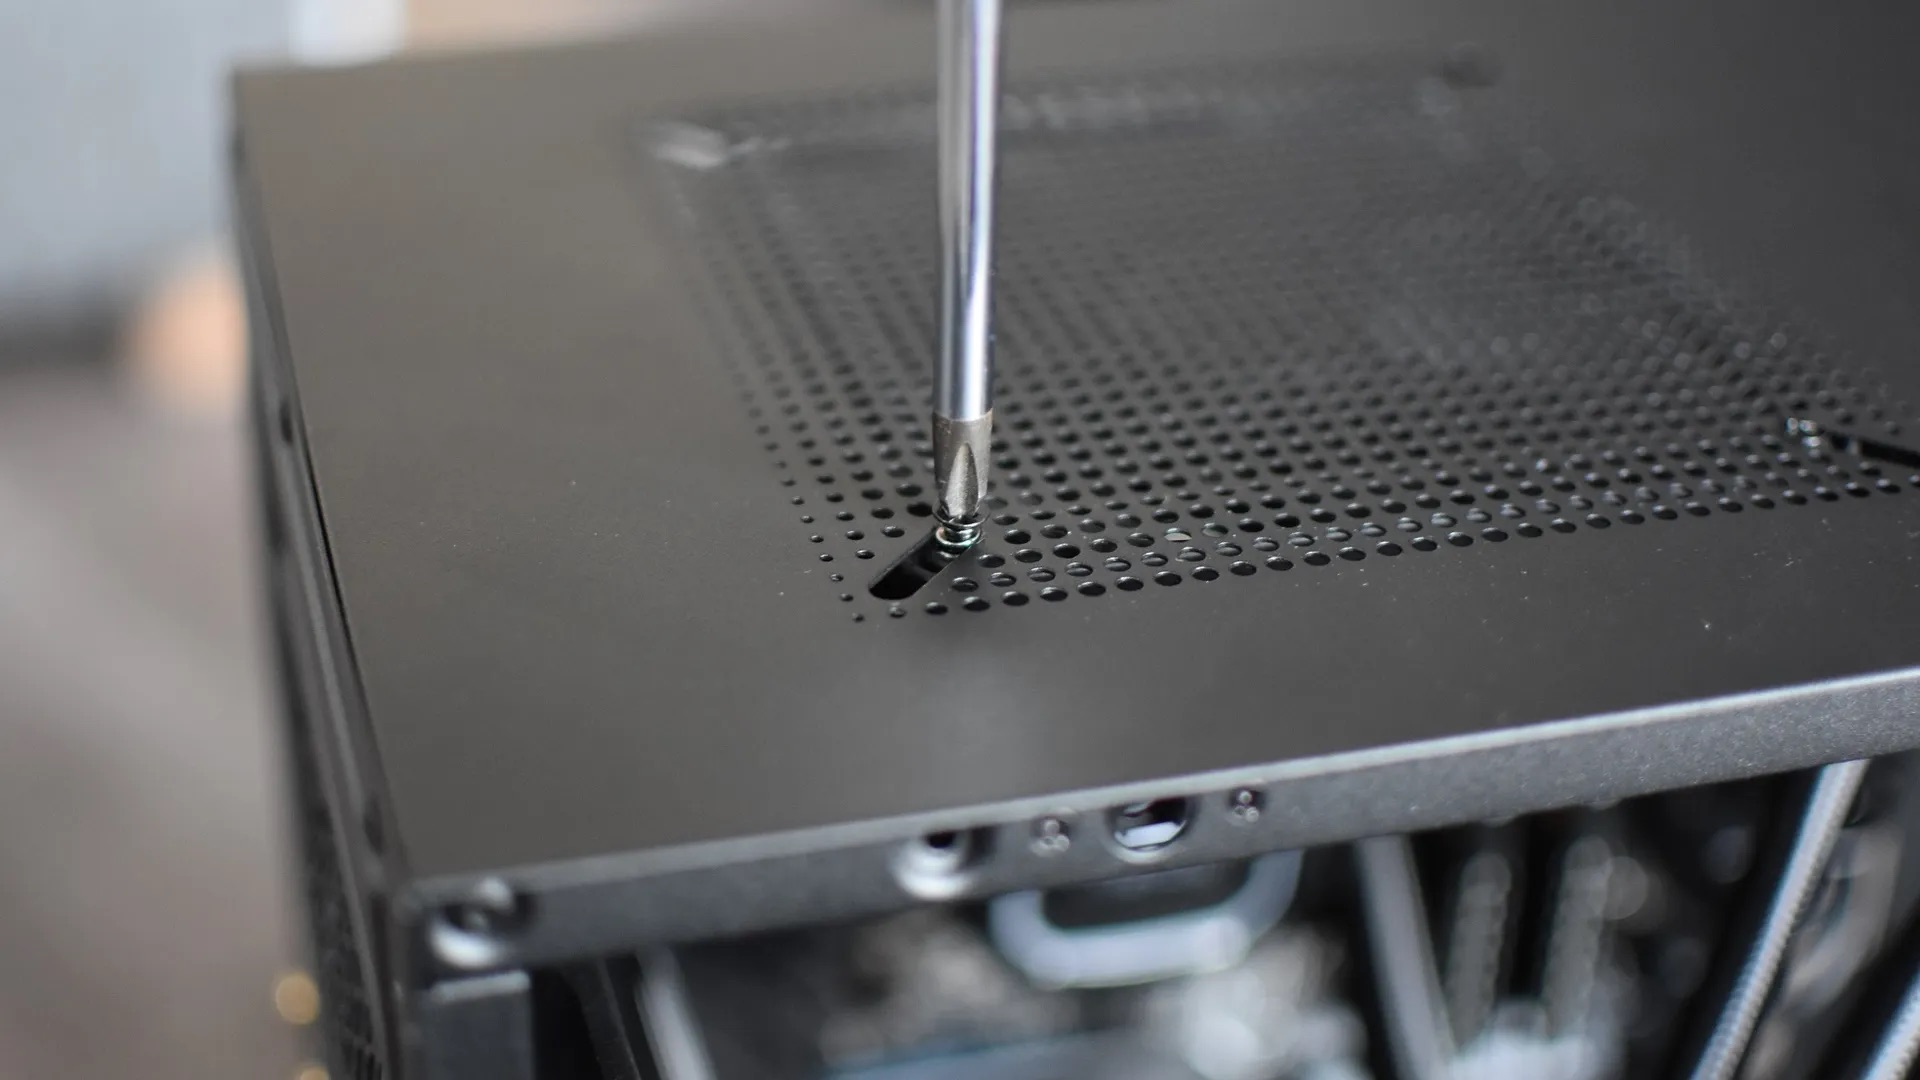
Step 4: Remove the Fan Screws
Now that you have identified the anti-vibration mounts, it’s time to remove the fan screws that are securing the case fan. The screws are typically located at each corner of the fan, attaching it to the case or the mounts themselves. Follow these steps to remove the fan screws:
- Using a screwdriver that matches the size of the fan screws, start with one corner of the fan and gently loosen the screw by turning it counterclockwise. Be careful not to apply excessive pressure to avoid damaging the screw or the screw hole.
- Once the first screw is loosened, move on to the next corner and repeat the process. Loosen all the screws one by one until they are all sufficiently loosened. This will ensure that the fan is evenly released from the case or the mounts.
- Once all the screws are loosened, you can proceed to fully remove them. Set the screws aside in a safe place as you will need them if you plan to reinstall the fan or use them for a replacement.
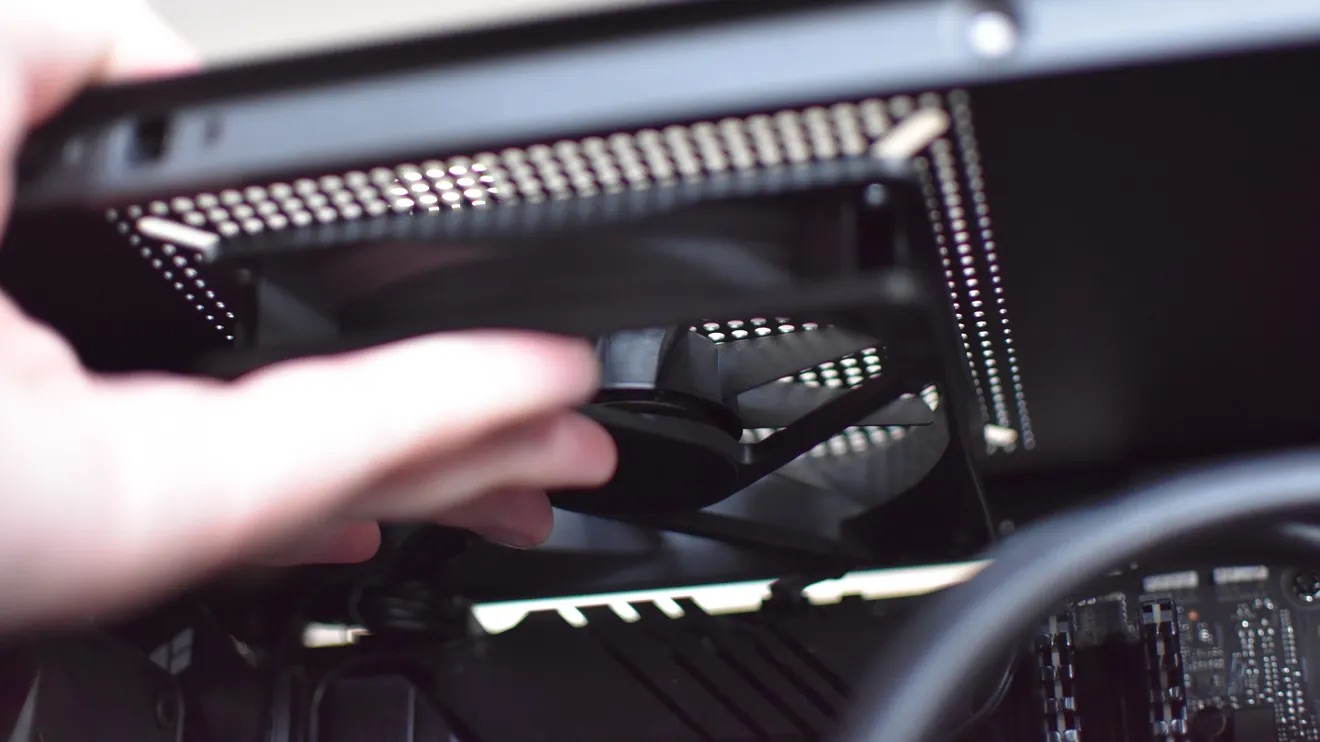
- With the screws removed, gently lift the fan away from the case or the mounts. Take care not to pull too hard or abruptly as there may still be cables connected to the fan.
Now that the fan screws have been removed, the fan is ready to be detached from the case or the mounts. In some cases, the fan may still be connected to the motherboard or fan header via a cable. If this is the case, ensure that you carefully disconnect the cable before fully removing the fan.
Removing the fan screws is a crucial step in the process of detaching the case fan. By following these steps carefully, you can safely remove the fan without causing any damage to the components involved. With the fan screws removed and the fan ready to be detached, let’s move on to the next step of detaching the anti-vibration mounts.
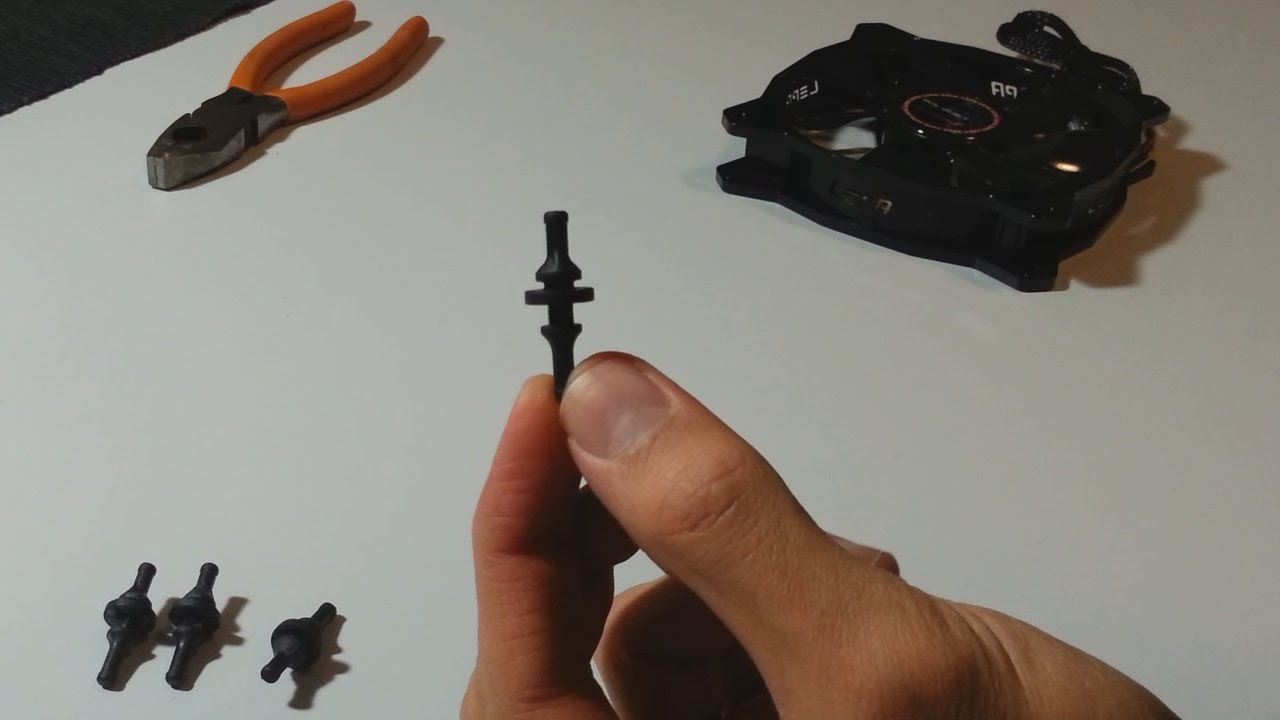
Step 5: Detach the Anti-Vibration Mounts
With the fan screws removed, the next step is to detach the anti-vibration mounts that are holding the case fan in place. These mounts play a crucial role in minimizing noise and vibrations from the fan’s operation. Here’s how you can detach the anti-vibration mounts:
- Inspect the anti-vibration mounts and identify how they are attached to both the fan and the case. The most common types of mounts are rubber or silicone grommets that fit into corresponding holes on the fan and the case.
- Gently press or squeeze the mounts to release them from the holes. You may need to use a subtle twisting or rocking motion to loosen them. Take care not to apply excessive force, as the mounts are designed to be flexible and may require minimal effort to detach.
- Repeat the process for all the mounts, continuing to press or squeeze them until they are fully detached. Work your way around each mount, ensuring that they are all released evenly.
- Once all the mounts are detached, carefully lift the fan away from the case while ensuring that no cables are still connected.
It’s important to note that some case fans may have a different type of anti-vibration mounting mechanism, such as clips or brackets. In such cases, refer to the manufacturer’s instructions to properly detach the mounts.
Now that you have successfully detached the anti-vibration mounts, the fan should be completely separated from the case. Proceed with caution and ensure that the fan is handled delicately while it is not secured to anything. If you plan to install a replacement fan, you can now proceed to the optional step of installing a new fan. Otherwise, continue to the next step of closing your computer case.
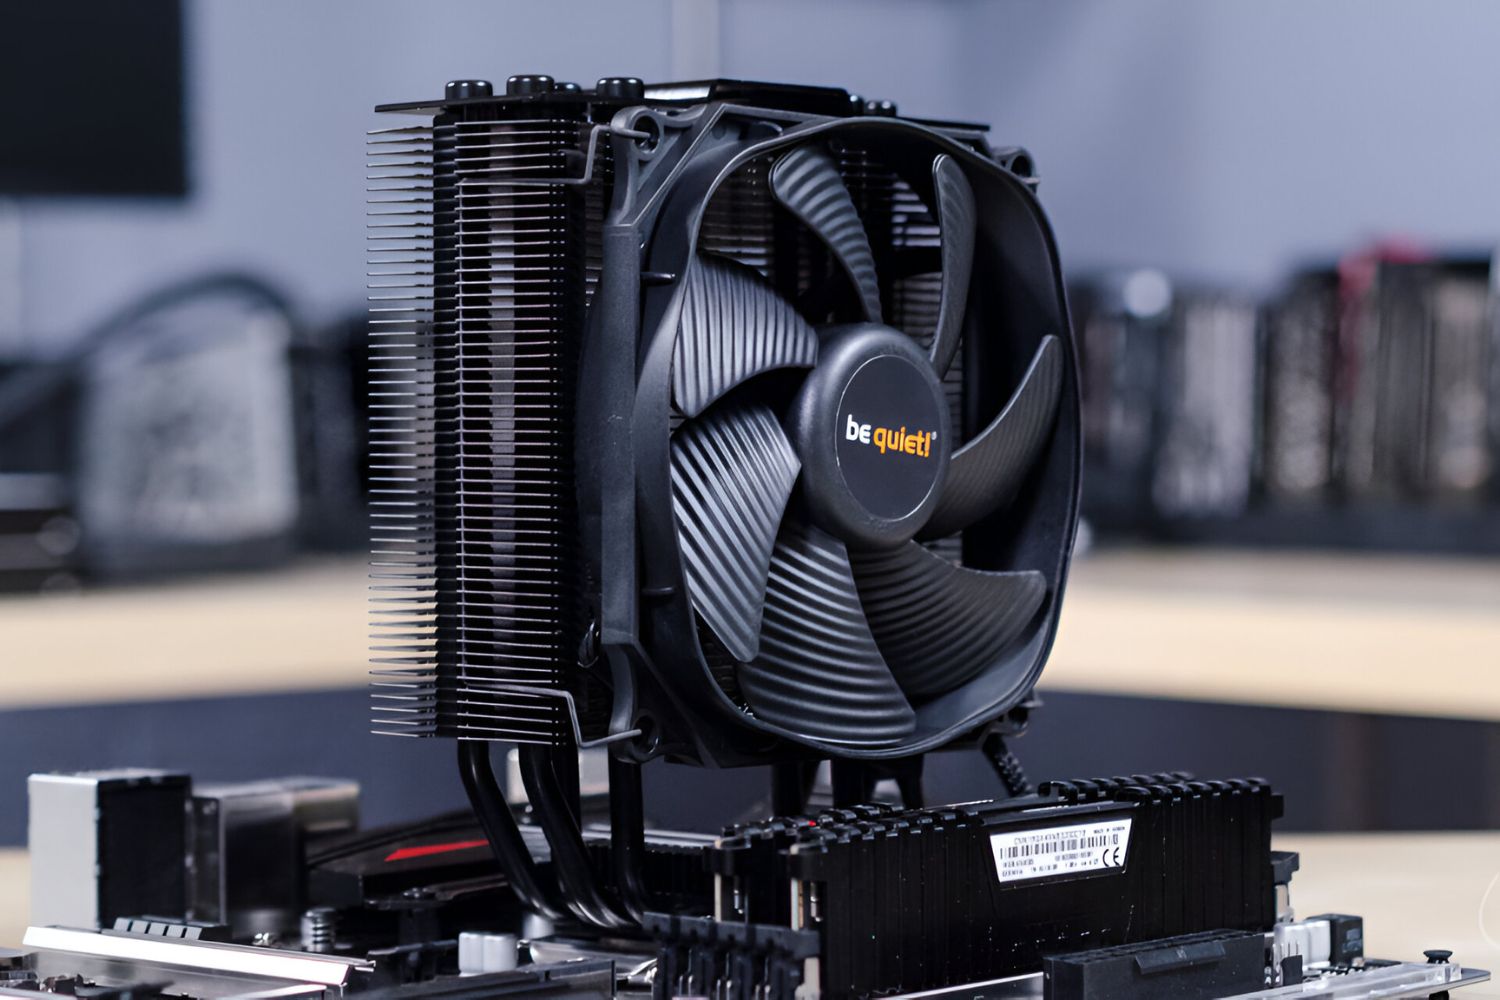
Step 6: Install a Replacement Fan (Optional)
If you are planning to replace the old case fan with a new one, this step will guide you through the installation process. Installing a replacement fan is optional and should only be done if your old fan is faulty or if you want to upgrade to a more powerful or quieter fan. Here’s how you can install a replacement fan:
- Select a replacement fan that is compatible with your computer case and meets your cooling needs. Refer to the manufacturer’s specifications or seek guidance from a knowledgeable professional if you are unsure.
- Position the replacement fan in the desired location inside your computer case. Ensure that the screw holes on the fan align with the corresponding holes in the case or the mounting points.
- Using the fan screws that you previously removed or the screws that came with the replacement fan, attach the fan to the case. Start by screwing in one corner and then proceed to secure the remaining screws. Tighten the screws gently, ensuring that they are secure but not overtightened to avoid damaging the fan or the case.
- Once the replacement fan is securely attached, reconnect any necessary cables, such as the fan power cable or any RGB or control cables, to the appropriate connectors on the motherboard or fan headers.
It’s important to ensure that the replacement fan is properly connected and secured in the case. Double-check that all cables are correctly plugged in, and verify that the fan is securely fastened to prevent any unwanted vibrations or movement.
Remember, the installation process may vary depending on the type of replacement fan and your computer case. Refer to the manufacturer’s instructions for any specific guidelines or recommendations for your particular equipment. Once the replacement fan is installed, you can proceed to the final step of closing your computer case.
Step 7: Close Your Computer Case
With the case fan removed or replaced, it’s time to close your computer case to ensure the components are properly enclosed and protected. Closing the case also helps to maintain optimal airflow and prevent dust and debris from entering the system. Following these steps to close your computer case:
- Ensure that all the cables and connections are clear and not obstructing the closing process.
- Gently slide the side panel back into place, aligning it with the case’s edges.
- Once aligned, use your hand or a screwdriver to reinsert the screws or fasteners that you previously removed. Tighten them securely, but be careful not to overtighten and risk damaging the case threads or components.
- Ensure that the panel is firmly in place and does not shake or move when lightly touched.
Once your computer case is closed, give it a gentle shake or slight tap to ensure that it is stable and secure. This will help confirm that the side panel is properly attached, and there are no loose connections or components within the case.
Congratulations! You have successfully removed or replaced a case fan attached via anti-vibration mounts and closed your computer case. Remember to reconnect your computer to the power source and turn it on to ensure all components are functioning correctly. Keep an eye on your system’s temperatures to ensure optimal cooling and performance.
Performing regular maintenance, such as removing and cleaning case fans, can help extend the lifespan of your computer and improve its overall performance. If you encounter any difficulties during the process or have any concerns, it’s always best to consult a professional or refer to manufacturer documentation.
Conclusion
Removing a case fan attached via anti-vibration mounts may seem intimidating at first, but with the right tools and knowledge, it can be a straightforward process. Throughout this guide, we have provided step-by-step instructions to safely remove a case fan and optional guidance for installing a replacement fan.
Remember to prioritize safety by shutting down your computer, unplugging it, and taking anti-static precautions before opening the case. Gather the necessary tools and materials beforehand, including a screwdriver set, anti-static wrist strap, compressed air, cleaning solution, and replacement fan if needed.
We walked you through the process of shutting down your computer, opening the computer case, identifying the anti-vibration mounts, removing the fan screws, detaching the anti-vibration mounts, and optionally installing a replacement fan.
Following these steps, you will be able to remove a case fan without any hassle. However, always handle computer components with care and refer to the manufacturer’s instructions if you encounter any difficulties or specific guidelines for your equipment.
By maintaining your case fans and ensuring proper airflow, you can help keep your computer running smoothly and prevent overheating. Regular cleaning and maintenance can also prolong the lifespan of your computer system.
We hope this guide has been helpful in guiding you through the process of removing a case fan attached via anti-vibration mounts. Remember to take your time, be cautious, and seek professional help if needed. Happy computing!