Introduction
Welcome to our helpful guide on how to stop case fan rattling. If you’re experiencing an annoying rattling noise coming from your computer’s case fans, you’re not alone. Many PC enthusiasts and users encounter this issue at some point. Not only can the rattling sound be distracting, but it could also indicate a problem with your fan’s functionality.
Rattling noises from case fans can be caused by several factors, including accumulated dust, loose screws, damaged fan blades, or even worn-out bearings. Fortunately, most cases of rattling fans can be resolved with a simple DIY approach. In this guide, we will walk you through the steps to identify the source of the rattling and provide you with effective solutions to stop it.
Before we dive in, it’s important to note that while some degree of fan noise is normal, persistent and excessive rattling can indicate an underlying issue. It’s always wise to address this problem promptly to prevent further damage to your components and ensure optimal airflow and cooling.
Are you ready to silence those annoying case fan rattles? Let’s get started!
What Causes Case Fan Rattling
Understanding the causes of case fan rattling is essential in effectively troubleshooting and resolving the issue. Here are some common culprits:
- Dust Accumulation: Over time, dust and debris can accumulate on your case fans, causing them to become unbalanced. This imbalance can lead to vibrations and rattling noises. Regular cleaning and maintenance can help prevent this issue.
- Loose Screws: Vibrations from your computer’s components can cause screws that secure the case fans to become loose. As a result, the fans might rattle. Checking and tightening the screws can often solve this problem.
- Worn-out Bearings: Case fans rely on bearings to rotate smoothly. Over time, these bearings can wear out, leading to increased friction and rattling noises. If your fan is making a grinding or squeaking sound, it may be time to replace it.
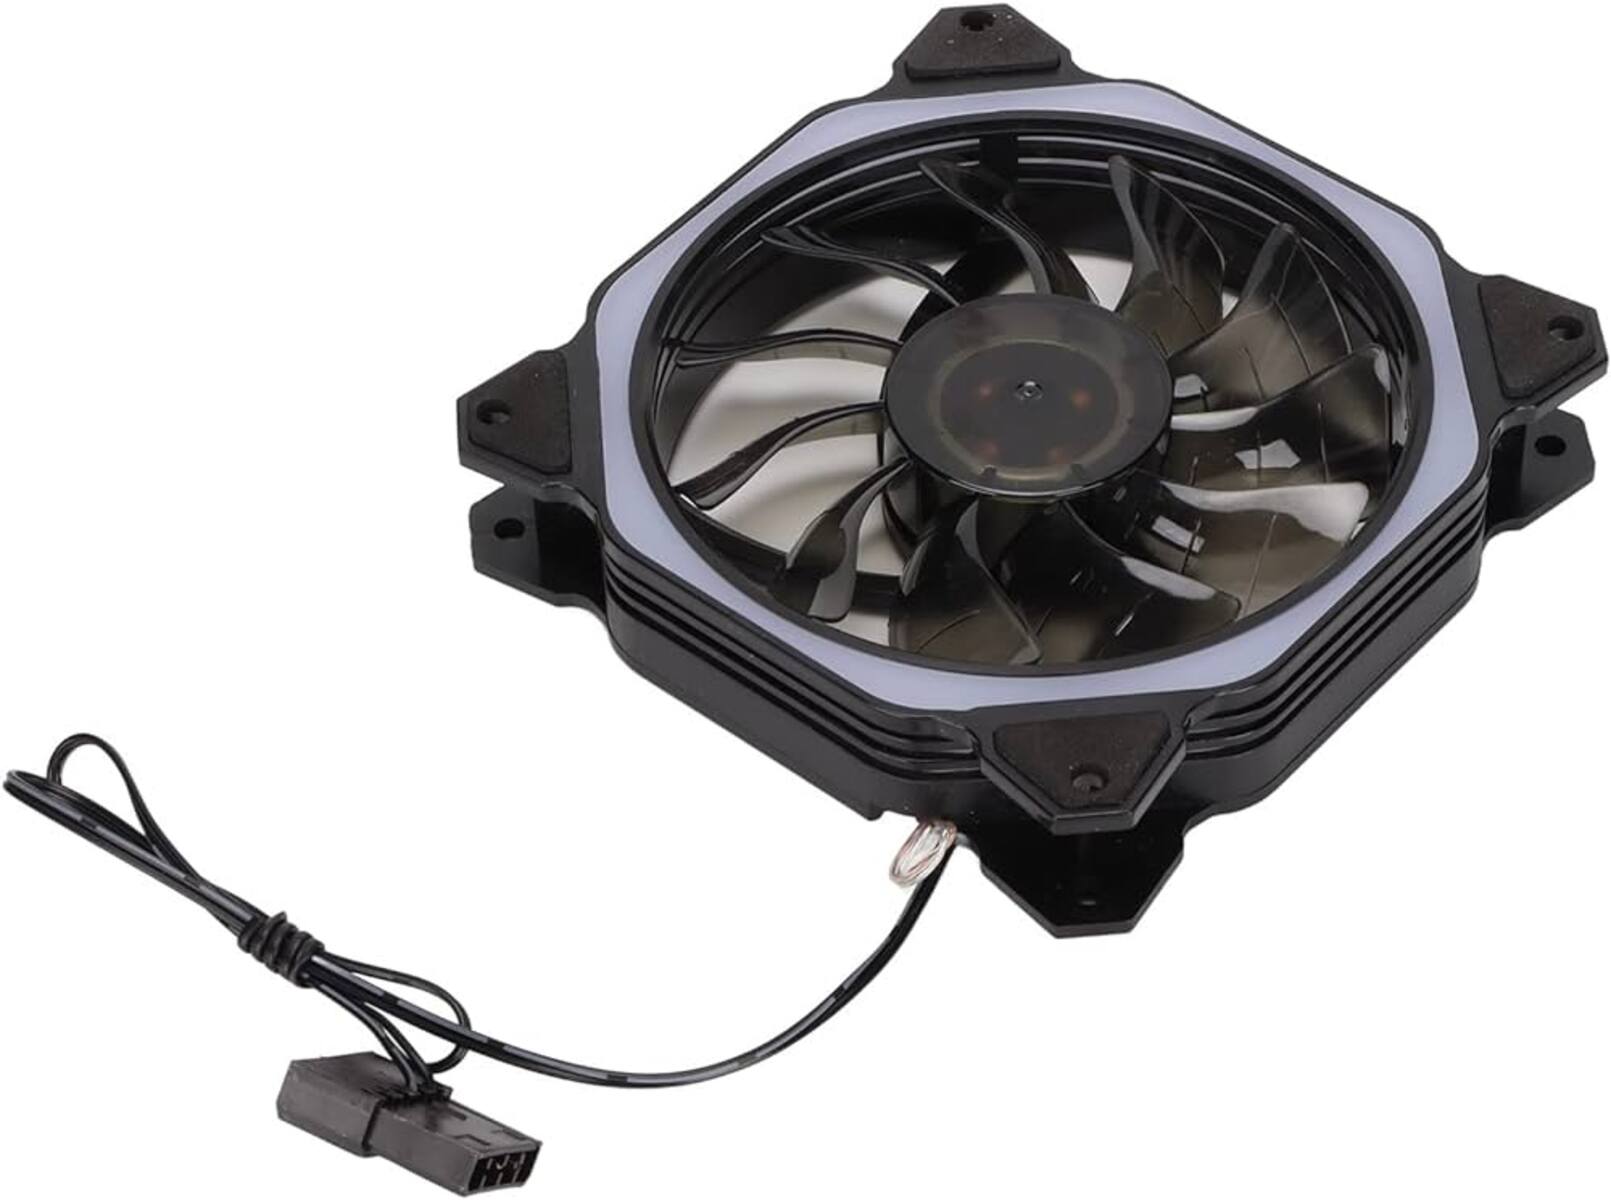
- Broken or Damaged Fan Blades: Accidental contact with objects or mishandling during cleaning or maintenance can cause damage to the fan blades. Cracked or bent fan blades can result in irregular rotation and noticeable rattling. In such cases, it is recommended to replace the damaged fan.
- Excessive Fan Speed: Running your case fans at high speeds can create more airflow but also increase the chances of rattling. The increased RPM (rotations per minute) can lead to vibration and noise. Adjusting the fan speed through software or BIOS settings can often help mitigate this issue.
Identifying the specific cause of the rattling will allow you to apply the most suitable solution. Now that we’ve explored some of the common causes, it’s time to move on to the next section, where we’ll discuss the tools you’ll need for the task at hand.
Tools Needed
Before you begin troubleshooting and resolving the case fan rattling issue, it’s important to gather the necessary tools. Here are the tools you’ll need:
- Clean, lint-free cloth: You’ll need a cloth to wipe away any dust or debris from the case fans.
- Compressed air canister: An air canister will help you effectively remove any stubborn dust or debris that may be stuck in the fan blades or housing.
- Screwdriver: Depending on your case design, you may need a screwdriver to access and tighten the fan screws.
- Replacement fan blades (optional): If you discover that the fan blades are damaged, having replacement fan blades on hand will allow you to quickly replace them.
- Rubbing alcohol: In some cases, using rubbing alcohol can help clean the fan blades or remove any adhesive residue.
- Rubber mounts or anti-vibration pads (optional): If you find that the rattling persists even after cleaning and tightening the fans, using rubber mounts or anti-vibration pads can help absorb the vibrations and reduce the noise.
- Fan speed controller software (optional): If adjusting the fan speed is necessary to reduce the rattling noise, having fan speed controller software installed on your computer will allow you to make the necessary adjustments.
Having these tools readily available will make the process smoother and more efficient. Now that we have the necessary tools, it’s time to move on to the step-by-step guide on how to stop case fan rattling. Let’s dive in!
Step 1: Identify the Source of Rattling
The first step in resolving case fan rattling is to identify the source of the problem. This will help you determine the appropriate solution. Follow these steps to pinpoint the exact cause:
- Power off your computer and unplug it from the power source.
- Open up your computer case. Refer to your computer’s manual or manufacturer’s instructions for the proper way to access the internal components.
- Visually inspect each case fan for any visible damage, such as bent or cracked blades. Pay close attention to any loose screws connecting the fans to the case.
- Gently wiggle each fan to check for any excessive movement. A properly secured fan shouldn’t have much wiggle room.
- Turn on your computer and listen for the rattling noise. Try to isolate which fan is causing the sound.
- Once you’ve identified the problematic fan, power off your computer again and unplug it.
- Inspect the fan closely for any debris or dust accumulation. Use a clean, lint-free cloth or compressed air canister to carefully clean the fan blades and remove any dirt or obstructions.
- Check the screws that secure the fan in place. If they are loose, use a screwdriver to tighten them gently.
By following these steps, you can identify the source of the rattling and eliminate any straightforward causes such as loose screws or accumulated dust. If the rattling persists after cleaning and tightening the fan, move on to the next step for further troubleshooting. Keep in mind that it’s essential to power off and unplug your computer to ensure your safety during this process.
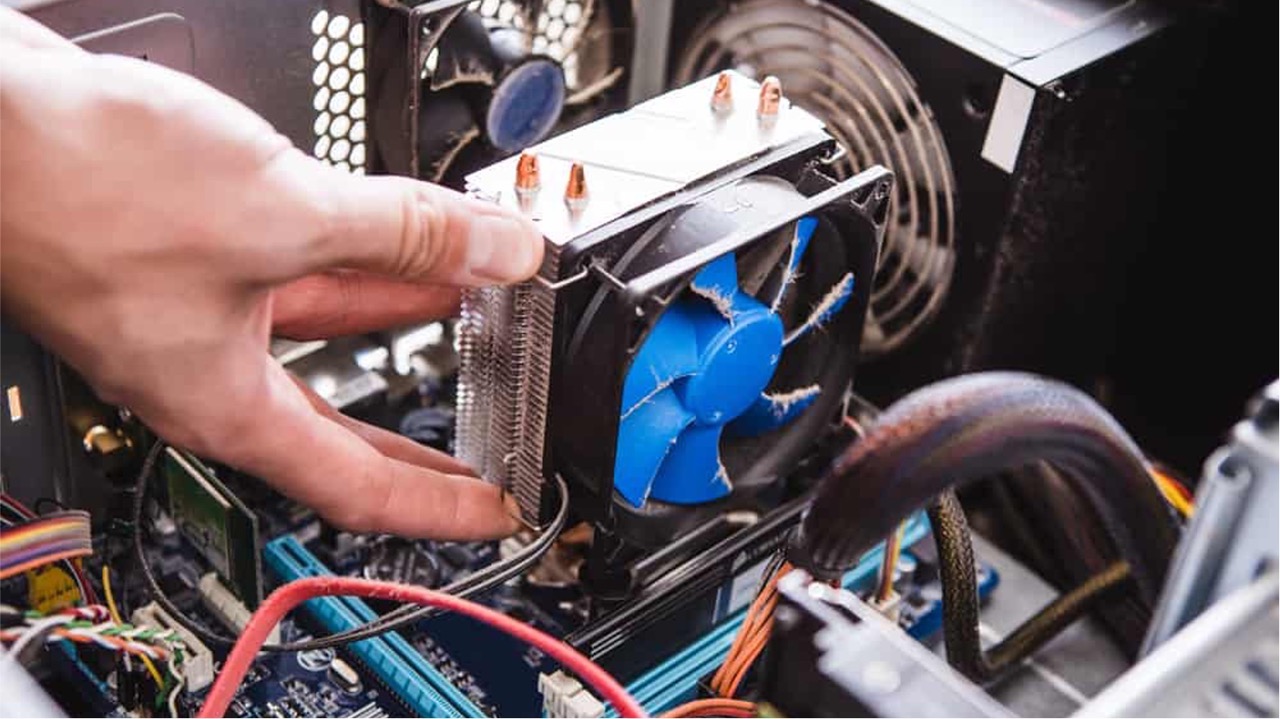
Step 2: Clean the Case Fans
One of the most common causes of case fan rattling is the accumulation of dust and debris on the fan blades. Cleaning the case fans can help restore their functionality and reduce the noise. Follow these steps to clean your case fans:
- Power off your computer and unplug it from the power source for safety.
- Remove the side panel of your computer case to access the internal components. Refer to your computer’s manual or manufacturer’s instructions for guidance.
- Locate the case fans that are causing the rattling noise.
- Use a clean, lint-free cloth or a compressed air canister to remove any visible dust or debris from the fan blades. Gently wipe the blades or blow away the dust using short bursts of compressed air.
- If the dust or debris is stubborn, you can moisten the cloth with a small amount of rubbing alcohol and carefully clean the fan blades to remove any adhesive residue or grime.
- Inspect the fan housing and remove any dust or debris that may have accumulated there. Compressed air can be particularly helpful in dislodging hard-to-reach dust particles.
- Once you’ve cleaned all the case fans, replace the side panel of your computer case and ensure it is securely fastened.
- Plug in and power on your computer to check if the rattling noise has been resolved. If the rattling persists, proceed to the next step for further troubleshooting.
Regularly cleaning your case fans is a good preventive measure to keep them functioning properly and minimize the chances of rattling. In addition to improving airflow and reducing noise, it can also extend the lifespan of your components. Now that you’ve cleaned the case fans, let’s move on to the next step to check the fan bearings.
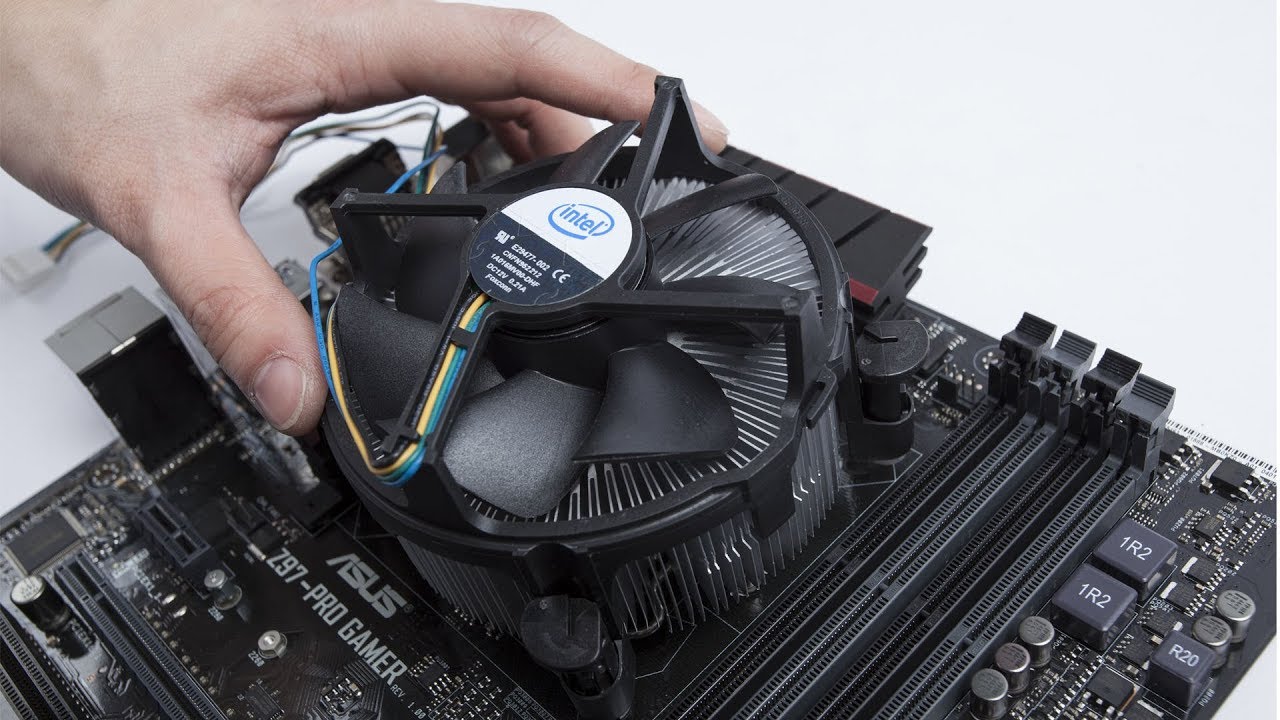
Step 3: Check the Fan Bearings
The fan bearings play a crucial role in ensuring smooth rotation of the case fans. Over time, these bearings can wear out, leading to increased friction and rattling noises. In this step, we will guide you on how to check and potentially replace the fan bearings:
- Power off your computer and unplug it from the power source.
- Access the internal components of your computer by removing the side panel. Refer to your computer’s manual or manufacturer’s instructions for guidance.
- Locate the fan that is causing the rattling noise.
- Manually rotate the fan blades and listen for any grinding, scraping, or squeaking sounds. These noises indicate that the fan bearings are worn out and need to be replaced.
- If the fan bearings are damaged, you can replace the entire fan unit. Consult your computer’s manual or contact the manufacturer for information on compatible fan replacements.
- If replacing the fan is not feasible, you can try lubricating the fan bearings. Carefully remove the fan from its housing, following the manufacturer’s instructions.
- Apply a small amount of lubricating oil (such as sewing machine oil or light machine oil) to the fan bearing. Be cautious not to over-apply the oil, as excess oil can cause other issues.
- Reassemble the fan and secure it back in its housing. Ensure all the screws are tightened properly.
- Plug in and power on your computer to see if the rattling noise has been resolved. If the noise continues, it may be necessary to replace the fan unit.
Checking and maintaining the fan bearings is essential for the longevity and optimal performance of your case fans. If the fan bearings are damaged beyond repair or lubrication, replacing the fan unit is the best course of action. Now that you’ve checked the fan bearings, it’s time to move on to the next step and address any loose screws.
Step 4: Tighten Loose Screws
Loose screws connecting the case fans to the computer case can cause vibrations and result in rattling noises. In this step, we will guide you on tightening any loose screws to eliminate the source of the problem:
- Power off your computer and unplug it from the power source.
- Remove the side panel of your computer case to access the internal components. Refer to your computer’s manual or manufacturer’s instructions if needed.
- Locate the case fans that are causing the rattling noise.
- Gently inspect each fan and surrounding areas to identify any loose screws that secure the fans to the case.
- Using a screwdriver compatible with the screws, carefully tighten any loose screws connecting the fans to the case. Be sure not to overtighten, as this can damage the fan or strip the screw thread.
- After tightening all the screws, recheck the fan to ensure it is securely fastened and there is no excessive movement or wobbling.
- Replace the side panel of your computer case and ensure it is properly fastened.
- Plug in and power on your computer to see if the rattling noise has been resolved. If the noise persists, proceed to the next step for further troubleshooting.
Tightening loose screws is a simple yet effective solution to eliminate rattling noises caused by vibrations. Take care not to overtighten or strip the screws, as this can cause further issues. Now that you’ve tightened any loose screws, let’s move on to the next step and address any damaged fan blades.
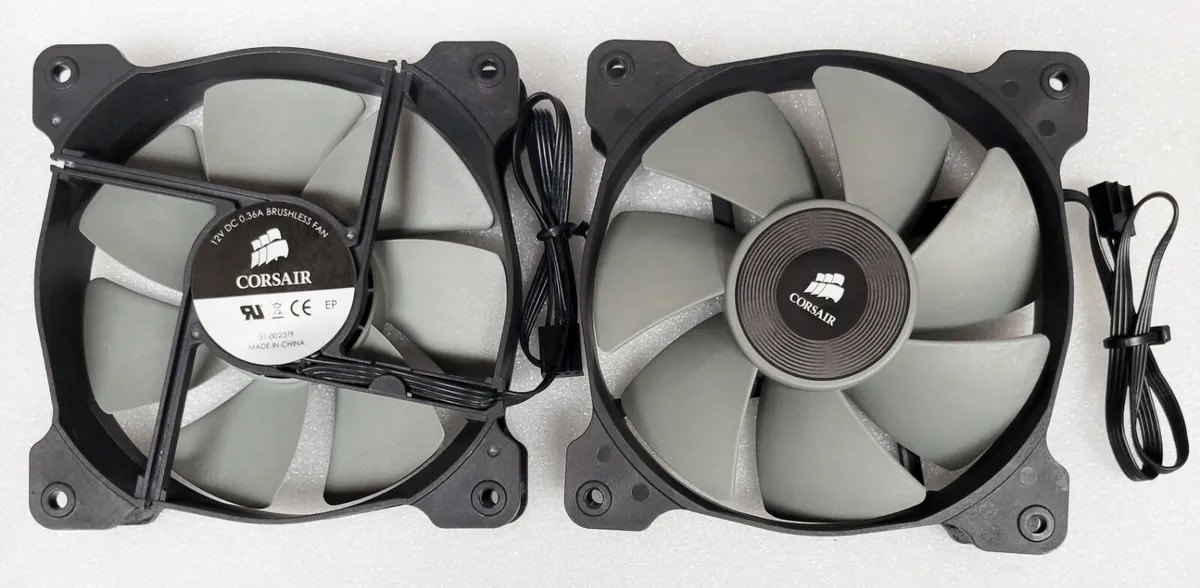
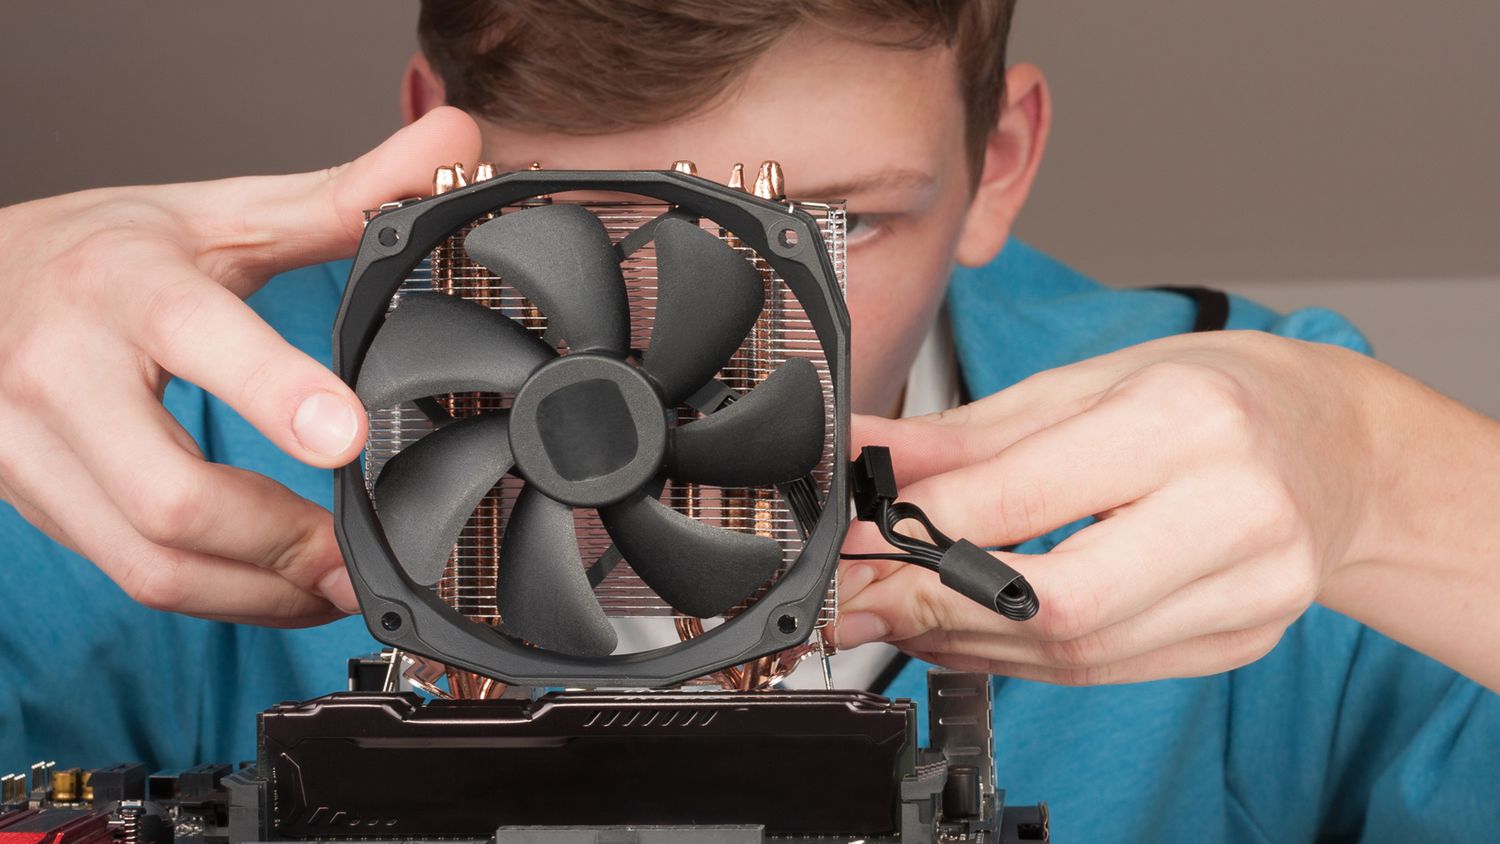
Step 5: Replace Damaged Fan Blades
If you have identified damaged or broken fan blades as the source of the rattling noise, it’s important to replace them to restore proper functionality and eliminate the noise. Follow these steps to replace damaged fan blades:
- Ensure the computer is powered off and unplugged for safety reasons.
- Access the internal components of your computer by removing the side panel. Refer to your computer’s manual or manufacturer’s instructions if necessary.
- Locate the fan with the damaged blades that is causing the rattling noise.
- Examine the fan blades closely for cracks, bends, or other visible damage. If the fan blades are beyond repair, replacement is necessary.
- Remove the damaged fan from its housing. The method of removal will vary depending on the case and fan design. Consult your computer’s manual or manufacturer’s instructions for guidance.
- If the fan is a modular unit, simply detach the damaged blades and attach the replacement blades according to the manufacturer’s instructions.
- If the entire fan unit needs to be replaced, remove it from the mounting position by unscrewing the necessary screws or connectors.
- Install the new fan blades or fan unit in the appropriate position by following the manufacturer’s instructions.
- Securely fasten the new fan in its housing or mounting position using the correct screws and connectors.
- Replace the side panel of your computer case and ensure it is properly fastened.
- Plug in and power on your computer to check if the rattling noise has been resolved. If the noise continues, proceed to the next step for further troubleshooting.
Replacing damaged fan blades is essential to ensure optimal performance and eliminate any rattling caused by imbalanced or defective blades. Always follow the manufacturer’s instructions and guidelines when handling and installing replacement components. Now that you’ve addressed any damaged fan blades, let’s move on to the next step and explore adjusting fan speed as another potential solution.
Step 6: Adjust Fan Speed
Adjusting the fan speed can help reduce the rattling noise by balancing airflow and minimizing vibrations. Most modern motherboards and fan controllers offer options to adjust fan speeds. Follow these steps to adjust the fan speed:
- Power off your computer and unplug it from the power source.
- Access the BIOS settings on your computer by pressing the designated key during the boot-up process. The specific key varies depending on the motherboard manufacturer, but common keys include Del, F2, or F10. Consult your motherboard manual for guidance.
- Navigate to the “Hardware Monitor,” “Fan Control,” or a similar section in the BIOS settings.
- Locate the fan corresponding to the rattling noise and adjust its speed setting. Options may include “Auto,” “Manual,” or pre-set speed profiles like “Silent,” “Normal,” or “Performance.”
- Experiment with different speed settings and monitor the fan noise to find an acceptable balance between cooling performance and noise reduction.
- Save your changes in the BIOS settings and exit.
- Plug in and power on your computer to check if the rattling noise has been reduced after adjusting the fan speed.
- If your motherboard does not offer fan speed controls in the BIOS settings or if you prefer a more granular control, you can install fan control software provided by your motherboard manufacturer or third-party applications.
- With fan control software installed, adjust the fan speed settings using the software’s interface and monitor the noise levels.
- Continue adjusting the fan speed until you find a suitable balance between noise reduction and cooling efficiency.
- If the rattling noise persists even after adjusting the fan speed, proceed to the next step for alternative solutions.
Adjusting the fan speed is a versatile solution that can help mitigate rattling noises by finding the optimal balance between cooling and noise levels. Ensure that you follow your motherboard manufacturer’s guidelines and use reliable software when adjusting fan speeds. Now that you’ve explored adjusting fan speed, let’s move on to the next step and consider using rubber mounts or anti-vibration pads.
Step 7: Consider Using Rubber Mounts or Anti-Vibration Pads
If you have tried the previous steps and are still experiencing case fan rattling, it may be worthwhile to consider using rubber mounts or anti-vibration pads. These accessories help absorb vibrations and minimize the transmission of noise. Follow these steps to utilize rubber mounts or anti-vibration pads:
- Power off your computer and unplug it from the power source.
- Identify the case fans that are causing the rattling noise.
- Remove the fans from their current mounting positions. Refer to your computer’s manual or manufacturer’s instructions if necessary.
- Attach rubber mounts or anti-vibration pads to each corner of the fan using the provided adhesive or screws.
- Ensure that the mounts or pads are securely attached, and the fan is properly positioned for reinstallation.
- Mount the fans back into their original positions, making sure they are tightly secured.
- Replace the side panel of your computer case and ensure it is properly fastened.
- Plug in and power on your computer to check if the rattling noise has been reduced after using rubber mounts or anti-vibration pads.
- Monitor the noise levels and make any necessary adjustments or repositioning of the fans if the rattling persists.
- Consider using additional rubber mounts or pads on other components that may be causing vibrations, such as hard drives or power supply units.
- If the rattling noise remains unresolved even with rubber mounts or anti-vibration pads, it may be necessary to consult with a professional or consider replacing the affected components.
Using rubber mounts or anti-vibration pads can be an effective solution to reduce case fan rattling by minimizing the transmission of vibrations. Ensure that the mounts or pads are securely attached and properly positioned for optimal results. Now that you’ve explored the option of rubber mounts or anti-vibration pads, let’s conclude this guide.
Conclusion
Congratulations! You’ve successfully learned how to stop case fan rattling. By following the step-by-step guide outlined in this article, you can effectively troubleshoot and resolve the issue. Here’s a quick recap of the steps covered:
- Identify the source of rattling by visually inspecting the fans.
- Clean the case fans to remove accumulated dust and debris.
- Check the fan bearings and replace them if necessary.
- Tighten any loose screws connecting the fans to the case.
- Replace damaged fan blades to restore proper functionality.
- Adjust fan speed using BIOS settings or fan control software.
- Consider using rubber mounts or anti-vibration pads to minimize vibrations.
Remember to always exercise caution when working with computer components, and make sure to power off and unplug your computer before making any adjustments. Regular cleaning and maintenance of your case fans can help prevent future rattling issues and ensure optimal airflow and cooling within your system.
If, despite your best efforts, the rattling noise persists or worsens, it may be necessary to consult with a professional or consider replacing the affected components. They will be able to provide further assistance and guidance based on your specific situation.
We hope this guide has been helpful in resolving your case fan rattling issue. Enjoy a quieter computing experience and improved performance with your newly silenced fans!