Introduction
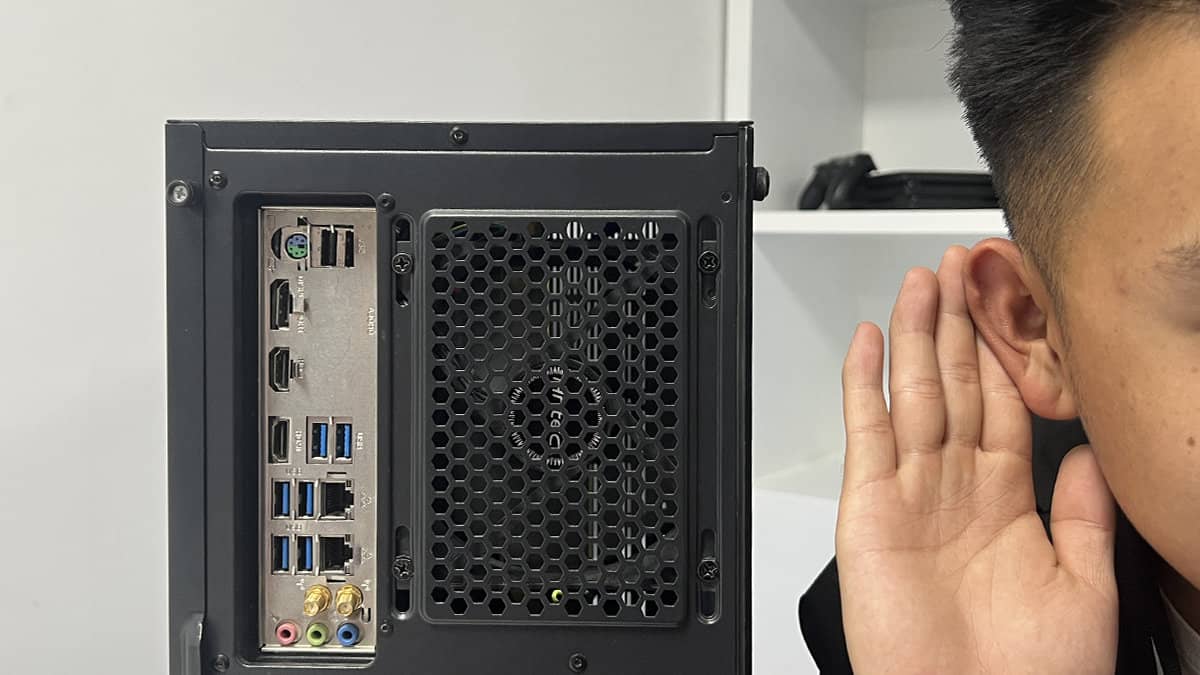
Case fans play a crucial role in keeping our computers cool and preventing overheating. However, one common issue that can arise is a rattling noise coming from the fan. Not only is this noise annoying, but it may also indicate a problem with the fan’s functionality. Fortunately, there are steps you can take to troubleshoot and resolve this issue.
In this article, we will explore the possible causes behind a rattling case fan and provide you with a step-by-step guide on how to address the problem. By following these troubleshooting steps, you can potentially eliminate the rattling noise and ensure that your case fan continues to operate effectively.
Before diving into the troubleshooting process, it’s important to note that case fans can vary in design and configuration. Therefore, the specific steps required to fix a rattling fan may slightly differ depending on the type of fan you have and the cause of the problem. However, the troubleshooting methods outlined here should serve as a general guide to help you resolve the issue.
Now, let’s jump into the process of identifying and resolving the rattling noise coming from your case fan.
Understanding the Problem
When it comes to a case fan rattling, there can be several reasons behind this issue. It’s important to understand the potential causes before taking any troubleshooting steps.
One common reason for a rattling case fan is loose screws. Over time, the vibrations from the fan’s movement can cause the screws holding the fan in place to become loose. This can lead to an unstable fan, resulting in a rattling noise. Another possible cause is dust and debris buildup. If the fan blades are clogged with dirt or dust, it can disrupt the smooth rotation of the fan and cause it to rattle.
In some cases, the fan itself may be faulty or nearing the end of its lifespan. Over time, fan bearings can wear out, causing the fan to become noisy and produce a rattling sound. Finally, the fan speed settings can also contribute to the rattling noise. If the fan is spinning at excessively high speeds, it can create turbulence and lead to a rattling sound.
Understanding the potential causes can help us narrow down the troubleshooting steps necessary to fix the issue. In the next section, we will discuss the specific steps you can take to address a rattling case fan.
Troubleshooting Steps
When dealing with a rattling case fan, it’s essential to follow a systematic approach to identify and resolve the issue. Here are the steps you can take to troubleshoot the problem:
- Check for loose screws: Begin by ensuring that all screws holding the fan in place are securely tightened. Use a screwdriver to gently tighten any loose screws, being careful not to overtighten and damage the fan or its mounting points.
- Clean the fan: If tightening the screws doesn’t resolve the issue, the next step is to clean the fan blades and the surrounding area. Turn off your computer and carefully remove the fan from its housing. Use compressed air or a soft brush to gently remove any accumulated dust and debris. Once clean, reattach the fan and check if the rattling noise persists.
- Replace the fan: If the rattling noise continues after cleaning, it may be time to replace the fan. Check the specifications of your computer case to ensure compatibility with a new fan. Purchase a replacement fan that suits your needs and follow the manufacturer’s instructions to install it properly.
- Adjust fan speed: If excessive fan speed is causing the rattling noise, you can try adjusting the fan speed settings. Access your computer’s BIOS or use fan control software to decrease the fan speed. Find a balance between cooling performance and noise reduction that works for your system.
- Consider additional dampening: If the rattling noise persists even after replacing the fan and adjusting the speed, you can consider adding additional dampening to reduce vibrations. Options include using rubber washers or installing anti-vibration mounts between the fan and the case.
Remember, each troubleshooting step should be performed with caution and in accordance with your computer manufacturer’s guidelines. By following these steps, you can identify and fix the problem causing the rattling noise in your case fan.
Check for Loose Screws
One of the most common causes of a rattling case fan is loose screws. Over time, the vibrations from the fan’s movement can loosen the screws holding it in place. To address this issue, follow these steps:
- Turn off your computer and unplug it from the power source for safety.
- Locate the case fan that is producing the rattling noise.
- Using a screwdriver, gently tighten the screws that secure the fan to the case. Be careful not to overtighten, as this can damage the fan or its mounting points.
- Ensure that all screws are securely tightened.
- Plug your computer back in and power it on.
- Listen for any rattling noise coming from the fan. If the noise persists, proceed to the next troubleshooting step.
Tightening loose screws is a simple and effective way to address a rattling case fan. By ensuring that the fan is securely mounted, you can minimize movement and vibrations that cause the rattling noise. If this step does not resolve the issue, continue to the next step to clean the fan.
Clean the Fan
If tightening the screws did not solve the rattling noise issue, the next step is to clean the case fan. Dust and debris buildup on the fan blades can disrupt smooth rotation and cause rattling. Follow these steps to clean the fan:
- Turn off your computer and unplug it from the power source to ensure safety.
- Locate the case fan that is producing the rattling noise.
- Remove the fan from its housing. The process may vary depending on your computer case, so refer to the manufacturer’s instructions if needed.
- Use compressed air or a soft brush to gently remove dust and debris from the fan blades. Make sure to clean both the front and back of the blades.
- Inspect the area around the fan for any additional dust or debris and clean it if necessary.
- Once the fan and its surrounding area are clean, reattach the fan securely to its housing.
- Plug your computer back in and power it on.
- Listen for any rattling noise coming from the fan. If the noise persists, proceed to the next troubleshooting step.
Cleaning the case fan can often eliminate the rattling noise by allowing the blades to rotate smoothly. Make sure to perform this step in a well-ventilated area and be gentle to avoid causing any damage to the fan. If the rattling noise still persists after cleaning, it may be necessary to replace the fan.
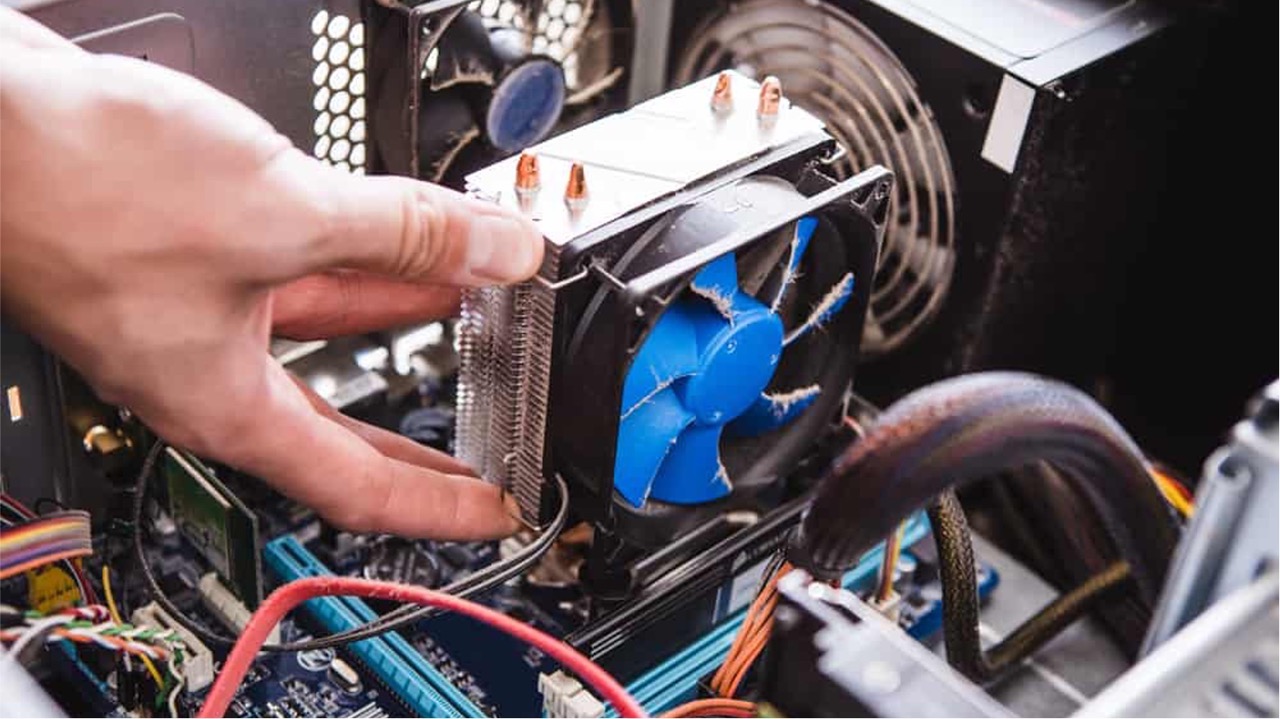
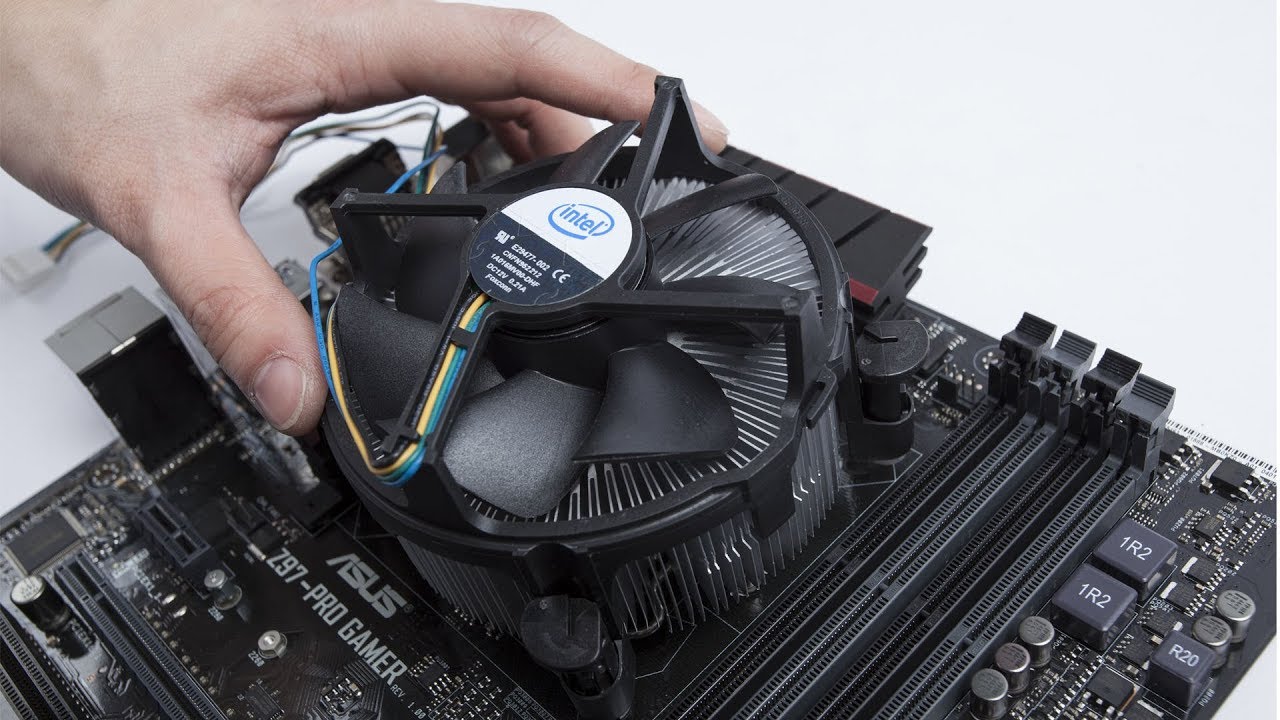
Replace the Fan
If tightening screws and cleaning the fan did not resolve the rattling noise, it may be necessary to replace the case fan. Over time, fan bearings can wear out, leading to excessive noise and rattling. Follow these steps to replace the fan:
- Turn off your computer and unplug it from the power source for safety.
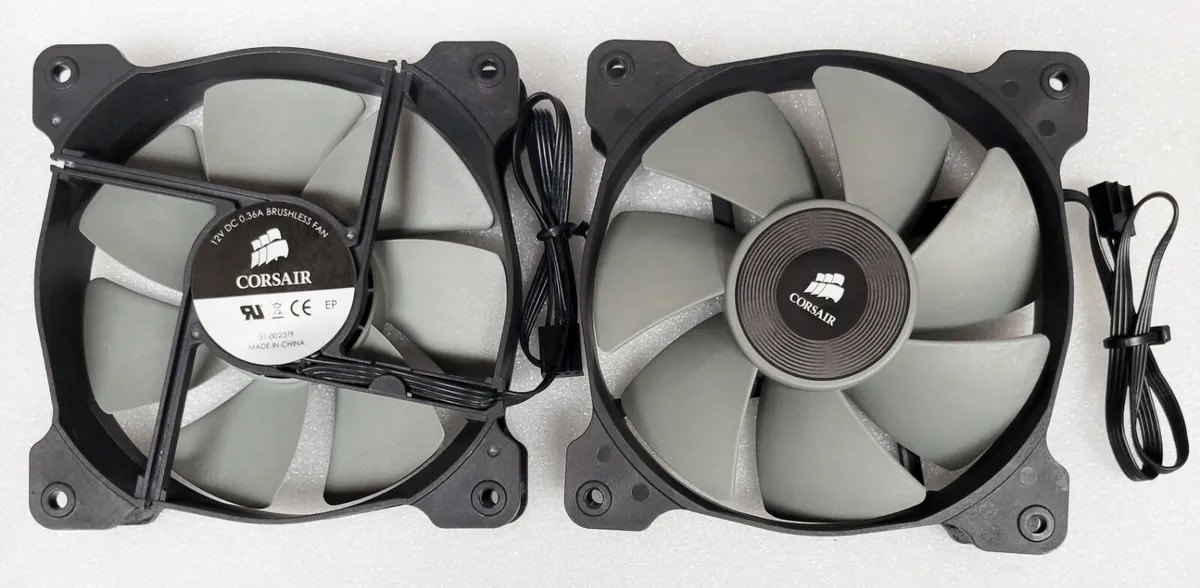
- Determine the specific type and size of the fan that needs to be replaced. Check the specifications of your computer case or consult the manufacturer’s documentation.
- Purchase a new fan that matches the specifications of the original fan.
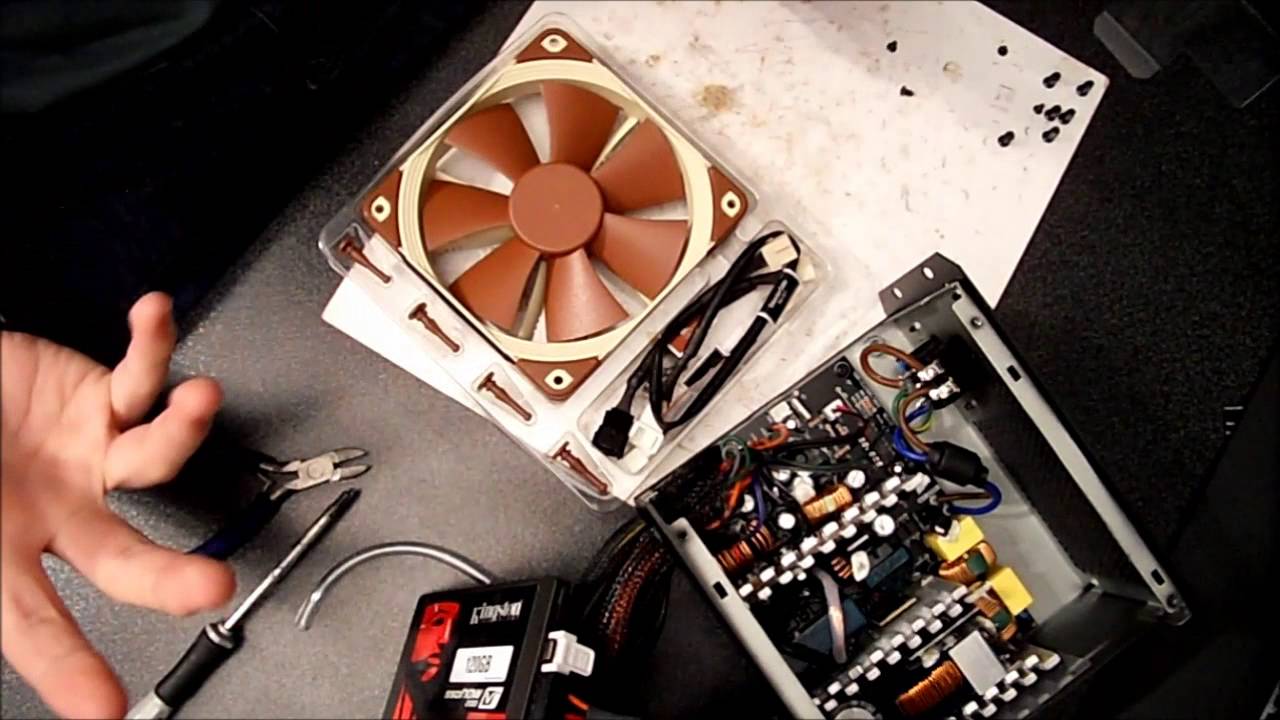
- Refer to the manufacturer’s instructions for guidance on how to safely remove the old fan.
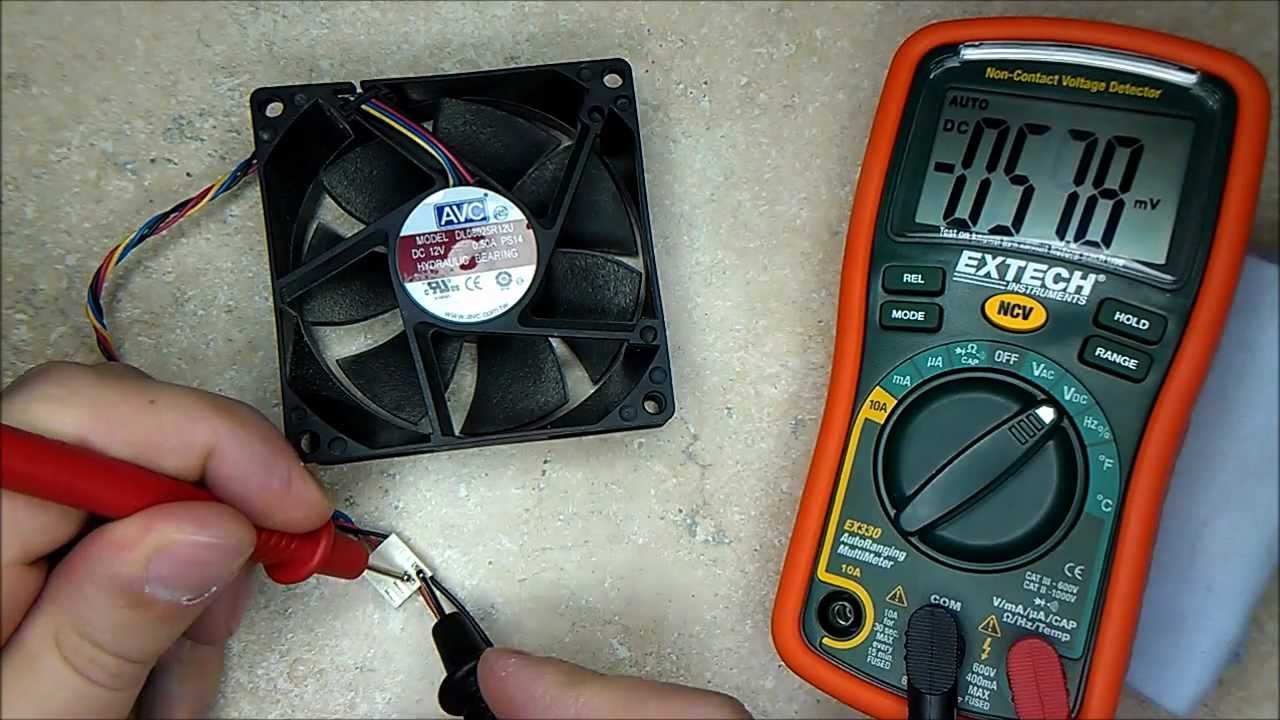
- Gently disconnect the fan’s power cable and remove any screws or clips securing it to the case.
- Carefully remove the old fan from the case.
- Install the new fan by following the manufacturer’s instructions. Ensure that it is securely attached and connected.
- Plug your computer back in and power it on.
- Listen for any rattling noise coming from the new fan. If the noise persists, proceed to the next troubleshooting step.
Replacing the case fan can effectively eliminate the rattling noise, especially if the previous fan was faulty or near the end of its lifespan. Ensure that you select a replacement fan that is compatible with your computer case to avoid any installation issues. If the rattling noise continues after replacing the fan, consider adjusting the fan speed or exploring additional dampening options.
Adjust Fan Speed
If the rattling noise persists after trying the previous troubleshooting steps, the fan speed settings may be a contributing factor. Excessively high fan speeds can create turbulence and result in a rattling sound. Follow these steps to adjust the fan speed:
- Ensure your computer is powered on and running.
- Access your computer’s BIOS settings or use fan control software specific to your motherboard or operating system.
- Locate the fan speed settings and adjust them to a lower level. Each BIOS or software interface may be slightly different, so refer to the documentation or online resources for guidance if needed.
- Save the changes and exit the BIOS settings or apply the adjustments in the fan control software.
- Allow the computer to continue running for some time while monitoring the fan noise.
- Listen for any reduction in the rattling noise. If the noise persists, proceed to the next troubleshooting step.
Adjusting the fan speed can help reduce the rattling noise by providing a smoother airflow and minimizing turbulence. However, it’s essential to find a balance between cooling performance and noise reduction. Experiment with different fan speed settings until you achieve a level that keeps your system cool while minimizing the rattling noise. If the problem persists, additional dampening techniques may be necessary.
Consider Additional Dampening
If the rattling noise from the case fan persists even after trying the previous troubleshooting steps, you may need to consider additional dampening techniques. These methods aim to minimize the vibrations and reduce the noise caused by the fan. Here are some dampening options to consider:
- Use rubber washers: Install rubber washers between the fan and the case to act as shock absorbers. These washers can help to reduce vibrations and prevent them from transferring to the case, ultimately reducing the rattling noise.
- Install anti-vibration mounts: Anti-vibration mounts, such as rubber or silicone mounts, can be placed between the fan and the case to provide additional dampening. These mounts effectively isolate the fan from the case, reducing vibrations and minimizing noise.
- Consider sound-dampening material: Some computer cases come with built-in sound-dampening materials, such as foam padding. If your case has this feature, make sure it is properly installed and positioned. If not, you can purchase and install sound-dampening materials yourself to help reduce the noise generated by the fan.
- Check cable management: Ensure that cables inside your computer case are properly managed and secured. If cables are obstructing the path of the fan or causing it to vibrate, it can contribute to the rattling noise. Reorganizing and securing the cables can help mitigate this issue.
By employing these additional dampening techniques, you can further reduce vibrations and minimize the rattling noise. Experiment with different methods to find the combination that works best for your specific case and fan configuration.
Remember, the effectiveness of these dampening techniques may vary depending on your specific case and fan setup. However, they are worth considering if the rattling noise persists and other troubleshooting steps have been exhausted.
Conclusion
Dealing with a rattling case fan can be frustrating, but following the troubleshooting steps outlined in this article can help you identify and resolve the issue. By checking for loose screws, cleaning the fan, replacing it if necessary, adjusting the fan speed, and considering additional dampening techniques, you can minimize or eliminate the rattling noise.
It’s important to keep in mind that the specific steps required may vary depending on your computer case and fan configuration. Always refer to the manufacturer’s instructions and guidelines when performing any maintenance or replacement tasks.
Remember to prioritize safety throughout the troubleshooting process. Ensure that your computer is powered off and unplugged before attempting any repairs or adjustments. If you are unsure about any steps or feel uncomfortable working with computer hardware, it’s always best to seek professional assistance.
By taking the time to address a rattling case fan, you can ensure proper cooling and ventilation for your computer, which is crucial for its overall performance and longevity. Hopefully, the troubleshooting steps provided in this article have helped you resolve the issue and improve the overall functionality of your system.
Should you encounter any persistent issues or if the rattling noise continues despite your efforts, it may be best to consult a professional technician who can provide further assistance.