Introduction
Welcome to our guide on how to clean your case fan filters! If you’re experiencing higher temperatures inside your computer or noticing increased fan noise, it might be time to give your case fan filters some attention. Over time, these filters can become clogged with dust, debris, and pet hair, which can hinder airflow and cause components to run hotter.
Keeping your case fan filters clean is an essential maintenance task to ensure optimal performance and longevity of your computer. By regularly cleaning these filters, you can prevent overheating issues, improve cooling efficiency, and extend the lifespan of your components.
In this guide, we will walk you through the step-by-step process of cleaning your case fan filters to help keep your computer running smoothly. We’ll cover everything from identifying where the filters are located in your computer case to the tools you’ll need for the task. So, let’s dive in and get those case fan filters sparkling clean!
Why Cleaning Case Fan Filters Is Important
Case fan filters play a crucial role in maintaining the overall health and performance of your computer system. Here are a few reasons why cleaning your case fan filters regularly is important:
- Improved Cooling Efficiency: When dust and debris accumulate on the case fan filters, they restrict the airflow, making it harder for the fans to cool down the internal components. By cleaning the filters, you allow for better airflow, which helps in dissipating heat more effectively.
- Prevention of Overheating: Overheating is a significant concern for computer systems as it can lead to performance issues and even permanent damage to vital components such as the CPU and GPU. By keeping the case fan filters clean, you reduce the risk of heat buildup and potential system overheating.
- Extended Component Lifespan: Dust buildup is a common culprit behind the premature failure of computer components. Excessive heat caused by clogged filters can put additional stress on the hardware, leading to reduced lifespan. By cleaning the filters, you help prevent the accumulation of dust and prolong the life of your valuable components.
- Reduced Fan Noise: When case fan filters are obstructed by dirt and debris, fans have to work harder to maintain the required airflow. This can result in increased fan noise, disturbing your computer experience. Regularly cleaning the filters ensures smooth and noise-free fan operation.
Regular maintenance of case fan filters is an easy and effective way to optimize the performance and longevity of your computer system. By keeping them clean, you can maintain better cooling efficiency, reduce the risk of overheating, extend the lifespan of your components, and enjoy a quieter computing experience.
Tools You Will Need
Before diving into the process of cleaning your case fan filters, it’s important to gather the necessary tools to ensure a smooth and effective cleaning operation. Here are the essential tools you will need:
- Compressed Air Canister: A canister of compressed air is a handy tool for blowing away dust and debris from the case fan filters. Make sure to get one with a thin attachment nozzle for precise targeting.
- Soft Brush: A soft-bristled brush, such as a clean paintbrush or makeup brush, can be used to gently loosen and remove stubborn dust particles from the case fan filters.
- Microfiber Cloth: A microfiber cloth is an excellent tool for wiping away any remaining dust or smudges from the case fan filters. Its soft and non-abrasive nature ensures that it won’t scratch or damage the filters.
- Isopropyl Alcohol: For tougher grime or sticky residue on the case fan filters, a small amount of isopropyl alcohol can be used. Make sure to use it sparingly and avoid contact with any sensitive electronic components.
- Tweezers or Cotton Swabs: Tweezers or cotton swabs can be useful for reaching small or hard-to-reach areas of the case fan filters and removing any stubborn debris.
- Latex Gloves (optional): While not necessary, latex gloves can help protect your hands from dirt, oils, and chemicals during the cleaning process.
Having these tools ready before you begin cleaning your case fan filters will ensure that you can efficiently remove dust and debris, allowing your fans to operate at their optimum capacity. Remember to handle the tools and your computer components with care to avoid any accidental damage.
Step 1: Shut Down Your Computer and Unplug It
The first step in cleaning your case fan filters is to shut down your computer properly and unplug it from the power source. This is important for your safety and to prevent any potential damage to your computer or to yourself during the cleaning process.
To shut down your computer, click on the “Start” menu in the bottom left corner of your screen, then select “Shut Down” or “Restart” from the options provided. Allow your computer to fully shut down before proceeding.
Once your computer is shut down, it’s crucial to unplug it from the power source. This ensures that there is no electrical current running through the system, reducing the risk of electric shock while working on the internal components.
Tip: For added safety, press the power button on your computer for a few seconds to discharge any remaining electrical charge.
After fully shutting down your computer and unplugging it, you can proceed to the next step of locating the case fan filters in your computer case.
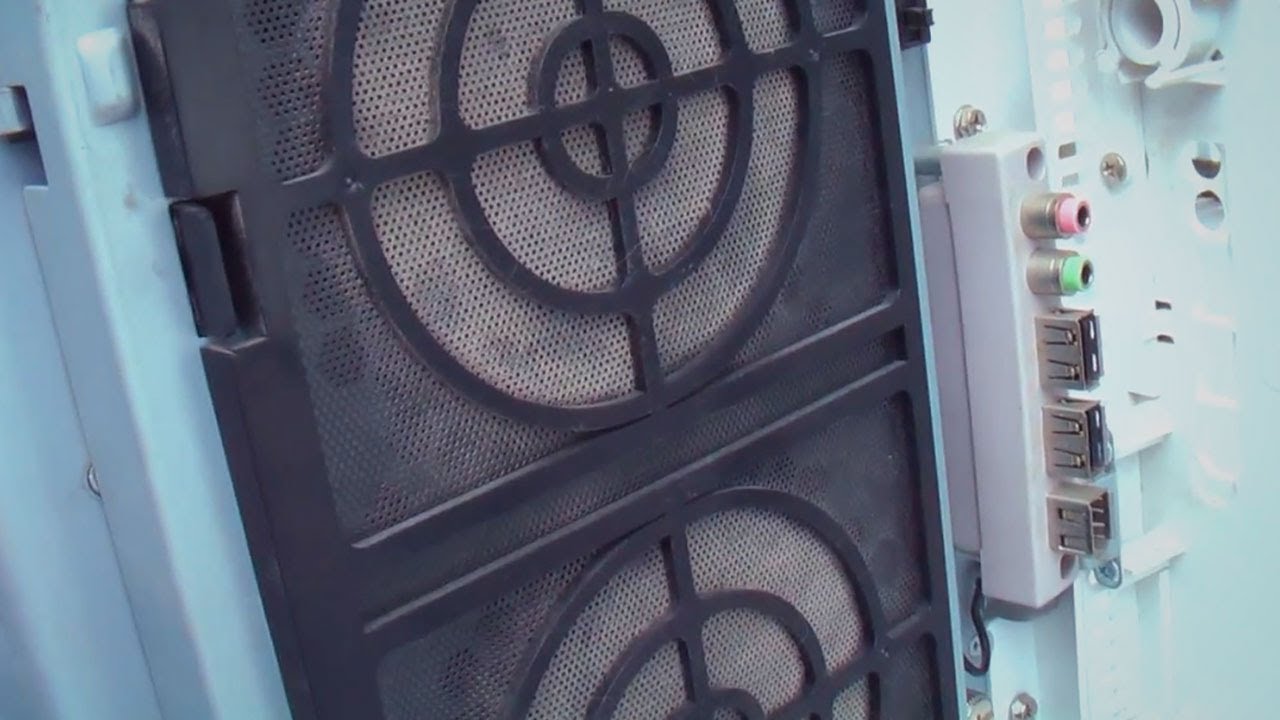
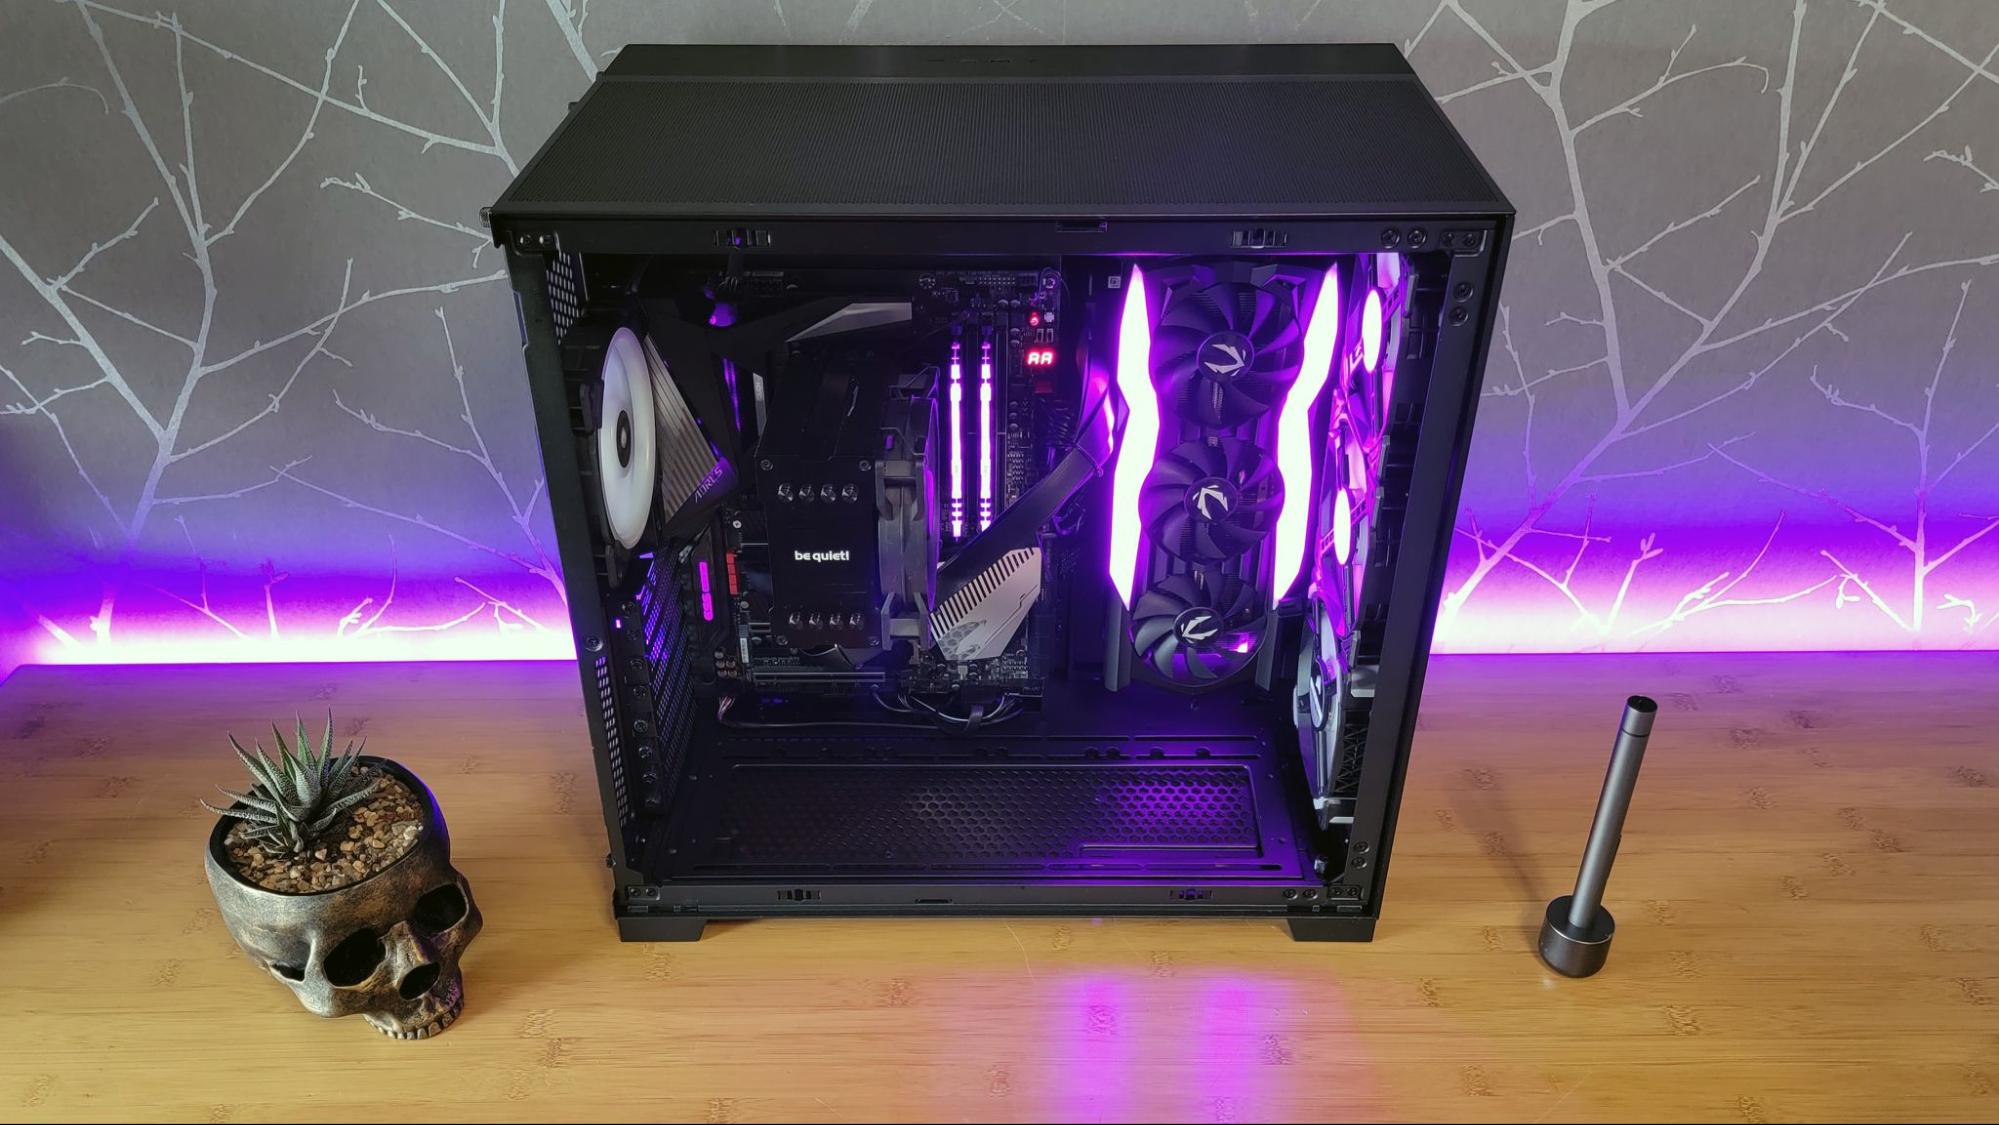
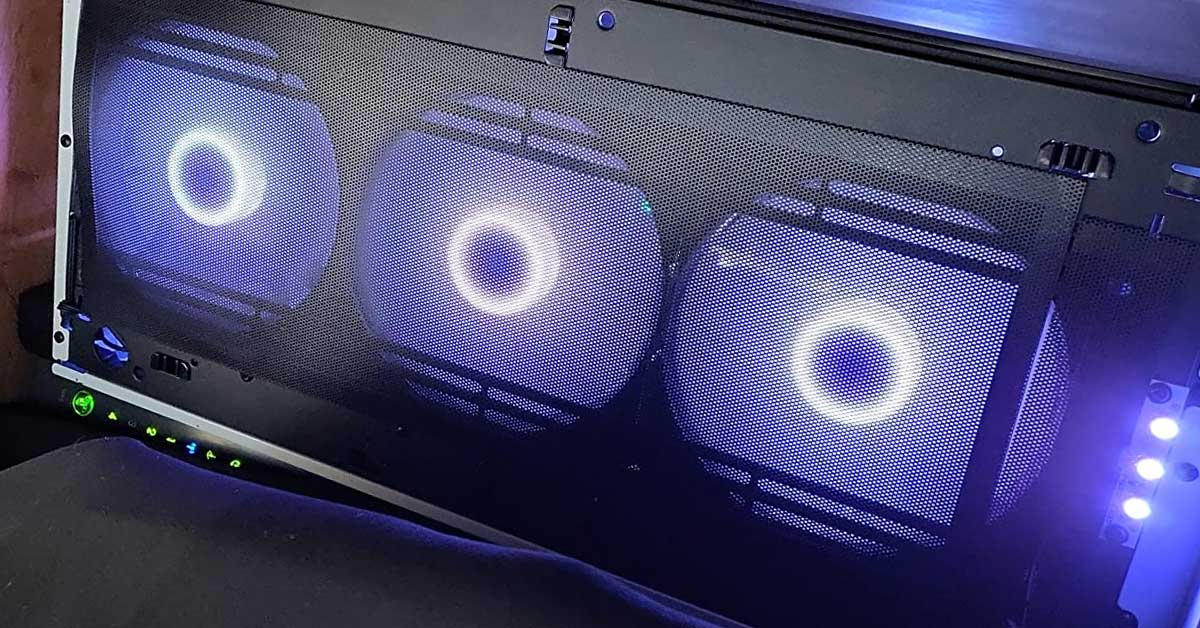
Step 2: Locate the Case Fan Filters
Once your computer is safely shut down and unplugged, the next step is to locate the case fan filters within your computer case. The exact location of the filters may vary depending on the design of your case, but they are typically found on the front, top, or bottom of the case.
To locate the case fan filters, carefully inspect the exterior of your computer case. Look for any removable panels or grilles that are designed to allow airflow into the case. These panels often have small holes or slots, indicating the presence of fan filters.
If you’re unsure about the location of the case fan filters, referring to the user manual or the manufacturer’s website can provide helpful guidance. Additionally, you can search online forums or watch tutorial videos specific to your computer case model for visual references.
Most modern computer cases are designed with easily accessible and removable filters to make the cleaning process more convenient. In some cases, the filters may be secured with screws or clips, while others may be magnetic or slide-out style filters.
Tip: It’s important to locate all the case fan filters in your computer case to ensure a thorough cleaning. Some cases may have multiple filters, so take note of each filter’s location during this step.
Once you have successfully located the case fan filters, you are ready to move on to the next step of removing the filters for cleaning.
Step 3: Remove the Case Fan Filters
With the case fan filters located, it’s time to remove them from your computer case for cleaning. This step allows for easier access and thorough cleaning of the filters, ensuring optimal airflow and cooling performance.
The method of removing the case fan filters may vary depending on the design of your computer case. Here are a few common methods:
- Screw or Clip Removal: If your case fan filters are secured with screws or clips, carefully loosen or remove them using a screwdriver or your fingers. Gently lift or slide out the filters, taking care not to damage any delicate components or cables.
- Magnetic Filters: Some case fan filters have magnetic attachments that hold them in place. Simply pull on the filters gently to detach them from the case. Avoid using excessive force to prevent any accidental damage.
- Slide-Out Filters: Certain computer cases have slide-out filters that can be easily removed by sliding them out from their designated slots. Look for any release buttons or tabs that may need to be pressed or pulled to unlock the filters.
Regardless of the method used, take your time to remove the case fan filters carefully and methodically. It’s important not to rush or use excessive force, as this can cause damage to your computer case or the filters themselves.
Tip: As you remove each case fan filter, it can be helpful to label or mark them according to their original location within the case. This can make the process of reinstalling them later much smoother.
Now that the case fan filters have been removed, it’s time to move on to the next step: inspecting the filters for dust buildup.
Step 4: Inspect the Filters for Dust Buildup
Now that you have removed the case fan filters, it’s time to inspect them for dust accumulation. Over time, dust and debris can collect on the filters, obstructing airflow and reducing cooling efficiency.
Hold the filters up to a light source or bring them into a well-lit area to easily see any dust buildup. Look for visible layers of dust, hair, or debris on the filters’ surface. If the filters appear dirty or clogged, it’s a clear indication that they need cleaning.
Inspect both sides of the filters thoroughly, as dust particles can accumulate on both the intake and exhaust sides. Pay close attention to the smallest crevices and corners of the filters, where dust tends to settle.
Tip: If you don’t have access to a light source, gently tapping the filters or blowing on them can help dislodge any loose dust particles, making them more visible.
Remember that the purpose of inspecting the filters is to determine their condition and cleanliness. If you find that they are excessively dirty and the dust buildup cannot be easily removed, it may be time to consider replacing the filters altogether.
Once you have completed the inspection and determined the level of dust accumulation on the filters, you are ready to move on to the next step: cleaning the case fan filters.
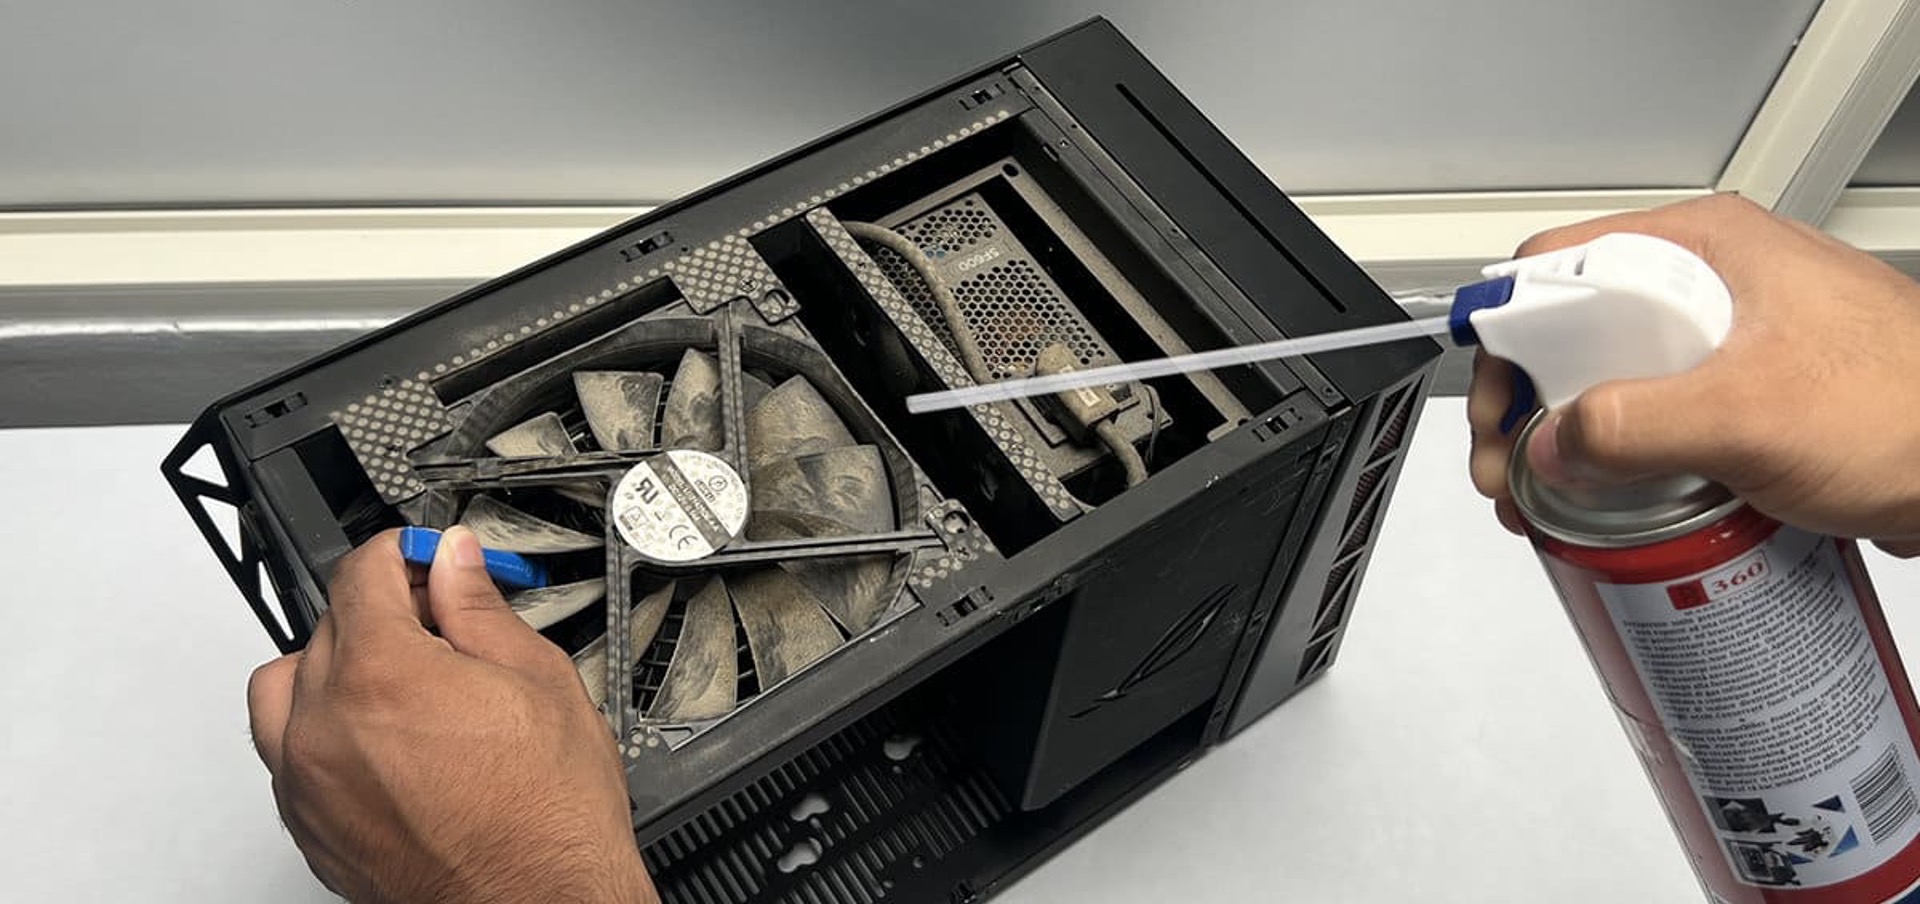
Step 5: Cleaning the Case Fan Filters
With the case fan filters inspected for dust buildup, it’s time to clean them to restore optimal airflow and cooling efficiency. There are a few methods you can use to effectively clean the filters:
- Compressed Air: Using a canister of compressed air with a thin attachment nozzle, blow the dust and debris off the filters. Start from one side of the filter and work your way across, ensuring that you cover the entire surface area. Hold the canister at a slight angle to dislodge stubborn particles.
- Soft Brush: A soft-bristled brush, such as a clean paintbrush or makeup brush, can be used to gently brush away dust and debris from the filters. Stroke in one direction, starting from the top and working your way down. Be careful not to apply too much pressure to avoid damaging the filters.
- Microfiber Cloth: If the filters have stubborn dust or smudges, you can gently wipe them using a microfiber cloth. Wipe the filters in a gentle, sweeping motion, removing any remaining dust or marks. Ensure the cloth is clean and free from any abrasive particles.
- Isopropyl Alcohol (For Stubborn Grime): For filters with tough dirt or sticky residue, lightly dampen a cloth or cotton swab with isopropyl alcohol and gently wipe the affected areas. Use alcohol sparingly and avoid contact with sensitive electronic components.
Regardless of the cleaning method you choose, it’s important to be gentle and avoid applying excessive force that could potentially damage the filters. Take your time and ensure that every nook and cranny of the filters is thoroughly cleaned.
Tip: If the filters are exceptionally dirty and the dust buildup is stubborn, you may consider rinsing them with water. However, this should only be done if the filters are designed to be washable and you have confirmed this information through the manufacturer or user manual.
Once you have cleaned the case fan filters to your satisfaction, ensure they are thoroughly dry before proceeding to the next step.
Step 6: Reinstalling the Case Fan Filters
After cleaning the case fan filters and ensuring they are completely dry, it’s time to reinstall them back into your computer case. Properly reinstalling the filters ensures that they effectively filter dust and debris while allowing for optimal airflow.
Here’s how to reinstall the case fan filters:
- Align the Filters: Align the filters with their respective slots in the computer case. Ensure that the filters are facing the correct direction, as indicated by arrows or labels on the filters themselves or the case.
- Secure the Filters: Depending on the type of attachment method used, secure the filters back into place. If they are held in by screws or clips, carefully tighten them without overtightening. If the filters are magnetic or slide-out style, gently slide them back into their designated slots.
- Double-Check Alignment: Once the filters are secured, double-check their alignment and ensure that they fit snugly in the slots without any gaps. This ensures that air is forced to pass through the filters rather than bypassing them.
- Confirm Accessibility: Lastly, confirm that the filters can be easily accessed for future cleaning. If necessary, take note of any specific steps or tools required for future removal.
It’s important to take your time and be gentle when reinstalling the case fan filters to avoid any damage to the filters or the computer case. Ensure that they are securely and properly seated to maintain their effectiveness in keeping dust away from your components.
Tip: If you labeled or marked the filters during the removal process, refer to those markings to reinstall each filter in its original location.
Now that the case fan filters are back in place, it’s time to move on to the final step: powering up your computer and testing the fans.
Step 7: Powering Up Your Computer and Testing the Fans
With the case fan filters cleaned and reinstalled, the final step is to power up your computer and ensure that the fans are functioning properly. This will allow you to verify that the cleaning process hasn’t affected the fans’ performance.
Here’s what you need to do:
- Reconnect Power: Plug your computer back into the power source and ensure all connections are secure.
- Power On Your Computer: Press the power button to start your computer as you normally would. Observe the startup process to make sure everything is running smoothly.
- Listen for Fan Operation: Pay close attention to the sound of the fans. They should be running smoothly without any abnormal noise or rattling. If you notice any unusual sounds, it may indicate a problem with the fan or its installation.
- Monitor Temperatures: After your computer has booted up, monitor the temperatures of your components using software monitoring tools or accessing the BIOS. Ensure that the temperatures remain within acceptable ranges and that the cooling performance has improved after cleaning the case fan filters.
If you notice any issues with fan operation or excessive temperatures, it’s recommended to troubleshoot further or seek professional assistance. In some cases, additional cleaning or maintenance may be required to resolve any potential cooling problems.
By performing this final check, you can ensure that the cleaning process of the case fan filters hasn’t caused any adverse effects and that your computer is operating optimally with improved cooling efficiency.
With all the steps completed, you have successfully cleaned and tested your case fan filters, helping to maintain the performance and longevity of your computer system. Congratulations!
Conclusion
Cleaning your case fan filters is a simple yet crucial maintenance task that can significantly improve the performance and lifespan of your computer system. By regularly removing dust and debris from the filters, you can ensure optimal airflow, prevent overheating, and extend the life of your components.
In this guide, we explored the step-by-step process of cleaning your case fan filters. We learned the importance of cleaning these filters to enhance cooling efficiency, prevent overheating, and reduce fan noise. We also discussed the tools needed for the task, such as compressed air, soft brushes, microfiber cloths, and isopropyl alcohol.
The step-by-step instructions covered shutting down and unplugging your computer, locating and removing the case fan filters, inspecting them for dust buildup, cleaning the filters using methods like compressed air and brushes, and reinstalling the filters properly. Finally, we discussed the importance of powering up your computer and testing the fans to ensure they are functioning correctly.
Regularly cleaning your case fan filters should be part of your routine computer maintenance. Aim to clean them every three to six months or more frequently if you have pets or live in a dusty environment. By doing so, you can prevent heat-related issues, reduce noise, and prolong the life of your valuable computer components.
Remember, when performing any maintenance on your computer, always prioritize safety. Shut down and unplug your computer before working on the internal components, and handle the filters and other hardware with care.
Now it’s time to put your newfound knowledge into action and give your case fan filters the attention they deserve. Keep your computer running smoothly and efficiently for years to come!