Introduction
Case fans play a vital role in maintaining the temperature and airflow inside a computer. They ensure that the components stay cool and prevent overheating, which can lead to performance issues or even hardware damage. As an essential component, it’s crucial to regularly test your case fans to ensure they are functioning correctly.
Testing a case fan may sound complicated, but it’s actually a straightforward process that can be done using a few simple techniques. In this article, we will guide you through the steps to effectively test a case fan and determine its performance. By following these steps, you will be able to identify any issues and take the necessary actions to keep your computer running smoothly.
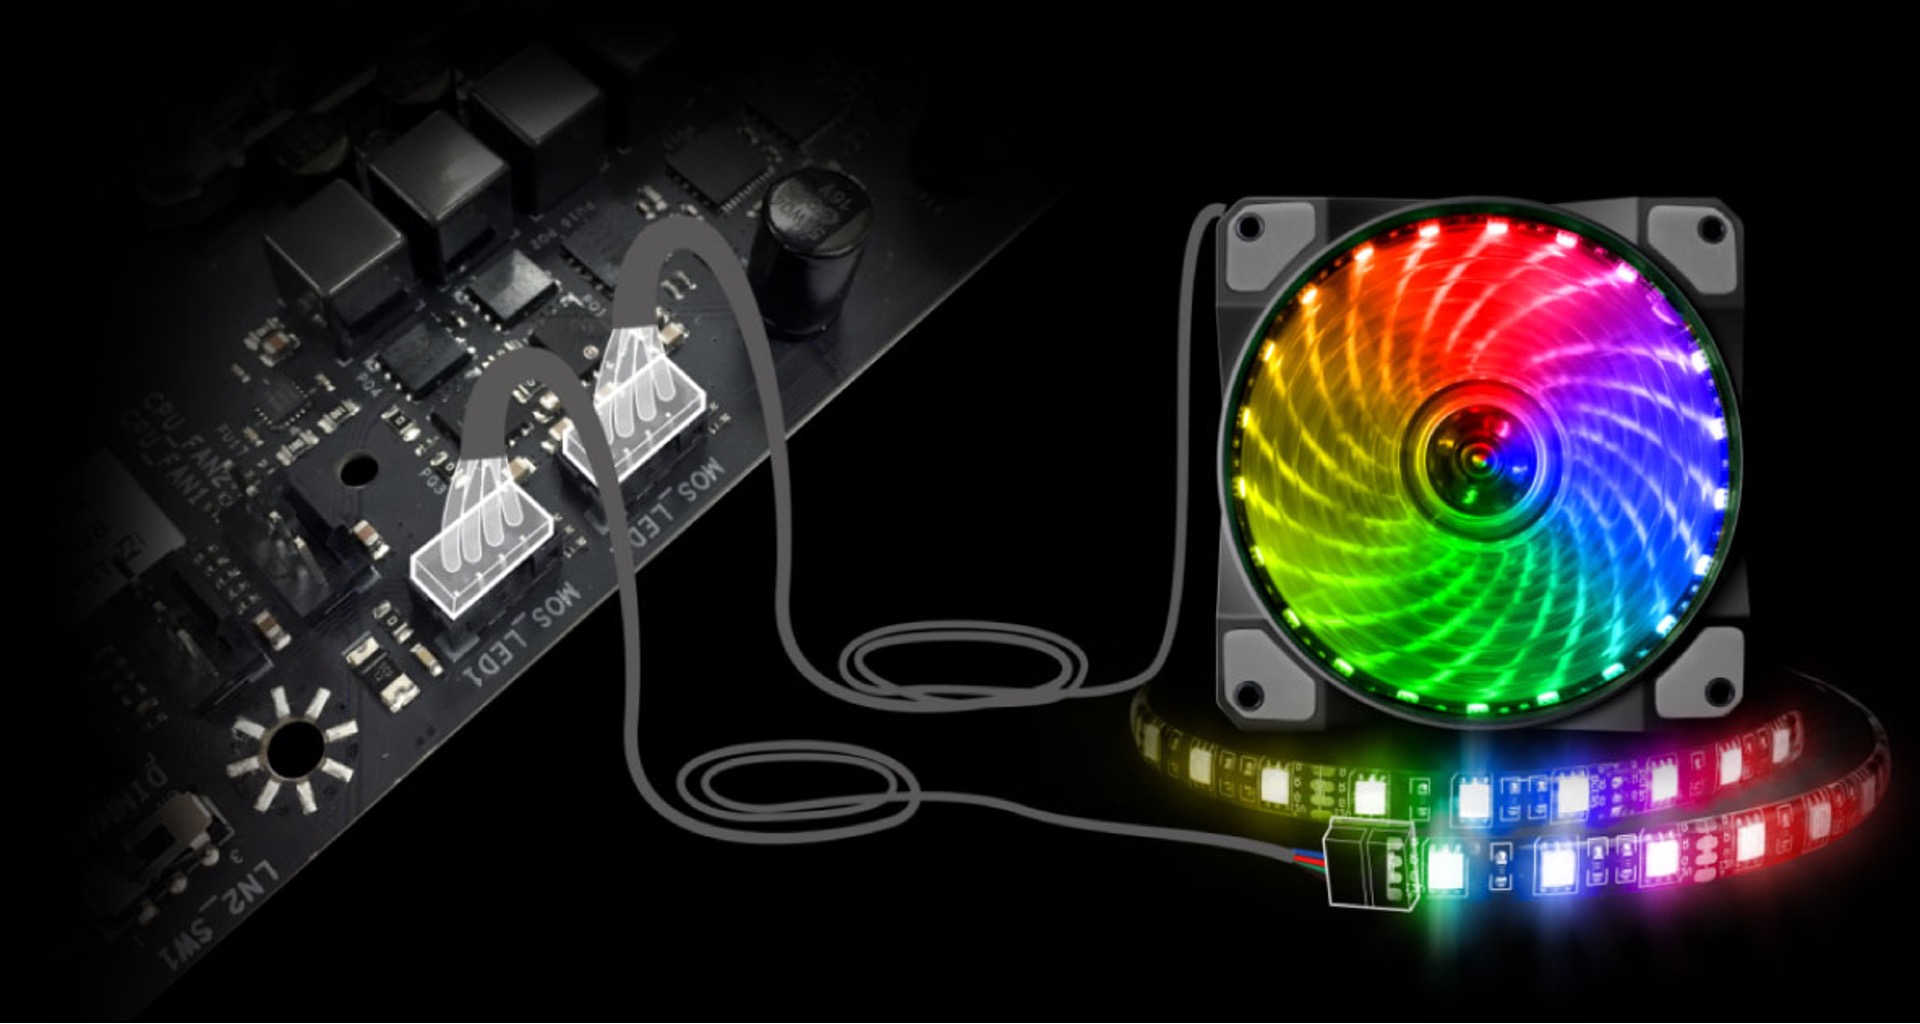
Before we dive into the testing methods, it’s important to note that case fans are typically connected to the motherboard or power supply unit. Different fans may have different power connections, such as a 3-pin connector or a 4-pin connector. Understanding the type of connection your case fan has will help you accurately assess its performance.
In the following sections, we will cover various techniques to test a case fan. These methods will include checking the power connection, running the fan in full speed, observing fan performance, listening for unusual noises, measuring airflow, checking for vibration, and performing necessary cleaning and maintenance tasks. Let’s get started with the first step.
Checking the Power Connection
One of the initial steps in testing a case fan is to ensure that it is properly connected to the power source. A loose or faulty connection can lead to the fan not functioning or running at lower speeds than intended.
To check the power connection, follow these steps:
- Turn off your computer and unplug it from the power source.
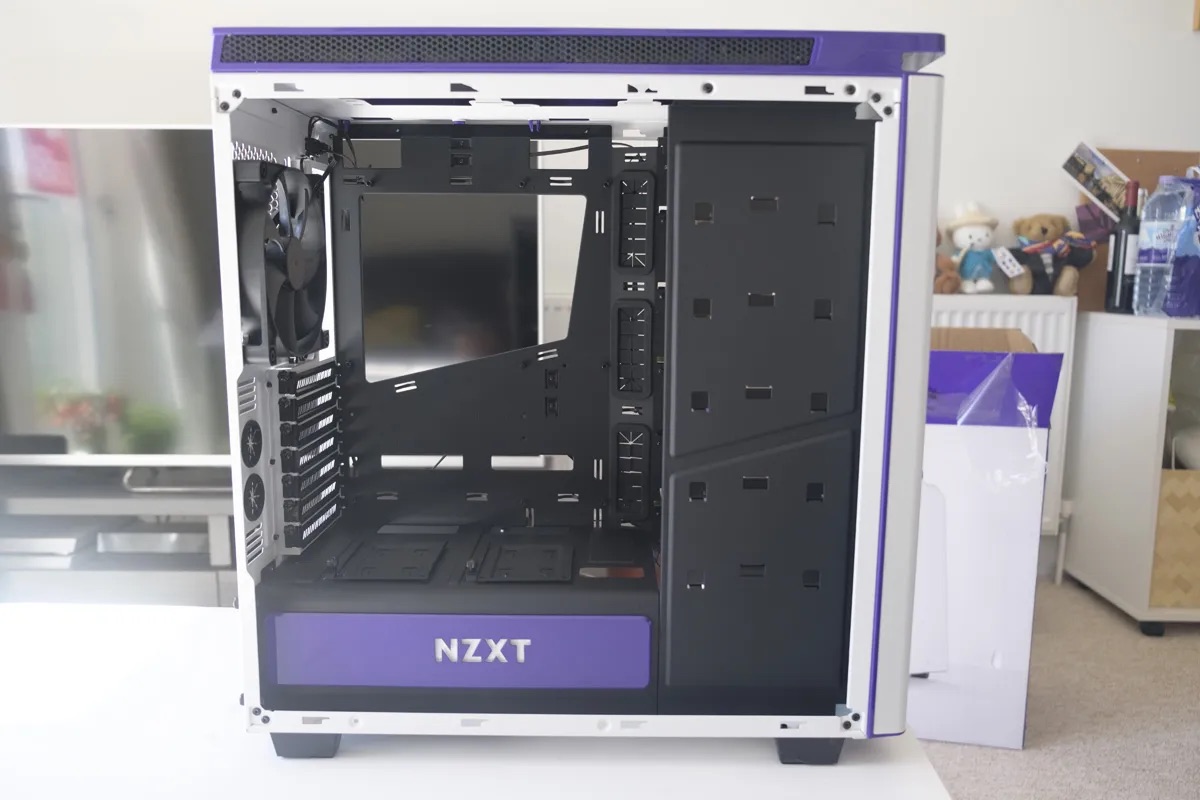
- Open the computer case using the appropriate tools. Different cases may have different mechanisms for accessing the internal components, such as screws or latches.
- Locate the case fan that you wish to test. It is usually located near the front, back, or side of the case. Refer to your computer’s manual if needed.
- Inspect the power connection of the fan. It could be a 3-pin or 4-pin connector, depending on the type of fan.
- Make sure the connection is secure by gently pushing on the connector. It should not wiggle or come loose. If it does, reconnect it properly.
- Repeat the same process for all other case fans that you have.
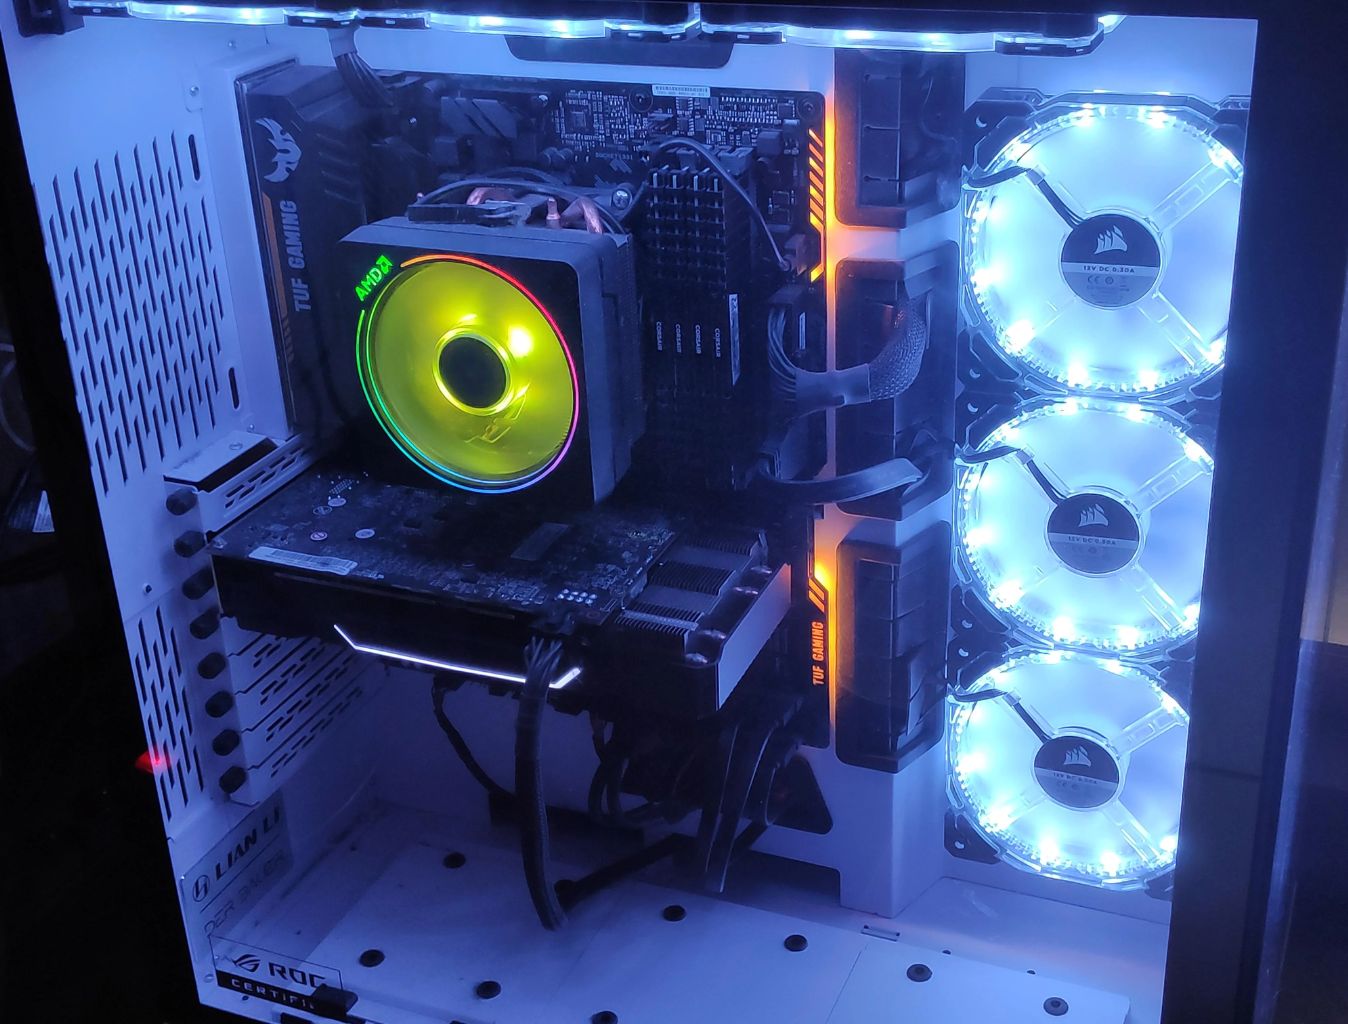
After confirming that the power connection is secure, plug your computer back into the power source and turn it on. Monitor the case fans and check if they are running smoothly. You can visually observe their movement to ensure that they are spinning without any issues.
If the fan fails to start or is running intermittently even after checking the power connection, it might be a sign of a faulty fan or a more significant hardware issue. In such cases, it is recommended to consult a professional or contact the manufacturer for further assistance.
Checking the power connection is the first step in testing a case fan. By ensuring a secure and stable connection, you can eliminate any potential issues that may arise from loose or faulty connections. Let’s move on to the next step: running the fan in full speed.
Running the Fan in Full Speed
After verifying the power connection of your case fan, the next step is to test its performance by running it at full speed. This allows you to assess whether the fan is capable of reaching its maximum rotation speed and if it operates smoothly without any issues.
Follow these steps to run the case fan at full speed:
- Access the fan control options through your computer’s BIOS or a dedicated software utility provided by the motherboard manufacturer. This will allow you to change the fan settings and adjust the speed.
- Select the appropriate fan control option and set it to “Manual” or “Full Speed.” This will ensure that the fan operates at its maximum speed, providing an optimal cooling performance for testing purposes.
- Save the changes and exit the BIOS or close the fan control software.
- Observe the case fan and check if it starts spinning at a higher speed than normal. Listen for any unusual noises, such as grinding or rattling sounds, which could indicate a problem.
- Monitor the fan’s rotation for a few minutes to ensure that it maintains its speed consistently without any fluctuations.
While running the fan at full speed, it’s essential to be cautious and avoid placing any objects near the fan blades. This can prevent potential accidents or damage to the components.
By running the case fan at full speed, you can determine its ability to reach the maximum rotation speed and assess its overall performance. If the fan fails to run at the expected speed, it may be a sign of a faulty motor or other mechanical issues. In such cases, it is recommended to seek professional assistance or contact the manufacturer for further guidance.
Once you have completed this step, you can proceed to the next section and continue testing the case fan’s performance.
Observing Fan Performance
After running the case fan at full speed, the next step in testing is to carefully observe its performance. By doing so, you can assess how effectively the fan is cooling the components inside your computer case and identify any potential issues.
Here are some key aspects to consider when observing the fan’s performance:
- Airflow: Take note of the airflow produced by the fan. It should be directed towards the components that require cooling, such as the CPU or graphics card. Ensure that the airflow is consistent and sufficient to maintain optimal temperatures.
- Heat Dissipation: Monitor the temperature of the components, especially the CPU and GPU, to ensure that the fan is effectively dissipating heat. Use software utilities or hardware monitoring tools to measure temperature levels and compare them to the manufacturer’s recommended specifications.
- Dust Accumulation: Pay attention to any signs of dust accumulation on the fan blades, as this can hinder its performance. Dust buildup can impede airflow and increase temperatures. If you notice significant dust buildup, it’s necessary to clean the fan, as we will discuss later in this article.
- Fan Speed Control: If your case fan supports speed control, experiment with different settings to evaluate the fan’s performance under different conditions. You can adjust the speed and observe how it affects the overall cooling and noise levels.
During the observation process, it’s important to be patient and allow sufficient time for the fan to establish a steady airflow. This will give you a more accurate assessment of its performance.
If you notice any irregularities or abnormalities while observing the fan’s performance, such as inadequate cooling or excessive noise, it may be an indication of a problem. In such cases, you can refer to the next sections to further investigate and troubleshoot any issues that you might encounter.
By carefully observing the fan’s performance, you can gauge its effectiveness in cooling the components inside your computer case. This step is crucial in identifying any potential issues that may impact the overall system performance. Let’s continue with the next section: listening for unusual noises.
Listening for Unusual Noises
When testing a case fan, it is important to listen for any unusual noises that could indicate a problem with the fan’s operation. Unusual sounds can be an early warning sign of issues such as loose bearings, misalignment, or debris interfering with the fan’s rotation. By paying attention to these sounds, you can help diagnose and address any potential issues.
Here are some common noises to listen for:
- Grinding Noise: A grinding noise is often an indication of worn-out or damaged bearings. This sound can be caused by excessive friction within the fan, and it generally signifies that the fan needs to be replaced.
- Rattling Noise: If you hear a rattling noise, it could be an indication of loose fan blades. Check if the blades are securely fastened to the fan hub. If they appear to be loose, tighten the screws or seek professional assistance if needed.
- Clicking or Ticking Noise: Clicking or ticking noises may suggest that there is an obstruction or debris interfering with the fan blades. Carefully inspect the fan and remove any obstructions if present.
- Humming Noise: While a low humming sound is normal for most case fans, an excessively loud humming noise could indicate a problem. This could be caused by excessive friction or a malfunctioning motor. Consider replacing the fan if the noise becomes too loud or intrusive.
Ensure that you listen for these noises in a quiet environment to accurately identify any unusual sounds. If you notice any of these noises during testing, it is recommended to take appropriate action. Depending on the severity of the noise, this may involve fan maintenance, cleaning, or even replacing the fan altogether.
By actively listening for unusual noises, you can detect potential fan issues early on and prevent further damage to your computer components. This step is crucial in ensuring the proper functioning of the case fan and maintaining a quiet and efficient cooling system. In the next section, we will discuss how to measure airflow to further assess the fan’s performance.
Measuring Airflow
Measuring the airflow of a case fan is an important step in testing its performance. By determining the airflow, you can assess how effectively the fan is moving air through your computer case and ensuring optimal cooling for your components.
Here are a few methods to measure the airflow:
- Hand Test: The simplest method is the hand test. Hold your hand in front of the fan at a reasonable distance and feel for the airflow. You should be able to feel a noticeable stream of air. This method provides a rough estimate of the airflow but is not precise or quantitative.
- Smoke Test: Another method is to use smoke to visualize the airflow. Light a small piece of incense or a match and bring it close to the fan. Observe how the smoke is being drawn in or pushed away by the fan’s airflow. This method provides a visual reference for airflow direction and strength.
- Anemometer: For more accurate measurements, you can use an anemometer, which is a device specifically designed to measure airflow. Place the anemometer in front of the fan and note the numerical reading displayed on the device. This method provides precise airflow measurements in cubic feet per minute (CFM) or cubic meters per hour (CMH).
When measuring airflow, it’s important to consider the fan’s speed setting. Adjust the fan speed to different levels and note the corresponding airflow readings. This allows you to assess how different fan settings influence the cooling performance and determine the optimal speed for your needs.
By measuring the airflow, you can evaluate the efficiency of your case fan and ensure that it provides adequate cooling for your computer components. This step helps in determining if the fan is operating at its expected performance levels. In the next section, we will discuss checking for vibrations, as excessive vibrations can indicate potential issues with the fan.
Checking for Vibration
When testing a case fan, it is essential to check for any vibrations that may occur during its operation. Excessive vibrations can lead to various issues, including noise, reduced fan lifespan, and potential damage to other components. Therefore, it is important to ensure that the fan operates smoothly without causing any disruptive vibrations.
Here’s how you can check for vibrations:
- Visually Inspect the Fan: Start by visually inspecting the fan while it is running. Look for any visible signs of wobbling or irregular movement. Check if the fan blades appear balanced and evenly spaced. If you notice any significant imbalances or irregularities, it might indicate a problem.
- Physical Contact: Gently touch the fan casing or hold it lightly with your fingers while it is running. Feel for any excessive vibration. Ideally, the fan should have minimal vibration or should feel stable during its operation.
- Secure Mounting: Ensure that the case fan is securely mounted to its designated position inside the computer case. Loose or improper mounting can cause vibrations. Verify that all screws or fasteners holding the fan in place are tightened properly.
- Shock Absorption: If necessary, consider using rubber or silicone mounting screws or fan mounts to help absorb vibrations. These specialized mounts can reduce the transmission of vibrations to the computer case, resulting in a quieter and more stable operation.
If you notice excessive vibrations or any irregularities during the testing process, it is recommended to address the issue promptly. You can try reseating or remounting the fan to ensure a secure connection. If the vibrations persist, it may indicate a problem with the fan itself, such as an unbalanced blade or a faulty motor. In such cases, it may be necessary to replace the fan to maintain optimal performance.
Checking for vibrations is an important step in testing a case fan, as it helps ensure that the fan operates smoothly and does not cause any disruptive effects. By addressing any vibration-related issues, you can maintain a quiet and stable computer system. In the next section, we will discuss the cleaning and maintenance of case fans to optimize their performance.
Cleaning and Maintenance
Cleaning and maintaining your case fans is crucial to ensure their optimal performance and longevity. Over time, dust, dirt, and debris can accumulate on the fan blades and hinder airflow, leading to increased temperatures and reduced cooling efficiency. Regular cleaning and maintenance can help prevent these issues and keep your case fans running smoothly.
Here are some steps to clean and maintain your case fans:
- Turn Off Your Computer: Before starting any cleaning or maintenance procedures, make sure to turn off your computer and unplug it from the power source. This will ensure your safety during the process.
- Open the Computer Case: Use the appropriate tools to open your computer case. Refer to the manufacturer’s instructions or consult online resources for guidance on how to open your specific case model.
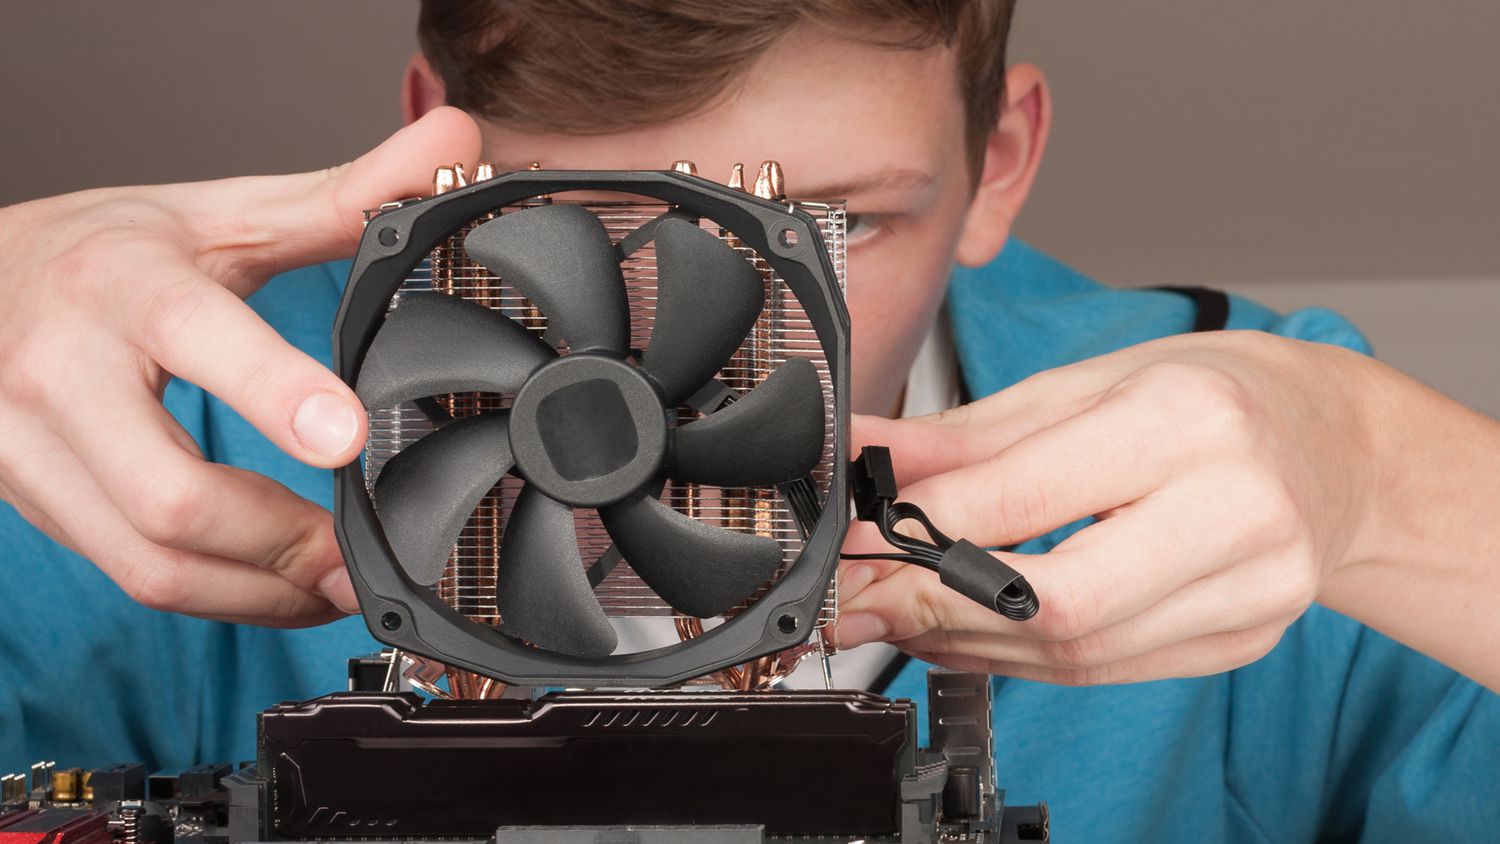
- Remove the Case Fans: Locate and remove the case fans that require cleaning. Disconnect any power or data cables attached to the fans and carefully remove them from their mounting positions.
- Clean the Fan Blades: Use a soft brush or compressed air to gently remove dust and debris from the fan blades. Be thorough but cautious to avoid exerting excessive force on the blades, which could cause damage.
- Clean the Fan Housing: Clean the fan housing or casing using a soft cloth or a small brush to remove any accumulated dust or dirt. Pay attention to the crevices and corners where dust can accumulate.
- Reassemble and Test: Once the fans and fan housing are clean, reassemble them in their original positions and reconnect any cables. Close the computer case and plug it back into the power source. Turn on your computer and monitor the fan’s performance to ensure it is operating smoothly.
It is recommended to clean your case fans at regular intervals, depending on your computer usage and the environment in which your computer is located. As a general guideline, cleaning the fans every 3 to 6 months should suffice for most users. However, if you notice a significant accumulation of dust or a decline in cooling efficiency, more frequent cleaning might be necessary.
In addition to regular cleaning, it is also important to perform general computer maintenance practices, such as keeping the surrounding area clean, ensuring proper ventilation, and regularly checking for any loose connections or damaged components.
Cleaning and maintaining your case fans not only helps improve their cooling performance but also extends their lifespan. By preventing dust buildup and ensuring proper airflow, you can maintain a cooler and more efficient computer system. In the final section, we will summarize the key points discussed in this article.
Conclusion
Testing your case fans is essential to ensure the proper functioning and optimal performance of your computer. By following the steps outlined in this article, you can effectively test your case fans and identify any issues that may arise. Checking the power connection, running the fan at full speed, observing its performance, listening for unusual noises, measuring airflow, checking for vibrations, and performing regular cleaning and maintenance are all important aspects of testing case fans.
By verifying the power connection, you can ensure a stable and secure connection for reliable operation. Running the fan at full speed allows you to assess its maximum rotation speed and overall performance. Observing the fan performance helps identify whether it is cooling the components effectively. Listening for any unusual noises can indicate potential issues that require attention. Measuring the airflow provides insight into the fan’s effectiveness in dissipating heat. Checking for vibrations helps ensure a smooth and stable operation, preventing any damage to the components. Regular cleaning and maintenance keep your case fans free from dust and debris and extend their lifespan.
Remember, case fans play a crucial role in maintaining a cool and efficient computer system. By testing and maintaining them regularly, you can prevent overheating, improve performance, and prolong the lifespan of your components.
We hope that this guide has equipped you with the knowledge and steps needed to test your case fans effectively. By implementing these practices, you can ensure reliable and optimal cooling for your computer and enjoy a stable and efficient computing experience.