Introduction
Welcome to the world of customizable PC aesthetics! One of the simplest and most effective ways to add a personal touch to your computer setup is by changing the colors of your case fans. Case fans not only provide essential cooling to your components but can also serve as a statement piece to showcase your unique style and creativity.
Whether you’re a hardcore gamer, a computer enthusiast, or simply looking to revamp your computer’s appearance, this guide will walk you through the process of changing case fan colors. In a few easy steps, you’ll be able to transform the look of your PC and make it stand out from the crowd.
Before we dive into the details, it’s important to note that different case fans may have varying methods of color customization. Some fans come with built-in RGB (Red, Green, Blue) LEDs, allowing you to choose from a vast spectrum of colors. Others may require separate LED strips or lighting accessories to achieve the desired color effects. Regardless of the method, the principles of changing case fan colors remain relatively consistent.
So, if you’re ready to give your computer an exciting makeover, let’s explore the world of case fan customization and learn how to elevate your PC’s aesthetics to a whole new level!
What is a case fan?
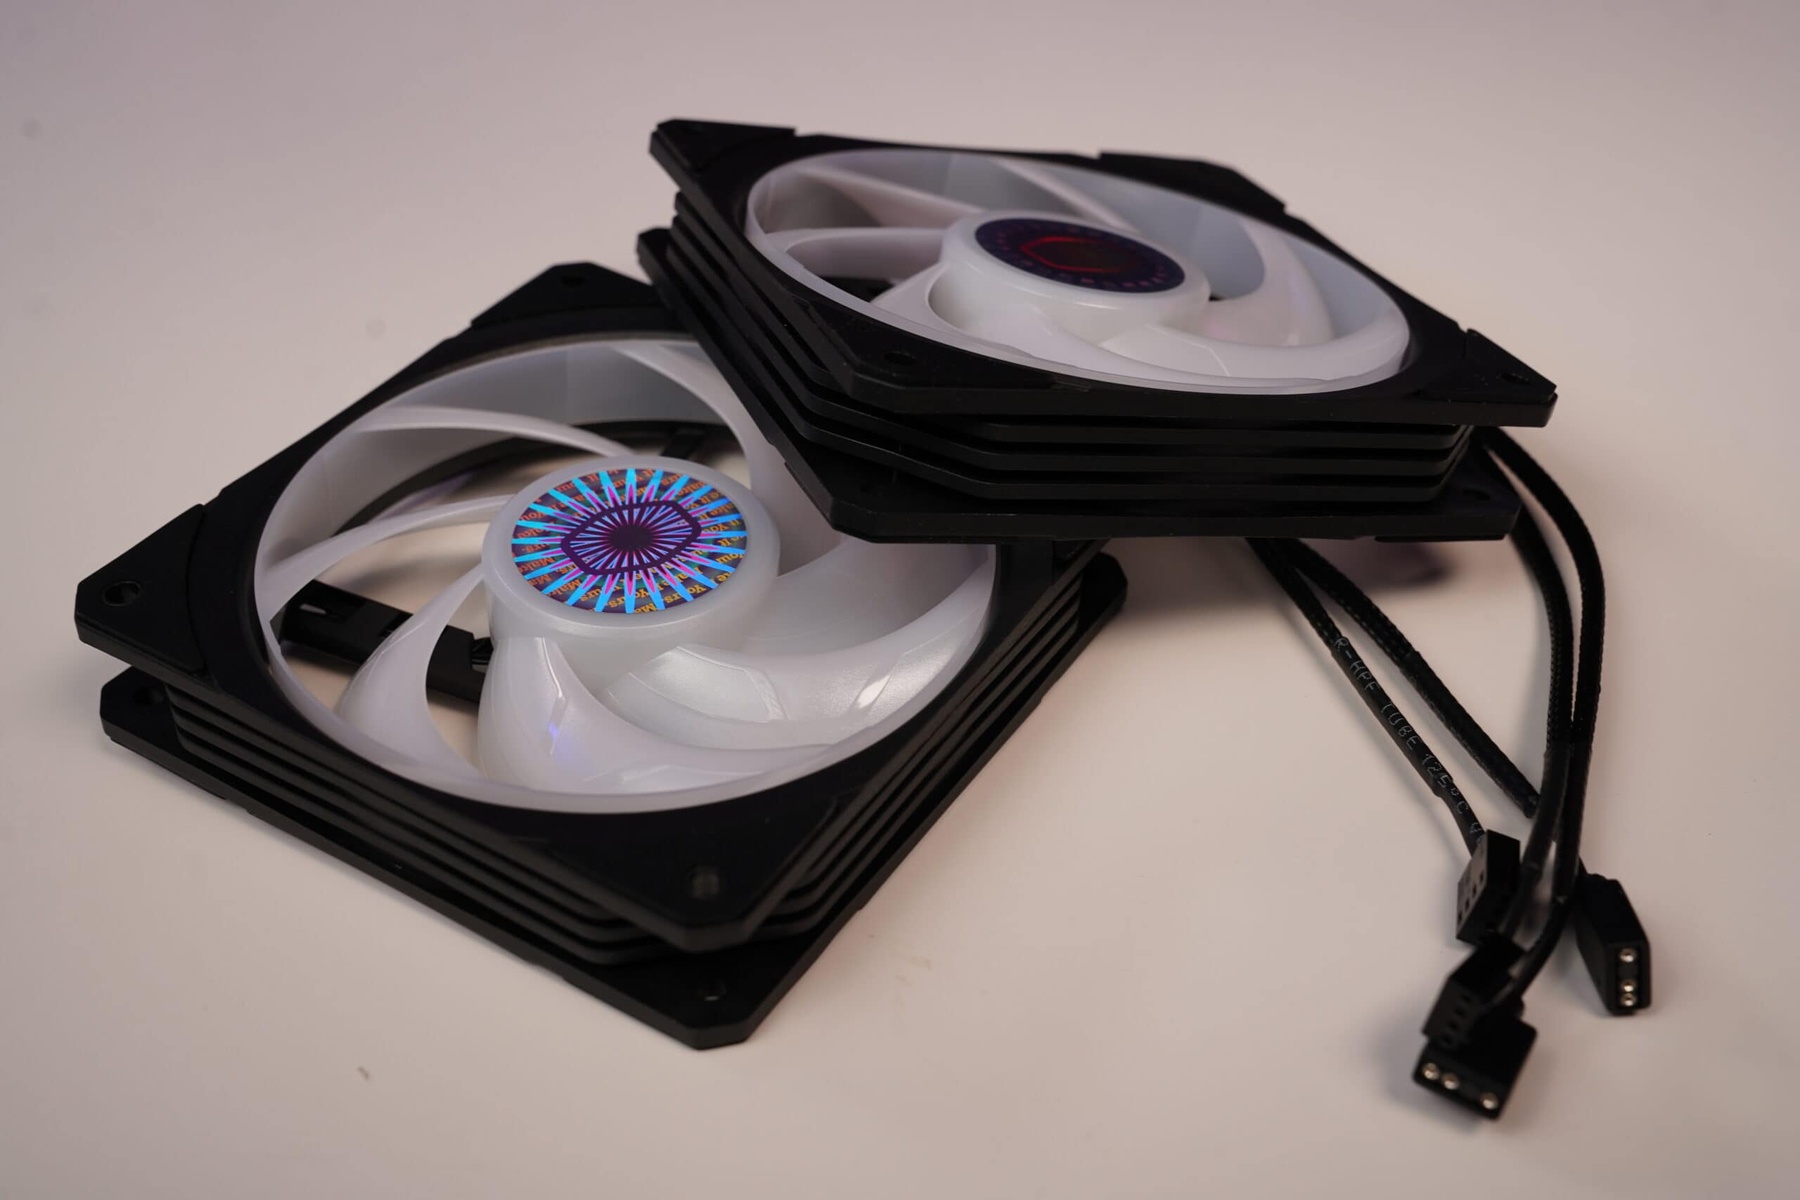
A case fan, also known as a computer fan or cooling fan, is a crucial component in any computer system. Its primary function is to circulate the air inside the computer case, keeping the components cool and preventing overheating. Case fans are typically installed in strategic locations within the computer case to facilitate proper airflow.
Modern computer components, such as the CPU (Central Processing Unit) and GPU (Graphics Processing Unit), generate a significant amount of heat while running intensive tasks. If not adequately cooled, these components can reach high temperatures, leading to performance degradation or even hardware failure. This is where case fans come into play.
Case fans work by rotating their blades, creating airflow that moves the heated air away from critical components and expels it out of the case. This continuous exchange of cooler air from the surroundings helps maintain an optimal operating temperature for the components, ensuring their longevity and performance.
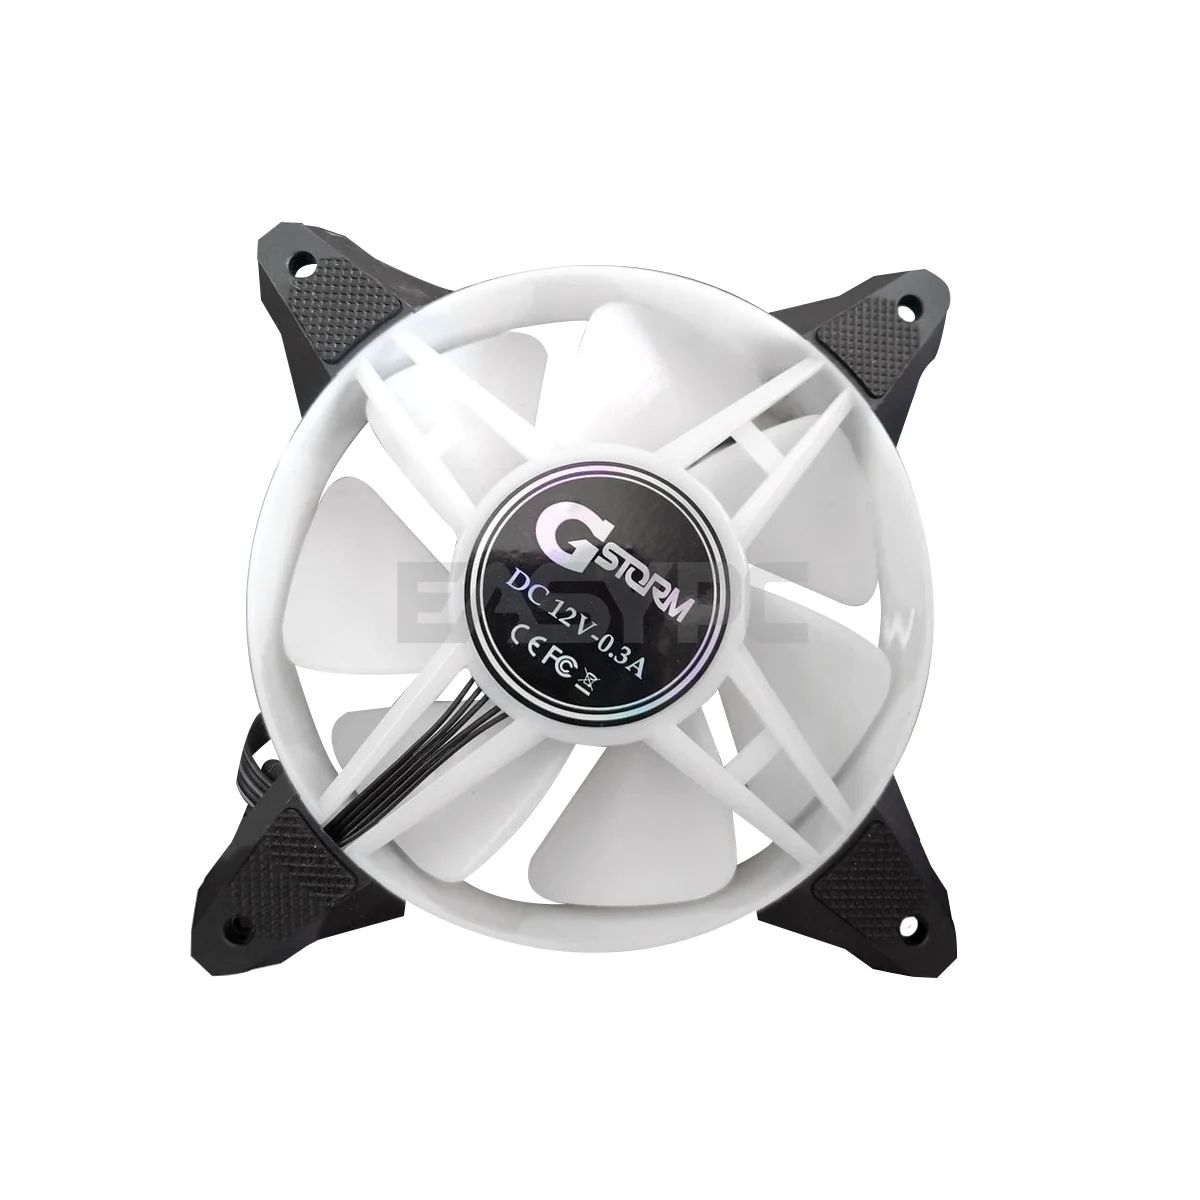
Case fans come in various sizes, with 120mm and 140mm being the most common. They are usually square or rectangular-shaped and can be mounted either on the front, rear, or side panels of the computer case. Some cases also feature additional fan mounting points on the top or bottom for optimal cooling.
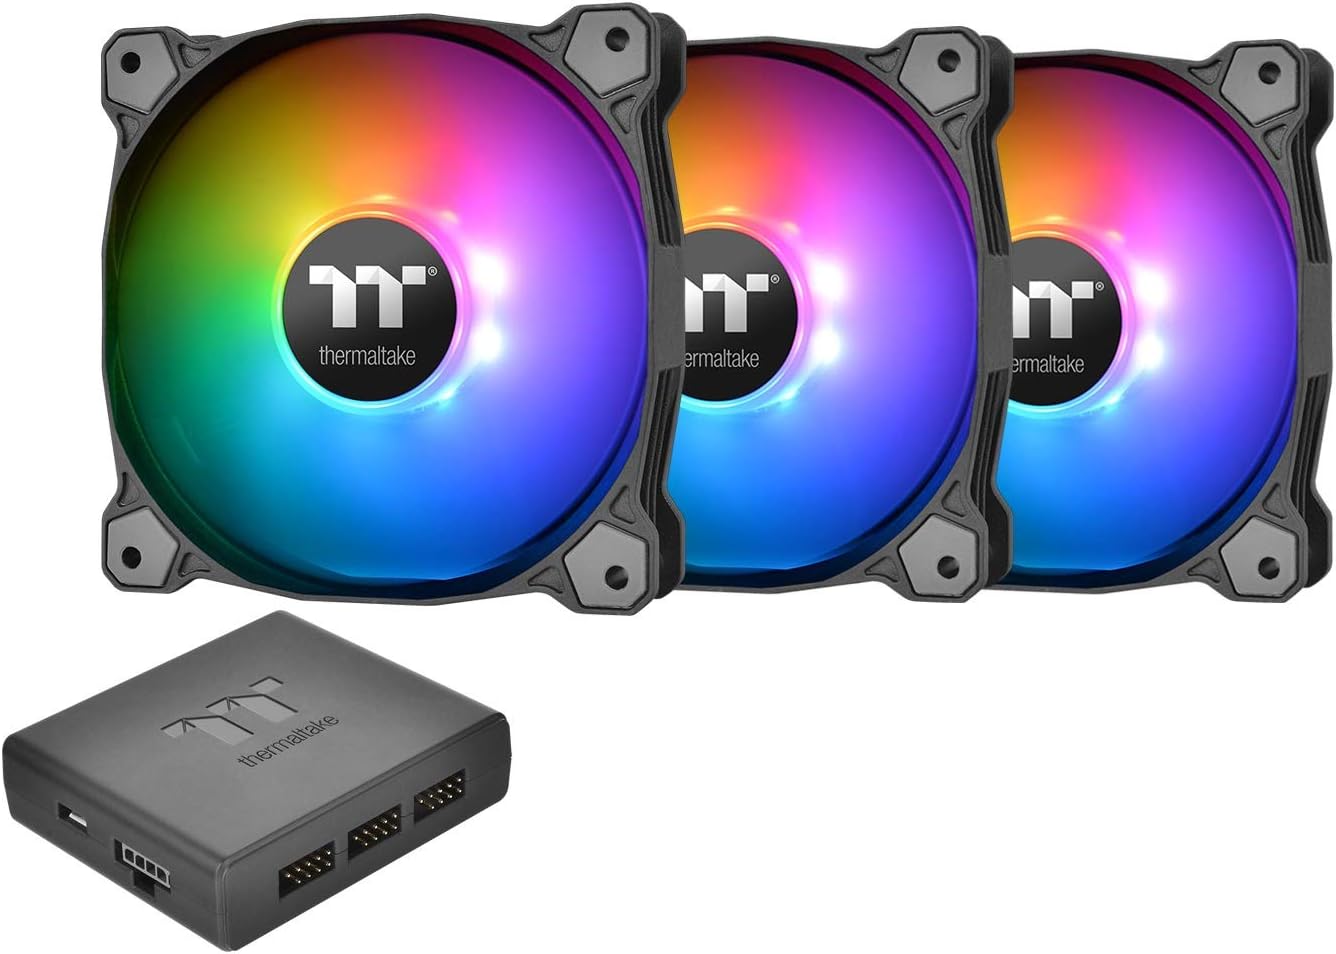
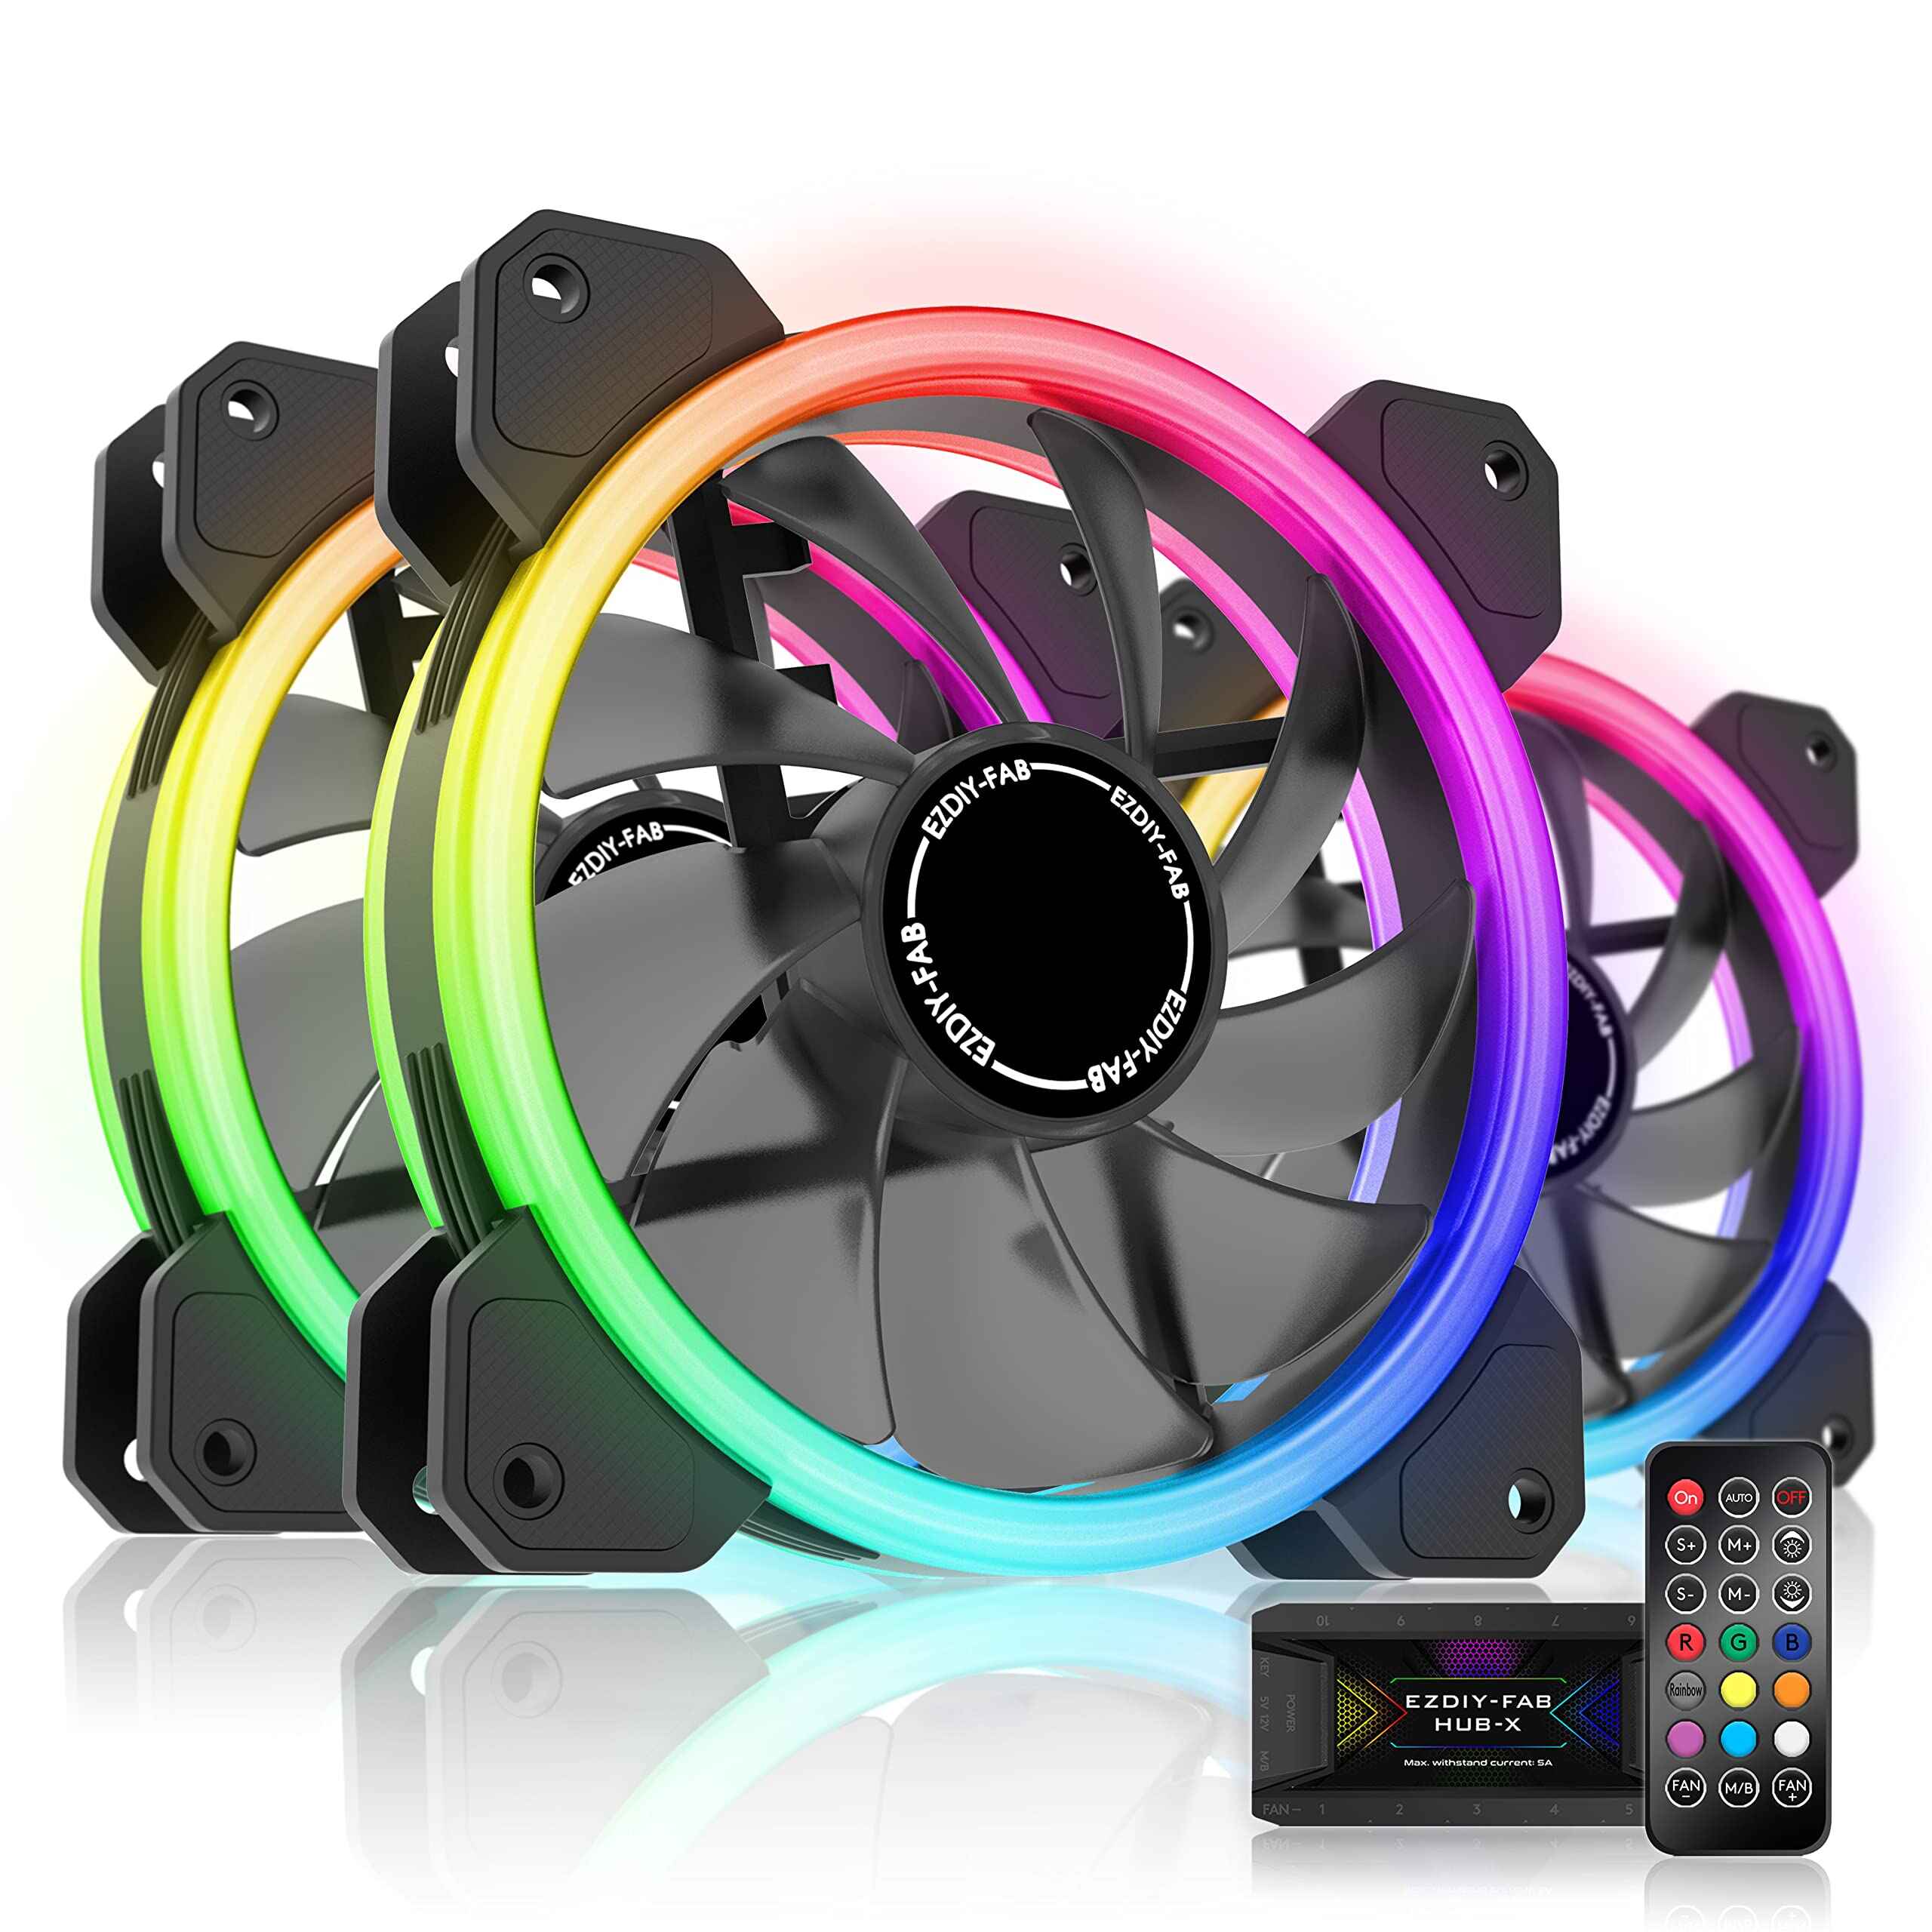
In addition to cooling, case fans can also contribute to the overall aesthetics of a computer setup. Many fans incorporate LED lighting, allowing users to customize the colors and effects to match their desired theme or mood. These RGB (Red, Green, Blue) fans can create stunning visual displays, enhancing the visual appeal of the computer case.
Now that we’ve established what case fans are and their importance in computer systems, let’s explore why you might want to change their colors to add a personal touch to your setup.
Why change case fan colors?
Changing case fan colors offers several advantages and can significantly enhance the overall aesthetics of your computer setup. Here are a few reasons why you might want to consider changing the colors of your case fans:
Personalization: Customizing the colors of your case fans allows you to express your individuality and showcase your personal style. Whether you prefer vibrant and eye-catching colors or a more subtle and minimalist look, changing the fan colors enables you to create a computer setup that reflects your unique personality.
Theme and Coordination: Changing case fan colors can help you create a cohesive and visually appealing theme for your computer setup. By selecting colors that complement each other, you can establish a consistent look throughout your PC. Whether you’re going for a futuristic sci-fi theme or a sleek and elegant design, matching fan colors can tie everything together for a harmonious aesthetic.
Ambiance and Mood: The colors of your case fans can contribute to the overall ambiance and mood of your computer area. Imagine having a calming blue glow during late-night gaming sessions or a pulsating RGB display that syncs with your favorite music. Changing fan colors gives you the ability to create a captivating and immersive environment that enhances your overall computing experience.
Showcasing Hardware: If you’ve invested in high-end or visually striking hardware components, changing the case fan colors can help showcase them. By selecting fan colors that complement or contrast with your hardware’s design, you can draw attention to the standout features of your computer and make them the focal point of your setup.
Flexibility and Upgrades: Changing case fan colors offers flexibility when it comes to upgrading or changing other components of your computer. If you decide to upgrade your CPU cooler or add a new graphics card, you can easily adjust the fan colors to match the new components. This flexibility allows you to maintain a cohesive look and adapt your setup as needed.
Now that we understand the benefits of changing case fan colors, let’s move on to the tools and materials you’ll need to get started with the customization process.
Tools and Materials Needed
Before diving into the process of changing case fan colors, it’s essential to gather the necessary tools and materials to ensure a smooth and successful customization. Here’s a list of what you’ll need:
1. Screwdriver: A screwdriver, preferably a magnetic one, will be required to remove and install the case fans. The size of the screwdriver will depend on the type of screws used in your computer case.
2. Replacement Case Fans: To change the colors of your case fans, you’ll need new fans with the desired color scheme. Make sure to choose fans that are compatible with your computer’s fan mounts and have the necessary connector type (e.g., 3-pin or 4-pin) for your motherboard.
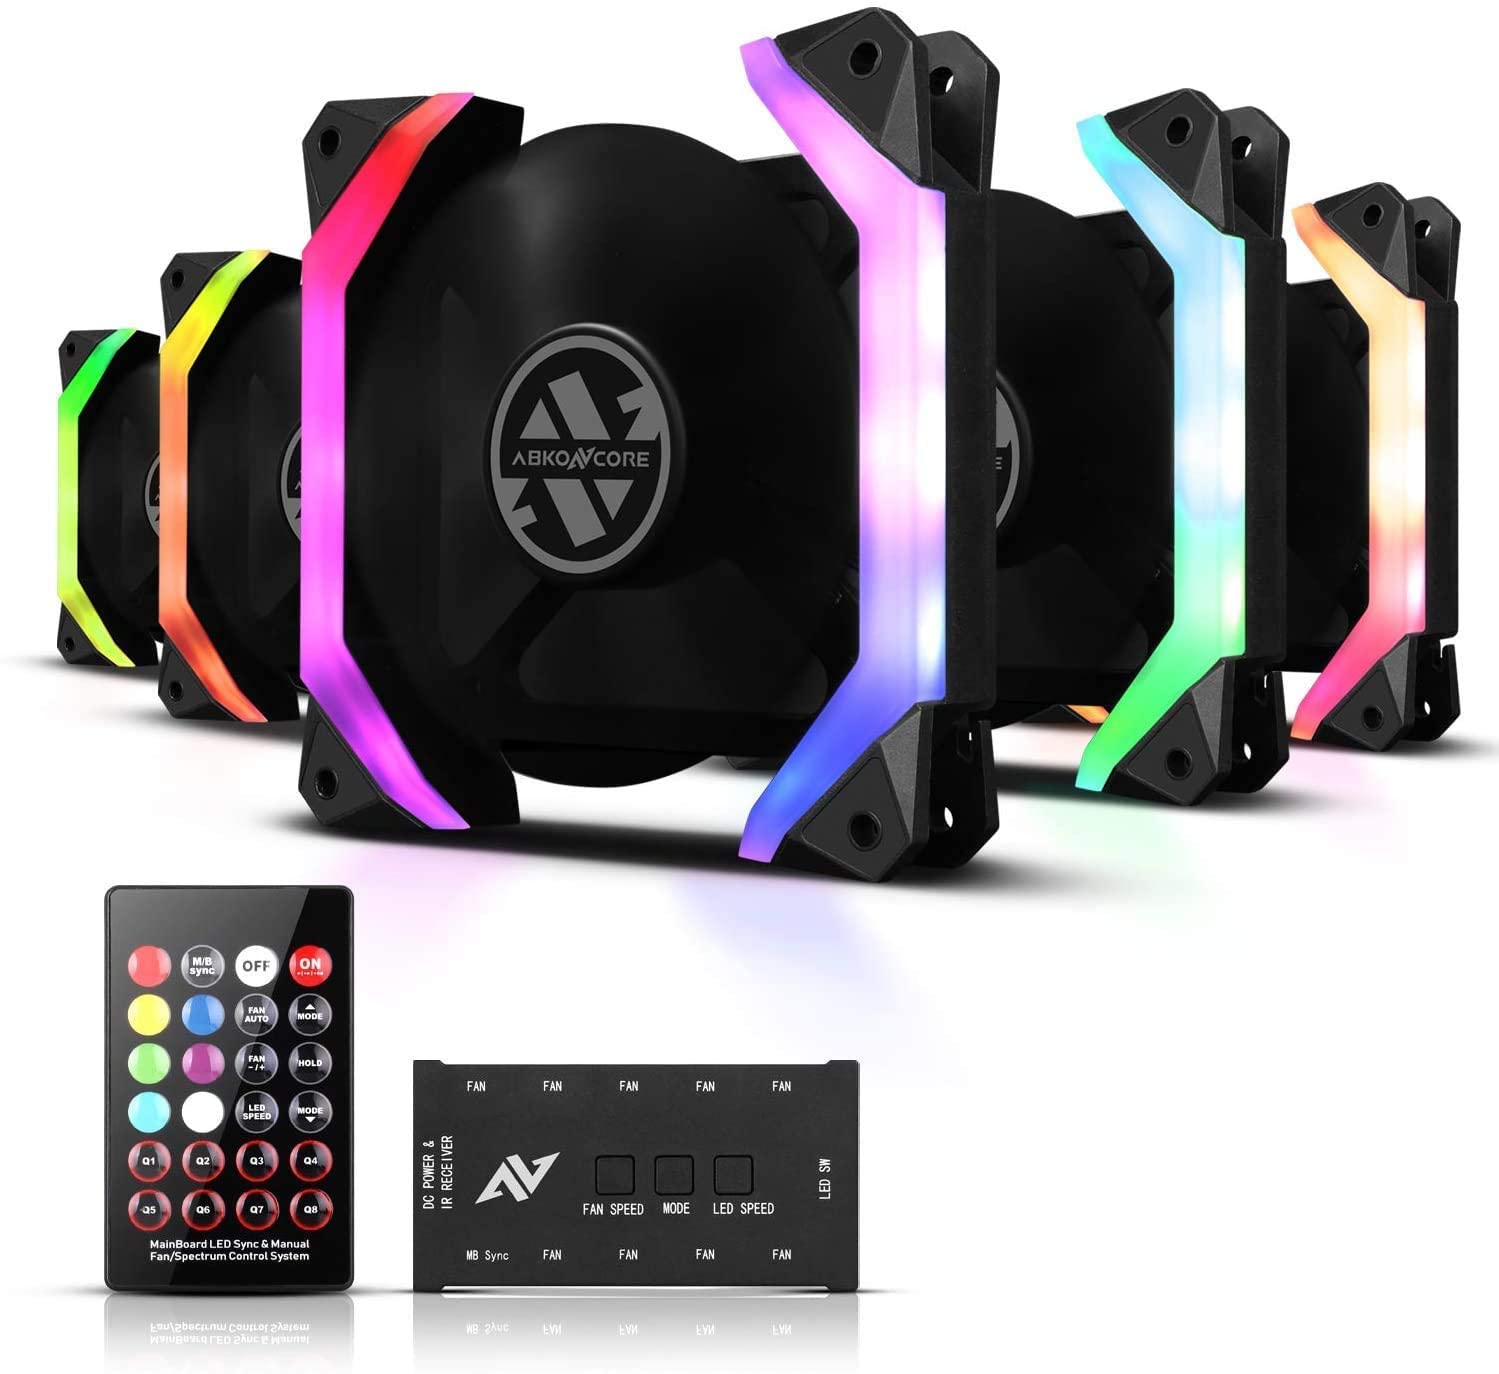
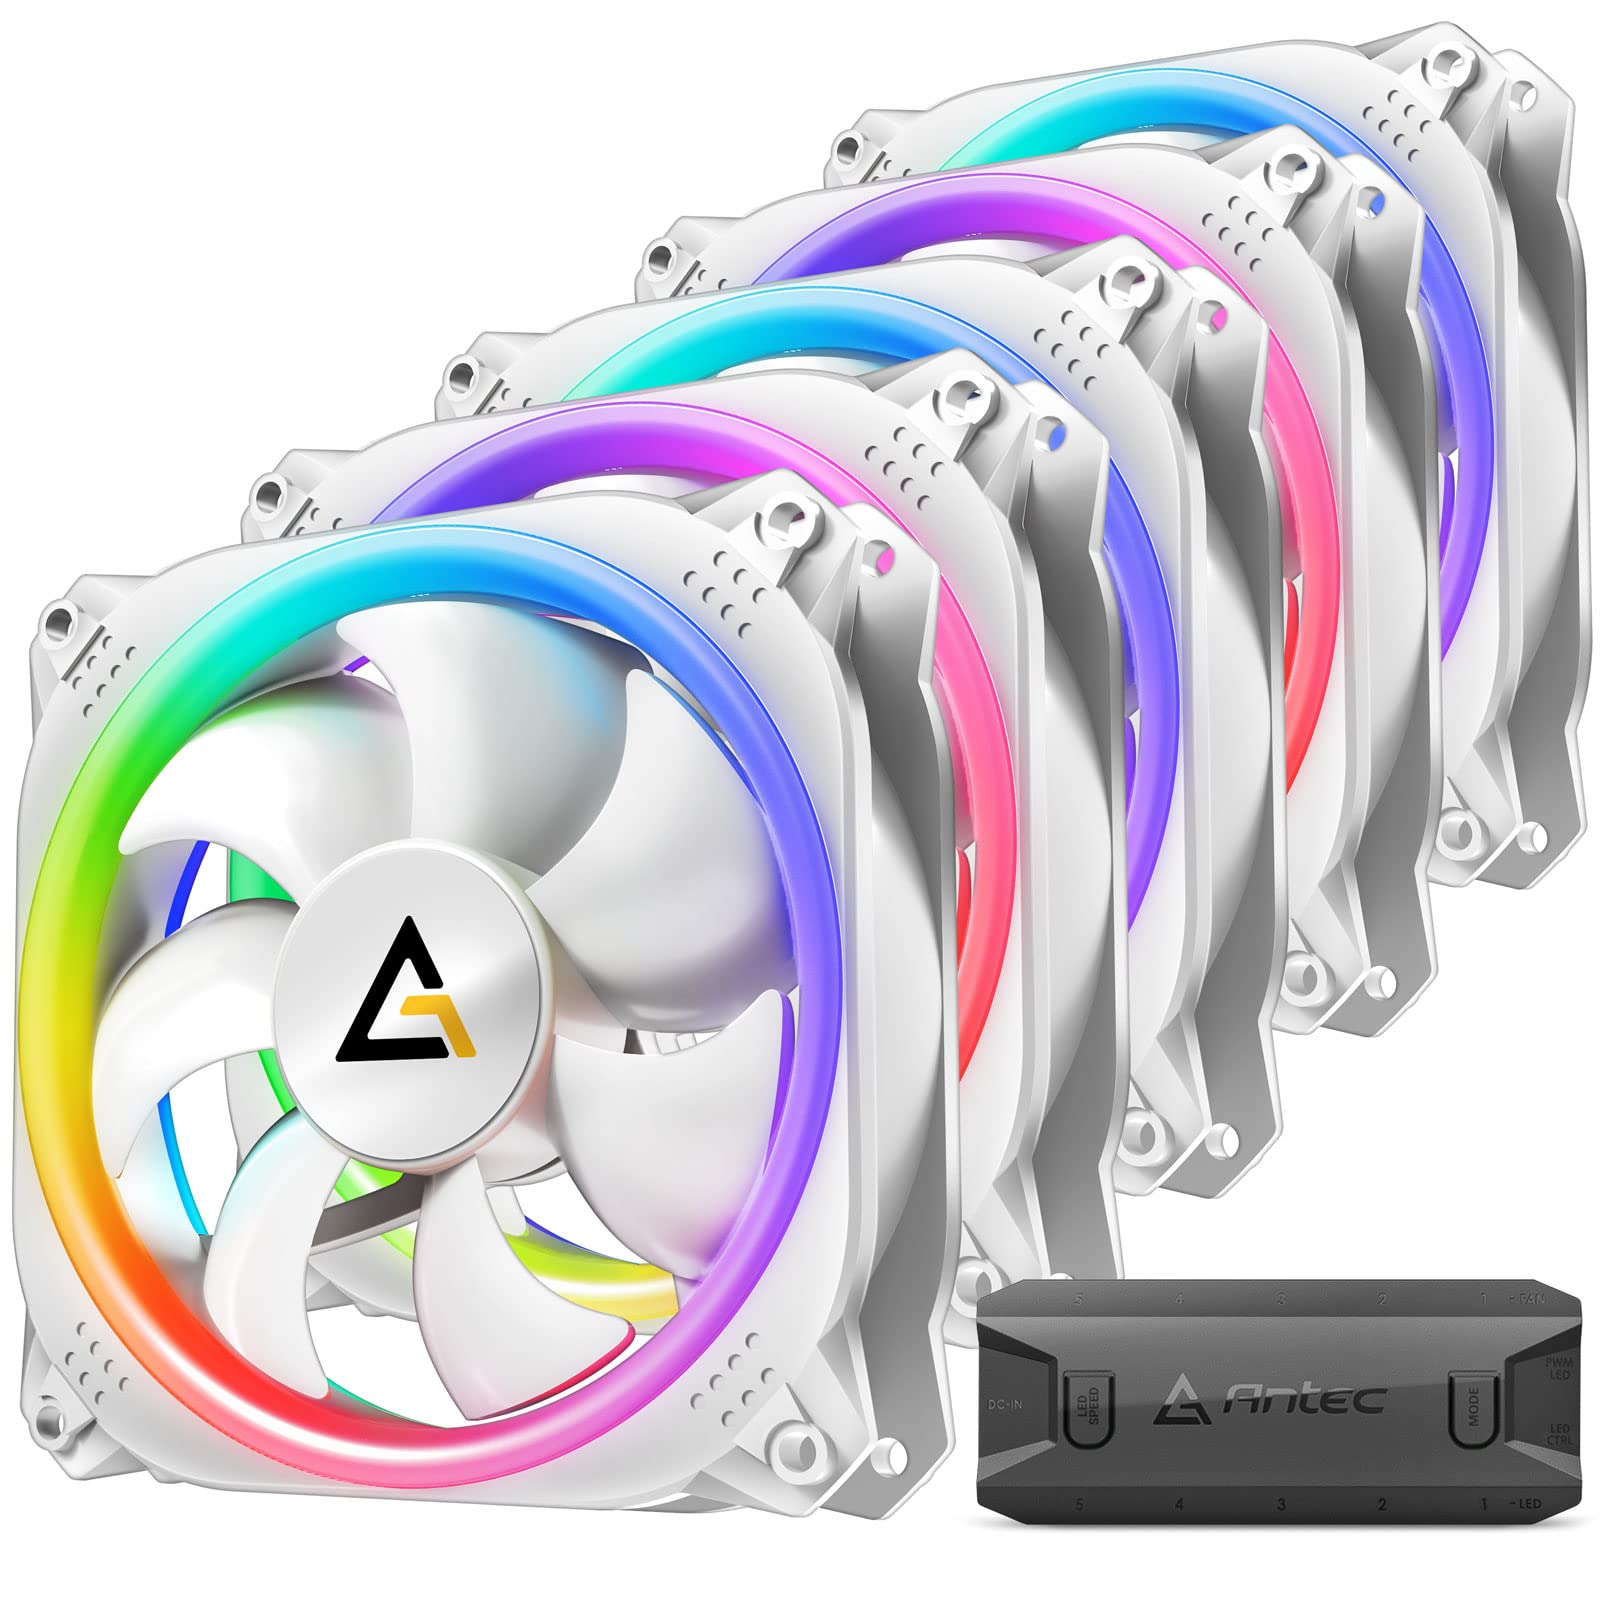
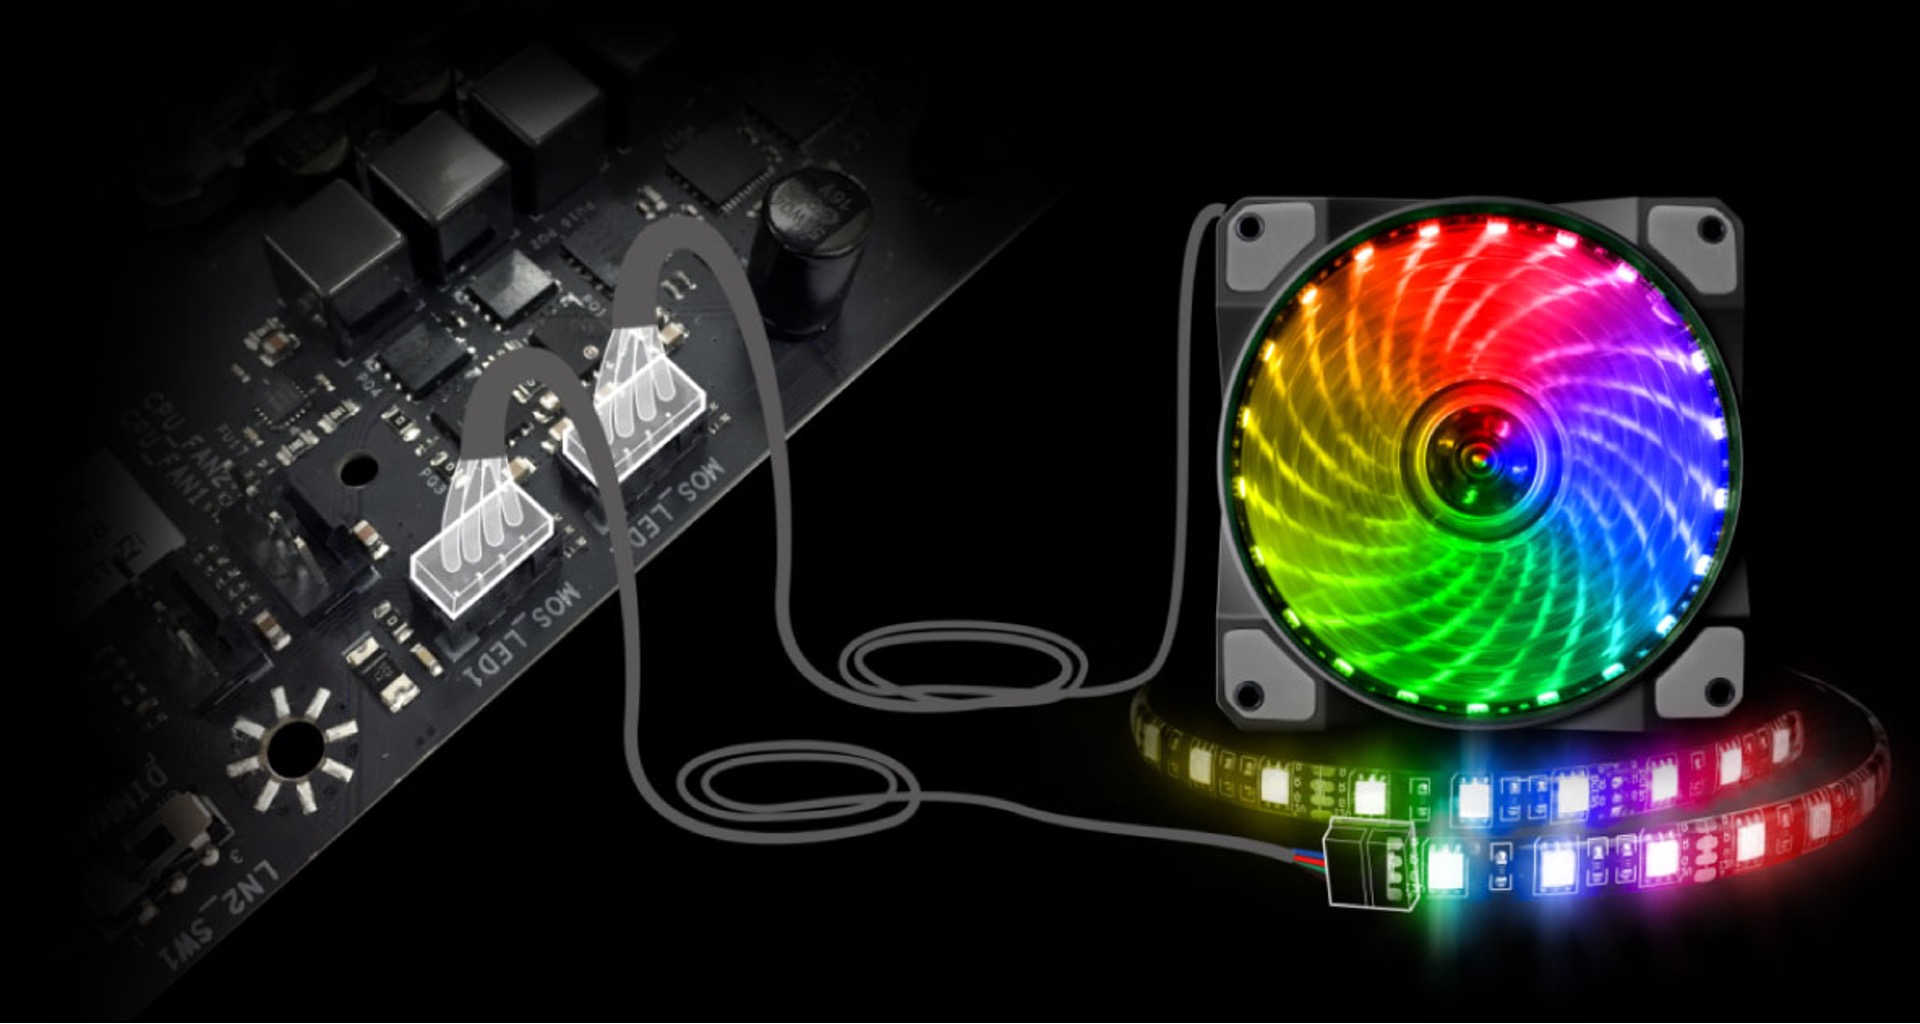
3. LED Lighting Accessories: If you already have case fans with built-in RGB lighting, you may not need separate LED lighting accessories. However, if your existing fans do not have RGB lighting or you want to enhance the lighting effects, you may need LED strips, lighting controllers, or RGB fan hub kits.
4. Thermal Paste: If you’re planning to reseat your CPU cooler or any other components that require thermal paste, make sure you have some thermal paste on hand. This is not always necessary for changing case fan colors but can be useful if you’re also performing other modifications.
5. Cable Management Tools: For a clean and organized look, cable management tools such as cable ties, velcro straps, or cable clips can help keep the fan cables and other wires neatly organized inside your computer case.
6. Anti-Static Wrist Strap (Optional): While not essential, an anti-static wrist strap can help protect your computer’s sensitive components from static electricity discharge during the installation process. If you have one, it’s recommended to use it, especially if you’re inexperienced with computer hardware installation.
7. Cleaning Supplies: Before installing the new case fans, it’s a good idea to clean the inside of your computer case to remove any dust or debris. You may need some compressed air, a soft brush, and lint-free cloths for this task.
With these tools and materials at your disposal, you’re well-prepared to embark on the journey of changing your case fan colors. In the next section, we’ll go through the step-by-step process of removing the old case fans.
Step 1: Remove the old case fan
Before you can install the new case fans, you’ll need to remove the existing ones from your computer case. Follow these steps to safely remove the old case fans:
- Power Off and Unplug: Shut down your computer and unplug it from the power source. This will ensure your safety and minimize the risk of damaging any components.
- Open the Computer Case: Remove the side panel of your computer case. The method for opening the case may vary depending on the model, but it usually involves removing a few screws from the back panel or sliding a latch to release the side panel.
- Identify the Case Fans: Locate the case fans inside your computer case. They are usually mounted on the front, rear, or side panels of the case. In some cases, there may be additional fans mounted on the top or bottom as well.
- Disconnect Power and Control Cables: Each case fan will have power and control cables connected to it. Carefully unplug these cables from the motherboard or any fan controllers they may be connected to. Take note of the cable connections and positions to ensure proper reinstallation later on.
- Remove the Mounting Screws: Most case fans are secured to the case by screws. Use a screwdriver to remove the mounting screws one by one. Keep the screws in a safe place, as you may need them later.
- Gently Remove the Case Fan: Once the screws are removed, gently pull the case fan away from its mounting position. Be careful not to apply excessive force, as this may damage the fan or other components.
- Repeat the Process for Additional Fans: If you have multiple case fans to remove, repeat the above steps for each fan until all the old case fans have been successfully removed.
With the old case fans removed, you’re now ready to move on to the next step: choosing the new case fan color that will elevate the look of your computer setup.
Step 2: Choose the new case fan color
Choosing the right color for your new case fans is an exciting part of the customization process. It allows you to unleash your creativity and create a visually stunning computer setup. Here are some factors to consider when selecting the new case fan color:
- Overall Theme: Think about the overall theme or aesthetic you want to achieve for your computer setup. Do you prefer a vibrant and colorful look, or a more minimalist and sleek design? Consider the colors that will best match your desired theme.
- Component Colors: Take into account the colors of other components in your computer. Look at your motherboard, graphics card, CPU cooler, RAM modules, and any other visible parts. Choose a fan color that either matches or complements these existing component colors.
- Lighting Effects: If you have other RGB components or lighting accessories in your setup, consider how the new case fan color will interact with them. Think about the lighting effects you want to create and how the fan color will contribute to those effects.
- Personal Preferences: Ultimately, the choice of fan color should reflect your personal preferences and style. Consider the colors that resonate with you and make you feel excited about your computer setup.
- Contrast and Balance: Think about creating a visually balanced look by incorporating colors that provide contrast and harmony. Combining complementary colors can add depth and visual interest to your computer case.
Once you’ve considered these factors, explore the available options and choose the case fan color that best aligns with your vision. Keep in mind that some fans offer customizable RGB lighting, allowing you to select a wide range of colors and effects. Others may come in specific colors, so make sure to check the specifications before making your purchase.
By carefully selecting the new case fan color, you’ll be one step closer to transforming the appearance of your computer and creating a setup that reflects your personal style. In the next step, we’ll guide you through purchasing the new case fans.
Step 3: Purchase the new case fan
Now that you’ve decided on the color for your new case fans, it’s time to find and purchase the right fans for your computer setup. Here’s what you need to consider when buying new case fans:
- Fan Size: Measure the dimensions of the fan mounts in your computer case to ensure compatibility. The most common fan sizes are 120mm and 140mm, but make sure to check the specifications of your case to determine the appropriate size.
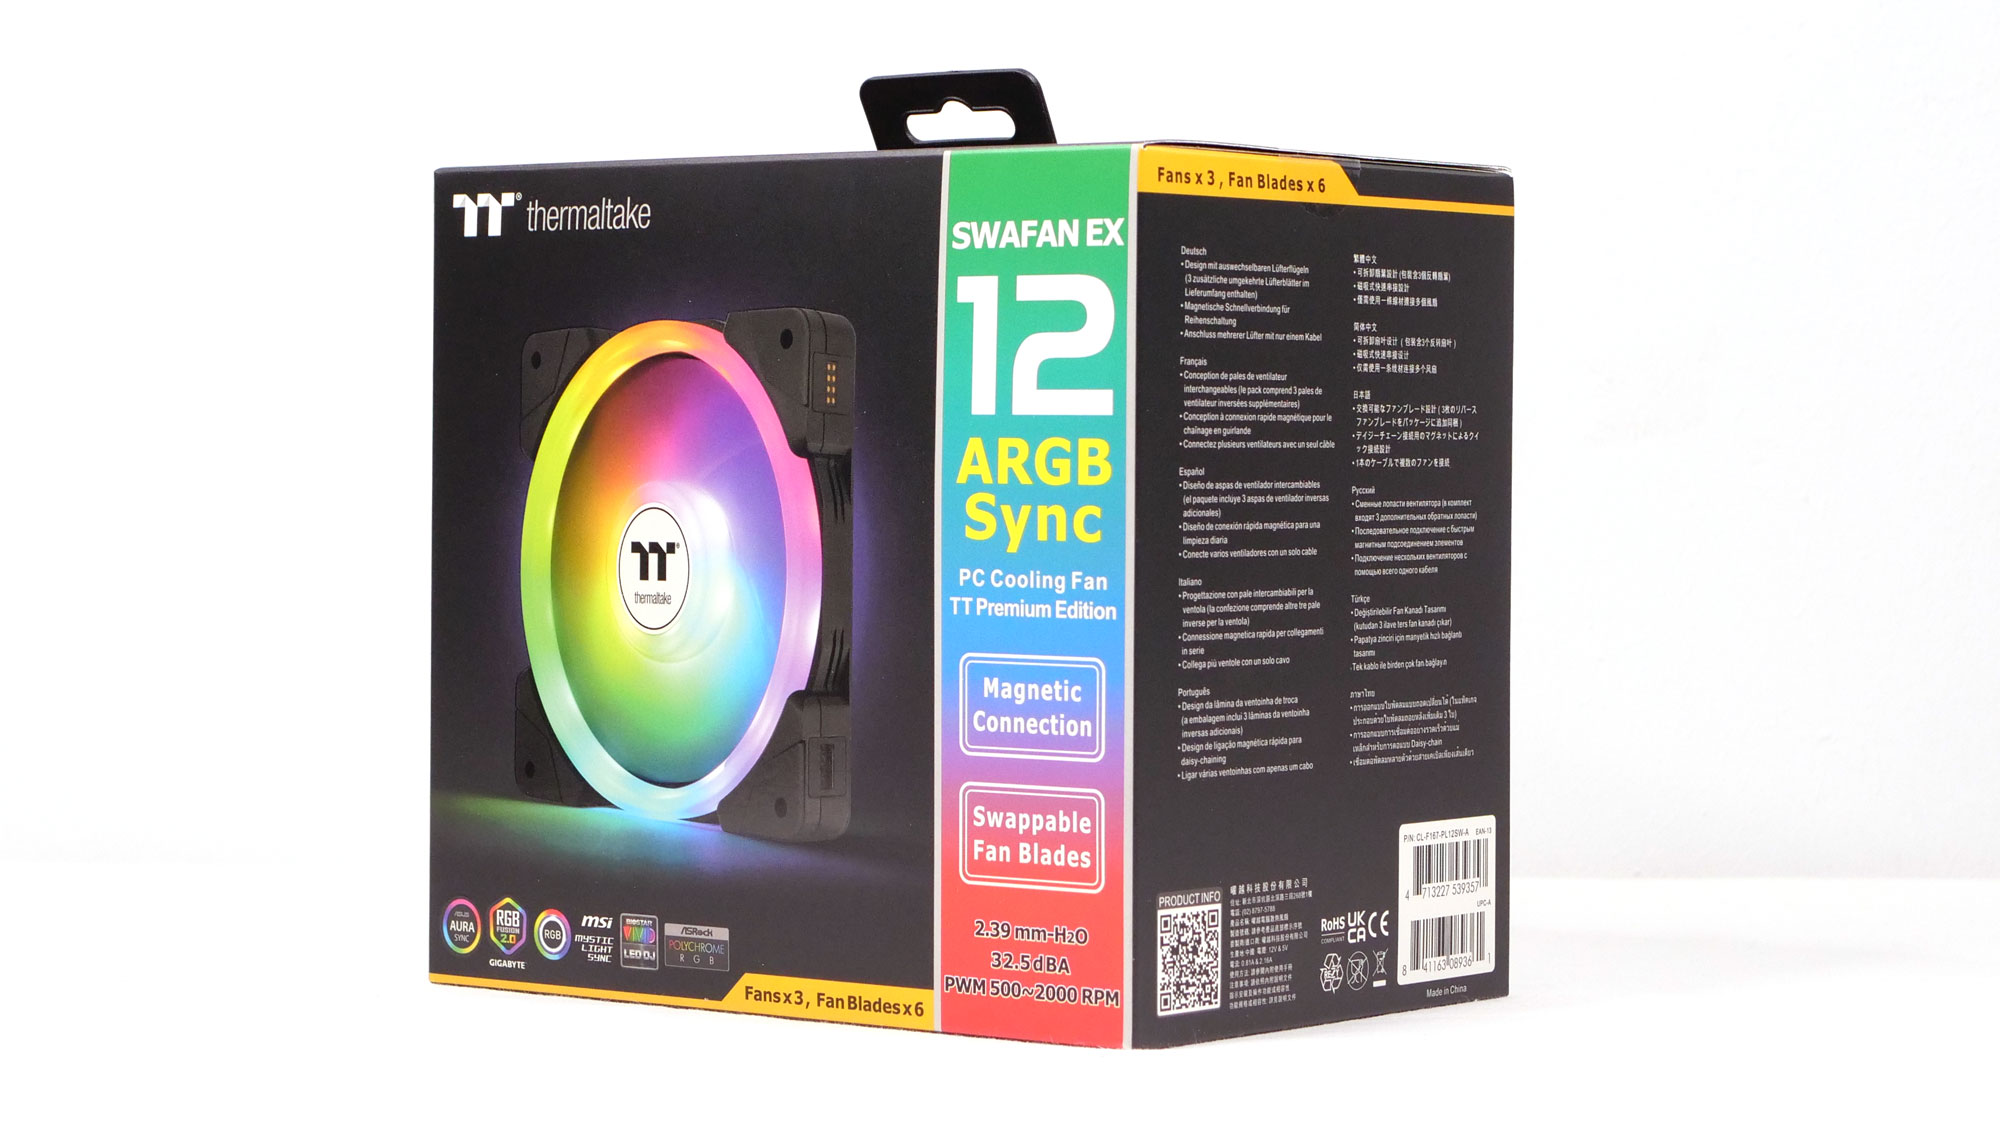
- Fan Type: Decide whether you want traditional fans that simply provide airflow or if you prefer fans with RGB lighting for customizable colors and lighting effects. RGB fans can add an extra level of visual appeal to your computer case.
- Connector Type: Check the connector type of your current case fans and ensure that the new fans you choose have the same connector type. The most common types are 3-pin and 4-pin connectors. If you’re opting for RGB fans, ensure compatibility with your existing RGB lighting system or consider purchasing additional RGB controllers as required.
- Brand and Quality: Consider reputable brands known for their quality and reliability. Look for customer reviews and ratings to ensure you’re getting fans that are durable and perform well in terms of cooling and noise levels.
- Budget: Determine your budget range and find case fans that offer the desired features within that range. Remember that RGB fans tend to be slightly more expensive due to the added lighting functionality.
- Additional Features: Some fans offer additional features such as fan speed control, silent operation, or anti-vibration mounts. Consider if these features are important to you and choose fans accordingly.
Once you have a clear idea of the specifications and features you require, start browsing online retailers or visit local computer hardware stores to search for the perfect case fans. Compare prices and read product descriptions to ensure the selected fans meet your specific needs.
When making the purchase, double-check that you’re buying the correct quantity of fans to match the number of fan mounts in your case. It’s also a good idea to order any additional LED lighting accessories or cabling you may need to achieve your desired color effects.
With the new case fans on their way, you’re ready to move on to the next step: installing the fans and bringing your computer setup to life with the chosen colors.
Step 4: Install the new case fan
With your new case fans in hand, it’s time to install them and give your computer setup a fresh new look. Follow these steps to install the new case fans:
- Prepare the Work Area: Ensure you have a clean and well-lit workspace. This will make it easier to handle the components and prevent any damage to your computer.
- Refer to the Manual: Read the instruction manual or manufacturer’s guide that came with your new case fans. Each manufacturer may have specific installation steps or requirements, so it’s important to familiarize yourself with their instructions.
- Identify the Mounting Points: Locate the fan mounts in your computer case where the new fans will be installed. Typically, these mounts will be labeled or easily identifiable.
- Position the Fans: Determine the placement of the new fans based on your desired airflow and cooling requirements. Consider factors such as intake and exhaust positions for optimal cooling efficiency.
- Connect the Power and Control Cables: Attach the power and control cables of the new case fans to the corresponding connectors on your motherboard or fan controller. Ensure a secure connection, following the guidelines provided in the fan’s manual.
- Secure the Fans: Align the screw holes of the new case fans with the corresponding mounts in your computer case. Use the screws provided or those you removed from the old fans to securely fasten the new fans in place. Avoid overtightening the screws to prevent damage to the fans or the case.
- Double-check Connections: Before closing the computer case, double-check all cable connections to ensure they are properly attached and secured. This will prevent any loose connections or cable interference.
- Cable Management: Organize and route the fan cables along with other wires inside your computer case. Use cable ties, velcro straps, or cable clips to keep the cables tidy and prevent them from obstructing airflow.
- Close the Computer Case: Once you are satisfied with the placement and cable management, close the computer case by reattaching the side panel. Make sure to align the panel properly and secure it with the necessary screws or latches.
- Power On and Test: Power on your computer and observe the new case fans in action. Check that they are spinning correctly and providing the desired airflow. Also, confirm that the chosen fan colors or lighting effects are working as expected.
Take your time during the installation process to handle the components carefully and double-check all connections and placements. Proper installation will not only ensure your computer functions optimally but also enhance the overall visual appeal of your setup.
Now that your new case fans are successfully installed, it’s time to move on to the final step: testing the new fans to ensure they are functioning properly and providing the desired cooling and aesthetics.
Step 5: Test the new case fans
After installing the new case fans, it’s important to test their functionality and ensure they are effectively cooling your computer components while delivering the desired aesthetic effects. Follow these steps to test the new case fans:
- Power On Your Computer: Start by powering on your computer and allowing it to boot up. Ensure that all the fans are receiving power and spinning properly.
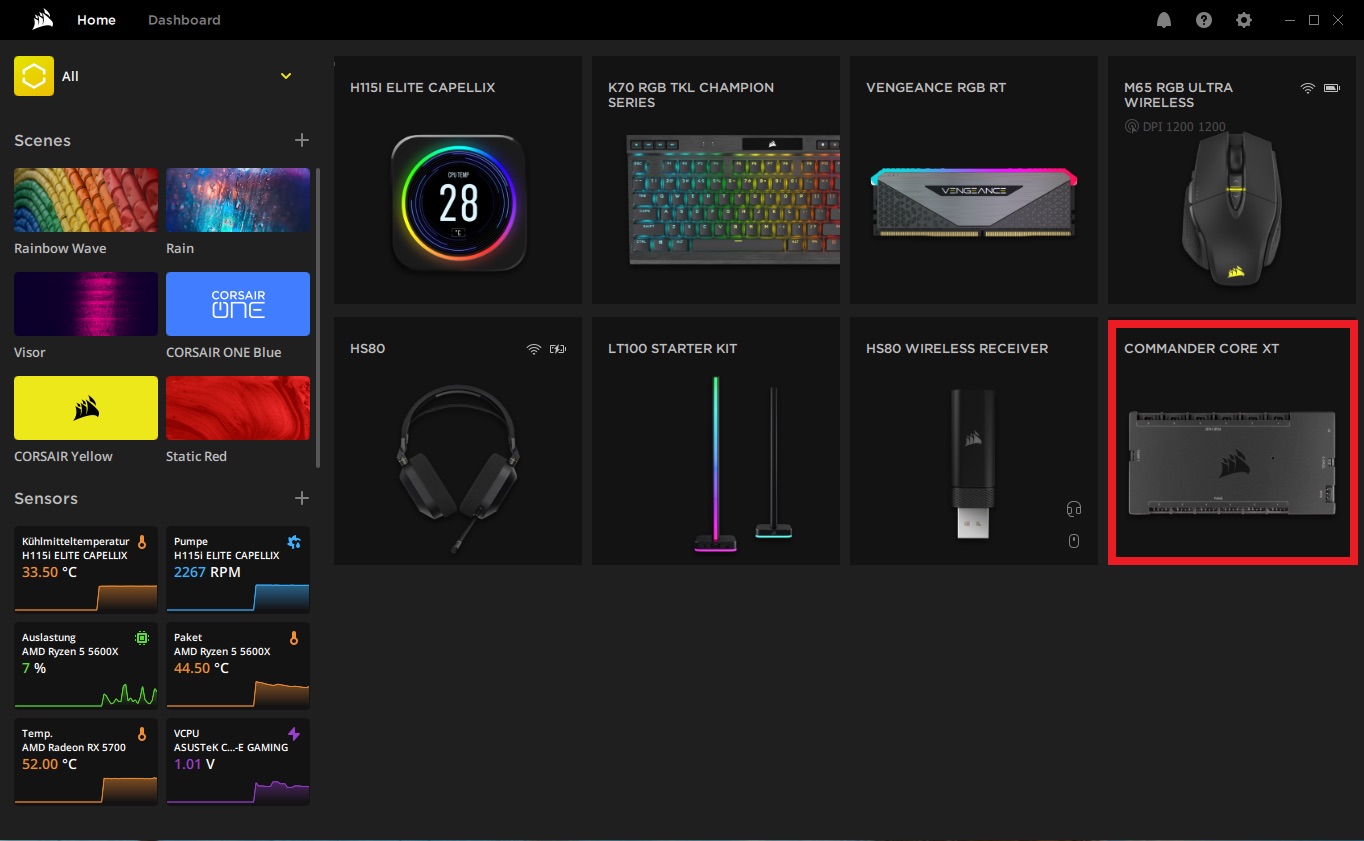
- Monitor Temps: Monitor the temperatures of your CPU, GPU, and other critical components using software tools like HWMonitor or SpeedFan. Observe if the new case fans are effectively lowering the temperatures and maintaining optimal operating conditions.
- Run Stress Tests: To further evaluate the cooling performance, run stress tests or intensive tasks that put a heavy load on your system. Monitor the temperatures during these tests and verify that the case fans are maintaining the necessary airflow to keep the components within safe temperature ranges.
- Check Noise Levels: Listen carefully to the noise levels produced by the new case fans. Ensure they are operating quietly and not generating any unusual or excessive noise. Adjust fan curves or speeds if necessary to achieve a balance between cooling performance and noise levels.
- Inspect Lighting Effects: If you have chosen RGB case fans, inspect the lighting effects and color customization options. Use the software provided with the fans or your motherboard’s RGB software to adjust and customize the lighting effects to your preference.
- Make Adjustments: If you notice any issues such as high temperatures, noisy operation, or inadequate lighting effects, make the necessary adjustments. Try adjusting fan speeds, optimizing fan curves, or repositioning the fans to achieve better performance or aesthetics.
- Reevaluate and Repeat if Needed: If the initial tests reveal any shortcomings or areas for improvement, don’t hesitate to repeat the process of adjusting and testing the new case fans until you achieve the desired results in terms of cooling performance and aesthetics.
By thoroughly testing the new case fans, you can ensure that they are functioning optimally and meeting your expectations in terms of both cooling efficiency and visual impact. Regularly monitoring temperatures and noise levels will help you maintain a healthy and well-cooled computer system.
Congratulations! You have successfully completed the process of changing the case fan colors and testing the new fans. You can now enjoy a visually appealing and efficiently cooled computer setup that reflects your personal style and preferences.
Conclusion
Changing the colors of your case fans is a fun and rewarding process that allows you to customize the look of your computer setup while maintaining optimal cooling performance. By following the steps outlined in this guide, you can transform your PC into a visually stunning and efficiently cooled powerhouse.
Throughout this journey, we explored the importance of case fans in maintaining proper airflow and preventing overheating in your computer. We discussed why changing case fan colors can be beneficial, allowing you to personalize your setup, establish a theme, create ambiance, and showcase your hardware components.
We then delved into the tools and materials needed for the customization process, ensuring you’re well-equipped for a smooth installation. The step-by-step instructions covered removing the old case fans, choosing the new fan colors, purchasing the right replacement fans, installing them correctly, and testing their functionality.
Remember to consider factors such as overall theme, component colors, lighting effects, personal preferences, and visual balance when choosing the new fan colors. Additionally, prioritize compatibility, brand reputation, budget, and any additional features you may desire when purchasing the replacement fans.
Testing the new case fans post-installation is crucial to evaluate their cooling efficiency, noise levels, and lighting effects. By monitoring temperatures, running stress tests, checking noise levels, and making adjustments as needed, you can ensure optimal performance and aesthetics.
With your newly installed case fans, your computer setup will not only run cooler and quieter but also reflect your style and personality. Whether you opt for a vibrant RGB display or a sleek monochromatic look, enjoy the enhanced visual appeal and improved functionality of your PC.
Remember, as you continue to evolve your computer setup, stay up to date with the latest fan technologies, lighting options, and cooling advancements. With proper care and maintenance, your case fans will continue to provide efficient cooling and stunning visuals for years to come.