Introduction
Welcome to the world of PC cooling! Whether you’re a seasoned computer enthusiast or just beginning your journey into the world of custom PC builds, understanding the basics of PC case fans is essential. These small but mighty components play a crucial role in maintaining optimal temperatures for your computer’s vital components.
When it comes to PC cooling, there are two primary methods of airflow: push and pull. Understanding whether a fan is pushing or pulling air is important for proper airflow management within your PC case. In this article, we will explore the concept of push versus pull in PC cooling and discuss various methods to determine the airflow direction of your case fans.
Proper airflow is vital for cooling your PC effectively. When components generate heat, it needs to be expelled from the case to prevent overheating and potential damage. Push and pull refer to the direction in which the fan moves air, either pushing air into the case or pulling air out of it.
Knowing whether your fans are set up in a push or pull configuration is critical for optimizing component cooling and avoiding heat buildup. So, let’s dive into the world of PC cooling and learn how to determine if a fan is pushing or pulling.
Understanding PC Case Fans
PC case fans are essential components when it comes to maintaining optimal temperatures inside your computer. They help to ensure that your CPU, GPU, and other vital hardware components stay cool during operation.
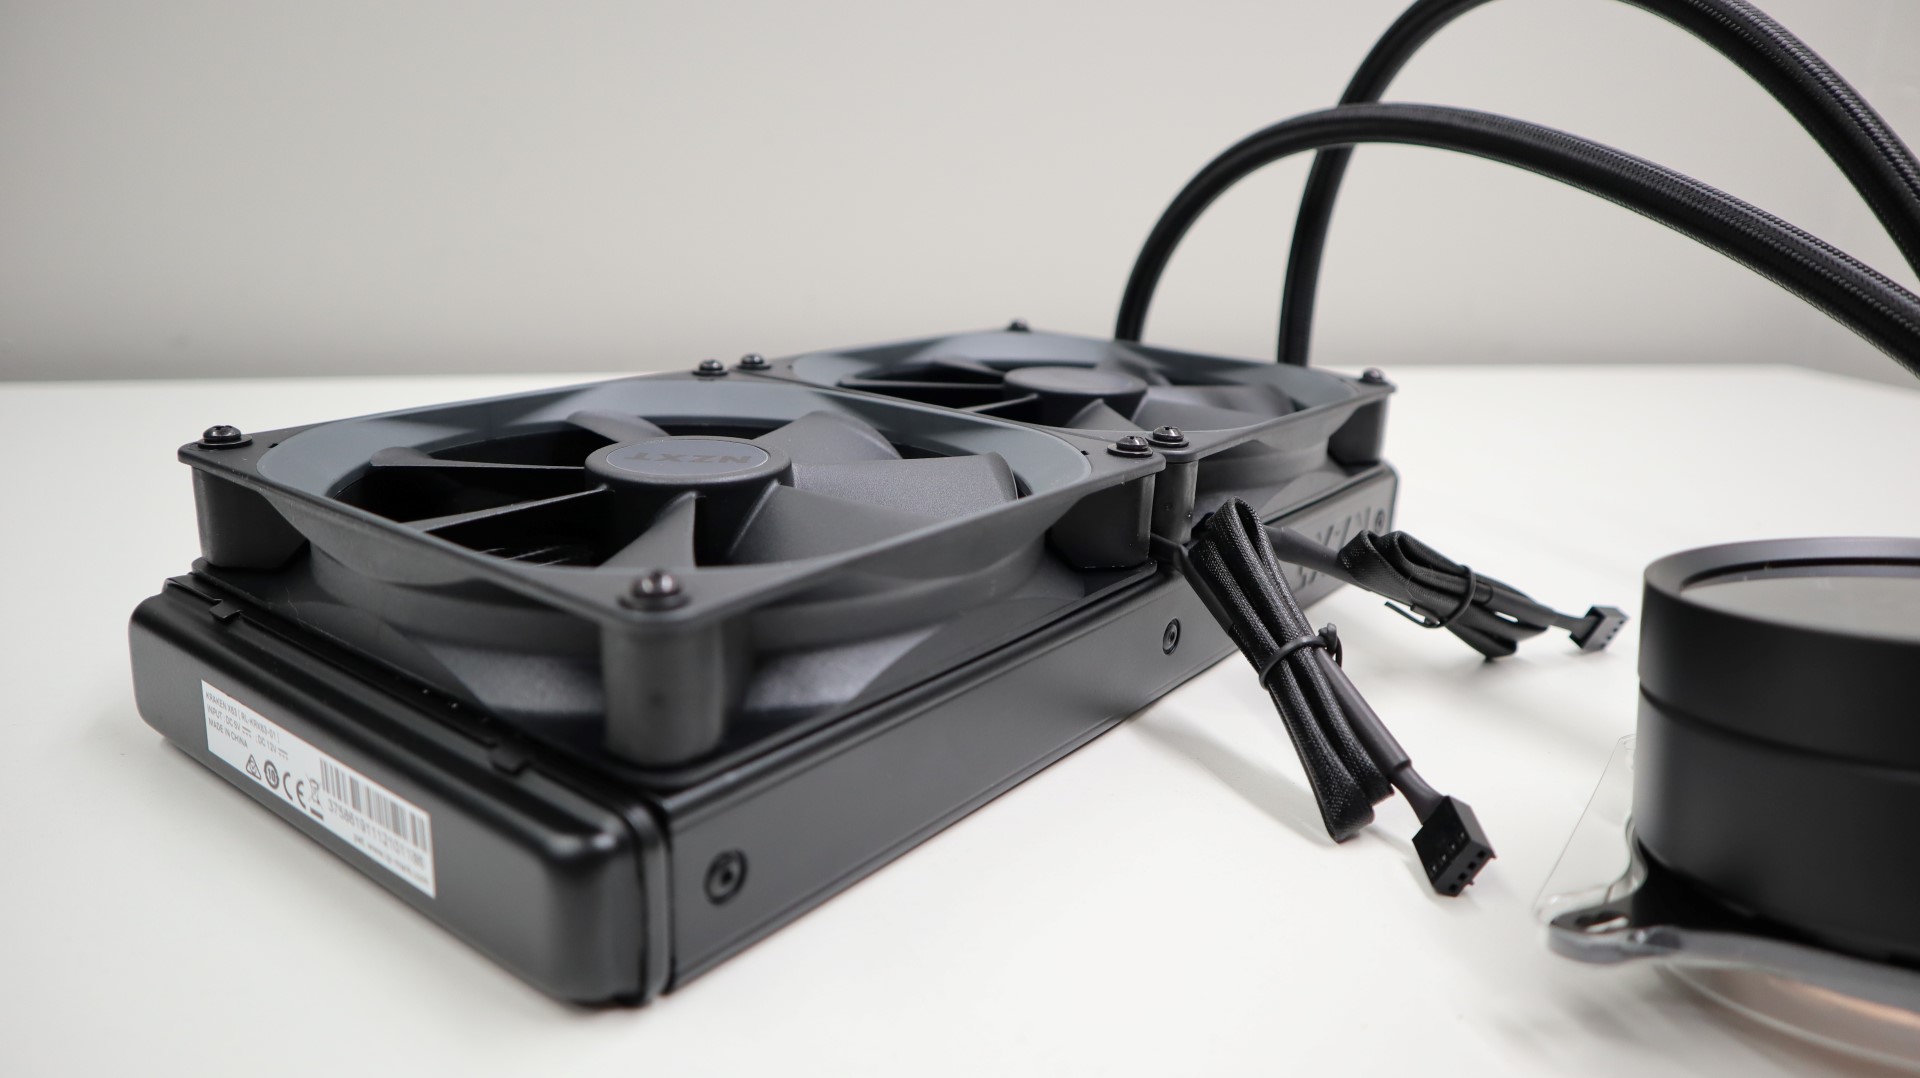
Case fans come in various sizes, typically measured in millimeters (mm), and common sizes include 80mm, 120mm, and 140mm. The larger the fan, the more air it can move, resulting in better cooling performance. However, it’s important to note that larger fans may not always fit in all cases, so it’s essential to check the compatibility before purchasing.
PC case fans operate using either a 3-pin or 4-pin connector. The 3-pin fans provide basic functionality, allowing you to control their speed through voltage adjustments. On the other hand, 4-pin fans, also known as PWM fans, utilize pulse-width modulation to control fan speed more precisely with the help of a motherboard or firmware.
The primary purpose of case fans is to circulate air inside the PC case, expelling hot air generated by components and replacing it with cooler ambient air. By doing so, they assist in maintaining a stable and optimal temperature for the hardware, preventing components from overheating.
There are typically two main types of case fan configurations: intake and exhaust. Intake fans are positioned to draw cool air from outside the case and blow it over the components, while exhaust fans are placed to expel hot air from inside the case. A good combination of intake and exhaust fans ensures adequate airflow and efficient heat dissipation.
Understanding the basics of PC case fans is crucial for optimizing the cooling performance of your computer. By strategically positioning fans and managing airflow, you can create a balanced cooling system that keeps your hardware operating within safe temperature limits.
What is Push vs Pull in PC Cooling?
Push and pull refer to the two primary methods of airflow management in PC cooling. These terms describe the direction in which a case fan moves air within the computer case. Understanding the difference between push and pull is essential for effectively managing heat and maintaining optimal temperatures for your components.
In a push configuration, the fan is positioned to push air into the case, forcing it over the components and out through the exhaust fans. This setup is commonly used for intake fans, where the goal is to bring cool air from outside the case and circulate it through the internal components. Pushing air into the case helps to maintain positive air pressure, preventing dust and debris from entering through any gaps or openings.
On the other hand, in a pull configuration, the fan is positioned to pull air out of the case. It creates a vacuum effect, drawing hot air away from the components and expelling it through the exhaust fans. Pulling air out of the case helps to remove the heat generated by the components, preventing it from accumulating and causing overheating issues.
The choice between push and pull configurations depends on the specific cooling needs of your system. In most cases, a combination of both push and pull setups is recommended to achieve optimal airflow and cooling. For example, you can have intake fans in the front of the case configured to push air in, while exhaust fans at the rear or top of the case can be set up to pull air out.
Understanding the airflow dynamics within your PC case is crucial for effective cooling. Determining whether your fans are set up in a push or pull configuration will help you identify potential airflow issues, such as insufficient cooling or improper heat dissipation.
Now that we understand the basics of push and pull in PC cooling, let’s explore how to determine if a fan in your computer case is pushing or pulling air.
How to Determine if a Fan is Pushing or Pulling?
There are several methods you can use to determine whether a fan in your PC case is pushing or pulling air. By understanding the airflow direction, you can ensure that your fans are properly configured and working to keep your components cool. Here are four methods you can use to determine the direction of your case fans:
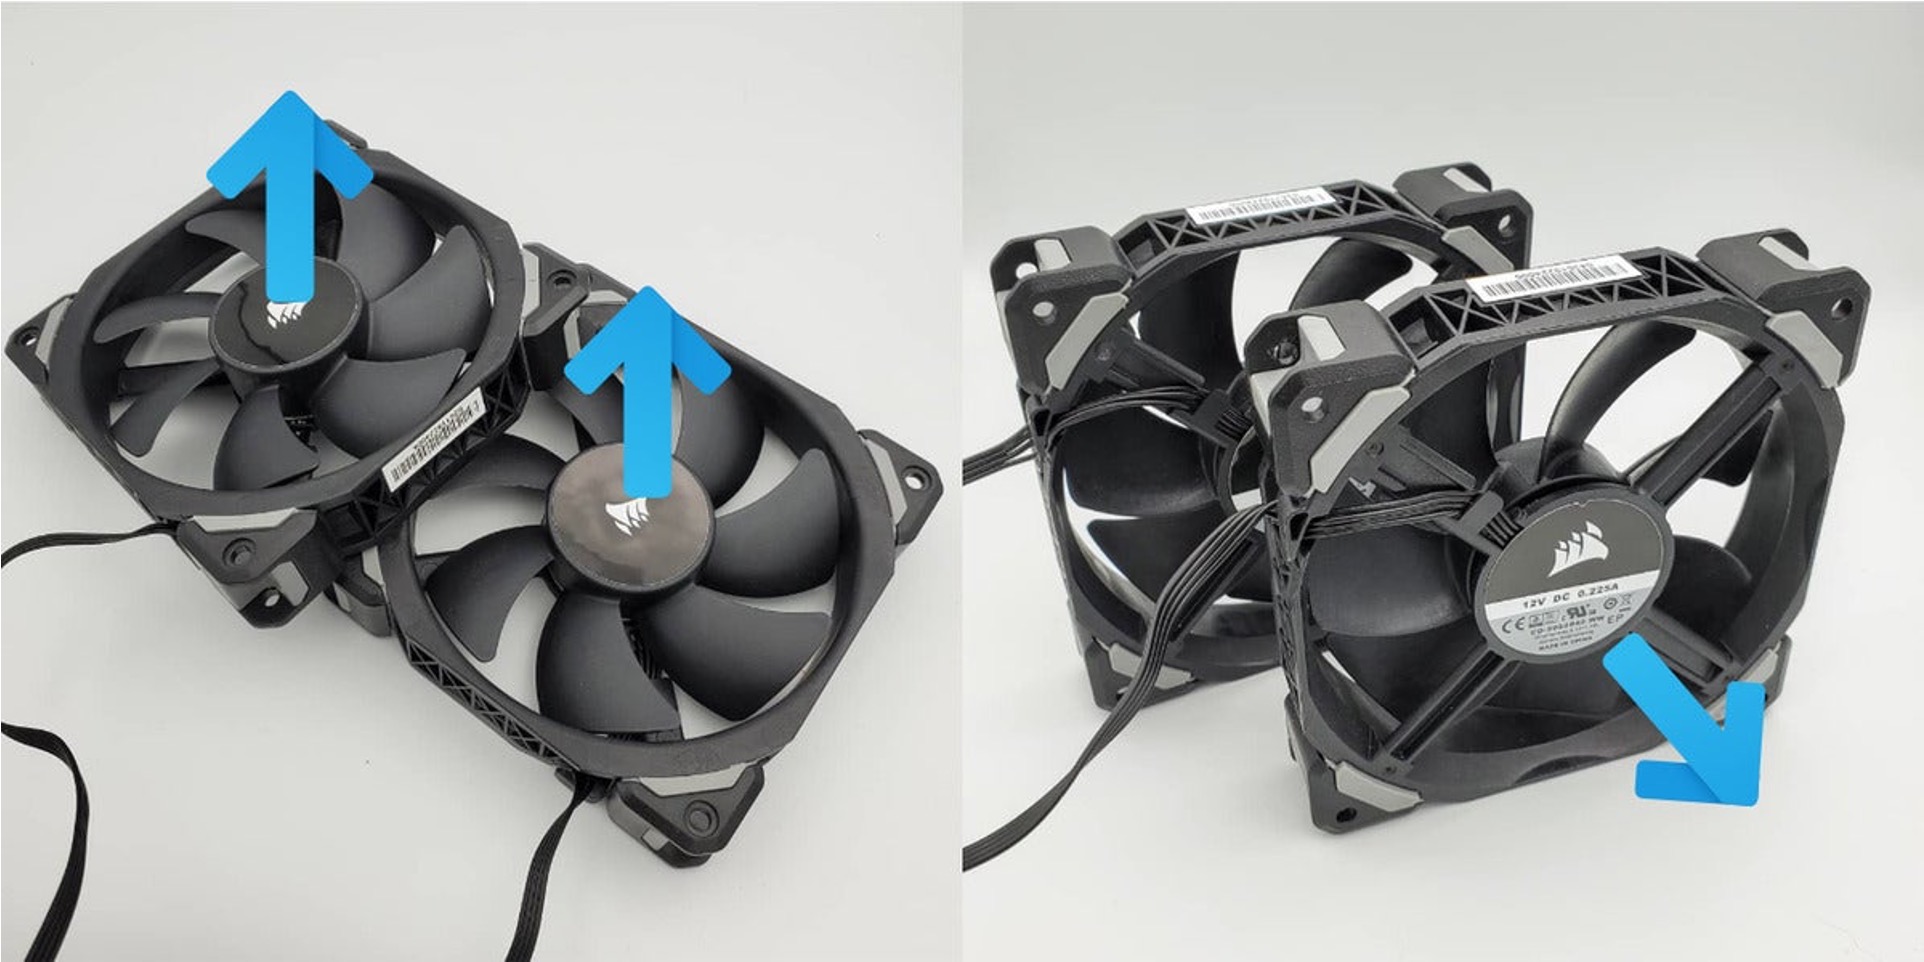
Method 1: Visual Inspection: The easiest method is to visually inspect the position of the fan blades. In a push configuration, the convex side of the fan blades will face towards the components, while in a pull configuration, the convex side will face away from the components, towards the exhaust area. Take a close look at the fan and determine the direction in which the blades are angled.
Method 2: Airflow Direction Indicator: Some case fans come with airflow direction indicators, usually marked with arrows or labels such as “In” or “Out.” These indicators provide a clear visual cue on the direction of airflow. If your fan has these indicators, it’s as simple as checking the label to determine whether it’s pushing or pulling air.
Method 3: Hand Test: Another method is to place your hand near the fan and feel the airflow. When the fan is pushing air, you should feel the airflow against your hand as you hold it in front of the fan. Conversely, if the fan is pulling air, you will feel the air being drawn towards the fan instead.
Method 4: Smoke Test: The smoke test is a more advanced method that involves using smoke to visualize the airflow. You can use a thin piece of incense or a smoke pen to generate smoke near the fan. If the smoke is blown away from the fan, it indicates a push configuration. If the smoke is drawn towards the fan, it indicates a pull configuration.
By utilizing these methods, you can easily determine whether your case fans are pushing or pulling air. It’s important to ensure that the airflow direction aligns with your cooling strategy and the specific needs of your components. Proper airflow management will help maintain stable temperatures and prolong the lifespan of your hardware.
Method 1: Visual Inspection
One of the easiest methods to determine if a fan in your computer case is pushing or pulling air is through a visual inspection. This method requires no additional tools and can be done quickly and effortlessly. Here’s how to perform a visual inspection:
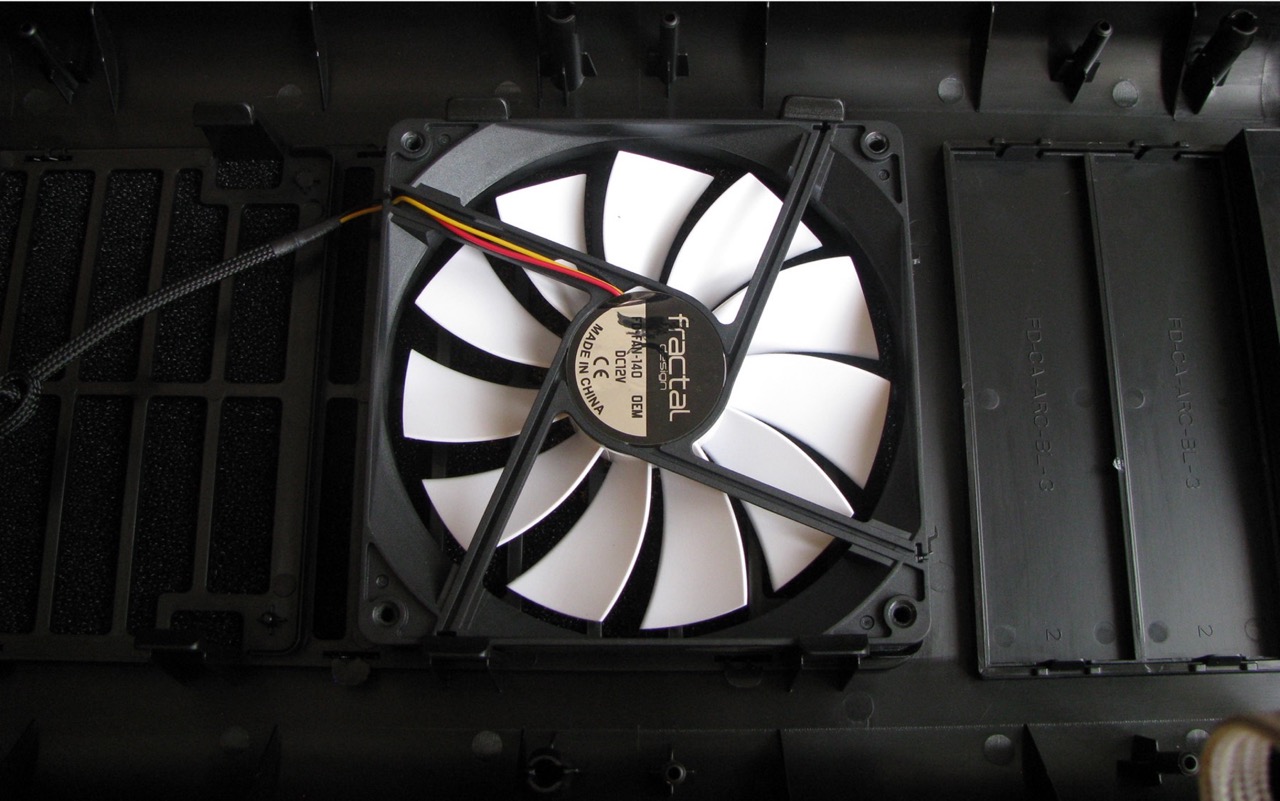
1. Locate the fan: Identify the fan you want to inspect. It could be an intake fan at the front or a exhaust fan at the rear or top of your PC case.
2. Examine the fan blades: Take a close look at the position and shape of the fan blades. In a push configuration, the convex side of the blades will face towards the components, while in a pull configuration, the convex side will face away from the components towards the exhaust area.
3. Analyze the direction: Based on the orientation of the fan blades, determine whether they are angled to push air towards the components or pull air away from them.
If the blades are angled in a way that they are pushing air towards the components, then the fan is set up in a push configuration. On the other hand, if the blades are angled in a way that they are pulling air away from the components, then the fan is set up in a pull configuration.
In some cases, the fan may have a clear indication of the airflow direction marked on it, such as arrows or labels like “In” or “Out.” This makes the visual inspection even simpler, as you can follow these markings to determine whether the fan is pushing or pulling air.
Performing a visual inspection allows you to quickly assess the airflow direction of a fan without any additional tools or complexity. It’s a straightforward method that can be used in conjunction with other methods to ensure accuracy.
Properly understanding the airflow direction of your case fans is crucial for maintaining efficient cooling within your PC. By employing the visual inspection method, you can easily determine if your fans are set up to push or pull air, helping you optimize your cooling setup and ensure the longevity of your hardware.
Method 2: Airflow Direction Indicator
Another method to determine if a fan in your PC case is pushing or pulling air is by utilizing an airflow direction indicator. Some case fans come with built-in indicators that provide a clear visual cue about the direction of airflow. Here’s how you can use this method:
1. Locate the airflow direction indicator: Check if your fan has an airflow direction indicator, which is typically marked with arrows or labels such as “In” or “Out.” This indicator is usually placed on the frame or hub of the fan.
2. Identify the indicator label: Read the label or follow the arrows on the indicator. The label will clearly state whether the fan is designed to push air into the case (intake) or pull air out of the case (exhaust).
3. Confirm the airflow direction: Align the airflow direction indicated on the fan with the direction in which the blades rotate. For example, if the indicator specifies “In” and the blades rotate in a manner that they push air towards the components, then the fan is set up in a push configuration.
The airflow direction indicator provides a straightforward and intuitive way to determine whether a fan is pushing or pulling air. By following the label or arrows on the indicator, you can easily confirm the intended direction of airflow for that particular fan.
If your fans do not have built-in airflow direction indicators, you can also use other methods, such as visual inspection or the hand and smoke tests, to determine the airflow direction.
By using the airflow direction indicator method, you can quickly and accurately determine the configuration of your case fans, ensuring they are correctly set up for optimal cooling performance. Understanding the airflow direction is vital in maintaining efficient cooling and preventing overheating of your computer’s internal components.
Method 3: Hand Test
An easy and practical method to determine the direction of airflow from a case fan is by performing a simple hand test. This method allows you to physically feel the airflow and determine whether the fan is pushing or pulling air. Here’s how to conduct a hand test:
1. Locate the fan: Identify the specific fan you want to test. It could be an intake fan at the front or an exhaust fan at the rear or top of your PC case.
2. Position your hand: Place your hand near the fan, ensuring that it is not too close to avoid any potential injury from the rotating blades.
3. Analyze the airflow: Observe the direction in which you feel the airflow when the fan is running.
If you feel the air being blown away from the fan and towards your hand, it indicates that the fan is pushing air into the case. This means the fan is set up in a push configuration, with the airflow directed towards your components.
Conversely, if you feel the air being drawn towards the fan and away from your hand, it indicates that the fan is pulling air out of the case. This means the fan is set up in a pull configuration, with the airflow directed away from your components, helping to exhaust hot air from the case.
The hand test provides a quick and tactile way to determine the airflow direction of a fan. It allows you to confirm whether the fan is pushing or pulling air and helps ensure that your cooling setup is functioning as intended.
While the hand test is simple and effective, always exercise caution when dealing with spinning fans. Keep your hand at a safe distance to avoid any potential accidents or injuries.
By using the hand test method, you can confidently determine the airflow direction of your case fans and make necessary adjustments to ensure optimal cooling within your PC. It’s a practical way to validate the configuration of your fans and maintain a properly cooled system.
Method 4: Smoke Test
For a more advanced method of determining the airflow direction of a case fan, the smoke test can be employed. This technique makes use of smoke to visualize the movement of air and determine whether the fan is pushing or pulling air. Here’s how to conduct a smoke test:
1. Prepare a source of smoke: Obtain a thin piece of incense or a smoke pen specifically designed for this purpose. These items produce a visible stream of smoke that can be easily directed.
2. Position the smoke source: Place the smoke source near the vicinity of the fan that you wish to test. Ensure that it is close enough to the fan for the smoke to be influenced by its airflow.
3. Observe the smoke movement: Turn on the fan and observe the movement of the smoke. Pay attention to the direction in which the smoke moves relative to the fan.
If the smoke is blown away from the fan, it indicates that the fan is pushing air into the case. This suggests that the fan is set up in a push configuration, with the airflow directed towards the components.
On the other hand, if the smoke is drawn towards the fan, it indicates that the fan is pulling air out of the case. This suggests that the fan is set up in a pull configuration, with the airflow directed away from the components to help exhaust hot air.
The smoke test provides a visual representation of the airflow direction, allowing you to confirm the configuration of your case fan. It can be particularly helpful when other methods, such as visual inspection or the hand test, may not provide clear results.
During the smoke test, ensure that you are in a well-ventilated area to prevent the smoke from accumulating. Additionally, exercise caution and avoid inhaling excessive amounts of smoke while performing the test.
By utilizing the smoke test method, you can accurately determine the airflow direction of your case fans and ensure that they are correctly set up for optimal cooling. It’s a more advanced technique that provides a visual confirmation of the airflow dynamics within your PC case.
Conclusion
Understanding whether a fan in your PC case is pushing or pulling air is vital for maintaining efficient cooling and preventing overheating of your components. In this article, we have explored four methods to determine the airflow direction of case fans: visual inspection, airflow direction indicator, hand test, and smoke test.
By visually inspecting the position and shape of the fan blades, you can identify whether they are angled to push or pull air. Fans with built-in airflow direction indicators offer a clear visual cue on the intended airflow direction. Conducting a hand test allows you to feel the airflow and determine the direction in which the air is moving. The smoke test offers a more advanced method, utilizing smoke to visualize the movement of air and confirm the airflow direction.
Each method provides a unique way to determine how a fan is configured within your PC case. You can use these methods individually or in combination to ensure accurate results.
Remember, proper airflow management is crucial for maintaining optimal temperatures and extending the lifespan of your hardware. By ensuring that your case fans are correctly set up to push or pull air as intended, you can avoid heat buildup and keep your components operating within safe temperature ranges.
Whether you are a seasoned PC enthusiast or a beginner in the world of custom PC builds, understanding the basics of PC cooling and airflow direction will empower you to create an efficient and effective cooling setup.
So, take the time to inspect your case fans, observe the airflow direction, and make any necessary adjustments to optimize your cooling system. With the right configuration, you can enjoy a cooler and more reliable computing experience.