Introduction
Attaching a hard drive to a case fan is a practical solution for cooling your hard drive and improving its overall performance. Hard drives generate heat during operation, and excessive heat can lead to performance issues and even hardware failure. By attaching the hard drive to a case fan, you can ensure better airflow and cooling for the device, prolonging its lifespan and optimizing its performance.
While the process may seem daunting, it is relatively straightforward and can be completed with just a few tools and materials. In this article, we will guide you through the steps to attach a hard drive to a case fan, ensuring that you have a well-cooled and efficient storage solution for your computer.
We will cover everything you need to know, from gathering the necessary materials to connecting the hard drive to the power supply. No prior technical knowledge is required, making this guide suitable for both beginners and experienced computer enthusiasts.
Before we dive into the step-by-step instructions, it is important to note that this process may vary slightly depending on the specific case fan and hard drive you are working with. Always consult the instruction manuals provided with your hardware for any specific guidelines or precautions.
Now, let’s get started with gathering the necessary materials for this project.
Step 1: Gathering the necessary materials
Before starting the process of attaching a hard drive to a case fan, it is important to gather all the required materials. Having everything ready beforehand will ensure a smooth and uninterrupted workflow. Here are the materials you will need:
- A case fan: Choose a fan that is compatible with your computer case and has appropriate mounting holes to attach the hard drive.
- A hard drive: Select a hard drive that meets your storage needs and is compatible with your computer’s interface (SATA or IDE).
- Screws or mounting brackets: These will be used to secure the hard drive to the case fan. Check if your case fan and hard drive come with mounting brackets or screws. If not, purchase them separately.
- Power splitter cable (optional): If you need additional power connectors for your hard drive, a power splitter cable will come in handy.
- Tools: You will need a screwdriver to attach the hard drive to the case fan and potentially for other assembly steps.
Ensure that you have all these materials readily available and take a moment to familiarize yourself with them before proceeding to the next step.
Now that you have gathered all the necessary materials, let’s move on to preparing the hard drive for attachment.
Step 2: Preparing the hard drive
Before attaching the hard drive to the case fan, it is important to prepare the hard drive for installation. Follow these steps to get your hard drive ready:
- Ensure the hard drive is powered off and disconnected from any power source. This is to avoid any electrical mishaps during the preparation process.
- If your hard drive is not already in a protective case, handle it with caution to prevent any damage to the delicate internal components.
- If necessary, remove any existing mounting brackets or adapters from the hard drive. These may interfere with the attachment process or prevent a secure fit.
- If your hard drive has exposed circuitry or connectors, it is recommended to use an anti-static wrist strap or touch a grounded metal surface to discharge any static electricity before handling the drive. This will help prevent any damage to the sensitive electronics.
- Inspect the hard drive for any physical damage or loose components. Ensure that all the connectors and pins are intact and in good condition.
- Clean the surface of the hard drive using compressed air or a soft, lint-free cloth to remove any dust or debris. This will help ensure a clean and secure connection with the case fan.
By properly preparing the hard drive, you minimize the risk of damage during the installation process and optimize its performance. Once you have completed these steps, you are ready to move on to the next step of mounting the hard drive onto the case fan.
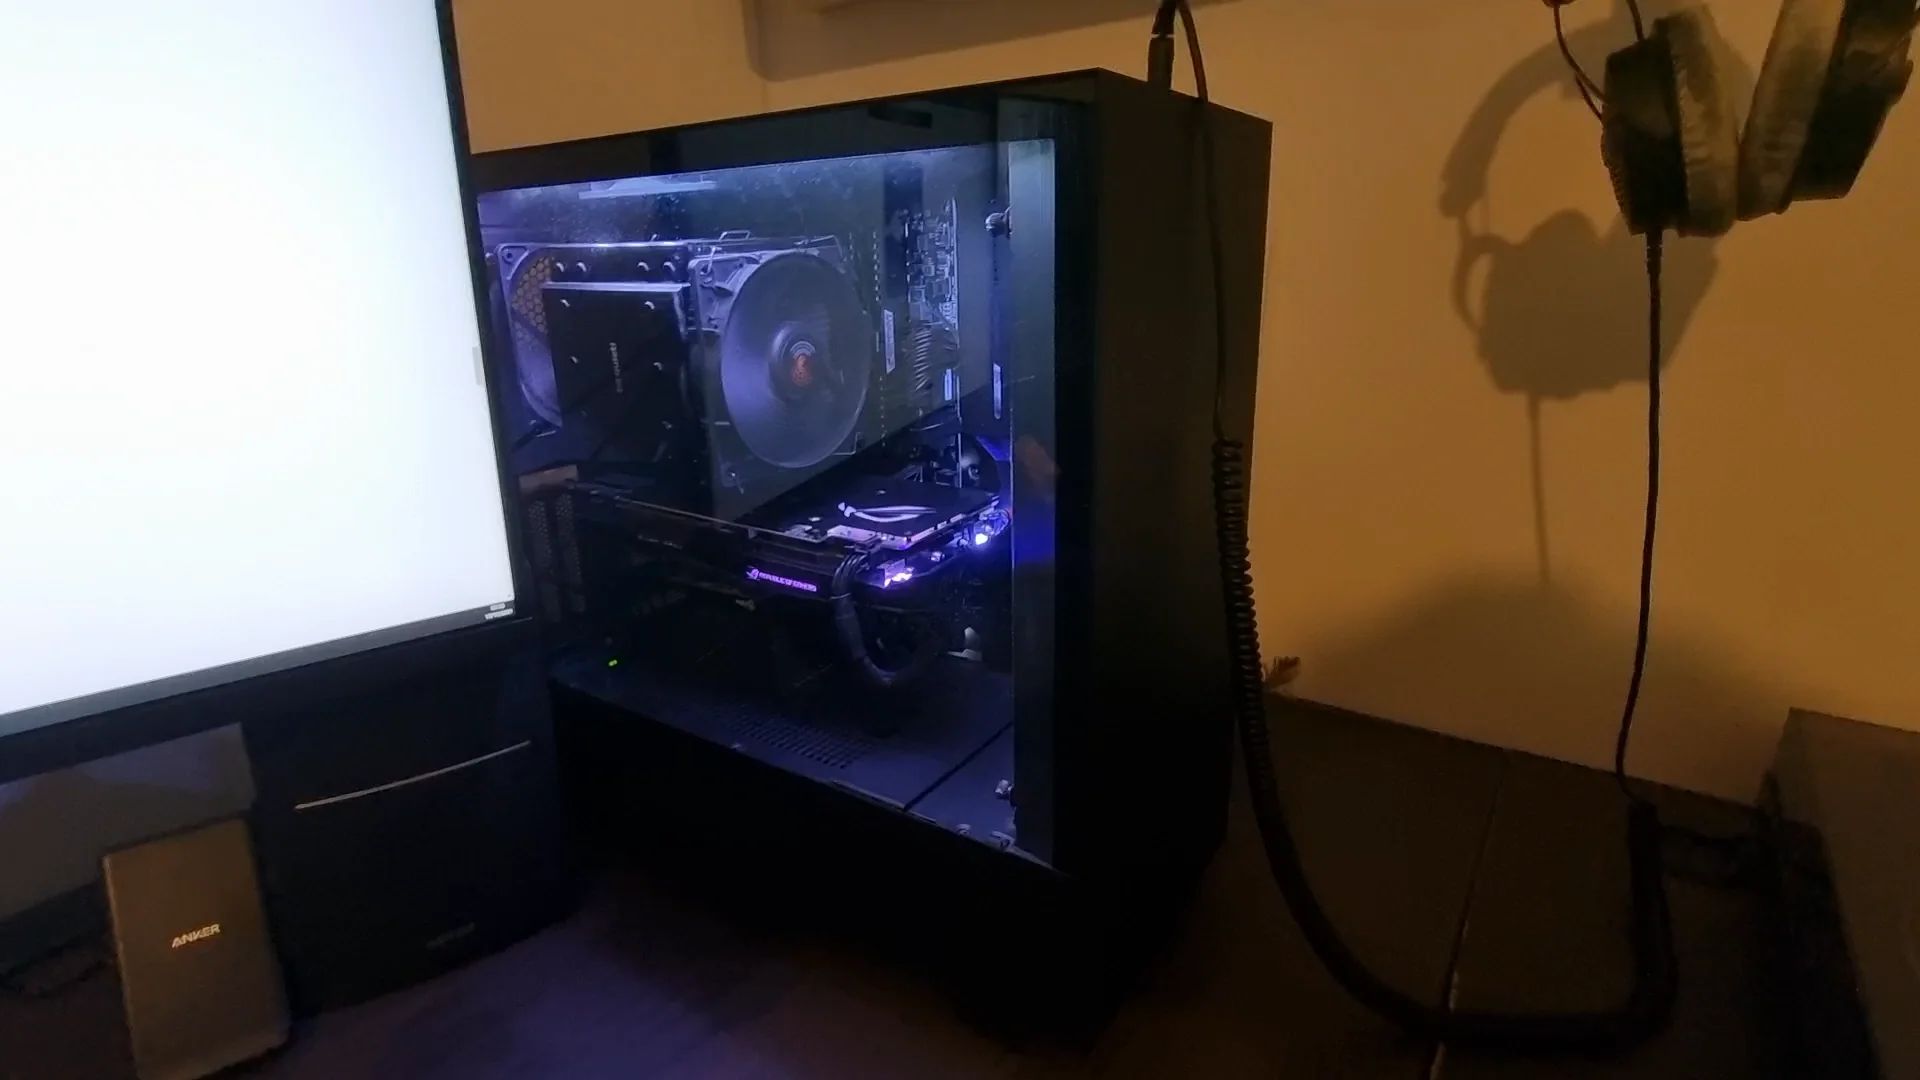
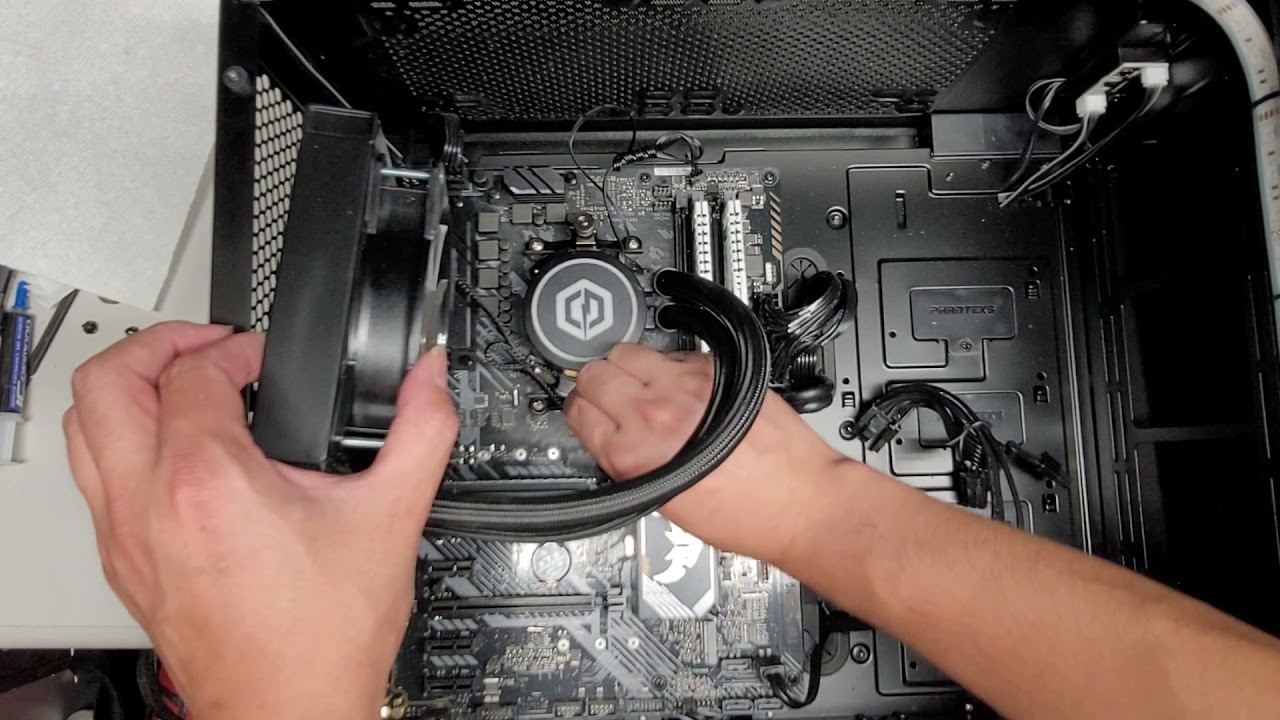
Step 3: Mounting the hard drive onto the case fan
With the hard drive prepared, you can now proceed to mount it onto the case fan. Follow these steps to attach the hard drive securely:
- Identify the mounting holes on the case fan. These are usually located on the sides or corners of the fan frame. Refer to the case fan’s user manual if you are unsure.
- Align the mounting holes on the hard drive with the corresponding holes on the case fan.
- Once aligned, carefully insert the screws or mounting brackets through the holes, securing the hard drive to the case fan. Be sure to tighten the screws firmly, but avoid overtightening as it may damage the hard drive or case fan.
- If your case fan does not have pre-drilled mounting holes for a hard drive, you can use adhesive tape or zip ties to attach the hard drive to the fan. Ensure that the attachment is secure and does not interfere with the fan blades’ rotation.
Take a moment to double-check that the hard drive is securely mounted to the case fan. Give it a gentle shake to ensure there is no movement or loose connections. A properly mounted hard drive will be stable and aligned with the case fan.
Now that you have successfully attached the hard drive to the case fan, it’s time to move on to the next step of connecting the hard drive to the power supply.
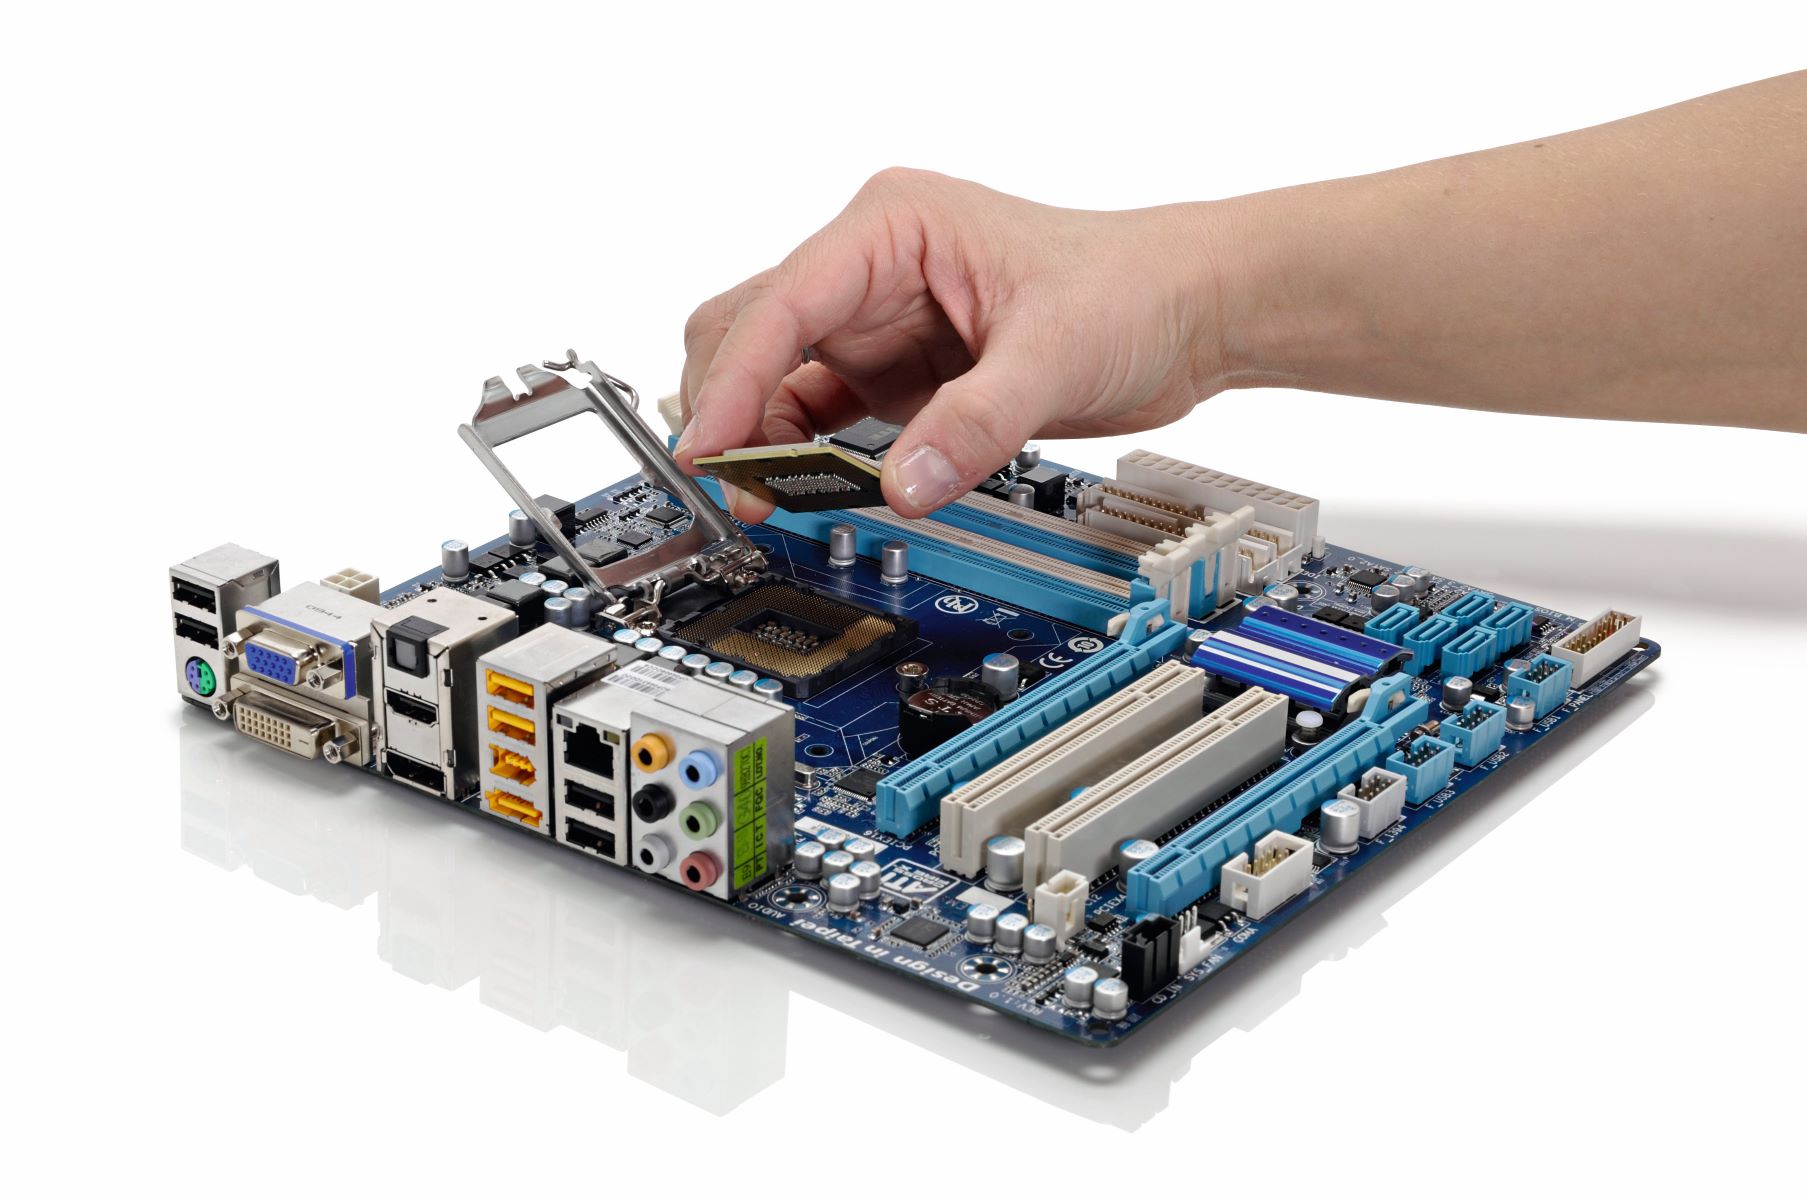
Step 4: Connecting the hard drive to the power supply
After mounting the hard drive onto the case fan, the next step is to connect it to the power supply. This will provide the necessary electrical power for the hard drive to function. Follow these steps to ensure a proper connection:
- Locate the power connector on the hard drive. This connector is typically a rectangular-shaped socket with multiple pins.
- Identify an available power connector from the power supply unit. These connectors are usually large, with multiple pins or connectors.
- Gently insert the power connector from the power supply into the corresponding power socket on the hard drive. Ensure that the connector is properly aligned and securely inserted.
- Double-check the connection to make sure it is secure and there are no loose or partially connected pins.
If you need additional power connectors for your hard drive, you can use a power splitter cable. A power splitter cable allows you to connect multiple devices to a single power connector from the power supply unit. Simply connect the power splitter cable to the power supply unit and then attach the hard drive to the spare connector on the splitter cable.
After making the power connection, take a moment to verify that the connection is secure and there are no loose wires or pins. This will ensure a stable power supply to the hard drive.
Now that you have successfully connected the hard drive to the power supply, we can move on to securing the connections in the next step.
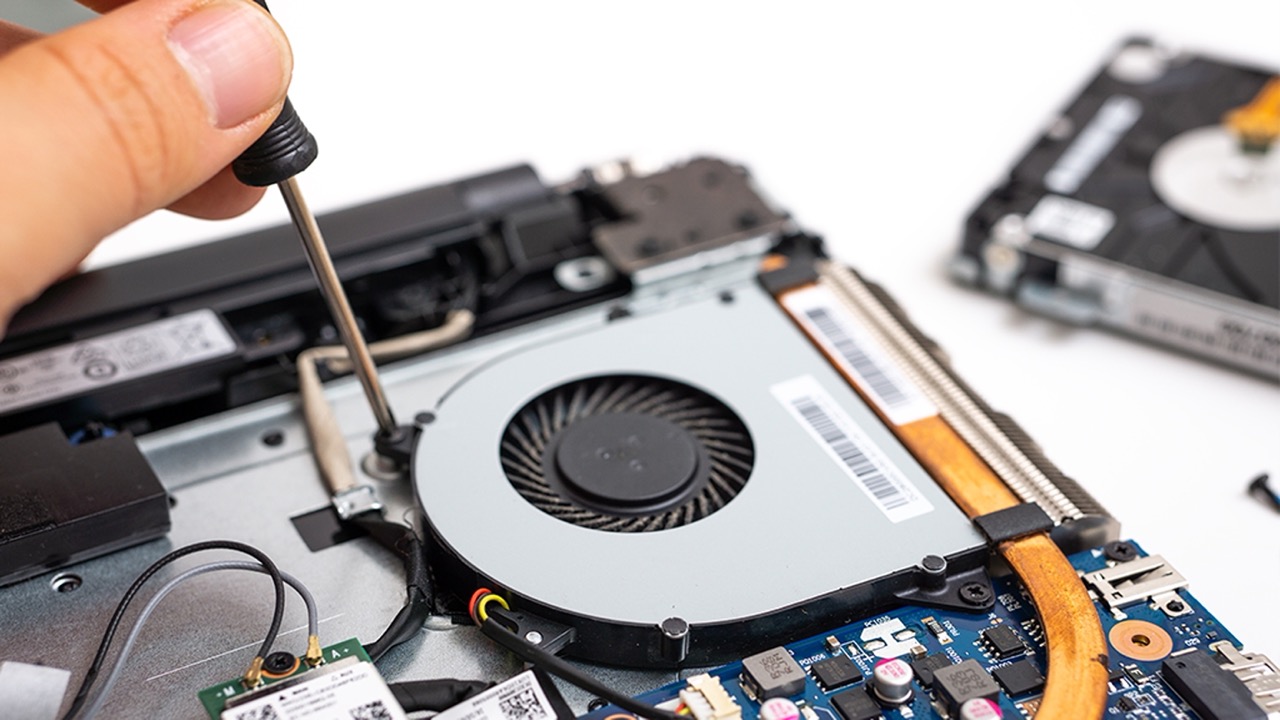
Step 5: Securing the connections
Once you have connected the hard drive to the power supply, it is essential to secure the connections to prevent any accidental disconnections or loose wires that may cause disruptions or damage. Follow these steps to ensure that the connections are secure:
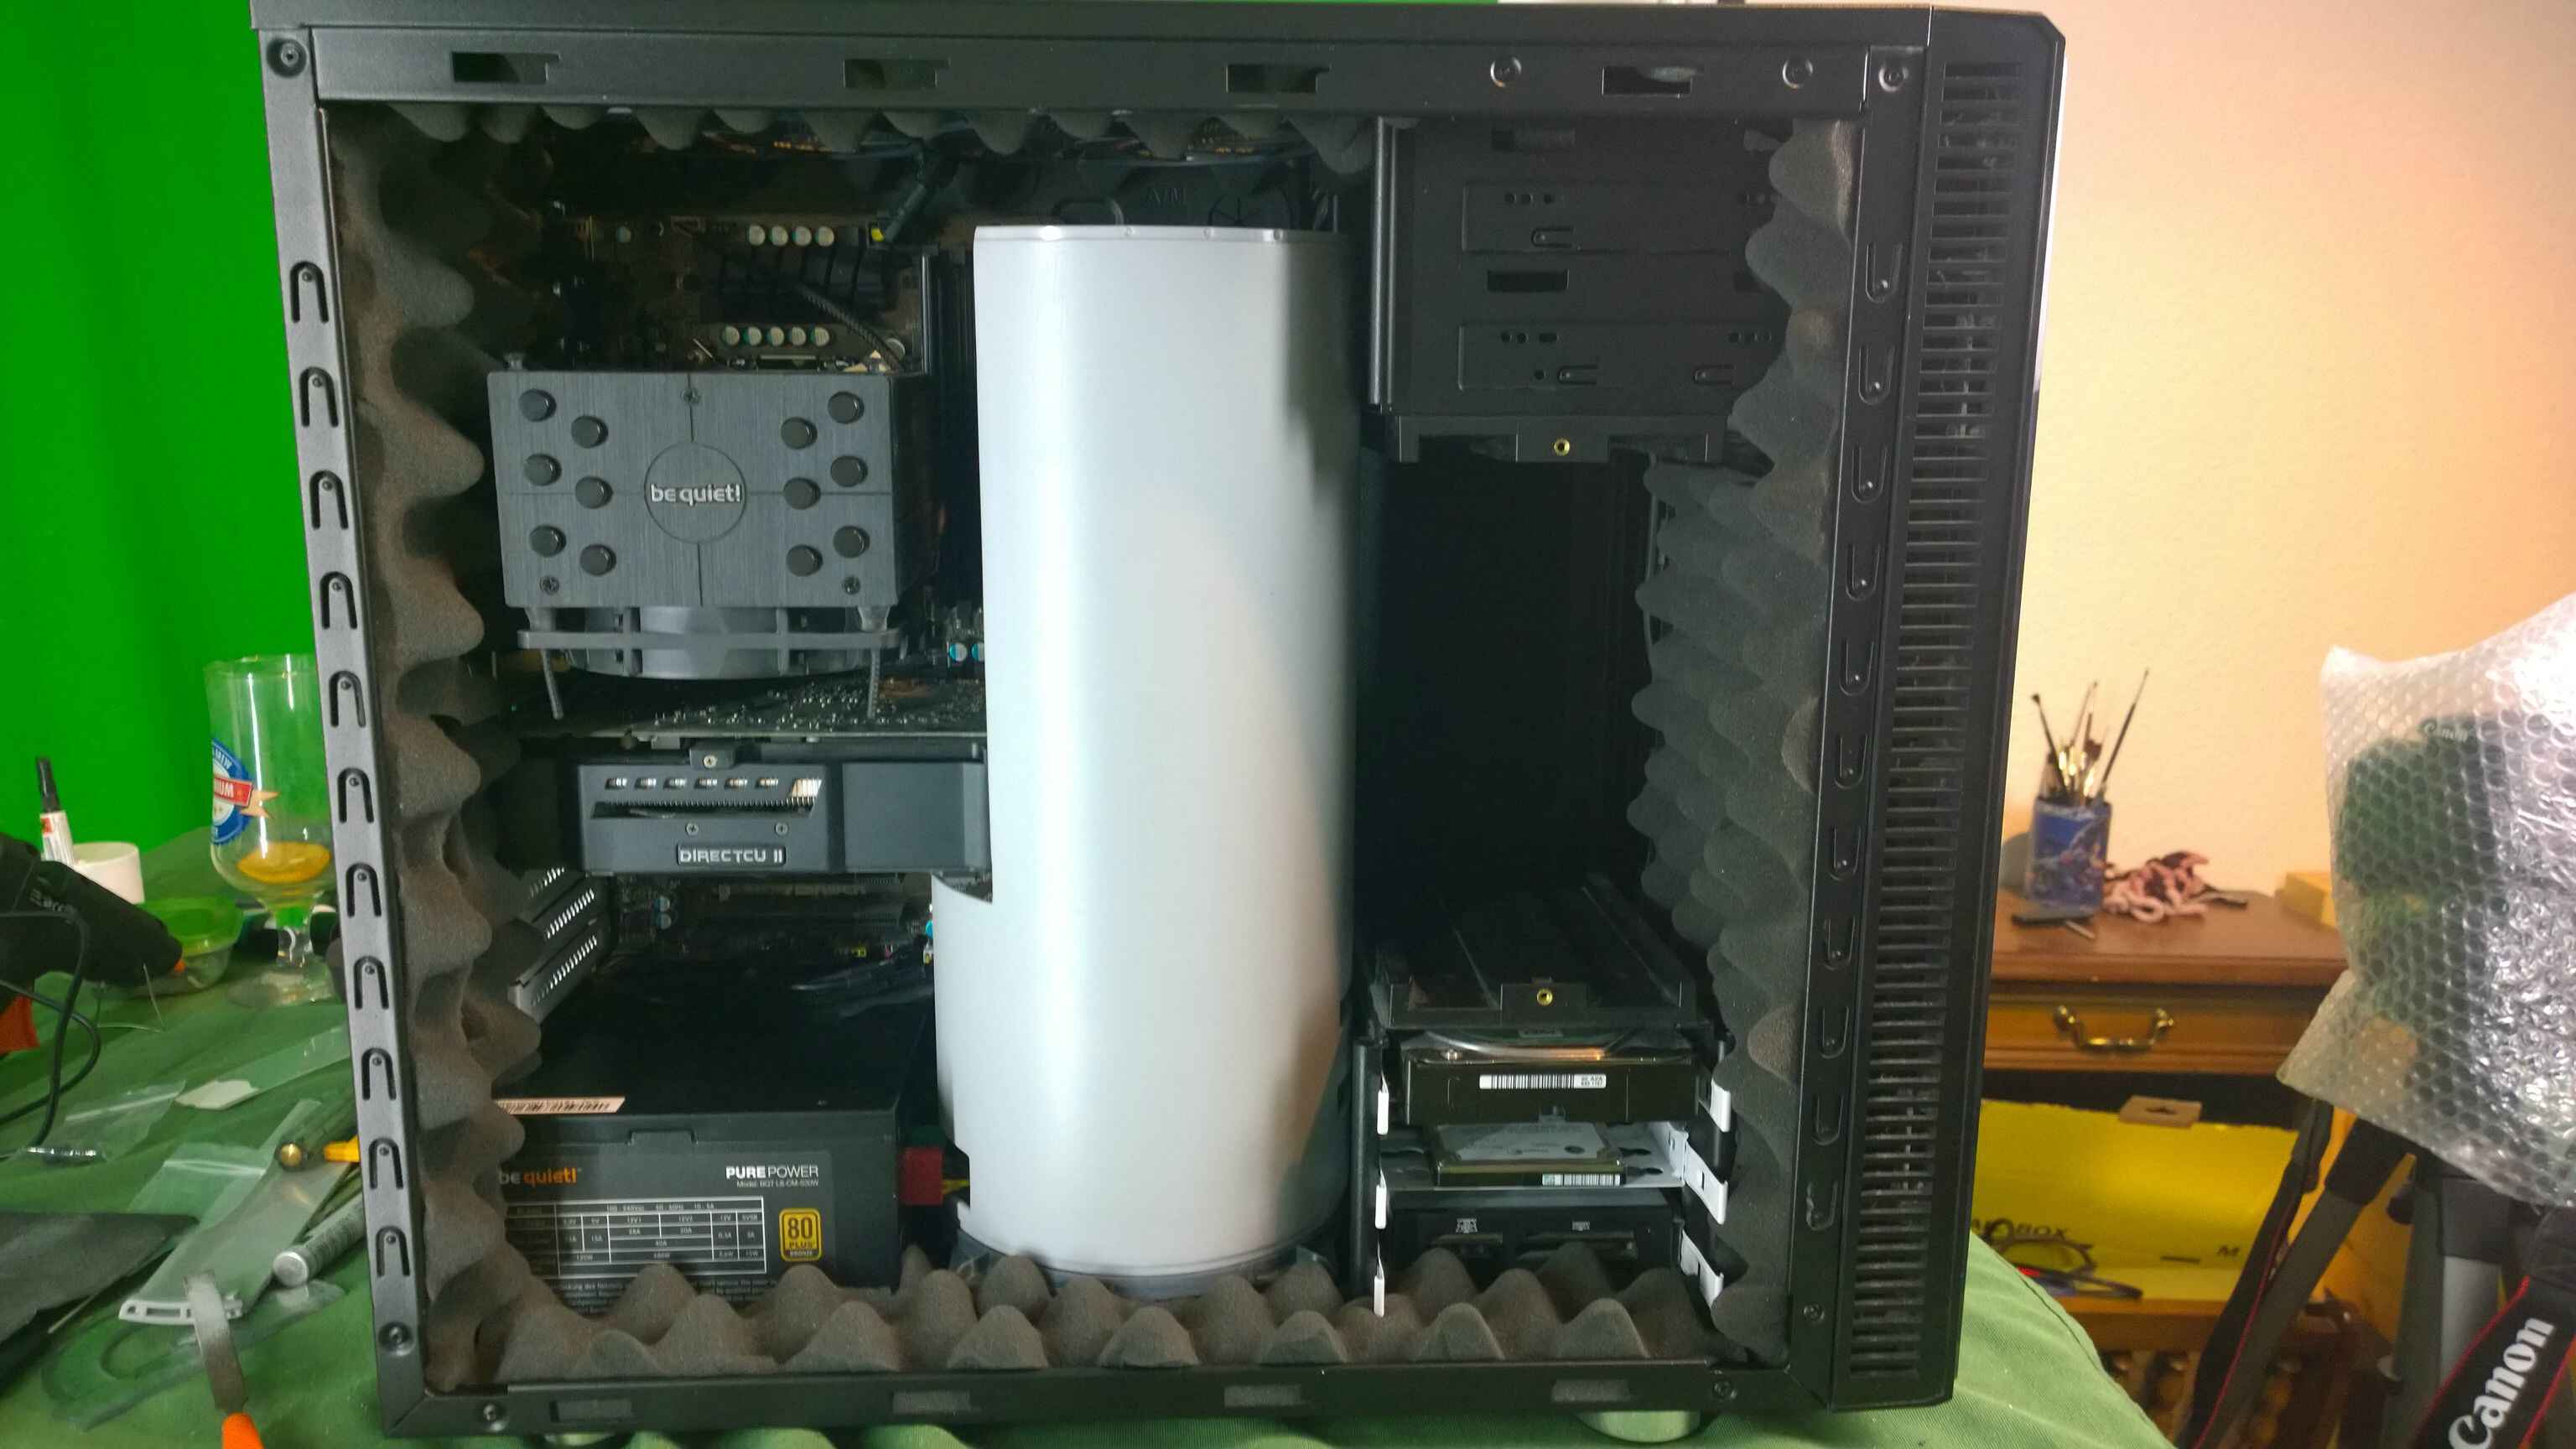
- Carefully organize the cables and wires in your computer case, keeping them away from any fans or moving parts. This will help reduce the risk of interference or accidental disconnections.
- Use zip ties, cable clips, or velcro straps to secure the power and data cables neatly along the inside of the case. This will help prevent them from becoming tangled or accidentally pulled out.
- Ensure that the cables are not stretched or strained but have enough slack for movement and ventilation.
- Check the power connector and data cables of the hard drive to ensure they are firmly attached and not loosely connected. Gently wiggle the cables to confirm a secure fit.
- If there are any excess cables or wires, use cable management techniques to keep them organized and out of the way. This will improve airflow and maintain a clean and tidy interior of your computer case.
By securing the connections and organizing the cables, you minimize the chances of accidental disconnections and ensure a stable and reliable setup for your hard drive.
Now that you have successfully secured the connections, it’s time to move on to the final step of testing the setup to ensure everything is functioning as expected.
Step 6: Testing the setup
After completing the installation of the hard drive and securing the connections, it is crucial to test the setup to ensure everything is functioning properly. Follow these steps to test the setup:
- Power on your computer and allow it to boot up.
- Listen for any unusual noises or vibrations coming from the case fan or hard drive. If you notice any strange sounds, immediately power off your computer and recheck the connections.
- Once your computer has booted up, navigate to the operating system and check if the hard drive is recognized. You can do this by accessing the Disk Management utility (Windows) or the Disk Utility (Mac).
- Verify that the hard drive’s capacity is displayed correctly and that there are no errors or warnings regarding the drive’s functionality.
- If the hard drive is recognized and functioning correctly, you can proceed to perform additional tests by transferring data to and from the drive. This will help ensure that the connection and performance are stable and reliable.
- Monitor the temperature of the hard drive during operation. Use software utilities or BIOS settings to check the temperature readings. Ensure that the temperature remains within acceptable limits, indicating efficient cooling.
If during the testing process, you encounter any issues such as unrecognized drive, errors, or abnormal temperatures, it is recommended to double-check the connections and consult the manufacturer’s documentation or online resources for troubleshooting guidance.
By thoroughly testing the setup, you can confirm that the hard drive is properly attached to the case fan and functioning optimally within your system.
With the testing complete, you can now enjoy the benefits of a well-cooled and efficiently performing hard drive in your computer.
Conclusion
Attaching a hard drive to a case fan is a practical solution to improve the cooling and performance of your storage device. By following the step-by-step process outlined in this guide, you can successfully mount the hard drive onto the case fan and ensure a stable and efficient setup for your computer.
Throughout the process, we covered the necessary materials, the preparation of the hard drive, the mounting onto the case fan, the connection to the power supply, securing the connections, and finally, testing the setup. Each step plays a crucial role in creating a reliable and well-cooled environment for the hard drive.
Remember to consult the instruction manuals provided with your hardware for any specific guidelines or precautions. The process may vary slightly depending on the specific case fan and hard drive you are working with.
By attaching the hard drive to a case fan, you can provide better airflow and cooling to the hard drive, leading to improved performance and prolonged lifespan. Proper organization and securing of cables also contribute to a cleaner and more efficient computer setup.
Ensure that you regularly monitor the temperature of the hard drive and perform maintenance checks to prevent any potential issues. Should you encounter any difficulties or errors, consult the manufacturer’s documentation or seek assistance from online resources.
With the successful completion of attaching the hard drive to the case fan, you can now enjoy optimal performance and reliability from your storage solution. Take pride in your DIY efforts and enjoy the benefits of a well-cooled and efficient computer system.