Introduction
A case fan is an essential component of a computer system as it helps to maintain the temperature and prevent overheating. Over time, dust and debris can accumulate on the fan blades, affecting its performance and causing undue noise. If you’ve noticed that your case fan is not functioning optimally or making unusual sounds, it may be time to remove and clean the fan blades.
Cleaning the case fan blades is a simple task that can greatly improve the airflow and cooling capabilities of your computer. By removing the fan blades, you can thoroughly clean them, eliminating any dust, hair, or other particles that have accumulated on the surface.
In this guide, we will walk you through the step-by-step process of removing the case fan blades. While the specific steps may vary depending on the type of case or fan you have, the basics remain the same. We will also provide some useful tips to ensure that you perform the task safely and efficiently.
Before we delve into the specifics, it is important to stress the importance of safety. Always ensure that your computer is turned off and unplugged before attempting any maintenance tasks. Additionally, handle the fan blades with care to prevent any damage or injury.
Now, let’s gather the necessary tools and get started on removing those case fan blades!
Tools Needed
Before you begin the process of removing the case fan blades, make sure you have the following tools ready:
- Screwdriver: You will need a screwdriver to remove the screws holding the case fan in place. The type of screwdriver required depends on the type of screws used in your computer case, so make sure to have a variety of screwdriver sizes available.
- Anti-static wrist strap (optional): While not necessary, an anti-static wrist strap can help protect sensitive electronic components from static electricity. If you have one, it’s a good idea to wear it to prevent any accidental damage.
- Clean, lint-free cloth: You will need a soft cloth to clean the fan blades. Avoid using paper towels or abrasive materials, as they can cause scratches on the surface of the fan blades.
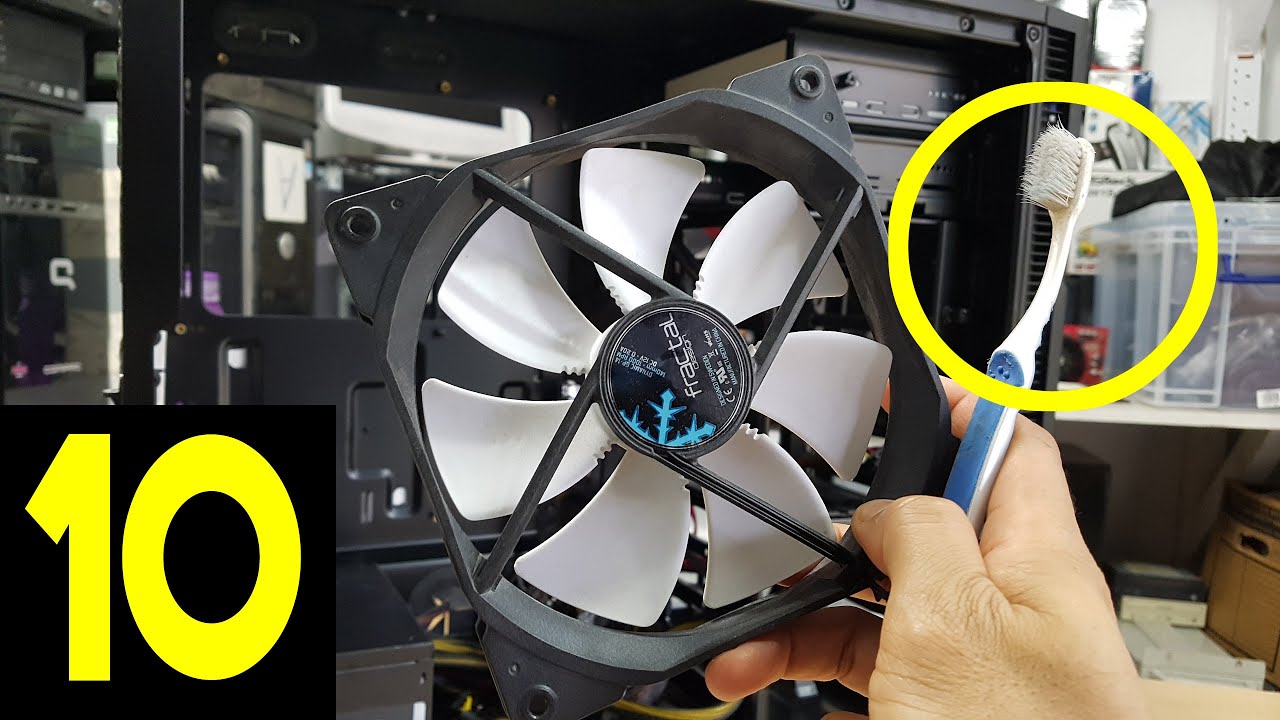
- Canned air or small brush: To effectively remove dust and debris from the fan blades, you’ll need either canned air or a small brush. Canned air is a convenient option as it can easily blow away any dirt and particles. Alternatively, a small brush with soft bristles can be used to gently brush away the dust.
Ensure that you have these tools readily available before proceeding with the removal of the case fan blades. Having the right tools will make the process much smoother and help you complete the task efficiently.
Step 1: Turn off the computer and unplug all cables
Before you begin removing the case fan blades, it’s crucial to turn off your computer and disconnect all cables from the power source. This step ensures your safety and prevents any accidental damage to your computer or its components.
Start by shutting down your computer properly through the operating system. Save any open files and close all programs before initiating the shutdown process. Once your computer has powered down, take a moment to observe any lights or indicators on the casing to ensure it is completely turned off.
Next, unplug all the cables from the back of your computer, including the power cord, monitor cables, keyboard, mouse, and any other peripheral devices. This step eliminates the risk of electrical shock while you handle the sensitive internal components of your computer.
In some cases, it may be necessary to discharge any residual electricity from your computer by holding down the power button for a few seconds after it has been unplugged. This action helps to ensure that there is no remaining power running through the system.
By turning off your computer and removing all cables, you create a safe environment for working on the case fan blades. It’s important to take this step seriously to protect both yourself and your computer from any potential harm.
Step 2: Open the computer case
With your computer turned off and all cables disconnected, it’s time to open the computer case to reveal the internal components. The method for opening the computer case can vary depending on the model and design of your computer, but the general steps are similar.
First, locate the screws or fasteners securing the side panel of your computer case. These are typically located on the back or side of the case. Depending on the case design, the screws may be Phillips head or thumb screws. Use the appropriate tool, such as a screwdriver, to remove these screws.
Once the screws are removed, gently slide or lift off the side panel of the computer case. Some cases may have a latch mechanism or sliding panel instead of screws. In such cases, follow the manufacturer’s instructions to open the case properly.
Be cautious when removing the side panel, as it may have sharp edges or be heavy. Handle it carefully and set it aside in a safe location where it won’t get damaged.
Now that you have successfully opened the computer case, take a moment to familiarize yourself with the internal components. You should be able to see the motherboard, hard drives, power supply, and of course, the case fan.
Remember to avoid touching any components inside the computer case unless absolutely necessary, as it can lead to static discharge or damage. If you need to handle any of the internal components, make sure to ground yourself by touching a metal object before proceeding.
Now that the computer case is open, you are ready to move on to the next step of removing the case fan blades.
Step 3: Identify the case fan
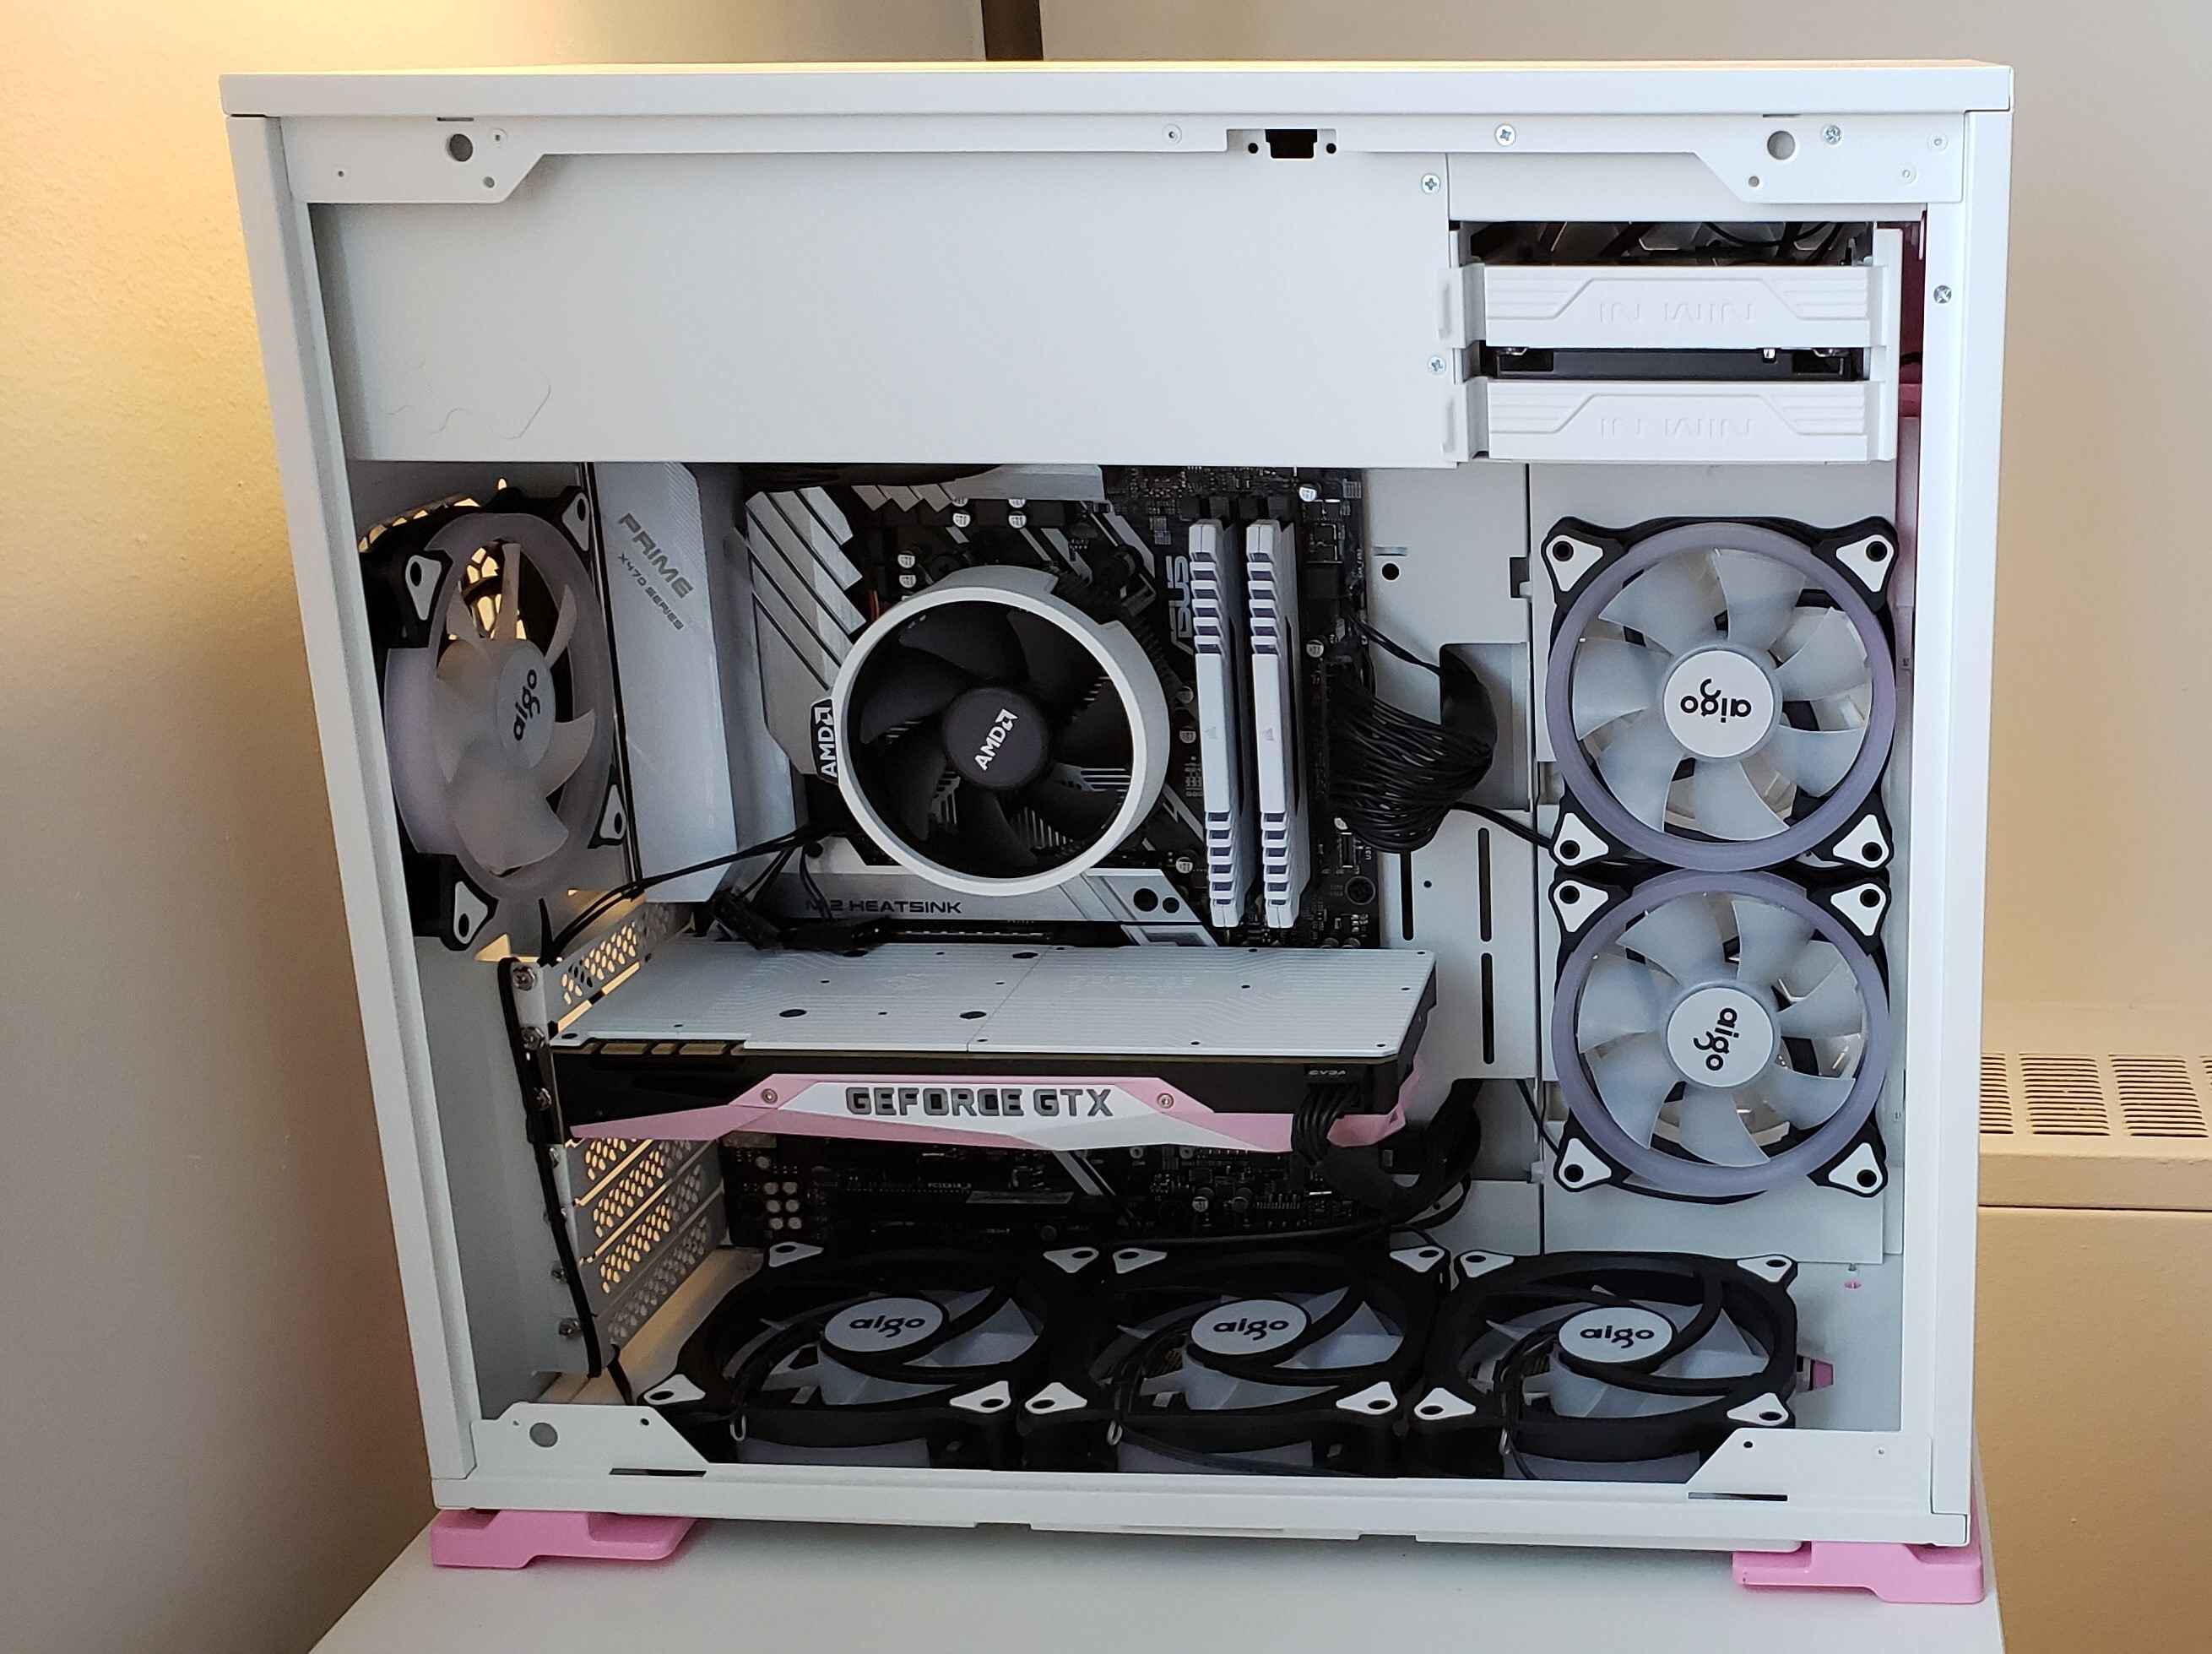
To successfully remove the case fan blades, you need to identify the specific fan that you will be working on. Most computer cases will have at least one case fan installed, while larger cases may have multiple fans for improved cooling.
Take a look at the internal components of your computer case and locate the fan(s). Case fans are typically mounted on the rear or front panel of the case, although they can sometimes be found on the top or side as well. They are usually square or rectangular in shape and have a set of fan blades.
The case fan may also be connected to the motherboard or a fan controller via a power cable. Take note of the cable’s location and make a mental or written note of how it is connected so you can reattach it correctly later.
In some cases, the fan may have a protective covering or filter over it to prevent dust from entering the case. If there is a covering, you might need to remove it before accessing the fan blades. Refer to your computer case’s manual or manufacturer’s instructions for assistance with removing any protective coverings.
It’s important to identify the case fan accurately to ensure that you are working on the correct component. Working on the wrong fan could potentially damage other parts or compromise the system’s cooling efficiency.
Once you have identified the case fan and its location, you are ready to proceed with the next steps of removing the fan blades and cleaning them thoroughly.
Step 4: Remove the fan power cable
Before you can remove the case fan blades, it’s important to disconnect the power cable that supplies electricity to the fan. This ensures that there is no power running through the fan, preventing any potential electrical accidents.
Locate the power cable connected to the case fan. Depending on your computer setup, the cable may be connected directly to the motherboard or to a fan controller. It is usually a 3 or 4-pin connector.
Gently grasp the connector where it attaches to the fan and carefully pull it straight out. Avoid tugging or pulling too hard to prevent damaging the cable or the fan’s connector.
It is a good practice to make a note or take a picture of how the cable is connected before disconnecting it. This will help you ensure that you reconnect it correctly later on. If necessary, you can also mark the connector or its location with a small piece of tape to aid in reassembly.
Once the power cable is disconnected, set it aside in a safe place or move it out of your way. Be careful not to place any strain or tension on the cable, as it could lead to damage or disconnection of the wires inside.
With the fan power cable removed, you have successfully disconnected the power supply to the case fan. This step ensures your safety and allows you to proceed with the next steps of removing the fan blades and cleaning them thoroughly.
Step 5: Remove the screws holding the fan in place
With the fan’s power cable disconnected, you can now focus on removing the screws that secure the fan in place within the computer case. These screws keep the fan stable and prevent it from vibrating or shifting during operation.
Inspect the area around the fan to locate the screws that are holding it in place. Depending on the case design, there may be two or four screws securing the fan. These screws are typically located at the corners of the fan or along its edges.
Using the appropriate screwdriver, carefully remove each screw, turning counterclockwise. Take care not to drop the screws into the case or onto any sensitive components. Consider using a magnetic screwdriver to make the process easier and reduce the risk of losing the screws.
As you remove the screws, keep one hand on the fan to prevent it from falling or tipping over. Some fans may have a slight weight to them, especially if they have a larger size or additional features like LED lighting or a fan shroud.
Place the screws in a safe location or set them aside in a small container to ensure they do not get misplaced. These screws will be needed when reattaching the case fan once you have finished cleaning the fan blades.
With the fan screws removed, the fan should now be free to move. However, be cautious when handling the fan at this point, as it may still be connected to other components or have cables attached to it. Take note of any additional connections present and prepare to gently detach the fan from the case in the next step.
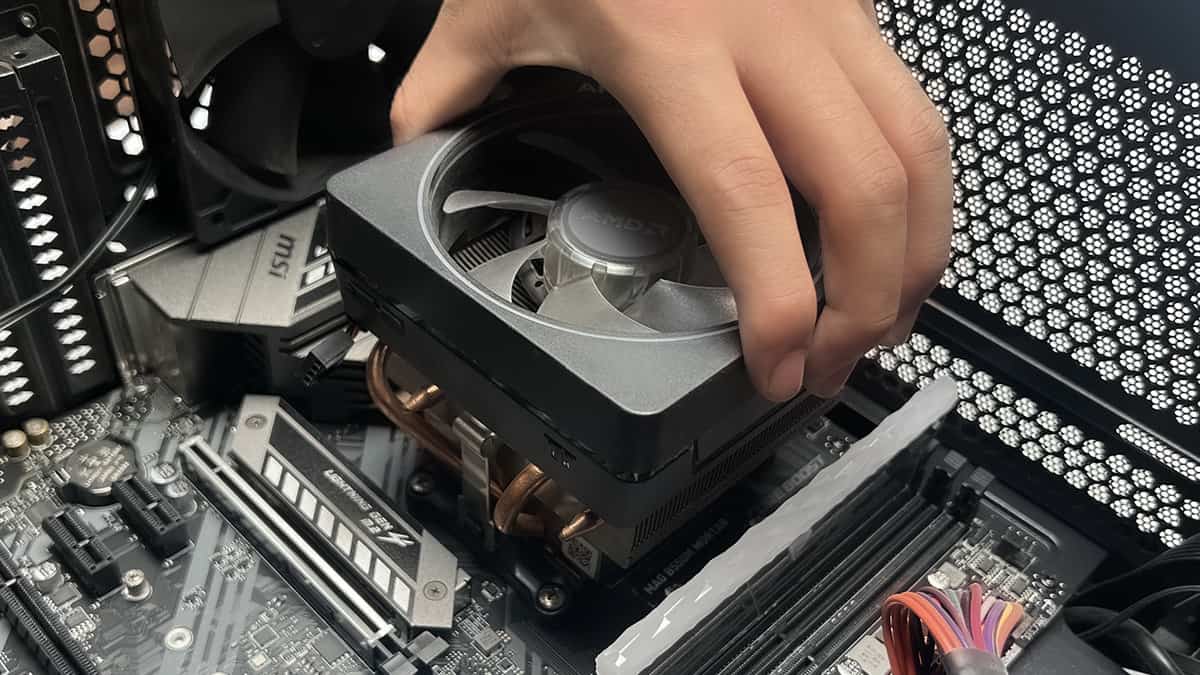
Step 6: Gently detach the fan from the case
With the screws removed, it’s time to detach the case fan from its position within the computer case. This step requires careful handling to avoid any damage to the fan or other components.
Before proceeding, take note of any cables or connectors that may still be attached to the fan. These can include additional power cables, RGB lighting cables, or noise control cables. Some larger fans may also have a separate cable for controlling fan speed.
Grasp the fan firmly but gently, taking care not to apply excessive force or pressure. Slowly and carefully lift the fan up and away from the case, ensuring that no cables or connectors are being strained or pulled. If necessary, disconnect any remaining cables or connectors before fully removing the fan.
If the fan is stuck or difficult to remove, double-check for any overlooked screws or clips that may still be holding it in place. Sometimes, fans may have additional securing mechanisms that need to be released, such as clips or brackets.
Once the fan is fully detached, set it aside in a safe and clean area. Avoid placing it on a surface that may scratch or damage the fan blades. For better organization, you can place the fan screws alongside it.
Now that the fan is removed, you have clear access to its blades and can proceed to the next steps of cleaning and maintaining them. Take this opportunity to inspect the fan for any visible damage or excessive wear that may require further attention or replacement.
Remember to handle the fan with care throughout this process to avoid any unnecessary damage. With the fan successfully detached, you can focus on the next step of removing the fan blades for a thorough cleaning.
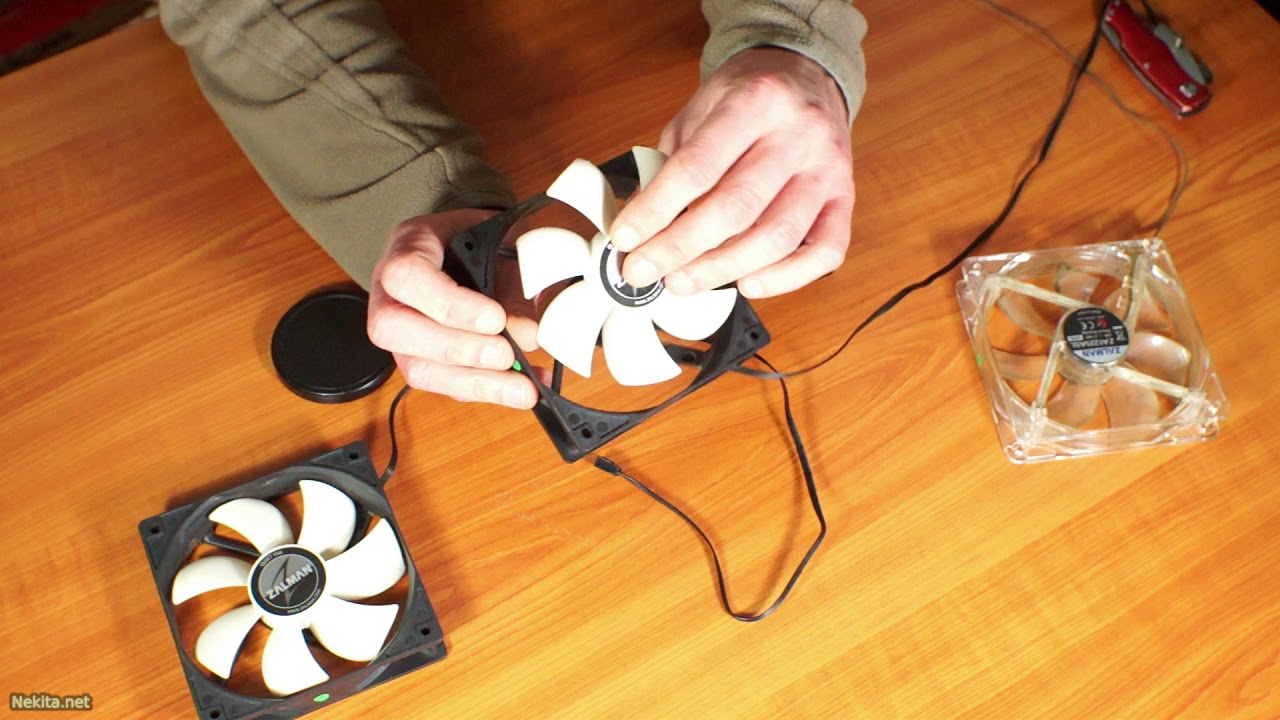
Step 7: Remove the fan blade
With the case fan safely detached from the computer case, it’s time to remove the fan blade itself. This step allows for a more thorough cleaning, ensuring that any accumulated dust or debris is completely removed.
Inspect the fan blade to locate the fastening mechanism that holds it in place. Depending on the fan model, there may be a clip, nut, or other type of fastener securing the blade to the fan hub.
Carefully examine the fastening mechanism and identify the tool or method required to remove it. Common options include using a screwdriver, pliers, or simply unscrewing a nut or clip. Refer to the fan’s manual or manufacturer instructions if you are unsure about the specific method for your particular fan.
Once you have identified the appropriate method, commence the removal process. If using a tool like a screwdriver or pliers, make sure to apply gentle and controlled force to avoid damaging the blade or the fan itself. If unscrewing a nut or clip, turn in the appropriate direction (usually counterclockwise) to loosen and remove it.
As you remove the fastening mechanism, keep a firm grip on the fan blade to prevent it from falling or swinging freely. Some fan blades may have a slight weight to them, requiring extra care during removal.
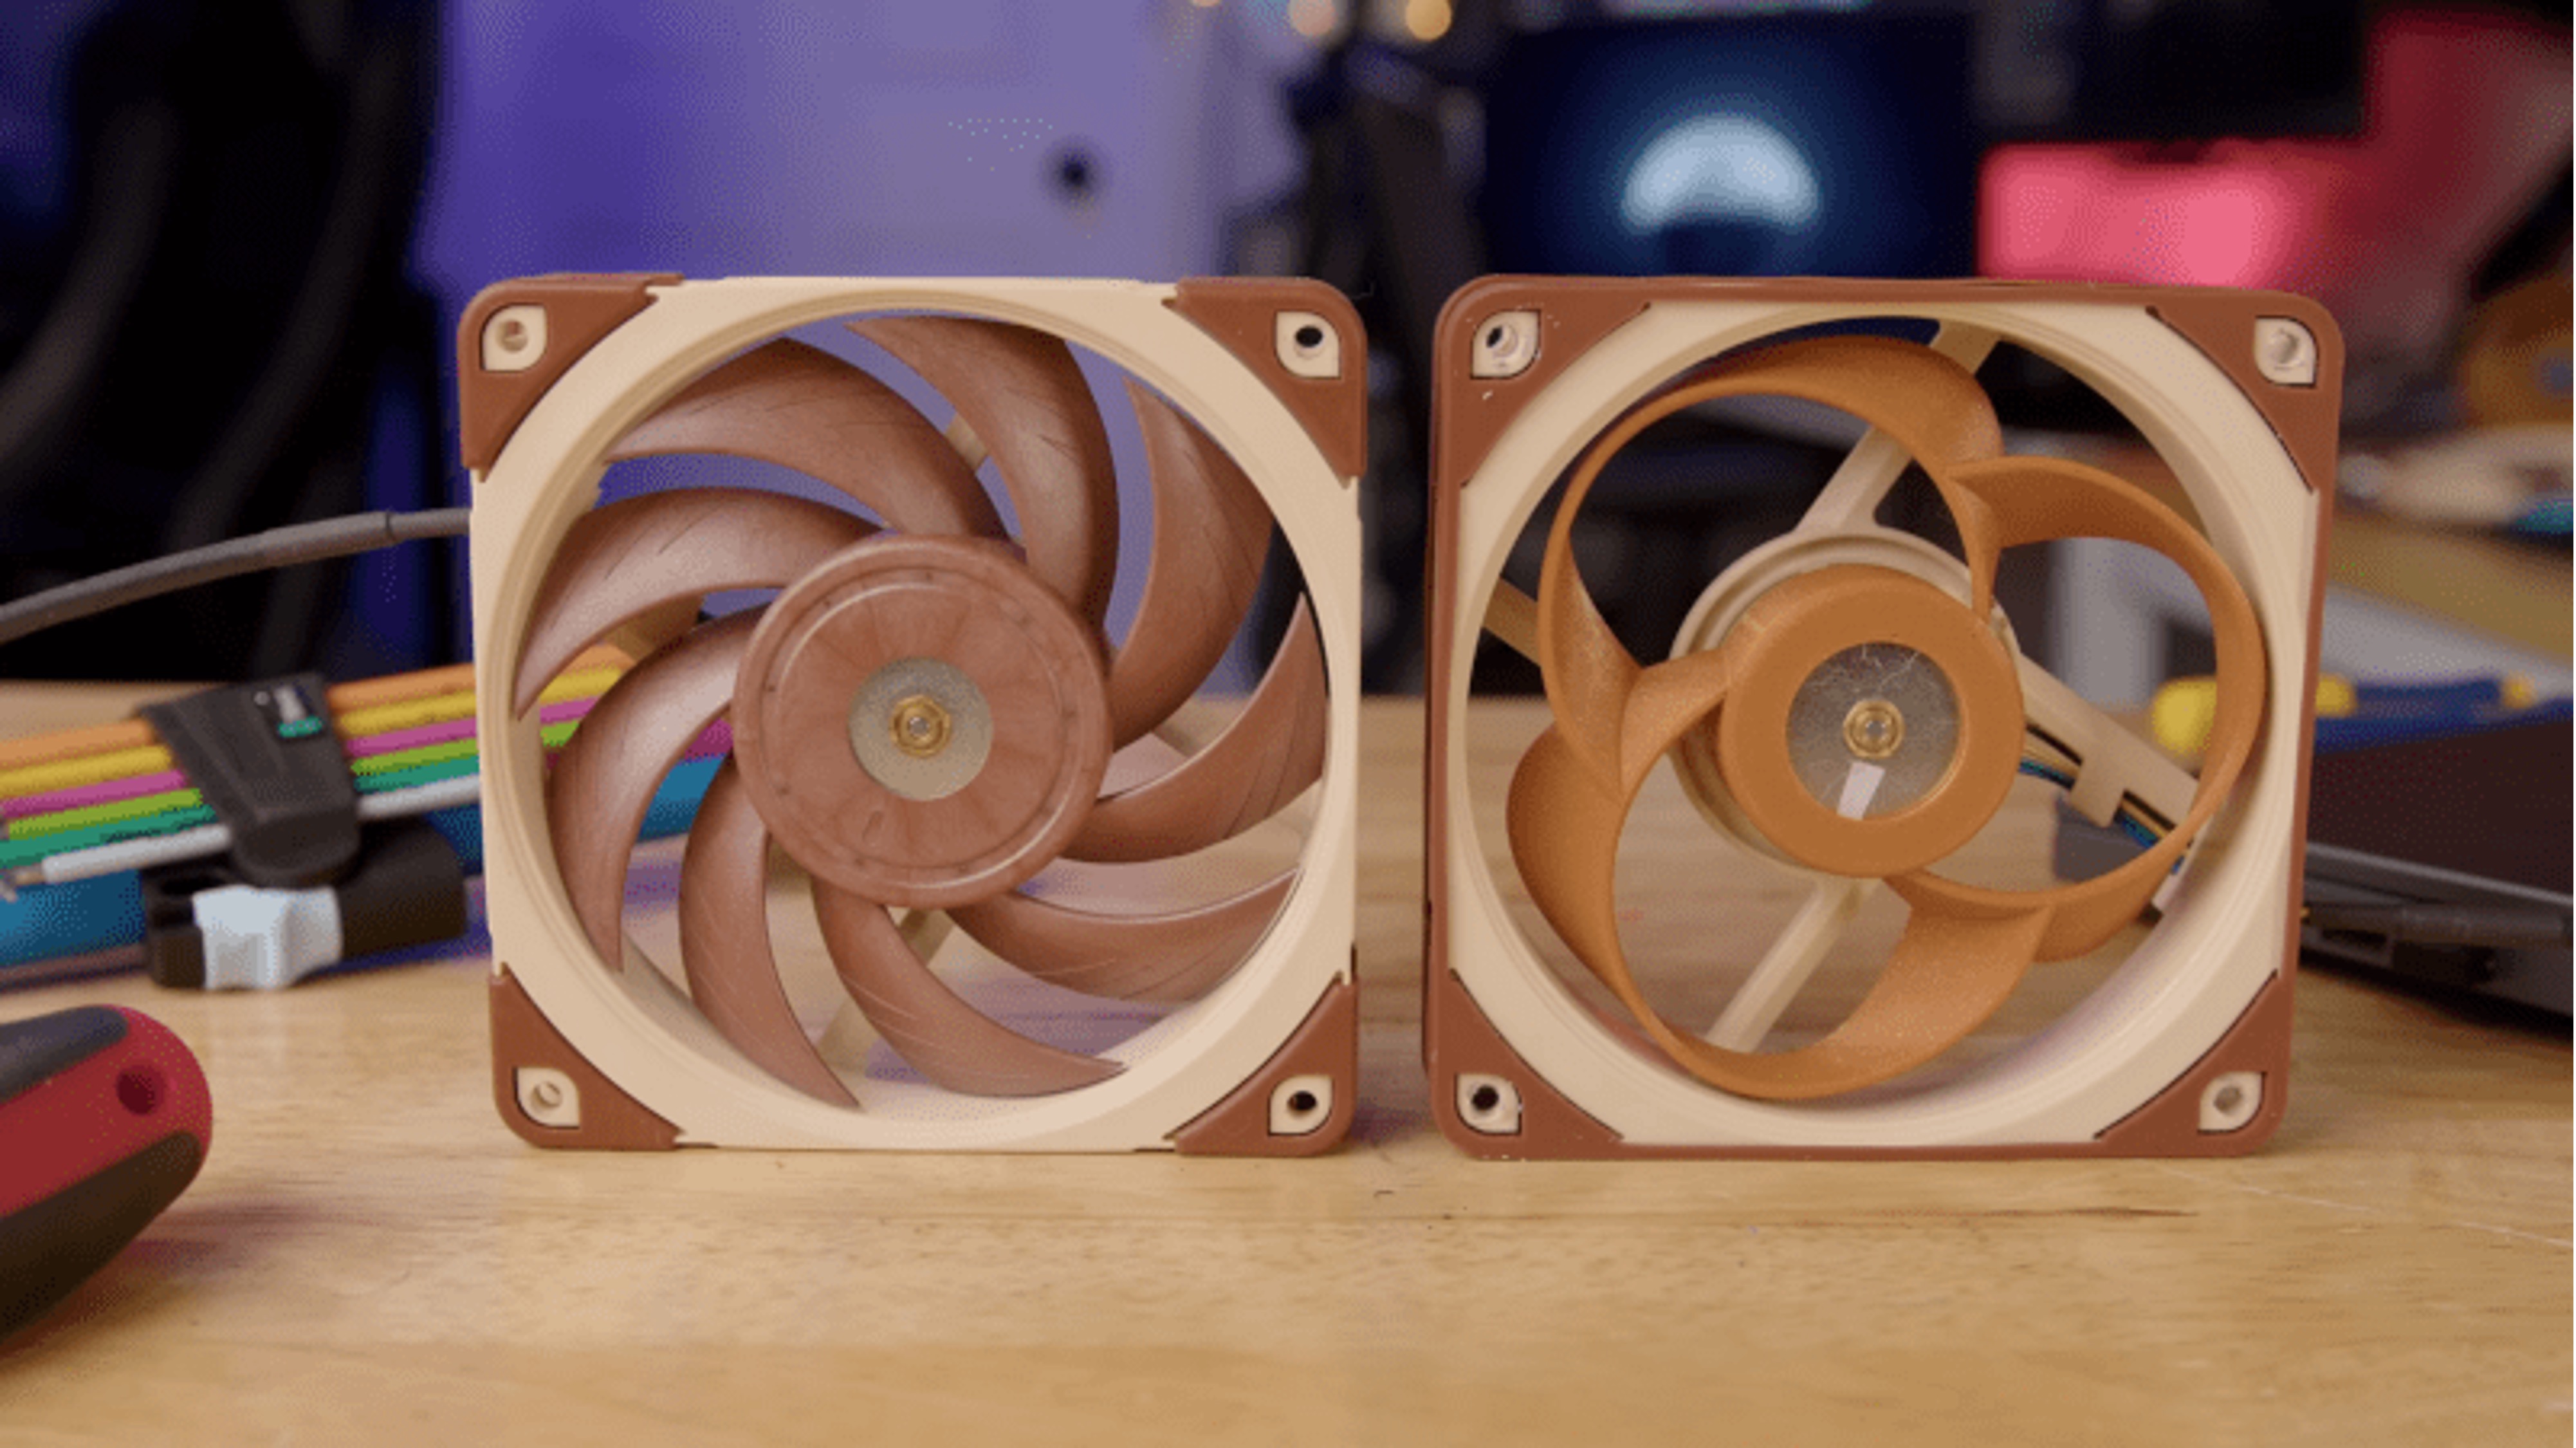
Set the removed fan blade aside. Take a moment to inspect it for any visible dirt, dust, or debris. You may notice hair, lint, or other particles that have accumulated over time. This is a common occurrence, particularly if the fan has been in use for an extended period without cleaning.
Now that the fan blade is successfully removed, you are ready to proceed to the next step of cleaning it thoroughly. Take caution and handle the blade with care to avoid any damage or injury during this process.
Step 8: Clean the fan blade
Before reattaching the fan blade, it’s crucial to clean it thoroughly to ensure optimal performance. Over time, dust, dirt, and debris can accumulate on the fan blade, impacting its efficiency and potentially causing noise issues. Cleaning the fan blade will help restore its effectiveness and maintain a quiet operation.
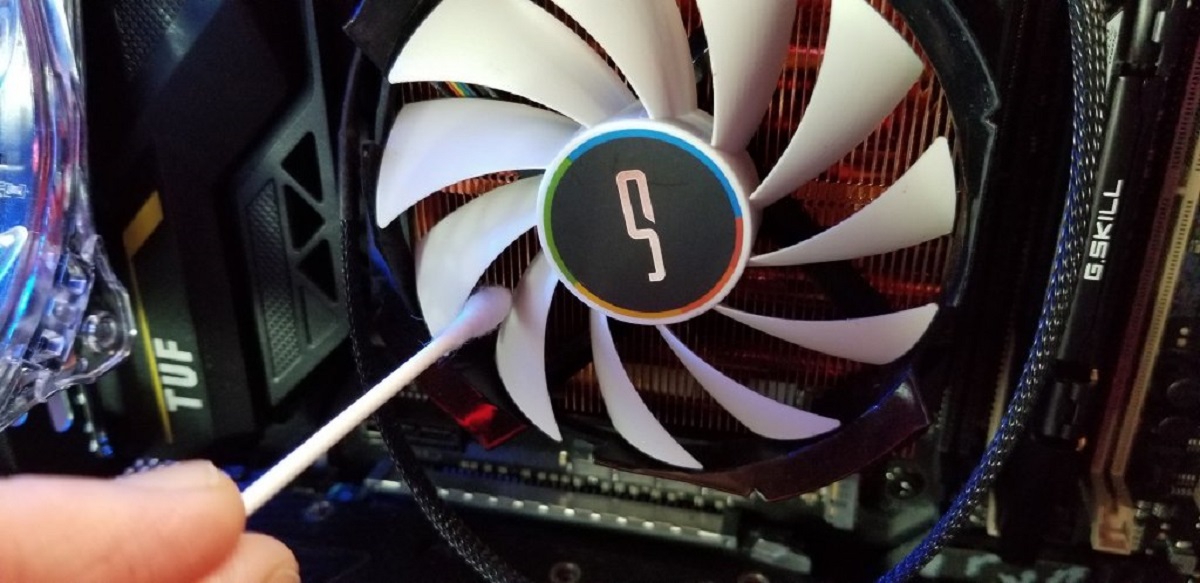
Start by using a clean, lint-free cloth or a small brush to gently wipe away any loose dust or dirt from the fan blade. Be careful not to apply excessive force or scrub too vigorously, as this can potentially bend or damage the fragile blades. It’s essential to handle the blade delicately to prevent any harm.
If the fan blade is still dirty or has stubborn residue, you can use canned air to blow away the dust. Hold the can of compressed air upright and direct the airflow towards the fan blade. Ensure that you hold the can at a suitable distance to avoid hitting the blades directly and causing them to spin too rapidly.
For more thorough cleaning, you can disassemble the fan blade from its center hub, if possible. This will allow for more effective cleaning of the individual blades. Follow the fan’s manual or manufacturer instructions to safely detach the blades from the hub and clean them individually.
Clean the blades by gently wiping them with a damp cloth or using compressed air to blow away any remaining particles. Take care not to damage the blades or any surrounding components during this process. Once the blades are clean, let them air dry completely before reassembling.
After cleaning, inspect the fan blades to ensure they are free from dirt, residue, or any visible damage. If necessary, repeat the cleaning process until the blades are completely clean.
Cleaning the fan blade is an essential step in maintaining the proper functioning of the case fan. Through regular cleaning, you can enjoy optimal airflow and prevent any overheating issues caused by clogged fan blades.
With the fan blade now cleaned, you are ready to move on to the next step of reattaching it to the fan. Ensure that the blades are completely dry before proceeding to avoid any potential damage or complications.
Step 9: Reattach the fan blade to the fan
After thoroughly cleaning the fan blade, it’s time to reattach it to the fan hub. This step ensures that the blade is securely in place and ready to provide effective cooling for your computer system. Follow these steps to safely and properly reattach the fan blade:
Start by aligning the screw holes or fastening mechanism on the fan blade with the corresponding holes or slots on the fan hub. Take care to position the blade correctly to ensure a proper fit and optimal performance.
If the fan blade uses screws, insert them through the designated holes on the fan hub and align them with the screw holes on the blade. Use a screwdriver to tighten the screws, ensuring they are snug but not overly tightened. Be careful not to overtighten the screws as it may damage the fan blade or the hub.
If your fan blade uses a different type of fastening mechanism, such as clips or nuts, follow the manufacturer instructions to reattach it securely. Use the appropriate tool or method to fasten the blade, ensuring that it is stable and firmly in place.
Once the fan blade is reattached, give it a gentle wiggle or spin to check for any looseness or instability. If the blade feels loose or wobbly, double-check the fastening mechanism and tighten it if needed.
Take a moment to inspect the fan blade and surrounding area to ensure there are no obstructions or interference that could affect the operation of the fan. Ensure that the blades are clean and free from any remaining dust or debris.
Now that the fan blade is securely reattached, you can proceed to the next step of securing the fan back into place within the computer case. This will ensure that the fan operates smoothly and effectively, providing optimal airflow and cooling for your system.
With the fan blade successfully reattached, you are now one step closer to completing the process of removing and cleaning the case fan blades. Ensure that the blade is securely fastened before moving on to the next step.
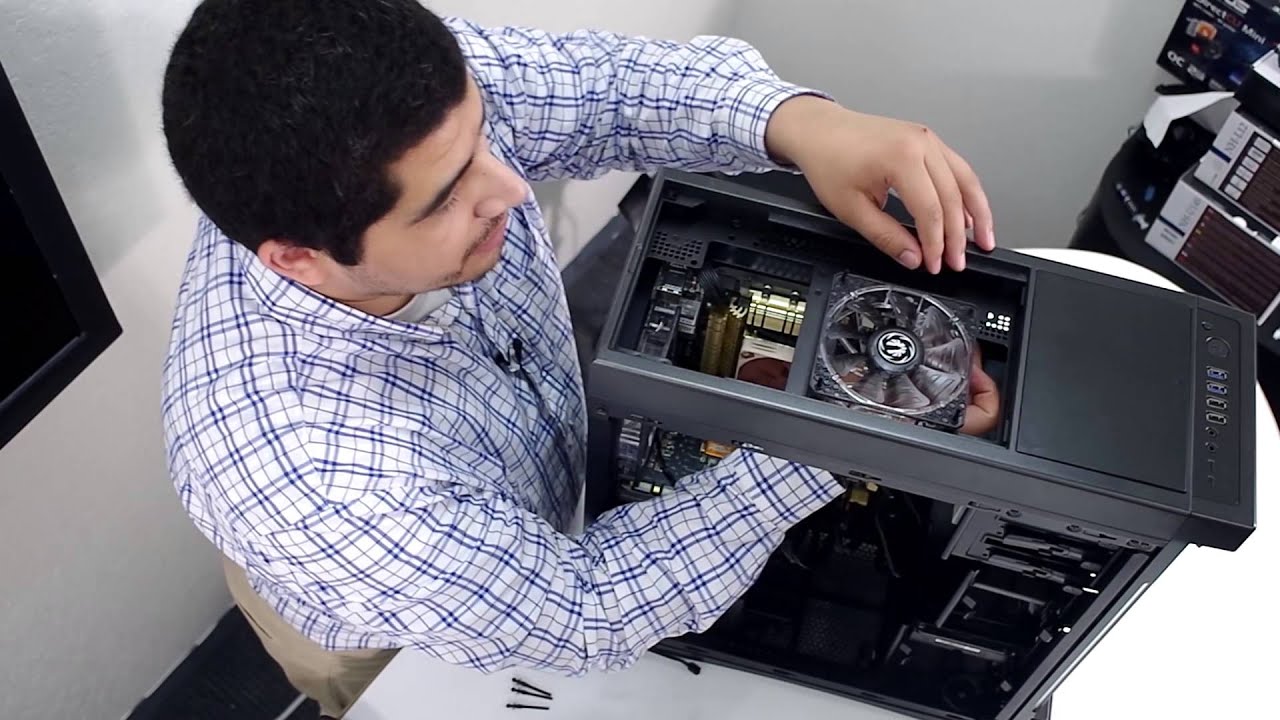
Step 10: Secure the fan back into place
Now that the fan blade is reattached, it’s time to secure the fan back into its original position within the computer case. This step ensures that the fan remains stable during operation and allows for efficient airflow and cooling. Follow these steps to securely place the fan back into position:
Carefully position the fan in its designated spot within the computer case. Align the screw holes on the fan with the corresponding holes or mounts on the case. Take note of any guiding pegs or slots that help in aligning the fan correctly.
Once the fan is properly aligned, insert the screws through the designated holes on the fan and into the screw holes on the computer case. Using a screwdriver, tighten the screws in a diagonal pattern to ensure even and secure attachment. Tighten them just enough so that the fan is well-positioned and does not wobble.
If your computer case uses a different mounting mechanism, such as clips or brackets, follow the manufacturer instructions to securely fasten the fan in place. Ensure that the fan is stable and does not move or shift during operation.
After securing the fan, give it a gentle push or wiggle to check for any looseness or instability. The fan should be firmly in place and not move excessively. If the fan feels loose, double-check the mounting mechanism or screws and tighten them if needed.
Take a moment to ensure that there are no cables or obstructions blocking the fan’s airflow. Make sure that the fan’s power cable is accessible and can be easily connected to the appropriate connector on the motherboard or fan controller.
Ensure that the area around the fan is clean and clear of any dust or debris. A clean environment will help maintain optimal airflow and prevent dust buildup on the fan blades and other components.
With the fan securely in place, you can proceed to the next step of connecting the fan’s power cable and reassembling the computer case. This will complete the process of removing and cleaning the fan blades, ensuring that your computer stays cool and operates efficiently.
With the fan securely attached, you have successfully completed the process of resecuring the fan back into place. Move on to the next step to finalize the cleaning process and get your computer up and running again.
Step 11: Plug the fan power cable back in
Now that the fan is securely in place, it’s time to reconnect the power cable to provide electricity to the fan. This step ensures that the fan can operate correctly and provide the necessary cooling for your computer system. Follow these steps to plug the fan power cable back in:
Locate the power connector on the fan, which is usually a 3 or 4-pin connector. Ensure that the cable is oriented correctly, aligning the notches or pins on the cable with the corresponding slots on the fan connector.
Gently push the power cable connector into the fan connector until it fits snugly and securely. Take care not to force or bend any of the pins to avoid damaging the fan or the cable. The connection should be tight enough so that it does not come loose during operation.
If you marked or took note of the fan’s power cable connection before disconnecting it, ensure that you plug the cable back into the correct slot. Double-check that you have connected the cable to the appropriate motherboard header or fan controller.
Take a moment to ensure that the cable is not tangled or obstructing any other components within the computer case. Arrange the cable neatly away from other fans, cables, or sensitive parts to prevent any interference or airflow restriction.
With the fan’s power cable securely connected, you are now ready to power on your computer and test the fan’s functionality. Make sure all other cables and components are also properly connected before proceeding.
Once you have powered on the computer, listen for any unusual noises coming from the fan. Observe the fan’s rotation to ensure that it is spinning smoothly and without any wobbling or vibrations. This will help confirm that the fan is correctly connected and operating as intended.
With the fan’s power cable successfully plugged back in, you have completed the process of removing and cleaning the case fan blades. Congratulations! By performing this maintenance task, you have improved the cooling efficiency of your computer and reduced the risk of overheating.
Step 12: Close the computer case
Now that the fan blades have been cleaned, the final step is to close the computer case. This step is crucial as it ensures that the internal components are protected and that the airflow within the system remains optimal. Follow these steps to securely close the computer case:
First, ensure that all cables, including the power cable connecting to the computer, are properly plugged in and organized inside the case. Check that all peripheral devices such as the keyboard, mouse, and monitor cables are securely connected as well.
Carefully align the side panel of the computer case with the edges of the case itself. Take note of any guiding pegs or slots that help in aligning the panel correctly. Gently slide or push the panel into place until it is flush with the case.
If your computer case uses screws to secure the side panel, insert them into the designated screw holes and tighten them using a screwdriver. Ensure that the screws are snug but not overly tightened, as this can damage the case or strip the screw threads. Tighten the screws in a diagonal pattern for even tension.
For cases that use a latching mechanism, follow the manufacturer instructions to properly close and secure the panel. Check for any lock or latch mechanisms and ensure that they are engaged correctly.
Once the side panel is securely closed, take a moment to inspect the case for any gaps or loose connections. Ensure that there are no loose screws or cables sticking out that could interfere with proper airflow.
Finally, power on your computer and listen for any unusual sounds or vibrations. Observe the system’s performance and monitor the temperatures to ensure that the airflow and cooling are functioning optimally.
With the computer case closed, you have successfully completed the process of removing and cleaning the case fan blades. By performing regular maintenance tasks like this, you can prolong the lifespan of your computer and enjoy improved performance.
Remember to periodically clean the case fan blades to prevent dust build-up and ensure efficient cooling. Regular maintenance will help keep your computer running smoothly and protect it from potential heat-related issues.
Conclusion
Maintaining a clean and well-functioning case fan is essential for the overall performance and longevity of your computer system. Regularly removing and cleaning the fan blades helps to ensure proper airflow, prevent overheating, and reduce noise levels. Following the step-by-step process outlined in this guide, you can easily remove and clean your case fan blades, improving the cooling efficiency of your computer.
From turning off the computer and unplugging all cables to identifying the fan and removing its power cable, each step plays a crucial role in performing the task safely and effectively. By taking the time to properly clean the fan blades, you remove dust, debris, and other particles that can obstruct airflow and impede cooling performance.
Remember to use the correct tools, such as a screwdriver, clean cloth, and canned air, during the cleaning process. Pay attention to details like reattaching the fan blade securely and plugging the power cable back in correctly. Taking these steps with care ensures that your case fan operates optimally and helps maintain the overall temperature of your computer system.
Once you have completed the cleaning process and secured the fan back into place, closing the computer case ensures that all components are protected and the airflow remains efficient. Regularly performing this maintenance task will not only prolong the life of your case fan but also contribute to the overall health and performance of your computer.
In conclusion, by following the step-by-step instructions provided in this guide, you can successfully remove, clean, and reattach the case fan blades in your computer system. By maintaining a clean and well-functioning fan, you can enjoy a cooler and quieter computer experience, ensuring smooth operations and optimal performance for years to come.