Introduction
A case fan is an essential component in a computer system as it helps in cooling the internal components, preventing them from overheating. However, over time, the bearings of the case fan can wear out, causing it to become noisy or stop functioning altogether. In such cases, repairing the case fan bearings can be a cost-effective solution instead of replacing the entire fan.
In this article, we will guide you through the step-by-step process of repairing case fan bearings. We will cover the tools and materials needed, as well as provide detailed instructions on disassembling the fan, cleaning the blades and housing, and repairing both sleeve bearings and ball bearings. Additionally, we will discuss the importance of lubricating the bearings to ensure optimal fan performance.
Repairing your case fan bearings not only saves you money but also helps extend the lifespan of the fan. By following the methods outlined in this article, you can regain a quiet and efficient cooling system, ensuring the longevity of your computer components.
Before embarking on the repair process, it’s important to note that if your case fan is still under warranty, it’s best to contact the manufacturer or authorized service center for assistance. Attempting to repair the fan yourself may void the warranty. However, if the warranty has expired or you prefer a DIY approach, continue reading to learn how to repair case fan bearings.
Step 1: Gathering the Required Tools and Materials
Before diving into the process of repairing case fan bearings, it is important to gather the necessary tools and materials. Having everything prepared will make the repair process smoother and more efficient. Here is a list of items you will need:
- Screwdriver set: Having a set of precision screwdrivers will help you easily remove the screws holding the case fan together.
- Cotton swabs or soft cloth: These will be used to clean the fan blades and housing.
- Isopropyl alcohol: This is an effective cleaning agent for removing dust, dirt, and grime from the fan components.
- Bearing oil or lubricant: This will be used to lubricate the fan bearings and ensure smooth rotation.
- Needle-nose pliers: These are handy for removing stubborn screws or clips during disassembly.
- Lubricating grease (for ball bearings): If your case fan has ball bearings, you will need lubricating grease specifically designed for this type of bearing.
- Replacement bearings (optional): If the damage to the existing bearings is severe, you may need to replace them. Contact the fan manufacturer or search for compatible replacement bearings.
- Static wrist strap (optional): To prevent any damage to sensitive electronic components, you may want to use a static wrist strap while working on the fan.
Once you have gathered all the necessary tools and materials, you are ready to proceed to the next step: disassembling the case fan.
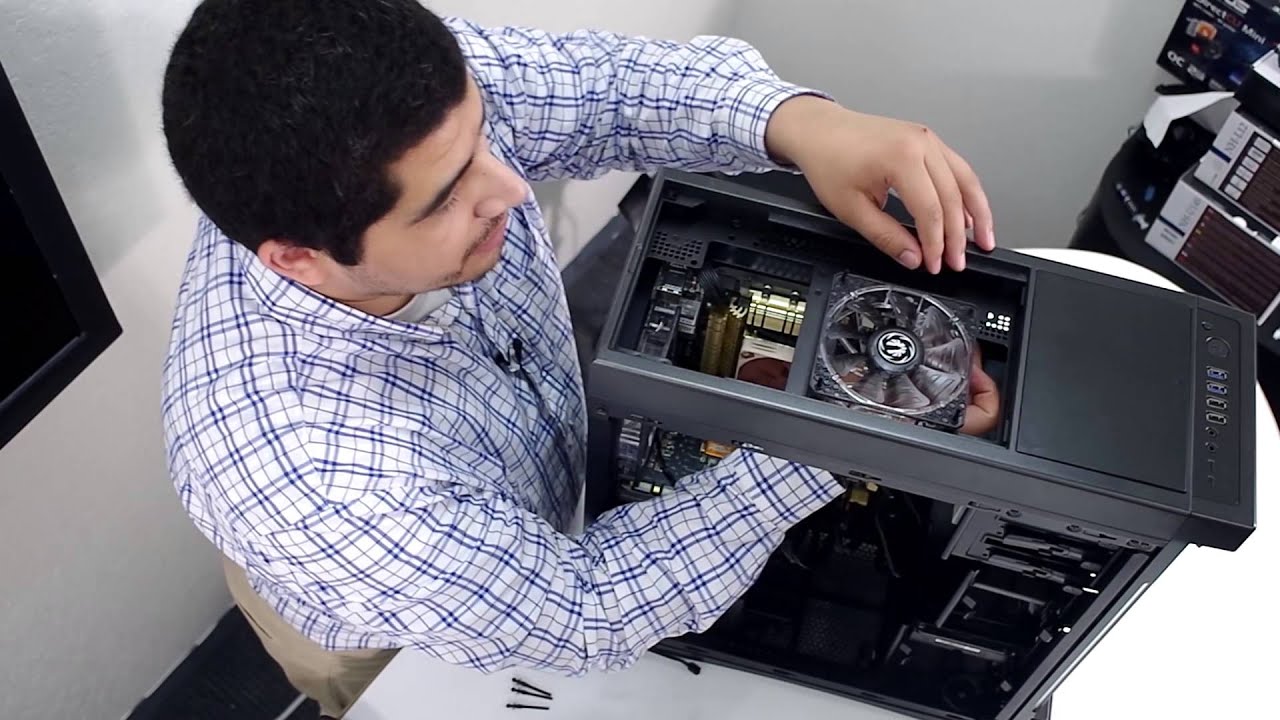
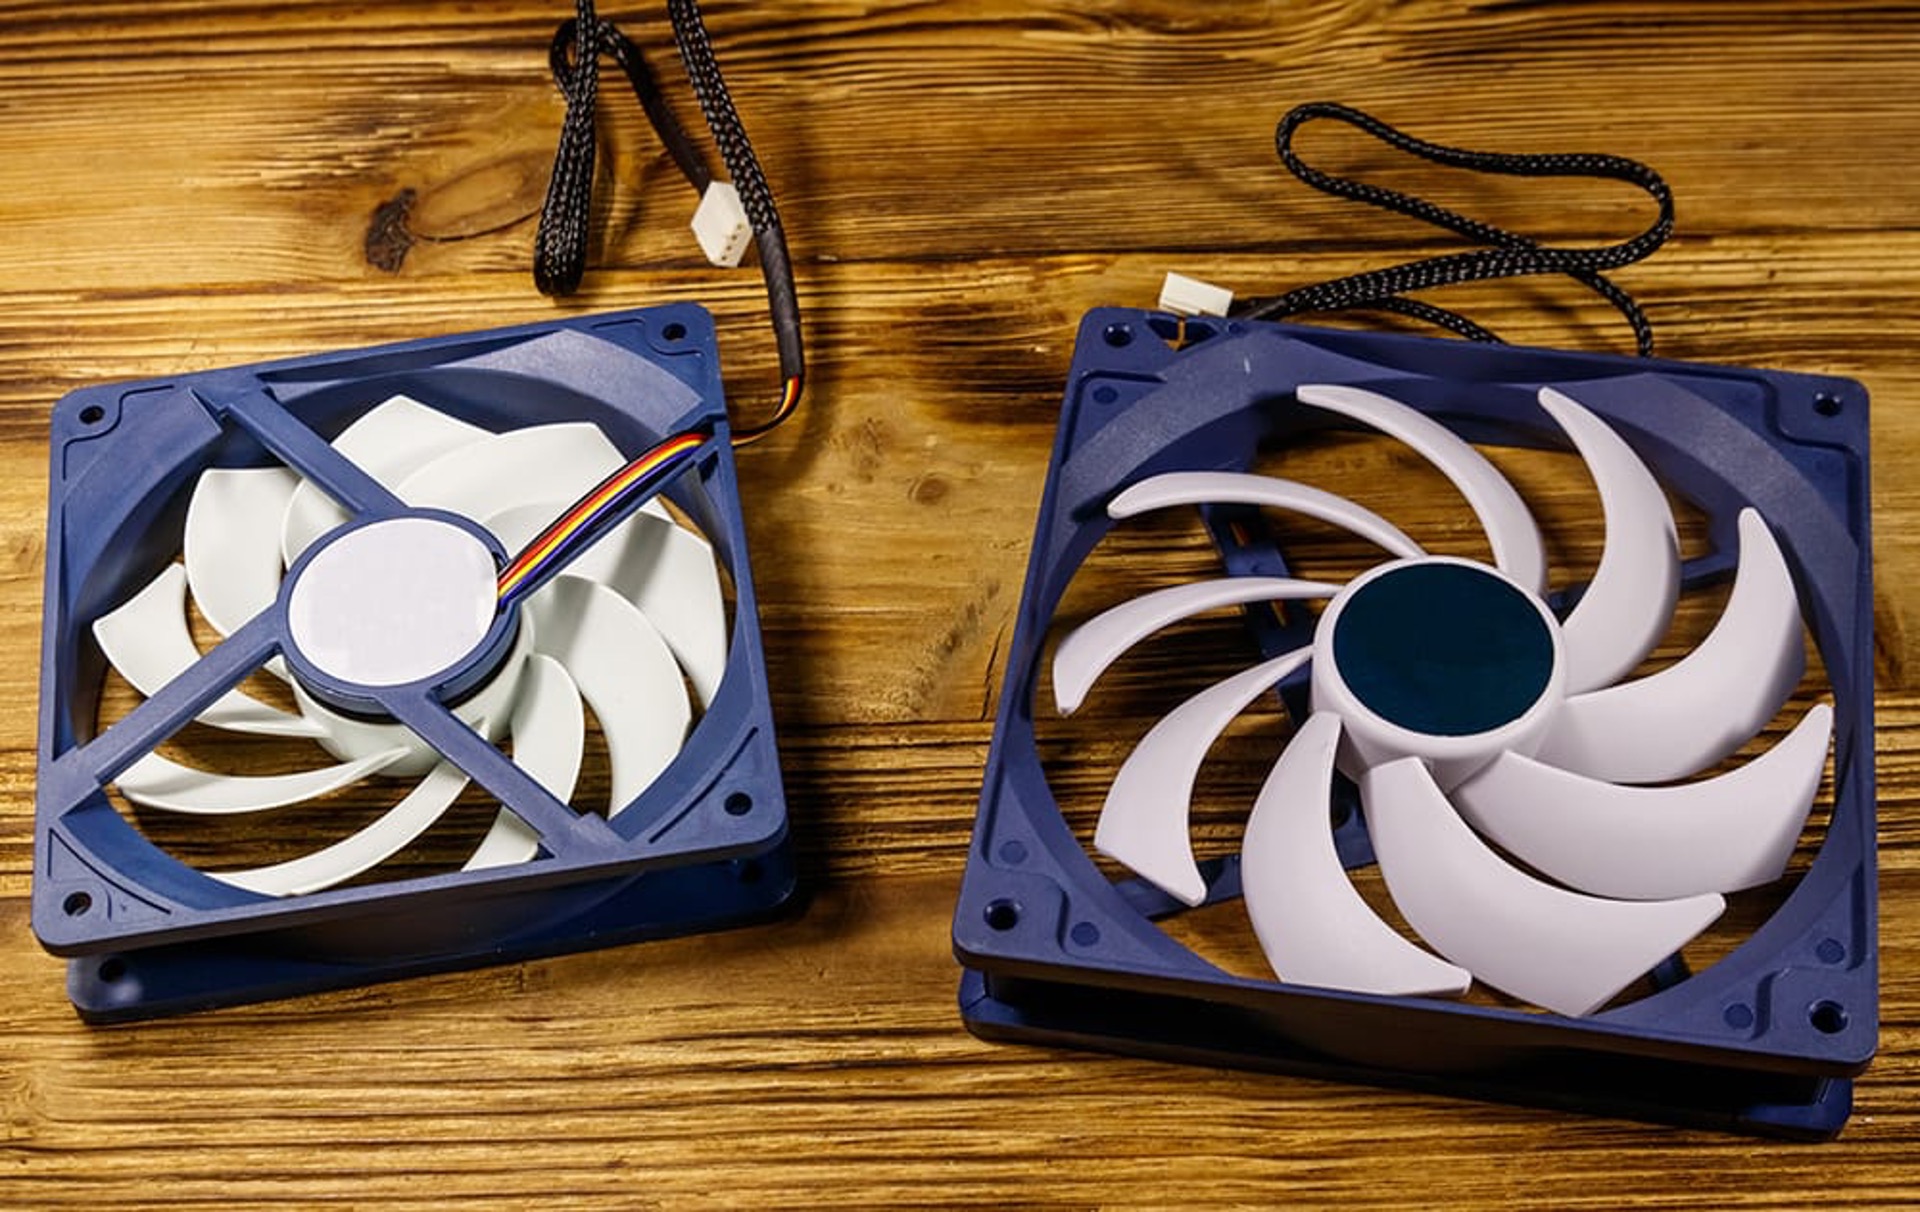
Step 2: Disassembling the Case Fan
Now that you have all the required tools and materials, it’s time to disassemble the case fan. Follow these steps:
- Turn off your computer and unplug it from the power source. This is crucial for your safety and to prevent any accidental damage.
- Locate the case fan on your computer’s motherboard. It is usually positioned near the front or back of the case.
- Use the appropriate screwdriver from your set to remove the screws holding the fan in place. Depending on the model of your case fan, there may be 2-4 screws securing it.
- Gently disconnect the power cable that connects the fan to the motherboard. Make sure to remember the orientation of the connector for reassembly.
- With the screws removed and the power cable disconnected, carefully remove the case fan from the computer case.
- If your case fan uses a fan shroud or any additional attachments, remove them as well.
By following these steps, you should be able to successfully disassemble the case fan without causing any damage. Take your time and be gentle during the process to avoid bending or breaking any of the fan components.
Once you have disassembled the case fan, you can proceed to the next step: cleaning the fan blades and housing.
Step 3: Cleaning the Fan Blades and Housing
After disassembling the case fan, it’s important to clean the fan blades and housing to remove any accumulated dust, dirt, or debris. Follow these steps to effectively clean your case fan:
- Start by using a soft cloth or cotton swabs to gently wipe away any visible dust or dirt from the fan blades. Take care not to apply too much pressure as it may damage the blades.
- If there are stubborn stains or dirt that cannot be removed with a dry cloth, dampen a cotton swab or cloth with a small amount of isopropyl alcohol. Gently wipe the affected areas until clean. Avoid getting any liquid inside the fan motor.
- Next, clean the fan housing by using a damp cloth or cotton swab soaked in isopropyl alcohol. Wipe the inside and outside surfaces, removing any dirt or grime that may have accumulated.
- Inspect the fan blades and housing for any remaining dust or debris. If necessary, use compressed air or a soft brush to dislodge and remove stubborn particles.
- Allow the fan blades and housing to air dry completely before proceeding to the next step. This will prevent any moisture from interfering with the fan’s operation.
By thoroughly cleaning the fan blades and housing, you will ensure the smooth and efficient operation of your case fan. Removing dust and debris not only improves cooling performance but also reduces the strain on the fan bearings. Once you are confident that the fan components are clean and dry, you can move on to the next step: repairing the sleeve bearings or ball bearings, depending on the type of bearings in your case fan.
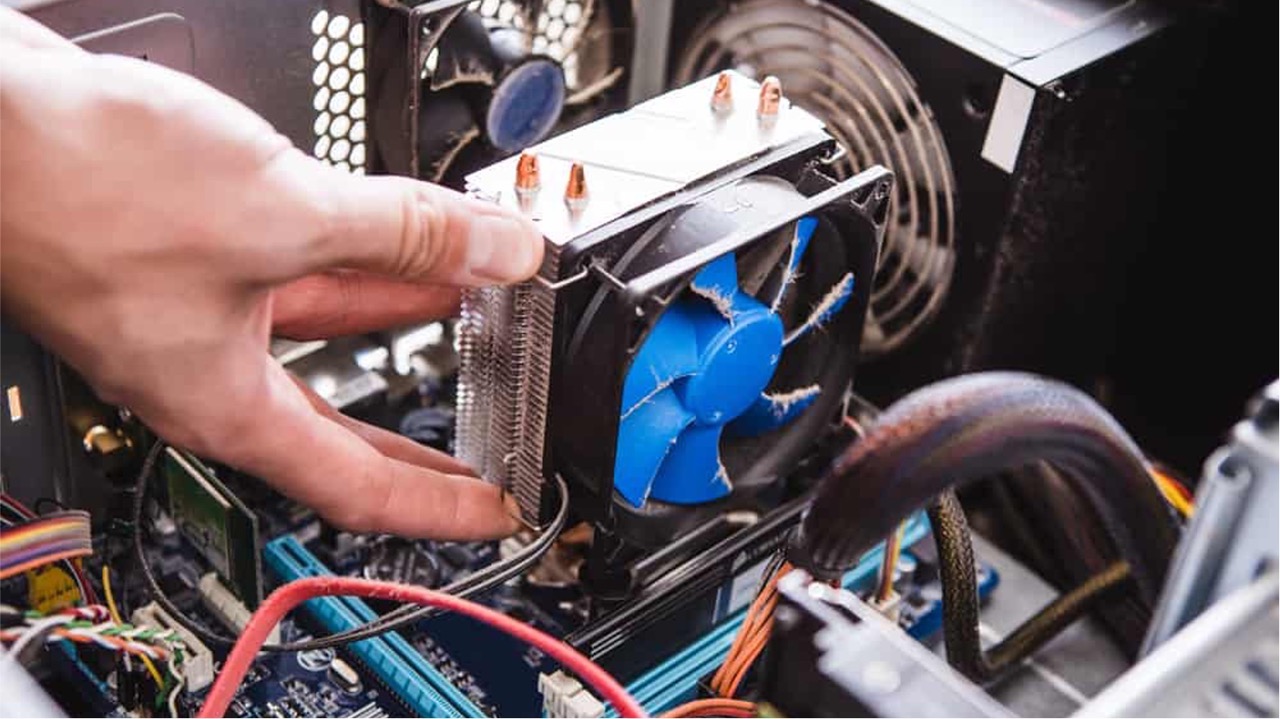
Step 4: Repairing Sleeve Bearings
If your case fan has sleeve bearings, you can attempt to repair them to restore optimal performance. Follow these steps to repair sleeve bearings:
- Remove the sticker or label covering the bearing access hole on the back of the fan. This may require gently peeling back the sticker or using a small tool to lift it.
- Apply a few drops of lubricating oil into the exposed bearing access hole. Use a light machine oil or a specialized bearing lubricant recommended by the fan manufacturer. Avoid using heavyweight oils or grease as they may clog the bearing or interfere with the fan’s rotation.
- Rotate the fan blades manually to distribute the oil evenly within the sleeve bearings. This helps to alleviate any friction and allows the oil to reach all parts of the bearing.
- Replace the sticker or label that was removed to cover the bearing access hole. This helps to prevent dust and dirt from entering the bearing.
- Reassemble the case fan by following the steps in reverse order. Make sure you properly connect the power cable to the fan and securely fasten the screws.
Repairing the sleeve bearings of your case fan can often extend its lifespan and reduce noise caused by friction. However, it’s important to note that this repair method may not work if the bearings are severely damaged or worn out. In such cases, it may be necessary to replace the fan or consider professional assistance.
Once you have successfully repaired the sleeve bearings, you can move on to the next step: repairing ball bearings (if applicable) or lubricating the fan bearings.
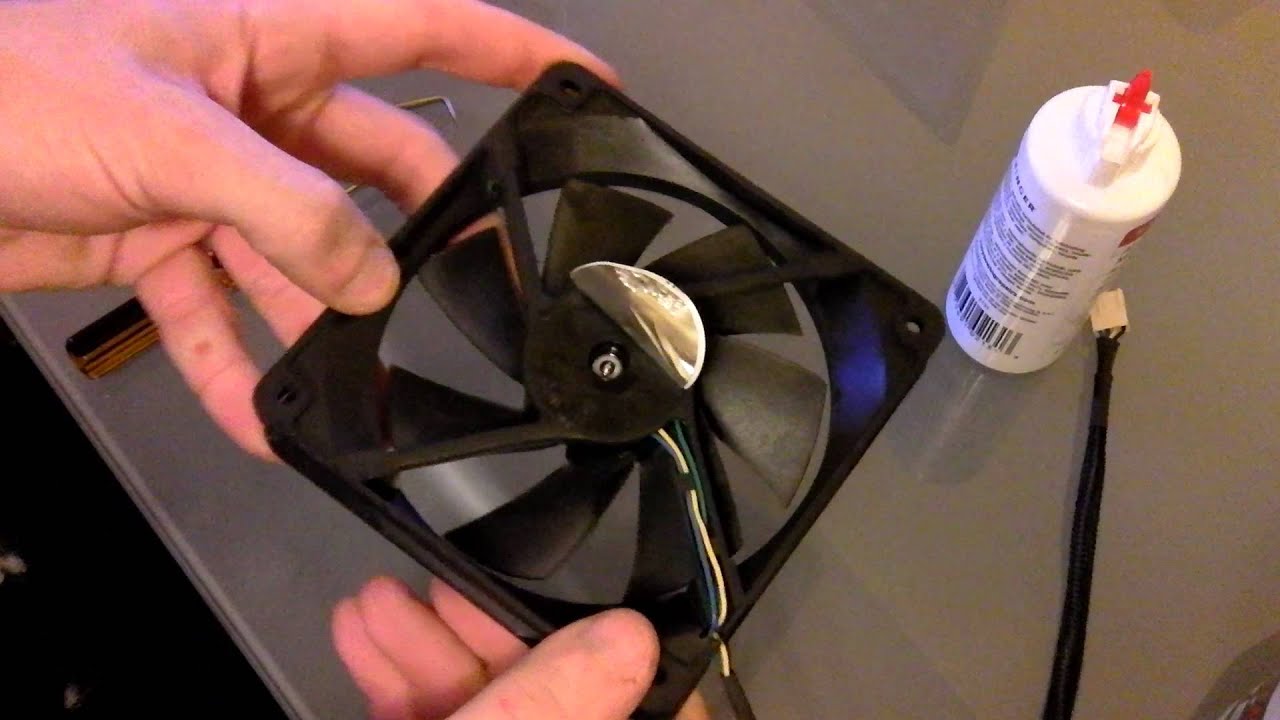
Step 5: Repairing Ball Bearings
If your case fan has ball bearings, you can attempt to repair them to restore smooth and quiet operation. Follow these steps to repair ball bearings:
- Carefully remove the rubber seal or plastic cover on the back of the fan. This will expose the ball bearings.
- Clean the ball bearings using a cotton swab or soft cloth. Remove any dirt or debris that may have accumulated on them.
- Apply a small amount of lubricating grease specifically designed for ball bearings onto the cleaned ball bearings. Be cautious not to apply too much as excess grease can cause unnecessary resistance and overheating.
- Gently rotate the fan blades to distribute the lubricating grease evenly throughout the ball bearings.
- Replace the rubber seal or plastic cover, ensuring it is properly secured to prevent dust and dirt from entering the bearings.
- Reassemble the case fan, making sure to securely fasten any screws and connect the power cable.
Repairing ball bearings can help reduce friction and noise, improving the overall performance of your case fan. However, it is important to note that this repair method may not be effective if the ball bearings are extensively damaged or worn out. In such cases, replacing the fan or seeking professional assistance may be necessary.
Once you have successfully repaired the ball bearings or lubricated the fan bearings, you can proceed to the next step: reassembling the case fan.
Step 6: Lubricating the Bearings
Lubricating the bearings of your case fan is an essential step to ensure smooth and efficient operation. Follow these steps to properly lubricate the bearings:
- Identify the location of the fan bearings. Depending on the type of fan you have, the bearings may be accessible from the back or underneath the fan.
- Remove any covering or seal that restricts access to the bearings. This may require gently peeling back a sticker or loosening a plastic cover.
- Apply a small amount of lubricating oil or grease specifically designed for fan bearings. Use a dropper or precision applicator to apply the lubricant to the bearings. Be careful not to over-apply the lubricant, as this can lead to dripping or excess build-up.
- If possible, gently rotate the fan blades to help distribute the lubricant and ensure it reaches all parts of the bearings.
- Replace any covering or seal that was removed to protect the bearings from dust and debris.
- Reassemble the case fan by following the reverse order of disassembly. Make sure all screws are tightly secured and the power cable is properly reconnected.
Lubricating the bearings of your case fan helps to reduce friction and noise while allowing the fan to spin smoothly. Regular maintenance and lubrication can extend the life of the fan and improve cooling performance.
It’s important to note that different types of fans may require different lubricants or oils, so it’s best to refer to the manufacturer’s instructions or recommendations when choosing a lubricant for your specific fan model.
Once you have successfully lubricated the bearings, you can move on to the final step: reassembling the case fan.
Step 7: Reassembling the Case Fan
After completing the necessary repairs and maintenance, it’s time to reassemble the case fan. Follow these steps to ensure a successful reassembly:
- Begin by aligning the fan blades with the fan housing slots. Carefully insert the fan blades into the housing, ensuring they fit snugly.
- Secure the fan blades in place by fastening the screws that were removed during disassembly. Use the appropriate screwdriver to tighten the screws, but be cautious not to overtighten them, as it can damage the fan or its components.
- Reattach the power cable to the fan, making sure the connector is properly aligned and inserted fully into the socket on the fan or motherboard.
- If there were any additional attachments or fan shrouds, reattach them as well, following the manufacturer’s instructions.
- Double-check that all screws and connections are tightened and secured.
Once you have reassembled the case fan, give it a spin to ensure it rotates smoothly and without any unusual noises or vibrations. If everything appears to be in order, you can proceed to reconnect the power source to your computer and turn it on.
Remember to monitor the fan’s performance after reassembly. If you notice any issues or the fan starts exhibiting abnormal behavior, it is advisable to seek professional assistance or consider replacing the fan.
Congratulations! You have successfully repaired and reassembled your case fan. By following these steps, you have extended the lifespan of the fan and improved the cooling efficiency of your computer system.
Conclusion
Repairing case fan bearings can be a cost-effective solution to restore the performance and lifespan of your fan. By following the step-by-step process outlined in this guide, you can successfully disassemble the fan, clean the blades and housing, repair sleeve or ball bearings, lubricate the bearings, and reassemble the fan. These maintenance tasks not only help reduce noise but also improve cooling efficiency, ensuring the longevity of your computer system.
Remember, when repairing case fan bearings, it’s important to gather the necessary tools and materials, such as screwdrivers, cleaning agents, lubricants, and replacement bearings if needed. Take your time during each step and handle the fan components with care to avoid any damage. Additionally, it’s crucial to follow the manufacturer’s instructions or recommendations for lubrication and maintenance specific to your fan model.
If you encounter any difficulties or the damage to the bearings is severe, it may be necessary to seek professional assistance or consider replacing the fan altogether. It’s also important to note that attempting to repair the fan yourself may void any existing warranties, so check with the manufacturer before proceeding.
By maintaining and repairing your case fan, you can ensure optimal cooling performance, prolong the life of your computer components, and enjoy a quieter computing experience. So, don’t overlook those noisy or malfunctioning fans – take the necessary steps to repair them and keep your computer running smoothly for years to come.