Introduction
Have you ever wondered why your PSU (Power Supply Unit) fan is so loud? It can be quite frustrating when the noise from your computer’s PSU fan becomes a constant distraction. The PSU fan plays a crucial role in maintaining the optimal temperature of your system by cooling down the internal components. However, excessive noise can indicate an underlying issue that needs to be addressed.
In this article, we will explore the reasons behind a loud PSU fan and the possible solutions to reduce the noise. We will delve into common causes such as dust buildup, overheating, faulty fan, high power consumption, inadequate cooling, and power insufficiency for the components. By understanding these factors and implementing appropriate remedies, you can bring back the peace and tranquility to your computer setup.
So, if you find yourself wondering why your PSU fan sounds like a jet engine, read on to discover the potential causes and practical solutions to silence that noise.
Reasons for a loud PSU fan
A loud PSU fan can be caused by various factors. Understanding these reasons will help you identify the underlying issue and take appropriate steps to resolve it. Here are some common reasons for a loud PSU fan:
- Dust buildup: Over time, dust and debris can accumulate inside your PSU, obstructing the fan and causing it to work harder. This increased workload leads to a louder fan noise. Regular cleaning is essential to prevent dust buildup and maintain optimal performance.
- Overheating: When your computer’s components get too hot, the PSU fan kicks into high gear to cool them down. If your system is experiencing overheating issues, the PSU fan may run at a higher speed, resulting in increased noise. It is crucial to ensure proper ventilation and cooling to avoid excessive heat buildup.
- Faulty fan: A worn-out or damaged fan can create excessive noise. Over time, the fan’s bearings may wear down, causing it to spin unevenly and produce a loud grinding or buzzing sound. In such cases, replacing the fan can solve the problem.
- High power consumption: If your computer components are drawing a significant amount of power, it puts a strain on the PSU, causing the fan to work harder. Upgrading to a higher wattage PSU can help distribute the power more efficiently and reduce the fan noise.
- Inadequate cooling: Insufficient cooling inside your computer case can lead to increased heat buildup, forcing the PSU fan to work harder. Make sure that your case has adequate airflow and properly functioning case fans to prevent excessive noise from the PSU fan.
- Not enough power for components: If your PSU is underpowered for your computer’s components, it may struggle to provide enough power, causing the fan to work harder and produce more noise. Upgrading to a PSU with a higher wattage rating can alleviate this issue.
By understanding these reasons, you can assess which factors may be contributing to the loud PSU fan noise in your setup. In the following sections, we will explore effective solutions to mitigate the noise and restore a quieter computing experience.
Dust buildup
Dust buildup is a common culprit behind a loud PSU fan. As your computer operates, it draws in air to cool the internal components, including the PSU. This air often carries dust particles that can accumulate over time. The accumulation of dust on the PSU fan blades and inside the unit can restrict airflow, causing the fan to work harder and generate more noise.
To address dust buildup, regularly cleaning your PSU is essential. Here’s how you can effectively remove dust:
- Power off and unplug: Before you begin cleaning, make sure your computer is powered off and unplugged from the electrical outlet. This is crucial for your safety and to avoid any damage to the components.
- Open the computer case: Depending on your computer case, you may need to remove screws or panels to access the internal components. Consult your computer’s manual for specific instructions on how to open the case.
- Locate the PSU: Identify the location of the PSU inside your computer case. It usually sits at the top or bottom of the case and has a fan on its backside.
- Use compressed air: Using a can of compressed air, carefully blow air into the PSU fan to dislodge the dust. It’s important to hold the can upright and use short bursts of air to prevent any moisture from being released.
- Clean the fan blades: After blowing the dust away, use a soft brush or cloth to gently wipe the fan blades and remove any remaining dust particles. Be cautious not to apply excessive force that could damage the fan.
- Clean the PSU unit: Take a clean, dry cloth and wipe the exterior of the PSU unit to remove any dust or dirt. Pay attention to the ventilation holes and ensure they are clear of any obstructions.
- Close the computer case: Once you have completed cleaning the PSU, carefully close the computer case and secure any screws or panels.
Regularly performing this dust cleaning routine, ideally every few months, will help prevent excessive dust buildup and keep your PSU fan running smoothly and quietly.
Overheating
Overheating is a common issue that can lead to a loud PSU fan. When your computer’s internal components, such as the CPU and GPU, generate excessive heat, the PSU fan works harder to dissipate the heat and maintain a safe operating temperature. This increased workload on the fan results in louder noise levels.
To address overheating and reduce the strain on the PSU fan, consider the following solutions:
- Clean the cooling system: Dust buildup on the CPU and GPU cooling fans and heatsinks can hinder their effectiveness, causing higher temperatures. Regularly clean these components using compressed air or a soft brush to remove dust and ensure optimal heat dissipation.
- Improve case ventilation: Inadequate airflow within the computer case can contribute to overheating. To improve ventilation, ensure that all case fans and vents are clean and unobstructed. Consider installing additional case fans or upgrading to more efficient ones for better airflow.
- Upgrade the CPU cooler: If your CPU is running hot, upgrading the stock cooler to a more robust aftermarket cooler can help dissipate heat more effectively. High-performance coolers are designed with larger heatsinks and more efficient fans, reducing the workload on the PSU fan.
- Apply thermal paste: Proper application of thermal paste between the CPU and its heatsink can enhance heat transfer, preventing excessive heat buildup. Ensure that the thermal paste is correctly applied and replace it if it has dried out or become ineffective.
- Monitor and adjust fan speeds: Use fan control software or motherboard BIOS settings to monitor and adjust fan speeds based on temperature readings. Optimizing fan speeds can help maintain a balance between cooling and noise levels.
- Consider liquid cooling: Liquid cooling systems, such as all-in-one (AIO) coolers or custom loops, provide efficient cooling for high-powered systems. By transferring heat away from the CPU and GPU more effectively, liquid cooling reduces the strain on the PSU fan and can help maintain quieter operation.
Implementing these solutions will help mitigate overheating issues and reduce the workload on the PSU fan, resulting in a quieter computer setup.
Faulty fan
A faulty fan can be a significant cause of a loud PSU fan noise. Over time, the fan’s bearings can wear out, causing it to spin unevenly and produce unusual sounds like grinding, buzzing, or clicking noises. When faced with a faulty fan, it’s crucial to address the issue promptly to prevent further damage and ensure quieter operation.
Here are some steps you can take to address a faulty PSU fan:
- Identify the faulty fan: Locate the source of the noise by listening closely to your computer. If the PSU fan is the culprit, you will need to replace or repair it.
- Replace the fan: If you have experience with computer hardware, you can replace the faulty fan yourself. Ensure that you purchase a compatible replacement fan that matches the size and specifications of the PSU. Follow the manufacturer’s instructions to safely remove the old fan and install the new one.
- Repair the fan: If you’re comfortable working with electronics, you may attempt to repair the faulty fan. This could involve lubricating the bearings, replacing worn-out components, or cleaning the fan thoroughly. However, note that PSU fans can be more challenging to repair compared to standard case fans, and caution must be exercised to avoid causing further damage.
- Seek professional help: If you’re uncertain about repairing or replacing the fan yourself, it’s advisable to seek professional assistance. Computer technicians or service centers can accurately identify and resolve the issue, ensuring that your PSU fan operates quietly and reliably.
- Consider an upgrade: If the PSU fan has become faulty, it may be an opportunity to upgrade your power supply unit entirely. Upgrading to a new PSU with a higher quality fan and better overall performance can provide a long-term solution and improve the efficiency and noise levels of your computer.
Addressing a faulty fan is crucial for maintaining the optimal performance and longevity of your PSU. Whether you choose to replace, repair, or upgrade, taking prompt action will help restore a quieter and more reliable PSU fan operation.
High power consumption
High power consumption by your computer components can put strain on the PSU, resulting in a louder fan noise. When the power draw exceeds the capacity of the PSU, it has to work harder to meet the demands, leading to increased fan speed and noise levels. To address this issue, it’s essential to evaluate and manage the power consumption of your system.
Here are some steps you can take to reduce power consumption and mitigate the strain on the PSU:
- Assess component power requirements: Check the power requirements of your CPU, GPU, and other components. Make sure that your PSU has enough wattage to support the power needs of your system. If it’s underpowered, consider upgrading to a higher wattage PSU.
- Optimize power settings: Adjust the power settings in your operating system to optimize energy consumption. This includes managing screen brightness, configuring power-saving modes, and setting time intervals for sleep or hibernation modes. These adjustments can help reduce overall power usage and decrease strain on the PSU.
- Monitor background processes: Some software applications and processes running in the background can consume significant power. Use task manager or system monitoring tools to identify resource-intensive processes and close unnecessary ones to reduce power consumption.
- Efficient CPU and GPU usage: Ensure that your CPU and GPU are not running at excessively high frequencies when idle. Adjust the power settings in your BIOS or through software utilities to enable power-saving features and dynamically adjust clock speeds based on workload. This can help reduce power draw and subsequently alleviate strain on the PSU.
- Upgrade to energy-efficient components: Consider upgrading to more energy-efficient components when it’s time to replace your CPU, GPU, or other parts. Energy-efficient hardware is designed to consume less power while delivering similar or better performance, reducing the load on the PSU and minimizing fan noise.
- Avoid unnecessary accessories: Some peripherals and accessories, such as multiple external hard drives, lighting strips, or USB-powered devices, can contribute to increased power consumption. Minimize the use of such devices or invest in energy-efficient alternatives to reduce the overall power draw.
By implementing these strategies and managing power consumption effectively, you can reduce the strain on the PSU, lower fan speed, and subsequently reduce noise levels for a quieter computing experience.
Inadequate cooling
Inadequate cooling inside your computer case can result in increased heat buildup, forcing the PSU fan to work harder and generate more noise. Insufficient airflow and ineffective cooling can lead to adverse effects on your system’s performance and longevity. Therefore, it’s crucial to ensure that your computer case has proper ventilation and cooling mechanisms in place.
Here are some steps to address inadequate cooling and reduce strain on the PSU fan:
- Clean your computer case: Dust and debris can accumulate on case fans, vents, and heatsinks, impeding airflow and heat dissipation. Regularly clean these components using compressed air or a soft brush to remove any obstructions and improve cooling efficiency.
- Optimize fan placement: Ensure that case fans are positioned correctly to promote efficient airflow. Consider adding additional fans if necessary, placing them strategically to create a balanced airflow that helps in cooling key components, including the PSU.
- Check cable management: Proper cable management ensures that cables do not block or interfere with airflow. Neatly organize and route cables to prevent them from obstructing case fans or impeding the flow of cool air.
- Consider fan speed control: If your case fans are running at maximum speeds, they might generate more noise than necessary. Adjust fan speeds using fan control software or BIOS settings to strike a balance between cooling performance and noise levels.
- Upgrade case fans: If the existing case fans are old or not providing sufficient airflow, consider upgrading to higher-quality fans. Look for fans with higher CFM (cubic feet per minute) ratings and quieter operation to improve cooling efficiency and reduce noise.
- Install additional cooling solutions: In situations where high-demand components, such as a powerful CPU or GPU, generate significant heat, installing additional cooling solutions like CPU coolers or GPU heatsinks can help dissipate heat effectively. This reduces strain on the PSU fan and improves overall cooling performance.
- Monitor temperatures: Regularly monitor system temperatures using software utilities or BIOS monitoring tools. This will allow you to identify any areas of concern and take appropriate action to improve cooling efficiency.
By addressing inadequate cooling and implementing these measures, you can promote better airflow, reduce heat buildup, and alleviate strain on the PSU fan, resulting in a quieter and more efficient computer setup.
Not enough power for components
If your PSU is underpowered for your computer’s components, it can cause the PSU fan to work harder to meet the power demands, resulting in increased noise. Insufficient power supply can lead to degraded performance and potential instability. To address this issue, it’s important to ensure that your PSU can adequately handle the power requirements of your system.
Here’s what you can do if your components are drawing more power than your PSU can handle:
- Check power requirements: Identify the power requirements of your CPU, GPU, and other components. Compare these requirements to the wattage rating of your PSU. If your components exceed the PSU’s capacity, it’s advisable to upgrade to a higher wattage unit that can provide sufficient power.
- Calculate power consumption: Use online power supply calculators to estimate the power consumption of your entire system. These calculators take into account the specifications of your components and provide a recommended PSU wattage. Ensure that your PSU exceeds this recommended wattage to ensure stable and efficient operation.
- Upgrade to a higher wattage PSU: If your current PSU falls short, consider upgrading to a higher wattage unit. Opt for a reputable brand and choose a PSU with ample wattage headroom to accommodate future component upgrades. A higher wattage PSU spreads the power load more efficiently and can help reduce strain on the PSU fan.
- Consider modular or semi-modular PSUs: Modular or semi-modular PSUs allow you to connect only the necessary cables, reducing cable clutter inside the case. This not only improves airflow but also reduces the power load on the PSU, promoting better cooling and potentially quieter operation.
- Efficient power management: Ensure that power management features in your operating system and BIOS are enabled. These features, such as sleep mode and idle power saving options, can help reduce overall power consumption and alleviate strain on the PSU.
- Upgrade to more power-efficient components: If your current components are power-hungry, consider upgrading to more power-efficient alternatives when the time comes to replace them. Power-efficient CPUs and GPUs can reduce the overall power consumption of your system, easing the load on the PSU fan.
By addressing the power insufficiency issue and choosing a PSU that can adequately handle your components’ power requirements, you can ensure a stable and efficient power supply, while reducing strain on the PSU fan and minimizing noise levels.
Ways to resolve a loud PSU fan
Dealing with a loud PSU fan noise can be frustrating, but there are several effective ways to address the issue and restore a quieter computing experience. Here are some methods you can use to resolve a loud PSU fan:
- Clean the PSU and remove dust: Dust buildup can obstruct airflow and cause the fan to work harder. Regularly clean your PSU to remove dust and debris, ensuring optimal cooling and reducing noise levels.
- Improve ventilation and airflow: Ensure that your computer case has proper ventilation and airflow by cleaning dust filters, organizing cables for better airflow, and adding additional fans if necessary. Better airflow helps dissipate heat, reducing the workload on the PSU fan.
- Replace the fan: If the PSU fan is faulty or worn out, consider replacing it with a compatible replacement. A new fan can provide smoother operation and reduce noise levels.
- Upgrade to a higher wattage PSU: If your components are drawing more power than your current PSU can handle, consider upgrading to a higher wattage PSU. This ensures that your system has sufficient power and reduces strain on the PSU fan.
- Ensure enough power for components: Check that your PSU can provide adequate power for all your computer components. Upgrading to a stronger PSU or opting for more power-efficient components can alleviate strain on the PSU and reduce noise.
- Optimize power management: Adjust power settings in your operating system and BIOS to optimize power consumption. This can prevent unnecessary strain on the PSU and reduce fan noise.
- Monitor temperatures: Regularly monitor system temperatures using software utilities or BIOS monitoring tools. High temperatures can lead to increased fan speed and noise. Managing heat efficiently can help reduce the workload on the PSU fan.
- Consider liquid cooling: Liquid cooling solutions, such as all-in-one (AIO) coolers or custom loops, provide efficient cooling and can reduce noise levels by keeping components at lower temperatures. Liquid cooling systems minimize the reliance on the PSU fan for cooling purposes.
By implementing these methods, you can successfully resolve a loud PSU fan and create a quieter and more enjoyable computing environment.
Clean the PSU and remove dust
Dust buildup inside the power supply unit (PSU) is a common cause of a loud PSU fan. Over time, dust particles can accumulate on the fan blades and within the PSU, obstructing airflow and causing the fan to work harder. Cleaning the PSU and removing dust is an effective way to reduce noise levels and restore optimal cooling performance.
Here’s a step-by-step guide to cleaning your PSU:
- Power off and unplug your computer: Before starting any cleaning process, ensure that your computer is powered off and unplugged from the electrical outlet for safety.
- Open the computer case: Depending on your computer case, remove the screws or panels necessary to access the internal components. Consult the manual if needed.
- Locate the PSU: Identify the location of the PSU inside your computer case. It is typically located at the top or bottom of the case and has a fan on its backside.
- Use compressed air: Grab a can of compressed air and hold it upright. With short bursts, blow air into the PSU fan and vents. Be careful not to tilt the can upside down or shake it vigorously, as this can release moisture.
- Clean the fan blades: After blowing away dust, use a soft brush or cloth to gently wipe the fan blades and remove any remaining particles. Be gentle to avoid damaging the fan blades.
- Clean the PSU unit: Take a clean, dry cloth and wipe the exterior surface of the PSU unit. Pay close attention to the ventilation holes and ensure they are clear of any obstructions.
- Close the computer case: Once you have finished cleaning the PSU, carefully close the computer case and secure any screws or panels.
It is recommended to clean the PSU every few months or as needed, depending on the accumulation of dust in your environment. Regular cleaning helps maintain optimal cooling performance, reduces strain on the PSU fan, and results in a quieter computing experience.
Improve ventilation and airflow
Inadequate ventilation and airflow within your computer case can contribute to a loud PSU fan. Poor airflow restricts the natural cooling process, causing the PSU fan to work harder to dissipate heat and resulting in increased noise levels. Improving ventilation and airflow is crucial for maintaining a cooler and quieter system.
Here are some steps to enhance ventilation and airflow in your computer case:
- Clean the dust filters: Dust filters prevent dust from entering the case, but over time, they can become clogged. Regularly clean or replace these filters to ensure proper airflow and prevent the build-up of dust that can obstruct cooling components and increase fan noise.
- Organize cables: Cable clutter can hamper airflow and disrupt the cooling process. Properly organize and route cables, keeping them away from fans and components. Use cable management accessories such as ties or Velcro straps to secure and bundle cables neatly, allowing for better airflow within the case.
- Position case fans strategically: Assess the placement and orientation of case fans to optimize airflow. Mount fans in locations that promote efficient cooling of key components, including the PSU. Consider adding additional fans if necessary to create a balanced airflow throughout the case.
- Check fan direction and speed: Ensure that all case fans are properly orientated to direct airflow in the desired direction. Monitor and adjust fan speeds using fan control software or BIOS settings, finding the right balance between cooling performance and noise levels.
- Avoid blocking vents: Ensure that no objects or obstructions are blocking vents or air intake areas in the computer case. Proper clearance allows cool air to enter and hot air to exit freely, aiding in efficient heat dissipation.
- Consider liquid cooling: Liquid cooling solutions, such as all-in-one (AIO) coolers or custom loops, offer superior cooling performance compared to traditional air cooling. By transferring heat away from components more effectively, liquid cooling can reduce the overall load on the PSU fan and provide quieter cooling operation.
- Optimize case airflow design: Evaluate the case’s airflow design and make necessary modifications. This may include adding perforations or creating strategic openings to improve the intake and exhaust of air. Consider cases with optimized airflow designs for better cooling efficiency.
By improving ventilation and airflow in your computer case, you can create a more optimal cooling environment, reduce strain on the PSU fan, lower noise levels, and ensure the longevity and stability of your system.
Replace the fan
If the PSU fan is the source of the loud noise, replacing the fan can be an effective solution. Over time, the fan’s bearings may wear out, causing it to spin unevenly and produce unusual noises like grinding, buzzing, or clicking sounds. By replacing the fan, you can restore smoother operation and reduce noise levels.
Here’s a step-by-step guide to replacing the PSU fan:
- Identify the faulty fan: Listen carefully to identify if the noise is coming from the PSU fan. Diagnosing the source of the noise is important to ensure that it is indeed the fan that needs replacing.
- Purchase a compatible replacement fan: Find a replacement fan that is compatible with your PSU. Look for the same fan size, connector type, and voltage. Check the specifications in the PSU’s manual or consult the manufacturer’s website for the appropriate fan model.
- Power off and unplug your computer: Ensure that your computer is turned off and unplugged from the power source before working on any internal components.
- Open the computer case: Remove the necessary screws or panels to access the internal components of your computer. Refer to the manual provided with your computer case for specific instructions.
- Locate the PSU fan: Locate the PSU fan inside your computer case. It is typically located at the rear of the PSU unit.
- Remove the faulty fan: Carefully disconnect any cables connected to the fan. Unscrew or unclip the fan from the PSU unit. Take note of the orientation of the fan for proper installation of the replacement.
- Install the replacement fan: Align the replacement fan with the screw holes or clips on the PSU unit. Secure it in place using the provided screws or clips. Connect any necessary cables to the new fan, ensuring a secure connection.
- Close the computer case: Once you have replaced the PSU fan, carefully close the computer case and secure any screws or panels.
Replacing the fan can be a moderately challenging task, so if you’re unsure or uncomfortable doing it yourself, seek the assistance of a professional computer technician. They can ensure a proper replacement and minimize the risk of damage to other components.
With a new fan installed, you can enjoy smoother operation, improved cooling efficiency, and a quieter PSU fan.
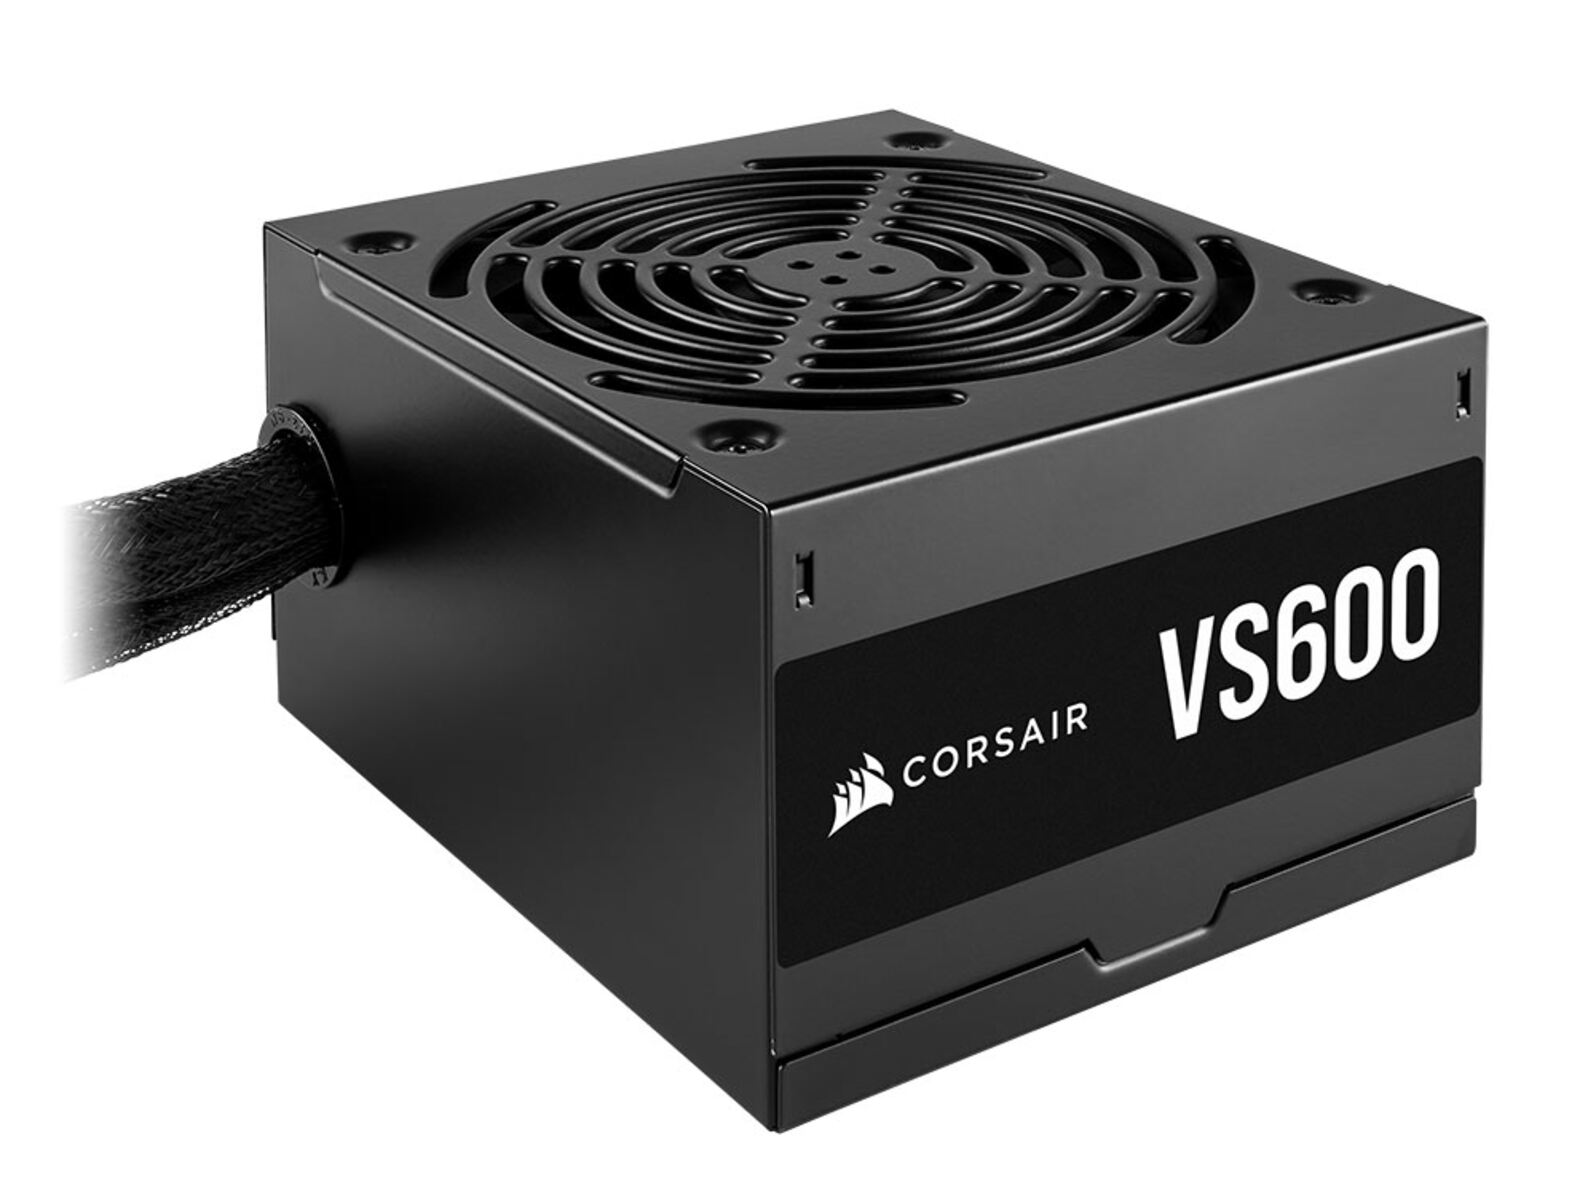
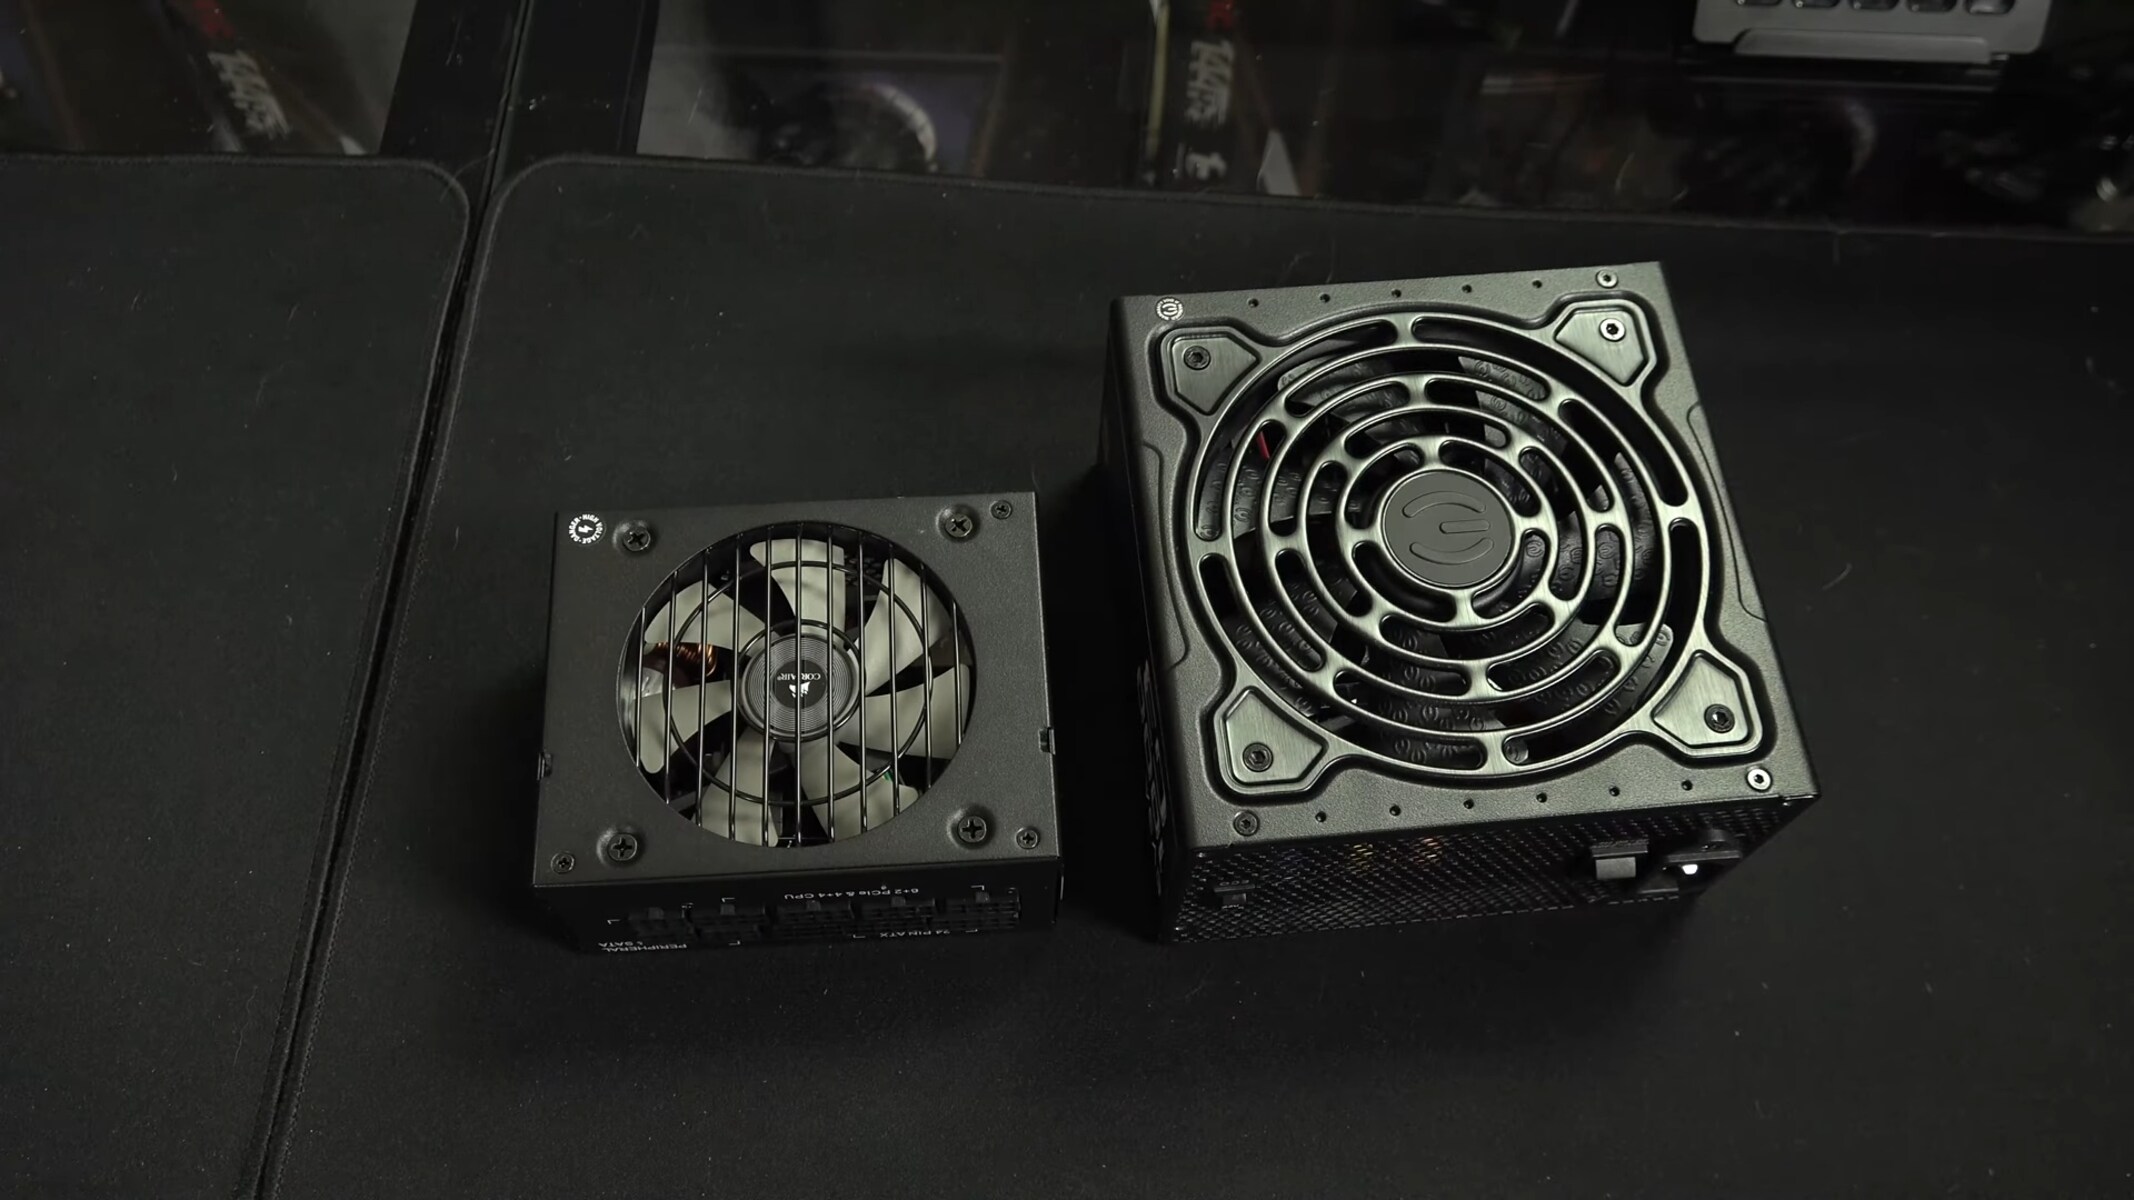
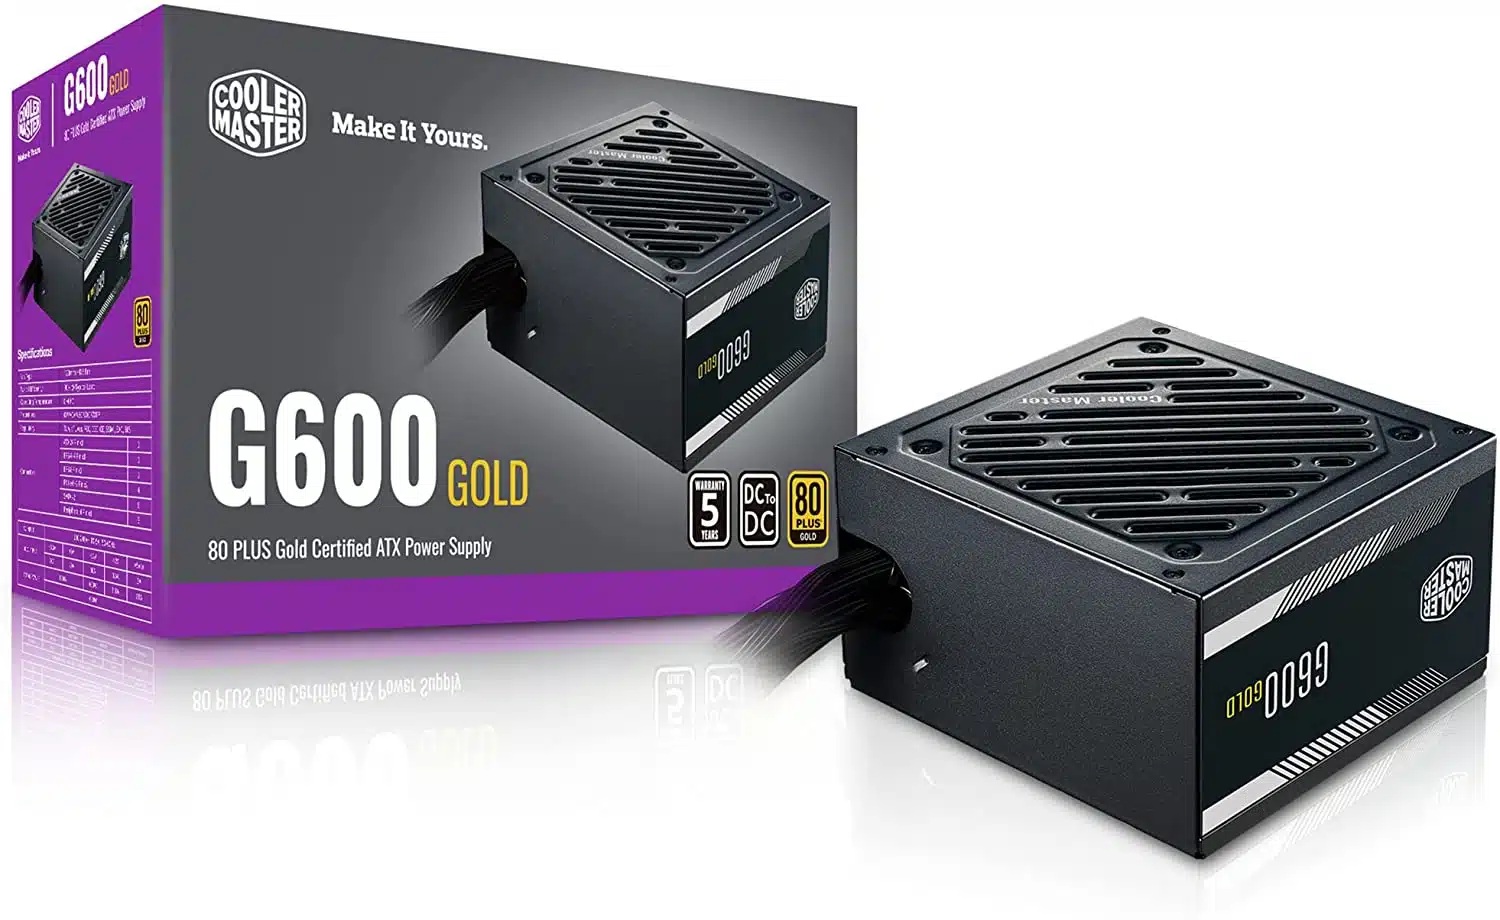
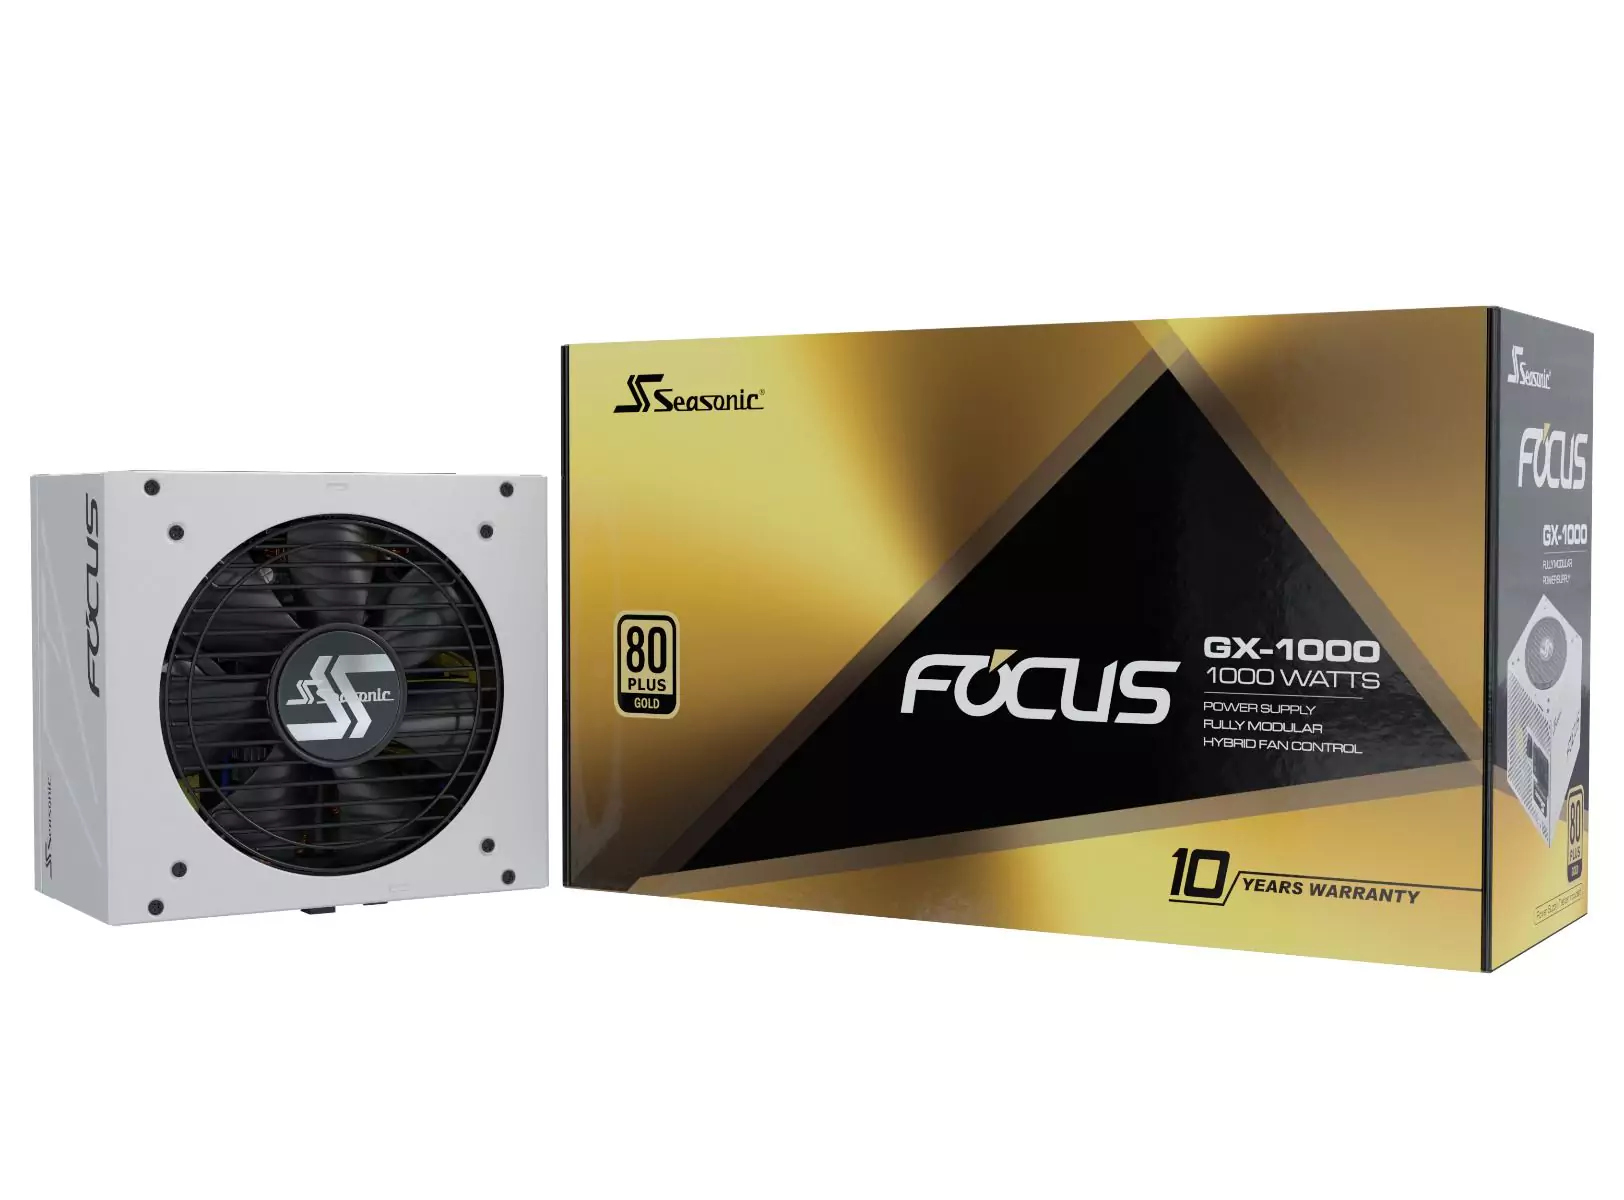
Upgrade to a higher wattage PSU
If your computer components are drawing more power than your current power supply unit (PSU) can handle, upgrading to a higher wattage PSU can effectively resolve a loud PSU fan. An underpowered PSU may struggle to meet the power demands of your system, causing the PSU fan to work harder and produce more noise. By upgrading to a higher wattage PSU, you can provide sufficient power for your components and reduce strain on the PSU fan.
Here are the steps to upgrade to a higher wattage PSU:
- Assess your power requirements: Determine the power needs of your computer components, including the CPU, GPU, and other peripherals. You can refer to the component’s technical specifications or use online power supply calculators to estimate the wattage required.
- Choose an appropriate wattage: Based on your power requirements, select a PSU with a higher wattage rating than your current one. It’s advisable to choose a PSU with a sufficient power headroom to accommodate future component upgrades.
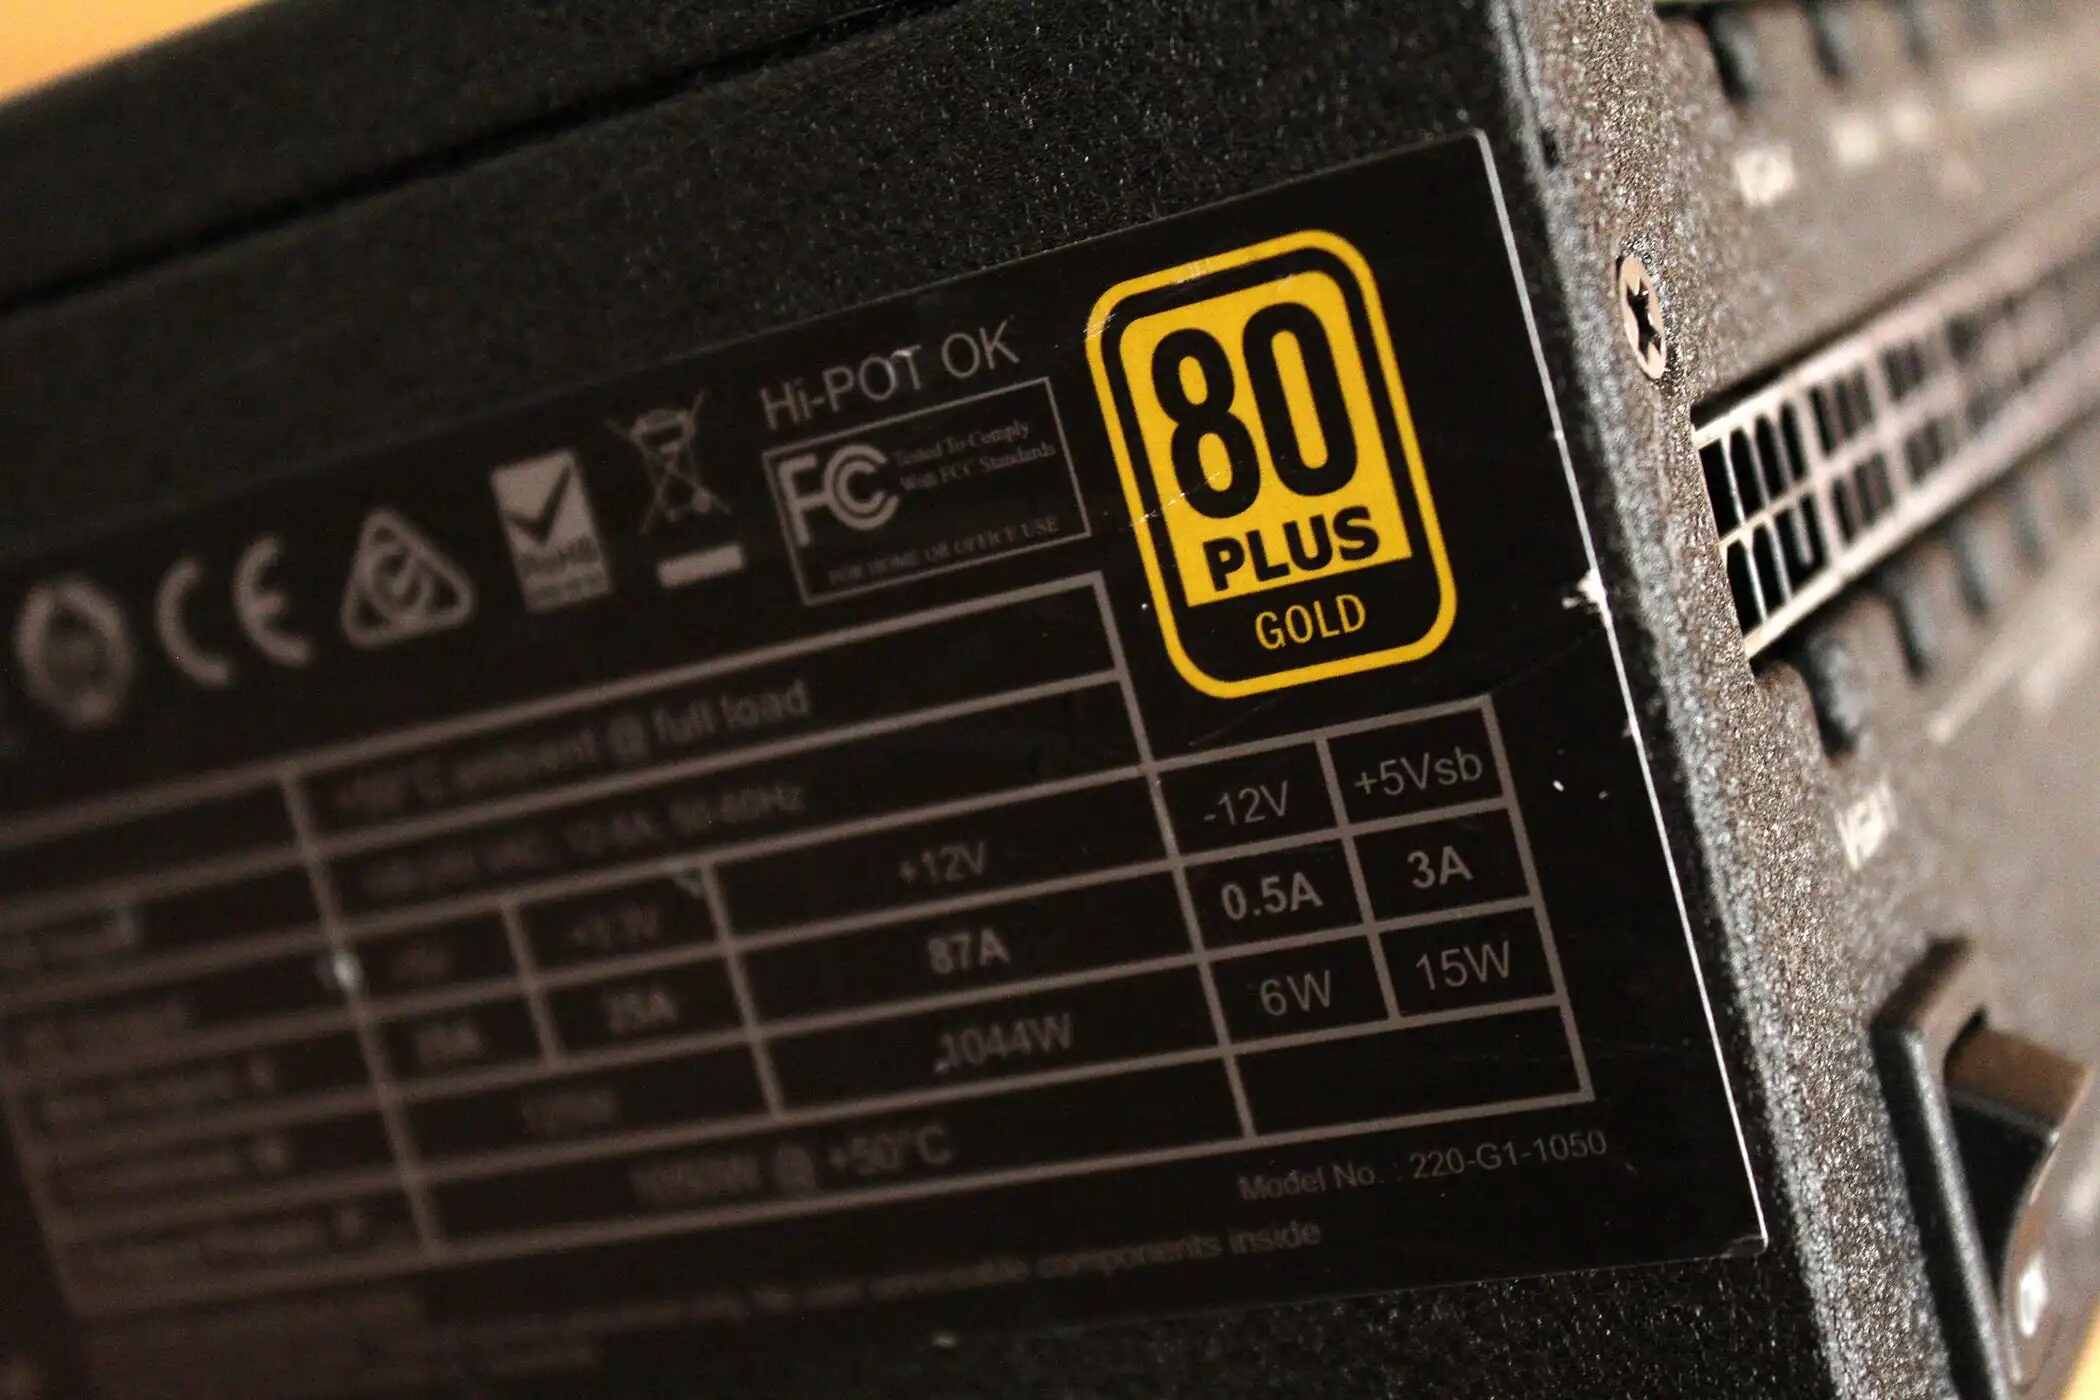
- Research reputable PSU brands: Look for reputable PSU brands known for their reliability and quality. Check for positive reviews, warranty offerings, and certifications such as 80 Plus efficiency ratings.
- Ensure compatibility: Check that the new PSU has the necessary connectors and cables to support your components. Verify the dimensions and form factor to ensure it fits properly within your computer case.
- Power off and unplug your computer: Before replacing the PSU, make sure your computer is turned off and unplugged from the power source for safety.
- Open the computer case: Remove the screws or panels required to access the internal components of your computer. Refer to the manual provided with your computer case for specific instructions.
- Disconnect and remove the old PSU: Carefully disconnect all power connectors from the old PSU, noting their positions for proper reconnection. Unscrew or unclip the PSU from the case, and remove it from the system.
- Install the new PSU: Align the new PSU with the mounting holes in the case and secure it in place with screws. Connect all the necessary power cables to your components, making sure they are properly seated and secured.
- Close the computer case: Once you have finished installing the new PSU, carefully close the computer case and secure any screws or panels.
Upgrading to a higher wattage PSU ensures that your computer components receive the necessary power without overloading the system. This not only reduces strain on the PSU fan but also improves overall system stability and performance.
Conclusion
A loud PSU fan can be a frustrating issue that disrupts your computing experience. However, by understanding the various reasons behind a loud PSU fan and implementing effective solutions, you can restore a quieter and more peaceful environment for your computer setup.
Dust buildup, overheating, faulty fans, high power consumption, inadequate cooling, and insufficient power for components are common culprits of a loud PSU fan noise. Regularly cleaning the PSU and removing dust, improving ventilation and airflow, replacing faulty fans, upgrading to a higher wattage PSU, and ensuring proper cooling can address these issues and reduce noise levels.
Remember to assess your system’s specific needs and choose the appropriate solutions accordingly. Upgrading components or seeking professional help may be necessary in some cases. By taking the necessary steps, you can improve the longevity of your PSU, maintain optimal system performance, and enjoy a quieter computing environment.
Keep in mind that each computer setup is unique, and it may take some trial and error to find the best solutions for your specific situation. Regular maintenance, diligent monitoring of temperatures, and staying mindful of airflow requirements will go a long way in keeping your PSU fan running smoothly and silently.
With a quieter PSU fan, you can focus on your work, gaming, or entertainment without the distraction of excessive noise, creating a more enjoyable and productive computing experience.