Introduction
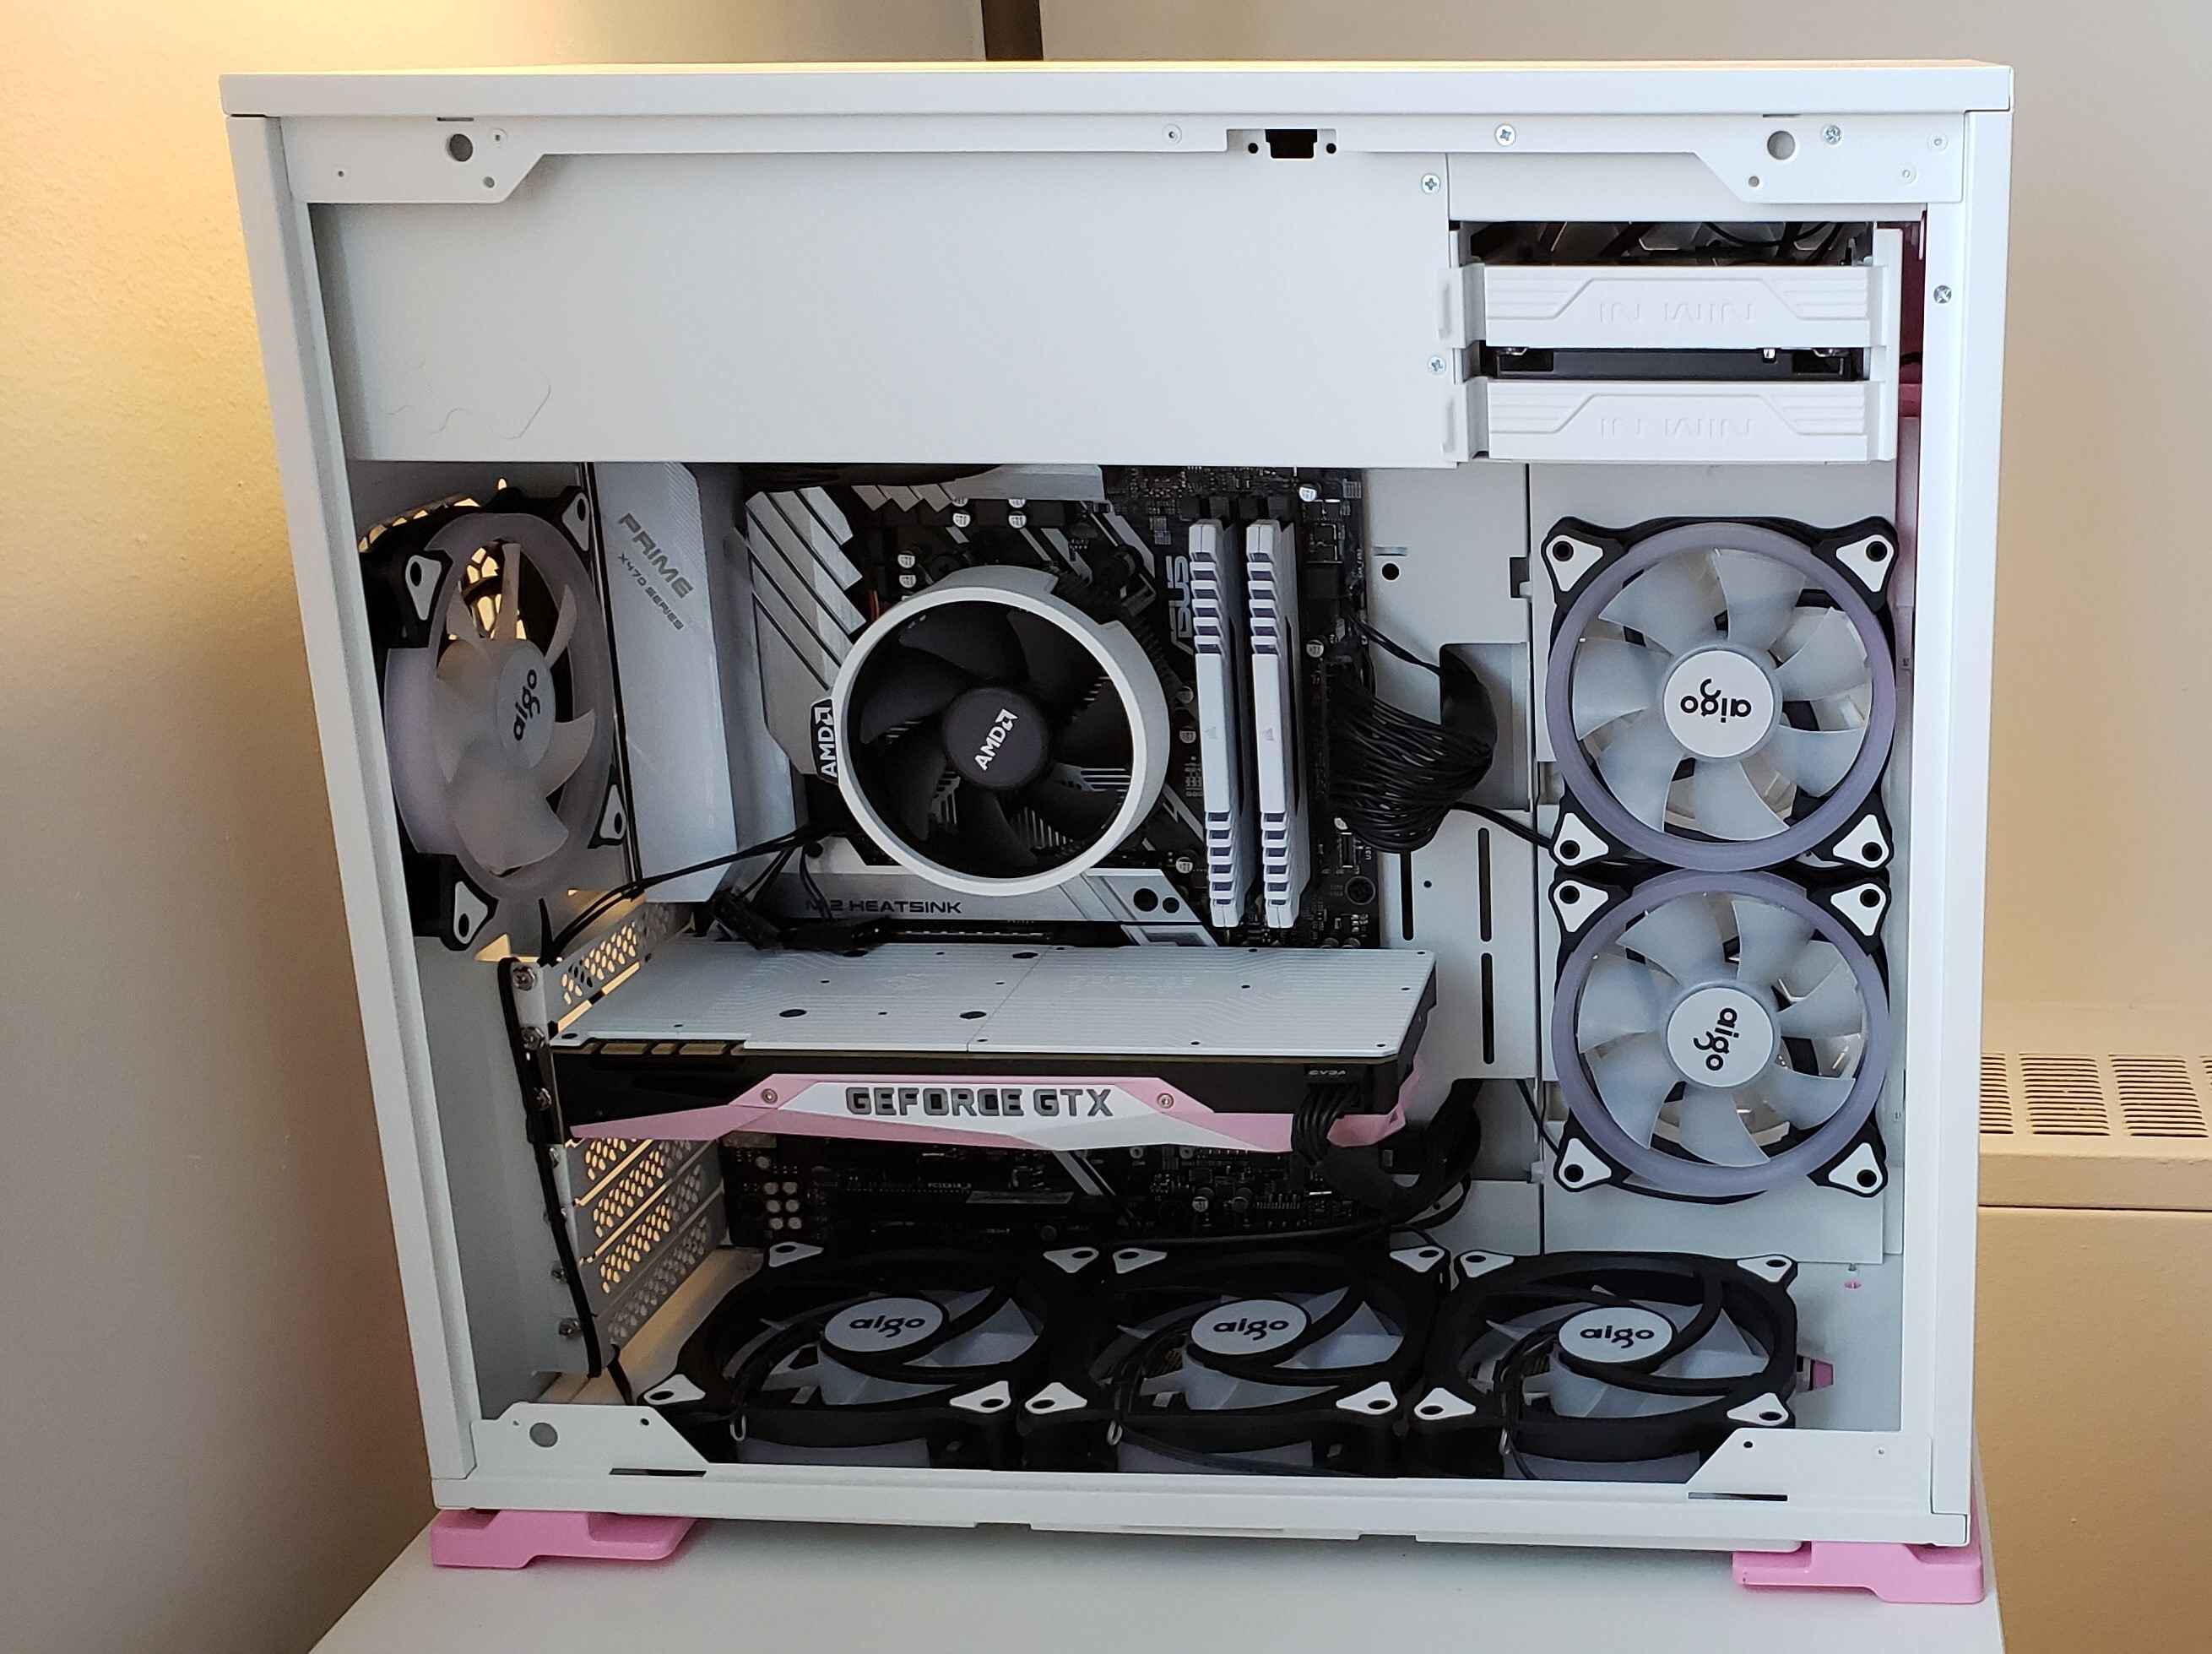
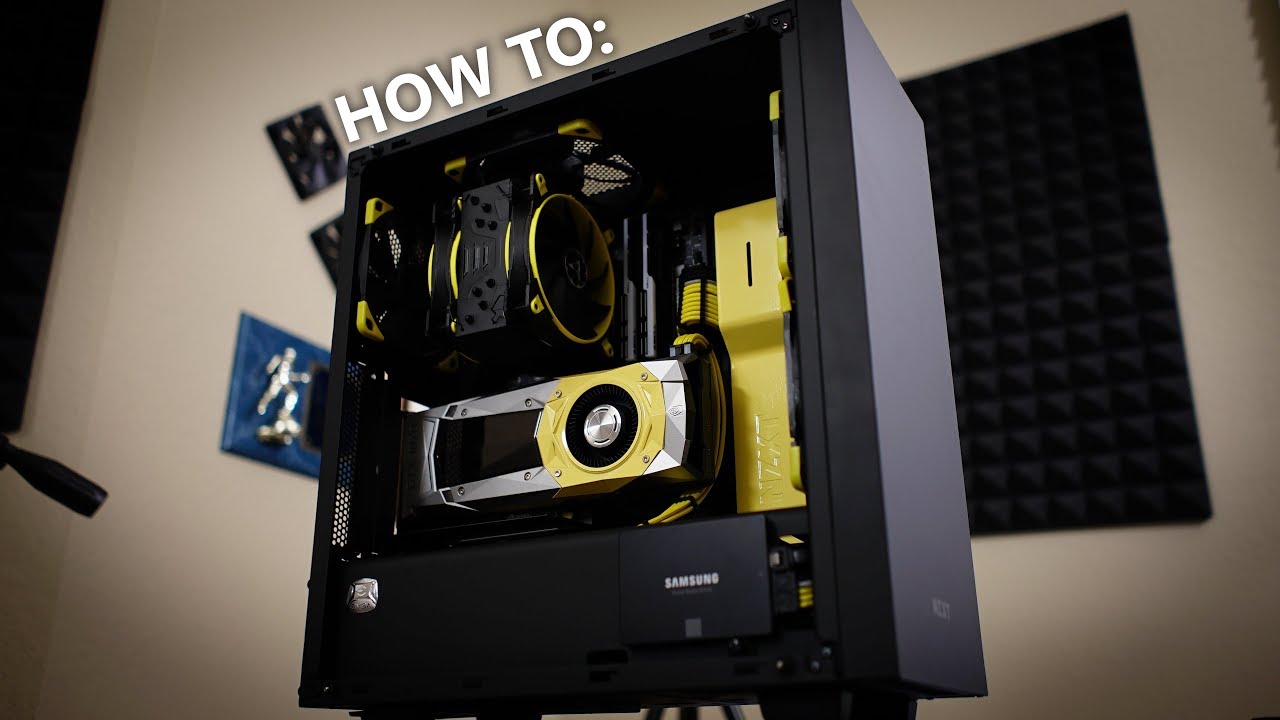
When it comes to customizing your PC case, one often overlooked aspect is the case fans. These small but essential components not only help keep your system cool but also provide an opportunity to add a personal touch to your computer setup. By painting your case fans, you can create a unique and visually appealing look that matches your style or theme.
In this article, we will guide you through the process of painting your PC case fans. Whether you want to match your fans to your PC case color or create a contrasting design, this step-by-step guide will ensure you achieve professional-looking results. So, gather your materials and let’s dive into the world of PC case fan painting!
Before we get started, it’s important to note that painting your case fans may void any warranty they have, so proceed at your own risk. Additionally, ensure that you have a well-ventilated workspace and take the necessary precautions to protect yourself and your surroundings from the paint and fumes.
Now that we have covered the basics, let’s move on to the materials you will need for this project.
Materials Needed
Before you begin painting your PC case fans, make sure you have the following materials ready:
- Case fans: Choose the fans you wish to paint. It’s recommended to start with spare or old fans in case any mistakes occur.
- Screwdriver: To remove the fans from the case for easier painting.
- Plastic bags or newspaper: To protect your work surface from paint spills or overspray. Clear plastic bags are ideal for covering the fan blades during painting.
- Masking tape: Use this to cover any areas of the fan that you don’t want to be painted.
- Cleaning solution: A mild household cleaner or isopropyl alcohol can be used to remove dirt, dust, and any grease or oils that may be on the fan surfaces.
- Fine-grit sandpaper: To lightly sand the fan blades for better paint adhesion.
- Primer: Choose a primer specifically designed for plastic surfaces. This will help the paint adhere properly and prevent it from chipping or peeling.
- Spray paint: Use acrylic or enamel spray paint in your desired colors. Make sure the paint is compatible with plastic surfaces.
- Clear coat: This is optional but recommended for added protection and a glossy finish.
- Respirator mask or ventilation: To protect yourself from inhaling paint fumes, it’s important to have proper ventilation or wear a respirator mask.
Having these materials at hand will ensure a smooth painting process without any interruptions. Now that you have everything you need, let’s move on to the step-by-step guide on how to paint your PC case fans.
Step 1: Prepare the Case Fans
Before diving into the painting process, it’s crucial to properly prepare your case fans. Follow these steps to get your fans ready for a fresh coat of paint:
- Remove the case fans from your computer case using a screwdriver. This will make it easier to work on them and minimize the risk of getting paint on other components.
- Inspect the fans for any dust or dirt. Use a can of compressed air or a soft brush to remove any debris from the fan blades and housing.
- If your fans have any labels, stickers, or adhesive residue, gently peel them off. Use a mild adhesive remover or rubbing alcohol to remove any remaining residue.
- If the fan blades have accumulated grime or grease, dampen a cloth with a mild cleaning solution or isopropyl alcohol and wipe them down. Make sure they are completely dry before proceeding.
- Lightly sand the fan blades with a fine-grit sandpaper. This will provide a rough surface for the primer to adhere to and promote better paint adhesion. Be careful not to sand too aggressively, as you don’t want to damage the blades.
- Once you have finished sanding, clean the fan blades again to remove any residue from the sanding process. Wipe them down with a clean, lint-free cloth.
By following these steps, you will ensure that your case fans are clean and properly prepared for painting. This will help the paint adhere to the surface properly and result in a professional-looking finish. Now that your fans are ready, let’s move on to the next step: removing dust and dirt from the fans.
Step 2: Remove Dust and Dirt
Removing dust and dirt from your case fans is essential before painting them to ensure a smooth and clean surface. Follow these steps to effectively remove any accumulated dust and dirt:
- Start by placing your case fans on a clean and flat work surface.
- Use a can of compressed air or a soft brush to gently blow or brush away any loose dust and dirt from the fan blades and housing. Be thorough with this step to ensure that all debris is removed.
- If there are hard-to-reach areas or stubborn debris, consider using a cotton swab or a soft-bristled brush to gently clean those spots.
- For more stubborn dirt or greasy residues, dampen a cloth or sponge with a mild cleaning solution or isopropyl alcohol and wipe the fan blades and housing. Make sure not to oversaturate the fan components with liquid.
- Once you have thoroughly cleaned the fans, allow them to air dry completely before moving on to the next step. It’s essential to ensure that they are completely dry to prevent any moisture from affecting the paint application.
By removing dust and dirt from your case fans, you create a clean surface that allows the paint to adhere properly and result in a professional-looking finish. Now that your fans are free from debris, it’s time to move on to the next step: removing labels or stickers from the fans.
Step 3: Remove Labels or Stickers
Before painting your case fans, it’s important to remove any labels or stickers that may be present on the fan blades or housing. Follow these steps to safely and effectively remove these adhesive materials:
- Gently peel off any labels or stickers that are visible on the fan blades or housing. Start at one corner and slowly and carefully pull them off. Use your fingers or a pair of tweezers if necessary.
- If there is any adhesive residue left behind after removing the labels or stickers, you can use a mild adhesive remover, rubbing alcohol, or isopropyl alcohol to clean it off.
- Dampen a cloth or cotton pad with the adhesive remover or alcohol and gently rub the residue in a circular motion. Be careful not to apply excessive pressure or use abrasive materials that may scratch or damage the fan’s surface.
- Continue rubbing until the adhesive residue is completely removed. You may need to reapply the adhesive remover or alcohol as needed.
- Once the residue is removed, use a clean cloth or paper towel to wipe away any excess cleaner or alcohol.
- Allow the fan blades and housing to air dry completely before proceeding to the next step. It’s important to ensure that there is no moisture left on the surface before applying any paint.
By removing labels or stickers and any adhesive residue, you create a clean and smooth surface that is ready for painting. Now that your case fans are free from any unwanted materials, let’s move on to the next step: cleaning the fan blades.
Step 4: Clean the Fan Blades
Cleaning the fan blades is a crucial step in preparing your case fans for painting. By removing any remaining dirt, grease, or oils, you ensure a smooth and even paint application. Follow these steps to effectively clean the fan blades:
- Start by placing your case fans on a clean and flat work surface.
- Prepare a mild cleaning solution by mixing a small amount of household cleaner (avoid using harsh chemicals) with water.
- Dampen a cloth or sponge with the cleaning solution and gently wipe the fan blades, ensuring to cover all surfaces. Pay attention to any particularly dirty or greasy areas.
- For stubborn dirt or grime, you can use a soft-bristled brush or a toothbrush to scrub the blades gently. Be careful not to apply excessive pressure or scrub too vigorously, as this may damage the fan blades.
- Rinse the fan blades with clean water to remove any cleaning solution or residue. Ensure that the water is not too hot and avoid immersing the entire fan in water.
- Once cleaned, use a clean, lint-free cloth to dry the fan blades thoroughly. Make sure there is no moisture left on the blades before proceeding to the next step.
By cleaning the fan blades, you create a pristine surface that allows the paint to adhere properly and results in a professional-looking finish. With clean blades, you’re ready to move on to the next step: masking off areas before painting.
Step 5: Masking off Areas
Making sure to mask off specific areas of your case fans is essential to achieve clean and precise paint lines. By properly masking off areas, you can prevent unwanted paint from getting on parts you don’t want to paint. Follow these steps to effectively mask off areas before painting:
- Take your case fans and identify the areas that you want to keep free from paint. This could include the fan hub, connectors, or any logos or markings you want to preserve.
- Using masking tape, carefully cover these areas by applying strips of tape around them. Ensure the tape is firmly pressed down and covers the desired areas completely.
- For the fan blades, consider using clear plastic bags or plastic wrap to cover them. Cut the plastic into manageable pieces and wrap them tightly around the blades, securing them with masking tape. This will help protect the blades while allowing you to paint the rest of the fan.
- Make sure all the edges of the tape are sealed properly to prevent any paint from seeping underneath.
- Take your time and be meticulous in your taping to ensure a clean and precise paint job.
By masking off specific areas, you can have better control over where the paint is applied, ensuring a professional and seamless finish. With your case fans properly masked off, you are now ready to move on to the next step: applying primer to the fans.
Step 6: Applying Primer
Applying a primer is a crucial step in painting your case fans. It helps create a smooth and even surface for the paint to adhere to, enhances the durability of the paint, and prevents it from chipping or peeling. Follow these steps to effectively apply primer to your case fans:
- Start by placing your case fans on a clean and flat work surface, ensuring they are properly masked off.
- Shake the primer can thoroughly to ensure the contents are well mixed.
- Hold the primer can at a distance of around 6 to 8 inches from the fan and begin spraying in a sweeping motion. Be sure to cover all surfaces of the fan evenly.
- Apply multiple thin coats of primer rather than one thick coat. This will help achieve a smoother finish and prevent drips or pooling of the primer.
- Allow each coat of primer to dry according to the instructions provided by the manufacturer. This typically takes around 15-30 minutes, but it may vary depending on the type of primer used.
- After the final coat of primer has dried completely, inspect the fans for any imperfections or areas that may need additional priming. If necessary, lightly sand those areas and apply another thin coat of primer.
- Once you are satisfied with the primed surface, allow the primer to cure fully before moving on to the next step. This may take several hours or even overnight, so be patient.
By applying primer to your case fans, you create a solid foundation for the paint, ensuring a professional-looking and long-lasting finish. With the primer applied, you’re now ready to move on to the next step: applying the base color to the fans.
Step 7: Applying Base Color
Applying the base color is an exciting step as it allows you to see your case fans transform. The base color sets the foundation for the final look of your painted fans. Follow these steps to effectively apply the base color to your case fans:
- Begin by placing your primed case fans on a clean and flat work surface.
- Shake the can of spray paint in your chosen base color for a few minutes to ensure the pigment is well mixed.
- Hold the spray can approximately 6 to 8 inches away from the fans and start spraying in smooth, even strokes. Be sure to apply the paint from different angles to ensure full coverage.
- Avoid spraying too heavily in one area to prevent drips or pooling of paint. It’s better to apply multiple thin coats, allowing each coat to dry before applying the next.
- Allow the base color to dry as per the instructions on the spray paint can. This usually takes around 15-30 minutes, but drying time may vary depending on the type of paint used.
- If necessary, repeat the process of applying thin coats of the base color until you achieve the desired opacity and evenness of color.
- After you have achieved the desired base color, allow the paint to fully dry and cure according to the manufacturer’s instructions.
By applying the base color, you set the tone for the final look of your case fans. Ensure the paint is evenly applied and fully dried before proceeding to the next step. Now that you have your base color applied, you’re ready to explore the option of adding additional colors to enhance your design further (step 8).
Step 8: Applying Additional Colors (Optional)
If you want to add more visual interest to your painted case fans, applying additional colors can help create a unique and personalized design. The use of multiple colors can enhance the overall aesthetic and make your fans stand out. Follow these steps to effectively apply additional colors to your case fans:
- Ensure that the base color is completely dry and cured before proceeding with additional colors.
- Decide on the areas or elements of the fans where you want to introduce additional colors. This could include the fan blades, housing, or specific designs.
- Use masking tape to cover the areas you want to protect from the additional colors. Ensure that the tape is securely pressed down and covers the desired areas completely.
- Shake the can of spray paint in your chosen additional color(s) for a few minutes to ensure proper mixing of the pigments.
- Hold the spray can approximately 6 to 8 inches away from the fans and apply the additional colors in light, even coats. Be gentle with the application to avoid any drips or pooling of paint.
- Allow each coat of additional colors to dry properly before applying the next. Follow the drying instructions provided by the manufacturer for the specific spray paint you are using.
- If desired, you can add multiple layers of additional colors to achieve the desired intensity and effect.
- Once all the additional colors have been applied and are fully dry, carefully remove the masking tape to reveal the final design.
By adding additional colors, you can create a more unique and eye-catching look for your case fans. Take your time during this step to ensure precision and be mindful of the drying time between coats. Now, it’s time to protect your newly painted fans with a clear coat (step 9).
Step 9: Applying Clear Coat
Applying a clear coat is an essential final step in painting your case fans. The clear coat provides protection to the paint, adds durability, and gives a glossy finish to the fans. Follow these steps to effectively apply a clear coat:
- Ensure that all the colors on your case fans are dry and cured before proceeding with the clear coat.
- Choose a clear coat specifically designed for use on painted surfaces. It’s important to select a clear coat that is compatible with the type of paint you used.
- Shake the can of clear coat for a few minutes to ensure proper mixing.
- Hold the spray can approximately 6 to 8 inches away from the fans. Apply a light and even coat of clear coat over the entire surface of the fans. Be cautious not to overspray or apply too heavily to avoid drips or uneven finish.
- Allow the clear coat to dry completely according to the instructions provided by the manufacturer. This usually takes around 1-2 hours, but drying time may vary.
- If desired, apply additional coats of clear coat for added protection and a more pronounced glossy finish. Follow the recommended drying time between each coat.
- Once the clear coat is dry and cured, carefully inspect the fans for any imperfections or areas that may need touch-ups. If needed, lightly sand any rough spots and apply a final coat of clear coat to achieve the desired finish.
By applying a clear coat, you not only protect the painted surface but also enhance the overall appearance of your case fans. Ensure that the clear coat is thoroughly dry and cured before handling or reinstalling the fans.
Now that you have applied the clear coat, it’s time to remove the masking tape (step 10) and re-install your newly painted case fans (step 11).
Step 10: Removing the Masking Tape
After applying the final coat of clear coat and ensuring that it has dried and cured properly, it’s time to remove the masking tape from your painted case fans. Follow these steps to safely and effectively remove the masking tape:
- Start by gently pulling the edge of the masking tape away from the fan’s surface. Take care to pull the tape at a low angle to prevent any paint from being lifted along with it.
- Continue pulling the tape slowly and steadily, ensuring it remains close to the surface as you remove it. This will help minimize any potential damage to the paint or clear coat.
- If you encounter any resistance or notice that the tape is lifting the paint, stop pulling and use a utility knife or a precision blade to carefully cut along the edges of the tape. This will create a clean separation between the tape and the painted surface.
- Inspect the fan after removing the tape to ensure that there are no visible paint smudges or imperfections. If any touch-ups are needed, proceed with lightly sanding and applying additional paint to those areas.
- Using a clean, lint-free cloth, gently wipe away any remaining adhesive residue from the taped-off areas. You can use a mild adhesive remover or rubbing alcohol if necessary, but be cautious and avoid getting any of these substances on the painted areas.
By carefully removing the masking tape, you reveal the clean lines and crisp edges of your painted case fans. Take your time during this step to ensure precision and prevent any unintentional damage. Now that the tape is removed, it’s time to move on to the final step: re-installing your case fans.
Step 11: Reinstalling the Case Fans
With your case fans now beautifully painted and all the previous steps completed, it’s time to re-install them into your computer case. Follow these steps to safely and properly reinstall your painted case fans:
- Ensure that your computer is powered off and unplugged from the electrical outlet before proceeding.
- Carefully align the screw holes on the case fans with the corresponding holes in your computer case. Ensure that the fans are oriented correctly based on the airflow direction and any cable connections.
- Using a screwdriver, secure the fans in place by tightening the screws. Be cautious not to overtighten, as it may damage the case fans or the computer case.
- Double-check that all cables and connectors from the fans are properly connected to the appropriate motherboard or fan controller ports. Ensure a secure and snug fit.
- Once the fans are securely reinstalled and connected, close your computer case and fasten any screws or latches to secure it.
- Connect the power cord to the computer and power it on to test the newly installed and painted case fans. Listen for any unusual noises or vibrations and monitor the temperature to ensure that the fans are functioning properly.
- Enjoy the fresh new look of your computer setup with the newly painted case fans!
By following these steps, you can safely and confidently re-install your painted case fans. Take your time during this step to ensure that everything is properly aligned and connected. Now, sit back and admire your personalized and visually appealing computer system.
Conclusion
Painting your PC case fans is a rewarding and creative way to add a personal touch to your computer setup. By following the step-by-step guide outlined in this article, you can achieve professional-looking results and create a unique and visually appealing look for your case fans.
From preparing the fans and removing dust and dirt to applying primer, base color, and optional additional colors, each step plays a crucial role in achieving a successful paint job. The application of a clear coat adds durability and protection to the painted surface, ensuring a long-lasting finish.
Throughout the process, it’s important to pay attention to detail, take your time, and be mindful of proper drying and curing times. This will help you avoid any potential mistakes and achieve the best possible outcome.
Remember, painting your case fans may void any warranties they have, so proceed at your own risk. Additionally, ensure that you have a well-ventilated workspace and take the necessary precautions to protect yourself and your surroundings from paint and fumes.
By following this guide, you can transform your case fans from ordinary to extraordinary, creating a visually stunning and personalized computer setup. Enjoy the process of creating a unique look that matches your style and theme, and showcase your creativity in the world of PC customization.


