Introduction
Welcome to the world of PC case design! Building your own PC case can be a rewarding and exciting project that allows you to showcase your creativity and personality. A customized PC case not only adds a personal touch to your computer setup but also provides the opportunity to optimize airflow and expandability.
Whether you are a seasoned computer enthusiast or someone who is passionate about DIY projects, designing and building your own PC case can be a challenging yet fulfilling endeavor. With the right tools, materials, and a bit of research, you can create a unique and functional PC case that is tailored to your needs and preferences.
When it comes to designing a PC case, the possibilities are endless. You can play around with different shapes, sizes, colors, and materials to bring your vision to life. From minimalistic and sleek designs to eye-catching and elaborate creations, the choice is yours.
In this guide, we will take you through the step-by-step process of creating your own PC case design. We will cover everything from gathering inspiration and planning, to choosing the right materials and assembling the case. Additionally, we will explore lighting, cooling, and finishing options to ensure your PC case not only looks great but also functions optimally.
But before we dive into the exciting world of PC case design, it’s essential to have a basic understanding of the tools and materials you’ll need for this project. Gather your creativity, passion, and let’s get started on crafting the perfect PC case!
Tools and Materials
Before embarking on your PC case design project, it’s important to ensure you have the necessary tools and materials at your disposal. Having the right equipment will make the process smoother and enable you to achieve professional-looking results. Here are some essential tools and materials you’ll need:
1. Measuring and Marking:
- Tape measure
- Ruler or straight edge
- Marking pencil or pen
2. Cutting and Shaping:
- Hacksaw or jigsaw
- File or sandpaper
- Drill and drill bits
3. Assembly and Fastening:
- Screwdriver set
- Nut driver or socket set
- Allen wrenches or hex keys
4. Finishing and Detailing:
- Sanding block
- Paintbrushes or spray paint
- Adhesive or glue
5. Safety Equipment:
- Safety goggles
- Gloves
- Dust mask
In addition to the tools listed above, you’ll also need some materials to bring your PC case design to life. The specific materials may vary depending on your design and personal preferences, but here are a few common ones:
1. Metal:
- Aluminum sheets
- Steel sheets
- Mesh for ventilation
2. Acrylic:
- Clear or colored acrylic sheets
- Acr
Research and Inspiration
When it comes to designing a PC case, it’s important to gather inspiration and conduct thorough research to ensure your design meets both aesthetic and functional requirements. Here are some steps you can take to kick-start your research:
1. Explore Existing Designs:
Begin by looking at existing PC case designs to draw inspiration. Visit online forums, websites, and social media platforms dedicated to PC enthusiasts to explore a wide range of case designs. Pay attention to different shapes, sizes, and layouts to get a sense of what appeals to you.
2. Consider Functionality:
Think about the components you plan to install in your PC case, such as the motherboard, CPU cooler, graphics card, and storage drives. Consider how these components will fit and how you can maximize airflow to maintain optimal temperatures. Look for design features that can enhance cable management, dust filtration, and compatibility with different hardware configurations.
3. Experiment with Form Factors:
PC cases come in various form factors, including full-tower, mid-tower, mini-ITX, and more. Research the advantages and limitations of each form factor to determine which would best suit your needs. Don’t be afraid to experiment with unconventional shapes or sizes to create a unique and eye-catching design.
4. Study Materials and Techniques:
Research different materials commonly used in PC case construction, such as aluminum, steel, and acrylic. Understand their properties, advantages, and limitations to make informed decisions about the materials you’ll use for your design. Explore different techniques for cutting, shaping, and joining these materials to achieve the desired aesthetic and functional outcomes.
5. Seek Inspiration Beyond PC Cases:
Don’t limit your research to just PC cases. Look for inspiration in other fields of design, such as industrial design, architecture, and interior design. Consider how elements like symmetry, color palettes, textures, and lighting are used in these fields, and think about how you can incorporate such elements into your PC case design.
By conducting thorough research and gathering inspiration, you’ll be better equipped to create a design that reflects your personal style, fits your hardware requirements, and stands out from the crowd. Take the time to explore and experiment, and let your imagination soar as you envision your ideal PC case design.
Planning and Sketching
Before diving into the actual construction of your PC case, it’s crucial to spend time on careful planning and sketching. Proper planning will help you visualize your design and ensure that all the necessary components fit seamlessly. Here are some key steps to follow during the planning and sketching phase:
1. Determine Your Design Goals:
Think about the overall look and feel you want for your PC case. Consider your personal preferences and the overall aesthetic that you want to achieve. Do you prefer a sleek and minimalistic design, or do you want something more bold and eye-catching? Having a clear design goal will guide you throughout the planning process.
2. Measure and Map Out Your Components:
Take detailed measurements of the components you plan to install in your PC case, including the motherboard, graphics card, power supply, and any additional hardware. Use these measurements to create a scale drawing or a 3D model of your PC case design. Consider the space requirements for each component and plan the layout accordingly.
3. Consider Cable Management and Routing:
Good cable management is essential for both aesthetics and functionality. Plan for cable routing channels, tie-down points, and sufficient room for cable management behind the motherboard tray. Think about how you can hide cables or route them in a way that minimizes interference with airflow.
4. Sketch Multiple Design Concepts:
Create multiple design sketches or digital renderings of your PC case ideas. Experiment with different shapes, angles, and materials. Don’t be afraid to think outside the box and explore unique design elements that reflect your personal style. Consider the placement of buttons, ports, and any additional features you want to incorporate into your case.
5. Seek Feedback and Refine:
Share your sketches with friends, fellow PC enthusiasts, or online communities to get constructive feedback. Listen to different perspectives and consider making adjustments or refinements based on the feedback received. This iterative process can help you refine your design and ensure that it meets both your expectations and the practical requirements of a PC case.
By carefully planning and sketching your PC case design, you’ll have a clear roadmap for the construction phase. This phase allows you to explore different possibilities, evaluate different design options, and make any necessary adjustments before moving on to the next steps in the process.
Choosing the Right Materials
Choosing the right materials for your PC case is crucial as it will determine not only the aesthetic appeal but also the durability, weight, and overall functionality of the design. Here are some factors to consider when selecting materials:
1. Metal:
Metal, such as aluminum or steel, is a popular choice for PC case construction due to its sturdiness and professional appearance. Aluminum is lightweight and offers excellent heat dissipation properties, making it ideal for high-performance systems. Steel is more rugged and provides better durability and noise reduction. Consider the thickness and quality of the metal to ensure it can withstand the rigors of PC assembly and daily use.
2. Acrylic:
Acrylic is a versatile material that offers transparency and can be easily shaped and customized. It is commonly used for side panels and windows in PC cases, allowing users to showcase their internal components. Acrylic is lightweight and affordable, making it a popular choice for DIY enthusiasts. However, keep in mind that acrylic may scratch more easily than other materials and may require additional care during handling and cleaning.
3. Glass:
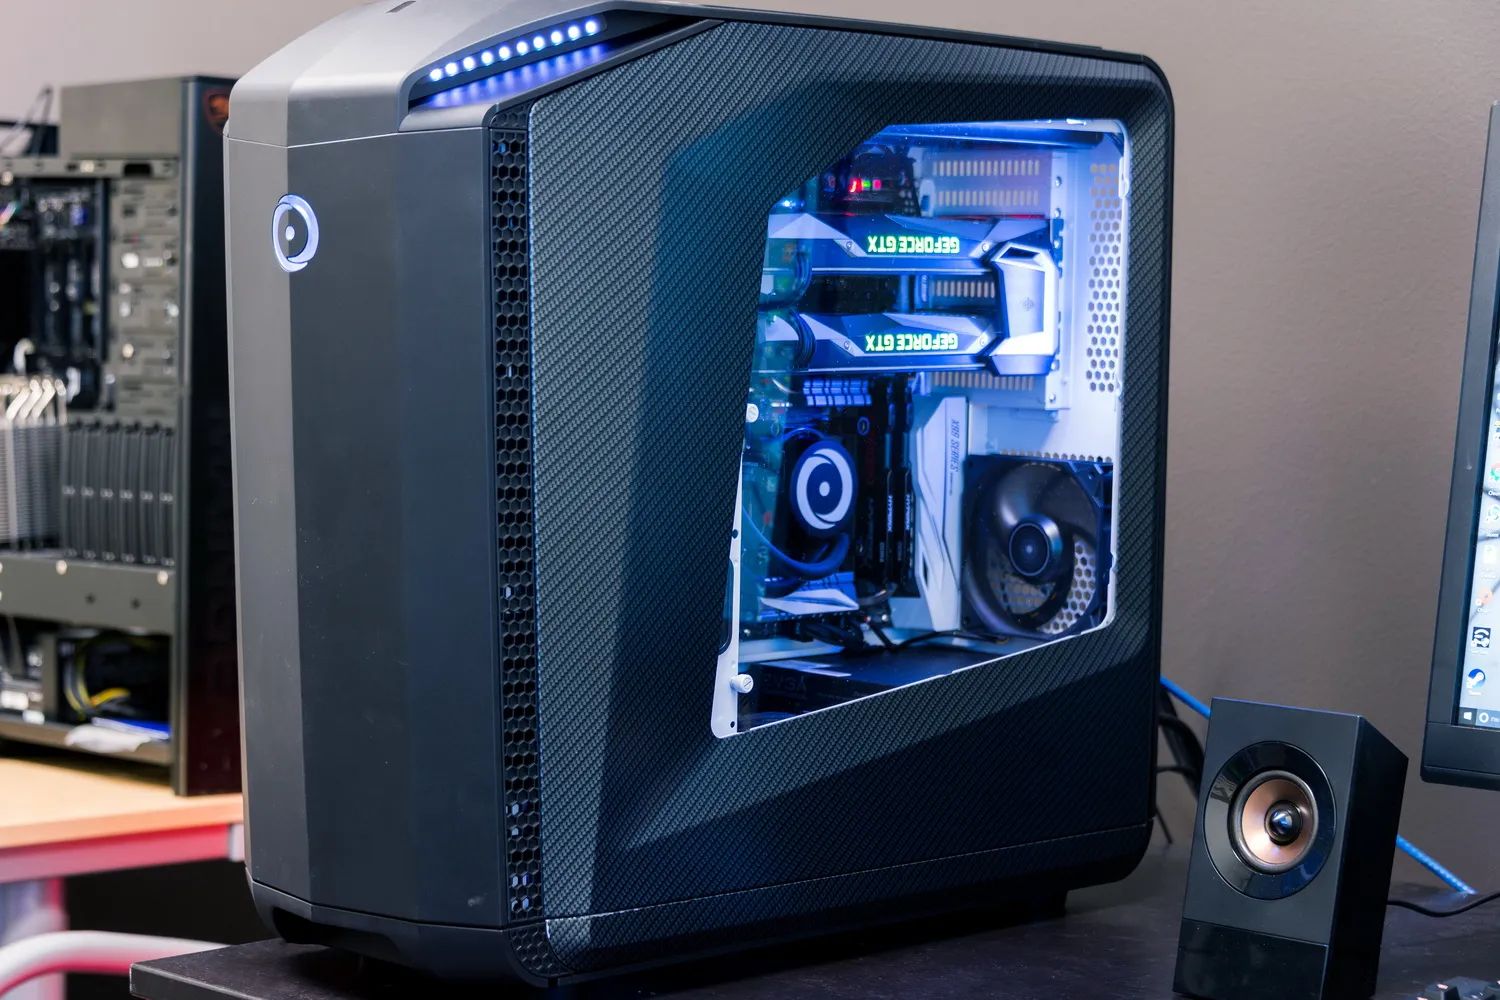
Glass panels are becoming increasingly popular in PC case design, as they provide a modern and sleek look. Tempered glass is tough, scratch-resistant, and offers excellent clarity. It allows for a clear view of the components inside the case while providing better sound insulation compared to acrylic. However, keep in mind that glass panels can be heavier and more fragile, so consider the weight and handling precautions when selecting this material.
4. Other Materials:
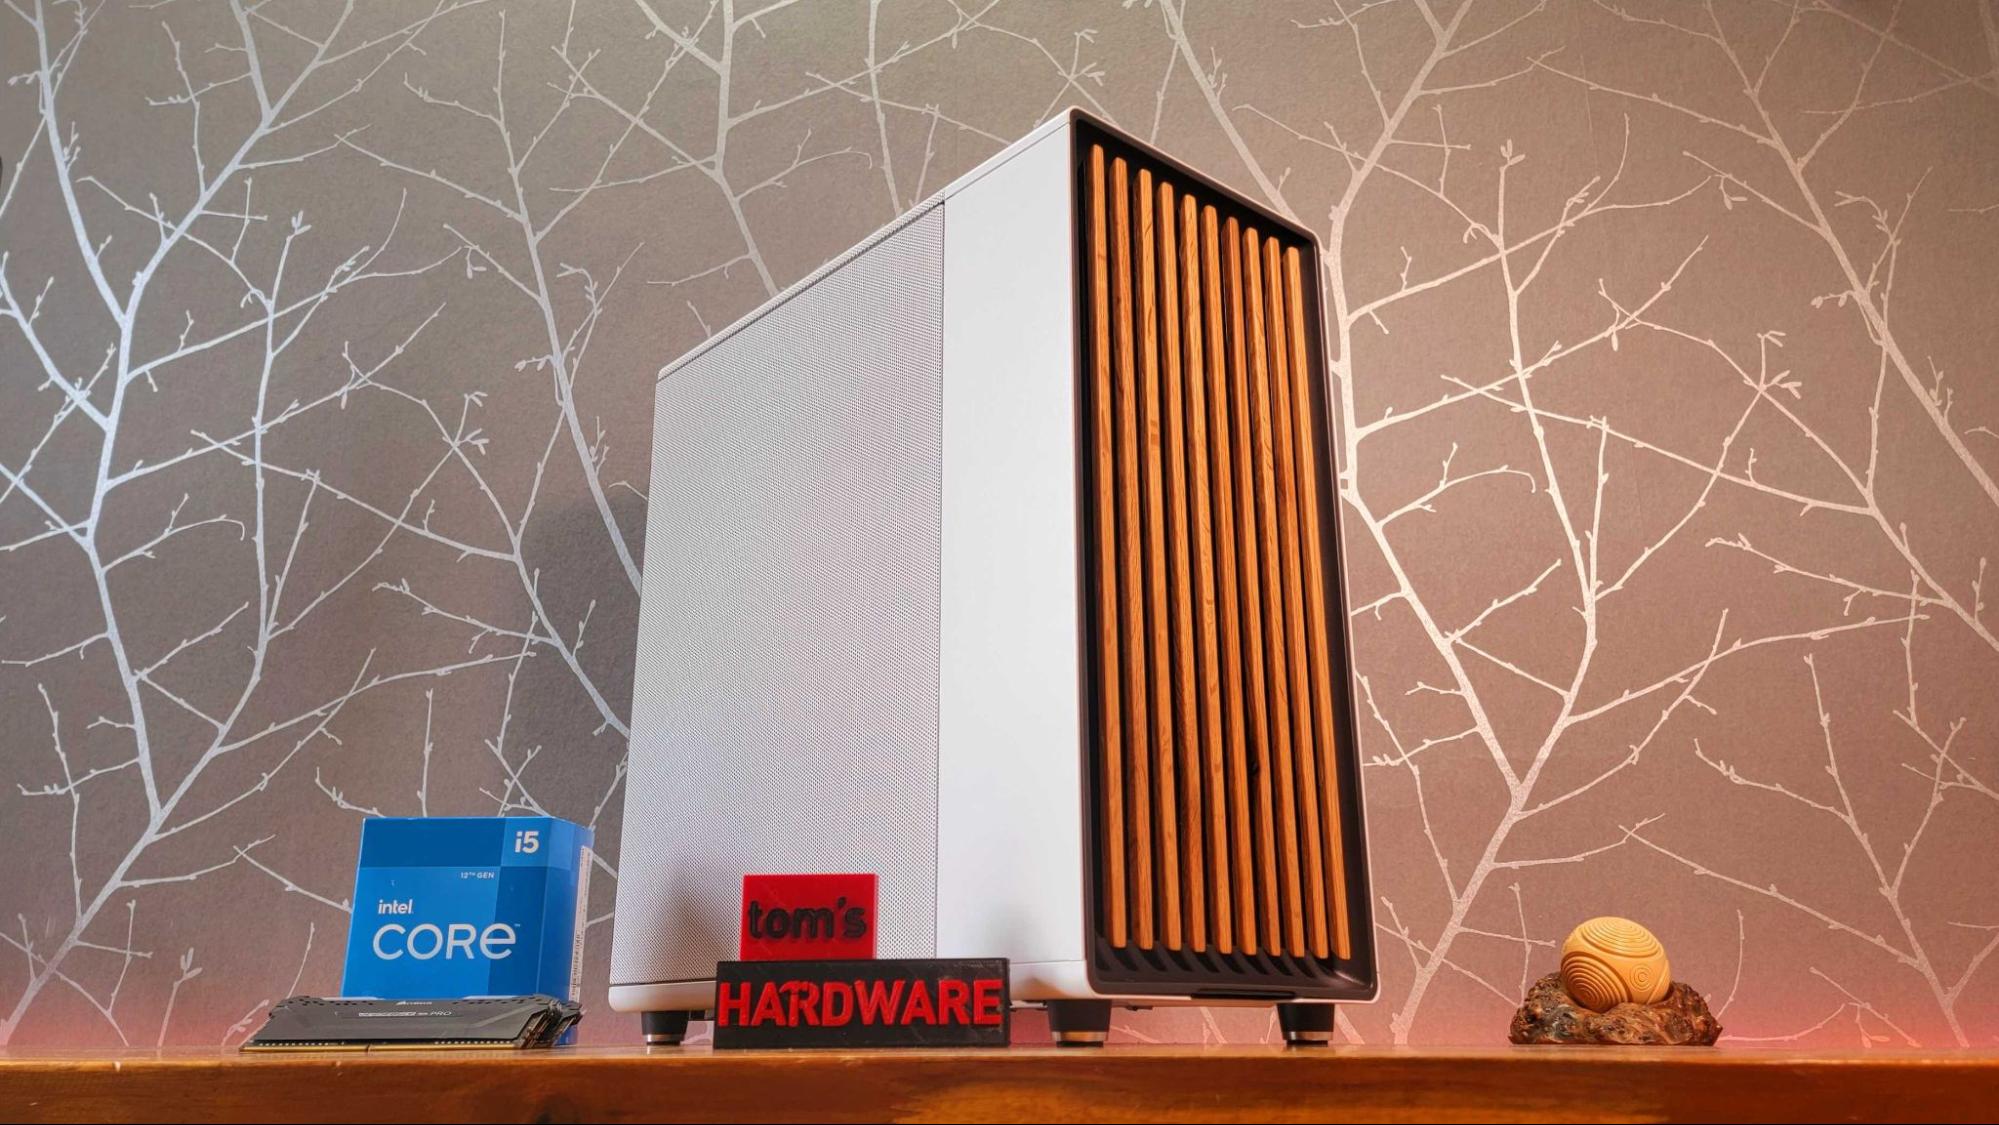
Aside from metal, acrylic, and glass, you may also consider other materials to add unique elements to your PC case design. Wood, for example, can provide a warm and natural aesthetic while maintaining durability. Carbon fiber can offer a lightweight and high-tech look. It’s important to consider the characteristics of different materials and choose the ones that best align with your design goals and functional requirements.
5. Compatibility and Access:
When choosing materials, consider how they will impact the compatibility and access to your PC components. Ensure that the materials allow for easy installation and removal of hardware, access to ports and buttons, and proper ventilation for cooling. Consider the expansion options and how the materials will accommodate future upgrades or modifications to your PC setup.
Ultimately, selecting the right materials for your PC case design is a balance between aesthetics, functionality, and practicality. Take the time to evaluate different options, consider the strengths and limitations of each material, and choose the ones that best align with your vision and requirements.
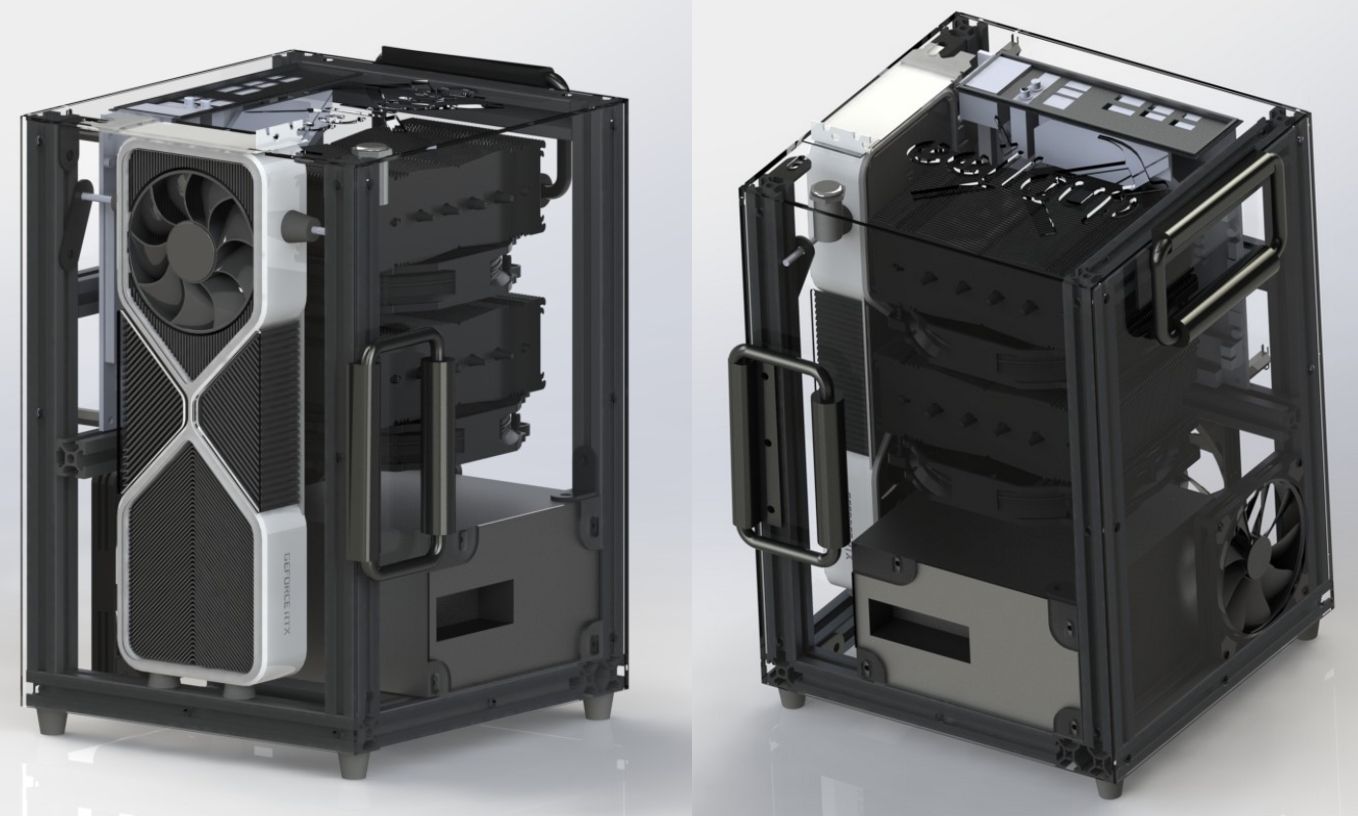
Creating a 3D Model
Once you have finalized your design and chosen the materials, it’s time to bring your PC case to life by creating a 3D model. A 3D model allows you to visualize your design from different angles, test its feasibility, and identify any potential issues before moving on to the construction phase. Here’s how you can create a 3D model:
1. Choose a 3D Modeling Software:
There are various 3D modeling software options available, both free and paid. Depending on your familiarity and skill level, choose a software that suits your needs. Popular options include AutoCAD, SolidWorks, Blender, and SketchUp. Consider the features, user interface, and compatibility with the file formats you plan to use.
2. Import Measurements and Design Details:
To create an accurate 3D model, import the measurements and design details gathered during the planning and sketching phase. Use the dimensions of the components, the layout of the case, and any additional design elements to guide your modeling process. Ensure that the dimensions are scaled correctly to accurately represent the size of your PC case.
3. Model Each Component:
Start by creating the main shell or frame of the PC case. Use basic shapes and tools to form the overall structure. Next, model each component individually, such as the motherboard tray, drive bays, and expansion slots. Pay attention to details, such as screw holes, cable management features, and ventilation slots, to ensure the model accurately represents your design.
4. Test Fit and Functionality:
Once you have modeled all the components, perform a virtual test fit to confirm that they align properly. Test the functionality by virtually inserting the components and checking their placement and clearance. This will help identify any design flaws or compatibility issues that need to be addressed before proceeding to the actual construction.
5. Refine and Optimize:
Refine and optimize your 3D model based on any feedback received during the testing phase. Make adjustments to improve the overall design, such as enhancing cable management, optimizing ventilation, or adding structural reinforcements. The 3D model allows you to iterate quickly, making changes without the need for physical modifications.
Creating a 3D model gives you a realistic preview of your PC case design, allowing you to visualize its appearance and functionality. It helps ensure that your design aligns with your vision and identifies any potential issues before moving on to the construction phase.
Cutting and Shaping the Components
With the 3D model finalized, it’s time to bring your PC case design to life by cutting and shaping the components. This step involves working with your selected materials and using various tools to shape them according to your design. Here’s how to proceed with cutting and shaping:
1. Gather the Necessary Tools:
Before starting, ensure you have all the tools required to cut and shape your chosen materials. This may include a hacksaw or jigsaw, files or sandpaper, and a drill with appropriate drill bits. Additionally, have safety equipment like safety goggles, gloves, and dust masks to protect yourself during the process.
2. Prepare the Materials:
Measure and mark the dimensions of each component onto your chosen materials. Use a ruler or straight edge to ensure accurate markings. Double-check the measurements to avoid any errors that could affect the functionality or fit of the components.
3. Cutting the Materials:
Using the appropriate tools for the selected materials, carefully cut along the marked lines. Take your time and use smooth, controlled motions to ensure clean and precise cuts. If necessary, use clamps or a vice to secure the materials in place and provide stability during the cutting process.
4. Shaping and Smoothing:
After cutting the components, use files or sandpaper to shape the edges and smooth out any rough sections. Pay attention to details like chamfering edges, rounding corners, or creating recesses for buttons or ports. This step will enhance the overall finish and ensure the components fit together seamlessly.
5. Drilling and Creating Mounting Points:
If your design requires holes for screws, fan mounts, or cable management, use a drill with the appropriate drill bits to create these holes. Ensure the sizes and positions are accurate to fit the corresponding components and hardware. Take care to avoid damaging the material or creating unnecessary weak spots.
6. Test Fit and Make Adjustments:
As you shape and cut each component, periodically test fit them together to ensure proper alignment. Make any necessary adjustments by re-cutting or reshaping areas that may not fit together as intended. This iterative process allows you to refine the components and ensure a precise fit before moving to the next phase.
Cutting and shaping the components is a crucial step in bringing your PC case design to reality. By carefully working with the selected materials and using the appropriate tools, you can ensure that each component is accurately shaped and prepared for the assembly phase.
Assembling the PC Case
After cutting and shaping the components, it’s time to assemble your PC case. The assembly phase is when all the individual parts come together to create the final product. Follow these steps to ensure a successful assembly:
1. Prepare the Workspace:
Clear a clean and organized workspace and gather all the necessary tools and components. Ensure you have ample space to lay out the parts and move around comfortably during the assembly process.
2. Lay Out the Components:
Arrange the cut and shaped components according to your design plan. This will help you visualize the assembly process and ensure that all the parts are easily accessible. Refer to your 3D model or design sketches to guide you in placing each component correctly.
3. Secure the Framework:
If your PC case has a frame or skeleton structure, begin by securing it first. Use appropriate screws, nuts, or other fasteners to ensure the frame is aligned and stable. Avoid overtightening screws, as this may damage the material or affect the overall structure.
4. Install the Internal Components:
Proceed to install the internal components, such as the motherboard, power supply, storage drives, and other hardware. Refer to the manufacturer’s instructions for proper installation procedures and ensure all connections are secure.
5. Manage Cables:
Take the time to carefully route and manage the cables within the case. Use cable tie-downs, grommets, and other cable management solutions to keep the cables organized and prevent them from obstructing airflow or interfering with other components.
6. Install Cooling Solutions:
If your design includes cooling solutions such as fans or liquid cooling systems, install them according to the manufacturer’s instructions. Pay attention to proper placement, airflow direction, and clearance to ensure efficient cooling and prevent any potential issues.
7. Secure the Exterior Components:
If your PC case has removable panels or side panels, secure them by using the appropriate fasteners or latching mechanisms. Ensure that the panels are aligned properly and securely fastened to maintain the structural integrity of the case.
8. Test the PC Case:
Before finalizing the assembly, perform a thorough visual inspection and ensure that all connections are secure. Once satisfied, power up the system and test that all components are functioning correctly. Monitor temperatures and check for any unusual noises or issues that may require troubleshooting.
The assembly phase is the exciting culmination of your PC case design journey. By carefully following the steps and paying attention to detail, you will create a functional and visually appealing PC case that reflects your unique design and meets your computing needs.
Adding Ventilation and Cooling Options
Proper ventilation and cooling are vital for maintaining optimal temperatures and ensuring the longevity and performance of your PC components. When designing your PC case, it’s important to incorporate effective ventilation and cooling options. Here are some considerations for adding ventilation and cooling:
1. Positioning of Intake and Exhaust Fans:
Strategically place intake and exhaust fans to create a balanced airflow within the PC case. Intake fans should draw cool air into the case, while exhaust fans expel hot air. Consider the layout of your components and aim to create an efficient airflow path from the front to the back of the case.
2. Size and Placement of Fans:
Choose fans that are appropriate in size and airflow capacity for your PC case. Larger fans generally provide better airflow at lower noise levels. Place fans in areas that maximize airflow over critical components, such as the CPU, graphics card, and storage drives.
3. Dust Filtration:
Incorporate dust filters in areas where air enters the PC case to minimize the accumulation of dust and debris. Dust filters help reduce the risk of overheating and optimize the lifespan of your components. Regularly clean and maintain these filters to ensure proper airflow.
4. Liquid Cooling Solutions:
Consider incorporating liquid cooling solutions, such as all-in-one (AIO) coolers or custom water cooling loops, for more efficient cooling. Liquid cooling can provide better temperature control, quieter operation, and increased overclocking potential. Ensure that your PC case design allows for the installation and proper routing of liquid cooling components.
5. Cable Management and Airflow Obstruction:
Be mindful of cable management to ensure cables do not obstruct airflow. Use cable management solutions like routing channels, tie-down points, and Velcro straps to keep cables organized and out of the way. Proper cable management improves both the aesthetics and airflow within the PC case.
6. Additional Cooling Considerations:
Depending on your components and PC usage, you may need additional cooling options. Consider options like GPU coolers, CPU heatsinks, case fans with adjustable speeds, or even adding extra ventilation holes or mesh panels to improve overall airflow.
7. Monitoring and Controlling Temps:
Install software or hardware monitoring tools to keep track of your PC’s temperatures. This allows you to monitor the effectiveness of your cooling solutions and make necessary adjustments if temperatures rise to unsafe levels. Consider fan speed control software or hardware fan controllers to maintain a balance between cooling performance and noise levels.
By incorporating proper ventilation and cooling options into your PC case design, you can ensure that your components operate at optimal temperatures, reducing the risk of overheating and maintaining system performance. Take the time to plan and implement effective cooling solutions to enhance the overall functionality and longevity of your PC setup.
Painting and Finishing Touches
Once the main construction of your PC case is complete, you can add a personal touch and enhance its visual appeal through painting and finishing touches. The painting process not only allows you to customize the appearance of your PC case but also provides an additional layer of protection. Here are some steps to consider when painting and adding finishing touches:
1. Surface Preparation:
Properly prepare the surfaces of your PC case for painting. Start by cleaning the surfaces to remove any dust, debris, or oils. Use sandpaper or a primer-compatible cleaner to ensure good adhesion of the paint. Fill any imperfections with putty and sand them smooth. Mask off any areas that you don’t want to paint.
2. Selecting and Applying Paint:
Choose high-quality paint that is compatible with the material of your PC case. Consider using spray paint for a smooth and even finish. Apply thin coats of paint, allowing each coat to dry before applying the next. This helps prevent drips, runs, and uneven coverage. Ensure proper ventilation during the painting process by working in a well-ventilated area or using a paint booth.
3. Adding Colors and Designs:
Consider adding colors and designs to make your PC case stand out. Experiment with different techniques, such as stencil work, gradients, or masking, to create unique patterns or effects. Use painter’s tape to create crisp lines and protect areas you want to keep unpainted. Allow the paint to dry completely before removing any masking or tape.
4. Protective Finishes:
Apply a clear protective finish to the painted surfaces to protect the paint and enhance its durability. Consider using a clear coat or a protective sealant designed for the material of your PC case. This protective layer adds an extra level of resistance against scratches, scuffs, and discoloration, keeping your PC case looking fresh and vibrant for longer.
5. Branding and Customization:
If desired, add branding or custom decals to your PC case. You can purchase custom vinyl decals or printing services to add logos, designs, or text that reflect your personal style or gaming preferences. Ensure proper placement and take time to carefully apply the decals to achieve a professional and polished look.
6. Finishing Touches:
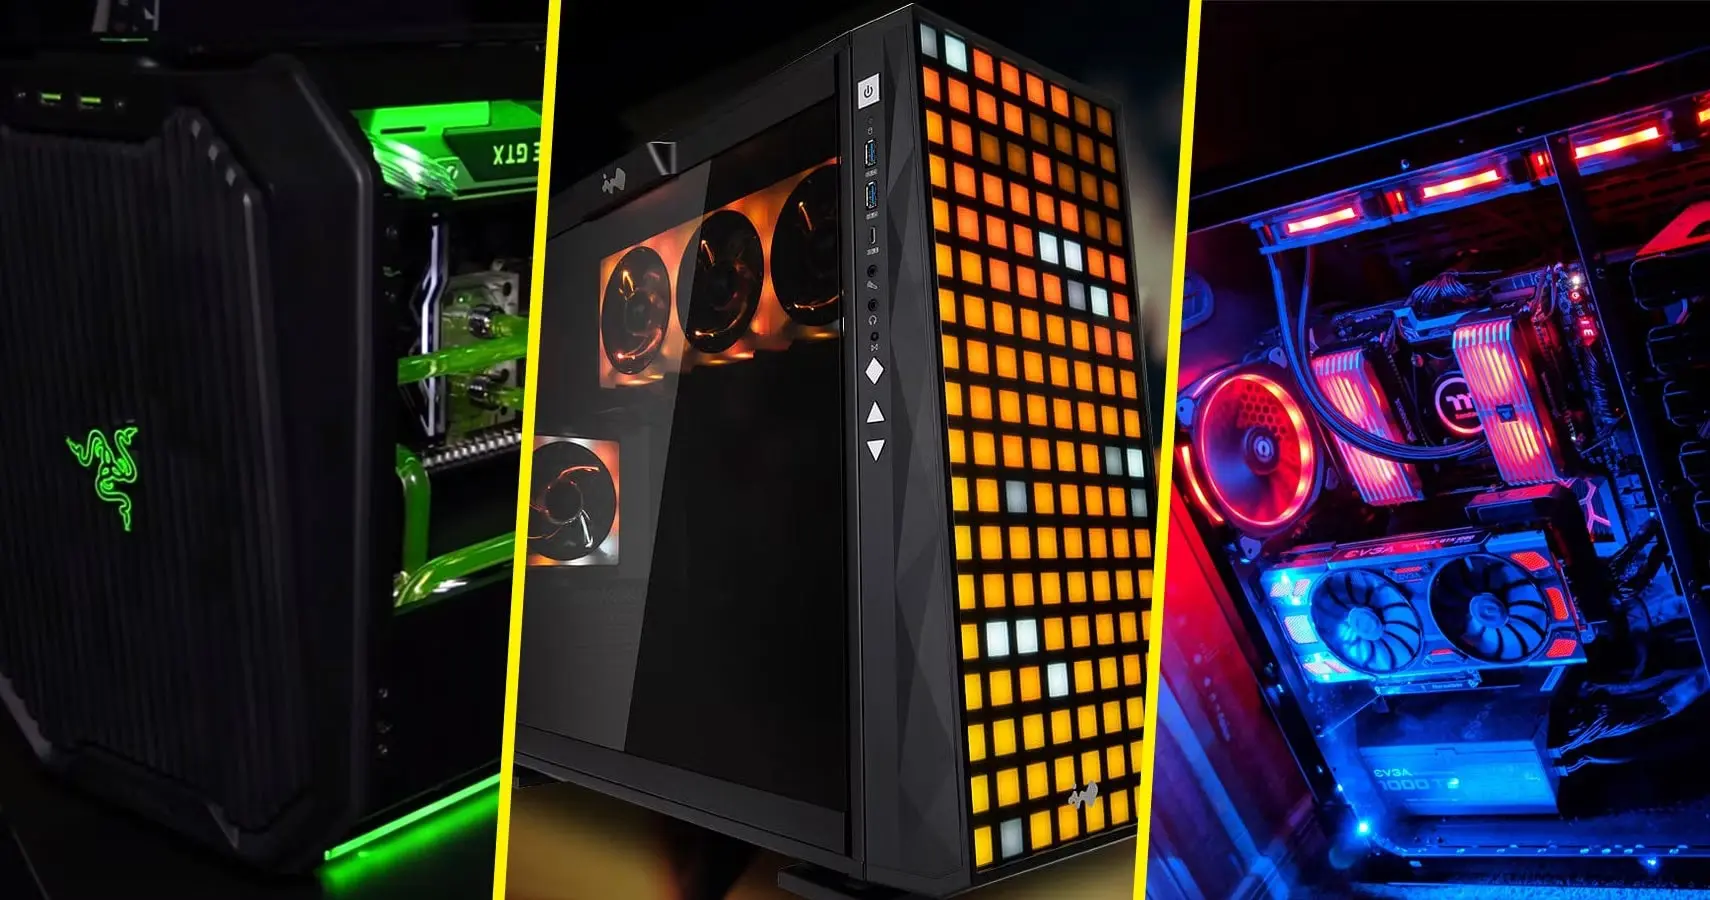
Once the painting is complete, focus on the finishing touches that complete the overall aesthetic of your PC case. This may include adding LED lighting, decorative accents, or custom cable sleeves. Consider cable combs or cable management solutions to organize and showcase your cables for a clean and professional appearance. Accessories like custom dust filters or magnetic badges can also add a unique touch.
By giving attention to painting and finishing touches, you can transform your PC case into a visually appealing centerpiece that reflects your style and creativity. Take your time, follow the steps carefully, and enjoy the process of adding those final touches to your PC case design.
Test and Troubleshooting
After completing the assembly and finishing touches of your PC case design, it’s crucial to perform thorough testing to ensure that everything is functioning properly. This testing phase allows you to identify any potential issues and address them promptly. Here’s how to test and troubleshoot your PC case:
1. Power Up the System:
Connect your PC to a power source and turn it on. Ensure all the components receive power and that the fans and lights are functioning. Check for any unusual noises, such as grinding or rattling, which may indicate a hardware issue.
2. Monitor Temperatures:
Monitor the temperatures of your components to ensure they are within safe ranges. Use software tools or BIOS monitoring to track temperatures, paying close attention to the CPU and GPU. If temperatures exceed safe levels, check if your cooling solutions are properly installed and functioning optimally.
3. Check Component Functionality:
Test the functionality of each component, including the motherboard, graphics card, storage drives, and peripherals. Verify that they are working as expected by running benchmark tests, performing file transfers, and testing the connectivity of external devices.
4. Test Ports and Connectors:
Check all the ports and connectors on your PC case to ensure they are working correctly. Plug in various devices, such as USB drives, headphones, or external monitors, to verify that the connections are stable and functional.
5. Stress Testing:
Perform stress tests on your system to evaluate its stability and performance under heavy loads. Use software tools designed for stress testing, such as Prime95 or FurMark, to put your CPU and GPU under maximum load for an extended period. Monitor temperatures and system stability during these tests.
6. Troubleshooting:
If you encounter any issues during testing, begin troubleshooting by isolating the problem. Check all connections and ensure they are secure. Verify that drivers and software are up to date. Consult the manufacturer’s documentation or online resources for specific troubleshooting steps related to your components.
7. Seek Help if Needed:
If troubleshooting efforts do not resolve the issues, consider reaching out to the respective component manufacturers or seeking help from knowledgeable individuals in online forums or communities. They may be able to provide further insight or guidance to resolve any persistent problems.
The test and troubleshooting phase is essential to ensure that your PC case design functions as intended. By conducting thorough testing, monitoring temperatures, and troubleshooting any issues that arise, you can ensure the reliability, performance, and longevity of your custom PC case.
Conclusion
Designing and building your own PC case is not only a rewarding project but also an opportunity to showcase your creativity and tailor your computer setup to your exact requirements. Throughout the process, you have learned how to plan, gather inspiration, choose the right materials, and assemble a functional and visually appealing PC case.
Starting with the initial research and exploration of existing designs, you gained valuable insights into what makes a PC case both aesthetically pleasing and practical. With careful planning and sketching, you ensured that your design aligned with your vision and component requirements. By selecting the right materials and incorporating ventilation and cooling options, you optimized the performance and longevity of your PC case.
The cutting, shaping, and assembly phases brought your design to life, allowing you to see your creation taking form. By paying attention to details, such as cable management and proper component placement, you ensured a clean and organized interior. Adding finishing touches, such as painting and customization, allowed you to personalize your PC case and make it truly unique.
Before wrapping up your project, testing and troubleshooting were conducted to verify that all components functioned properly and that temperatures remained within safe limits. This final step helped identify and address any issues, ensuring optimal performance and user experience.
With your PC case complete, it’s time to enjoy the fruits of your labor and admire your custom creation. Remember, building a PC case is a continuous process, and as technology evolves and your needs change, you can always modify and upgrade your design to meet new requirements.
Designing and building a PC case is more than just assembling a functional enclosure; it’s a journey fueled by passion, creativity, and attention to detail. Your custom PC case is a reflection of your individuality, and it will serve as a proud centerpiece for your computer setup for years to come.