Introduction
Installing fans in your PC is essential for maintaining an optimal operating temperature and preventing overheating. Whether you’re a gamer, a content creator, or simply use your PC for everyday tasks, ensuring proper airflow is crucial for the longevity and performance of your system.
In this guide, we will walk you through the step-by-step process of installing fans in your PC, covering everything from the tools and equipment you’ll need to the testing phase. By the end of this article, you’ll have the knowledge and confidence to successfully install fans in your PC and improve its cooling efficiency.
Before we dive into the installation process, it’s important to note that every PC setup may vary slightly. Therefore, we recommend consulting your PC’s user manual or the manufacturer’s website for specific instructions and compatibility requirements for your particular model.
Now, let’s gather the necessary tools and equipment you’ll need to install fans in your PC.
Required Tools and Equipment
Before you begin installing fans in your PC, it’s important to gather the necessary tools and equipment. Here’s a list of what you’ll need:
- Screwdriver (typically Phillips head)
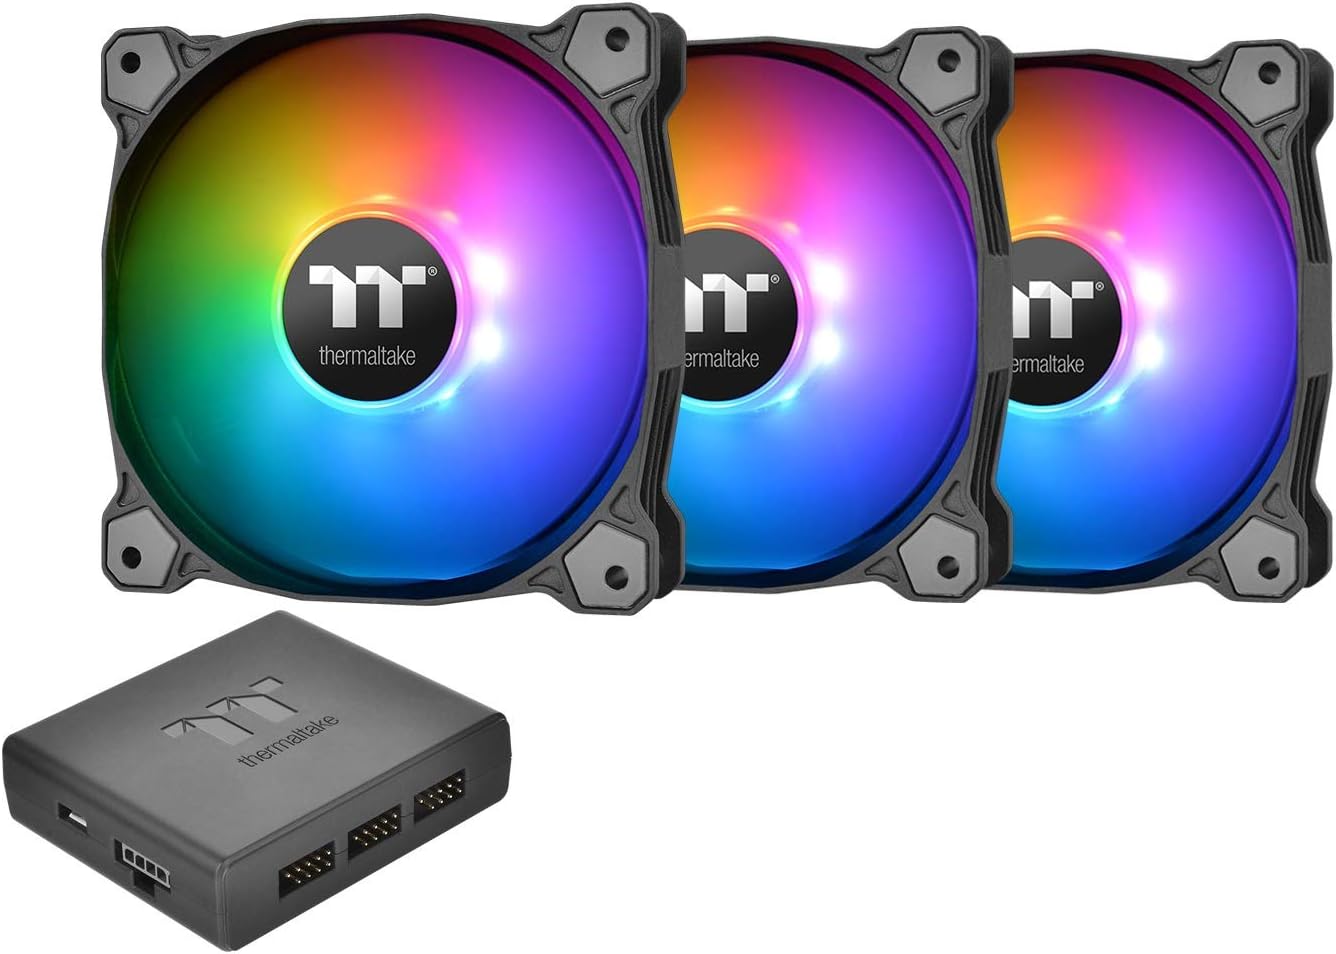
- Fans (make sure they are compatible with your PC case and have the appropriate size)
- Fan screws (usually included with the fans)
- Fan controller (optional, for more advanced control over fan speeds)
- Anti-static wrist strap (recommended for grounding yourself and protecting sensitive components)
- Cable ties or zip ties (to help with cable management)
- Thermal paste (if you’re replacing the CPU cooler or applying fresh paste)
Ensure that you have these tools and equipment readily available before proceeding with the installation process. This will make the entire process smoother and more efficient, minimizing the risk of any errors or complications.
Once you have gathered all the necessary tools and equipment, you’re ready to move on to the next step: preparation.
Preparation
Before installing any fans in your PC, it’s important to properly prepare your workspace and the components involved. Here’s what you need to do:
- Power off your PC and unplug it from the wall socket. This will ensure your safety and prevent any accidental damage.
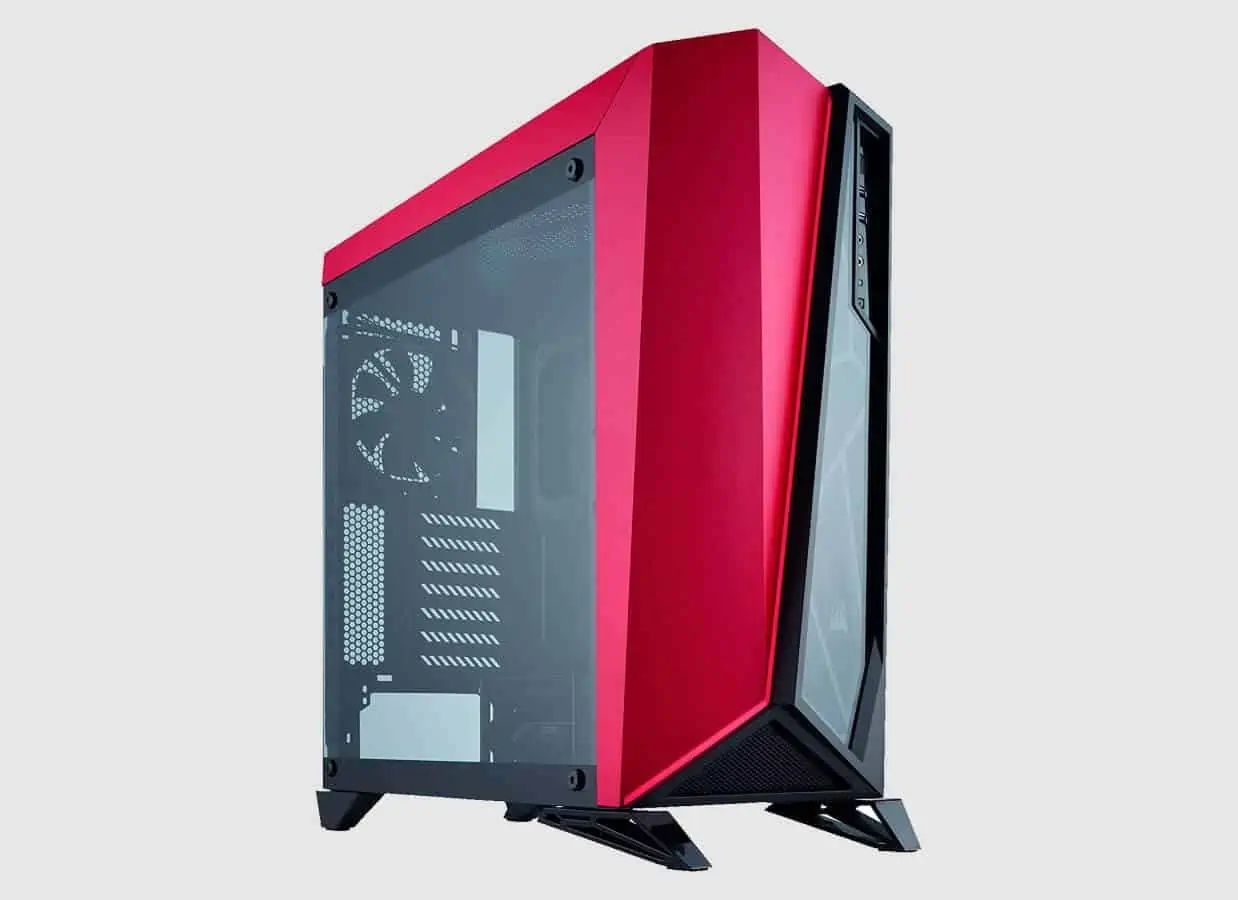
- Open your PC case by removing the side panel. Refer to your PC’s user manual for specific instructions on how to access the internal components.
- Take a moment to familiarize yourself with the inside of your PC case. Identify the available fan mounting spots and determine how many additional fans you can install.
- Clean the inside of your PC case using compressed air or a soft, lint-free cloth. This will remove any dust or debris that may hinder the performance of your new fans.
- If you are replacing existing fans, carefully disconnect the power cables from the old fans and remove them from their mounting spots.
- Inspect the new fans to ensure they are in good condition and compatible with your PC case. Ensure they have the appropriate connectors (e.g., 3-pin or 4-pin) to connect to the motherboard or fan controller.
- If you’re installing multiple fans, plan their placement for optimum airflow. Consider factors such as intake versus exhaust, positioning near hot components, and creating a balanced airflow throughout the case.
By taking the time to properly prepare your workspace and PC case, you’ll ensure a smooth and successful installation process. Once you’ve completed the preparation stage, you’re ready to move on to installing the fans in your PC.
Installing the Case Fans
Now that you’ve prepared your workspace and PC case, it’s time to install the case fans. Follow these steps to ensure a proper installation:
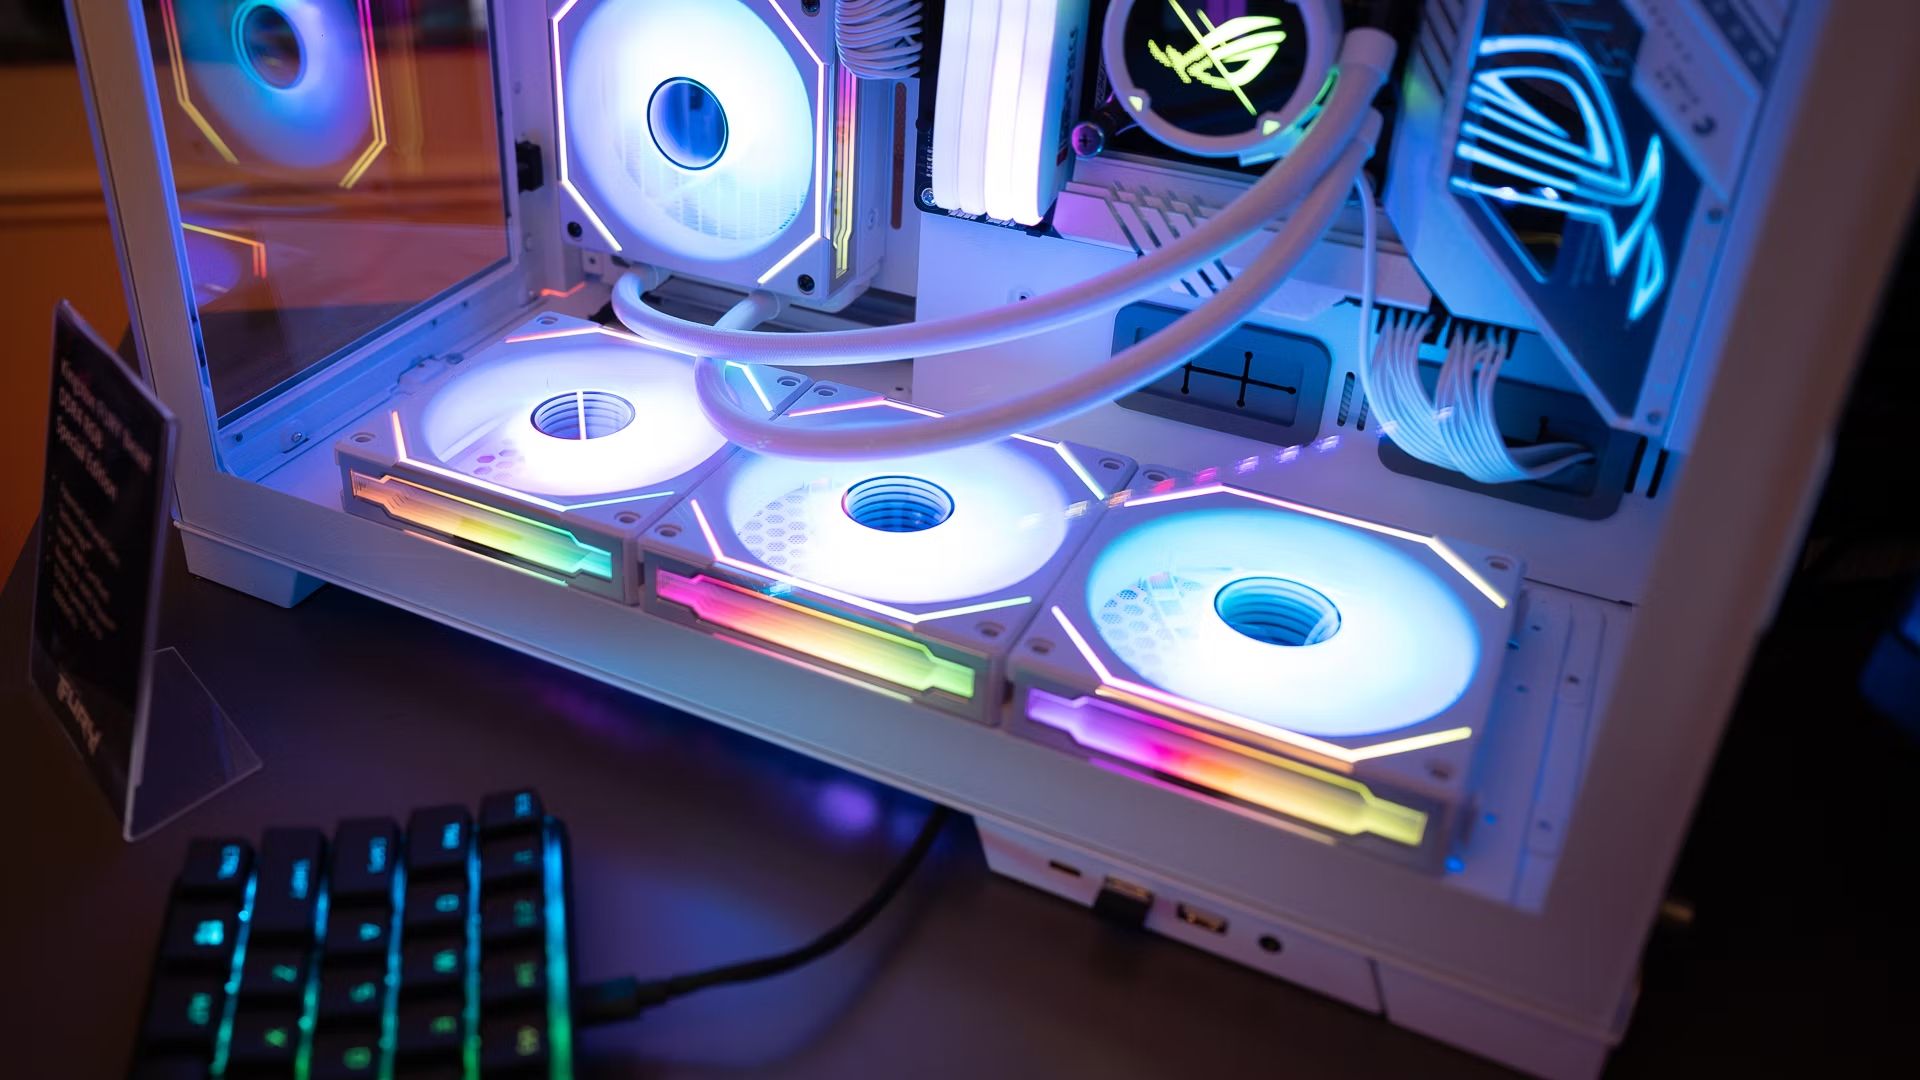
- Refer to your PC’s user manual or the manufacturer’s website to locate the specific mounting spots for the fans in your case. Typically, you’ll find these spots on the front, rear, or top of the case.
- Take out the fan screws that came with your fans. If there are rubber pads or anti-vibration mounts included, attach them to the fan corners to reduce noise and vibration.
- Align the screw holes on the fans with the corresponding mounting spots in your PC case. Take note of the airflow direction indicated by the arrow on the fan. This helps ensure proper airflow within the case.
- Using a screwdriver, carefully screw in the fan screws to secure the fans in place. Use a balanced amount of force, making sure not to overtighten and damage the case or fans.
- If you’re installing multiple fans, repeat the process for each fan, following your planned placement to ensure optimal airflow.
- Once the fans are securely mounted, double-check that all connections are secure and any excess cable length is neatly managed using cable ties or zip ties.
- Close the PC case by reattaching the side panel. Ensure it is properly aligned and secured, using any screws or latches provided by your case.
By following these steps, you have successfully installed the case fans in your PC. The next step is to connect the fans to your motherboard or fan controller, which we will cover in the next section.
Connecting the Fans
After installing the case fans in your PC, it’s time to connect them to your motherboard or fan controller. Follow these steps to ensure a proper connection:
- Identify the fan headers on your motherboard. These are usually labeled “FAN” or “CHA FAN” and may have different colors.
- Depending on the type of fan you have (3-pin or 4-pin), connect the fan’s power cable to the corresponding fan header on the motherboard:
- For 3-pin fans, align the fan connector with the header pins and carefully push it in.
- For 4-pin fans, align the fan’s connector with the 4-pin PWM header on the motherboard and firmly push it in.
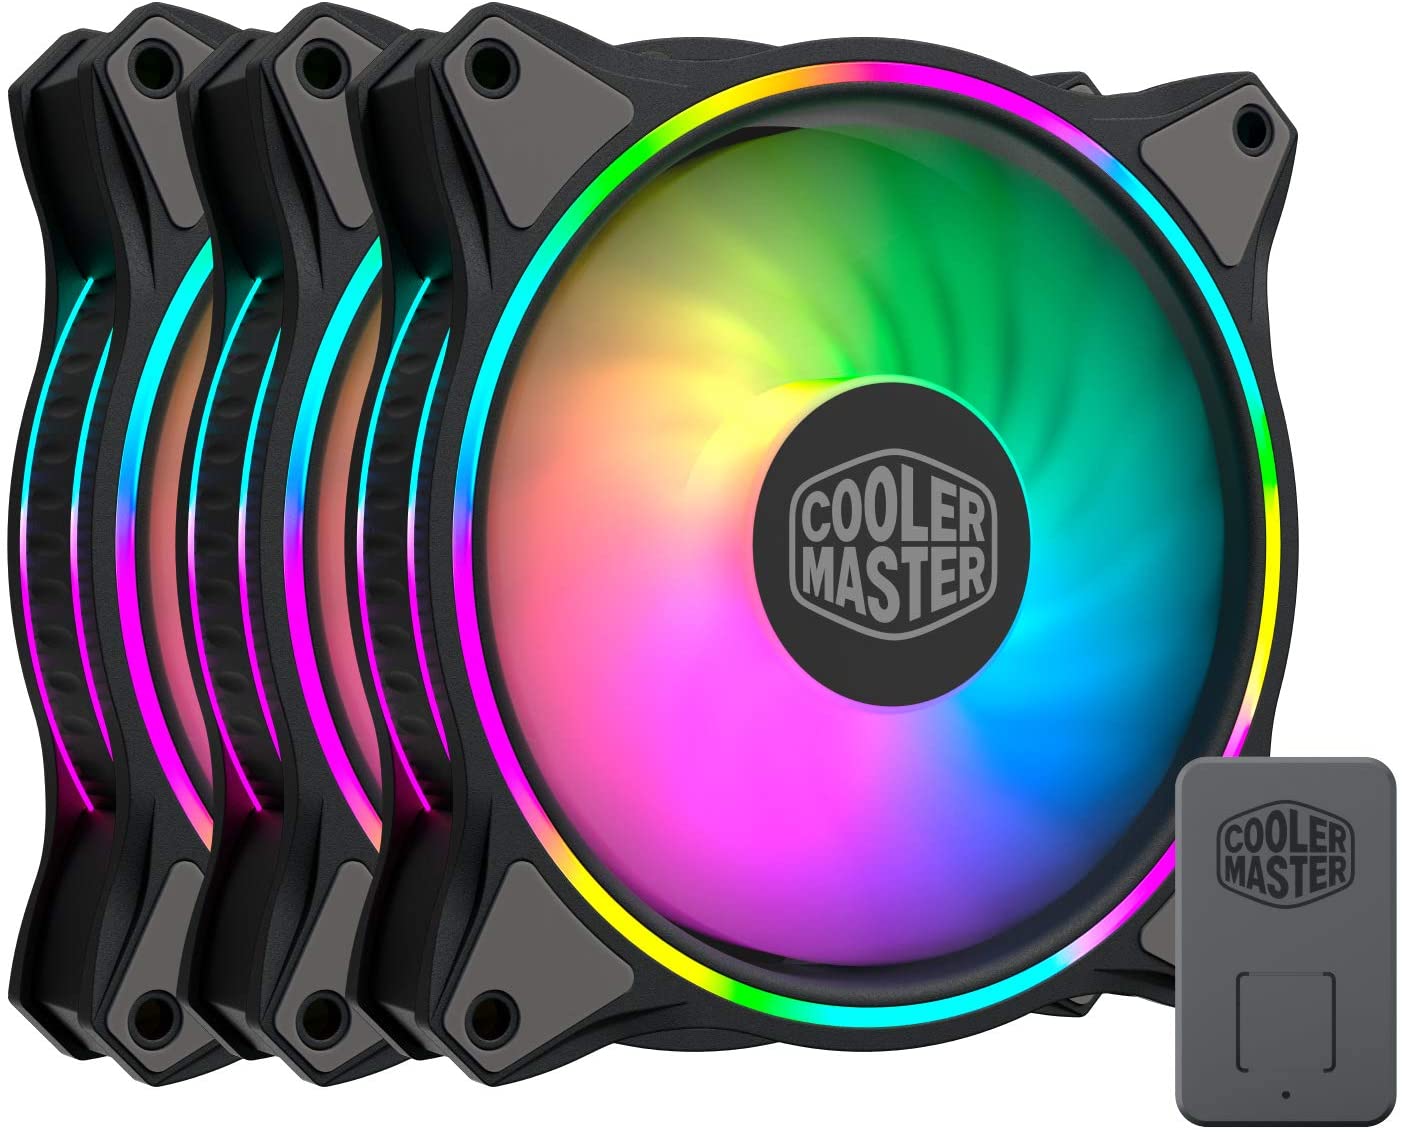
- If you have a fan controller, connect the fans to the appropriate fan ports on the controller using the provided cables. Refer to the controller’s manual for specific instructions.
- Once all the fans are connected, double-check the connections to ensure they are secure.
- If you have a fan controller, follow the controller’s instructions to adjust the fan speed or create custom fan profiles to suit your preferences.
Connecting the fans to your motherboard or fan controller is crucial for them to receive power and operate effectively. Once you’ve completed this step, it’s time to test the fans to ensure they are functioning correctly.
Testing the Fans
Once you have installed and connected the fans in your PC, it’s essential to test them to ensure they are functioning correctly. Follow these steps to perform a basic fan test:
- Power on your computer and wait for it to boot up.
- Enter your computer’s BIOS or UEFI settings by pressing the designated key during the boot process. This key varies depending on your motherboard manufacturer (common keys include Del, F2, or F10).
- Navigate to the hardware monitor or fan control section of the BIOS/UEFI settings. Here, you should be able to see the fan speeds and temperatures.
- Observe the fan speeds and ensure they are displayed correctly. Make note of any discrepancies or unusual behavior.
- If your motherboard supports fan control, adjust the fan speeds to test their functionality. Increase the speed and ensure the fans respond accordingly.
- Observe the temperatures in the BIOS/UEFI settings and check for any significant drops in temperature thanks to the newly installed fans.
- Exit the BIOS/UEFI settings and allow your computer to boot into the operating system.
- In your operating system, monitor the fan speeds and temperatures using software utilities specific to your motherboard or third-party applications.
- Run CPU-intensive tasks or launch resource-demanding programs to put a load on your system and observe how the fans respond and maintain proper cooling.
By testing the fans, you can ensure they are operating as intended and providing adequate cooling for your PC. If you encounter any issues, such as abnormal fan speeds or high temperatures, consider troubleshooting or seeking further assistance from technical support.
Conclusion
Congratulations! You have successfully installed fans in your PC and improved its cooling efficiency. Proper airflow and temperature management are crucial for maintaining optimal performance and prolonging the lifespan of your components.
Throughout this guide, we covered the necessary tools and equipment, the preparation steps, the fan installation process, connecting the fans to your motherboard or fan controller, and testing the fans to ensure their functionality.
Remember, every PC setup may vary slightly, so it’s important to consult your PC’s user manual or the manufacturer’s website for specific instructions and compatibility requirements.
By installing fans in your PC, you’ve taken an important step towards creating a more efficient and reliable system. With improved cooling, you can enjoy extended gaming sessions, smoother multitasking, and overall better performance.
Don’t forget to periodically clean your fans and monitor their performance to ensure they continue to work optimally. Dust build-up can hinder airflow and reduce cooling effectiveness, so regular maintenance is key.
We hope this guide has been helpful in guiding you through the process of installing fans in your PC. If you have any further questions or need additional assistance, consult with technical support or reach out to online communities for further guidance.
Now go ahead, power up your PC, and enjoy the benefits of a cooler and more efficient system!