Introduction
Welcome to this guide on how to remove the drive holder in a PC case. If you’re looking to upgrade your computer’s storage or replace a faulty drive, properly removing the drive holder is an essential step to access and install your new drive. Whether you’re a DIY enthusiast or a novice computer user, we’ve got you covered with simple and easy-to-follow instructions.
Removing the drive holder is a crucial part of the process, as it ensures that your new drive can be properly installed and secured within the PC case. By following the steps outlined in this guide, you’ll be able to safely remove the drive holder without causing any damage to your computer or its internal components.
Before we dive into the step-by-step instructions, it’s important to note that different PC cases may have slight variations in design and mechanisms. However, the general process of removing the drive holder remains consistent across most cases. As a precaution, always consult your PC’s manufacturer documentation or online resources specific to your case model if you encounter any difficulties or uncertainties.
In the following sections, we’ll guide you through the process of removing the drive holder in your PC case using common tools and materials. Make sure to gather all the necessary tools before starting to ensure a smooth and hassle-free experience.
Tools and Materials Needed
Before getting started, make sure you have the following tools and materials:
- Screwdriver: Depending on your PC case, you may need a Phillips or flathead screwdriver. Check the type of screws used in your case before selecting the appropriate screwdriver.
- Anti-static wrist strap: It’s always a good idea to use an anti-static wrist strap to protect your computer from static electricity damage. This is especially important when handling internal components.
- Replacement drive: If you’re planning to replace the existing drive, make sure you have the new drive ready. Ensure that it is compatible with your PC and has the necessary connections (SATA, M.2, etc.)
- Clear workspace: Find a well-lit area with enough space to work comfortably. Clear off any clutter to avoid accidental damage or misplacing small screws or components.
While these are the basic tools and materials needed for the drive holder removal process, it’s always a good idea to have a look at your PC case’s user manual or consult online resources specific to your case model. This will help you determine if there are any additional tools or materials required for your specific case.
Now that you have gathered all the necessary tools and materials, you are ready to proceed with the step-by-step process of removing the drive holder from your PC case. Let’s get started!
Step 1: Power Down and Unplug the Computer
Before working on your PC, it is crucial to power it down and disconnect it from its power source. This step ensures your safety and prevents any potential damage to the computer’s internal components.
To power down your computer:
- Save any unsaved work and close all open applications.
- Click on the “Start” button in the Windows taskbar (bottom left corner).
- Select “Shut Down” from the options.
- Wait for your computer to completely shut down. The screen will turn off, and you may hear the fans stop spinning.
Once your computer is powered down, follow these steps to unplug it:
- Locate the power cable connected to the back of your computer.
- Disconnect the power cable from the power outlet or surge protector.
- Remove any other peripheral cables connected to the computer, such as the monitor, keyboard, and mouse.
Ensure that you have completely disconnected your computer from its power source before proceeding to the next steps. This precautionary measure reduces the risk of electrical shock and damage to your computer’s components while working on it.
Now that your computer is powered down and unplugged, you’re ready to move on to the next step of removing the drive holder.
Step 2: Open the PC Case
With your computer powered down and unplugged, it’s time to open the PC case to access the internal components. The exact method of opening the case may vary depending on the design of your specific PC case, but here are some general steps:
- Locate the screws or latches that secure the side panels of the PC case.
- Use the appropriate screwdriver to unscrew the screws or release the latches, depending on the type of case you have. Set the screws aside in a safe place to avoid misplacing them.
- Once the screws are removed or the latches released, gently slide or lift off the side panel(s) of the PC case. Be careful not to force anything or damage any components inside.
- Some PC cases may have a panel that swings open, while others may have panels that come off completely. Refer to your PC case’s user manual or consult online resources specific to your case model for detailed instructions.
Once you have successfully opened the PC case, you will have a clear view of the internal components, including the drive holder. Take a moment to familiarize yourself with the layout and ensure that you have a good understanding of where the drive holder is located.
Remember, every PC case is unique, so the method of opening the case may vary. Some cases may have tool-less designs that allow for easy access, while others may require more complex steps. It’s always a good idea to consult your PC case’s user manual or search for online resources specific to your case model for detailed instructions.
Now that the PC case is open, let’s move on to the next step of locating the drive holder.
Step 3: Locate the Drive Holder
Now that you have opened the PC case, it’s time to locate the drive holder. The drive holder is the component that secures the drives (such as hard drives or solid-state drives) in place inside the case.
The exact location of the drive holder may vary depending on the design of your PC case. However, here are some common areas where you can typically find the drive holder:
- Drive bays: Most PC cases have separate bays or slots dedicated to holding the drives. These bays are usually located towards the front of the case.
- Drive cages: Some cases may have drive cages that can be removed or repositioned to accommodate different drive configurations. These cages may be located at the top, bottom, or back of the case.
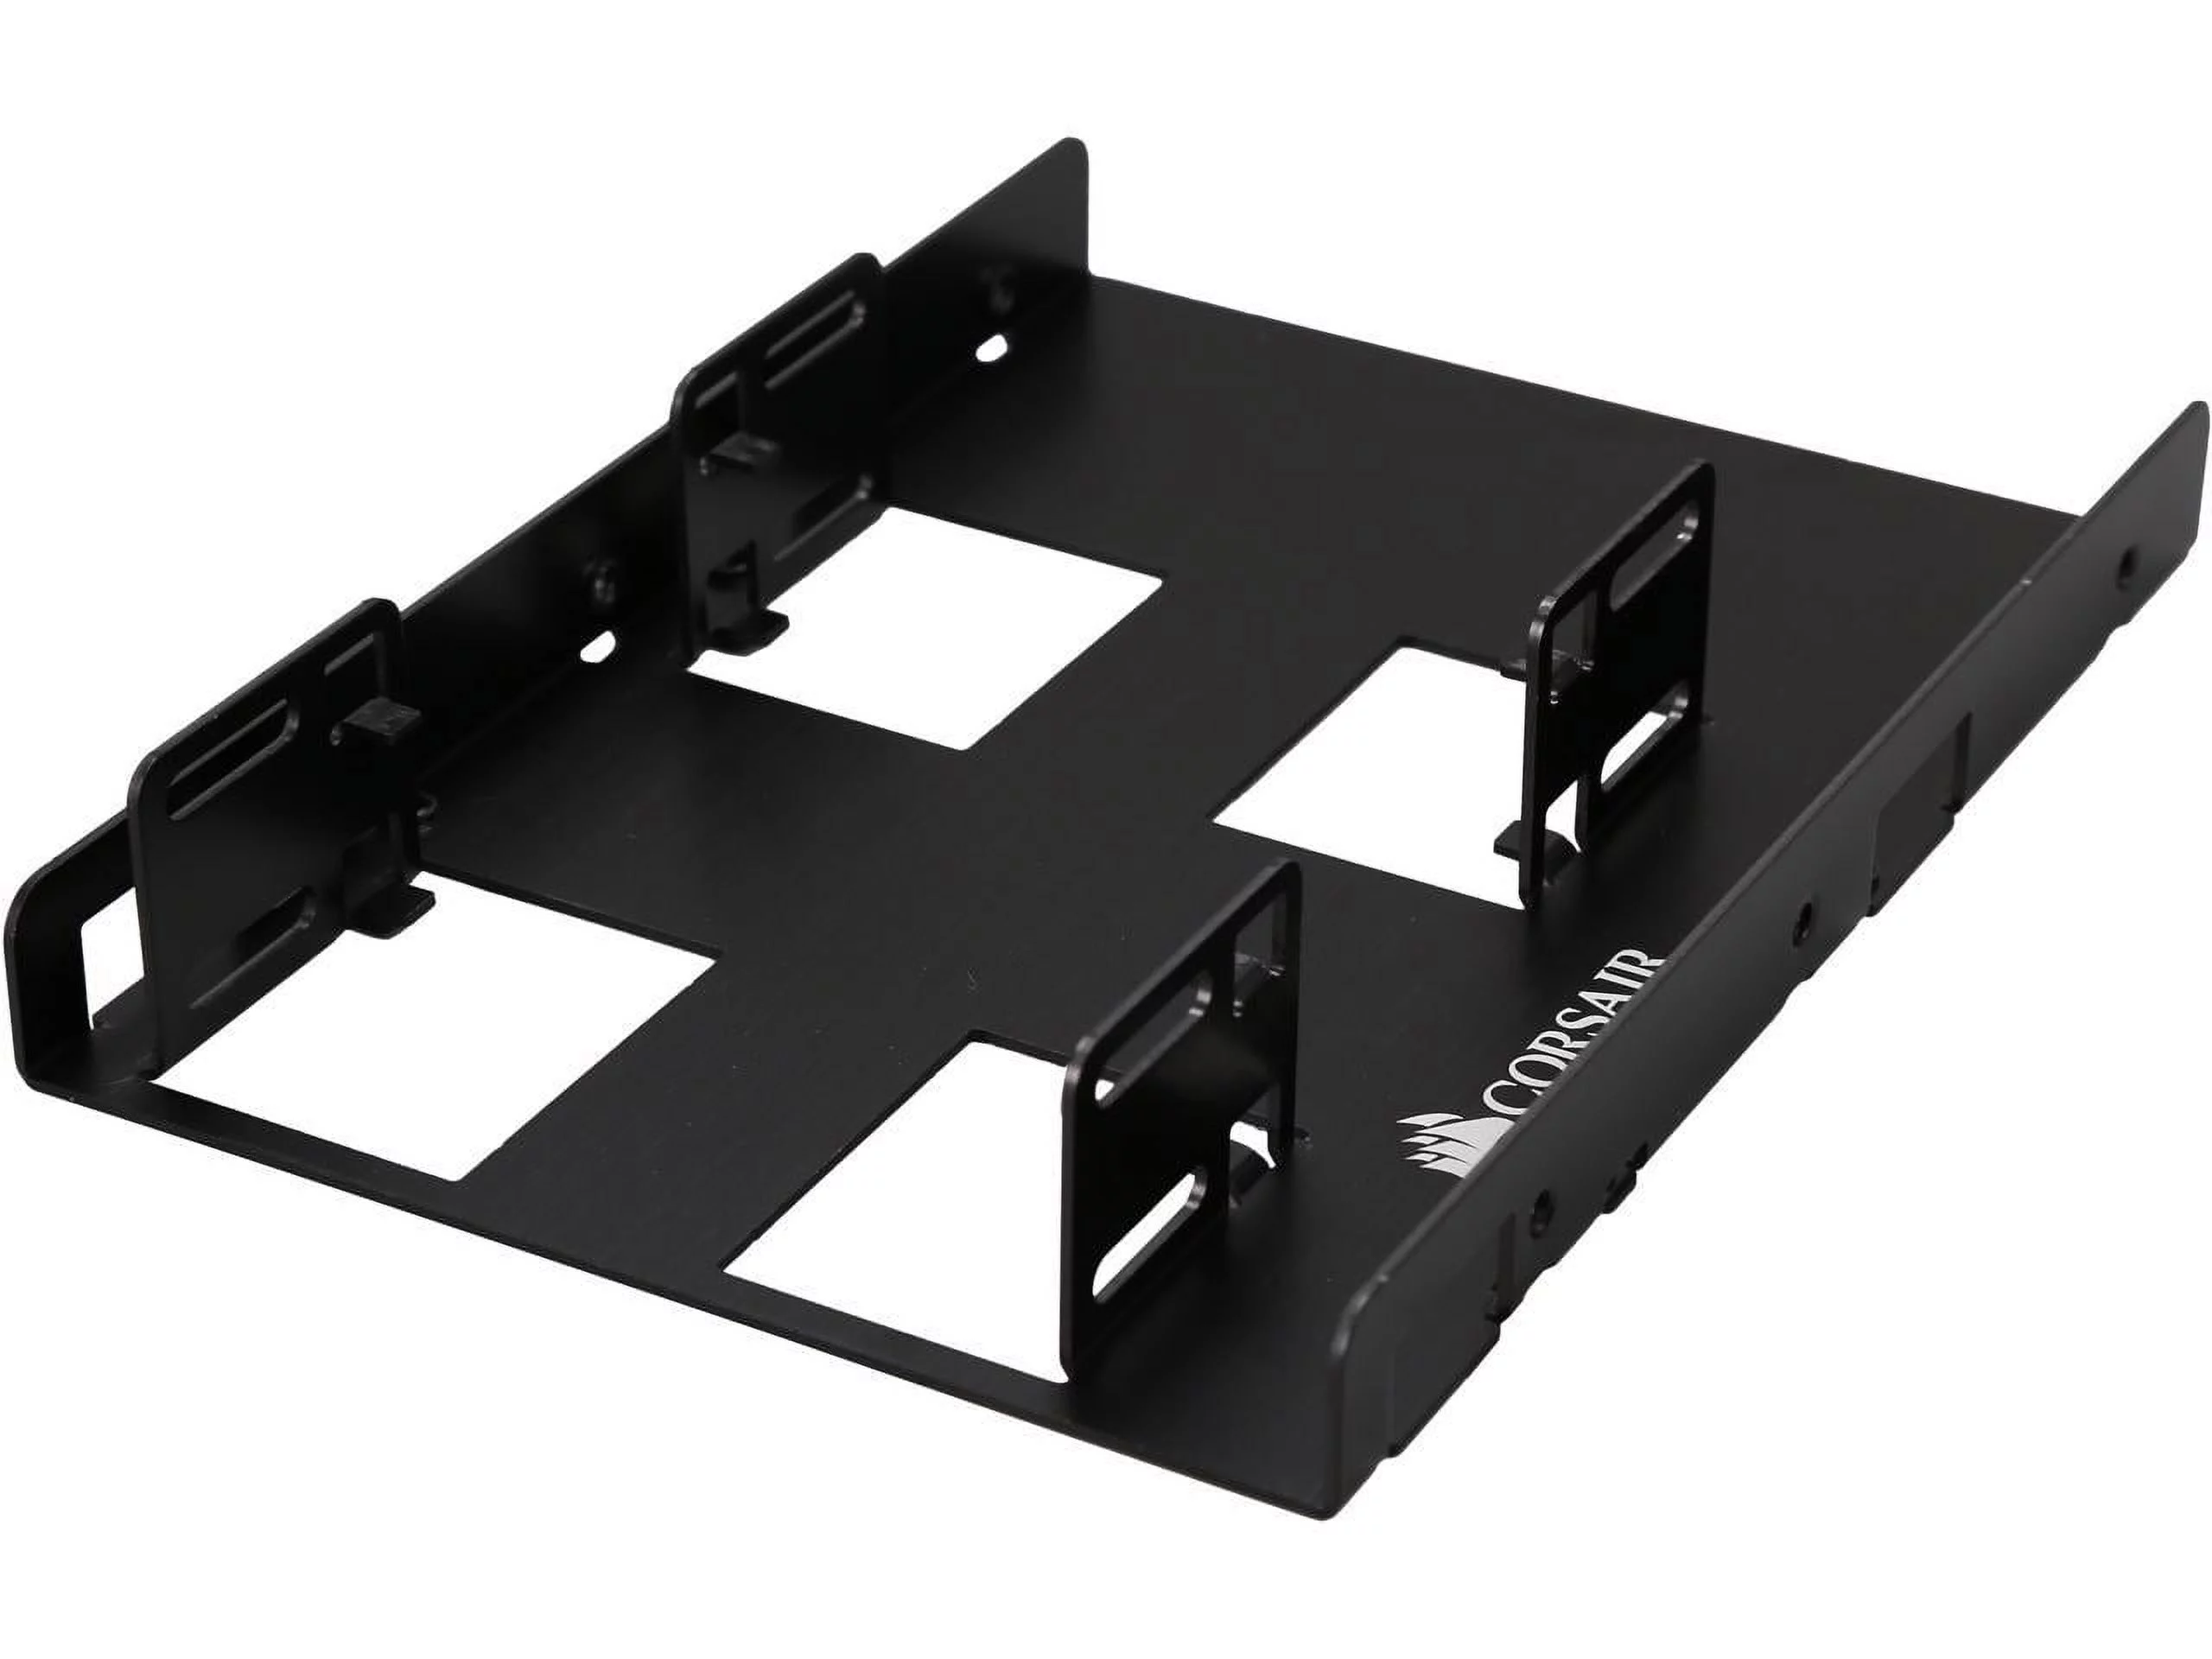
- Mounting brackets: In certain cases, the drive holder may be integrated into removable mounting brackets, which can then be secured within the case.
Take a moment to visually identify the drive holder. Look for any screws, brackets, or sliders that are used to secure the drives. It may be helpful to consult your PC case’s user manual or search for online documentation specific to your case model for further guidance.
Remember to handle the components with care and avoid touching any sensitive circuitry. If you’re unsure about any particular component, refer to the documentation or seek assistance from a knowledgeable source.
Once you have successfully located the drive holder, you’re ready to move on to the next step of disconnecting the cables.
Step 4: Disconnect Cables
Now that you have located the drive holder, it’s time to disconnect the cables connected to the drive that you want to remove. This step ensures that the drive can be safely removed without causing any damage to the cables or components.
Here are the general steps to disconnect the cables from the drive:
- Identify the cables connected to the drive. The most common cables you’ll find are the data cable and the power cable.
- For the SATA data cable, gently grasp the connector and pull it straight off the drive. Avoid tugging or pulling at an angle to prevent any damage to the cable or the drive’s connector.
- For the power cable, locate the power connector on the drive and gently disconnect it. Most power connectors have a small tab or latch that needs to be pressed or lifted before the connector can be released.
- Take note of the cable routing and the connectors you disconnected. This will help when reconnecting the new drive or reassembling the PC case.
It’s important to handle the cables with care and avoid pulling or bending them excessively. If you encounter any difficulties or feel unsure about disconnecting the cables, consult your PC case’s user manual or search for online resources specific to your case model for detailed instructions.
Once you have successfully disconnected the cables, you’re ready to move on to the next step of removing the screws or brackets holding the drive holder in place.
Step 5: Remove Screws or Brackets
With the cables disconnected, it’s time to remove the screws or brackets that secure the drive holder in place. These screws or brackets ensure that the drive holder remains stable and prevents any movement or vibration that could potentially damage the drives.
Follow these steps to remove the screws or brackets:
- Identify the screws or brackets that are holding the drive holder in place. They are usually located on the sides or underneath the drive holder.
- Using the appropriate screwdriver, carefully unscrew the screws counterclockwise. Place the screws in a safe location to avoid misplacing them.
- If your drive holder is held in place by brackets, look for any clips or release mechanisms that are securing them. Use your fingers or a small tool to disengage the clips or release the brackets.
- Once the screws or brackets are removed, the drive holder should now be free from any obstructions.
Keep in mind that the number of screws or brackets and their positioning may vary depending on your specific PC case. Consult your PC case’s user manual or search for online resources specific to your case model if you encounter any difficulties or uncertainties.
After removing the screws or brackets, you’re ready to move on to the next step of sliding or lifting out the drive holder.
Step 6: Slide or Lift Out the Drive Holder
With the screws or brackets removed, it’s time to slide or lift out the drive holder from the PC case. This step allows you to access and replace the drives with ease.
Follow these general steps to slide or lift out the drive holder:
- Gently slide the drive holder in the direction opposite to the way it is installed. If it is held in place by clips or grooves, be sure to disengage them as you slide it out.
- As you slide the drive holder out, be mindful of any cables or components that may be connected to it. Carefully navigate around them to avoid causing any damage.
- If the drive holder is lifted out rather than slid, identify any additional clips or mechanisms that may be holding it in place. Release these clips or mechanisms while lifting the drive holder to avoid any resistance.
- Set the drive holder aside in a safe place, away from static electricity or any potential hazards.
Remember, every PC case is unique, and the method of removing the drive holder may vary. Some cases may have tool-less designs where you can simply remove the holder without any sliding or lifting. Consult your PC case’s user manual or search for online resources specific to your case model for detailed instructions.
With the drive holder removed, you’re ready to proceed with the next steps of either installing a new drive or reassembling the PC case if you’ve completed your intended task.
Step 7: Reassemble the PC Case
After removing the drive holder and completing your desired task, it’s time to reassemble the PC case. Properly securing the case ensures that the internal components are protected and the computer functions optimally.
Follow these steps to reassemble the PC case:
- Retrieve the side panel(s) that you previously removed to open the case.
- Align the side panel(s) with the case and gently slide it into place.
- Ensure that the panel(s) are correctly aligned with the screw holes or latches.
- If screws were used to secure the side panel(s), use the appropriate screwdriver to tighten them clockwise. Be cautious not to overtighten the screws.
- If your case has latches, snap them back into their locked position until they audibly click.
- Double-check that all cables and components inside the case are properly routed and undamaged.
- Connect any peripheral cables, such as the monitor, keyboard, and mouse, to their respective ports.
- Finally, plug the power cable back into the computer and into a power outlet or surge protector.
- Power on your computer and ensure that it starts up properly without any issues.
It’s important to note that, during the reassembly process, you should handle the components with care to avoid accidental damage. Take your time and ensure that everything is properly secured and connected before proceeding to power on the computer.
Congratulations! You have successfully reassembled your PC case after removing the drive holder. Now you can enjoy the benefits of your newly installed or replaced drive.
Conclusion
Removing the drive holder in your PC case is a necessary step when upgrading or replacing drives. By following the step-by-step guide outlined in this article, you can confidently navigate through the process and ensure a successful removal without causing any damage to your computer or its components.
Remember to always power down and unplug your computer before starting any work on the internal components. Take your time and proceed with caution, ensuring that you have the necessary tools and materials at hand. Familiarize yourself with your specific PC case’s design and consult the user manual or online resources if needed.
From disconnecting the cables to removing the screws or brackets, each step plays a pivotal role in safely removing the drive holder. By carefully sliding or lifting out the drive holder, you can gain access to the drives and perform the necessary upgrades or replacements.
Once you have completed your intended task, reassembling the PC case is equally important. Take care to properly align and secure the side panel(s), ensuring that all cables and components are routed correctly. Finally, plug in the power cable, connect peripheral cables, and power on your computer to enjoy the results of your work.
Remember, this guide provides general instructions, and different PC cases may have slight variations. Always consult your case’s user manual or search for specific information related to your case model if you encounter any challenges or uncertainties.
We hope that this guide has been helpful in assisting you with removing the drive holder in your PC case. With proper knowledge and careful execution, you can confidently upgrade or replace drives and enhance the storage capabilities of your computer.