Introduction
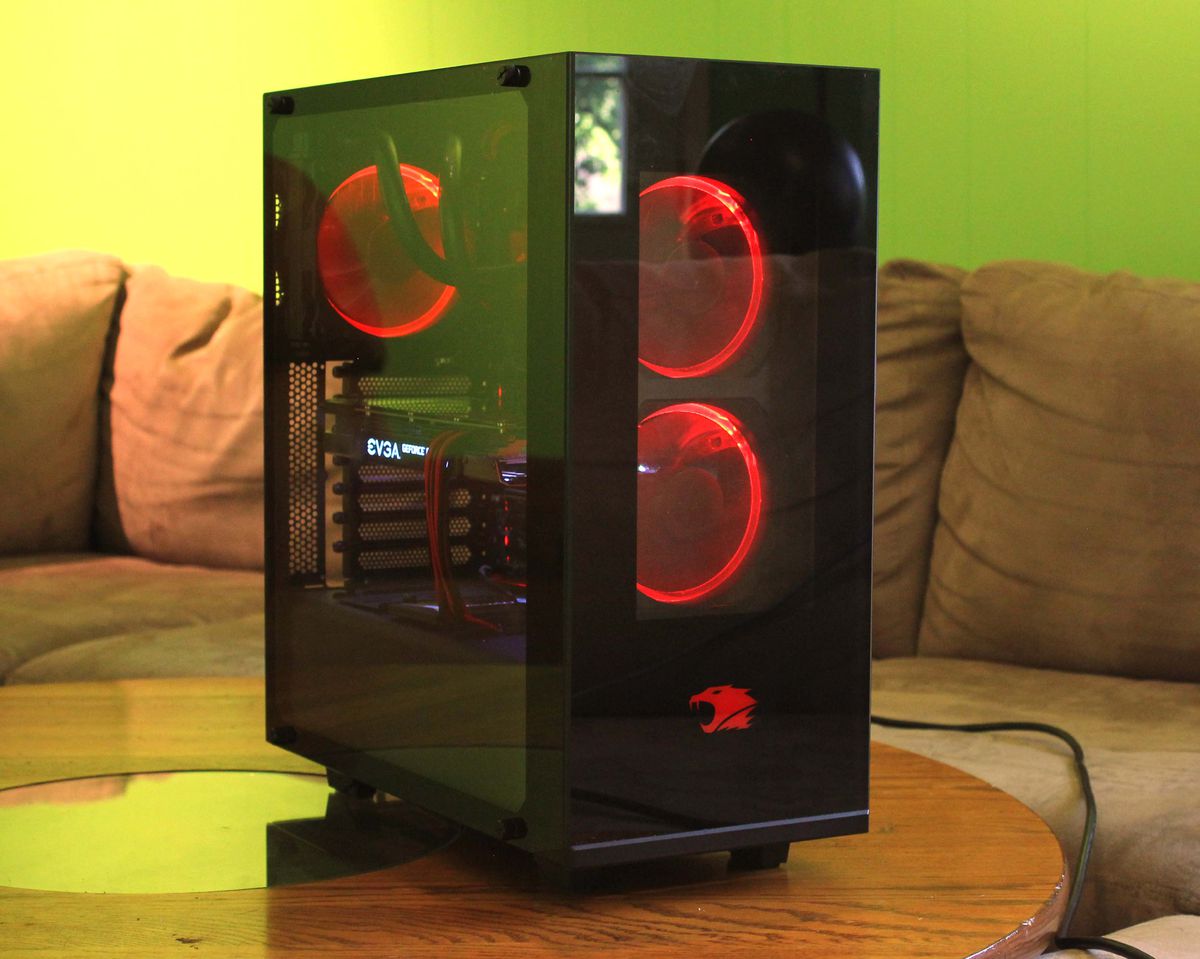
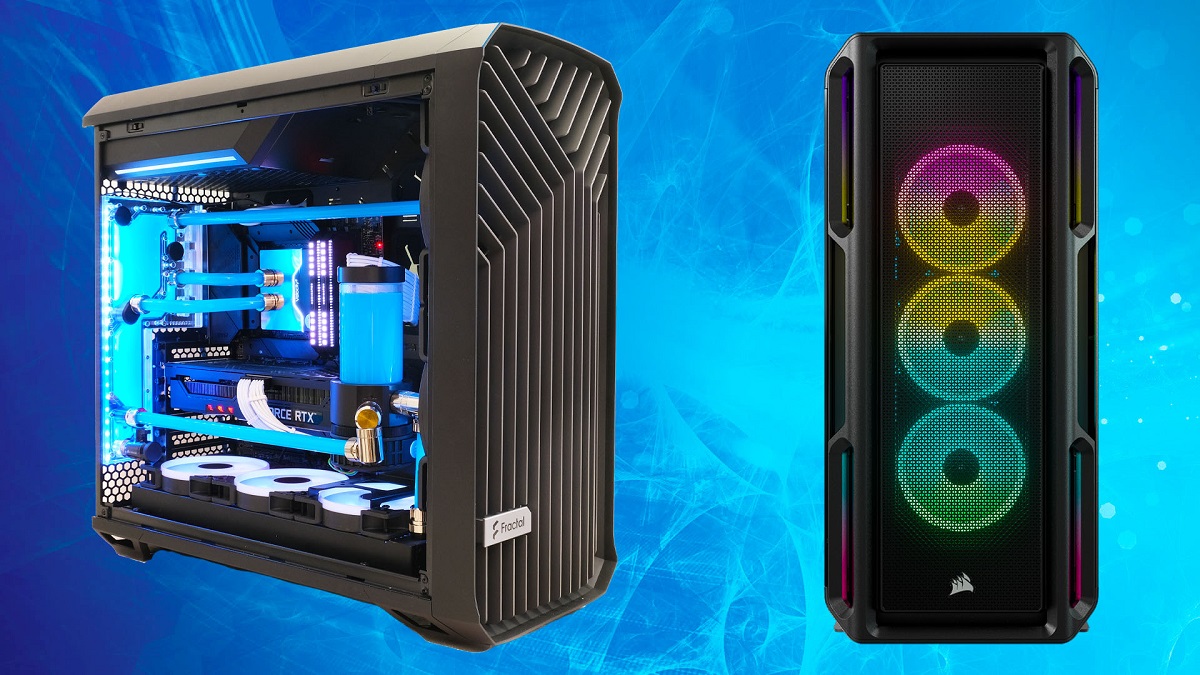
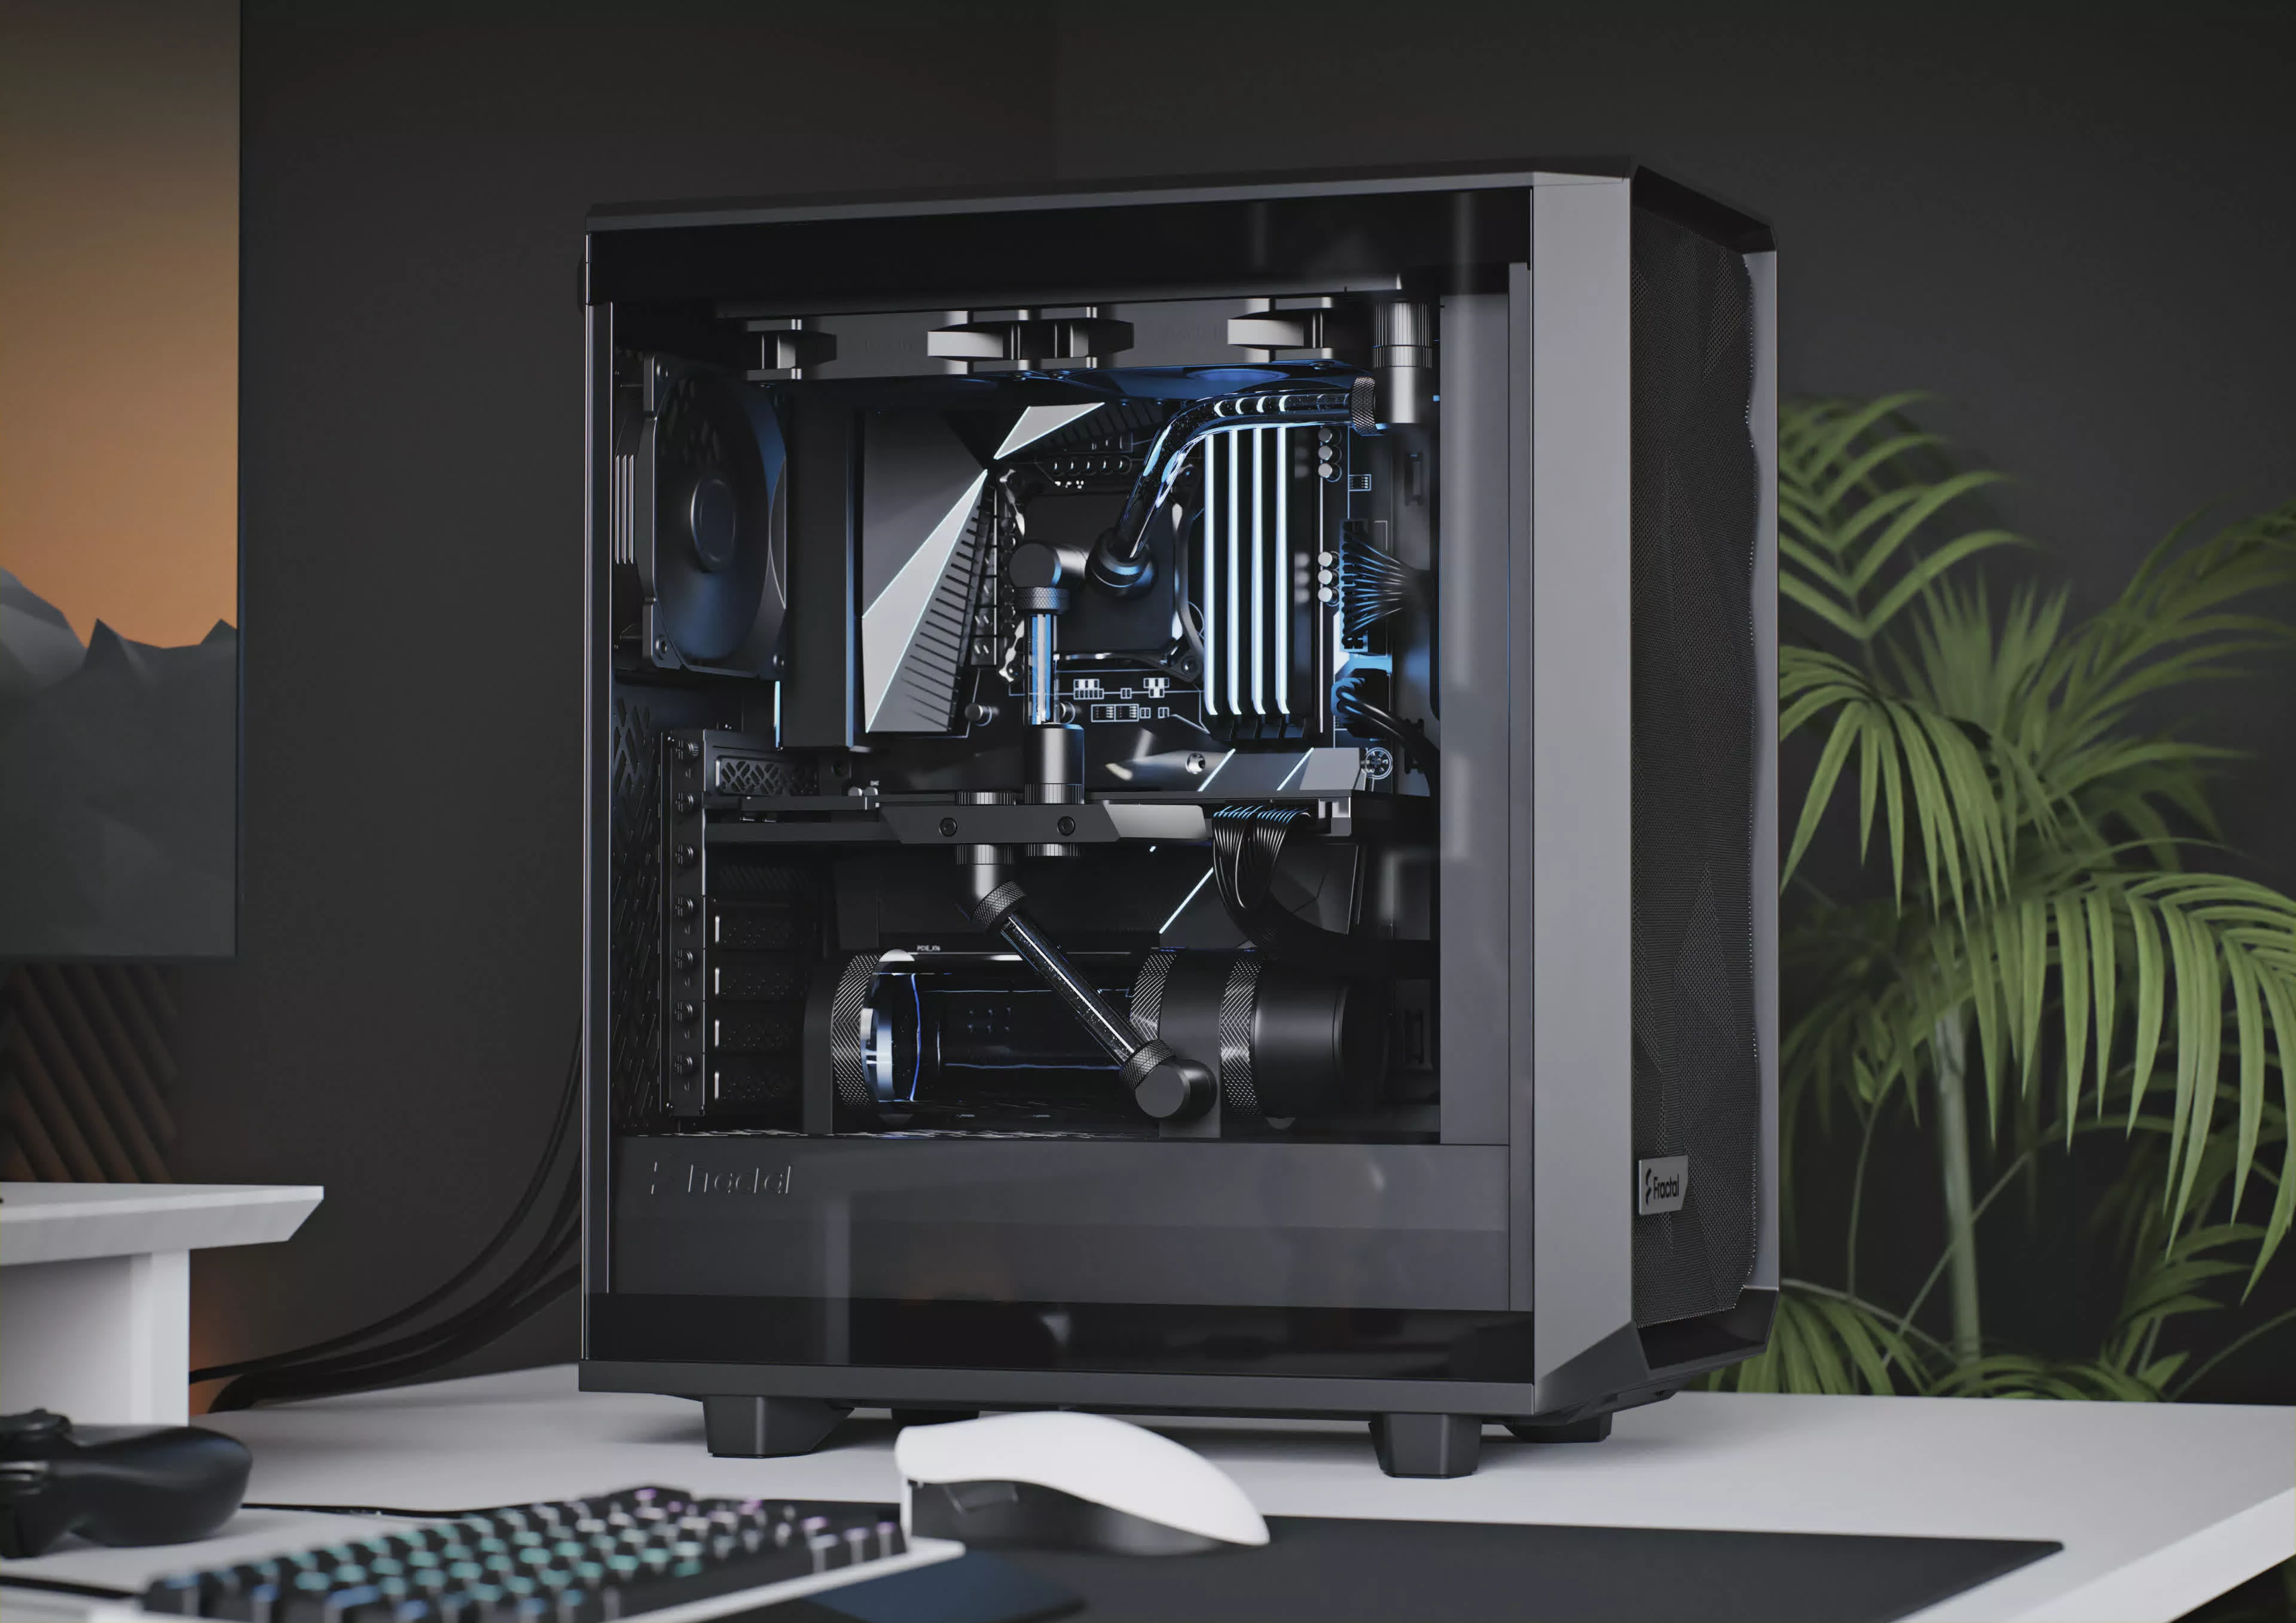
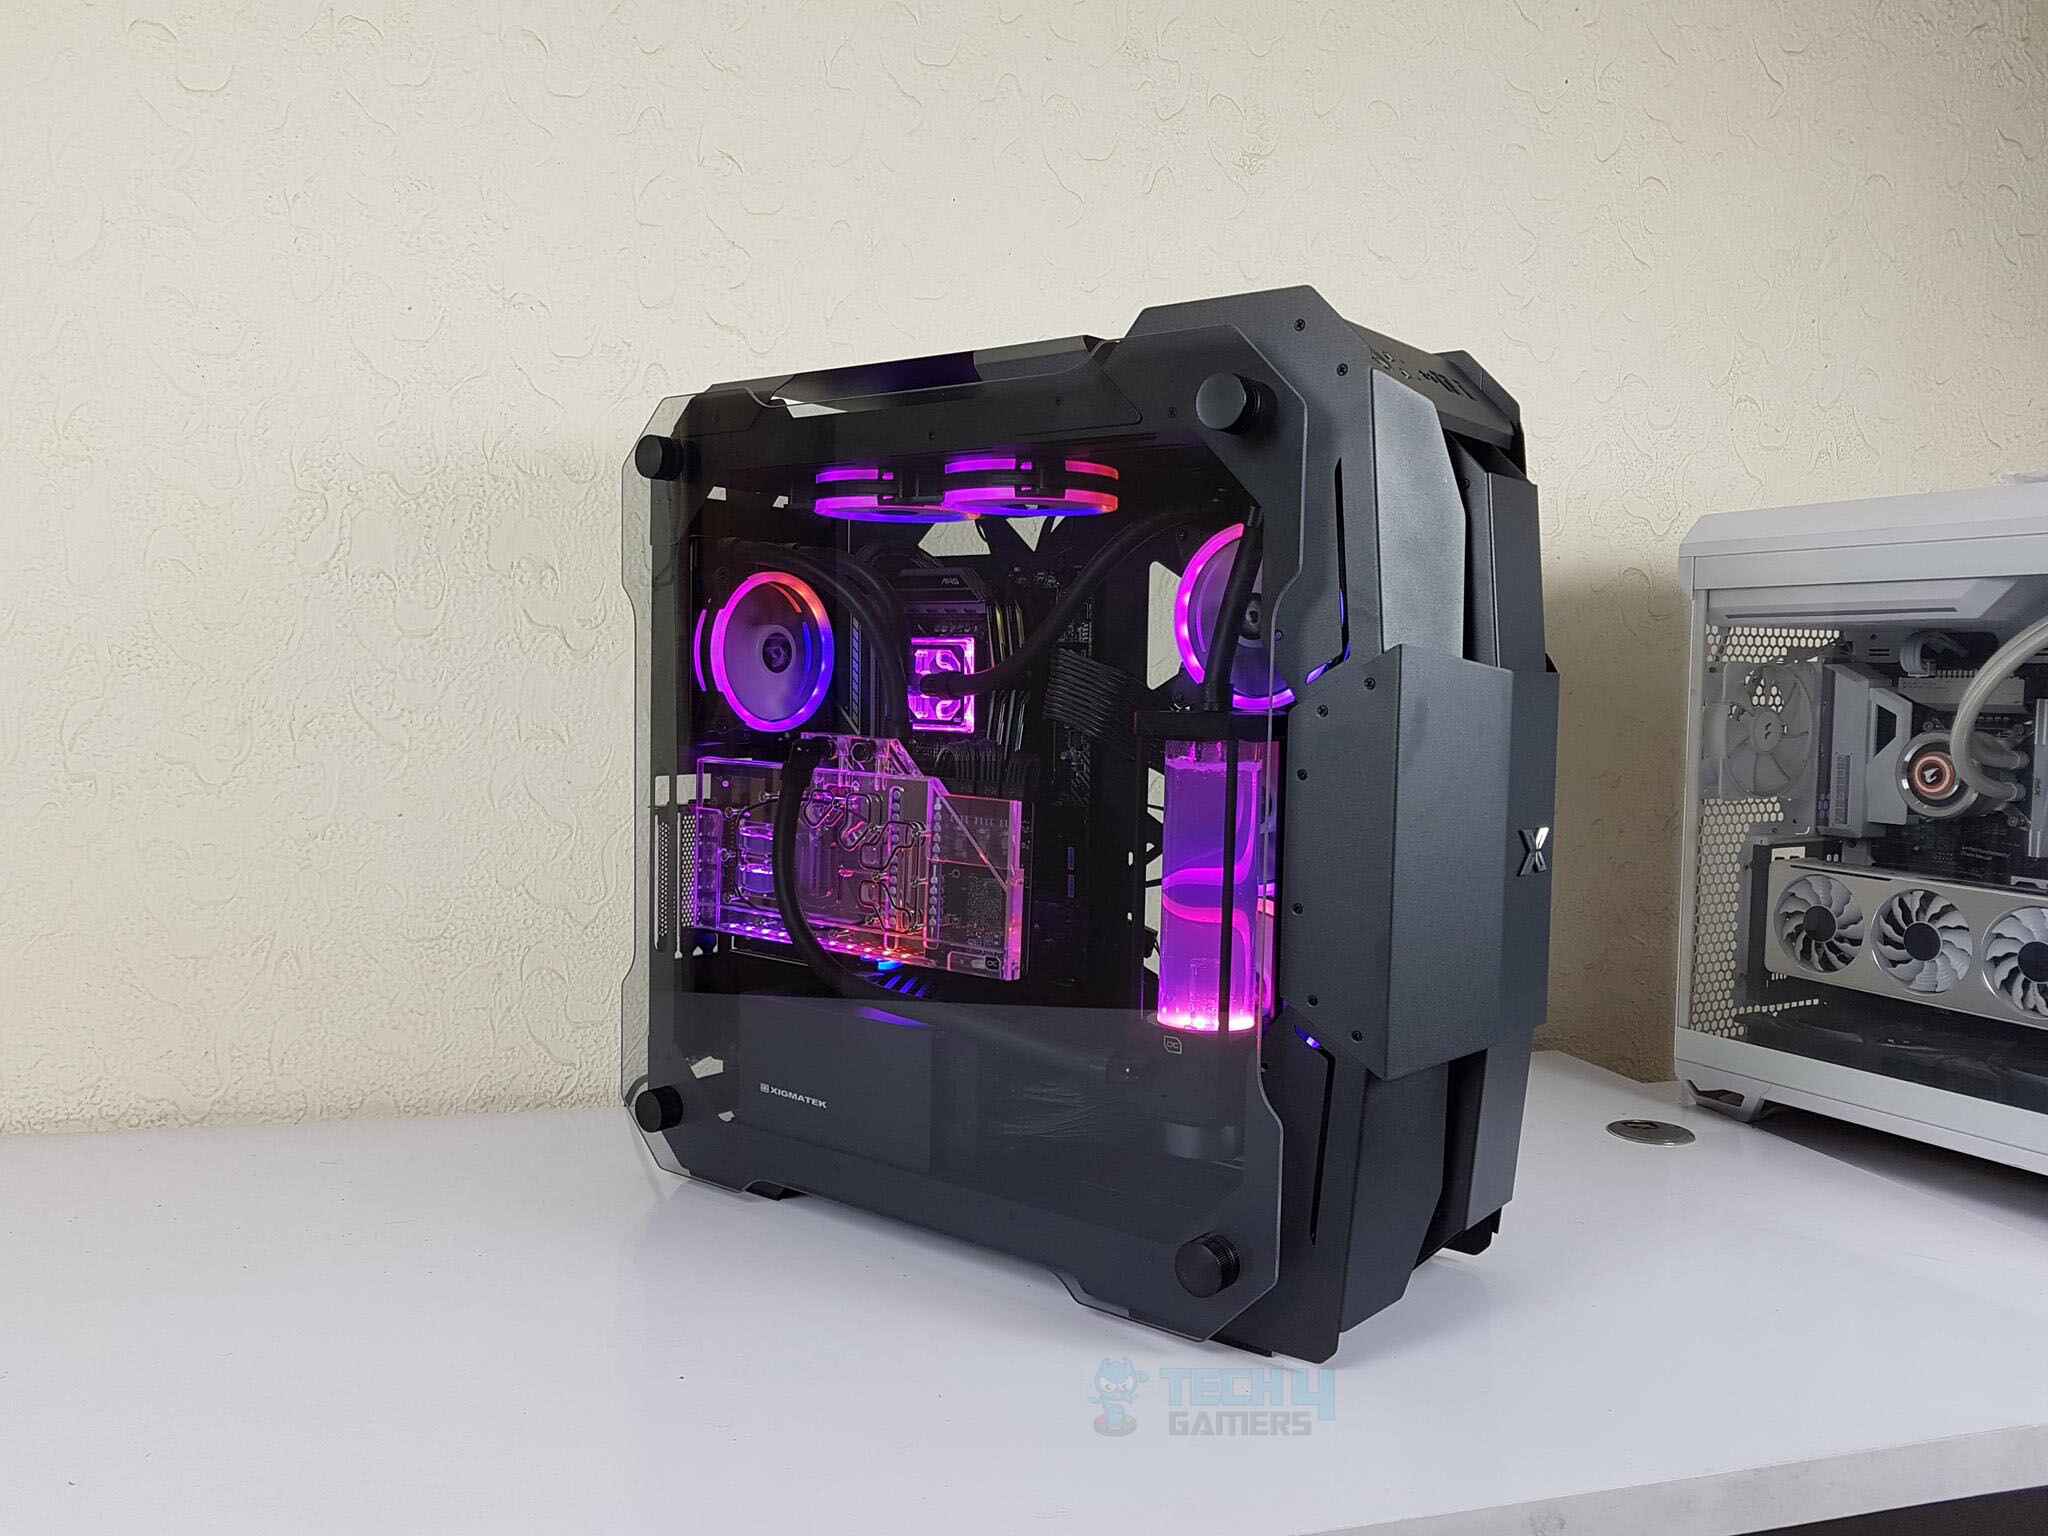
Welcome to our guide on how to clean tempered glass PC cases. Tempered glass is a popular choice for PC cases because of its sleek and modern appearance. However, it can be a magnet for dust, fingerprints, and smudges, which can detract from its aesthetics and potentially impact the performance of your PC components. Regular cleaning is essential to ensure that your tempered glass PC case looks its best and maintains optimal functionality.
In this article, we will walk you through the step-by-step process of cleaning your tempered glass PC case effectively. By following these instructions, you will be able to restore the crystal-clear shine to your case and keep it looking brand new.
Before we begin, it is important to note that you should always refer to the manufacturer’s instructions for your specific PC case model. While the general cleaning process applies to most tempered glass cases, there may be slight variations or additional steps required for certain models.
Now, let’s gather our materials and get started on restoring the beauty and clarity of your tempered glass PC case!
Materials Needed
Before you begin cleaning your tempered glass PC case, it’s essential to gather the necessary materials. Having these items on hand will ensure that you are prepared to tackle the task efficiently.
Here are the materials you will need:
- Microfiber cloth: This soft and non-abrasive cloth is perfect for cleaning delicate surfaces like tempered glass without leaving any scratches.
- Glass cleaner: Choose a high-quality glass cleaner that is safe for use on electronics. Avoid using harsh chemicals or ammonia-based cleaners, as they can damage the glass or other components of your PC.
- Compressed air can or blower: Dust can accumulate in the nooks and crannies of your PC case. Using compressed air or a blower will help remove any loose particles from hard-to-reach areas.
- Cotton swabs: These handy tools are great for cleaning corners and edges where dirt and grime tend to accumulate.
- Isopropyl alcohol: If you’re dealing with stubborn smudges or sticky residue, using a small amount of isopropyl alcohol on a microfiber cloth can help dissolve and remove them effectively.
- Paper towels or lint-free cloth: These are useful for drying the glass after cleaning, ensuring a streak-free finish.
- Rubber gloves: While not mandatory, wearing rubber gloves can protect your hands from chemicals and provide a better grip while handling the glass and other components.
By having these materials ready, you’ll be fully equipped to undertake the cleaning process with ease and achieve excellent results. Let’s move on to the next steps in cleaning your tempered glass PC case!
Step 1: Prepare the Work Area
Before you start cleaning your tempered glass PC case, it’s crucial to set up a clean and organized work area. By doing so, you can prevent any accidental damage to your PC components and ensure an efficient cleaning process.
Here’s how to prepare your work area:
- Find a well-lit and spacious area: Choose a location with ample lighting so you can see any dirt or smudges on the glass clearly. Ensure that you have enough space to comfortably work on your PC case.
- Power off and unplug your computer: It’s essential to turn off your computer and unplug all power cords before you begin cleaning. This will prevent any accidents and ensure your safety.
- Remove any loose objects from your work area: Clearing away any clutter or objects from around your workspace will prevent accidents and create a clean and organized environment.
- Place a clean, soft cloth or towel on your work surface: Putting a cloth or towel on your work surface will protect the tempered glass from any accidental scratches or damage. It also provides a soft and secure area to place your PC case during the cleaning process.
By taking the time to prepare your work area, you’ll ensure that you have a clean and safe space to clean your tempered glass PC case. Now that your work area is ready, we can move on to the next steps in the cleaning process.
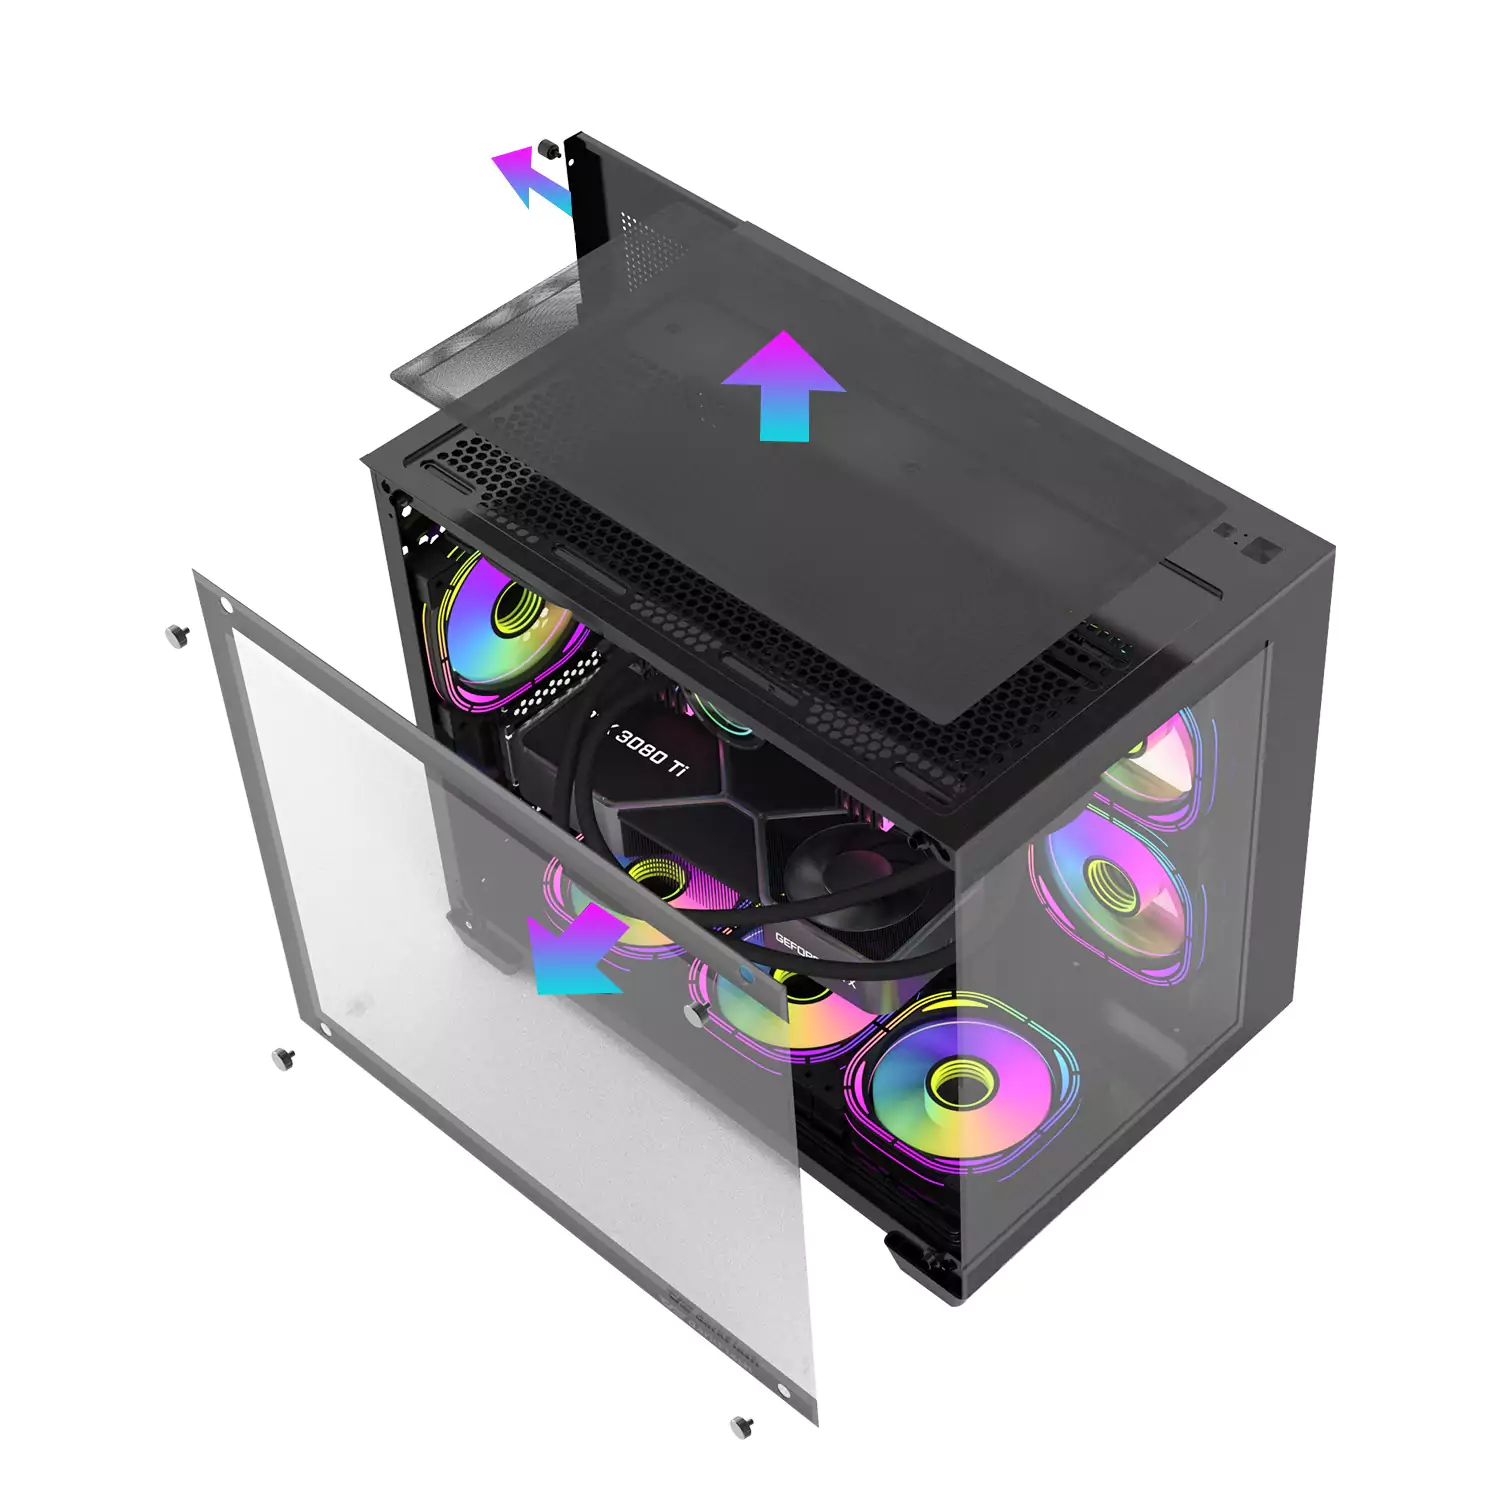
Step 2: Remove the PC Components
Before you can begin cleaning the tempered glass on your PC case, you should remove any PC components that may hinder your accessibility to the glass surface. This step will ensure a thorough and hassle-free cleaning process.
Follow these steps to remove the PC components:
- Power off and unplug your computer: It’s crucial to turn off your computer and unplug all power cords before proceeding with any component removal. This will prevent any damage or accidents.
- Open the PC case: Depending on your PC case model, you may need to remove screws or release latches to access the interior. Consult the manufacturer’s instructions for specific details.
- Carefully remove any cables: Disconnect all cables connected to the PC components like the motherboard, GPU, CPU cooler, and storage devices. Take note of their respective positions to ensure the correct reassembly later.
- Remove the components one by one: Start with larger components like the GPU, CPU cooler, and RAM modules. Be gentle and take caution not to apply excessive force or cause any damage. Place the removed components on a clean and static-free surface.
- Remove any additional components: Depending on your PC setup, you may have additional components like fan filters or lighting modules. Remove them as necessary, being mindful of any screws or connectors that require attention.
By carefully removing the PC components, you can ensure a clear and unobstructed access to the tempered glass. This will make the cleaning process more manageable and effective. Remember to keep track of the removed components and their connections to avoid confusion during reassembly.
Step 3: Dust the Tempered Glass
Once you have removed the PC components, it’s time to address any dust that may have accumulated on the tempered glass surface of your PC case. Dust can obstruct the clarity of the glass and affect the overall look of your setup. Cleaning away this dust will help restore the pristine appearance of the glass.
Follow these steps to dust the tempered glass:
- Start by using a clean microfiber cloth: Gently wipe the surface of the tempered glass in a sweeping motion. This will help remove any loose dust particles that may have settled on the surface.
- Pay attention to edges and corners: Dust tends to accumulate in corners and edges. Use your cloth or a small brush to carefully clean these areas, ensuring that no dust is left behind.
- Use compressed air or a blower: If there are stubborn dust particles that cannot be removed with a cloth alone, you can use compressed air or a blower to dislodge them. Hold the can or blower at a safe distance to avoid any damage.
- Check for any hidden areas: Take a close look at the edges and crevices around the glass. It’s essential to ensure that no dust or debris is trapped in these hidden areas. Use a cotton swab or a small brush to clean any hard-to-reach spots.
By dusting the tempered glass thoroughly, you will remove any visible dust particles and give your PC case a much cleaner and polished appearance. Now that the glass is free from dust, we can move on to addressing fingerprints and smudges in the next step.
Step 4: Remove Fingerprints and Smudges
Fingerprints and smudges can quickly accumulate on the tempered glass surface of your PC case, making it appear dull and unclean. In this step, we will focus on removing these fingerprints and smudges to restore the transparency and shine of the glass.
Follow these steps to remove fingerprints and smudges:
- Dampen a microfiber cloth: Moisten a clean microfiber cloth with a small amount of water. Make sure the cloth is not too wet, as excessive moisture can damage the glass or seep into other components.
- Gently wipe the glass: Start by gently wiping the glass surface in a circular motion, focusing on areas with fingerprints or smudges. Apply light pressure to avoid scratching the glass.
- Use a mild glass cleaner: If water alone is not sufficient to remove the fingerprints and smudges, you can use a mild glass cleaner that is safe for use on electronics. Spray a small amount onto the microfiber cloth, then wipe the glass surface again in the same circular motion.
- Pay attention to detail: For stubborn smudges or fingerprints, you can use a cotton swab dipped in isopropyl alcohol. Gently rub the affected area with the swab, ensuring not to apply too much pressure. Wipe away any residue with a clean part of the microfiber cloth.
It’s important to be gentle and cautious when removing fingerprints and smudges from the tempered glass. Applying excessive force or using abrasive materials can cause scratches or damage the glass surface. Take your time and ensure that you address all the fingerprints and smudges thoroughly.
Now that we have successfully removed the fingerprints and smudges, let’s move on to the next step: cleaning the glass with a glass cleaner.
Step 5: Clean with Glass Cleaner
After removing the fingerprints and smudges, it’s time to give the tempered glass on your PC case a deeper clean using a glass cleaner. Cleaning with a suitable glass cleaner will ensure that any lingering dirt or residue is completely eliminated, leaving behind a sparkling and clear glass surface.
Follow these steps to clean the tempered glass with a glass cleaner:
- Spray the glass cleaner onto a microfiber cloth: Avoid spraying the glass cleaner directly onto the glass surface, as overspray can potentially damage other components. Instead, lightly mist the glass cleaner onto a microfiber cloth.
- Gently wipe the glass: Starting from the top of the glass, wipe the surface in a horizontal or vertical motion, depending on your preference. Apply even pressure and ensure complete coverage of the glass with the cleaner.
- Pay attention to edges and corners: Use the cloth or a cotton swab to clean the edges and corners of the glass. These areas may have accumulated more dirt or residue, so be thorough in your cleaning.
- Repeat if necessary: If there are any stubborn spots or residue, you can repeat the process with a fresh section of the microfiber cloth and a small amount of glass cleaner. Ensure that you remove all streaks or smudges.
When using a glass cleaner, it’s important to choose one that is safe for use on electronics and tempered glass. Avoid using harsh chemicals or cleaners containing ammonia, as they can damage the glass or other components of your PC. Always read and follow the instructions provided by the glass cleaner manufacturer.
By cleaning the tempered glass with a suitable glass cleaner, you will achieve a deep and thorough clean, removing any remaining dirt or residue. Now, let’s move on to the next step: drying the glass.
Step 6: Dry the Glass
Once you have cleaned the tempered glass on your PC case, it is essential to dry it thoroughly to avoid any streaks or watermarks. Drying the glass properly will give it a crystal-clear shine and maintain its pristine appearance.
Follow these steps to dry the glass:
- Use a dry, lint-free cloth or paper towel: Choose a cloth or towel that is specifically designed for glass cleaning or is lint-free. Avoid using materials that may leave behind lint or fibers on the glass.
- Gently pat-dry the glass: Starting from the top of the glass, lightly pat-dry the surface using the cloth or towel. Avoid rubbing the glass vigorously, as it can cause friction and potentially scratch the surface.
- Pay attention to edges and corners: Ensure that you dry the edges and corners of the glass thoroughly. These areas tend to collect more moisture and may leave behind streaks if not dried properly.
- Check for any remaining streaks or moisture: Inspect the glass surface closely to ensure that there are no remaining streaks or moisture spots. If you notice any, gently wipe them with a clean, dry section of the cloth or towel.
By drying the glass carefully and thoroughly, you will achieve a streak-free finish and maintain the transparency and shine of the tempered glass on your PC case. Now that the glass is dry, we can proceed to the final step: reassembling the PC components.
Step 7: Reassemble the PC Components
Now that you have successfully cleaned and dried the tempered glass on your PC case, it’s time to reassemble the PC components. Proper reassembly is crucial to ensure that your PC operates smoothly and that all components are securely in place.
Follow these steps to reassemble the PC components:
- Refer to your documentation: Consult the documentation or user manual for your specific PC case model to ensure you are familiar with the correct reassembly process. Different cases may have specific instructions or configurations.
- Start with larger components: Begin by reinstalling larger components like the GPU, CPU cooler, and RAM modules. Make sure they are correctly aligned with their respective slots and connectors.
- Reconnect cables and wires: Carefully reconnect all cables and wires to their corresponding slots and connectors. Take your time to ensure that each connection is secure and in the correct position.
- Install additional components: If you had additional components such as fan filters or lighting modules, reinstall them as necessary, following the manufacturer’s instructions.
- Double-check everything: Before closing the PC case, double-check that all components are properly seated and connected. Ensure that there are no loose cables or objects that may interfere with the functioning of your PC.
- Secure the PC case: Once you are satisfied with the reassembly, carefully close and secure the PC case according to the manufacturer’s instructions. Ensure that all screws or latches are tightened properly to maintain the integrity of the case.
By following these steps, you will successfully reassemble the PC components and have your PC ready for use again. Take care to be meticulous during this process to prevent any damage or misalignment of the components.
Congratulations! You have now completed the cleaning and reassembly of your tempered glass PC case. Enjoy the renewed clarity and aesthetics of your setup!
Conclusion
Cleaning a tempered glass PC case is a necessary task to maintain its sleek appearance and ensure optimal functionality. By following the step-by-step guide outlined in this article, you can effectively clean the tempered glass, remove fingerprints and smudges, and achieve a crystal-clear, streak-free finish.
Remember to always refer to the manufacturer’s instructions for your specific PC case model, as there may be slight variations or additional steps required.
Throughout the cleaning process, it is important to use gentle materials such as microfiber cloths and appropriate cleaning solutions to avoid scratching or damaging the glass surface. Take your time and be thorough, paying attention to edges, corners, and hard-to-reach areas where dust and dirt tend to accumulate.
Once the cleaning is complete, ensure that the glass is properly dried with a lint-free cloth to prevent streaks or watermarks. And when reassembling the PC components, consult the documentation or user manual to ensure everything is correctly aligned and securely connected.
Regularly cleaning your tempered glass PC case will not only enhance its visual appeal but also optimize the performance of your PC components by maintaining proper airflow and reducing the risk of overheating.
With these cleaning steps and proper maintenance, you can keep your tempered glass PC case looking pristine and preserve its stunning aesthetics for years to come. Enjoy your sparkling, clear glass and a visually pleasing PC setup!