Introduction
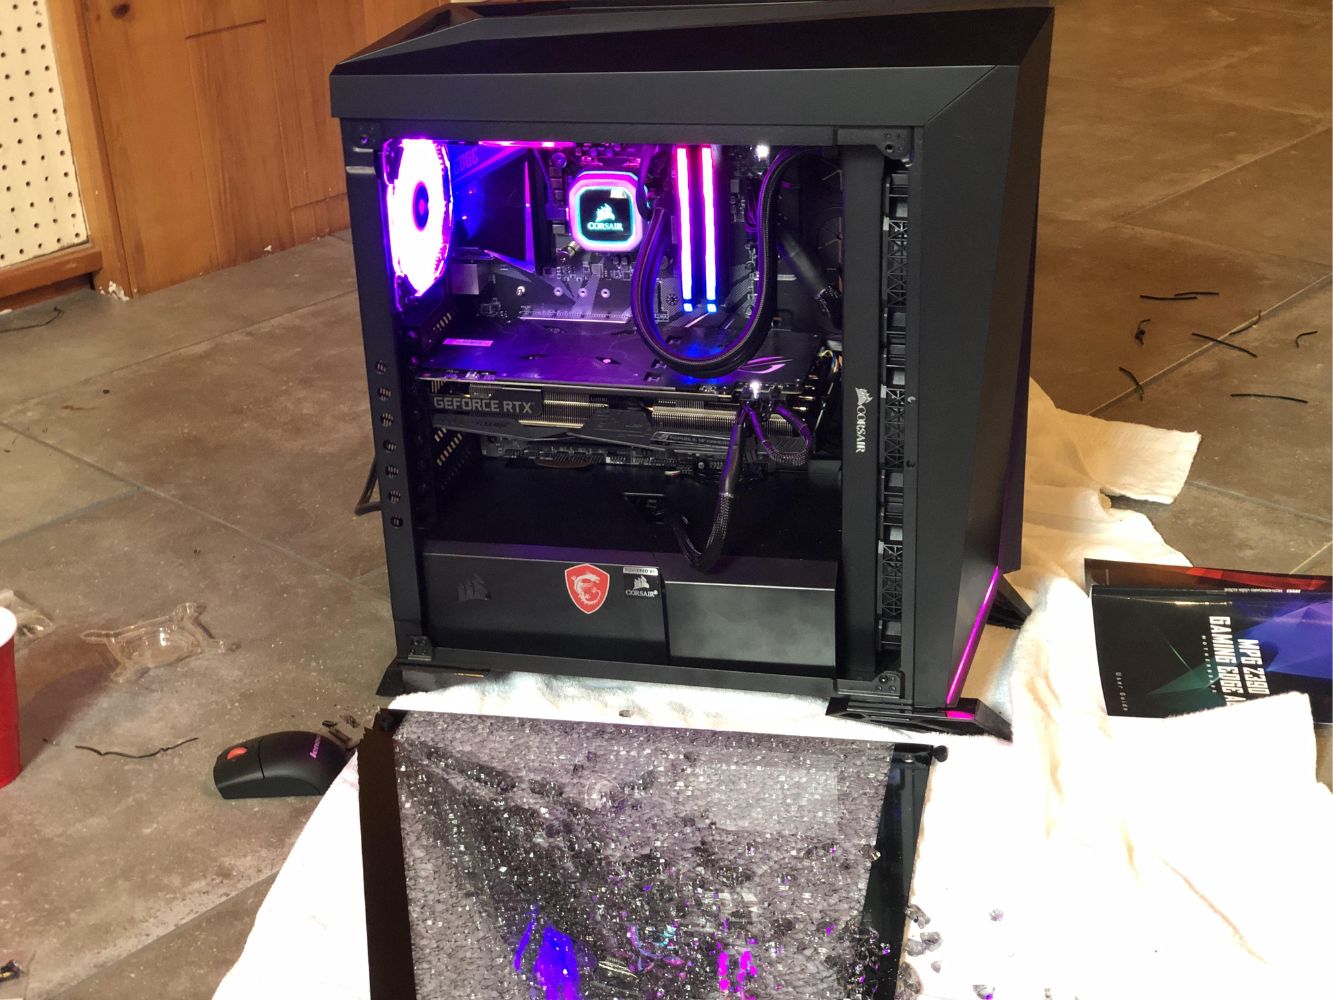
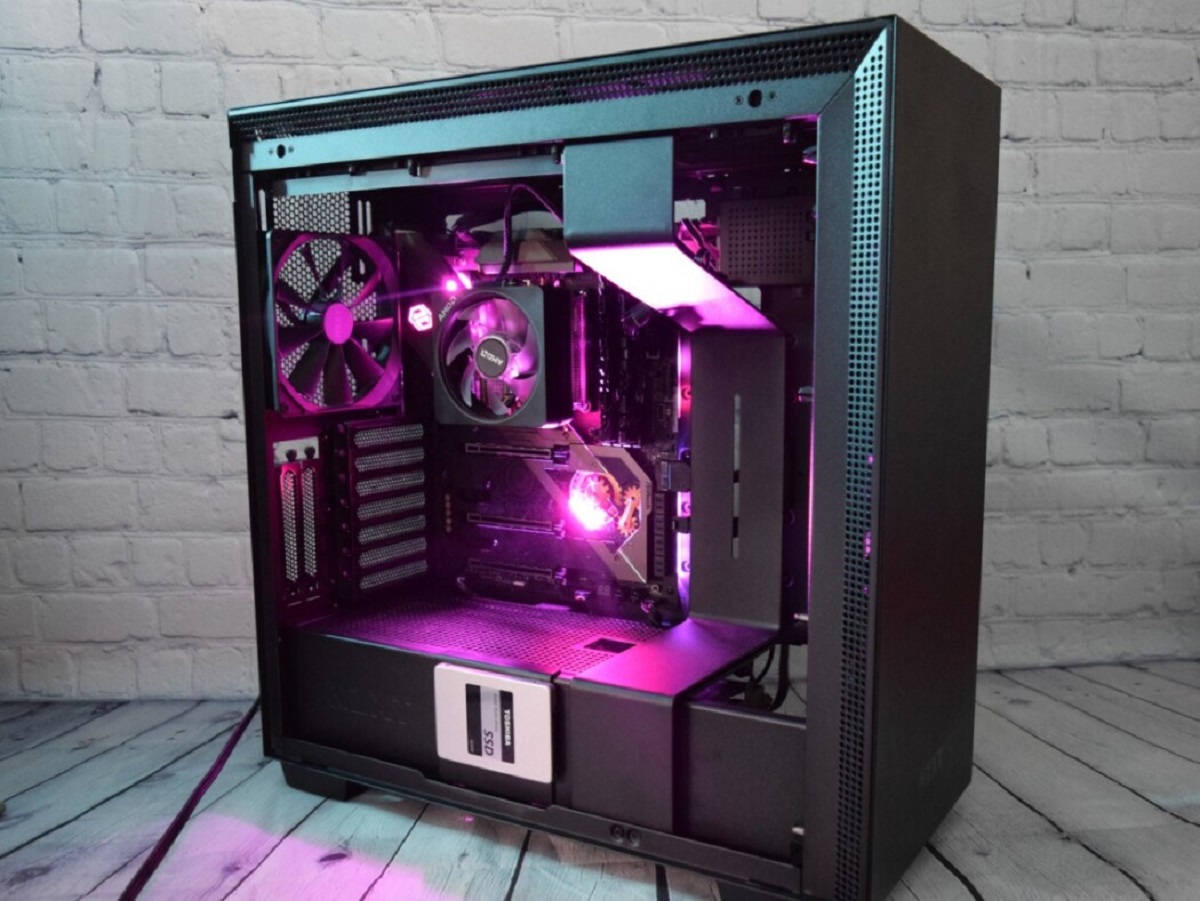
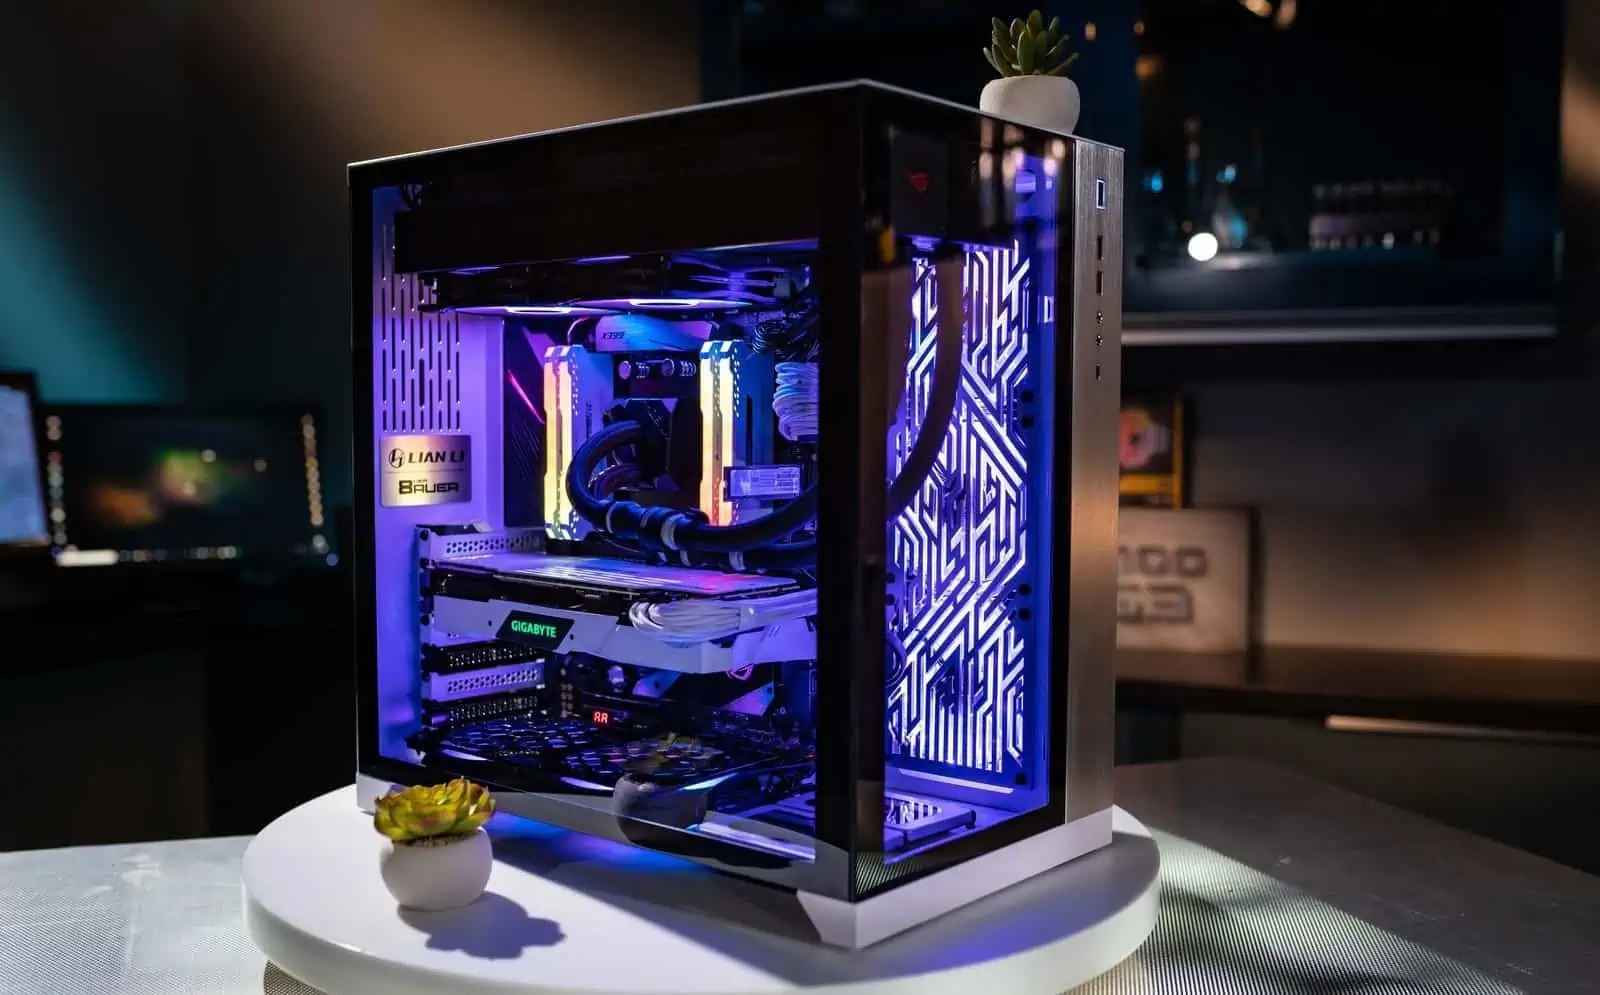
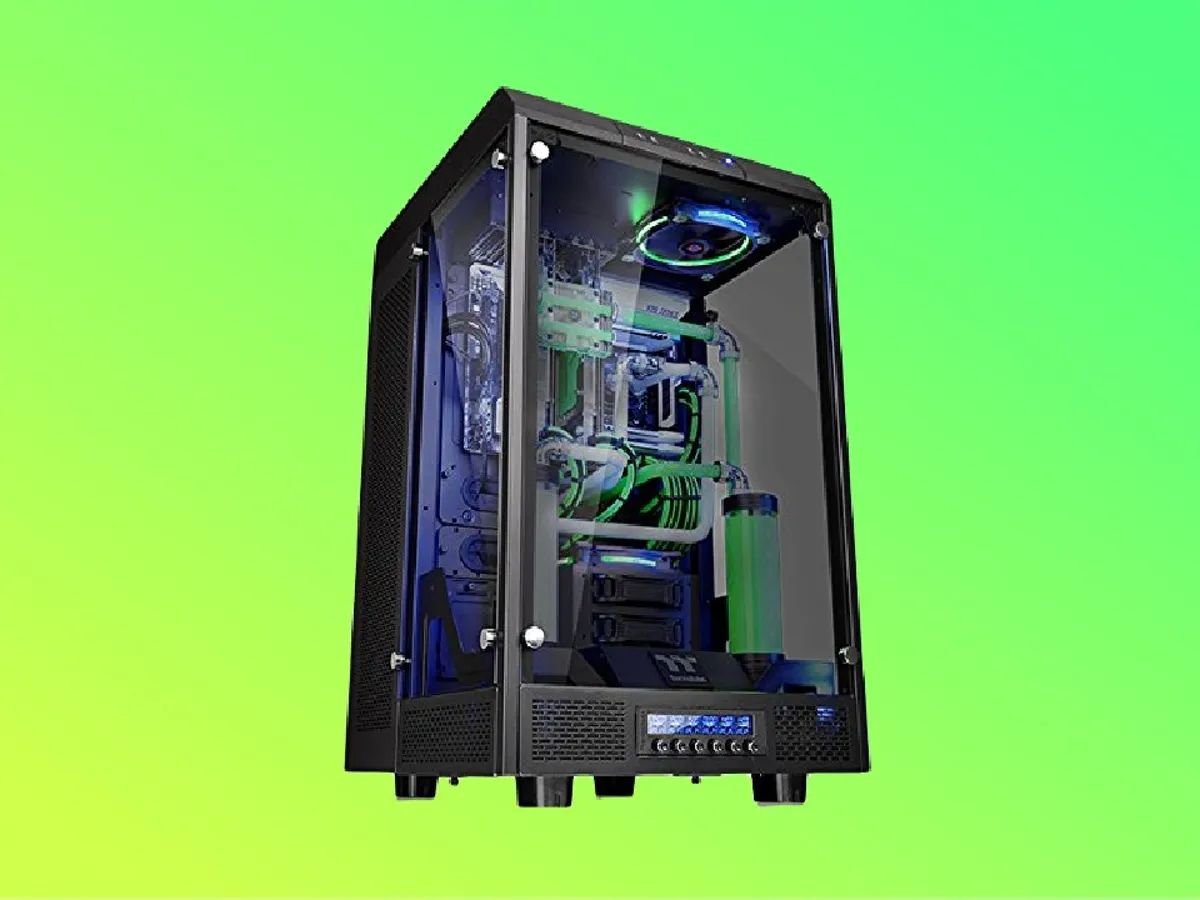
Having a sleek and stylish PC case with a glass side panel can add a touch of sophistication to your computer setup. However, over time, that beautiful glass panel may be prone to scratches, diminishing its appearance. But fear not! With just a few tools and some simple steps, you can repair those annoying scratches and restore the pristine condition of your side panel glass.
Scratches on the glass panel can be caused by a variety of factors, such as moving the PC case, cleaning it with abrasive materials, or accidental bumps. While it may seem intimidating to repair the scratches yourself, it is actually a straightforward process that can be done at home with minimal effort.
In this guide, we will walk you through the step-by-step process of repairing side panel glass PC case scratches. We will cover everything from assessing the severity of the scratches to polishing and buffing the glass panel to perfection. So, let’s get started and bring back the original shine of your PC case!
Tools and Materials Needed
Before we begin the repair process, it’s important to gather all the necessary tools and materials. Here’s a list of what you’ll need:
- Microfiber cloth
- Isopropyl alcohol or glass cleaner
- Sandpaper (various grits: 1000, 2000, and 3000)
- Water spray bottle
- Glass polish compound
- Buffer pad or polishing wheel
- Electric drill or polishing machine
- Protective gloves
These tools and materials are easily accessible and can be found at your local hardware store or online. The microfiber cloth is essential for cleaning the glass panel without leaving any lint or scratches. Isopropyl alcohol or glass cleaner will help remove any dirt, fingerprints, or oils from the surface.
The sandpaper, with different grits, will be used for sanding down the scratches gradually and smoothing the glass panel. The water spray bottle is used to keep the sandpaper wet during the sanding process, which prevents overheating and ensures a smoother result.
The glass polish compound is responsible for restoring the shine and removing any remaining scratches. You’ll need a buffer pad or polishing wheel, along with an electric drill or polishing machine, to apply the polish and buff the glass panel to a glossy finish.
Lastly, don’t forget to protect your hands with protective gloves throughout the repair process to avoid any injuries or irritation.
Now that you have gathered all the necessary tools and materials, we can move on to the next step of assessing the severity of the scratches on your side panel glass PC case.
Step 1: Preparation
Before diving into the repair process, it’s important to properly prepare the work area and ensure the safety of your PC components. Here are the steps to follow for a smooth and hassle-free repair:
- Shut down and unplug your PC: Before starting any repair work, make sure to shut down your computer and unplug it from the power source. This will prevent any accidental damage to your PC components and ensure your safety.
- Remove the side panel: Carefully remove the side panel of your PC case to gain access to the glass panel. Refer to your PC case manual or online resources for specific instructions on how to remove the side panel.
- Work in a clean and well-lit area: Find a clean and well-lit area where you can comfortably perform the repair. Working in a clutter-free environment will minimize the chances of accidental damage or misplacing tools.
- Protect other PC components: While focusing on repairing the glass panel, be cautious not to damage other PC components. Cover sensitive areas such as the motherboard, graphics card, and any exposed connectors with a soft cloth or plastic wrap.
- Wear protective gear: Put on your protective gloves to shield your hands from any potential injuries or irritation throughout the repair process.
By following these preparation steps, you will ensure a safe and organized repair process. With everything set up and ready to go, you can now move on to the next step of assessing the severity of the scratches on your side panel glass PC case.
Step 2: Assess the Severity of the Scratches
Before proceeding with the repair, it’s important to assess the severity of the scratches on your side panel glass PC case. This will help determine the appropriate technique and level of effort required to achieve the best results.
Start by closely examining the scratches on the glass panel. Are they superficial and minor, or deep and noticeable? Depending on the severity, you may choose to address them using a more gentle approach or opt for more aggressive methods if necessary.
If the scratches are superficial and barely visible, you may be able to fix them using polishing techniques alone. However, if the scratches are deep and noticeable, you may need to resort to sanding in addition to polishing.
Take note of the location and size of the scratches as well. If they are concentrated in a specific area, you can focus your efforts on that particular spot. On the other hand, if the scratches are scattered across the entire glass panel, you will need to treat the entire surface for a consistent appearance.
By assessing the severity and extent of the scratches, you can plan accordingly and determine the best course of action for repairing your side panel glass PC case. Now that you have a clear understanding of the condition of the scratches, we can move on to the next step: cleaning the glass panel.
Step 3: Cleaning the Glass Panel
Before you begin the actual repair process, it’s crucial to clean the glass panel thoroughly. This step ensures that you’re starting with a clean surface, free from dirt, fingerprints, or any other contaminants that can interfere with the repair.
Here’s how to clean the glass panel:
- Gently wipe the glass panel: Using a microfiber cloth, carefully wipe the surface of the glass panel to remove any loose dust or debris. Make sure to use gentle, circular motions to avoid scratching the glass.
- Apply glass cleaner or isopropyl alcohol: Moisten a fresh microfiber cloth with glass cleaner or isopropyl alcohol. Squeeze out any excess liquid to avoid dripping. Alternatively, you can spray the cleaner directly onto the cloth.
- Wipe the glass panel: Starting from one corner, begin wiping the glass panel in straight, overlapping strokes. Make sure to cover the entire surface, paying extra attention to areas with visible smudges or fingerprints.
- Dry the glass panel: Once you’ve wiped the entire glass panel, use a dry section of the microfiber cloth to remove any remaining moisture. This will prevent streaks and ensure a clean, dry surface.
Taking the time to properly clean the glass panel will remove any impurities and create an optimal surface for the repair process. With the glass panel clean and dry, we can now move on to the next step: sanding the scratches.
Step 4: Sanding the Scratches
Now that the glass panel is clean and prepared, it’s time to begin sanding the scratches. This step involves gradually smoothing out the surface of the glass to reduce the visibility of the scratches.
- Choose the appropriate sandpaper grit: Start with a lower grit sandpaper, such as 1000, to remove the deeper scratches. If the scratches are minor, you can begin with a higher grit sandpaper, such as 2000 or 3000, for a smoother surface.
- Wrap the sandpaper around a foam block: To make handling easier and ensure even pressure, wrap the sandpaper around a foam block or a sanding block. This will provide a stable surface and prevent accidental nicks or gouges.
- Wet the sandpaper: Before starting the sanding process, wet the sandpaper by spraying water from a bottle. Keeping the sandpaper wet helps prevent it from clogging and reduces the risk of overheating the glass.
- Sand in a circular motion: Using gentle pressure, start sanding the scratched area in a circular motion. Move the sandpaper evenly across the surface, covering the entire scratch and a small area around it. Continue sanding until the scratch becomes less noticeable.
- Monitor your progress: Periodically wipe away debris and examine the surface to assess your progress. If the scratch is still visible, continue sanding with the same grit sandpaper until the desired result is achieved.
- Switch to a higher grit sandpaper: Once you’re satisfied with the sanding with the initial grit, switch to a higher grit sandpaper for a smoother finish. Repeat the same circular sanding motion, focusing on blending the sanded area with the rest of the glass panel.
Remember to keep the sandpaper and the glass panel wet throughout the process to prevent overheating and ensure a smoother result. Take your time and be patient as you gradually sand the scratches, as rushing can lead to uneven results or accidental damage to the glass.
With the sanding process complete, it’s time to move on to the next step: cleaning the glass panel again.
Step 5: Cleaning the Glass Panel Again
After sanding the scratches on the glass panel, it’s important to clean it once again to remove any residue or debris left from the sanding process. Cleaning the glass panel at this stage will ensure a smooth surface for the next steps of the repair.
- Use a microfiber cloth: Grab a clean microfiber cloth that is free from any abrasive particles or lint. This will help prevent any new scratches from forming on the glass panel.
- Dampen the cloth: Moisten the cloth with water or use a glass cleaner to make it slightly damp. However, avoid excessive moisture, as it can result in streaks or water spots on the glass panel.
- Wipe the glass panel: Gently wipe the glass panel in straight, overlapping strokes, covering the entire surface. Pay attention to any remaining debris or residue from the sanding process.
- Dry the glass panel: Once you have wiped the glass panel, use a dry section of the microfiber cloth to remove any remaining moisture. This will ensure a clean and dry surface for the next steps of the repair process.
By cleaning the glass panel again, you can ensure that it is free from any sanding residue or debris. This step is essential for achieving optimal results in the following steps, where you will apply a glass polish and buff the glass panel to restore its shine.
With the glass panel now cleaned and dry, we can proceed to the next step: applying a glass polish.
Step 6: Applying a Glass Polish
Now that the glass panel is clean and prepared, it’s time to apply a glass polish to restore its shine and further minimize the appearance of any remaining scratches. The glass polish will help to achieve a smooth and glossy finish.
- Apply a small amount of glass polish: Squeeze a small amount of glass polish onto a clean microfiber cloth. Be cautious not to use too much, as a little goes a long way.
- Spread the glass polish: Using the cloth, spread the polish evenly on the glass panel in circular motions. Make sure to cover the entire surface, focusing on the areas with scratches.
- Work the polish into the surface: Apply gentle pressure as you work the polish into the glass panel. This will help the polish penetrate the scratches and create a smoother finish.
- Allow the polish to dry: Let the polish dry for the recommended time specified by the manufacturer. This will vary depending on the brand and type of glass polish used.
After applying the glass polish and allowing it to dry, you will notice an improvement in the appearance of the glass panel. The polish helps to fill in any remaining micro-scratches and enhances the overall clarity of the glass.
Remember to follow the instructions provided by the glass polish manufacturer for the best results. Different products may have varying application techniques and recommended drying times.
With the glass polish applied, we can now move on to the next step: buffing the glass panel to achieve a flawless finish.
Step 7: Buffing the Glass Panel
After applying the glass polish and allowing it to dry, it’s time to give your glass panel a final touch by buffing it to achieve a flawless, glossy finish. Buffing will help to remove any remaining residue, further smooth out the surface, and enhance the overall shine of the glass.
- Attach a buffer pad or polishing wheel to an electric drill or polishing machine: This will provide the necessary power and motion to effectively buff the glass panel. Make sure to follow the manufacturer’s instructions for attaching the buffer pad or polishing wheel securely.
- Apply a small amount of glass polish to the buffer pad: Squeeze a small amount of glass polish onto the pad. Again, a little goes a long way, so avoid using excessive amounts.
- Turn on the drill or polishing machine: Start at a low speed, gradually increasing the speed as you work. Keep the tool moving in a gentle, circular motion to evenly distribute the polish and achieve the desired finish.
- Buff the glass panel: Bring the buffer pad in contact with the glass panel, moving it across the entire surface. Focus on the areas with scratches, applying slightly more pressure if needed. Continue buffing until you’re satisfied with the appearance of the glass panel.
- Clean the glass panel: After buffing, wipe away any residue or excess polish from the glass panel using a clean microfiber cloth. Inspect the glass panel for any remaining imperfections and repeat the buffing process if necessary.
Buffing the glass panel will help to further smooth out the surface and achieve a glossy, showroom-like finish. Take your time during this step, ensuring that you cover the entire glass panel and focus on any areas that still require attention.
With the glass panel buffed and cleaned, we can now move on to the final step: applying any necessary touch-ups to ensure a perfect result.
Step 8: Final Touch-Ups
After completing the previous steps, your glass panel should be looking significantly improved. However, it’s important to take a closer look and make any necessary final touch-ups to ensure a perfect result.
- Inspect the glass panel: Carefully examine the glass panel to identify any remaining scratches or imperfections that may require further attention. Take your time and look at different angles and lighting conditions to ensure an accurate assessment.
- Address any remaining scratches: If you notice any remaining scratches or blemishes, you can repeat the sanding, polishing, and buffing process on those specific areas. Be cautious and use a lighter touch when working on small, localized areas.
- Clean the glass panel: After addressing any final touch-ups, clean the glass panel once again using a microfiber cloth and glass cleaner. This will remove any debris or polishing residue, leaving the glass panel with a sparkling, clear finish.
- Reinstall the side panel: Once you are satisfied with the repair and the glass panel is clean and dry, carefully reinstall the side panel onto your PC case. Follow the manufacturer’s instructions to ensure proper alignment and secure attachment.
By taking the time to conduct a thorough inspection and make any necessary final touch-ups, you can achieve a professional-looking result. It’s important to be patient and diligent during this step to ensure that your glass panel looks flawless and restored to its original condition.
With the final touch-ups completed, you have successfully repaired the scratches on your side panel glass PC case. Sit back, admire your handiwork, and enjoy the renewed beauty of your PC case!
Conclusion
Repairing scratches on a side panel glass PC case may seem like a daunting task, but with the right tools and steps, it is an achievable DIY project. By following the step-by-step guide outlined in this article, you can restore the pristine appearance of your glass panel and bring back its original shine.
Throughout the repair process, it’s crucial to assess the severity of the scratches, clean the glass panel thoroughly, and gradually sand, polish, and buff the surface for optimal results. Taking the time to properly prepare the work area, gather the necessary tools and materials, and protect your PC components will ensure a smooth and safe repair process.
Remember to be patient and attentive during each step, paying close attention to the condition of the glass panel and making necessary touch-ups. The final result will be a flawless and glossy glass panel that adds a touch of elegance to your PC setup.
By repairing the side panel glass PC case scratches yourself, you not only save money but also gain the satisfaction of knowing that you have taken care of your PC case and accomplished a DIY project. Plus, with the newfound knowledge and skills, you can confidently tackle similar repairs in the future.
Now that you have the knowledge to repair side panel glass PC case scratches, go ahead and give your computer setup a fresh and polished look. With a little time and effort, your glass panel will look as good as new!