Introduction
Welcome to the exciting world of PC building! Whether you’re a seasoned enthusiast or a newbie, one thing is for sure – the aesthetics of your PC setup matter. One key component that can greatly enhance the visual appeal of your PC is a tempered glass case.
Tempered glass PC cases are a popular choice among gamers and PC enthusiasts for their sleek and modern look. They allow you to showcase your hardware components and add a touch of sophistication to your overall setup. However, there’s one pesky obstacle that often comes with these cases – the caution sticker.
Tempered glass cases typically come with a caution sticker affixed to the glass panel. While the sticker serves an important purpose of warning users about potential risks, it can also mar the clean and elegant aesthetic of the case. Fortunately, removing the caution sticker is a relatively simple task that can be done with just a few tools and a bit of patience.
In this guide, we will take you through the step-by-step process of safely removing the caution sticker from your tempered glass PC case. But before we dive into the removal process, let’s first gain a better understanding of tempered glass cases and why you might want to remove the caution sticker.
Understanding Tempered Glass PC Cases
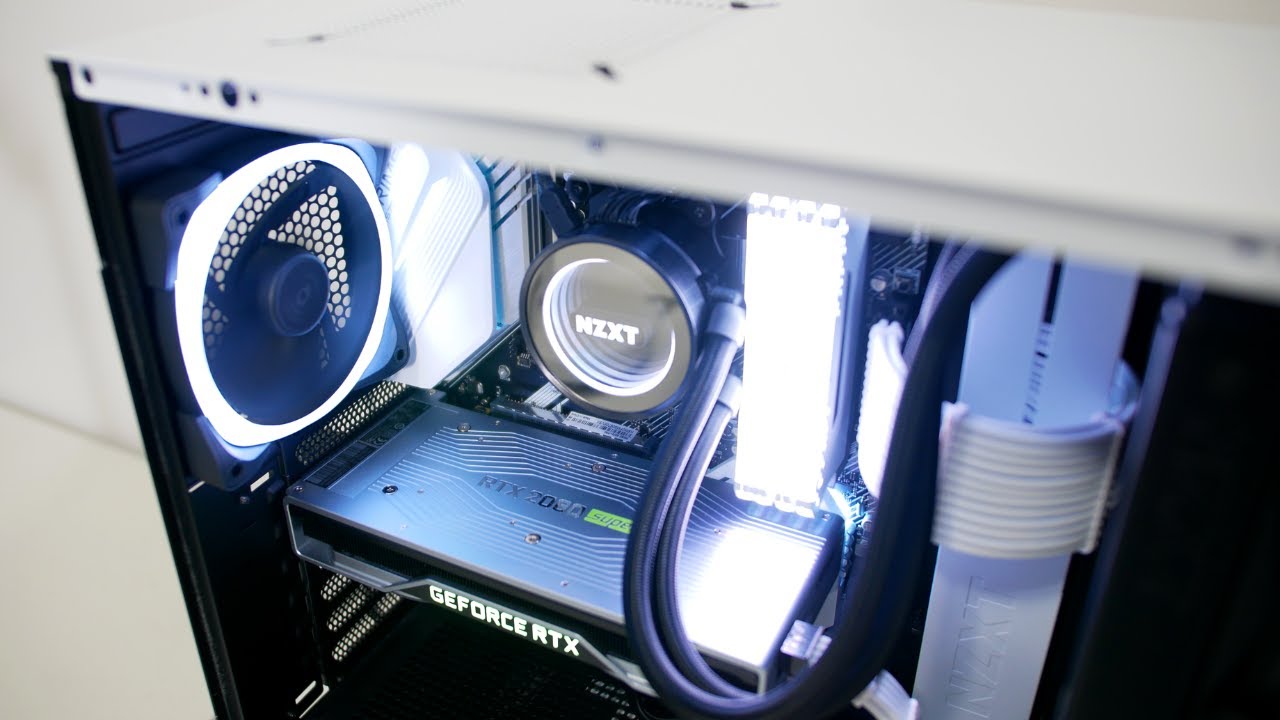
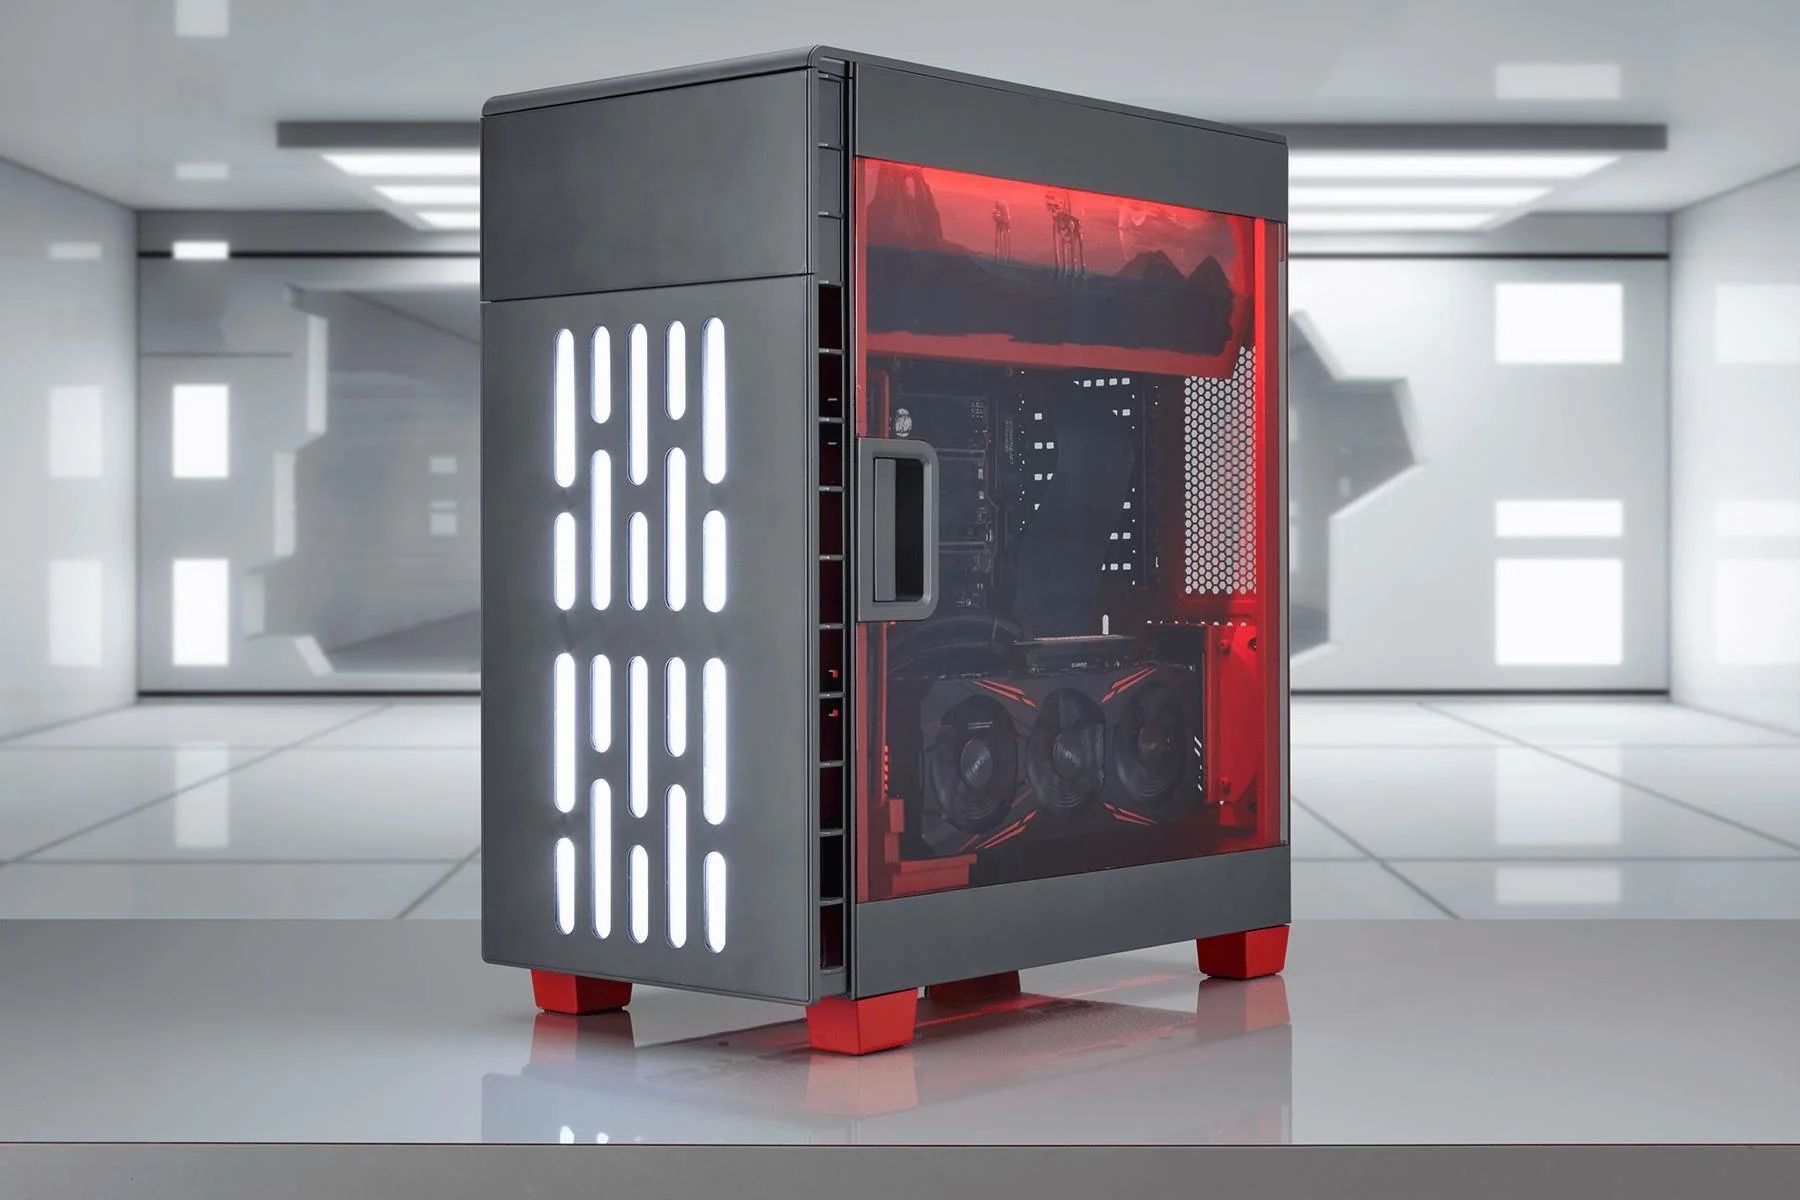
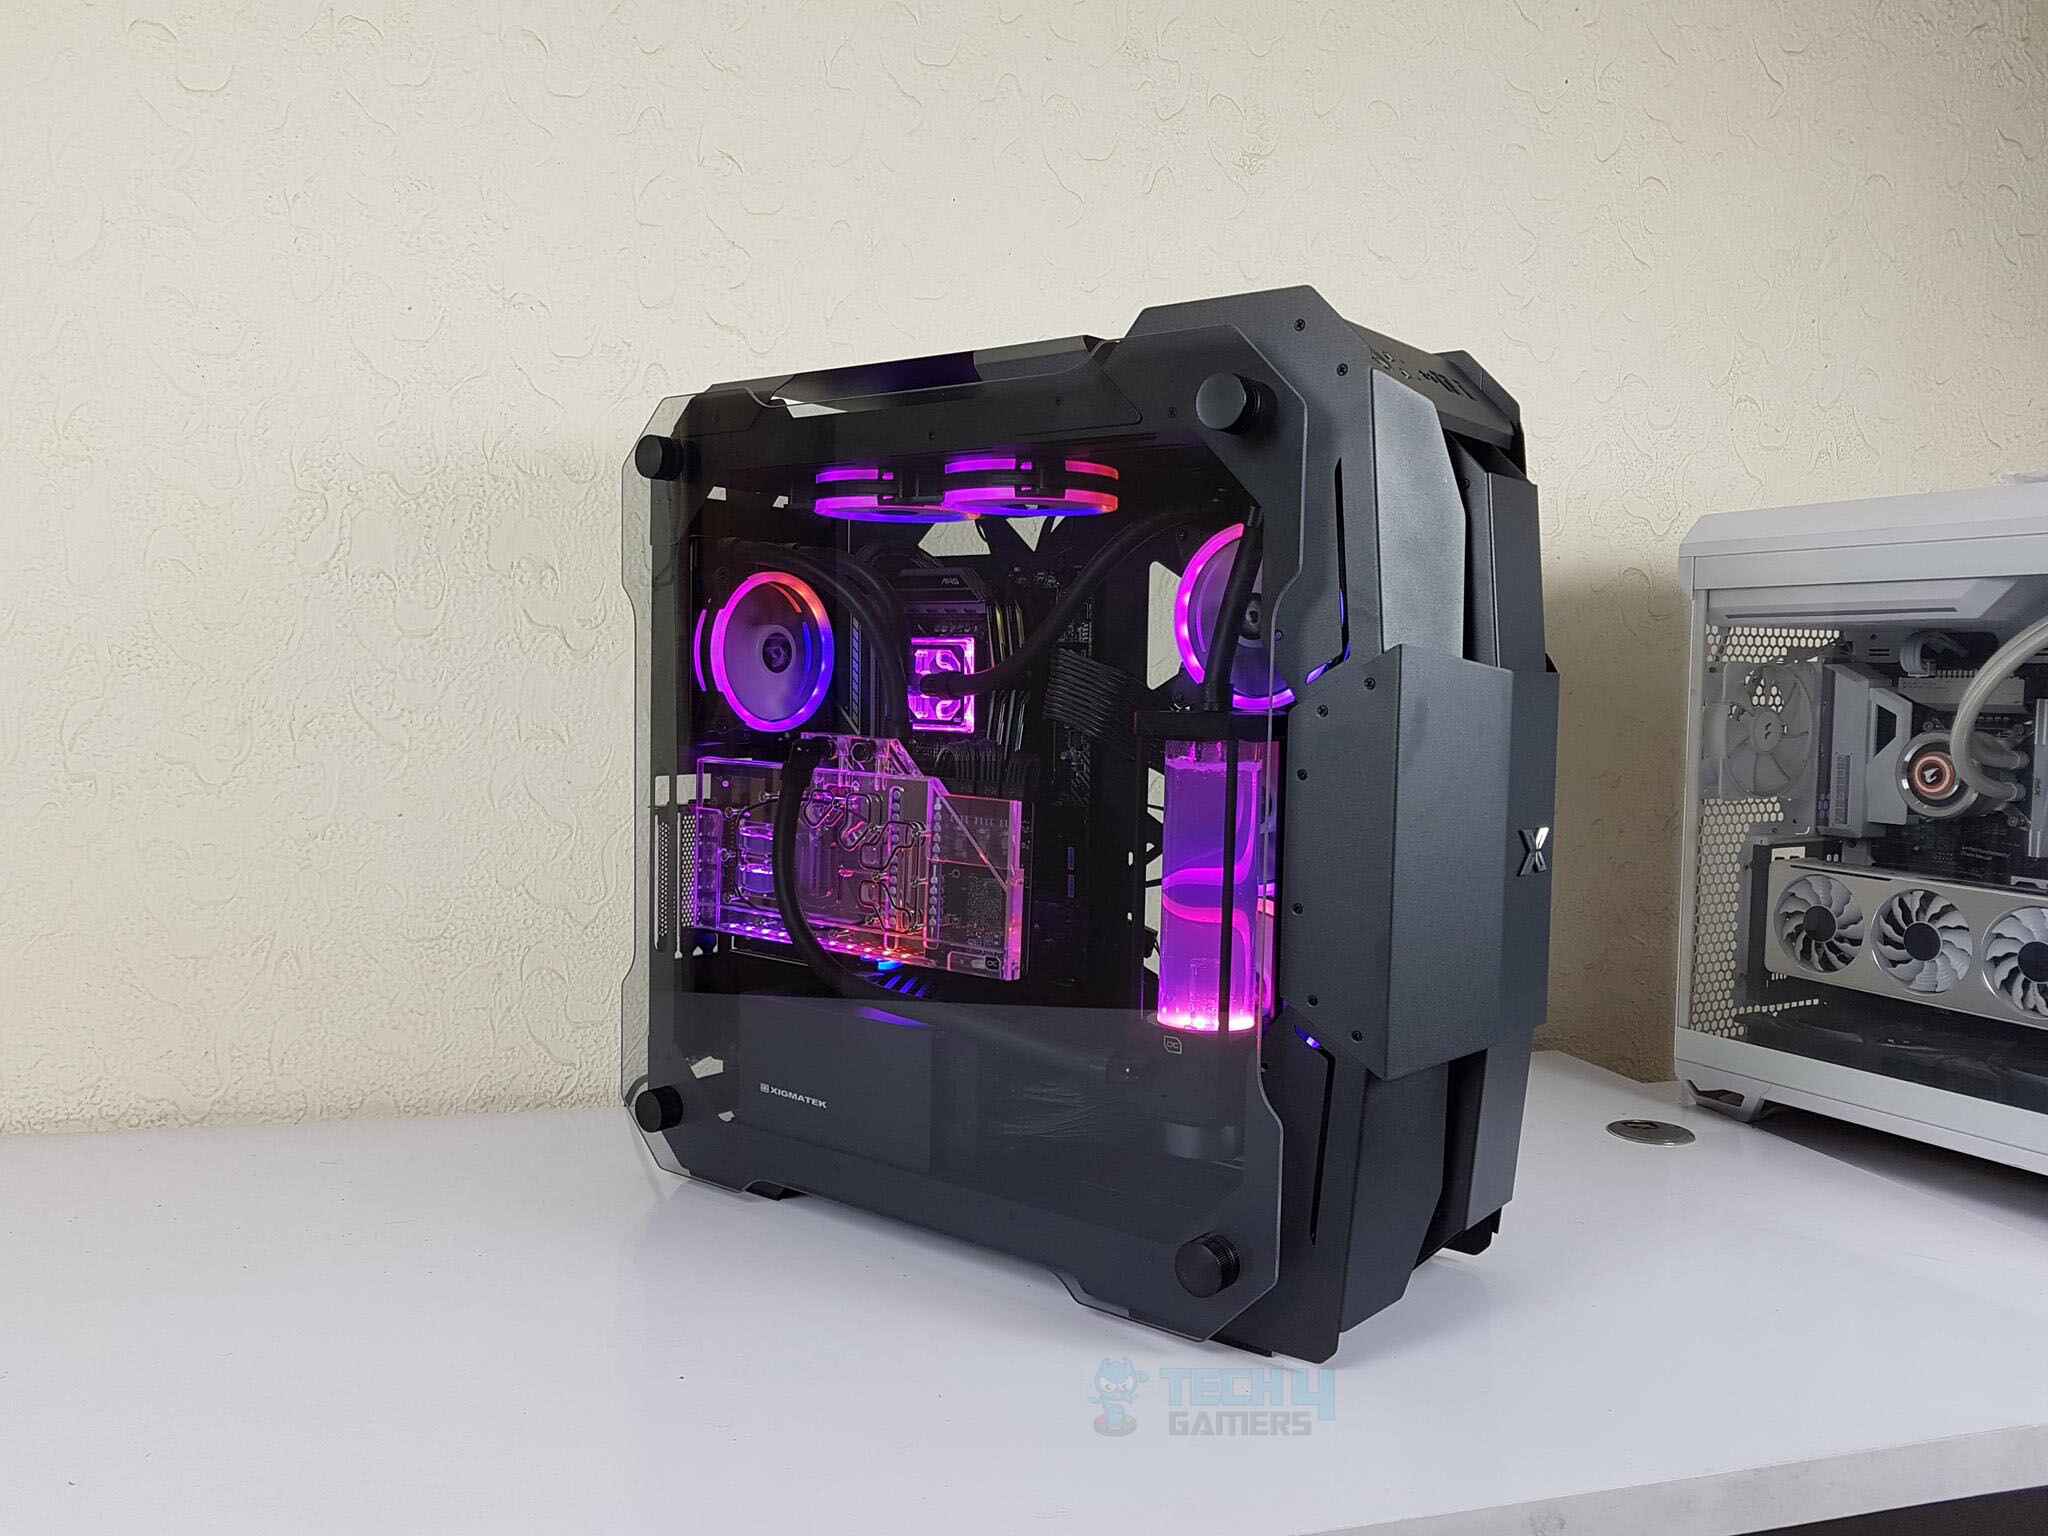
Tempered glass PC cases have gained immense popularity in recent years for their sleek and modern design. Unlike traditional cases that feature solid side panels, tempered glass cases replace one or both side panels with a transparent glass panel. This allows users to showcase the internal components of their PC, including the motherboard, graphics card, RGB lighting, and other hardware.
Tempered glass is a type of safety glass that is processed through a series of controlled heating and rapid cooling methods. This process enhances its strength and makes it more resistant to breakage compared to regular glass. The result is a robust and durable glass panel that offers excellent protection for your PC components while providing a clear view of the inside.
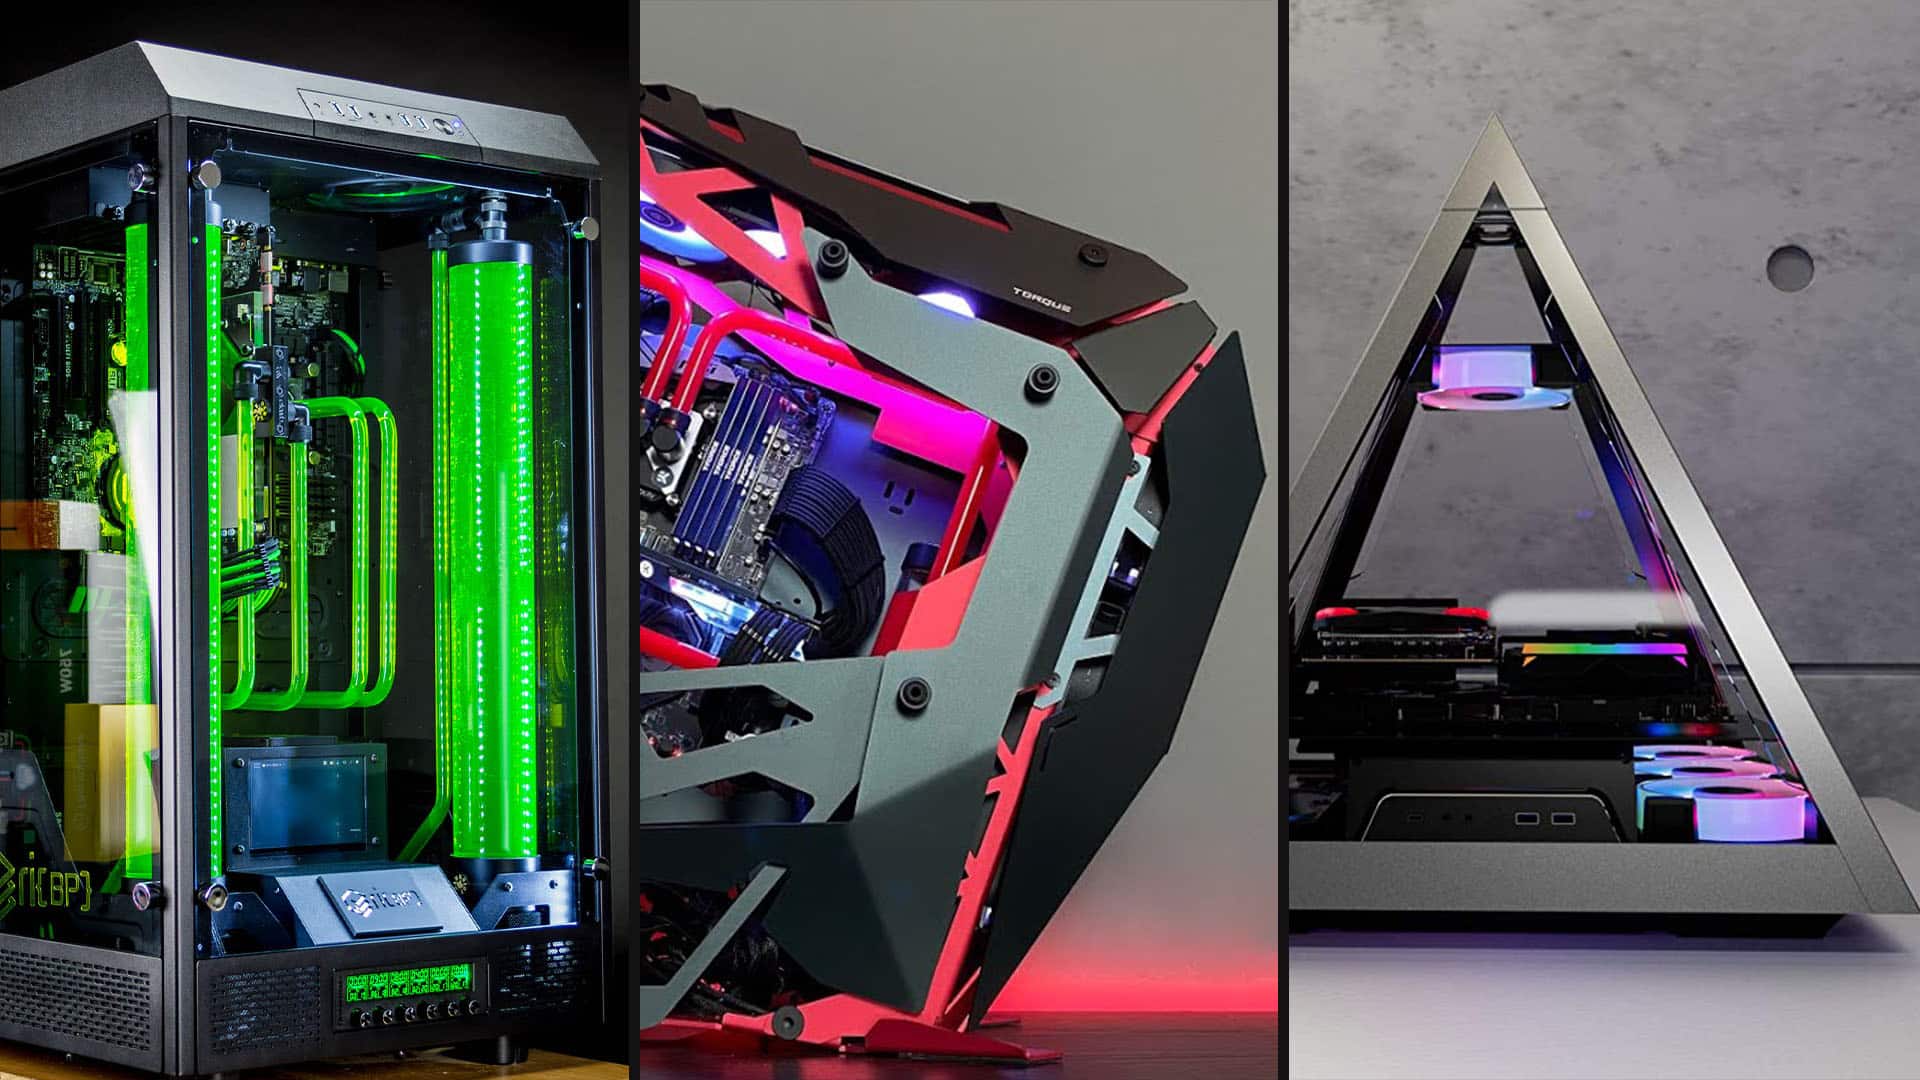
One of the major advantages of a tempered glass PC case is its aesthetic appeal. It instantly gives your setup a premium and high-end look, elevating the overall visual experience. The transparency of the glass allows you to show off your meticulously chosen components, cable management skills, and any customized lighting effects.
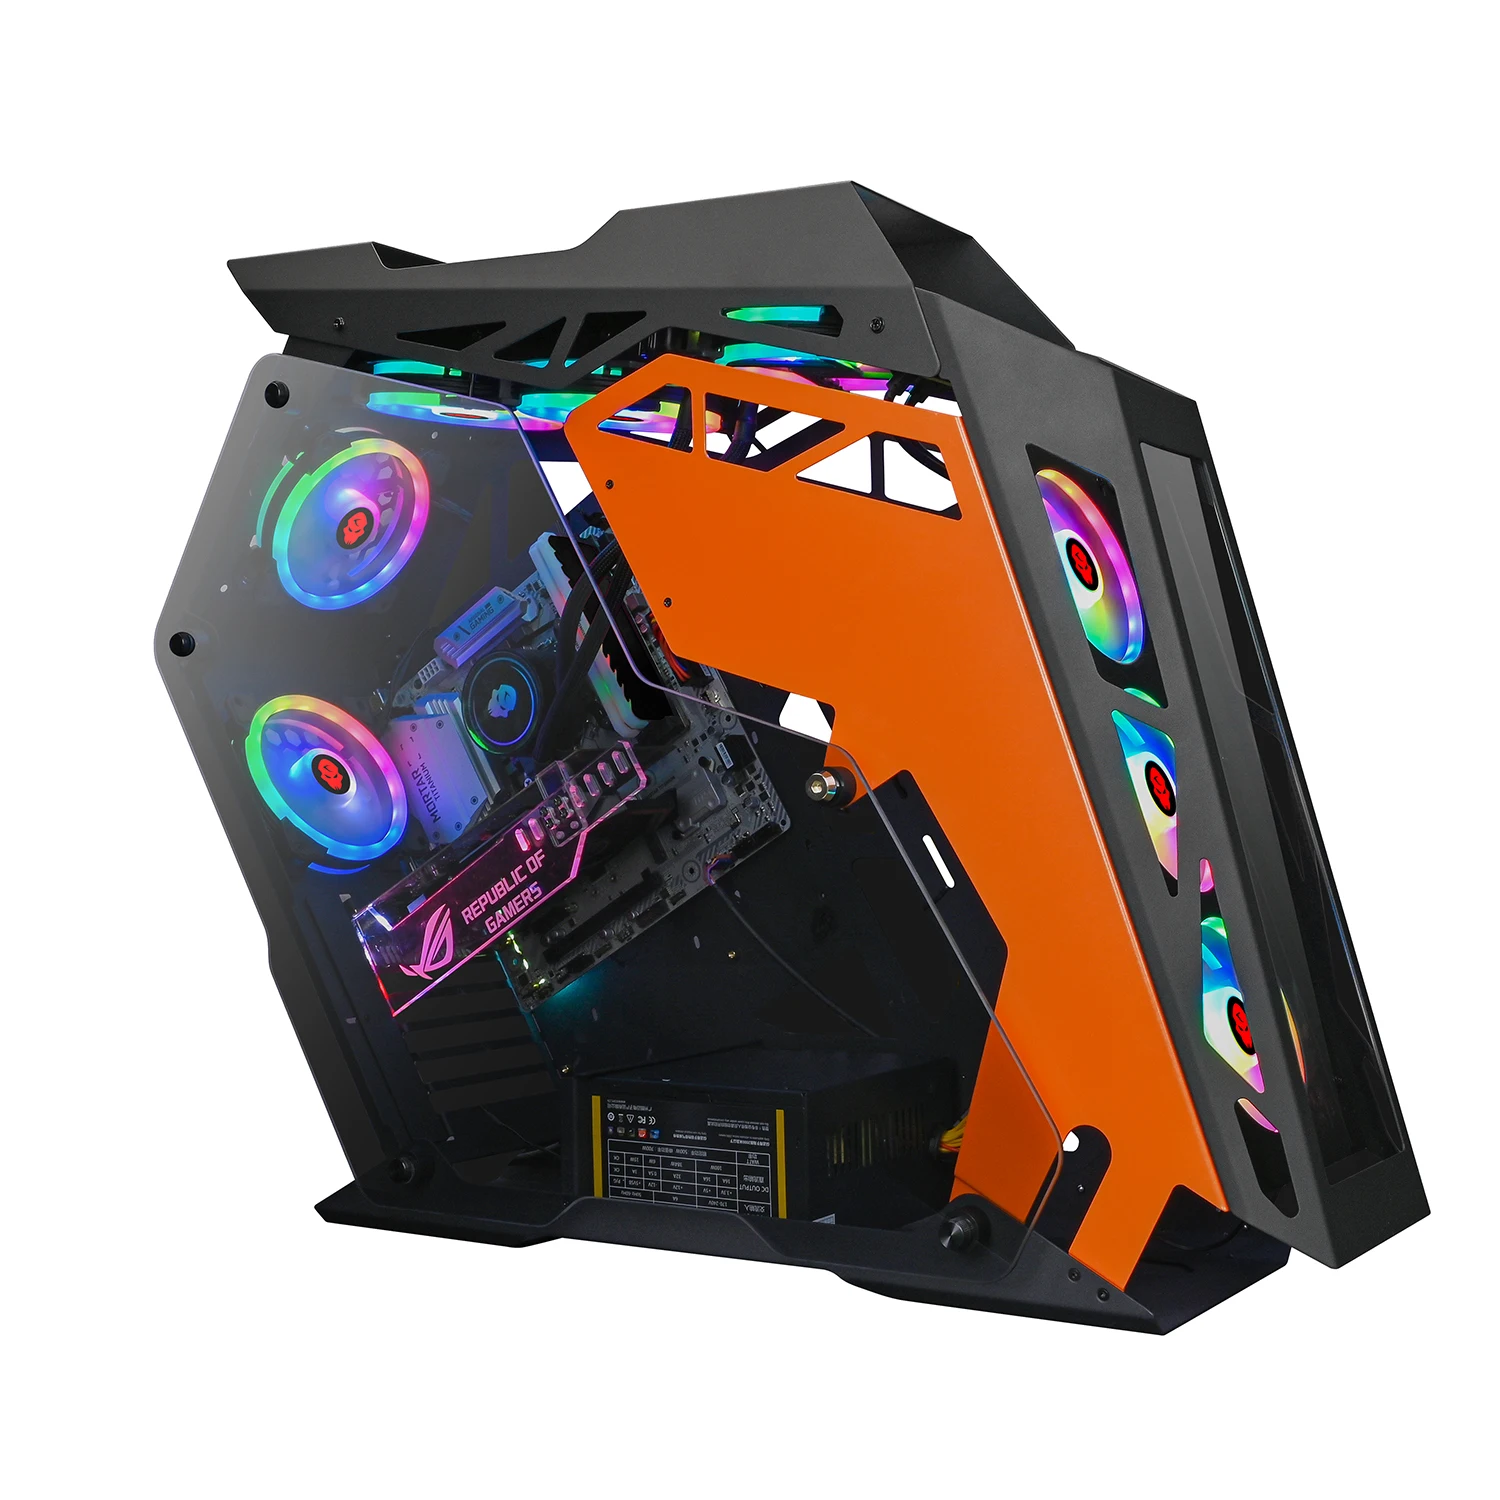
Another benefit of tempered glass cases is their ability to improve airflow and ventilation. Traditional cases with solid side panels can trap heat inside, affecting the temperature and performance of your PC. With tempered glass panels, heat dissipates more efficiently, ensuring optimal cooling for your components.
While tempered glass cases offer numerous advantages, it’s important to keep in mind that they also require proper care to maintain their pristine appearance. This includes regular cleaning and removal of any stickers or labels that might come with the case, such as the caution sticker.
Now that we have a better grasp of what tempered glass PC cases are and their benefits, let’s explore why you might want to remove the caution sticker from your case in the next section.
Why Remove the Caution Sticker?
When you first purchase a tempered glass PC case, you might notice a caution sticker adhered to the glass panel. This sticker is typically placed by the manufacturer to provide important safety information and warnings to users. While the caution sticker serves a vital purpose, many PC enthusiasts prefer to remove it for a few compelling reasons.
First and foremost, the caution sticker can be an eyesore. It disrupts the clean and sleek aesthetic that tempered glass cases are known for. Removing the sticker allows the transparent glass panel to showcase the internal components in all their glory, creating a visually stunning display that adds to the overall appeal of your PC setup.
In addition to the aesthetic aspect, the caution sticker can also interfere with the lighting effects inside your PC case. If you’ve invested in RGB lighting or other customized lighting solutions, the sticker may create unwanted reflections or distortions, undermining the intended visual impact of your lighting setup.
Furthermore, removing the caution sticker gives you the opportunity to personalize your PC case. Many enthusiasts like to use vinyl decals, custom logos, or artistic designs that align with their personal style or gaming preferences. With the caution sticker gone, you’re free to customize your tempered glass case in any way you desire, making it truly unique and representative of your own personality.
Lastly, removing the caution sticker can simplify the cleaning and maintenance process of your PC case. Over time, dust and fingerprints may accumulate on the sticker, making it difficult to clean. By removing the sticker, you eliminate this potential cleaning hassle and ensure that your tempered glass panel remains pristine and free from any obstructions.
Now that we understand the reasons behind removing the caution sticker, let’s explore the tools you’ll need to safely remove it in the next section.
Tools Needed for Removing the Caution Sticker
Removing the caution sticker from your tempered glass PC case requires a few basic tools to ensure a smooth and safe removal process. Here are the essential tools you’ll need:
- Microfiber cloth: This soft and lint-free cloth is ideal for cleaning the glass panel before and after sticker removal. It helps to remove any fingerprints, dust, or residue left behind.
- Isopropyl alcohol: Isopropyl alcohol is a commonly used cleaner that effectively breaks down adhesive residue. It’s important to choose a high-quality and pure isopropyl alcohol for optimal results.
- Goo Gone or adhesive remover: Sometimes, stubborn sticker residue may require a specialized adhesive remover. Goo Gone or a similar product can help dissolve the adhesive, making it easier to remove the remaining residue.
- Razor blade or plastic scraper: A razor blade or plastic scraper can be used to gently lift the edges of the sticker. Be cautious when using a razor blade, as it may scratch the glass if not used carefully. A plastic scraper is a safer alternative.
- Heat source: Applying heat can help loosen the adhesive and make sticker removal easier. You can use a hairdryer or a heat gun on a low setting to heat the sticker before attempting to remove it.
- Tweezers or toothpicks: Tweezers or toothpicks are helpful for precision in removing any small sticker remnants or adhesive residue that may be left behind.
Having these tools handy will make the process of removing the caution sticker from your tempered glass PC case much easier and more efficient. It’s important to use them with caution and follow the step-by-step guide to ensure a successful sticker removal without damaging the glass panel.
Now that we know which tools we need, let’s dive into the step-by-step guide for removing the caution sticker in the next section.
Step-by-Step Guide to Removing the Caution Sticker
Removing the caution sticker from your tempered glass PC case requires careful execution to avoid any damage to the glass. Follow these step-by-step instructions to safely and effectively remove the sticker:
- Clean the glass: Start by cleaning the glass panel using a microfiber cloth and isopropyl alcohol. This ensures that the surface is free from any dirt, dust, or fingerprints that could interfere with the sticker removal process.
- Apply heat: Use a hairdryer or heat gun on a low setting to gently warm up the caution sticker. Moving the heat source back and forth evenly heats the adhesive, making it easier to remove the sticker. Be cautious not to overheat the glass or hold the heat source too close to prevent any glass damage.
- Lift the edges: Once the sticker is warmed up, use a razor blade or plastic scraper to carefully lift one corner of the sticker. Alternatively, you can use your fingernail to lift the edge. Take your time and be gentle to avoid any scratches on the glass.
- Peel the sticker: Slowly peel the caution sticker away from the glass panel, applying even pressure as you go. If you encounter resistance, use the heat source to warm the area again and continue peeling. The adhesive residue may remain on the glass surface.
- Remove residue: If there is any adhesive residue left on the glass, apply a small amount of Goo Gone or adhesive remover to a microfiber cloth. Gently rub the residue in circular motions until it dissolves. Be careful not to scrub too hard as it may scratch the glass.
- Final clean-up: Once the residue is removed, clean the glass panel again using isopropyl alcohol and a microfiber cloth to ensure it is clean and free from any cleaning products. This will leave the glass looking pristine and ready for display.
By following these steps, you can safely and effectively remove the caution sticker from your tempered glass PC case without damaging the glass surface. Take your time, be patient, and be careful when handling tools to ensure a successful sticker removal process.
In the next section, we will provide some additional tips and precautions to keep in mind during the sticker removal process.
Tips and Precautions
While removing the caution sticker from your tempered glass PC case is a relatively simple process, it’s important to exercise caution and follow these tips to ensure a successful and safe sticker removal:
- Be patient: Take your time and avoid rushing the process. Slow and careful removal will minimize the risk of damaging the glass or leaving behind adhesive residue.
- Use appropriate tools: Use a plastic scraper or the edge of a plastic card instead of a razor blade to lift the sticker. This reduces the risk of scratching the glass.
- Apply gentle pressure: Avoid applying excessive force when lifting the sticker or removing residue. Gentle pressure is usually sufficient to loosen the adhesive without damaging the glass.
- Test adhesive remover: Before applying adhesive remover to the glass panel, test it on a small, inconspicuous area to ensure it doesn’t cause any damage or discoloration.
- Keep the glass clean: Regularly clean the glass panel with a microfiber cloth and isopropyl alcohol to prevent dust, fingerprints, and other debris from accumulating and interfering with sticker removal.
- Avoid excessive heat: While heat can assist in sticker removal, excessive heat can damage the glass. Use the heat source on a low setting and maintain a safe distance from the glass panel.
- Take breaks if necessary: If you encounter any difficulties or if the sticker is not easily lifting, take a break and give the glass panel some time to cool down. Then resume the removal process with patience and care.
- Seek professional help if needed: If you’re uncertain about safely removing the caution sticker or if you’re uncomfortable performing the task yourself, consider seeking assistance from a professional who specializes in PC case modifications.
By following these tips and taking the necessary precautions, you can ensure a smooth and successful removal of the caution sticker from your tempered glass PC case.
Now that you’re equipped with the knowledge and steps for sticker removal, you can confidently proceed to transform your PC case into a visually appealing masterpiece.
Conclusion
Removing the caution sticker from your tempered glass PC case allows you to fully showcase the aesthetic beauty of your hardware and personalize your setup. By following the step-by-step guide and employing the necessary tools and precautions, you can safely and effectively remove the sticker without damaging the glass surface.
Tempered glass cases offer a visually stunning display of your PC components and elevate the overall look of your setup. By removing the caution sticker, you enhance the clean and elegant aesthetic that these cases are known for, allowing your hardware and lighting effects to shine through.
Remember to clean the glass panel thoroughly and apply heat to loosen the adhesive before gently lifting and peeling the sticker. If any residue remains, a cautious application of adhesive remover can help eliminate it without causing damage.
Throughout the process, exercise patience, use appropriate tools, and be mindful of the heat applied to the glass surface. Following these tips and precautions will help ensure a successful sticker removal and maintain the pristine appearance of your tempered glass panel.
Now, armed with the knowledge and skills to remove the caution sticker from your tempered glass PC case, you can confidently enjoy the full beauty and customization potential of your setup. So go ahead and embark on this journey to create a stunning visual masterpiece!