Introduction
Changing the LED color on your PC case can bring a whole new level of customization and personalization to your computer setup. Whether you want to match the color scheme of your gaming rig, create a specific ambiance, or simply add a touch of style, changing the LED color can make a dramatic difference in the overall look and feel of your PC.
In this guide, we will walk you through the step-by-step process of changing the LED color on your PC case. We will cover everything from gathering the necessary tools and equipment to installing the new LED lights.
Before we dive into the details, it is important to note that not all PC cases support LED color customization. Some cases may not have built-in LED lights or may not have the necessary controls to change the color. Therefore, it is essential to determine the compatibility of your PC case before proceeding with the process.
With that being said, if you have a PC case that supports LED color customization or is equipped with LED lights, read on to learn how you can transform the look of your computer setup.
Step 1: Gather the necessary tools and equipment
Before you begin the process of changing the LED color on your PC case, you will need to gather a few essential tools and equipment. Here’s what you’ll need:
- A screwdriver: Depending on your PC case, you may need either a Phillips or a flat-head screwdriver to remove the side panels or access the LED controls.
- Replacement LED lights: If your PC case supports replaceable LED lights, you will need to purchase new ones in the color of your choice. Make sure to check the specifications of your case or consult the manufacturer’s documentation for compatible LED lights.
- Anti-static wrist strap (optional): While not mandatory, it is recommended to use an anti-static wrist strap to prevent any static electricity from damaging sensitive components of your PC.
Once you have gathered these tools and equipment, you are ready to proceed to the next step. It’s always a good idea to have everything prepared before you start so that you can work efficiently without any interruptions.
Remember, it’s important to ensure that any changes you make to your PC case will not void the warranty or cause any damage. If you are uncertain or uncomfortable with making modifications, it’s best to consult a professional or the manufacturer for assistance.
Step 2: Determine the compatibility of your PC case
Before proceeding with changing the LED color on your PC case, it is important to determine if your case is compatible with LED customization. Here’s how you can do that:
1. Check the manufacturer’s documentation:
Refer to the user manual or specifications of your PC case to see if it supports LED color customization. Look for any information regarding built-in LED lights or controls that allow you to change the color.
2. Examine your PC case for any built-in LEDs and controls:
Inspect the exterior of your PC case carefully. Look for any LEDs that are visible without opening the case. Additionally, check for any buttons, switches, or knobs that may control the LED lighting.
3. Research online:
If you are unable to find the necessary information from the manufacturer’s documentation or visible indicators on your PC case, consider researching online. Visit the manufacturer’s website or forums dedicated to PC modding and customization. There may be discussions or guides specific to your PC case model that can provide insights into LED compatibility.
If you determine that your PC case does not support LED customization, don’t worry! There are alternative options available, such as external LED strips or lighting kits, that can still allow you to add colorful illumination to your setup.
On the other hand, if your PC case does support LED customization, proceed to the next step to locate the LED controls.
Step 3: Locate the LED controls
Once you have confirmed that your PC case supports LED customization, the next step is to locate the LED controls. The location and type of controls may vary depending on your PC case model. Here are some common places to look for the LED controls:
- Front panel: Many PC cases have a front panel that houses various ports and buttons. Check if there are any buttons or switches specifically labeled for LED control.
- Side panel: Some PC cases have LED controls integrated into the side panel. Look for any buttons or knobs located on the side panel or along its edges.
- Top panel: In certain PC cases, the LED controls can be found on the top panel, either as buttons or as a small control panel.
- Internal motherboard connections: In more advanced PC cases, the LED controls may be located on the motherboard itself. Check the motherboard documentation to locate the relevant connections.
If you are unable to find the LED controls based on these suggestions, refer to the manufacturer’s documentation or online resources specific to your case model. These sources may provide detailed instructions on where to find the controls.
Once you have located the LED controls, take note of how they work. Some controls may allow you to cycle through pre-set colors, while others may provide more advanced customization options such as RGB color selection. Understanding the functionality of the controls will help you navigate the LED color customization process more effectively.
With the LED controls located, you are now ready to delve into the color customization options available for your PC case. This will be covered in the next step.
Step 4: Understand the different LED color customization options
Before you start changing the LED color on your PC case, it’s important to familiarize yourself with the different LED color customization options available. Here are a few common options you may come across:
- Pre-set colors: Some PC cases offer a selection of pre-set colors that you can choose from. These colors are often controlled through buttons or switches on the case, allowing you to cycle through the available options.
- RGB color selection: Many modern PC cases feature RGB (Red, Green, Blue) LED lighting, which allows for a wide range of color customization. With RGB controls, you can manually adjust the intensity of each color channel to create your desired color. Some cases may offer software control for more precise customization.
- Color cycling: Certain PC cases have a color cycling mode where the LEDs automatically transition through a spectrum of colors. This mode can add a dynamic and visually appealing effect to your PC case.
- Effects and patterns: In addition to static colors, some PC cases offer different lighting effects and patterns. These can include pulsating, breathing, or even synchronized effects that respond to sound or other external cues.
Understanding the available customization options will allow you to make more informed decisions when selecting new LED lights or configuring the color settings on your PC case. It’s a good idea to experiment with different options to find the LED color and effect that best suits your preferences and the overall aesthetic of your setup.
Now that you have an understanding of the LED color customization options, you can proceed to the next steps to remove the current LED lights (if applicable) and install the new LED lights.
Step 5: Remove the current LED lights (if applicable)
If your PC case already has LED lights installed and you wish to change the color, you will need to remove the current LED lights before installing the new ones. Follow these steps to remove the current LED lights:
- Power off your PC: Before making any modifications, shut down your computer and unplug the power cable.
- Remove the side panel: Use a screwdriver to remove the screws securing the side panel of your PC case. Carefully slide or lift off the panel to expose the internal components.
- Locate the LED lights: Identify the LED lights inside your PC case. They are typically located in visible areas, such as near the front panel or surrounding the cooling fans. Take note of any connectors or wires connected to the LED lights.
- Disconnect the LED lights: Depending on the type of connectors used, gently disconnect the LED lights from their respective cables or connectors. Pay attention to any locking mechanisms or clips that may be holding the connectors in place.
- Remove the LED lights: Once the LED lights are disconnected, carefully remove them from their mounting positions. They may be attached using screws, adhesive backings, or other methods. Follow the manufacturer’s instructions or consult your PC case manual if necessary.
- Store the old LED lights: If the removed LED lights are still functional and you have no use for them, consider storing them in a safe place in case you want to revert to the original color in the future.
With the current LED lights successfully removed, you can now proceed to the next step, where we will guide you on choosing and purchasing new LED lights for your PC case.
Step 6: Choose and purchase new LED lights
Now that you have removed the current LED lights from your PC case, it’s time to choose and purchase new LED lights in the color of your choice. Here are a few factors to consider when selecting new LED lights:
- Compatibility: Ensure that the new LED lights are compatible with your PC case. Check the specifications of your case or consult the manufacturer’s documentation for any specific requirements or recommendations.
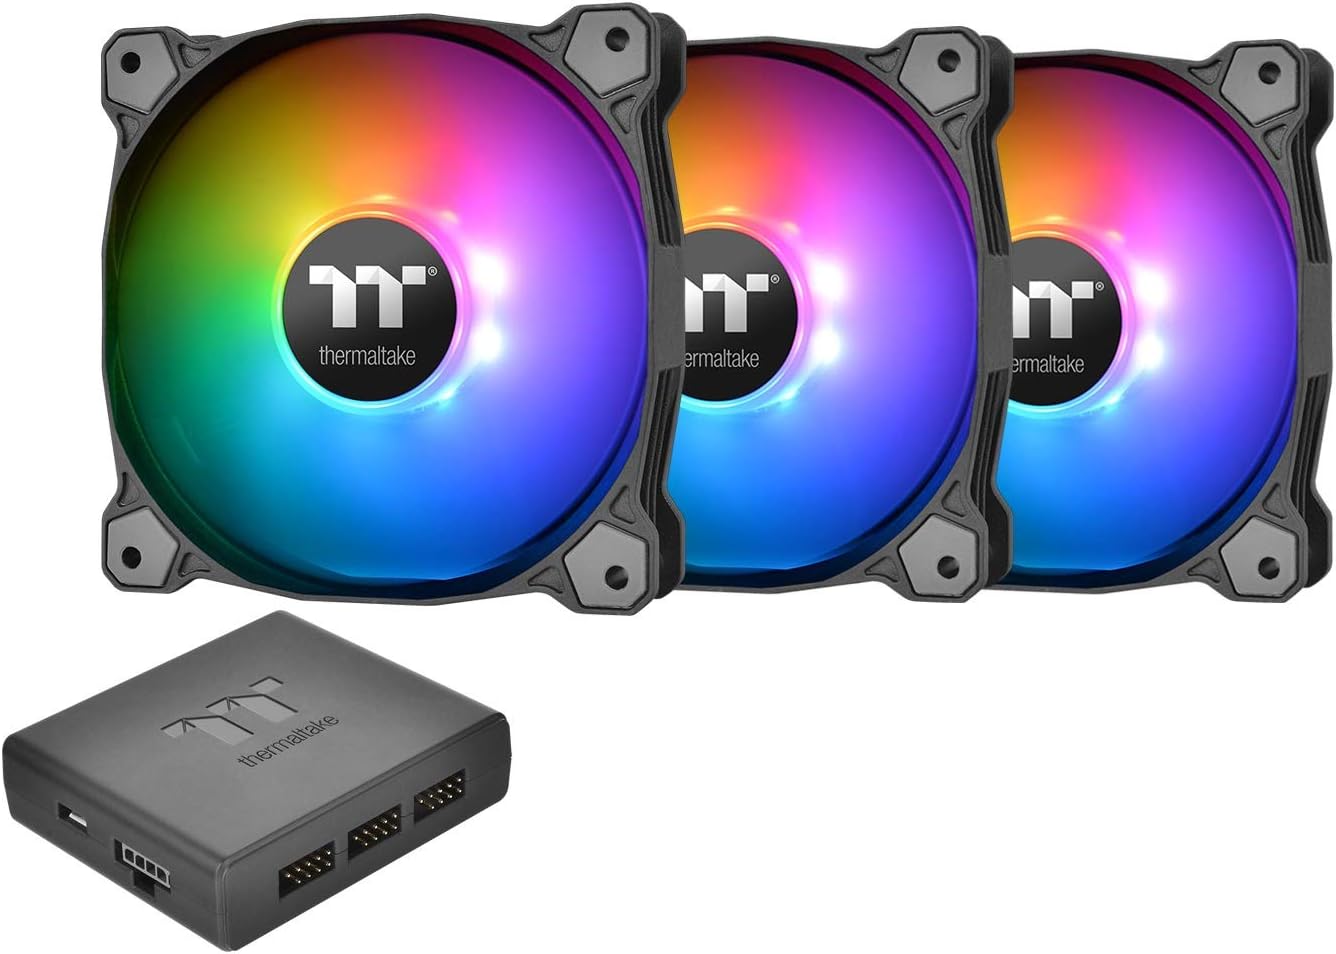
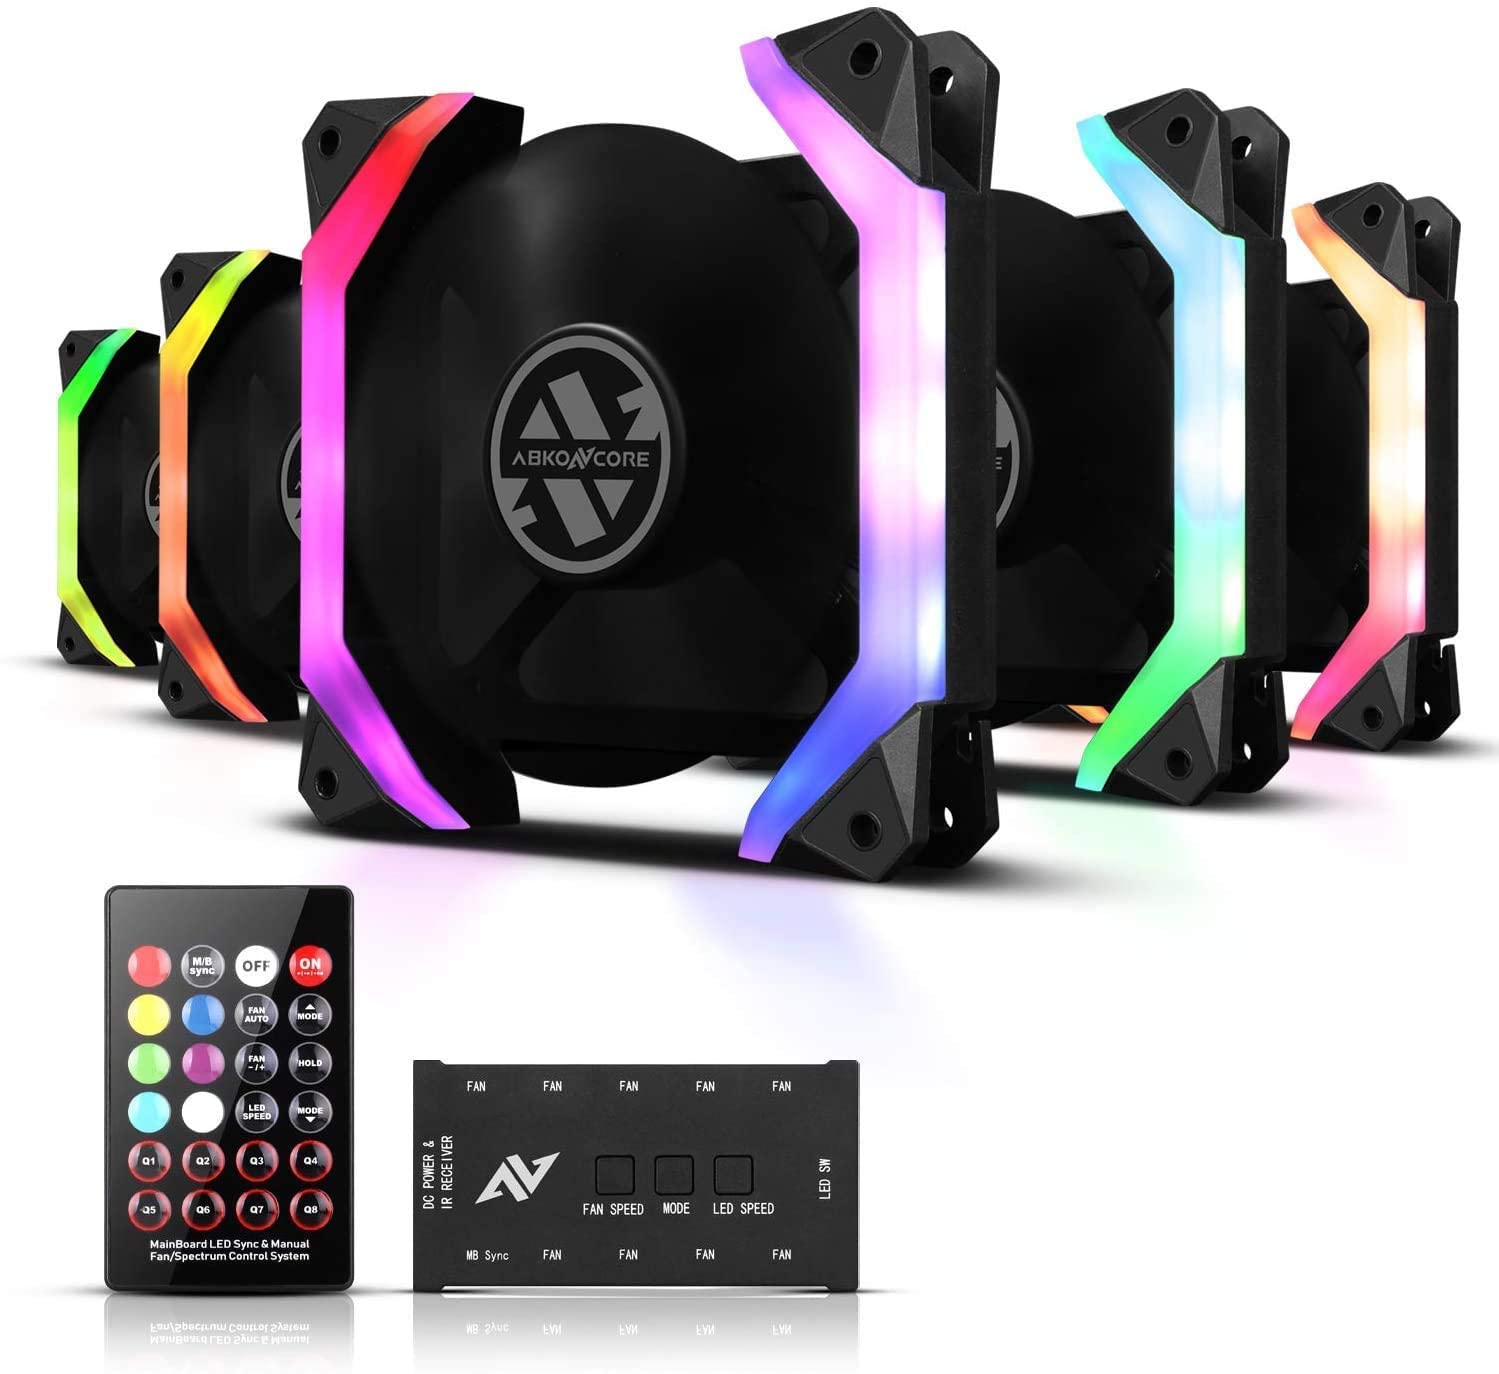
- Type of LED lights: LED lights come in various forms, including light strips, individual LEDs, or fans with built-in lighting. Consider the type of LED lights that will best fit your PC case and meet your aesthetic preferences.
- Color options: Determine the specific color or range of colors you want for your new LED lights. If you have RGB controls, you can opt for multi-color LED lights that allow you to customize the color according to your preference.
- Brightness and intensity: Decide how bright or intense you want your LED lights to be. Some LED lights offer adjustable brightness levels, allowing you to create the desired ambiance for your PC setup.
- Additional features: Explore any additional features or effects that the new LED lights may offer. This can include dynamic lighting effects, synchronization with other components, or compatibility with software for more advanced customization.
- Budget: Consider your budget when selecting the new LED lights. LED lights can vary in price, so determine how much you are willing to spend and find options that fit within your budget.
Once you have narrowed down your choices, proceed to purchase the new LED lights. You can find a wide range of options available in electronics stores, online marketplaces, or specialized PC modding websites.
Before making the purchase, double-check the specifications and compatibility of the LED lights to ensure they will work with your PC case. Additionally, read reviews or seek recommendations from other users to make an informed decision.
With the new LED lights selected and purchased, you are ready to move on to the next step. We will now guide you through the installation process for your new LED lights.
Step 7: Install the new LED lights
Now that you have chosen and purchased your new LED lights, it’s time to install them in your PC case. Follow these steps to properly install the new LED lights:
- Power off your PC: Before proceeding with any modifications, shut down your computer and unplug the power cable. This will ensure your safety and prevent any damage to your components.
- Open your PC case: Use a screwdriver to remove the necessary screws securing the side panel of your PC case. Carefully slide or lift off the panel to expose the internal components.
- Locate the desired installation areas: Determine where you want to install the new LED lights. Consider placement options that will provide adequate visibility and ensure the desired illumination effects.
- Prepare the LED lights: Depending on the type of LED lights you purchased, you may need to attach adhesive backings or secure them with mounting brackets. Follow the manufacturer’s instructions for proper preparation.
- Connect the LED lights: Carefully connect the LED lights to the appropriate connectors or cables inside your PC case. Ensure a secure and proper connection, taking note of any polarity markings.
- Secure the LED lights: Once connected, securely mount the LED lights in the designated areas. Use screws, adhesive, or any provided mounting options to ensure they are properly in place.
- Cable management: Neatly organize and tuck away any excess cables from the LED lights to maintain a clean and clutter-free appearance. This will help optimize airflow and prevent any cable interference.
- Close your PC case: Place the side panel back onto your PC case and secure it with the appropriate screws. Ensure it is properly aligned and closed before moving on to the next step.
It’s important to note that the installation process may vary depending on the type and design of your LED lights. Refer to the manufacturer’s instructions and any specific guidelines provided with your LED lights for the most accurate installation steps.
Once you have successfully installed the new LED lights, you are ready to move on to the final steps of testing and fine-tuning the LED color on your PC case.
Step 8: Test the new LED color on your PC case
With the new LED lights installed in your PC case, it’s time to test the new LED color and ensure everything is functioning as desired. Follow these steps to test the LED color:
- Power on your PC: Plug in the power cable and turn on your computer. Allow the system to boot up completely.
- Access the LED controls: Locate and access the LED controls on your PC case. Use the buttons, switches, or software controls to set the LED lights to the desired color or effect.
- Observe the LED color: Take a close look at your PC case and observe the new LED color. Ensure that the color is vibrant and matches your expectations.
- Check for any issues: Pay attention to any issues such as flickering lights, inconsistent color, or LEDs not functioning properly. If you encounter any problems, double-check the connections and consult the manufacturer’s troubleshooting guide if necessary.
- Experiment with different colors and effects: Try out different LED colors and effects available through the LED controls. This will allow you to explore various lighting options and find the best configuration that suits your preferences.
During the testing process, it’s important to be patient and make any necessary adjustments or fine-tuning to achieve the desired LED color. Refer to the manufacturer’s documentation or consult online resources for specific instructions on adjusting color settings and controlling the LED lights.
Additionally, consider the overall ambiance and lighting conditions of your workspace. Take note of how the new LED color interacts with the surrounding environment and adjust brightness or intensity settings if needed.
Once you are satisfied with the tested LED color and everything is functioning properly, you can move on to the final step: making any necessary adjustments or fine-tuning the LED color on your PC case.
Step 9: Make any necessary adjustments or fine-tuning
After testing the new LED color on your PC case, you may find that some adjustments or fine-tuning are needed to achieve the desired lighting effect. Follow these steps to make any necessary adjustments:
- Refine color settings: If your PC case has RGB controls, explore the available color options and experiment with different combinations to find the perfect hue. Adjust the intensity levels of each color channel to achieve the desired color balance.
- Modify lighting effects: If your LED lights offer various effects, such as pulsating, breathing, or color cycling, test out different settings to see which ones enhance the aesthetics of your PC case. Fine-tune the speed and intensity of the effects to match your preferences.
- Consider the overall ambiance: Take a step back and observe how the LED color interacts with the overall ambiance of your workspace. Consider factors such as natural lighting, other lighting sources, and the surrounding environment. Make any necessary adjustments to ensure a cohesive and pleasing visual experience.
- Check for any inconsistencies: Examine the LED lights closely to ensure there are no inconsistencies in color or brightness across different areas of your PC case. If you spot any discrepancies, double-check the connections and seating of the LED lights. Adjust or reposition them as needed.
- Seek feedback: If applicable, seek feedback from friends, family, or online communities to get a fresh perspective on the LED color. They may offer suggestions or insights that can help you further refine the settings or make additional adjustments.
Remember that the fine-tuning process is subjective, and it may take some trial and error to achieve the desired LED color and lighting effect. Take your time to experiment and find the configuration that best suits your personal preferences and complements your PC setup.
Once you are satisfied with the adjustments and fine-tuning, you can proceed to the final step: enjoying your newly changed LED color on your PC case!
Step 10: Enjoy your newly changed LED color on your PC case!
Congratulations! You have successfully changed the LED color on your PC case. Now it’s time to sit back, relax, and enjoy the stunning visual impact of your newly customized lighting. Here are a few key points to keep in mind as you revel in your newly changed LED color:
1. Show off your setup: Share your pride and joy with others! Take pictures or videos of your revamped PC case and showcase it on social media or PC enthusiast forums. You might inspire others to embark on their own LED color customization projects.
2. Personalize your workspace: The new LED color adds a personal touch to your workspace and creates a unique atmosphere. Take advantage of the vibrant lights and customize the rest of your setup to complement the new color scheme. Consider matching accessories, wallpapers, or desk decorations.
3. Experiment and have fun: Don’t be afraid to explore different LED color combinations or effects. Your PC case can be an ever-evolving masterpiece, allowing you to change the mood or theme with a simple adjustment. Experiment with new settings and let your creativity shine.
4. Maintain and care for your LED lights: To ensure the longevity and performance of your LED lights, it’s important to take proper care of them. Regularly dust the case and gently clean the LED lights with a microfiber cloth. Avoid using harsh chemicals or abrasive materials that could damage the lights.
5. Stay updated with new LED technologies: LED technology is constantly evolving, and new features and advancements are being introduced regularly. Stay informed about the latest trends and updates in LED lighting to keep your PC case at the forefront of customization possibilities.
Remember, the LED color on your PC case is not just an aesthetic enhancement; it’s an expression of your personality and creativity. Enjoy the captivating illumination as it adds a whole new dimension to your computing experience.
So sit back, immerse yourself in the mesmerizing glow, and embrace the joy of your newly changed LED color on your PC case!