Introduction
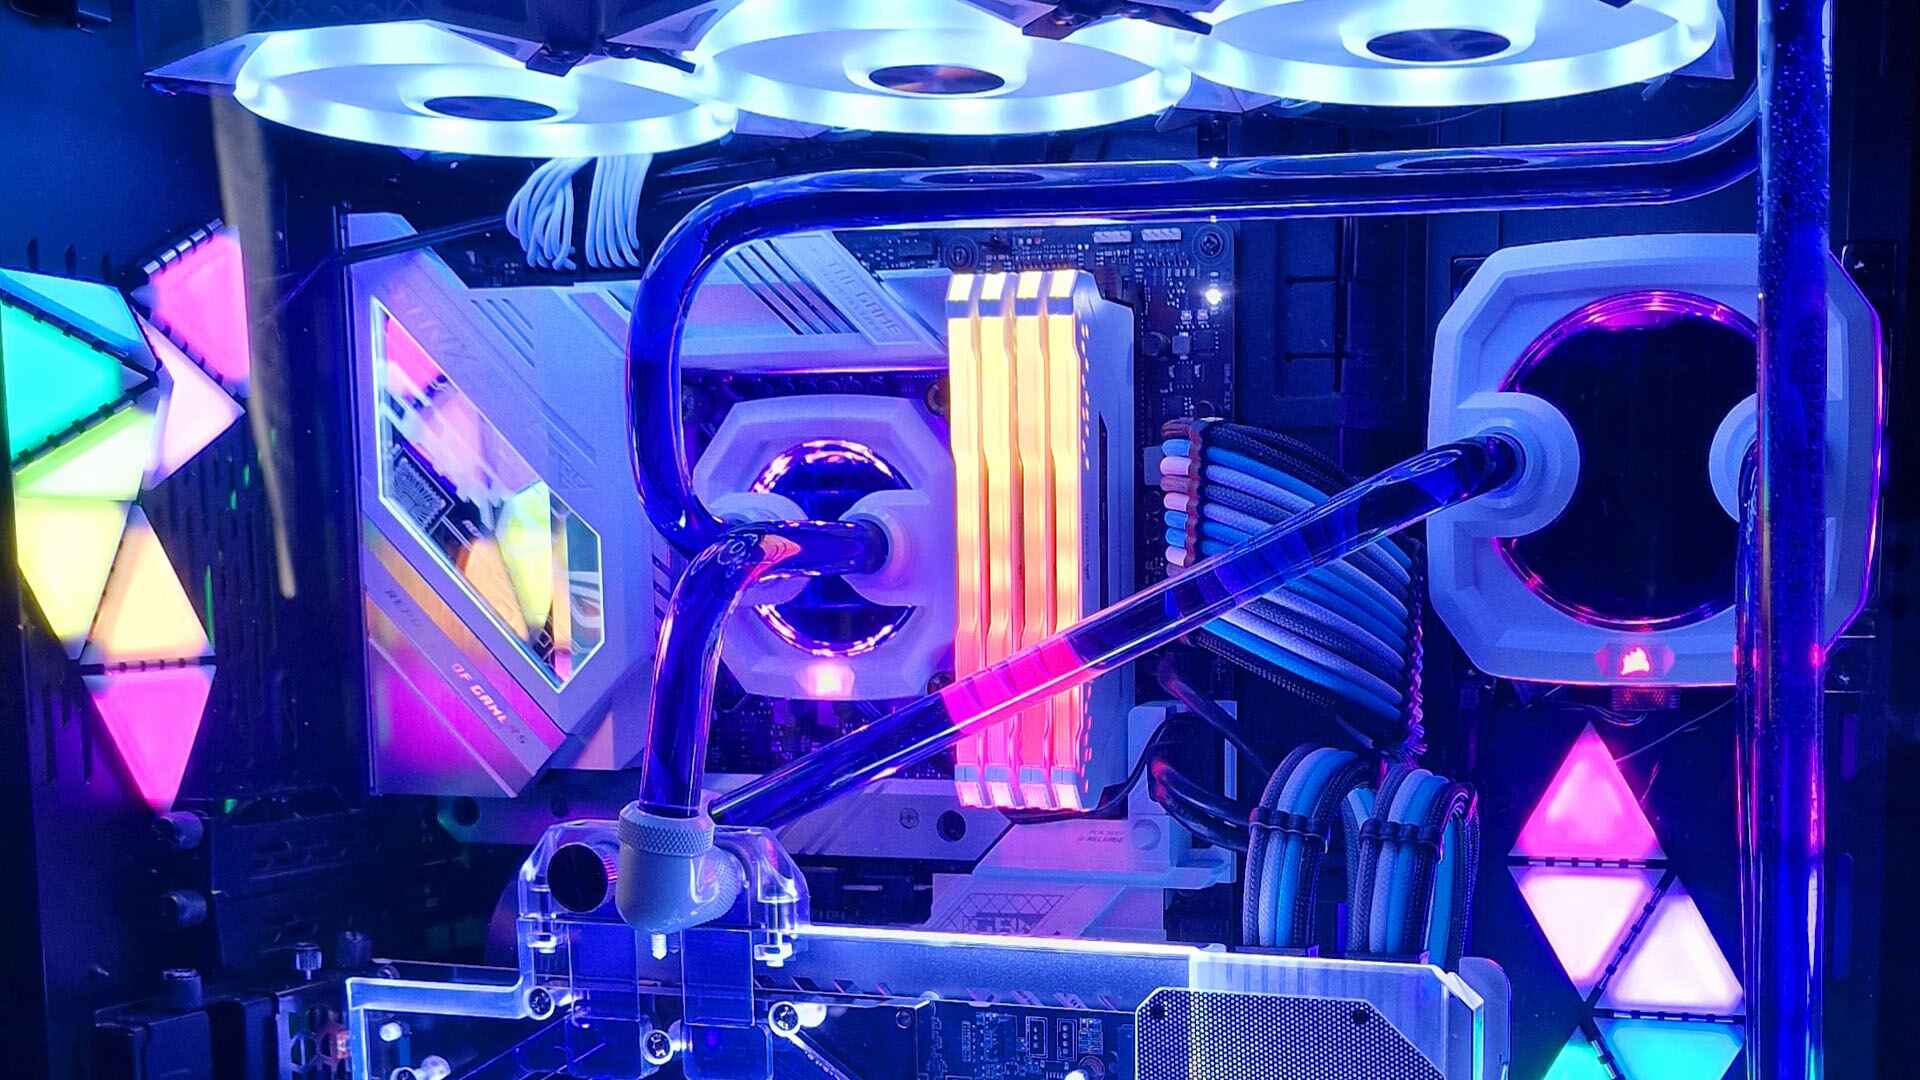
The world of gaming PCs has evolved significantly over the years, not only in terms of performance but also in aesthetics. Building a gaming rig is a chance for enthusiasts to showcase their creativity and personal style. One way to add a touch of uniqueness and visual appeal to your PC is by installing LED lights in the case.
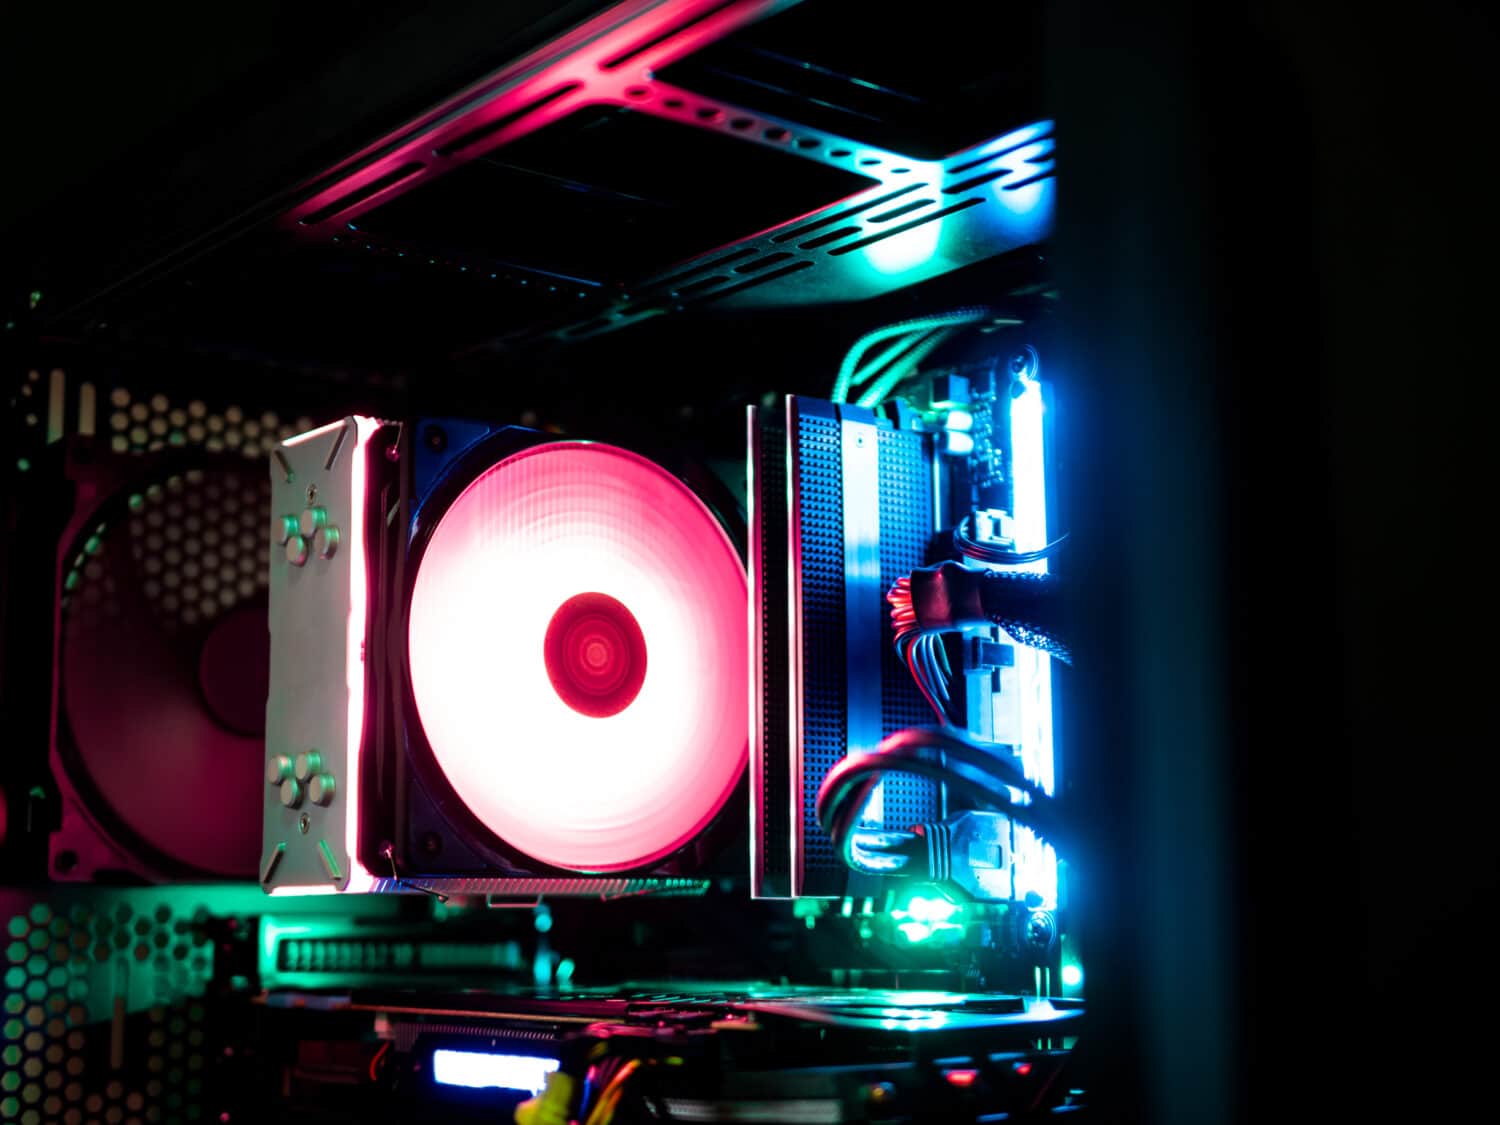
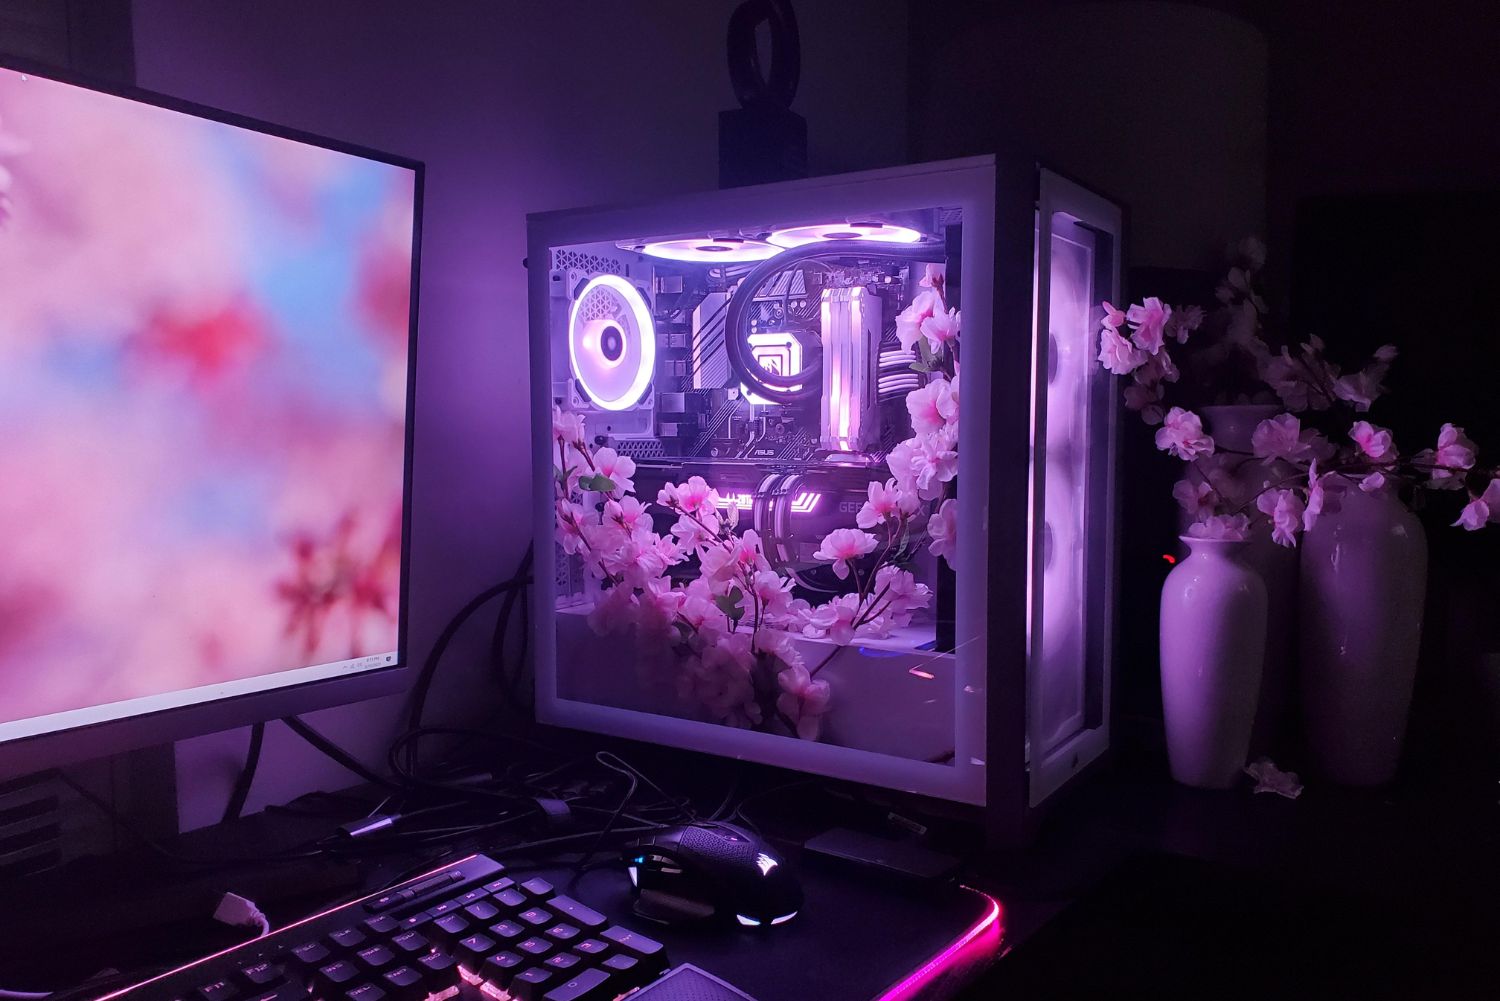
LED lights offer a wide range of colors and lighting effects that can transform your PC into a mesmerizing work of art. Whether you’re a hardcore gamer, a graphic designer, or just someone who appreciates eye-catching visuals, adding LED lights to your PC case can take your computer setup to the next level.
Not only do LED lights provide an aesthetic enhancement, but they also serve a functional purpose. They can illuminate the interior of your PC, making it easier to identify components, check for any issues, and generally improve the overall visibility inside the case.
Furthermore, LED lights can be synchronized with certain software or hardware, allowing you to customize the lighting effects to match your preferences or even sync them with in-game events. This adds a unique and immersive element to your gaming experience, making it all the more exciting and enjoyable.
However, installing LED lights in a PC case requires proper planning and execution to ensure safety and optimal performance. This guide will walk you through the steps involved in adding LED lights to your PC case, providing a detailed overview of the process and the tools required. By following these steps, you can elevate your PC setup and create a visually stunning masterpiece that will leave others in awe.
Why Add LED Lights to Your PC Case?
Adding LED lights to your PC case offers a plethora of benefits that go beyond mere aesthetics. Let’s delve into the reasons why you should consider adding these vibrant lights to your gaming setup.
- Enhanced Visual Appeal: LED lights instantly add a wow factor to your PC case. With their vibrant colors and customizable lighting effects, they can transform your rig from a simple computer to a visually stunning centerpiece. You can choose from a wide range of colors, including single-color LEDs or multi-color RGB LEDs, to complement your setup and create an ambiance that suits your style.
- Improved Gaming Experience: Gaming is not just about the performance but also about immersing yourself in a captivating atmosphere. LED lights can be synchronized with your favorite games, where they respond to in-game events or match the colors of the game’s environment. This synchronization creates a more immersive experience, pulling you deeper into the virtual world.
- Better Component Visibility: Installing LED lights inside your PC case makes it easier to locate and identify components. The illuminated interior allows you to check for any loose connections, dust accumulation, or even admire the beauty of your hardware. This enhanced visibility simplifies maintenance and troubleshooting tasks, ensuring that your PC always runs smoothly.
- Showcase Your Style: Your PC setup is an extension of your personality, and adding LED lights gives you the opportunity to showcase your unique style. Whether you prefer a clean and minimalistic look or a vibrant and flashy setup, LED lights offer endless customization options. You can experiment with different lighting effects, patterns, and colors to create a look that reflects your individuality.
- Professional Look for Content Creation: LED lights can also be beneficial for content creators and streamers. They add a professional touch to your workspace, making it more visually appealing for your audience. Whether you’re streaming, creating YouTube videos, or live streaming on platforms like Twitch, LED lights help create an engaging backdrop that enhances the overall production value.
Overall, adding LED lights to your PC case brings numerous advantages. Not only do they enhance the visual appeal of your setup, but they also elevate your gaming experience, improve component visibility, and reflect your personal style. So, bring your PC to life and immerse yourself in a world of vibrant colors and stunning visuals by installing LED lights in your PC case.
Choosing the Right LED Lights for Your PC Case
When it comes to choosing LED lights for your PC case, there are several factors to consider. The market offers a wide variety of options, each with its own set of features and specifications. Here are some key factors to keep in mind as you make your selection:
- Type of LED Lights: There are two main types of LED lights for PC cases: single-color LED lights and RGB LED lights. Single-color LED lights emit a fixed color, while RGB LED lights allow you to adjust the color output and create stunning lighting effects. Consider your preferences and the overall aesthetic you want to achieve before deciding which type of LED lights to choose.
- Compatibility: Ensure that the LED lights you select are compatible with your PC case and its components. Check the specifications of both the LED lights and your PC case to ensure they are a proper match. Additionally, verify if the LED lights require a specific power connection or controller to operate.
- Length and Flexibility: LED light strips come in various lengths and flexibility options. Measure the inside of your PC case to determine the length of LED light strips you need. Additionally, consider the flexibility of the strips to ensure they can be easily bent and installed in different areas of your case without any restrictions.
- Brightness and Intensity: LED lights come in different brightness and intensity levels. If you want your case to glow with vibrant illumination, opt for LED lights with higher brightness levels. However, ensure that the brightness is adjustable, as excessive brightness can be distracting or overpowering.
- Control and Customization: Look for LED lights that offer control options such as remote control or software-based control. These features allow you to adjust the lighting effects, colors, and patterns easily. Some LED lights also support synchronization with popular software, enabling you to match lighting effects with your favorite games or music.
- Durability and Lifespan: Opt for LED lights that are built to last. Check for materials that resist heat and damage, ensuring longevity and reliable performance. LED lights with a longer lifespan will also save you from the hassle of frequent replacements.
Consider these factors while choosing LED lights for your PC case to ensure you achieve the desired lighting effects and functionality. Take your time to research different options, read reviews, and compare specifications to find LED lights that will bring your PC case to life in the way you envision.
Tools and Materials Needed
Before you start installing LED lights in your PC case, it’s important to gather the necessary tools and materials. Having everything prepared beforehand will ensure a smooth and hassle-free installation process. Here are the tools and materials you’ll need:
Tools:
- Screwdriver: A Phillips or flathead screwdriver, depending on the type of screws used in your PC case.
- Scissors or Wire Cutters: For trimming and cutting LED strips to the desired length.
- Tweezers: Useful for precise placement of LED strips and connectors.
- Tape: Double-sided tape or adhesive tape to secure the LED strips in place if adhesive backing is not provided.
Materials:
- LED Light Strips: Choose LED light strips that fit the size and layout of your PC case. Opt for high-quality strips with adhesive backing for easy installation.
- LED Controller or Hub (if required): Depending on the type of LED lights you choose, you may need a controller or hub to control the lighting effects and colors.
- Power Supply: Ensure you have a power supply that can provide enough wattage to support the LED lights along with your PC’s components.
- Extension Cables: These cables are helpful if the distance between the LED strips and the power source or controller is too long.
- Zip Ties: For cable management and securing wires neatly inside the case.
- Optional Accessories: Additional accessories like diffusers, corner connectors, or mounting brackets for customization and ease of installation.
Having these tools and materials ready will make the installation process efficient and ensure you have everything you need at your fingertips. It’s always a good idea to double-check the compatibility and specifications of the LED lights and other components to avoid any last-minute complications.
Step 1: Preparation
Before you begin installing LED lights in your PC case, it’s important to prepare the area and gather all the necessary components. This step will help ensure a smooth and organized installation process. Follow these steps to prepare for the installation:
- Clean the Case: Start by cleaning your PC case to remove any dust, debris, or loose cables. Use compressed air or a soft cloth to clean the interior and exterior of the case. A clean and well-maintained case will provide a better backdrop for the LED lights.
- Plan the Layout: Take the time to plan the layout of the LED lights inside your PC case. Consider where you want to place the LED light strips and how they will illuminate the components. Take measurements to ensure the LED light strips fit properly and will not interfere with other components.
- Identify Power Source: Determine the power source for your LED lights. Depending on the setup, you may need to connect the LED lights directly to the power supply unit (PSU) or use a separate controller or hub with its own power source. Make sure you know where and how the LED lights will get their power.
- Check Compatibility: Verify that the LED lights and their connectors are compatible with your PC case and components. Ensure that the LED strips are the correct length and that the connectors fit securely. Double-check the compatibility of any additional accessories, such as diffusers or mounting brackets.
- Test Functionality: If your LED lights come with a controller or hub, test its functionality before installation. Ensure that you can adjust the color, brightness, and lighting effects as desired. This will save you time and potential frustration during the installation process.
- Organize Cables: Take a moment to organize and manage the cables inside your PC case. Use zip ties or cable clips to secure and neaten the cables. This will not only provide a clean and clutter-free look but also make it easier to route and connect the LED light strips later on.
By following these preparation steps, you’ll create a solid foundation for the LED light installation process. Organizing cables, planning the layout, and ensuring compatibility will contribute to a smoother installation and, ultimately, a visually stunning PC case with perfectly integrated LED lights.
Step 2: Powering the LED Lights
Now that you have prepared the area and gathered the necessary components, it’s time to power the LED lights in your PC case. Proper power connection is crucial for the functionality and performance of the LED lights. Follow these steps to ensure a secure and reliable power setup:
- Locate the Power Source: Identify the power source for your LED lights. Depending on the type of LEDs and setup, you may have different options. You can connect the LED lights directly to the power supply unit (PSU) using a Molex connector or SATA power connector. Alternatively, you may have a separate controller or hub that requires its own power connection.
- Turn off the PC: Before making any power connections, shut down your PC and turn off the power supply. This is essential to avoid any potential electrical hazards. It’s important to work with the PC in a powered-off state to ensure your safety.
- Connect the LED Power Source: Depending on the power source for your LED lights, make the necessary connections. If connecting to the PSU directly, locate an available Molex or SATA power connector and connect it securely to the LED power cable. If using a separate controller or hub, follow the manufacturer’s instructions for connecting the power source.
- Route the Power Cables: Carefully route the power cables from the LED lights to the power source. Ensure that the cables are neatly organized and secured using zip ties or cable clips. This will help prevent any cable clutter and ensure a clean and professional-looking installation.
- Double-check Connections: Once the power cables are connected, double-check all the connections to ensure they are secure. Loose connections can result in flickering or unreliable operation of the LED lights. Make sure each connection is firmly plugged in and that there are no loose or exposed wires.
- Test the LED Lights: After securing all the connections, power on your PC and test the LED lights. Use the control settings provided by the manufacturer to adjust the brightness, color, and lighting effects. Make sure all the LEDs are functioning properly and producing the desired visual effect.
By properly powering the LED lights, you ensure their functionality and create a reliable and safe setup. Take the necessary precautions, double-check the connections, and test the LED lights to ensure everything is working as intended. With the power properly set up, you’re ready to move on to the next step: installing the LED lights in your PC case.
Step 3: Installing the LED Lights
Now that you have powered the LED lights, it’s time to install them inside your PC case. The placement and installation of the LED lights will depend on your case’s layout and your desired lighting effects. Follow these steps to properly install the LED lights:
- Clean the Installation Area: Before attaching the LED light strips, clean the installation area inside your PC case. Remove any dust or debris to ensure proper adhesion of the LED strips. A clean surface will help the adhesive backing stick more effectively.
- Attach the LED Light Strips: Carefully peel off the adhesive backing from the LED light strips. Starting from one corner or an edge of your PC case, gently press the LED light strip onto the desired location, following the planned layout. Take your time to align the strip evenly and avoid bending or kinking it while attaching it.
- Route the Cables: As you attach the LED light strips, route their cables neatly to avoid any cable tangles or obstructions. Use cable clips or zip ties to secure the cables along the edges or corners of your case. This will help maintain a clean and organized appearance.
- Extend or Connect LED Strips (If Necessary): If the LED light strips are not long enough to reach the desired areas or if you want to connect additional strips, use extension cables or connectors. These accessories provide flexibility and allow you to extend the reach of your LED lights across your case, ensuring complete coverage.
- Tuck the Excess Cabling: If you have excess cabling from the LED lights, neatly tuck it away to avoid any interference with other PC components or fans. Concealing the excess cabling not only improves aesthetics but also ensures better airflow and prevents potential entanglement.
- Secure the LED Strips (If Needed): If the LED light strips do not have sufficient adhesive or if you prefer additional security, use double-sided tape or adhesive tape to further secure the LED strips in place. This will prevent them from peeling off or shifting during regular use.
Take your time during the installation process to ensure that the LED light strips are correctly positioned and attached securely. Carefully route the cables and conceal any excess wiring to maintain a clean and organized appearance. With the LED lights properly installed, you’re one step closer to achieving a vibrant and visually stunning PC case.
Step 4: Cable Management
Proper cable management is essential to maintain a clean and organized appearance inside your PC case. It not only improves the overall aesthetics but also ensures better airflow and reduces the risk of cable interference with other components. Follow these steps to effectively manage the cables in your PC case:
- Identify Cable Routes: Take a moment to identify the optimal routes for each cable. Consider the position of your components, such as the power supply, motherboard, and storage devices. Plan the paths that allow for the shortest and most direct cable runs.
- Use Cable Ties or Velcro Straps: Securely bundle and tie cables together using cable ties or Velcro straps. Grouping cables that belong together will make it easier to manage and prevent them from becoming tangled or obstructing airflow. Ensure that the cables are not pulled too tightly, as this can strain the connectors or cause damage.
- Route Cables Along the Edges: Whenever possible, route cables along the edges or behind the motherboard tray. This will keep them out of sight and prevent them from obstructing the components or impeding the flow of air. Some PC cases also come with dedicated cable management channels or grommets, which provide convenient pathways for cable routing.
- Elevate Cables Using Clips or Straps: Utilize cable clips, straps, or adhesive hooks to elevate cables and keep them neatly positioned. This can help prevent them from sagging or impeding the airflow. Adhering the clips or hooks to the sidewalls or case frame can create a cleaner and more organized appearance.
- Ensure Adequate Space: Leave enough space for cables to move or bend naturally. Avoid cramming cables into tight spaces, as this can increase the risk of damage or disconnection. If necessary, use case accessories such as rubber grommets or cable routing holes to guide the cables and create a cleaner look.
- Consider Cable Extensions: In cases where the stock cables are too short or bulky, consider using cable extensions. These extensions provide additional length and flexibility to route the cables more efficiently. They also come in various colors, allowing you to customize the look of your cables.
By following these cable management practices, you can achieve a tidy and well-organized PC case. Not only will this enhance the overall aesthetics of your setup, but it will also improve the airflow within the case, leading to better cooling performance and reduced risk of cable-related issues. Take the time to carefully manage and route the cables to create a clean and professional-looking PC case.
Step 5: Testing the LED Lights
After installing the LED lights in your PC case and managing the cables, it’s crucial to test their functionality. Testing ensures that the LED lights are working correctly and producing the desired lighting effects. Follow these steps to effectively test the LED lights:
- Power On Your PC: Start by powering on your PC and turning on the power supply unit. Allow the PC to fully boot up so that the LED lights can receive power.
- Check the LED Connections: Examine the connections of the LED light strips and ensure that they are securely plugged in. Make sure there are no loose connectors or exposed wires that could pose a safety hazard or cause faulty operation.
- Access the LED Control: If your LED lights come with a controller or hub, access the control interface or software. Familiarize yourself with the control options and features available. This may include adjusting brightness, changing colors, and selecting different lighting effects.
- Adjust the Lighting Effects: Experiment with different lighting effects to find the desired look for your PC case. Try out various colors, patterns, and transitions to see how they appear within your case. Take the time to understand how the controls work to create the perfect lighting ambiance.
- Check for Consistent Illumination: Ensure that the LED lights provide consistent illumination across the entire case. Verify that there are no dark spots or areas where the lighting is inconsistent. If you notice any issues, reposition the LED light strips or consider adding additional LED strips for better coverage.
- Test Synchronization (If Applicable): If your LED lights support synchronization with software or other hardware devices, test this functionality. Sync the lighting effects with music, games, or other compatible devices to create a more immersive experience. Verify that the synchronization is working properly and producing the desired results.
- Reposition or Fine-tune as Needed: During the testing phase, if you find any areas that require adjustment or fine-tuning, take the necessary steps to address them. This may involve repositioning LED light strips, tweaking cable management, or making changes to the control settings.
By testing the LED lights, you can ensure that they are functioning correctly and producing the desired lighting effects. Take the time to explore the different controls and options available to create a visually stunning and personalized setup. With proper testing, your PC case will come to life with vibrant and breathtaking lighting.
Step 6: Final Touches and Customization Options
Once you have tested the LED lights and ensured they are functioning correctly, it’s time to apply the final touches and explore additional customization options for your PC case. These final touches will help you fine-tune the appearance and create a truly unique setup. Consider the following steps to put the finishing touches on your LED lighting installation:
- Refine Cable Management: Take a final look at your cable management and make any necessary adjustments. Ensure that all cables are neatly organized, tucked away, and not obstructing any components or airflow. This will further enhance the overall aesthetic appeal of your PC case.
- Consider Custom LED Covers or Diffusers: To add more visual interest and creativity to your PC case, explore options for custom LED covers or diffusers. These accessories can help to soften the lighting effects, create unique patterns, or add your own personal touch. Look for options that are compatible with your LED light strips and install them according to the manufacturer’s instructions.
- Explore Lighting Synchronization: If you haven’t already done so, consider synchronization options for your LED lights. Many LED controllers or software offer synchronization with popular games, music, or other devices. Experiment with different synchronization modes to enhance the immersive experience and synchronize the lighting effects with the content you’re enjoying.
- Monitor and Adjust Temperature: Keep an eye on the temperature inside your PC case, especially if you have added LED lights that generate additional heat. Ensure that the overall temperature remains within safe limits by monitoring your PC’s temperature sensors and adjusting fan speeds or adding additional cooling solutions if necessary.
- Personalize with Accessories: Consider adding personal touches to further customize your PC case. This can include adding decals, custom stickers, or even custom-designed backplates. These accessories can complement the LED lighting and showcase your unique style and personality.
- Regular Maintenance: Once your LED lights are installed and customized, make sure to perform regular maintenance. This includes dusting your PC case, checking for any loose connections, and ensuring that the LED lights are clean and functioning optimally. Regular maintenance will keep your PC case looking its best and prolong the life of your LED lights.
By applying these final touches and exploring customization options, you can make your LED lighting installation truly one-of-a-kind. Personalize your setup with unique accessories, synchronize your lights with your favorite content, and keep up with maintenance to ensure the longevity and optimal performance of your LED lights. With these final touches, your PC case will be a visually stunning masterpiece that reflects your style and creativity.
Conclusion
Adding LED lights to your PC case is a fantastic way to enhance its visual appeal and create a customized and captivating setup. The vibrant colors, adjustable lighting effects, and synchronization capabilities of LED lights can transform your PC into a stunning centerpiece that showcases your style and creativity.
Throughout this guide, we have covered the essential steps to successfully install LED lights in your PC case. From choosing the right LED lights and gathering the necessary tools and materials to powering the lights, managing cables, and testing the functionality, each step plays a crucial role in achieving a professional and visually appealing result.
Remember to prioritize safety by working on your PC in a powered-off state and ensuring secure connections. Take the time to plan the layout and route the cables properly to optimize airflow and minimize visual clutter. By paying attention to these details, you can create a clean and organized installation that not only looks great but also improves the overall performance and longevity of your PC.
Furthermore, customization options and final touches allow you to bring your vision to life. Explore additional accessories, such as custom LED covers or diffusers, and experiment with synchronization options to create a unique and immersive experience. Regular maintenance ensures that your LED lights continue to shine brightly for years to come.
Installing LED lights in your PC case is a rewarding process that allows you to express your personal style and elevate your gaming or workspace setup. Enjoy the mesmerizing illumination, the synchronization with your favorite content, and the enhanced visibility of your PC components. Let your creativity shine and create a visually stunning masterpiece that will truly impress.


