Introduction
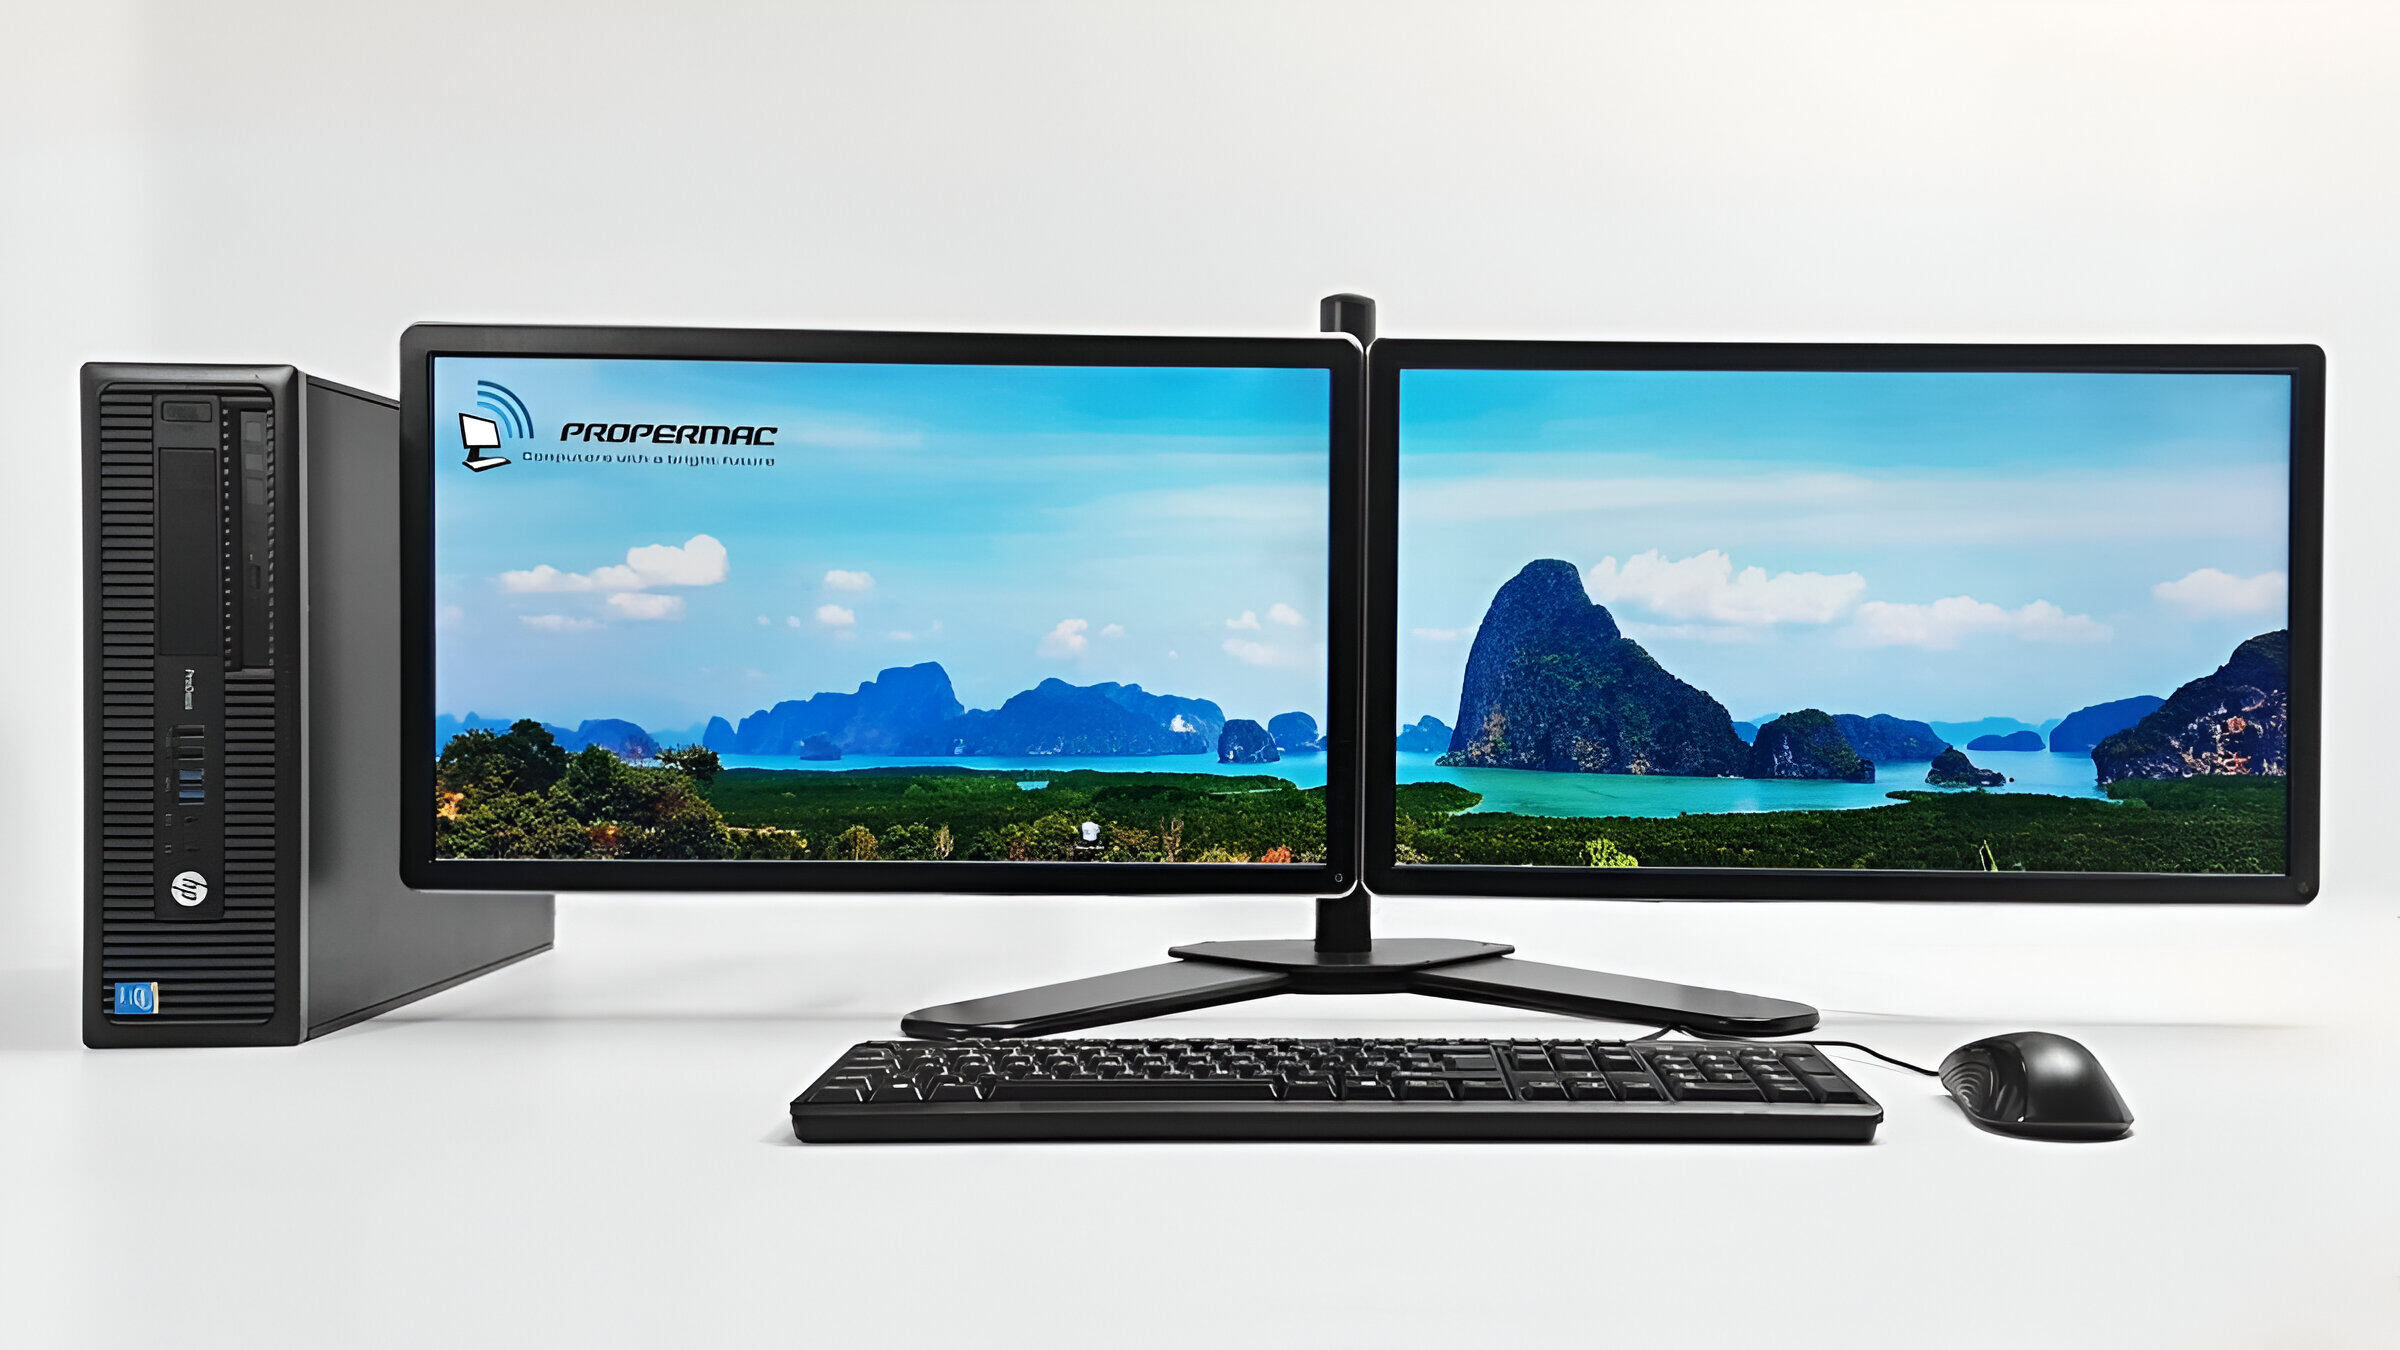
Welcome to this article on how to connect two monitors to a PC! With the increasing demand for multitasking and productivity, having dual monitors can greatly enhance your work or gaming experience. Whether you’re a professional who needs multiple screens for simultaneous tasks or a gaming enthusiast looking to level up your gaming setup, connecting two monitors to your PC is easier than you might think.
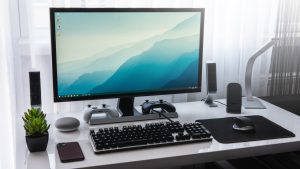
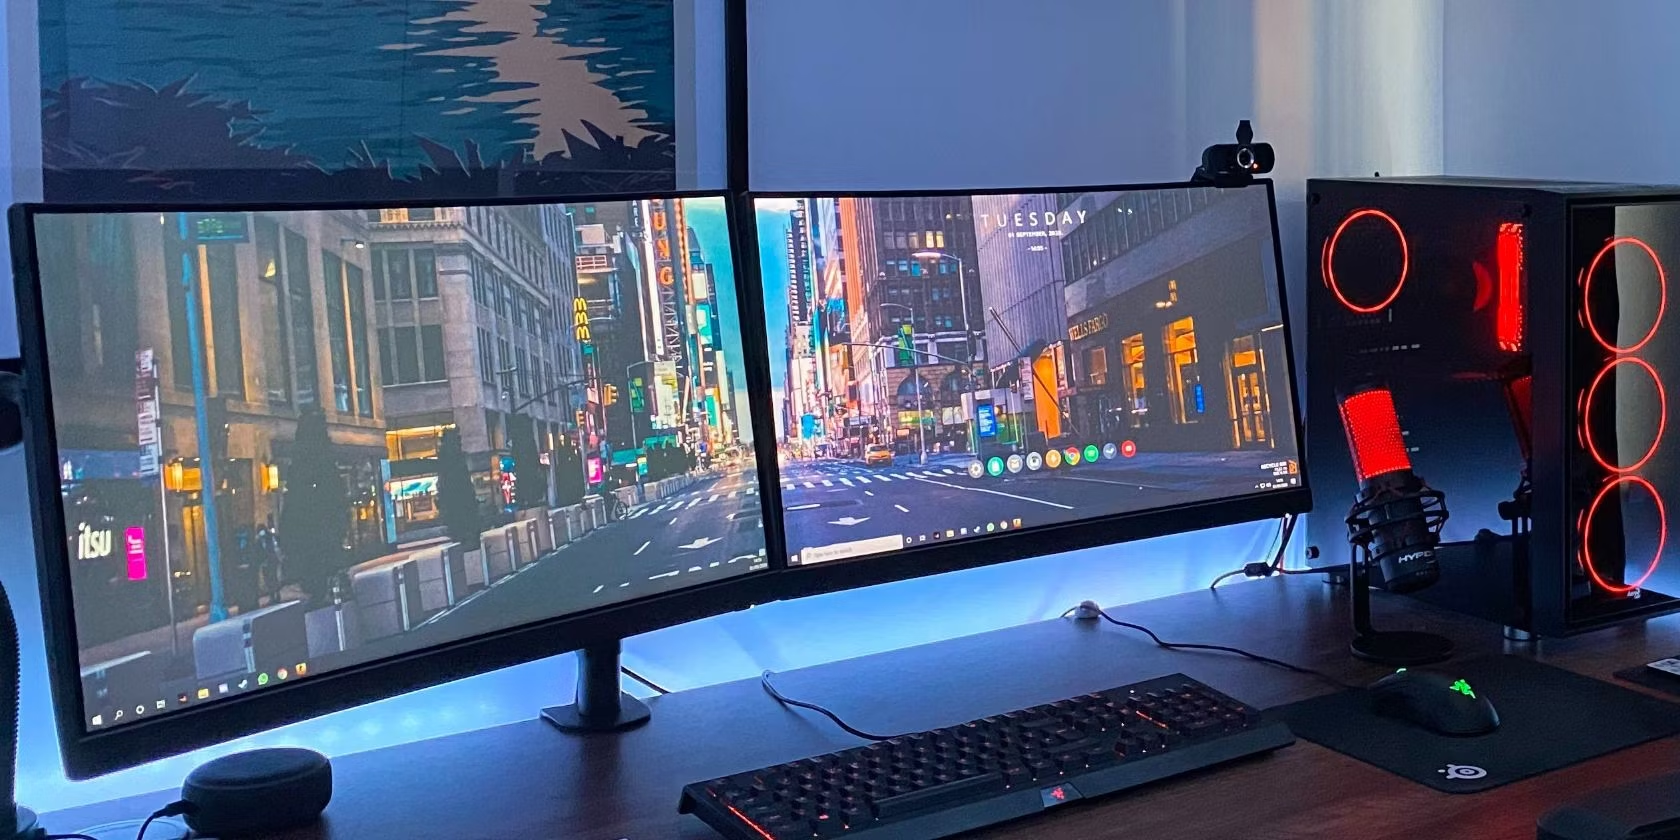
Having dual monitors provides several advantages, such as increased screen real estate, improved multitasking capabilities, and enhanced visual experience. You can have different applications and windows open on each monitor, allowing you to work more efficiently and seamlessly switch between tasks.
Before we dive into the details of how to connect two monitors to your PC, it’s important to note that the process may vary slightly depending on the specific hardware and operating system you are using. However, the basic steps and principles remain the same.
In this article, we will guide you through the process step by step, from selecting the right cables and ports to adjusting the display settings. We will also address common issues and troubleshooting tips to ensure a smooth setup. So, let’s get started!
Choosing the Right Cables and Ports
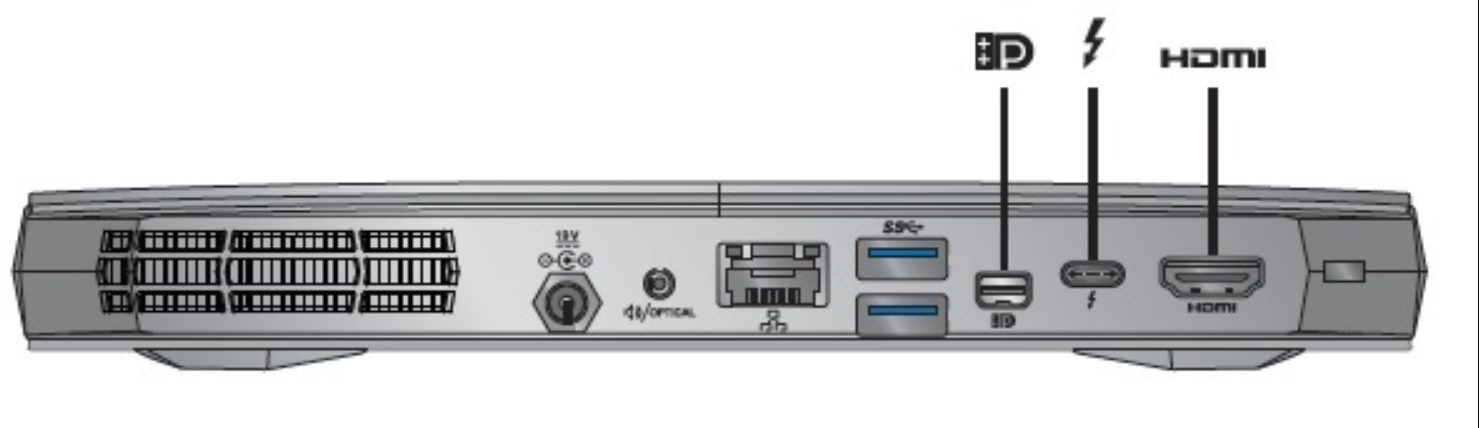
Before connecting your monitors, it’s crucial to determine the types of ports and cables your PC and monitors support. The most common ports used for connecting monitors are HDMI, DisplayPort, and DVI.
First, check the ports available on your PC. Look for HDMI, DisplayPort, or DVI ports. If you have multiple ports of the same type, it’s ideal to use different ports for each monitor.
Next, check the ports on your monitors. Ensure that your monitors have compatible ports with your PC. If not, you may need to purchase adapters or converters to connect them properly.
If your PC and monitors support HDMI ports, you can use HDMI cables to connect them. HDMI cables provide high-definition audio and video signals. They are widely available and offer easy plug-and-play connectivity.
If your PC and monitors support DisplayPort, it’s recommended to use DisplayPort cables. DisplayPort cables provide excellent video quality and support higher resolutions and refresh rates compared to HDMI cables.
If your PC or monitors only have DVI ports, use DVI cables for the connection. DVI cables transmit digital video signals and are suitable for lower resolution monitors.
It’s important to ensure that the length of the cables is sufficient to reach your monitors. Measure the distance between your PC and the monitors to determine the cable length needed.
Additionally, consider the refresh rates and resolutions supported by your PC and monitors. Higher refresh rates and resolutions require cables and ports that can handle the increased data transfer. Be sure to choose cables and ports that are capable of supporting your desired display settings.
Choosing the right cables and ports is essential for a successful dual monitor setup. Once you have determined the appropriate cables and ports, you can proceed with connecting your monitors.
Setting Up the Display Settings
Once you have connected both monitors to your PC using the appropriate cables and ports, it’s time to configure the display settings. The steps may slightly vary depending on your operating system, but we will provide a general guideline to help you get started.
In Windows, right-click on the desktop and select “Display settings” from the context menu. This will open the display settings window where you can manage and configure your monitors.
On macOS, go to the Apple menu and select “System Preferences,” then click on “Displays.” This will open the display settings where you can customize your setup.
In the display settings window, you will see a graphical representation of your monitors. They may appear side by side or stacked, depending on their physical placement. From here, you can adjust various settings, such as the display order, resolution, orientation, and scaling.
To arrange the monitors, click and drag them in the display settings window to match their physical arrangement on your desk. This way, moving the mouse between the monitors will feel more natural.
To set a primary monitor, simply click on the monitor you want to designate as the primary display and check the box that says “Make this my main display.” The primary monitor will be the default screen for launching applications and displaying the taskbar.
To adjust the resolution, select the monitor, and choose the desired resolution from the drop-down menu. It’s recommended to set the same resolution for both monitors to ensure a consistent viewing experience.
If you prefer one monitor to be in portrait mode, you can change the orientation settings accordingly. This is useful if you work with documents or websites that benefit from a vertically oriented screen.
Scaling allows you to adjust the size of text, apps, and other items to make them more legible on high-resolution displays. Experiment with different scaling settings to find what works best for you.
After making the necessary adjustments, click “Apply” or “OK” to save the changes. The display settings may briefly flicker as the changes take effect.
Now that you have set up the display settings, you can enjoy the extended workspace and enhanced productivity that dual monitors offer.
Connecting the First Monitor
Now that you have determined the appropriate cables and ports and configured the display settings, it’s time to connect your first monitor. Follow these steps to ensure a successful connection:
- Turn off both your PC and your monitor before making any connections.
- Locate the cable that matches the ports on your PC and your first monitor.
- Connect one end of the cable to the corresponding port on your PC.
- Take the other end of the cable and plug it into the matching port on your first monitor.
- Ensure that the cable is securely connected on both ends.
- Power on your PC and your first monitor.
- Wait for your operating system to recognize the new monitor.
- If the monitor does not display any content, press the input/source button on the monitor or use the monitor control panel to switch to the correct input source.
Once your PC and first monitor are connected, you should see the display on your primary monitor. If the resolution or other display settings need adjustment, refer back to the previous section on setting up the display settings.
At this point, you have successfully connected the first monitor to your PC. Continue to the next section to connect the second monitor.
Connecting the Second Monitor
After successfully connecting your first monitor, it’s time to connect the second monitor to your PC. Follow these steps to ensure a seamless connection:
- Turn off both your PC and your first monitor.
- Locate the cable that matches the ports on your PC and your second monitor.
- Connect one end of the cable to the corresponding port on your PC.
- Connect the other end of the cable to the matching port on your second monitor.
- Double-check that the cable is securely connected on both ends.
- Power on your PC and both monitors.
- Wait for your operating system to recognize the new monitor.
- Similar to the first monitor, if the second monitor does not display any content, press the input/source button on the monitor or use the monitor control panel to switch to the correct input source.
After connecting the second monitor and powering on all devices, you should see the display on both monitors. If the monitors are not displaying correctly or if there are scaling or resolution issues, refer back to the section on setting up the display settings to make the necessary adjustments.
Once both monitors are connected and displaying properly, you can take full advantage of the extended screen real estate, allowing you to multitask and increase your productivity.
Remember to position the monitors in a way that suits your ergonomic needs and preferences. You can go back to the display settings and adjust the positioning or orientation of the monitors if necessary.
Congratulations! You have successfully connected the second monitor to your PC, creating a dual monitor setup that enhances your computing experience.
Adjusting the Display Settings
After connecting both monitors to your PC and ensuring they are displaying content correctly, you may want to fine-tune the display settings to optimize your dual monitor setup. Here are some adjustments you can make:
1. Alignment: Open the display settings on your operating system and check the position of each monitor. Make sure they are aligned correctly on the virtual desktop. You can click and drag the monitors in the settings window to match their physical placement on your desk.
2. Resolution and Orientation: Adjust the resolution and orientation settings for each monitor individually. Depending on your preferences and the specific tasks you perform, you may want a different resolution or orientation for each monitor. Experiment with different settings to find what works best for you.
3. Monitor Arrangement: If your monitors have different sizes or resolutions, you may need to adjust the monitor arrangement. In the display settings, you can move the monitors around to reflect their physical positioning, ensuring that moving the mouse across screens feels natural.
4. Extended Desktop: Set up the extended desktop feature to take advantage of the additional screen real estate. This allows you to drag and open windows across both monitors, effectively giving you more workspace. You can choose to extend the desktop horizontally or vertically, depending on how you have physically positioned the monitors.
5. Scaling: If you find that the text or icons on one monitor are too small or too large compared to the other, you can adjust the scaling settings. This allows you to balance the size of elements across monitors for a more uniform visual experience.
6. Taskbar Placement: In most operating systems, you have the option to choose which monitor displays the taskbar. By setting the primary monitor to display the taskbar, you can easily access your favorite applications and navigate between open windows.
7. Color Calibration: If the colors on one monitor appear different from the other, you can use the color calibration tool to adjust the color settings. This ensures that both monitors display accurate and consistent colors.
Remember to save the changes you make in the display settings to apply them. You may need to restart your PC or log out and log back in for the changes to take effect.
By adjusting the display settings to suit your preferences and needs, you can maximize the productivity and visual experience of your dual monitor setup.
Troubleshooting Common Issues
While setting up a dual monitor configuration is generally straightforward, you may encounter some common issues along the way. Here are a few troubleshooting tips to help you address these issues:
1. No Display: If neither monitor displays any content after connecting them to your PC, double-check the cable connections and ensure they are securely plugged into the correct ports. Also, verify that the monitors are powered on. If the issue persists, try using different cables or ports to rule out any potential hardware problems.
2. Blank or Flickering Screen: If one or both monitors display a blank screen or constantly flicker, update your graphics drivers. Outdated or incompatible drivers can cause display issues. Visit the manufacturer’s website to download and install the latest drivers for your graphics card.
3. Resolution Issues: If the resolution is incorrect on one or both monitors, check the display settings and ensure that the resolution is set to the native or recommended resolution for each monitor. If the desired resolution is not available, it may indicate a compatibility issue between the GPU, monitor, and cable. Try using different cables or consult the monitor manufacturer’s documentation for supported resolutions.
4. Misaligned or Overlapping Screens: If the monitors appear misaligned or if the content seems to be overlapping on the extended desktop, go to the display settings and adjust the monitor positions. Drag and drop the monitors to align them correctly and ensure that there is no overlap. You can also adjust the monitor arrangement to match their physical positioning on your desk.
5. One Monitor Not Detected: If only one monitor is detected by your PC, make sure the cable connections are secure and try unplugging and reconnecting the cable. Test the monitor on another device if possible to ensure it is functioning properly. If the issue persists, there may be a hardware problem with the monitor or the GPU, and you may need to seek technical support or replace the faulty component.
6. Inconsistent Colors or Contrast: If the colors or contrast appear different between the two monitors, check the color calibration settings in the display settings. Adjust the color temperature, gamma, and brightness settings to make the colors more consistent. Additionally, ensure that the monitors are set to the same color profile, if available.
If you continue to experience difficulties with your dual monitor setup, consult the user manual or online support resources for your specific hardware or reach out to the manufacturer’s technical support for further assistance. Additionally, community forums and online discussion boards can sometimes provide helpful solutions to common dual monitor issues.
By troubleshooting these common issues, you can overcome obstacles and fully enjoy the benefits of a dual-monitor setup.
Conclusion
Setting up and connecting two monitors to your PC can greatly enhance your productivity, multitasking capabilities, and overall computing experience. By following the steps outlined in this article, you can successfully connect and configure dual monitors in a way that suits your needs and preferences.
Choosing the right cables and ports is crucial for a seamless connection, ensuring compatibility between your PC and monitors. Setting up the display settings allows you to arrange the monitors, adjust the resolution, orientation, and scaling, and create an extended desktop environment.
If you encounter any issues along the way, troubleshooting tips, such as checking cable connections, updating drivers, and adjusting monitor positions, can help resolve common problems. Remember, it’s important to consult the documentation of your specific hardware and reach out to the manufacturer’s support if needed.
With a properly configured dual monitor setup, you can enjoy increased screen real estate, improved multitasking capabilities, and a more immersive visual experience for work or gaming purposes.
Now that you have the knowledge and guidance to connect two monitors to your PC, it’s time to unleash the power of dual monitors and take your productivity and enjoyment to the next level!