Introduction
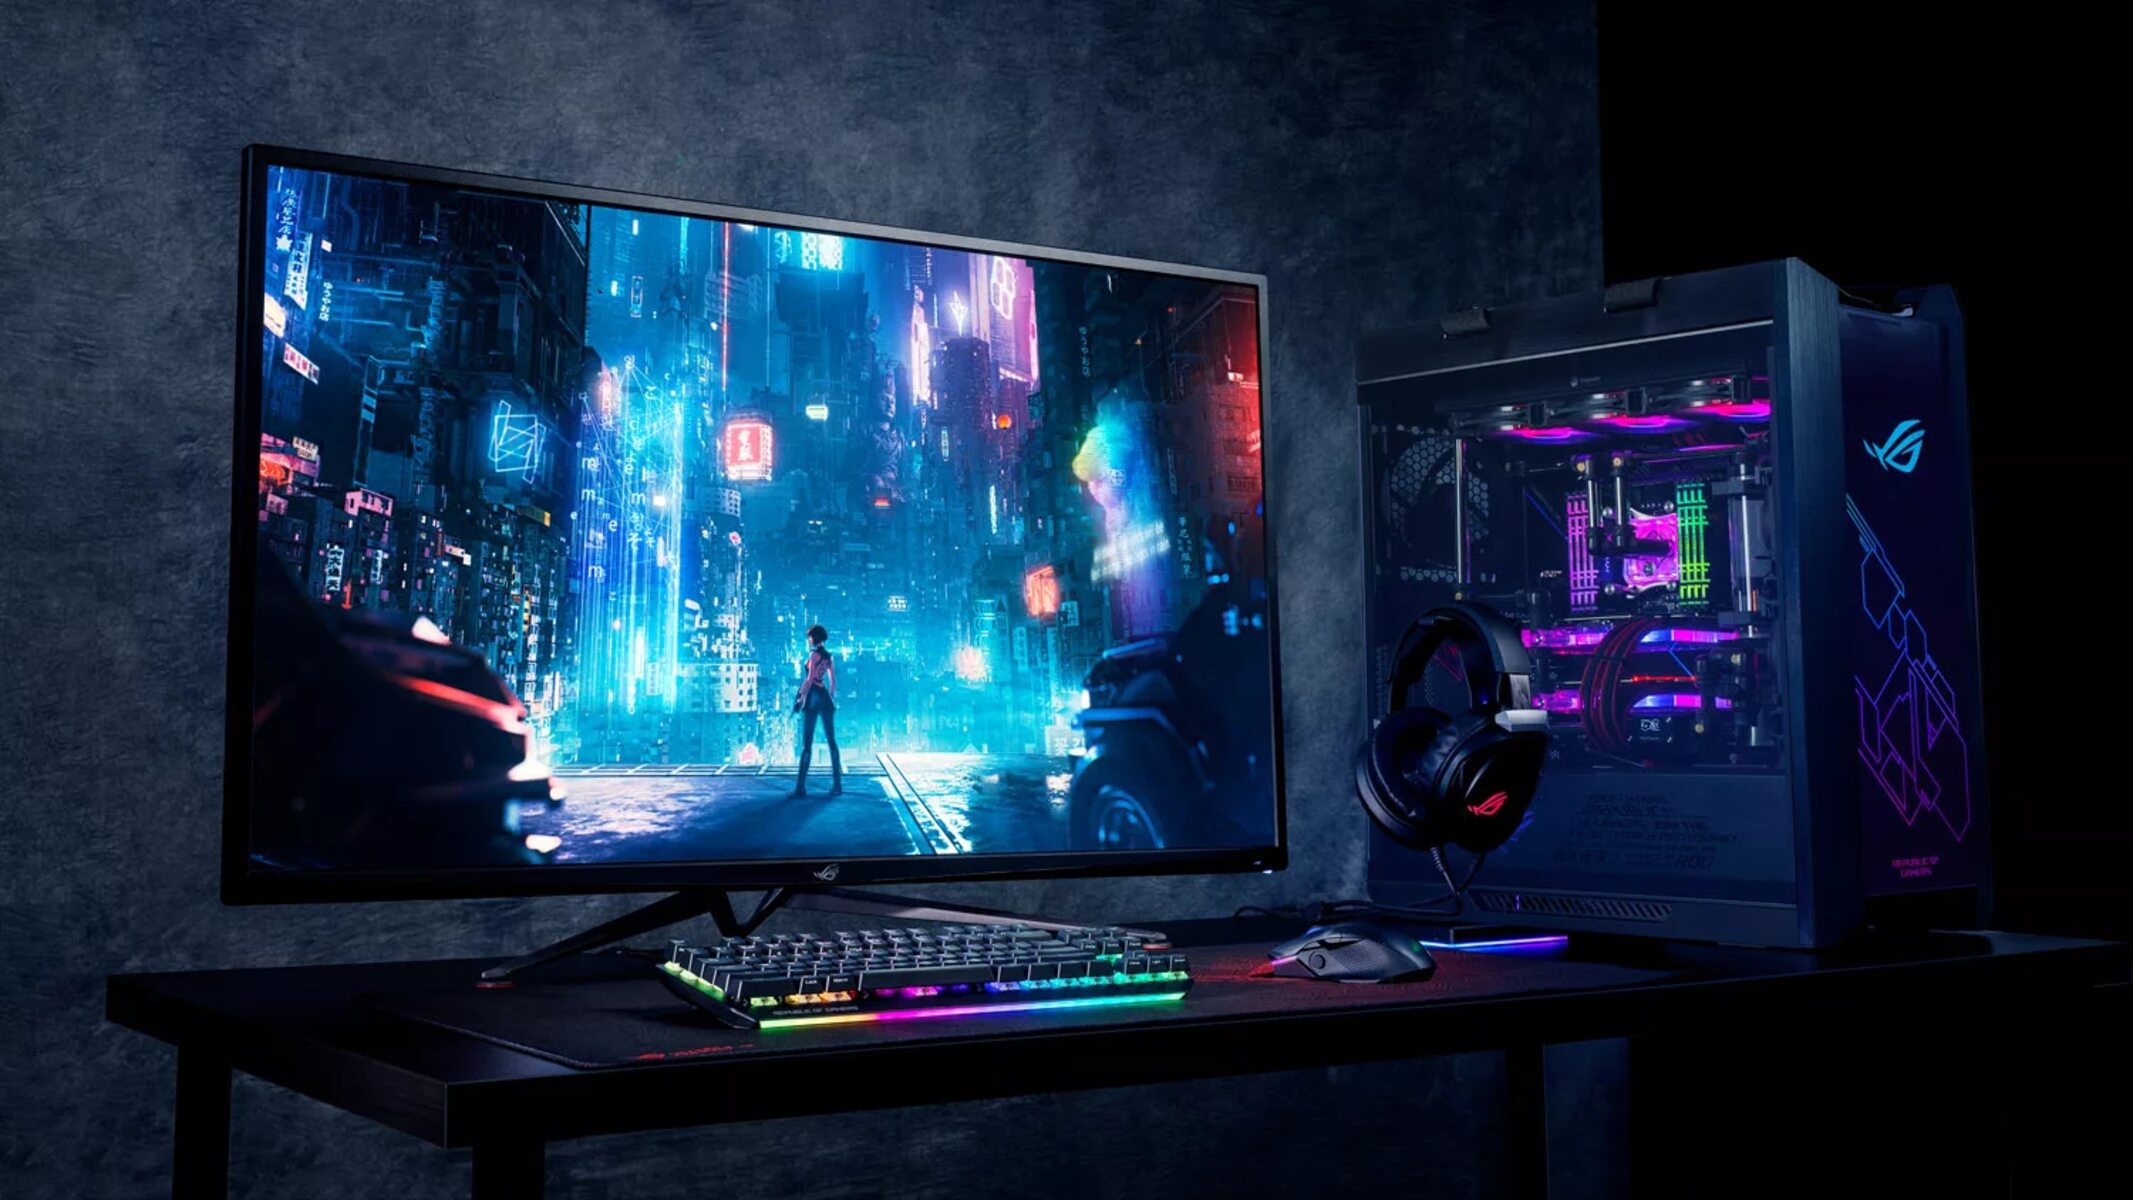
Welcome to this guide on how to turn on your ASUS monitor. Whether you are setting up a new monitor or facing difficulties in powering it on, this article is here to help. ASUS monitors are known for their high-quality displays and advanced features, making them popular among gamers, designers, and everyday users alike. Turning on your ASUS monitor is a simple process that can bring your computer setup to life.
Before we dive into the steps, it’s important to note that different ASUS monitor models may have slight variations in their power buttons and menu options. However, the general procedure remains the same, and we will outline the fundamental steps that apply to most ASUS monitors.
In this comprehensive guide, we will take you through the necessary steps to turn on your ASUS monitor and address any common issues you may encounter along the way. So, let’s get started on ensuring that your monitor is set up properly and ready for use.
Step 1: Check the connections
Before attempting to turn on your ASUS monitor, it’s crucial to check if all connections are securely in place. Loose or faulty connections may prevent your monitor from powering on, so make sure to follow these steps:
- First, check the power cable connection at both ends. Ensure that the power cable is firmly plugged into the back of the monitor and the wall socket or surge protector. If using a surge protector, confirm that it is switched on.
- Next, inspect the video cable connection. Depending on your ASUS monitor model, you might be using an HDMI, DVI, or DisplayPort cable. Verify that the video cable is securely connected to both the monitor and the computer’s video output port.
- If you are using multiple monitors, confirm that the cables connecting them are properly connected to each monitor and the computer.
- Check for any damaged or frayed cables. If you notice any signs of damage, replace the cables as necessary.
- For certain ASUS monitors, especially those with built-in speakers, check the audio cable connection if applicable to ensure it is properly connected to the audio output on your computer.
Once you have gone through these steps and verified that all connections are secure, you can proceed to the next step of turning on your ASUS monitor.
Step 2: Power on the monitor
Now that you have checked and ensured that all the connections are properly in place, it’s time to power on your ASUS monitor. Follow these simple steps:
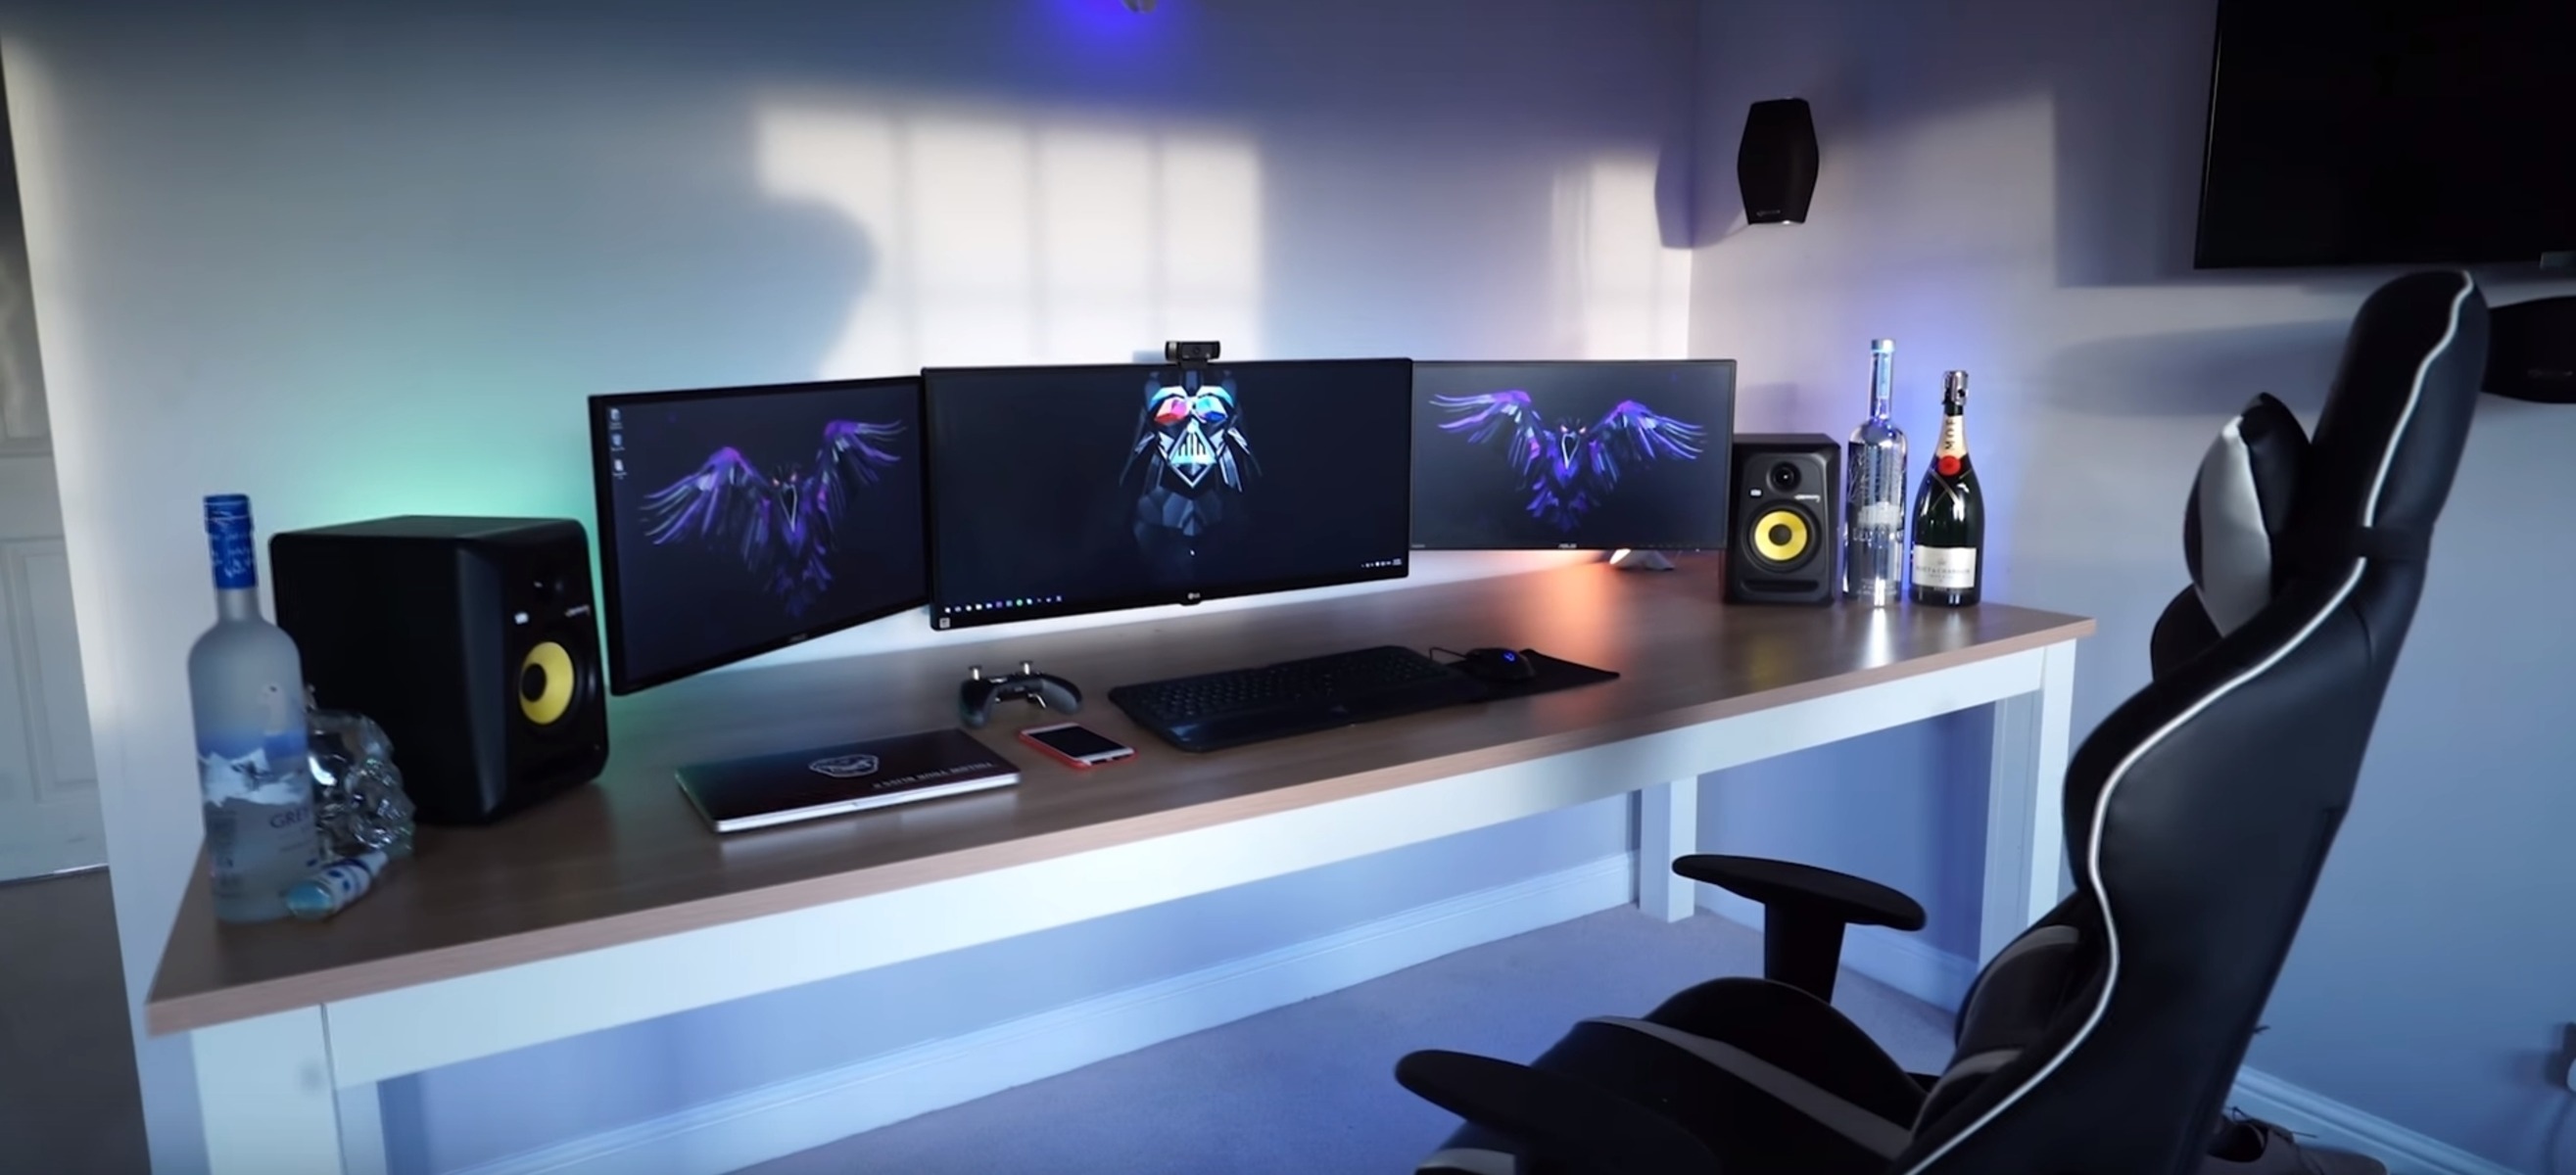
- Locate the power button on your ASUS monitor. The power button is often located at the front or side of the monitor.
- Press the power button once to turn on the monitor. If the monitor has a standby mode, you might need to press the power button twice – once to wake it from standby and another to turn it on completely.
- Observe the power LED indicator on the monitor. It should light up, indicating that the monitor is receiving power.
- Wait for a few seconds while your ASUS monitor boots up. You should see the screen come to life as it displays the ASUS logo or any other initial startup screen.
Depending on the model and settings of your ASUS monitor, you may also have additional options such as power saving mode, eco mode, or game mode. These options can be accessed through the monitor’s menu using the navigation buttons or touchscreen interface, if available.
If you encounter any issues during the power-on process, refer back to Step 1 to double-check all connections. If the problem persists, move on to the next step to troubleshoot common issues that may prevent your ASUS monitor from turning on.
Step 3: Adjust the display settings
Once your ASUS monitor has powered on successfully, it’s time to adjust the display settings to ensure optimal visual performance. These settings can be customized according to your preferences and the specific requirements of your tasks. Follow these steps to adjust the display settings:
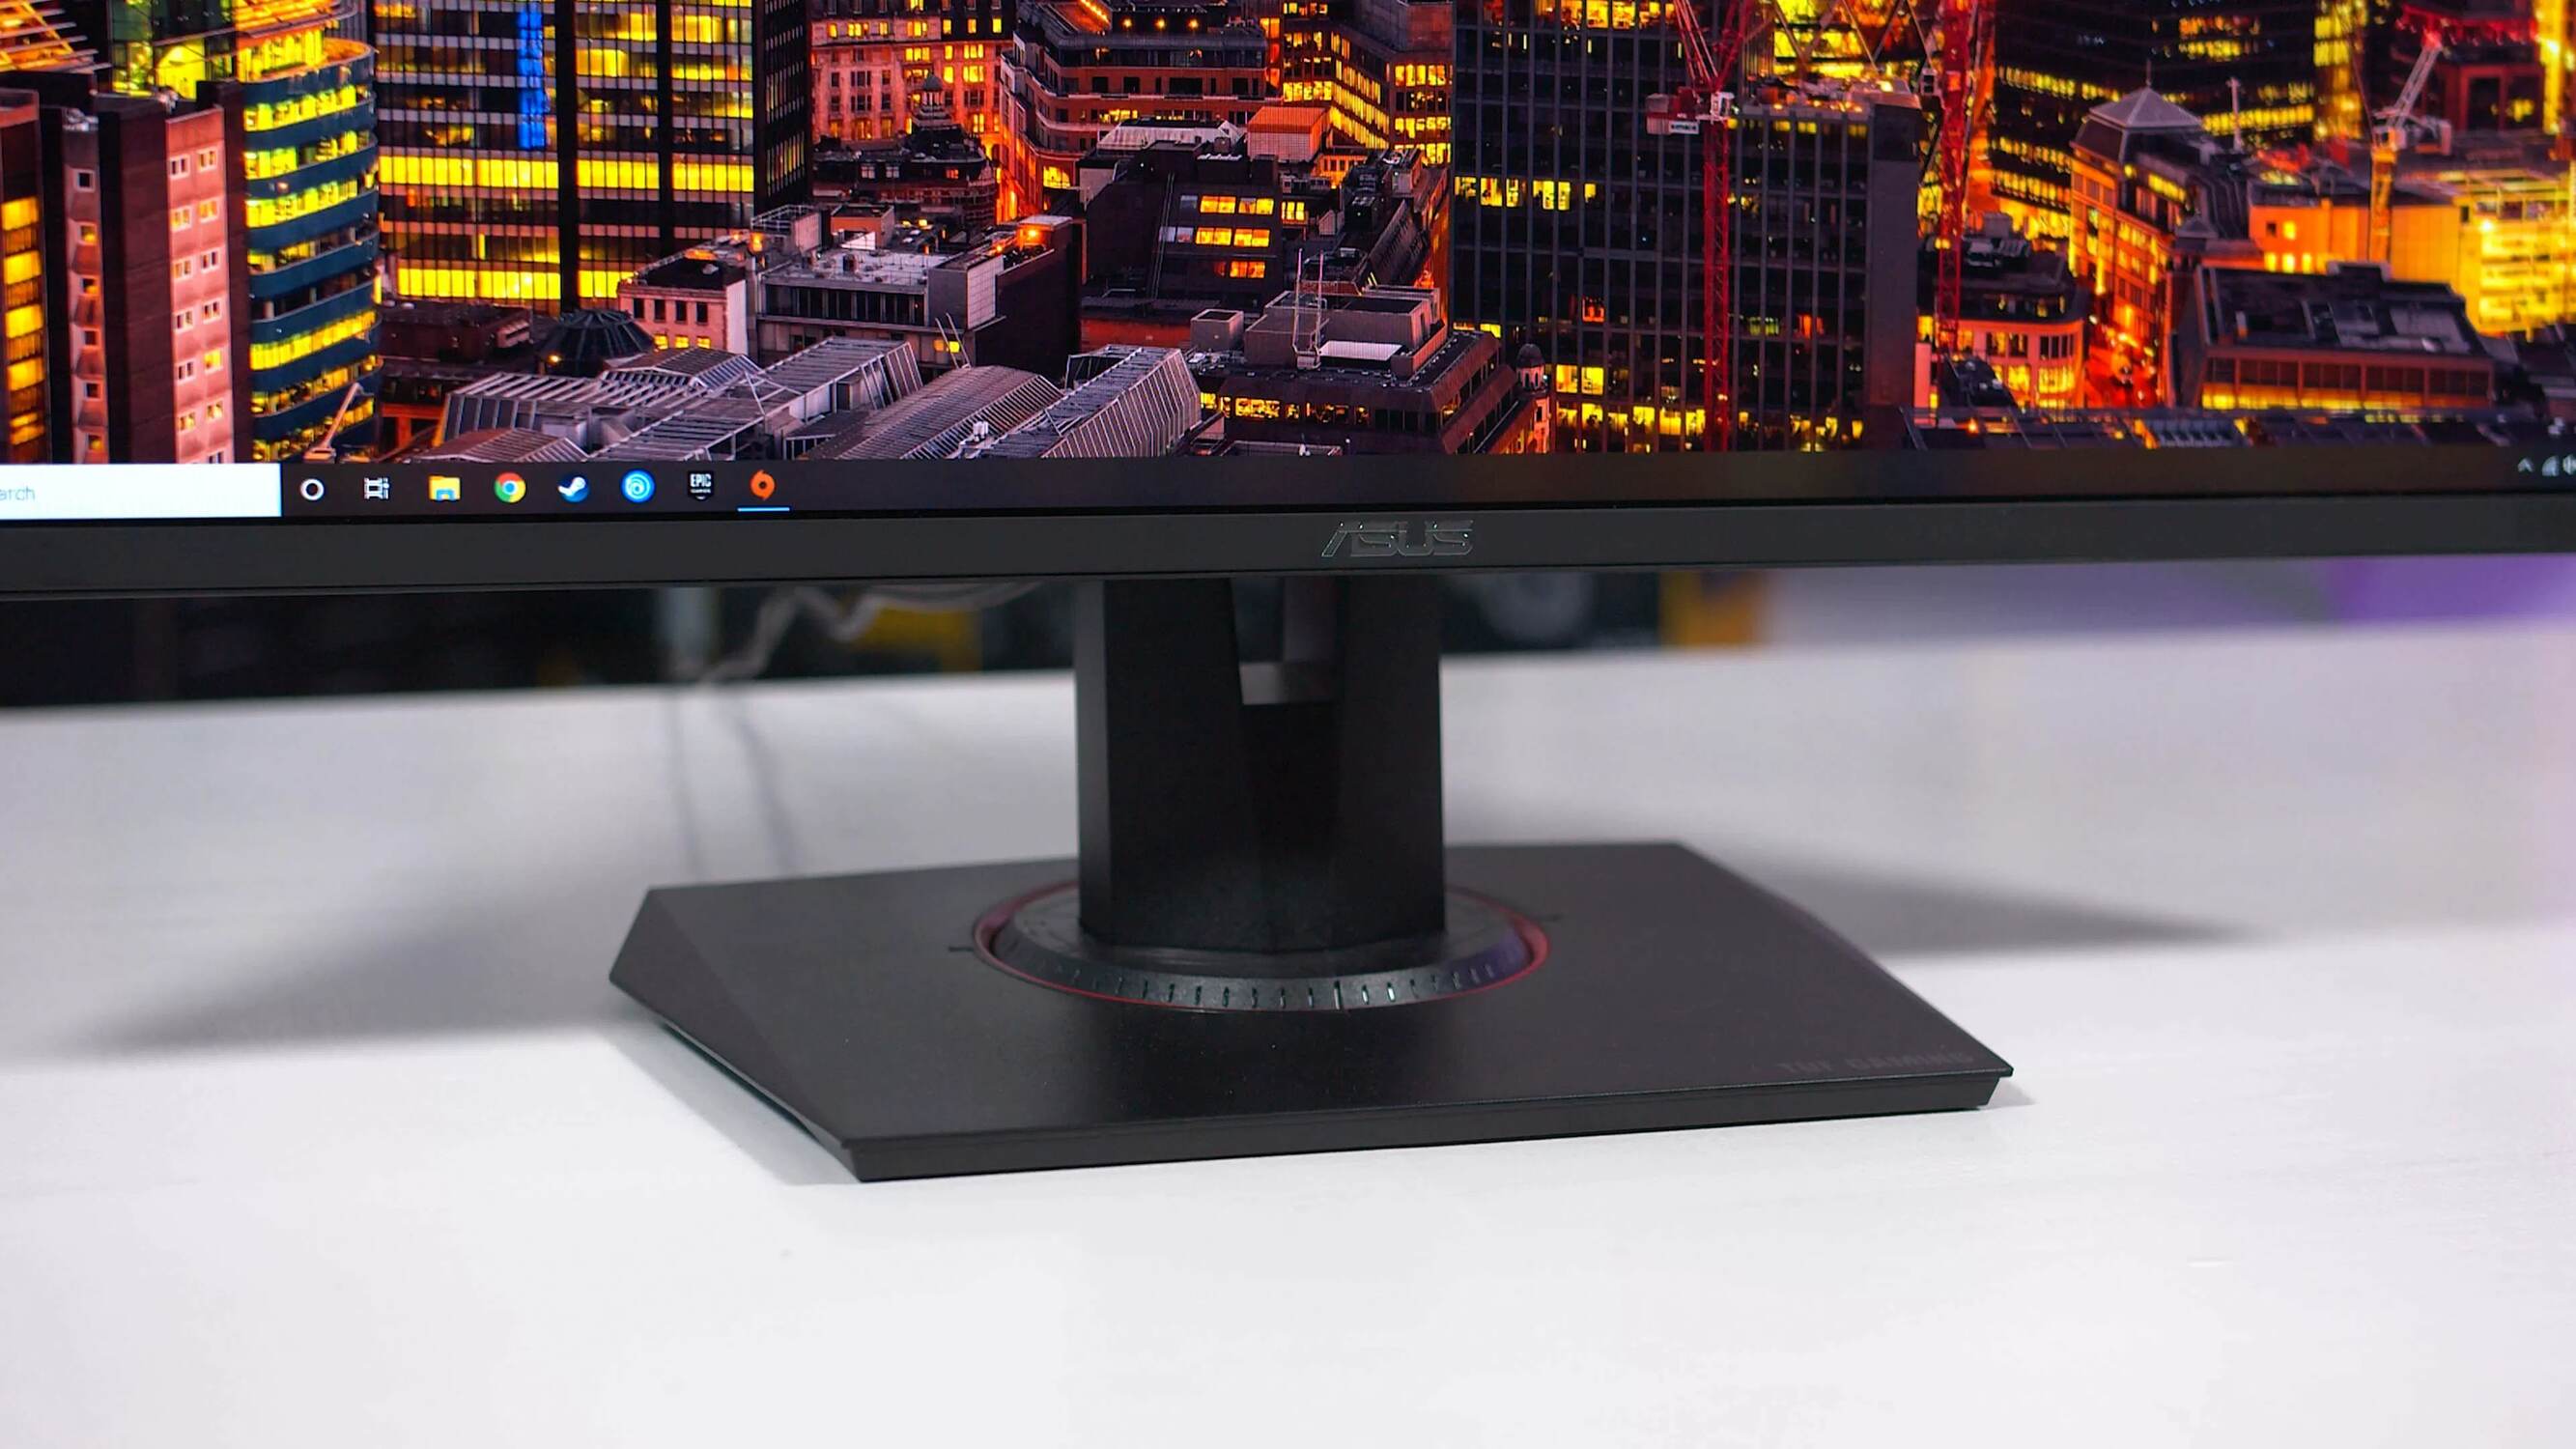
- Access the monitor’s OSD (On-Screen Display) menu by pressing the menu button on the monitor. The location of the menu button may vary depending on your ASUS monitor model.
- Navigate through the OSD menu using the monitor’s arrow or navigation buttons. Each monitor model may have a slightly different menu structure, but typically, you will find options for brightness, contrast, color settings, and aspect ratio.
- Adjust the brightness and contrast settings to achieve a comfortable and well-balanced display. This will ensure that the content on your monitor is clear and easy to view.
- Explore the color settings to adjust the display accuracy according to your preference. You may have options to fine-tune the color temperature, saturation, and hue.
- If you are using your ASUS monitor for gaming or multimedia purposes, consider enabling any gaming-specific modes, adaptive sync technology, or selecting the appropriate color profile.
- Once you have made your desired adjustments, navigate to the exit or save option in the OSD menu to finalize and apply the changes.
Keep in mind that the optimal display settings can vary depending on the lighting conditions of your surroundings and the nature of your tasks. It’s a good idea to experiment with the settings until you find the configuration that best suits your needs.
With the display settings adjusted to your liking, you can now enjoy a more immersive and visually appealing experience on your ASUS monitor.
Step 4: Troubleshooting common issues
Even with proper connections and following the steps mentioned above, you may encounter some common issues with your ASUS monitor. Don’t worry, as many of these issues can be easily resolved by troubleshooting. Let’s take a look at a few common problems and their potential solutions:
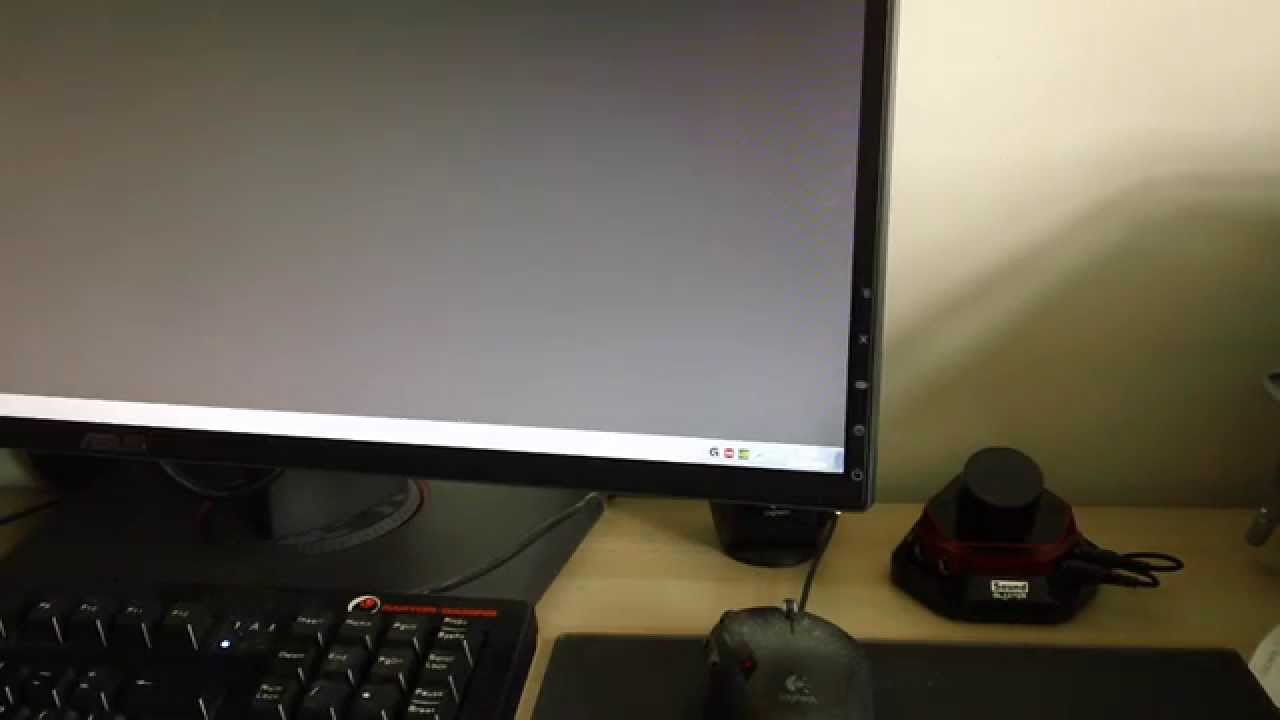
- No display: If your ASUS monitor powers on, but there is no display, double-check the video cable connection. Ensure it is securely plugged into both the monitor and the computer. Try using a different video cable or port to rule out any cable or port issues.
- Incorrect or distorted colors: In case you notice abnormal or inaccurate colors on your monitor, access the display settings in the OSD menu and reset them to their default values. If the issue persists, update or reinstall the graphics driver on your computer.
- Monitor not waking up from sleep mode: If your monitor is not waking up from sleep mode, check your computer’s power settings. Adjust the display sleep settings or set them to never, ensuring that your monitor stays awake at all times.
- No sound: If your ASUS monitor has built-in speakers and there is no sound, verify that the audio cable is properly connected to both the monitor and the audio output on your computer. Also, check the volume settings on both the monitor and your computer.
- Monitor not detected: If your computer fails to detect the ASUS monitor, try disconnecting and reconnecting the video cable. Restart your computer and ensure that the monitor is powered on before the computer boots up.
If you have exhausted all troubleshooting options and the issue persists, refer to the user manual or contact ASUS customer support for further assistance. They can provide specialized guidance and help resolve any persistent problems you may encounter with your ASUS monitor.
By troubleshooting common issues, you can overcome any hurdles that may arise and ensure that your ASUS monitor functions smoothly and optimally.
Conclusion
Congratulations! You have successfully learned how to turn on your ASUS monitor and troubleshoot common issues that may arise during the process. By following the steps outlined in this guide, you can ensure a seamless and enjoyable experience with your ASUS monitor.
Remember to always check the connections before powering on your monitor and adjust the display settings according to your preferences. Troubleshooting common issues, such as no display or distorted colors, can help you overcome any obstacles that may arise and ensure that your monitor functions optimally.
If you continue to experience difficulties or have any additional questions regarding your ASUS monitor, refer to the user manual or contact ASUS customer support. They are equipped with the knowledge and expertise to assist you further.
Now that you are armed with the knowledge to turn on and utilize your ASUS monitor effectively, you can dive into your favorite games, immerse yourself in your work, or enjoy your multimedia content with enhanced visuals.
Remember to keep your monitor and cables clean and safe, and regularly update your graphics driver to ensure the best performance. With proper care and maintenance, your ASUS monitor will continue to provide you with an exceptional viewing experience for years to come.