Introduction
Welcome to our guide on how to set up your brand new Dell monitor! Whether you’re upgrading your current display or setting up a second monitor for increased productivity, the process is relatively straightforward. In this article, we will walk you through each step, ensuring that you have a smooth and successful setup.
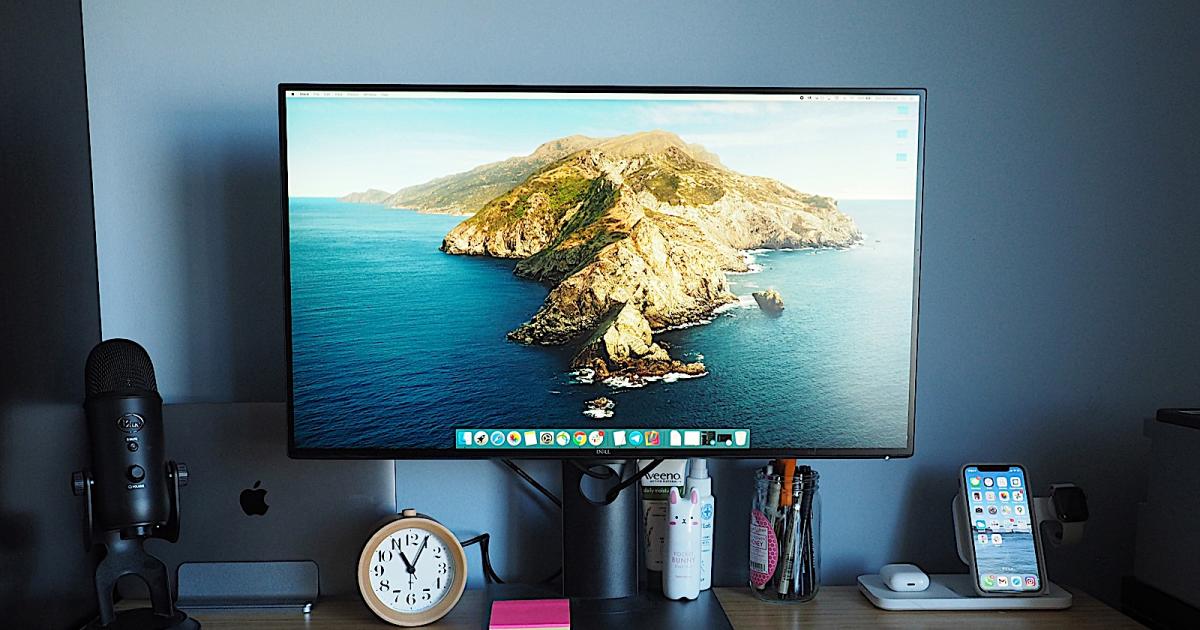
Setting up a Dell monitor is an essential part of optimizing your workspace and enhancing your overall computing experience. A monitor with crisp visuals, accurate colors, and customizable settings can make a significant difference in both work and leisure activities, such as gaming or watching movies.
Before diving into the step-by-step setup process, it’s worth noting that Dell offers a wide range of monitors with different features and connectors. Therefore, the specific steps may vary depending on the model you have. However, the general principles outlined in this guide will apply to most Dell monitors.
By following the instructions provided, you will be able to connect your Dell monitor to your computer or laptop, configure its display settings, and troubleshoot common issues that may arise during the setup process. So, without further ado, let’s get started with unboxing your new Dell monitor!
Step 1: Unboxing the Dell Monitor
The first step in setting up your Dell monitor is to carefully unbox it. Dell monitors are typically packaged with utmost care to protect them during transportation. To ensure a safe unboxing process, follow these steps:
- Locate a sturdy, flat surface to place the box.
- Use a box cutter or a pair of scissors to carefully cut the tape sealing the box.
- Open the box and remove any packing materials, such as foam or cardboard inserts.
- Gently lift the monitor out of the box, making sure to hold it from the base or sides to avoid applying pressure on the screen.
- Inspect the contents to ensure all parts are included. This typically includes the monitor, cables, power adapter, and any additional accessories specific to your model.
- Keep the packaging materials in case you need to transport or store the monitor in the future.
During the unboxing process, it’s essential to handle the monitor with care to avoid any damage or scratches. Dell monitors are precision-engineered devices, and mishandling can impact their performance and longevity.
Once you have successfully unboxed the monitor and verified that all the necessary parts are present, you are ready to move on to the next step: connecting the power cable.
Note: If you encounter any issues during the unboxing process, such as missing parts or visible damage to the monitor, it is recommended to contact Dell support for assistance. They will guide you through any necessary replacements or repairs.
Step 2: Connecting the Power Cable
Now that you have unboxed your Dell monitor, it’s time to connect the power cable. This step ensures that your monitor receives the necessary power supply to operate. Follow these simple steps:
- Locate the power cable that came with your Dell monitor. It is usually a standard power cord with a three-pronged plug.
- Identify the power input port on the back of your monitor. It is typically labeled as “AC In” or “Power.”
- Align the shape of the power plug with the power input port on the monitor and gently insert it.
- Ensure a secure connection by firmly pushing the plug into the power input port until it is fully inserted. You should feel a slight click or resistance.
- Once the power cable is connected, locate a power outlet nearby and plug the other end of the power cable into it.
- Ensure that the power outlet is properly grounded and that the cable is not at risk of being accidentally disconnected or tripped over.
- Now, verify that the power indicator on the monitor is lit, indicating that it is receiving power.
By following these steps, you have successfully connected the power cable to your Dell monitor. However, it’s important to remember that certain models may have different power requirements or alternate power connectors. Always refer to the user manual or any specific instructions provided with your monitor if you encounter any discrepancies.
Now that your monitor is powered up, you can proceed to the next step: connecting the video cable to establish a visual connection between the monitor and your computer or laptop.
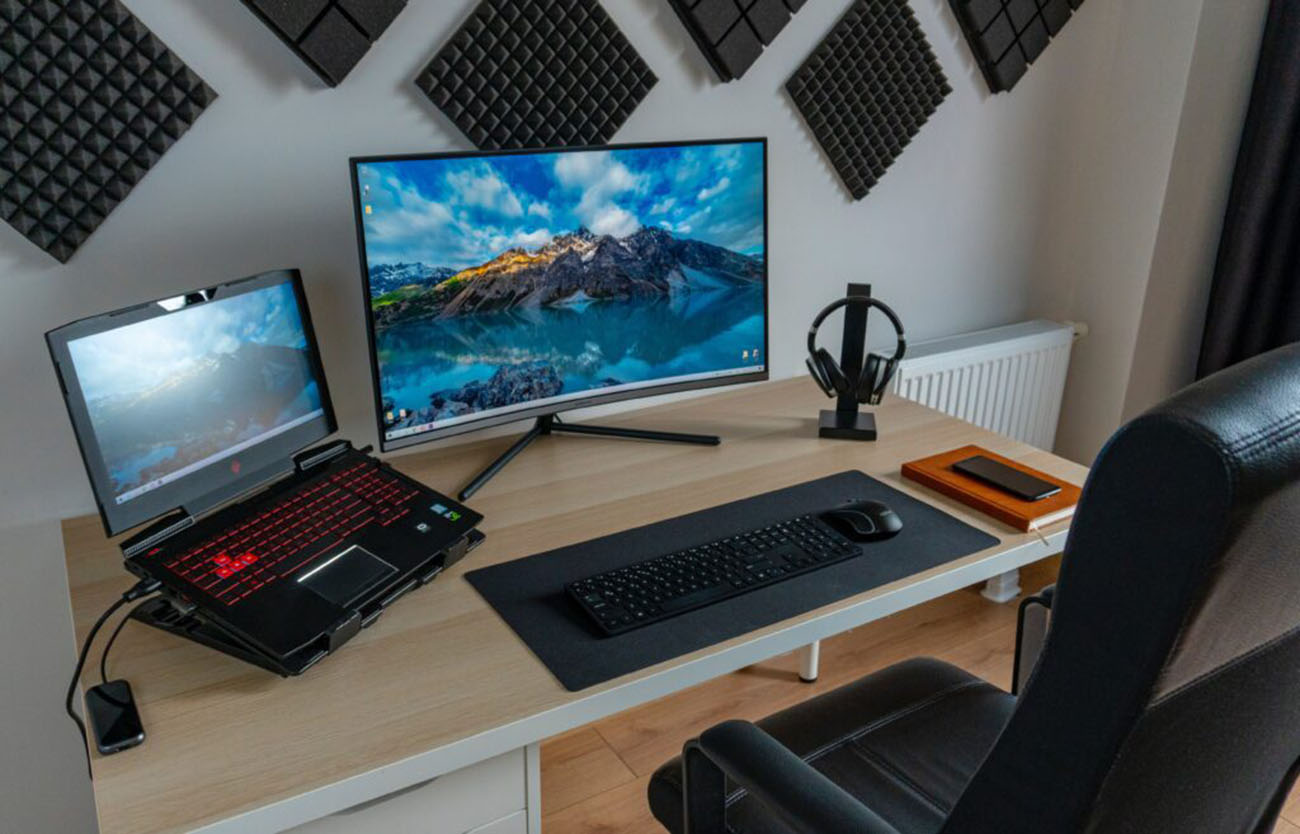
Step 3: Connecting the Video Cable
Once you have successfully connected the power cable, the next step in setting up your Dell monitor is to establish a video connection between the monitor and your computer or laptop. The video cable is responsible for transmitting the visual signals from your device to the monitor. Here’s how to connect the video cable:
- Identify the video input ports on the back of your Dell monitor. These ports may vary depending on the model but commonly include HDMI, DisplayPort, DVI, or VGA.
- Observe what video output ports your computer or laptop has. Common video output ports include HDMI, DisplayPort, DVI, or VGA.
- Choose the appropriate cable that matches the video input port on your Dell monitor and the video output port on your computer or laptop.
- Insert one end of the video cable into the corresponding video output port on your computer or laptop.
- Insert the other end of the video cable into the video input port on your Dell monitor. Make sure the connection is secure.
- Give the cable a gentle wiggle to ensure it is firmly connected. You should feel a slight resistance and hear a click if the cable is properly inserted.
Once you have connected the video cable, your Dell monitor should now display the output from your computer or laptop. However, it’s important to note that in some cases, you may need to change the input source on the monitor’s menu to match the connection you just made. Refer to the user manual or on-screen instructions for your specific Dell monitor model to select the correct input source.
If you are using multiple monitors or connecting additional devices to your Dell monitor, ensure that each video cable is securely connected and that the correct input source is selected for each device.
Now that the video cable is successfully connected, you are ready to move on to the next step: adjusting the monitor stand and position.
Step 4: Adjusting the Monitor Stand
After connecting the power and video cables, it’s time to properly adjust the monitor stand for optimal viewing comfort. The position and height of your Dell monitor play a crucial role in reducing eye strain and maintaining good posture. Here’s how to adjust the monitor stand:
- Take a moment to evaluate your work area and determine the ideal placement for your monitor. Consider factors such as lighting, glare, and your seating position.
- If your Dell monitor has an adjustable stand, locate the adjustment options. These may include height adjustment, tilt adjustment, swivel adjustment, and pivot adjustment.
- First, adjust the height of the monitor stand. This will ensure that the top of the screen is at or slightly below eye level when seated. Lift or lower the monitor stand accordingly.
- Next, adjust the tilt of the monitor. This allows you to find the most comfortable angle for viewing. Tilt the monitor forward or backward until the screen is perpendicular to your line of sight.
- If your monitor has a swivel adjustment, you can rotate it left or right to share the screen with others or reposition it for a better viewing angle.
- For monitors with a pivot adjustment, you can change the orientation from landscape to portrait mode or vice versa. This is useful when working with vertical documents or for improved productivity.
Take a moment to test the adjustments you made and ensure that the monitor is at a comfortable position. Avoid placing the monitor too close or too far away from your eyes, as this can strain your vision. Additionally, make sure it is positioned at a comfortable distance from your seating position.
By correctly adjusting the monitor stand, you not only improve ergonomics but also enhance the overall viewing experience. Remember that everyone’s preferences may vary, so take the time to find the optimal position and settings that suit your specific needs.
With the monitor stand properly adjusted, you are now ready to move on to the next step: turning on your Dell monitor.
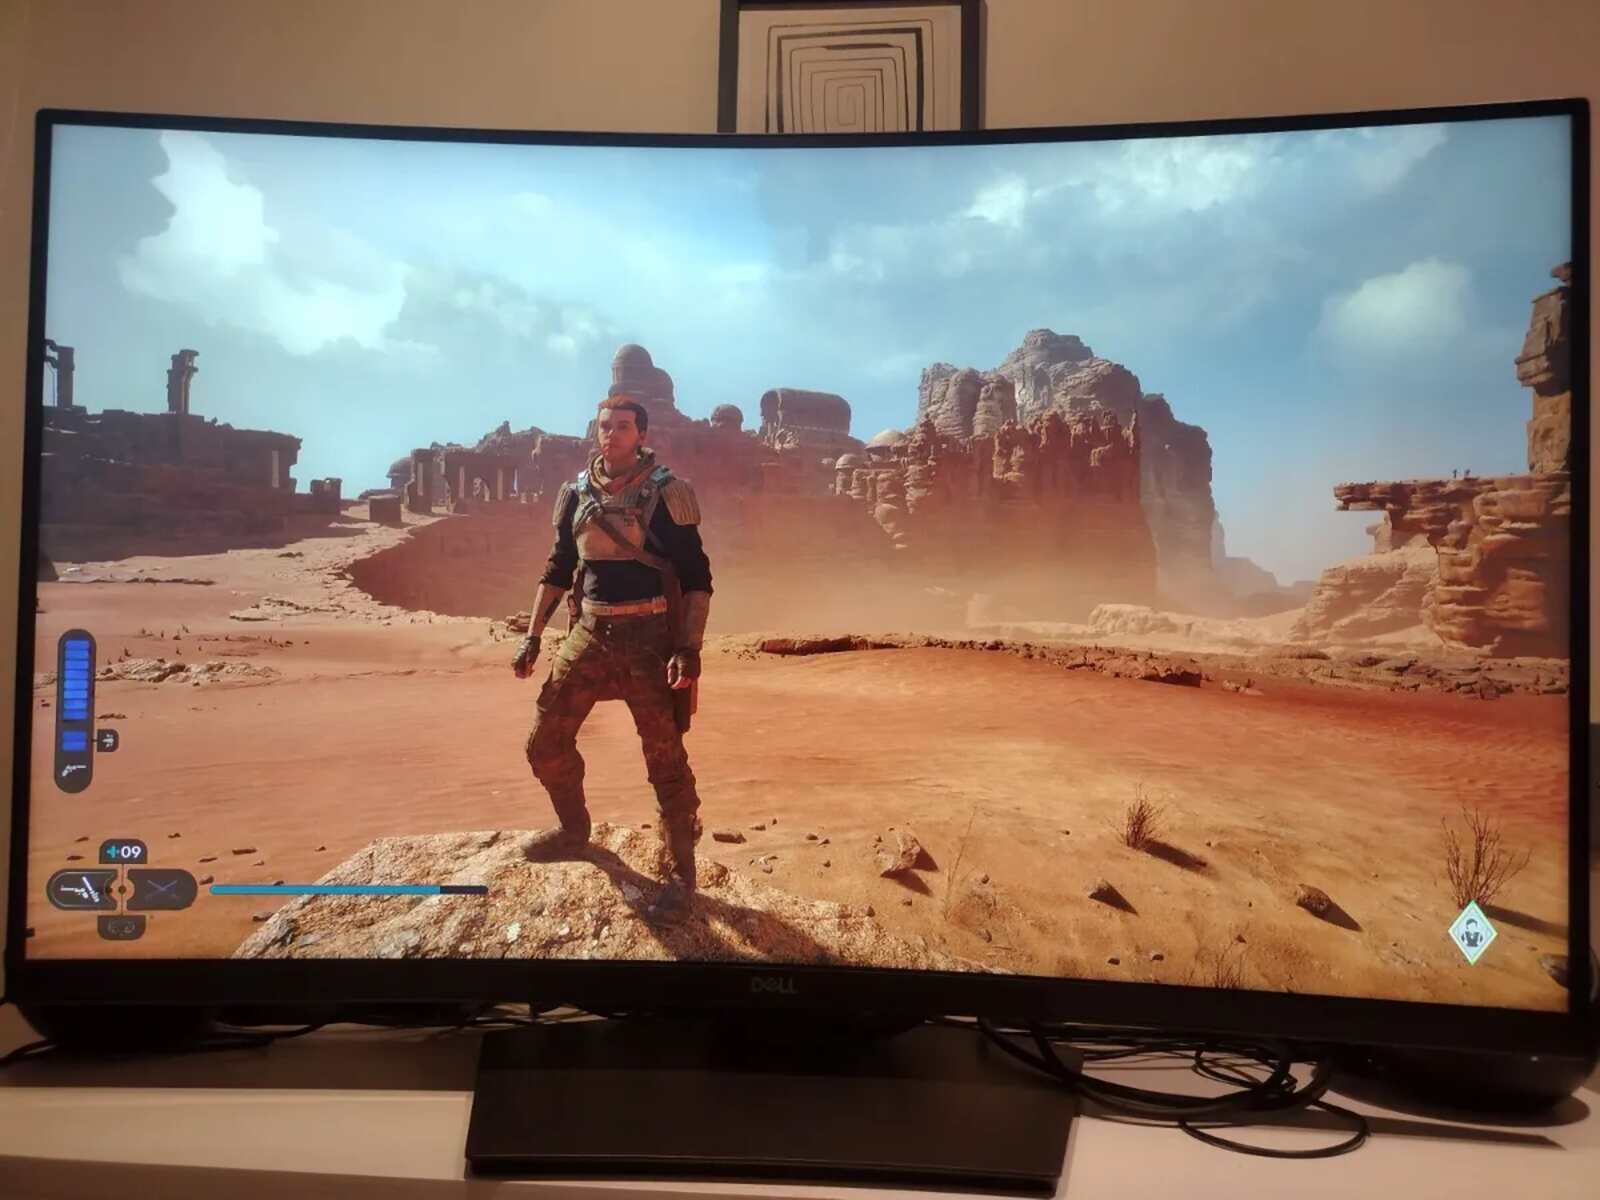
Step 5: Turning on the Dell Monitor
With the monitor stand adjusted to your liking, it is now time to power on your Dell monitor and start enjoying its stunning visuals. Follow these steps to turn it on:
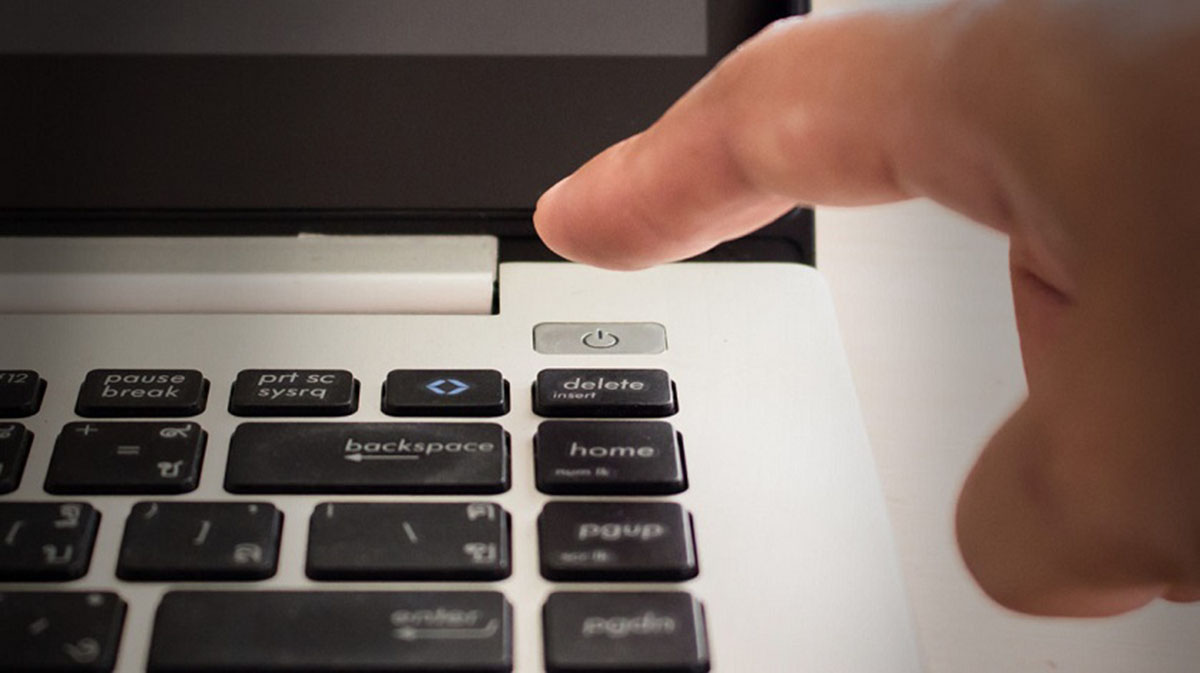
- Locate the power button on your Dell monitor. It is usually located on the front or side panel.
- Press the power button to turn on the monitor.
- Observe the monitor’s display for any active LED indicators. These indicators provide information about the monitor’s power status and can vary depending on the model.
- Wait for the monitor to complete its startup process. Depending on your model, this may involve displaying the Dell logo or a brief loading screen.
- Once the monitor is powered on and ready, you should see your computer or laptop’s display on the screen.
If you do not see any display or encounter any issues, double-check the power and video cable connections. Ensure the cables are securely connected to both the monitor and your computer or laptop.
If the monitor still does not display anything, refer to the troubleshooting section in this guide or consult the user manual for further assistance. Dell provides comprehensive support resources, including online guides and live customer support, to help resolve any issues you may encounter.
Now that your Dell monitor is up and running, you can proceed to the next step: adjusting the display settings to further enhance your viewing experience.
Step 6: Adjusting Display Settings
Once your Dell monitor is powered on and displaying your computer or laptop’s screen, it’s time to fine-tune the display settings to ensure the best visual experience. Dell monitors often come with a variety of customizable settings that allow you to optimize the display according to your preferences. Follow these steps to adjust the display settings:
- Locate the display menu buttons on your Dell monitor. These buttons are typically located on the front or bottom edge and allow you to navigate the monitor’s settings.
- Press the menu button to access the display menu.
- Use the navigation buttons to navigate through the menu options. The specific menu layout may vary depending on your monitor model.
- Look for options such as brightness, contrast, color temperature, and sharpness. Adjust these settings to your liking. It’s often recommended to start with the default settings and make gradual adjustments based on your preferences.
- Explore additional settings that your monitor may offer, such as picture modes (e.g., vivid, gaming, movie), color calibration, aspect ratio, or refresh rate. These settings can further enhance your visual experience.
- If available, consider activating any advanced features your monitor may have, such as AMD FreeSync or NVIDIA G-Sync for smoother gaming or blue light filters to reduce eye strain during extended use.
- Take note of any changes you make to the display settings and evaluate their impact on the visual quality. Adjust as needed until you achieve your desired display configuration.
Keep in mind that every user has different preferences when it comes to display settings. Experiment with the options available on your Dell monitor and find the settings that provide the most pleasing and comfortable viewing experience for your needs.
If you’re unsure about the optimal display settings or want more precise calibration, you can utilize professional calibration tools or consult online resources that provide recommended settings for specific Dell monitor models. These resources can help you achieve a more accurate and calibrated display output.
After adjusting the display settings, you’re now ready to fully enjoy the exceptional visuals that your Dell monitor has to offer. Take a moment to appreciate the vibrant colors, sharp details, and immersive experience before moving on to the final step.
Step 7: Troubleshooting Common Issues
While setting up your Dell monitor, you might encounter some common issues that can be easily resolved with a few troubleshooting steps. Here are some common problems you may come across and how to address them:
- No display: If your Dell monitor is not displaying anything, make sure all cables are securely connected to both the monitor and your computer or laptop. Check if the power cable is properly plugged in, and verify that the video cable is connected to the correct input port on both devices.
- Low resolution or blurry display: Adjust the display settings on your computer or laptop to match the recommended resolution for your Dell monitor. Ensure that the correct display drivers are installed and up to date. Additionally, check the sharpness and clarity settings in the monitor’s menu and make necessary adjustments.
- Display flickering or artifacts: This issue can be caused by incorrect refresh rates, damaged video cables, or incompatible drivers. Check the refresh rate settings on your computer or laptop and set it to the recommended value for your Dell monitor. Replace the video cable if it appears damaged. Update your display drivers to the latest version.
- Incorrect colors or poor color accuracy: Calibrate the color settings on your Dell monitor using built-in calibration tools or professional calibration software. If needed, adjust the color temperature, gamma, or individual color settings in the display menu to achieve accurate colors.
- Monitor not detected: If your computer or laptop does not detect the Dell monitor, try disconnecting and reconnecting the video cable. Ensure that the video cable is securely connected to both devices. If the issue persists, check for any available driver updates for your graphics card.
- On-screen menu issues: If you’re experiencing issues navigating the monitor’s on-screen menu or making adjustments, refer to the user manual for specific button functionality. In certain cases, performing a factory reset may resolve any menu-related issues.
If you encounter any other issues that are not mentioned here, it is advisable to consult the troubleshooting section in the user manual or contact Dell customer support for further assistance. They have knowledgeable representatives who can guide you through more specific troubleshooting steps or determine if there may be a hardware issue requiring repair or replacement.
Remember, troubleshooting common issues is an important part of the setup process, as it allows you to address any problems and ensure that you get the best performance out of your Dell monitor.
Conclusion
Congratulations! You have successfully set up your Dell monitor and are now ready to enjoy an enhanced visual experience. By following the step-by-step guide provided in this article, you unboxed your monitor, connected the power and video cables, adjusted the monitor stand, turned on the display, fine-tuned the display settings, and troubleshooted common issues that may arise.
Setting up a Dell monitor is an essential process that ensures you get the most out of your new display. With its crisp visuals, vibrant colors, and customizable settings, your Dell monitor can significantly enhance your work productivity, gaming experience, or multimedia enjoyment.
Remember, configuring the display settings to suit your preferences is crucial to achieve an optimal visual experience. Take your time to explore the different options available and find the settings that offer the best combination of color accuracy, brightness, and clarity for your specific needs.
If you encounter any difficulties during the setup process or experience any persistent issues, don’t hesitate to reach out to Dell support for assistance. They are dedicated to helping you resolve any problems and ensure you have a positive experience with your Dell monitor.
We hope this guide has been helpful in guiding you through the setup process of your Dell monitor. Enjoy the stunning visuals and the improved display quality that your monitor brings to your computing experience. Happy computing!