Introduction
Welcome to our guide on how to turn on a Dell monitor. Whether you’ve just purchased a new Dell monitor or you’re encountering difficulties powering it on, this article is here to assist you. Turning on a Dell monitor is a simple process, but if you’re unfamiliar with the specific steps, it can be a bit confusing at first.
A functional and properly functioning monitor is essential for any computer setup, whether it’s for work, gaming, or watching movies. By following the steps outlined in this guide, you’ll be able to power on your Dell monitor quickly and troubleshoot any common issues that might arise along the way.
In this article, we’ll walk you through the necessary steps to turn on a Dell monitor and give you tips to adjust the brightness and contrast settings effectively. Additionally, we’ll provide troubleshooting advice for common issues that may prevent your monitor from turning on properly.
It’s worth noting that these instructions are specifically for Dell monitors and may vary slightly depending on the model you are using. However, the general principles will apply, providing you with a solid foundation to work from.
So, let’s get started and help you turn on your Dell monitor with ease and confidence!
Step 1: Check the Power Cable and Connection
The first step in turning on your Dell monitor is to ensure that the power cable is properly connected. A loose or disconnected power cable can prevent the monitor from receiving power and turning on.
Start by checking the power cable at both ends – the power outlet and the back of the monitor. Make sure that there are no visible signs of damage or fraying on the power cable. If you notice any damage, it’s best to replace the cable with a new one to avoid any potential electrical hazards.
Next, ensure that the power cable is securely plugged into the power outlet. If it’s connected to a power strip or surge protector, double-check that the power strip is turned on and functioning correctly. Sometimes, power strips can get tripped or turned off accidentally.
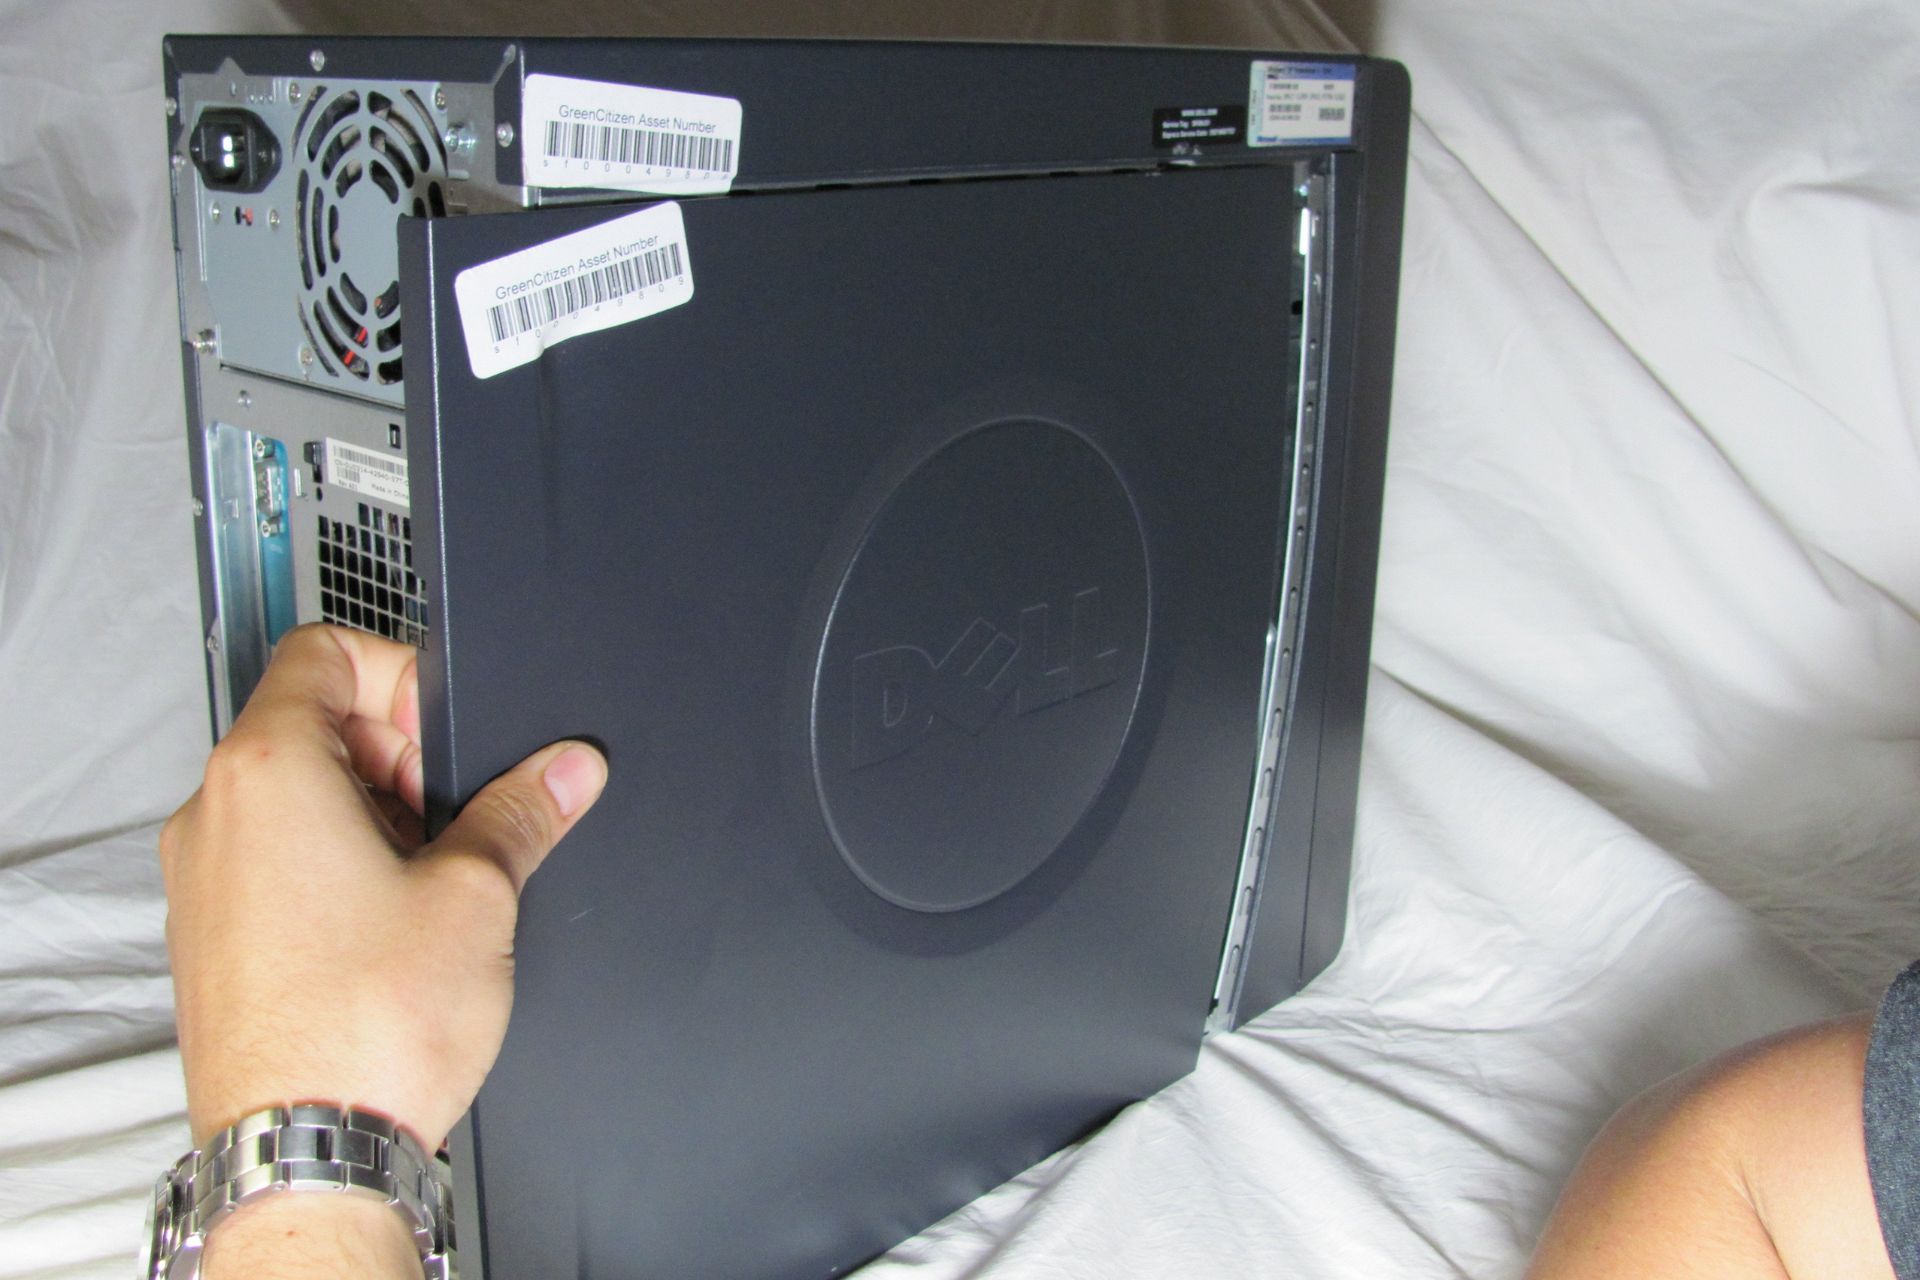
Once you’ve confirmed that the power cable is correctly connected, check the connection at the back of the monitor itself. Most Dell monitors have a removable power cable that plugs into the back of the monitor. Ensure that it is securely plugged in and tightened to avoid any loose connections.
If your Dell monitor has an external power brick, verify that it is properly connected as well. Some monitors have a separate power brick that connects between the power outlet and the monitor. Check that the power brick is securely plugged in and that the connection is not loose.
After ensuring that all power connections are secure, you can move on to the next step to power on your Dell monitor.
Step 2: Press The Power Button
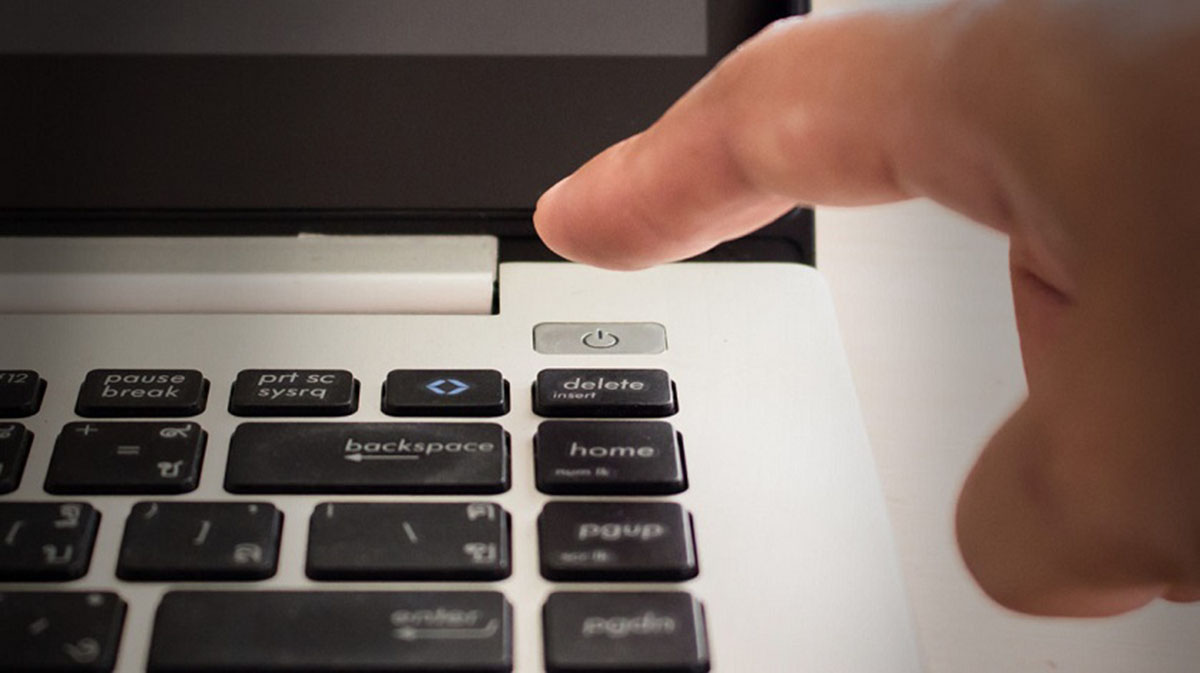
Once you have confirmed that the power cable and connections are secure, the next step is to locate the power button on your Dell monitor and press it to turn on the screen.
The power button is typically located on the front or side of the monitor. Look for a circular button with the power symbol, which is often an illuminated icon or labeled “Power.” Depending on the model of your Dell monitor, the power button may be on the bottom bezel, the side, or a separate control panel.
Gently press the power button to turn on the monitor. Keep in mind that some monitors may have a power-saving mode, so it might take a few seconds for the display to activate after pressing the power button. Be patient and allow the monitor time to turn on and display the image.
If your Dell monitor has an integrated power sensor, it will automatically detect when a signal is received from the connected device and turn on accordingly. In this case, pressing the power button may not be necessary.
Once the monitor is turned on, you may see the Dell logo or a blank screen. If the screen remains blank, don’t worry. We’ll cover troubleshooting tips in the next step to help you resolve any potential issues.
Now that you know how to turn on your Dell monitor by pressing the power button, let’s move on to adjusting the brightness and contrast settings to enhance the visual quality.
Step 3: Adjust Brightness and Contrast
Once your Dell monitor is turned on and displaying an image, it’s time to adjust the brightness and contrast settings to optimize the visual quality according to your preferences.
To adjust the brightness and contrast settings on your Dell monitor, look for the control buttons or menu options usually located on the front or side of the monitor. These buttons or options allow you to navigate the on-screen display (OSD) menu.
Use the navigation buttons to access the OSD menu, and locate the brightness and contrast settings. The specific location and labeling of these settings may vary depending on the model of your Dell monitor.
Adjust the brightness setting to make the screen brighter or darker. Increasing the brightness can help improve visibility in well-lit environments, while reducing it can be beneficial in low-light situations or to reduce eye strain. Experiment and find the level that suits your needs.
Similarly, adjust the contrast setting to enhance the differentiation between light and dark areas on the screen. Increasing the contrast can make the colors more vibrant and the images sharper. However, excessive contrast settings may lead to loss of detail, so find the right balance for optimal viewing experience.
While adjusting these settings, it’s a good idea to display some images or content that you are familiar with, such as photos or videos, to better see the impact of any changes you make. This way, you can make precise adjustments to achieve the desired visual outcome.
Keep in mind that individual preferences vary, and what looks good to one person may not be the same for another. Therefore, it’s crucial to find the optimal combination of brightness and contrast that suits your personal taste and enhances the overall viewing experience.
Now that you know how to adjust the brightness and contrast settings on your Dell monitor, let’s move on to the next step, where we’ll cover troubleshooting common issues that you may encounter when turning on your monitor.
Step 4: Troubleshooting Common Issues
While turning on your Dell monitor is typically a straightforward process, you may encounter some common issues that can prevent the monitor from powering on or displaying an image. In this step, we’ll cover potential troubleshooting steps to help you resolve these issues.
1. No Power: If the monitor is not receiving any power, check that the power cable is securely connected at both ends, including the power outlet and the back of the monitor. Ensure that the power strip or surge protector, if used, is turned on and functioning properly. If the issue persists, try using a different power cable or outlet to determine if the problem lies with the cable or the monitor itself.
2. Blank Screen: If the screen remains blank after powering on the monitor, make sure that the computer or device connected to the monitor is also turned on and functioning correctly. Verify that the video cable (HDMI, DVI, VGA, etc.) is securely connected at both ends. If using multiple display inputs, ensure that the correct input is selected on the monitor.
3. Display Issues: If you notice distorted or flickering images, try adjusting the screen resolution settings on your computer. Make sure that the display drivers are up to date. Additionally, check for any physical damage to the monitor or loose connections that may be affecting the display quality.
4. Power Saving Mode: Some Dell monitors have a power-saving mode that can automatically turn off the display after a certain period of inactivity. If the screen appears to be in power-saving mode, press any key or move the mouse to wake up the monitor.
5. Factory Reset: If none of the above steps resolve the issue, you can try performing a factory reset on your Dell monitor. Consult the user manual or the manufacturer’s website for specific instructions on how to initiate a factory reset for your particular monitor model.
If you have tried the troubleshooting steps above and the issue persists, it might be necessary to contact Dell’s customer support or seek professional assistance to further diagnose and resolve the problem.
By following these troubleshooting steps, you can overcome common issues that may arise when turning on your Dell monitor and ensure a smooth and hassle-free experience.
Conclusion
Congratulations! You’ve successfully learned how to turn on a Dell monitor and troubleshoot common issues that may arise during the process. By following the step-by-step instructions outlined in this guide, you can ensure that your Dell monitor is powered on and ready to provide you with a crisp and vibrant display.
Remember to start by checking the power cable and connections to ensure a proper power supply. Then, press the power button to turn on the monitor and adjust the brightness and contrast settings according to your preferences. In case you encounter any issues, such as a blank screen or display problems, refer to the troubleshooting steps for guidance.
If you still face difficulties or require further assistance, don’t hesitate to reach out to Dell’s customer support or seek professional help. They can provide you with specific solutions tailored to your monitor model.
Now that you are equipped with the knowledge and troubleshooting skills, you can confidently enjoy using your Dell monitor for work, gaming, or leisure activities. Make the most out of your visual experience by adjusting the settings to suit your preferences and create a comfortable viewing environment.
We hope this guide has been helpful and that your Dell monitor powers on smoothly. Happy computing!