Introduction
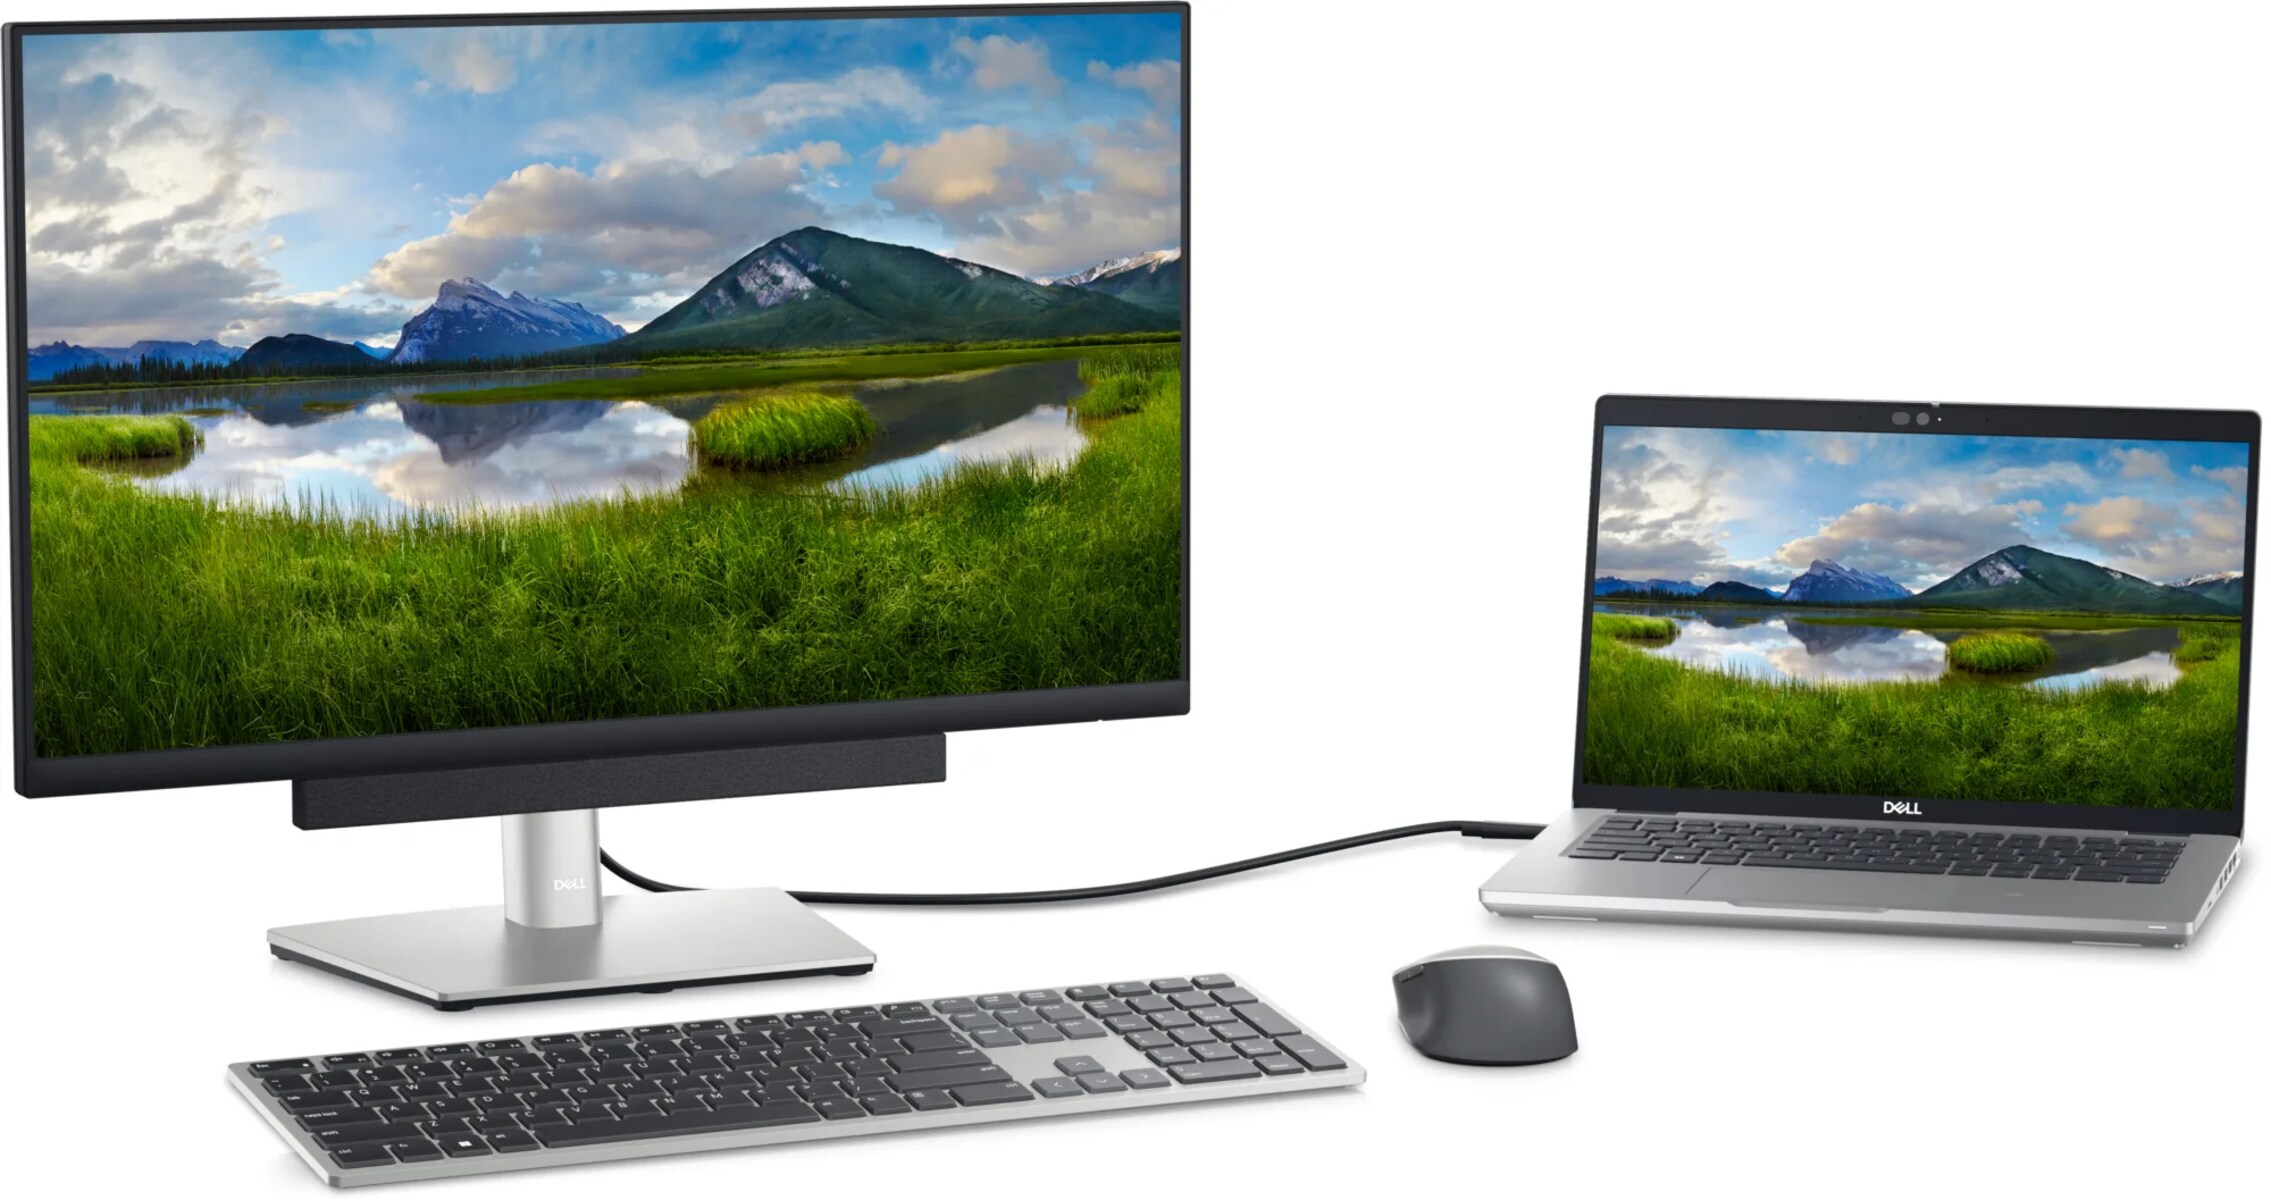
Connecting your Dell monitor to your laptop can be a convenient and efficient way to expand your display and improve your productivity. Whether you want to enjoy a larger screen for work, gaming, or multimedia purposes, this guide will walk you through the steps to successfully connect your Dell monitor to your laptop.
By connecting your laptop to a Dell monitor, you can take advantage of the larger screen size and higher resolution, allowing for better multitasking and a more immersive viewing experience. Additionally, connecting a second monitor can help streamline your workflow, as you can have multiple windows and applications open simultaneously, making it easier to manage and organize your tasks.
Before you begin, it’s important to check the compatibility between your Dell monitor and your laptop. Make sure that both devices have compatible ports and that your laptop supports external displays. Some Dell monitors may require specific cables or adapters, so it’s essential to gather the necessary cables before starting the connection process.
In this guide, we will provide step-by-step instructions on how to connect your Dell monitor to your laptop, as well as tips on adjusting display settings and troubleshooting common issues that you may encounter along the way. So, let’s dive in and get started on this exciting journey of expanding your laptop’s display capabilities.
Step 1: Check Compatibility Between Your Dell Monitor and Your Laptop
Before you begin connecting your Dell monitor to your laptop, it’s crucial to ensure that both devices are compatible with each other. Checking compatibility will help you avoid any frustration or issues with the connection process.
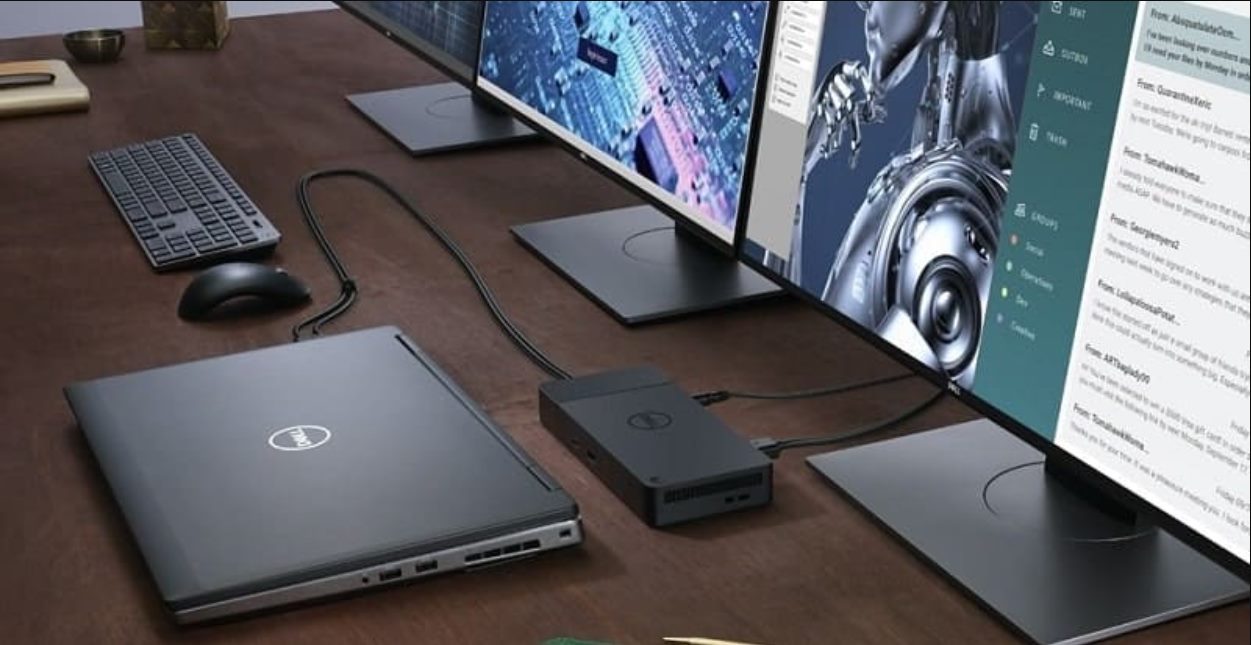
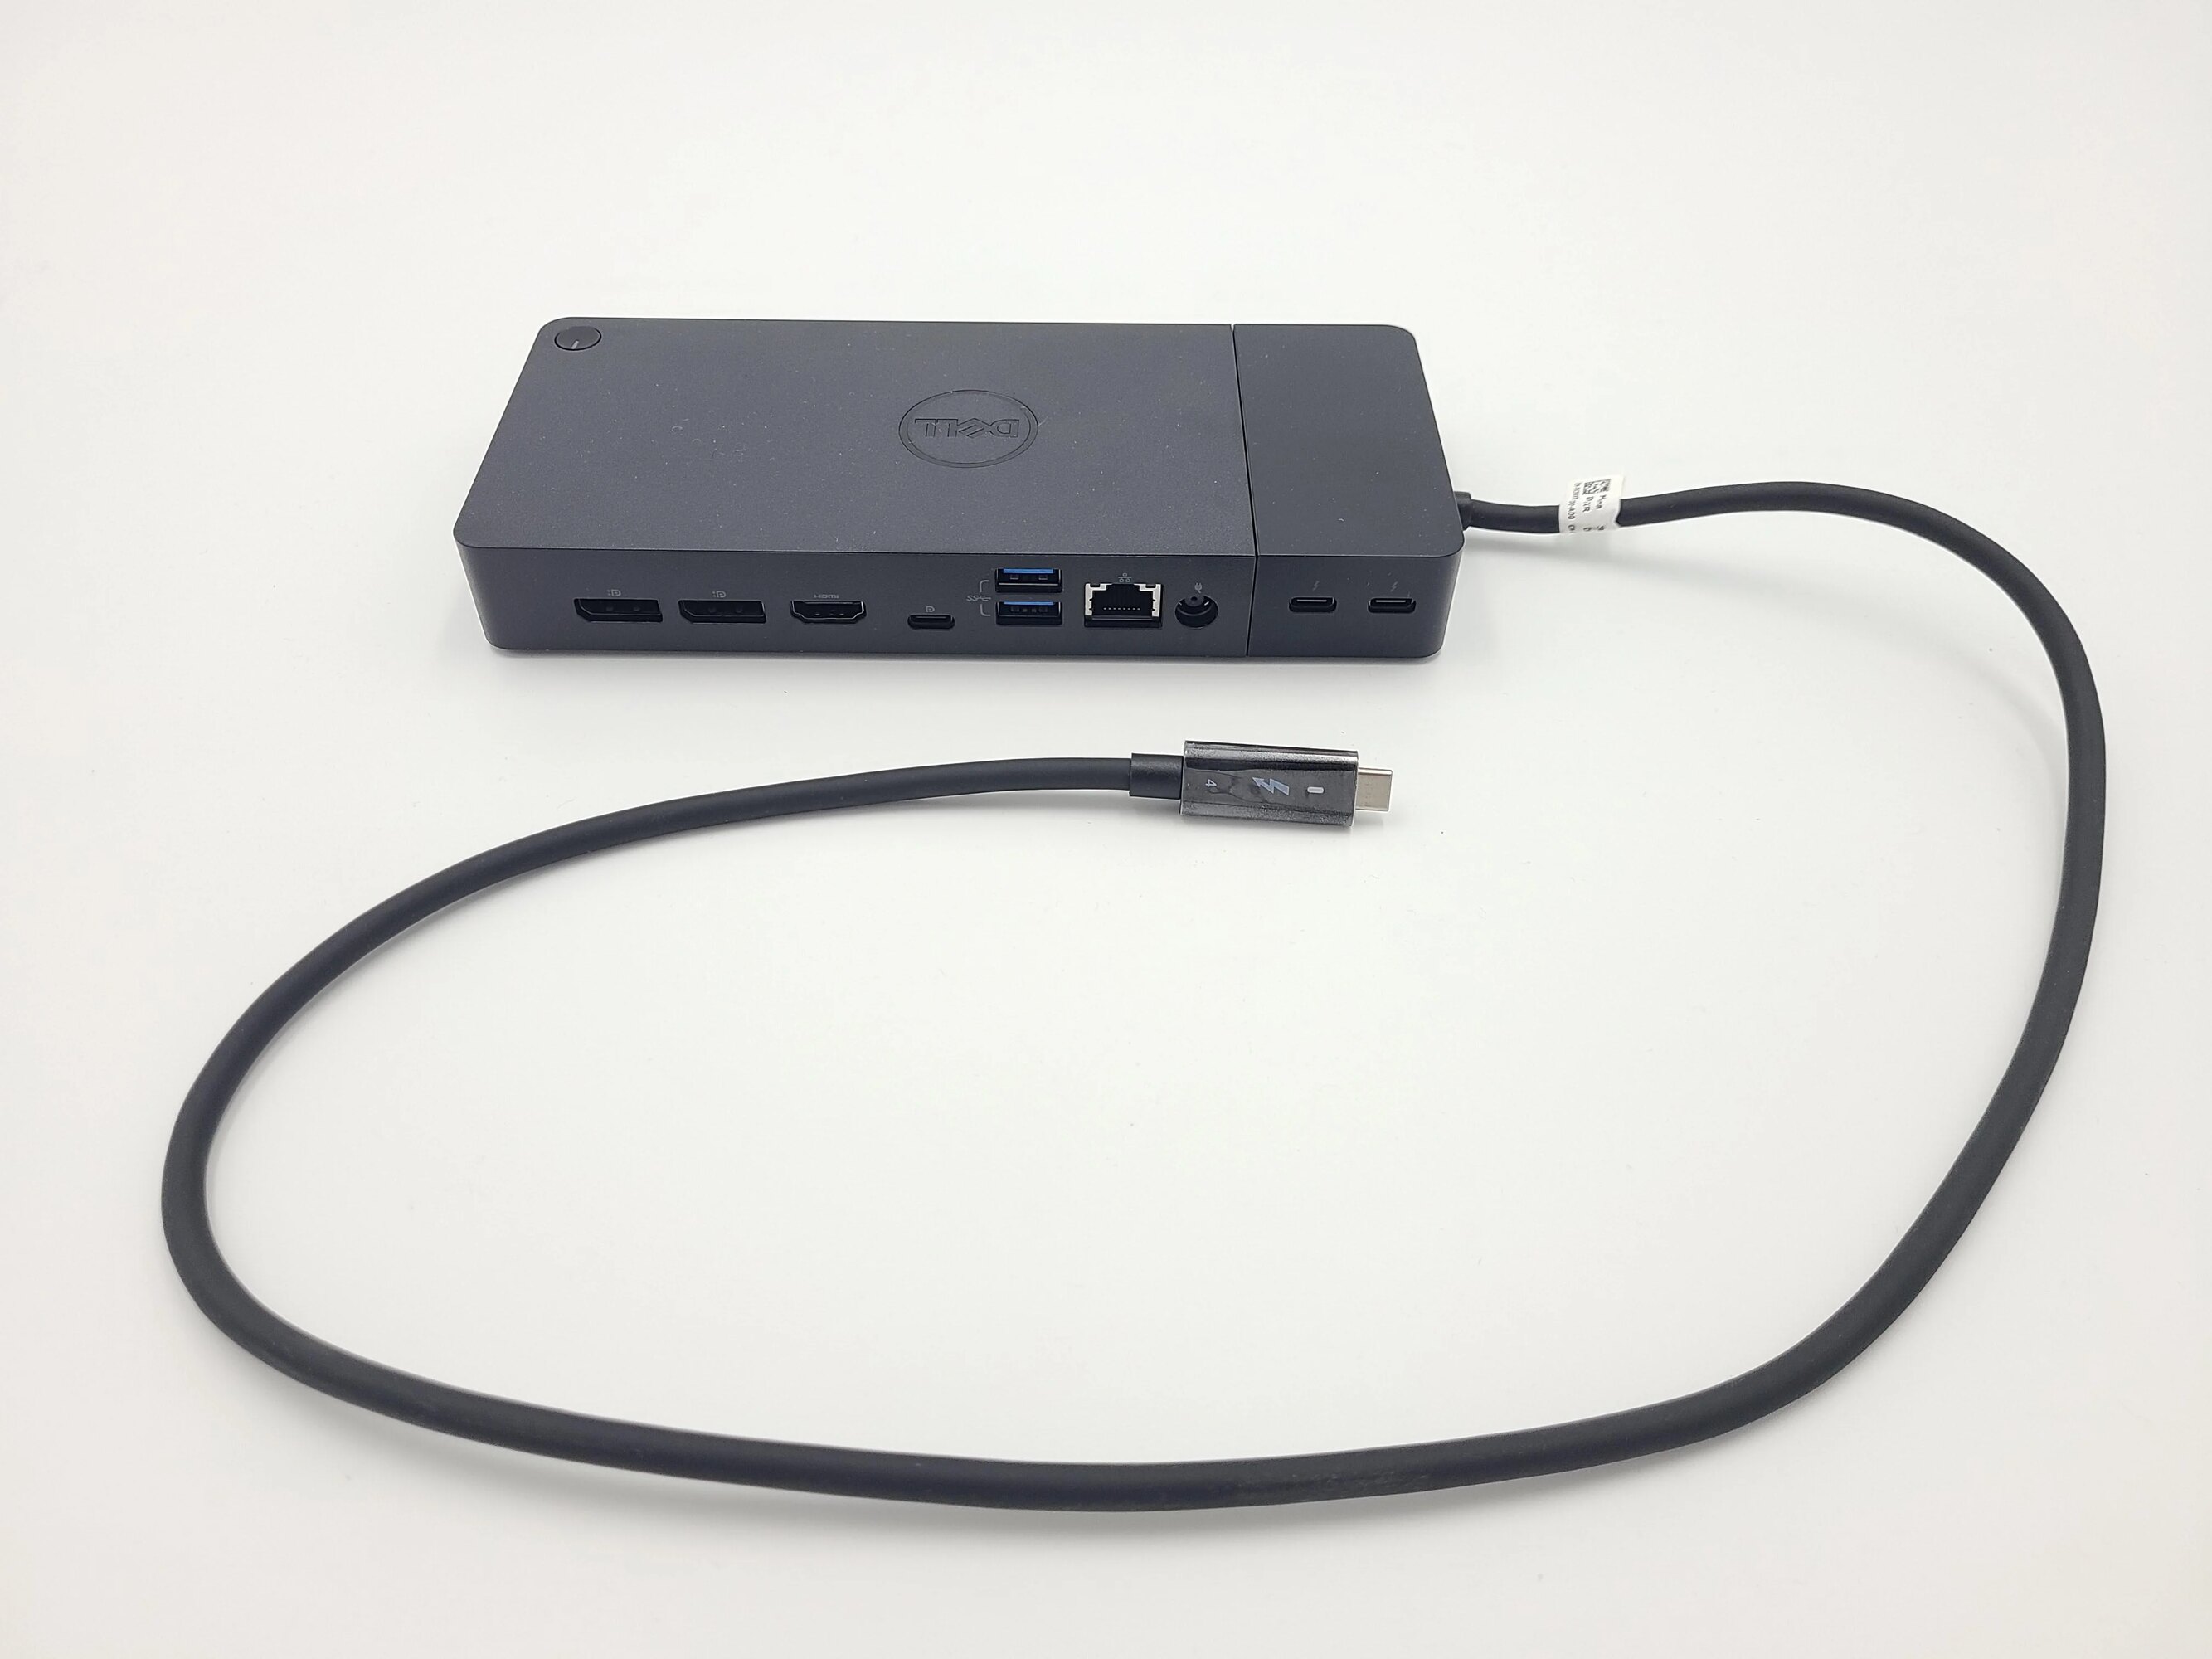
Firstly, examine the ports available on your Dell monitor. Common types of ports found on Dell monitors include HDMI, DisplayPort, DVI, and VGA. Check the available ports on your laptop as well. It’s essential to have a compatible port on both devices to establish a successful connection. If your laptop doesn’t have a compatible port, you may need to use an adapter or docking station to bridge the gap.
Additionally, verify if your laptop supports external displays. Most modern laptops have the ability to connect to external monitors, but it’s always a good idea to confirm this. You can check the specifications of your laptop model on the manufacturer’s website or refer to the user manual for information regarding external display support.
In some cases, you may need to install the appropriate drivers for your Dell monitor on your laptop to ensure proper functionality. Visit the Dell website and search for the specific model of your monitor to find the necessary drivers. Download and install them on your laptop before attempting to connect the devices.
It’s important to note that different Dell monitor models may require different types of cables to connect to your laptop. For example, if your monitor has a DisplayPort, ensure that you have a DisplayPort cable readily available. If your monitor and laptop have different ports, you may need to use an adapter or converter to make the connection possible. Check the port requirements for your specific Dell monitor model to ensure you have the necessary cables or adapters on hand.
By checking the compatibility between your Dell monitor and your laptop, you can avoid unnecessary troubleshooting and ensure a smooth connection process. Now that you have confirmed the compatibility, you are ready to move on to the next step of the process: preparing the necessary cables and adapters.
Step 2: Prepare the Necessary Cables and Adapters
Once you have verified the compatibility between your Dell monitor and your laptop, the next step is to gather the necessary cables and adapters required for the connection. This step is crucial to ensure a successful and seamless connection between the two devices.
Firstly, identify the ports available on both your Dell monitor and your laptop. This will help you determine the type of cable you need. For example, if both devices have HDMI ports, you will need an HDMI cable. If they have DisplayPort or VGA ports, you will need the respective cables for those ports.
If your laptop and Dell monitor have different types of ports, you may need an adapter or converter to bridge the connection. Adapters are commonly used for converting between HDMI, DisplayPort, VGA, and DVI ports. Ensure that the adapters you choose are compatible with both your laptop and your Dell monitor.
It’s advisable to use high-quality cables and adapters to maintain the best possible display quality. Poor-quality cables or adapters can result in signal degradation or inconsistent connectivity. Consider investing in cables and adapters from reputable brands to ensure optimal performance.
Depending on your specific setup, you may also need an additional power cable for your Dell monitor. Some monitors require a separate power source, so make sure you have the necessary power cable and plug it into a power outlet nearby.
Before proceeding to the next step, double-check that you have all the required cables and adapters on hand. It can be frustrating to start the connection process only to realize that you are missing a crucial component. By preparing in advance, you can save time and ensure a smooth transition to the next step: connecting the cables between your laptop and the monitor.
Step 3: Connect the Cables Between the Laptop and the Monitor
Now that you have gathered all the necessary cables and adapters, it’s time to connect them between your laptop and your Dell monitor. Follow these step-by-step instructions to establish a secure and functional connection.
1. Turn off both your laptop and your Dell monitor before making any connections. This prevents any accidental damage to the devices or disruption to your workflow.
2. Locate the appropriate ports on both your laptop and your Dell monitor. Ensure that the ports match the cables you have prepared. For example, if you are using an HDMI cable, connect it to the HDMI ports on both devices.
3. Insert one end of the cable into the corresponding port on your laptop. Make sure the connection is secure by gently pushing the cable in.
4. Connect the other end of the cable into the port on your Dell monitor. Again, ensure that the connection is secure to avoid any signal loss or interruptions.
5. If you are using an adapter or converter, connect it to the appropriate ports on both your laptop and Dell monitor before connecting the cable. This step is necessary to establish compatibility between the different ports.
6. Once all the cables and adapters are properly connected, turn on your Dell monitor.
7. Power on your laptop and wait for it to detect the connection. It may take a few moments for your laptop to recognize the external monitor and adjust the display settings accordingly.
8. Adjust the display settings on your laptop if necessary. Depending on your operating system, you may need to access the display settings to optimize the resolution, refresh rate, and alignment of the external monitor.
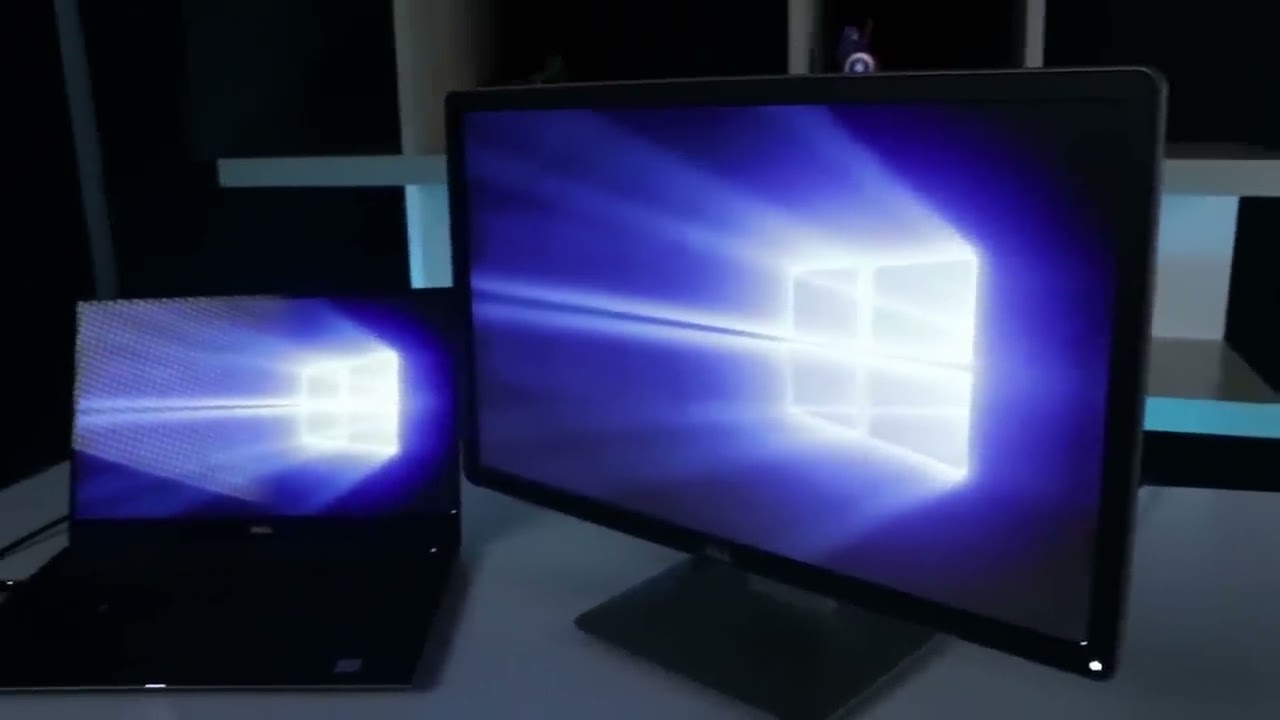
9. Once you have verified that the connection is successful and the display settings are to your liking, you can begin using your Dell monitor as an extended display or as the main display for your laptop.
By carefully following these steps, you can establish a secure and functional connection between your laptop and your Dell monitor. Take your time and ensure that all the cables and adapters are properly connected before proceeding to the next step—adjusting the display settings on your laptop to optimize the viewing experience.
Step 4: Adjust Display Settings on Your Laptop
Now that you have successfully connected your Dell monitor to your laptop, it’s time to optimize the display settings to ensure the best viewing experience. Adjusting the display settings allows you to customize the resolution, orientation, and visual properties of your extended or mirrored display.
1. On your laptop, right-click on the desktop and select “Display settings” or “Screen resolution” from the context menu. This will open the display settings menu.
2. In the display settings menu, you will see a diagram showing your laptop’s display and the newly connected Dell monitor. You can click and drag the displays to rearrange them based on your preference. For example, if you want the Dell monitor to be the primary display, you can drag it to the left or right of the laptop’s display.
3. Adjust the resolution of the Dell monitor to match its native resolution. This ensures that the display is sharp and clear. In the display settings menu, scroll down to the “Resolution” section and select the recommended resolution for your Dell monitor. If the recommended resolution is not available, choose one that is closest to it.
4. If you prefer a different orientation for the Dell monitor, such as portrait mode, you can change the display orientation in the “Orientation” dropdown menu. Select the desired orientation and click “Apply” to save the changes.
5. Explore the advanced display settings if you want to fine-tune the visual properties. These settings may include adjusting the color temperature, contrast, brightness, and other parameters specific to your laptop and graphics card.
6. Test the display settings by moving windows and applications between the laptop’s display and the Dell monitor. Ensure that all content appears on the correct screen and adjust the display settings as necessary.
7. If you want to use the Dell monitor as the primary display and disable your laptop’s built-in display, you can select “Show only on 2” or “Disconnect this display” in the display settings. Keep in mind that disconnecting the laptop’s built-in display may require additional adjustments, such as external keyboard and mouse connectivity.
By adjusting the display settings on your laptop, you can fully utilize the capabilities of your Dell monitor and create an optimized and comfortable working environment. Explore the various options and configurations to find the setup that best suits your needs. Once you have fine-tuned the display settings, you are ready to start enjoying the benefits of an extended display or a larger, high-quality monitor for your laptop.
Step 5: Troubleshooting Common Issues
While connecting your Dell monitor to your laptop is generally a straightforward process, you may encounter some common issues along the way. This section will guide you through troubleshooting these issues to ensure a smooth and uninterrupted connection.
1. No display on the Dell monitor: If you do not see any display on the Dell monitor after connecting the cables, first ensure that the monitor is powered on. Check that the cables are securely connected and that the correct input source is selected on the monitor.
2. Incorrect screen resolution: If the display resolution on the Dell monitor appears distorted or blurry, check the display settings on your laptop. Ensure that the resolution is set to the recommended or native resolution of the Dell monitor. Adjust the resolution as needed to achieve optimal image quality.
3. Duplicate or extend display not working: If you are unable to duplicate or extend your laptop’s display onto the Dell monitor, go to the display settings on your computer. Verify that the monitor is recognized and selected as an extended display or a duplicated display. Restart both the laptop and the monitor if necessary.
4. Display flickering or artifacts: If you notice flickering or abnormal artifacts on the Dell monitor, it may indicate an issue with the cable or the graphics card. Try using a different cable or connector, preferably one that is of high quality. If the issue persists, update your graphics card drivers and contact Dell support for further assistance.
5. No sound from the Dell monitor: If you are using HDMI or DisplayPort to transmit both video and audio to the monitor, but there is no sound, check the sound settings on your laptop. Ensure that the audio output is set to the Dell monitor. Additionally, ensure that the monitor’s speakers are not muted and that the volume is turned up.
6. Black screen or no signal: If the Dell monitor remains black or displays a “No Signal” message, make sure that the cables are firmly connected and that the correct input source is selected on the monitor. Try connecting the monitor to a different port on your laptop or test it with another laptop to verify if the issue is with the monitor or the laptop.
If you encounter any other issues not mentioned here, consult the user manual for your Dell monitor or reach out to Dell support for further assistance. Troubleshooting common issues will help you resolve any hiccups in the connection process and ensure that you can fully enjoy the benefits of using your Dell monitor as a secondary display for your laptop.
Conclusion
Connecting your Dell monitor to your laptop opens up a world of possibilities for enhancing your productivity, gaming experience, and multimedia enjoyment. By following the steps outlined in this guide, you can successfully connect your laptop to a Dell monitor and enjoy the benefits of a larger, high-quality display.
We started by checking the compatibility between the Dell monitor and your laptop, ensuring that both devices have the necessary ports and external display support. Then, we discussed the importance of preparing the correct cables and adapters to establish a secure connection.
You learned how to connect the cables between the laptop and the monitor, ensuring a secure and functional connection. Adjusting the display settings on your laptop allowed you to optimize the viewing experience and tailor the display to your preferences.
In case you encountered any issues along the way, we provided troubleshooting tips to help you resolve common problems, such as no display, incorrect resolution, or flickering. Troubleshooting these issues ensures a smooth and seamless connection between your laptop and the Dell monitor.
Now that you have successfully connected your Dell monitor to your laptop, you can take advantage of the extended display, improved multitasking, and enhanced visual experience. Whether you use it for work, gaming, or entertainment, the additional screen real estate and crisp display will undoubtedly enhance your overall computing experience.
Remember to consult the user manual for your specific Dell monitor model for further guidance and support, and don’t hesitate to reach out to Dell’s customer support if you encounter any persistent issues.
Enjoy the expanded capabilities and immersive experience of your Dell monitor connected to your laptop. Embrace the power of a dual-screen setup and unleash your productivity potential.