Introduction
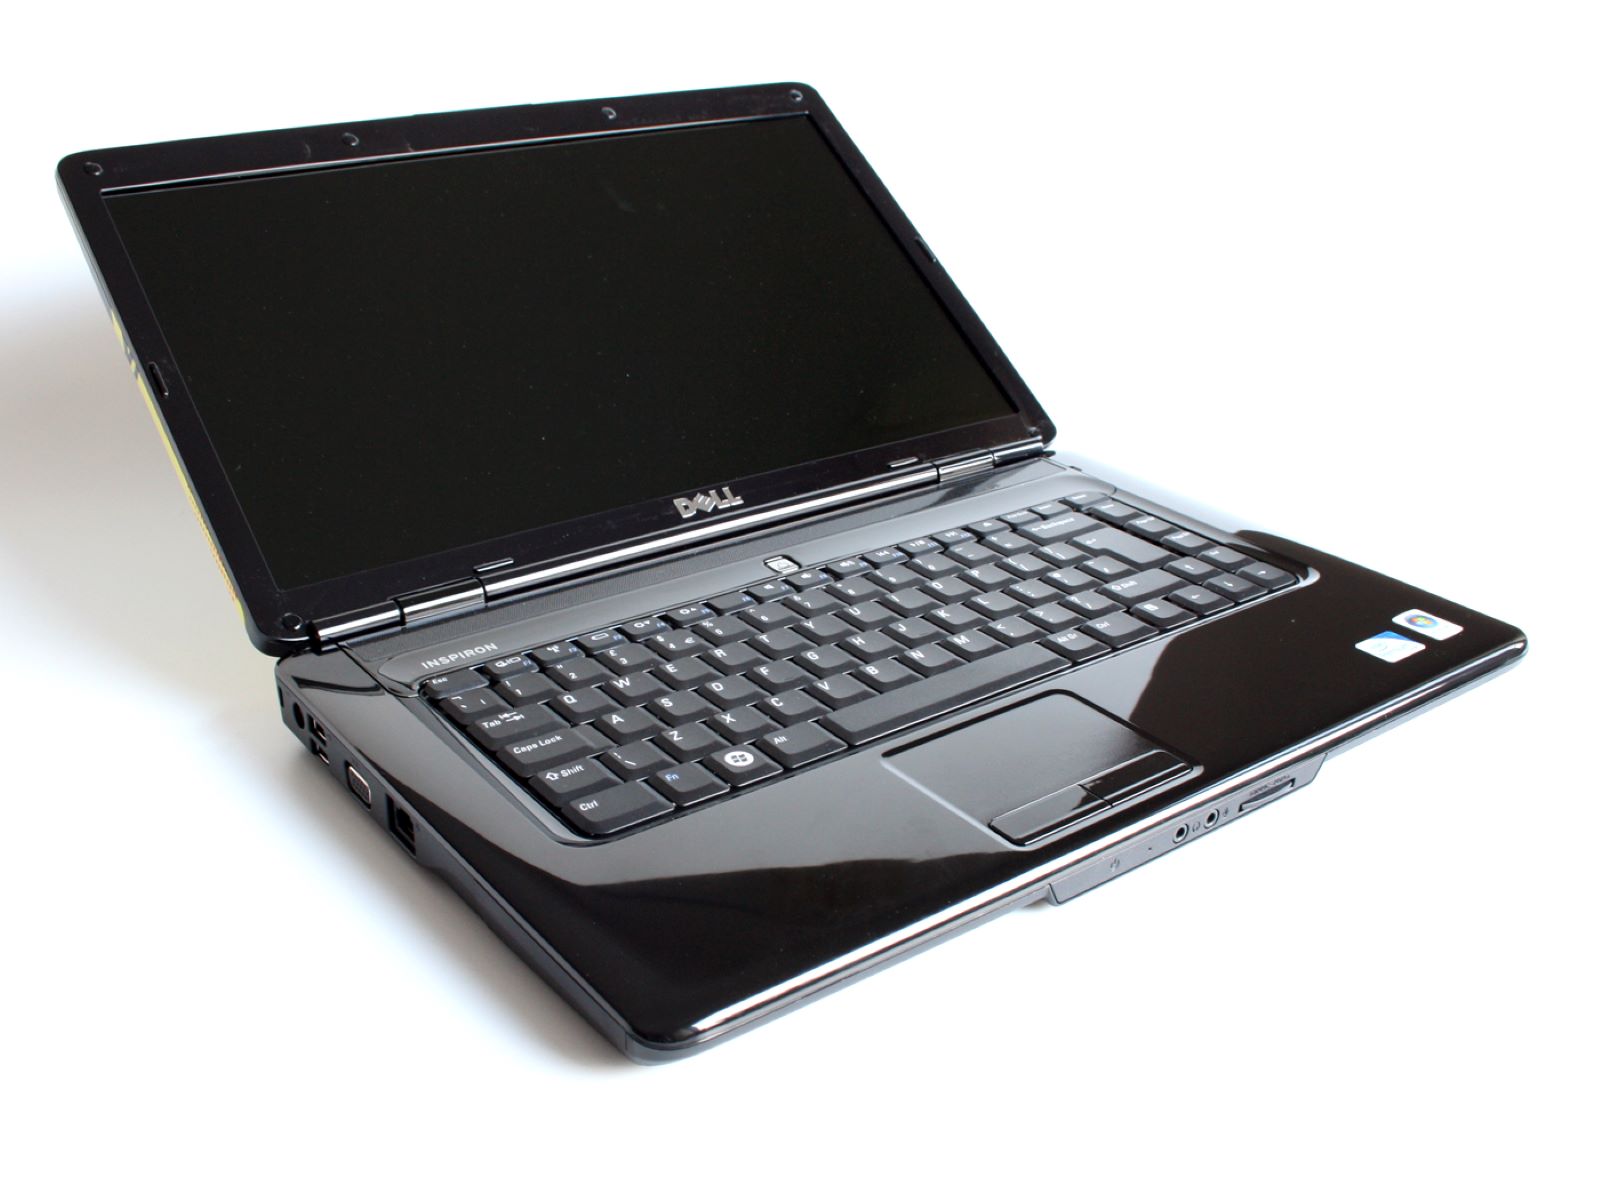
Welcome to the world of modern technology, where laptops have become an essential tool for work, communication, and entertainment. If you own a Dell laptop and find that it’s not performing as fast as it used to, don’t worry – you’re not alone. Over time, laptops can slow down due to various factors, such as accumulated files, outdated drivers, and unnecessary background programs. The good news is that there are several steps you can take to make your Dell laptop faster and optimize its performance.
In this article, we will guide you through practical strategies to improve the speed and efficiency of your Dell laptop. From clearing up disk space to updating drivers and performing regular maintenance tasks, you’ll discover a range of solutions to enhance the overall performance of your device. Let’s dive in and explore the different methods you can implement to revitalize your Dell laptop.
It’s important to note that the specific steps and settings discussed in this article may vary depending on the model and operating system of your Dell laptop. Therefore, we recommend consulting the instruction manual or Dell support website for detailed instructions relevant to your device.
Whether you use your Dell laptop for work, gaming, or simply browsing the web, optimizing its speed and performance will greatly enhance your overall user experience. By following the tips and tricks outlined in this article, you’ll be able to enjoy a faster and more responsive Dell laptop, allowing you to work efficiently and enjoy your favorite activities without frustrating delays or lag.
Clearing up Disk Space
One common reason for a slow Dell laptop is insufficient disk space. Over time, your laptop’s hard drive can become cluttered with unnecessary files, applications, and system backups. Clearing up disk space not only helps to improve your laptop’s performance but also allows for smoother operation and faster load times. Here are some effective ways to free up disk space on your Dell laptop:
- Uninstall Unnecessary Programs: Start by uninstalling any programs or applications that you no longer use or need. To do this, go to the Control Panel, click on “Programs,” and then select “Uninstall a program.” Review the list of installed programs and uninstall any that are no longer necessary.
- Delete Temporary Files: Temporary files are created by various applications and can take up a significant amount of disk space over time. To remove these files, open the “Disk Cleanup” utility by typing “Disk Cleanup” in the Start menu search bar. Select the drive you want to clean, and the utility will scan for temporary files, thumbnails, and other unnecessary files that can be safely deleted.
- Remove Duplicate Files: Duplicate files can accumulate unnoticed and take up valuable disk space. Use a reliable duplicate file finder tool to scan and identify duplicate files on your laptop and delete them. This will not only free up space but also organize your files more efficiently.
- Move Files to External Storage: If you have files, such as large media files or documents, that you don’t need immediate access to, consider moving them to an external storage device or cloud storage. This will not only free up disk space but also make your laptop run faster by reducing the load on the hard drive.
- Empty Recycle Bin: Deleted files are often sent to the Recycle Bin, where they continue to occupy disk space until the bin is emptied. Regularly emptying the Recycle Bin will instantly free up disk space on your Dell laptop.
By implementing these disk cleanup strategies, you can reclaim valuable space on your Dell laptop, allowing it to run more efficiently. Remember to periodically perform these disk cleanup tasks to maintain optimal performance.
Managing Startup Programs
When you start up your Dell laptop, several programs may automatically launch in the background. While some of these programs are necessary for the smooth operation of your system, others may not be essential and can slow down the startup process. Managing startup programs is an effective way to improve the speed and performance of your Dell laptop. Here’s how you can do it:
1. Task Manager: Press “Ctrl + Shift + Esc” to open the Task Manager. In the Task Manager window, click on the “Startup” tab. Here, you’ll see a list of programs that automatically launch when your laptop starts. Disable any programs that you don’t need to start up with your system by right-clicking on them and selecting “Disable”. Be cautious not to disable any essential programs or services.
2. MSConfig: Another way to manage startup programs is by using the System Configuration Utility (MSConfig). Press the “Windows + R” keys to open the Run dialog box, then type “msconfig” and press Enter. In the System Configuration window, navigate to the “Startup” tab. From here, you can enable or disable specific startup programs. Again, exercise caution and ensure you leave necessary programs enabled.
3. Third-Party Software: There are also third-party software options available that can help you manage startup programs effectively. These programs provide more advanced features and allow you to have more control over your system’s startup processes. Some popular options include CCleaner, Soluto, and Autoruns. Research and choose a reliable and user-friendly program that suits your needs.
By managing startup programs, you can significantly reduce the time it takes for your Dell laptop to boot up and improve its overall performance. It’s worth noting that not all programs need to be disabled; some are essential for system functionality and security. Take the time to evaluate each program before disabling them to avoid any unwanted consequences.
Performing a Disk Cleanup
As you use your Dell laptop, temporary files, cache, and other unnecessary data can accumulate on your hard drive. Performing a disk cleanup is a simple yet powerful way to free up space and optimize your laptop’s performance. Here’s how you can perform a disk cleanup on your Dell laptop:
1. Windows Disk Cleanup: Windows provides a built-in utility called Disk Cleanup, which can help you remove temporary files, system files, and other unnecessary data. To access Disk Cleanup, open the Start menu, type “Disk Cleanup” in the search bar, and open the utility. From there, select the drive you want to clean and click “OK”. The utility will analyze your disk and present you with a list of file categories to delete. Review the categories and select the files you want to remove, then click “OK” to start the cleanup process.
2. Third-Party Cleanup Tools: In addition to the built-in Disk Cleanup utility, there are several third-party tools available that can perform a more thorough cleanup of your Dell laptop. These tools often provide additional features such as scanning for duplicate files, optimizing system settings, and managing startup programs. Some popular options include CCleaner, Advanced SystemCare, and BleachBit. Research and choose a reputable cleanup tool that suits your needs.
3. Delete Large and Unused Files: Apart from temporary files, identifying and deleting large and unused files can also help free up valuable disk space. Use the Windows file explorer or a third-party file management tool to search for large files such as videos, old backups, or unnecessary documents. Carefully review and delete any files that are no longer needed or can be stored elsewhere, like an external hard drive or cloud storage.
Regularly performing a disk cleanup on your Dell laptop will not only create more space on your hard drive but also improve system performance and responsiveness. Make it a habit to run a disk cleanup at least once a month or more frequently if you notice your laptop’s performance starting to slow down.
Updating Drivers
Outdated or incompatible drivers can cause performance issues and stability problems on your Dell laptop. Updating drivers is an essential step in optimizing your laptop’s performance and ensuring compatibility with the latest software and hardware. Here’s how you can update drivers on your Dell laptop:
1. Windows Device Manager: The Device Manager in Windows allows you to view and update drivers for various hardware components. To access it, right-click on the Start button and select “Device Manager”. Expand the categories to find the specific device drivers you want to update. Right-click on the device, select “Update driver”, and choose to search automatically for updated driver software. Windows will search for the latest drivers and install them if available.
2. Dell Support Website: Dell provides official support and driver downloads on their website. Visit the Dell Support website and enter your laptop’s model or service tag to find the relevant drivers for your device. Download the latest drivers for specific hardware components, such as the graphics card, network adapter, or sound card. Follow the instructions provided by Dell to install the updated drivers on your laptop.
3. Driver Update Utilities: If you prefer a more automated approach, you can use third-party driver update utilities to scan your Dell laptop for outdated drivers and install the latest versions. These utilities often provide a user-friendly interface and streamline the driver update process. Some popular options include Driver Booster, Driver Easy, and Snappy Driver Installer. Keep in mind that while these utilities can be convenient, it’s important to choose a reputable and trustworthy software source.
Regularly updating drivers on your Dell laptop can resolve performance issues, improve hardware compatibility, and ensure the stability of your system. It’s a good practice to check for driver updates periodically, especially after a major system update or when encountering hardware-related problems.
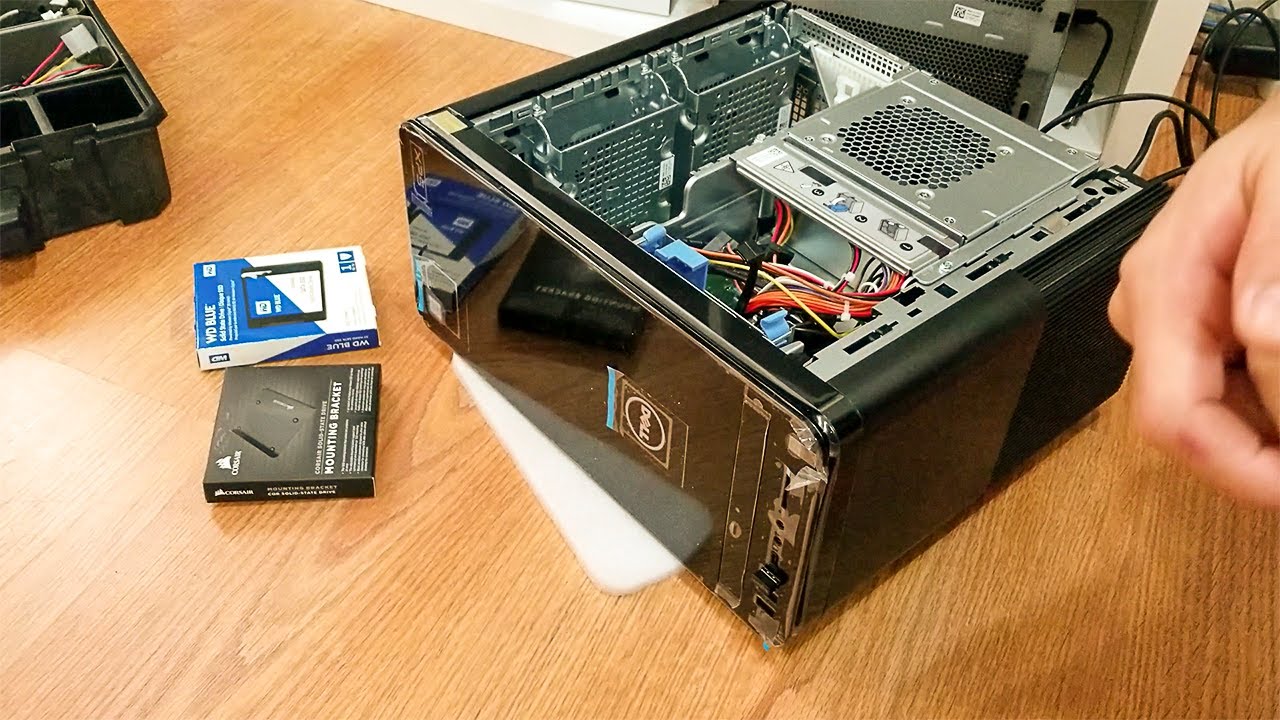
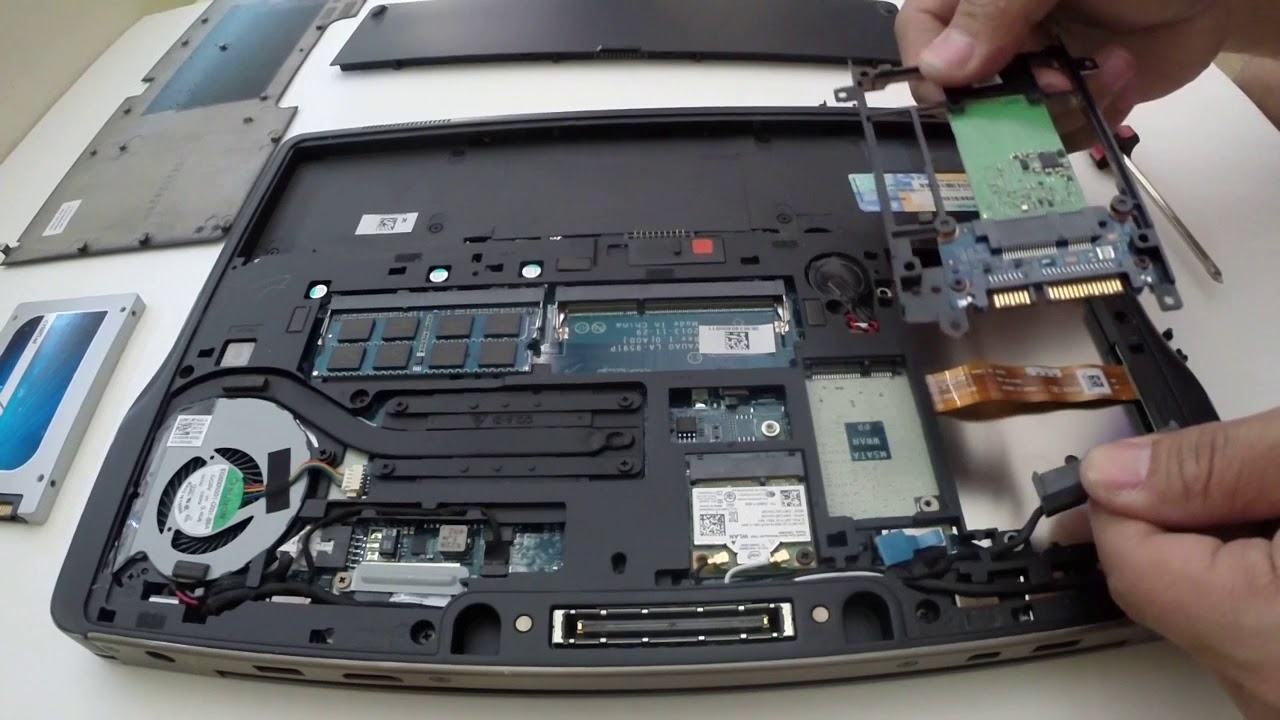
Upgrading Hardware
If your Dell laptop is still not performing as fast as you would like, it may be time to consider upgrading certain hardware components. Upgrading hardware can provide a significant boost in performance and enable your laptop to handle more demanding tasks. Here are some hardware upgrades you can consider for your Dell laptop:
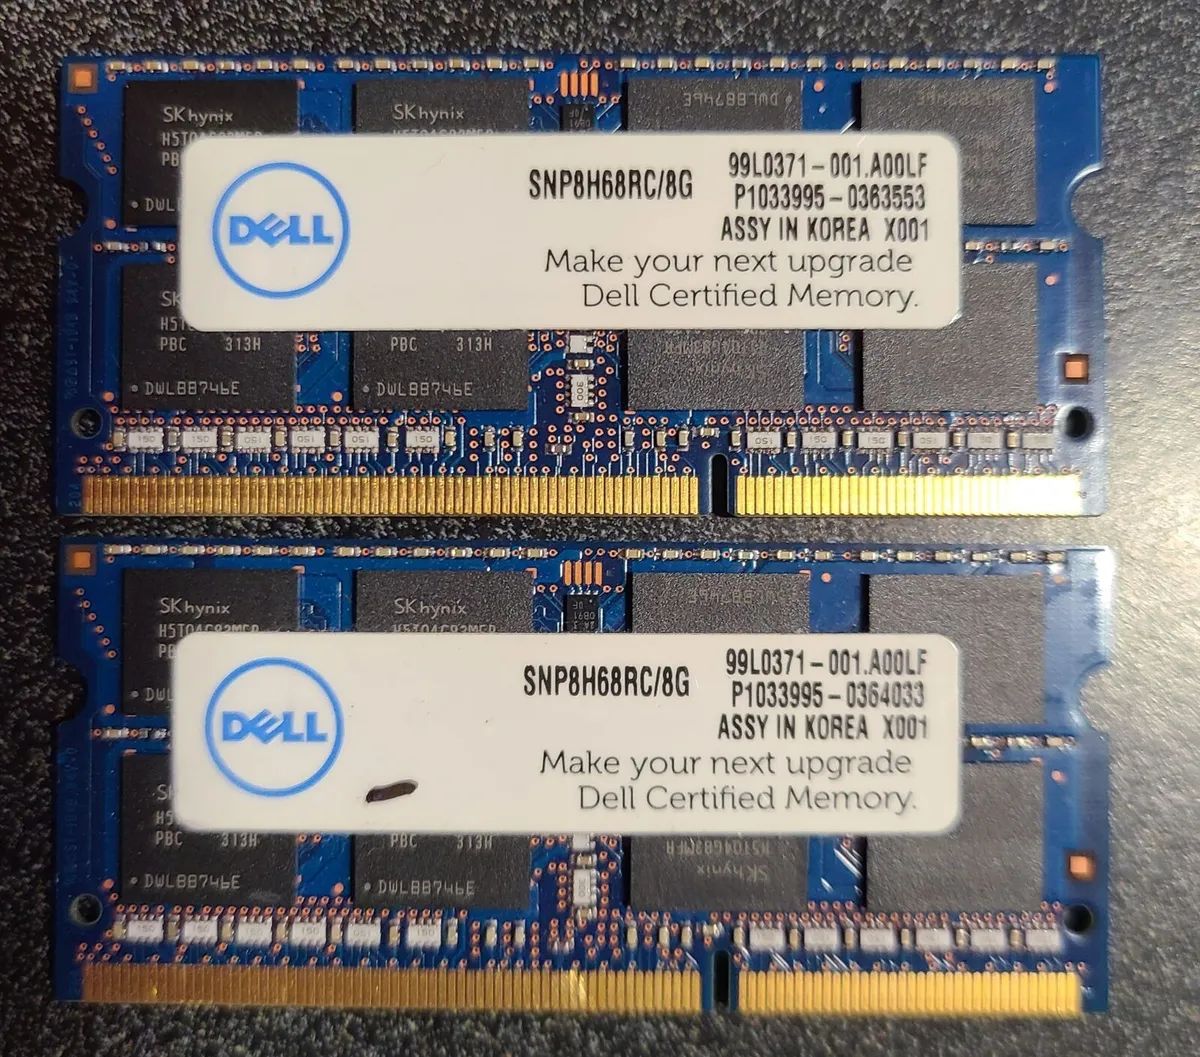
1. RAM (Random Access Memory): Upgrading your laptop’s RAM can greatly improve its multitasking capabilities and overall responsiveness. When you have more RAM, your laptop can handle multiple applications and processes simultaneously without slowing down. Check the maximum capacity and type of RAM supported by your laptop model, and purchase compatible RAM modules to upgrade.
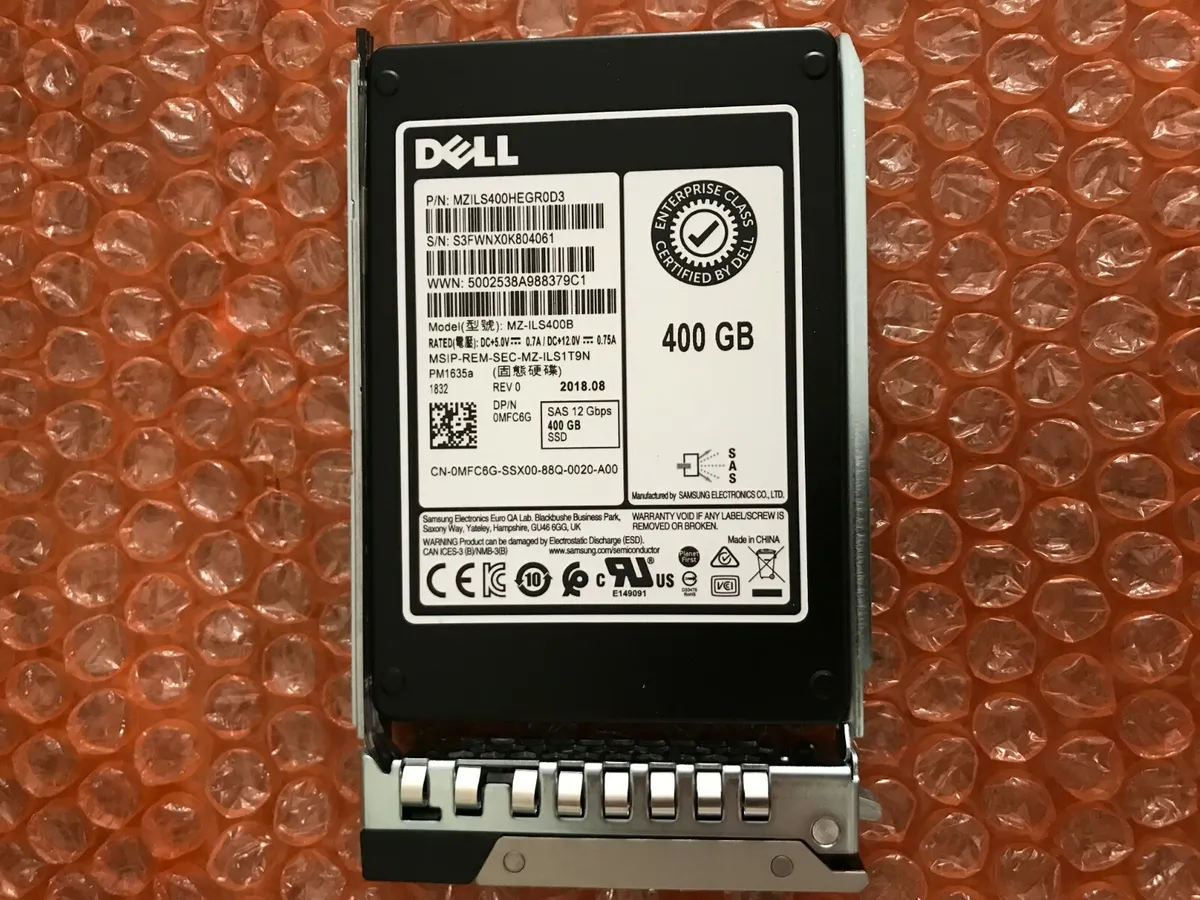
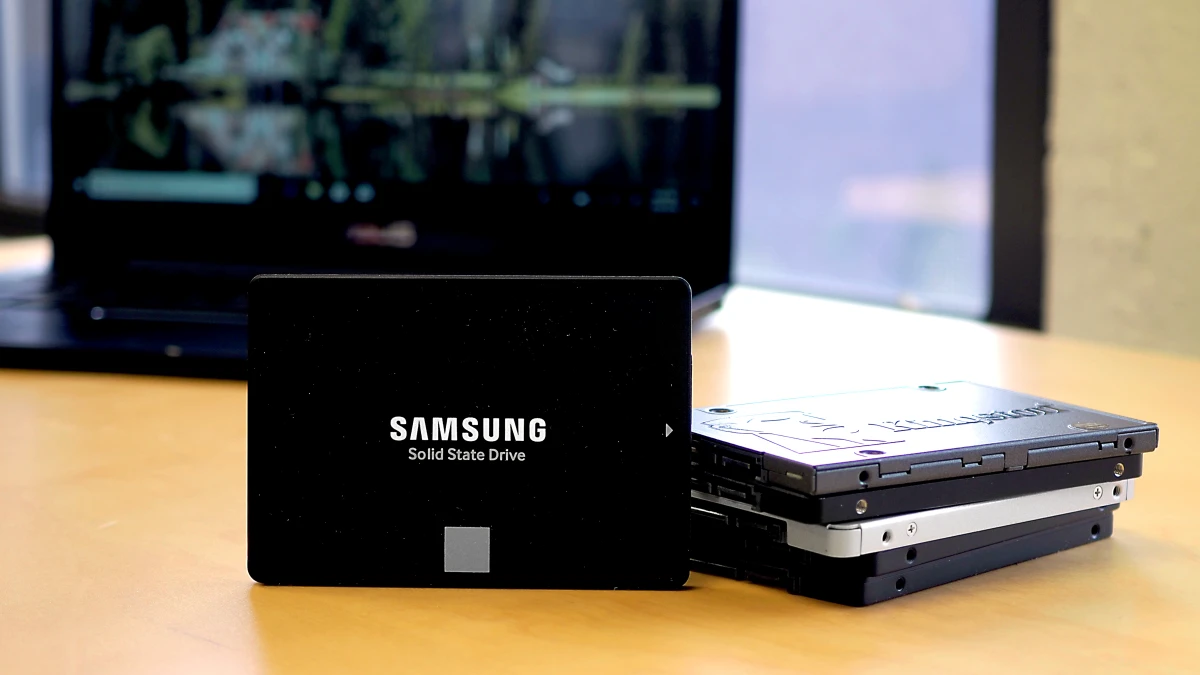
2. Storage Drive: Upgrading your laptop’s storage drive can have a noticeable impact on performance, particularly if you’re using a traditional hard disk drive (HDD). Consider upgrading to a solid-state drive (SSD) for faster boot times, quicker application loading, and improved file transfer speeds. SSDs are available in various capacities to suit your storage needs.
3. Processor: Upgrading your laptop’s processor may not be as straightforward as other hardware upgrades because it often involves replacing the entire motherboard. However, if your laptop allows for processor upgrades, it can provide a significant performance boost, especially if you are using an older or slower model.
4. Graphics Card: If you use your Dell laptop for gaming or graphic-intensive tasks, upgrading the graphics card can enhance your gaming experience and improve the rendering of high-resolution visuals. Check if your laptop supports graphics card upgrades and choose a compatible model that meets your performance requirements.
Upgrading hardware components on a laptop may require some technical expertise, so if you’re not familiar with the process, it’s recommended to seek professional assistance or consult the Dell support website for detailed instructions. Additionally, it’s worth considering the cost of the hardware upgrade and whether it is worth investing in an older laptop or if it may be more practical to purchase a new one.
By upgrading the relevant hardware components in your Dell laptop, you can significantly improve its performance and extend its lifespan. However, before investing in any hardware upgrades, assess your specific needs and budget to ensure that the upgrades will deliver the desired performance improvements.
Disabling Visual Effects
Visual effects can add aesthetic appeal to your Dell laptop, but they can also consume valuable system resources and slow down your device. Disabling unnecessary visual effects is a simple yet effective way to boost performance and improve the responsiveness of your laptop. Here’s how you can disable visual effects on your Dell laptop:
1. Windows Visual Effects: Windows provides built-in visual effects that can be adjusted or disabled. To access these settings, right-click on “This PC” or “My Computer”, select “Properties”, and click on “Advanced system settings”. In the System Properties window, go to the “Advanced” tab and click on the “Settings” button under the “Performance” section. Here, you can choose to adjust for best performance or customize individual visual effects by selecting or deselecting options.
2. Disable Animations: Animations, such as fading effects and window transitions, can contribute to the overall visual experience but can also impact performance. To disable animations, open the Windows settings by pressing “Windows + I”, go to “Ease of Access”, and select “Display” on the left sidebar. Under the “Simplify and personalize Windows” section, turn off the toggles for animations, such as “Show animations in Windows”, “Fade or slide menus into view”, and “Animate controls and elements inside windows”.
3. Reduce Transparency: Windows uses transparency effects in various elements, such as the taskbar and Start menu. While visually appealing, transparency effects can consume system resources. To reduce transparency, go to the Windows settings, select “Personalization”, and click on “Colors” on the left sidebar. Under the “More options” section, disable the “Transparency effects” toggle.
4. Disable Visual Enhancements in Applications: Some applications, particularly resource-intensive ones like video editing software or games, may have their own visual effects settings. Explore the settings or preferences of these applications to disable any unnecessary visual enhancements that may impact performance.
Disabling visual effects might result in a less visually appealing interface, but it can significantly improve the speed and responsiveness of your Dell laptop. By reducing the strain on system resources, your laptop will be able to focus more on executing tasks and providing a smoother user experience.
Defragmenting the Hard Drive
Over time, files on your Dell laptop’s hard drive can become fragmented, meaning they are scattered and not stored in contiguous blocks. This fragmentation can result in slower file access and overall system performance. Defragmenting the hard drive is a process that reorganizes these scattered files, making them contiguous and improving your laptop’s performance. Here’s how you can defragment the hard drive on your Dell laptop:
1. Windows Disk Defragmenter: Windows provides a built-in utility called Disk Defragmenter or Optimize Drives that can help reorganize fragmented files. To access it, open the Start menu and type “Defragment and Optimize Drives” in the search bar. Open the utility and select the drive you wish to defragment. Click on the “Optimize” or “Analyze” button to determine the level of fragmentation. If the drive needs defragmentation, click on the “Optimize” button to start the process.
2. Third-Party Defragmentation Tools: While the built-in Windows utility is usually sufficient, there are also third-party defragmentation tools available that offer additional features and customization options. Some popular options include Defraggler, Auslogics Disk Defrag, and MyDefrag. These third-party tools often provide more detailed information about the state of your hard drive and allow for more advanced defragmentation settings.
3. Frequency of Defragmentation: The frequency at which you should defragment your hard drive depends on your usage patterns and the level of fragmentation. As a general guideline, it’s recommended to defragment your hard drive at least once every few months or when you notice a significant decrease in system performance. However, newer versions of Windows are more efficient at managing fragmentation, so frequent defragmentation may not always be necessary.
It’s important to note that solid-state drives (SSDs) do not require defragmentation. In fact, defragmenting an SSD can reduce its lifespan. If your Dell laptop uses an SSD, focus on regular disk cleanup and maintenance rather than defragmentation.
Defragmenting the hard drive of your Dell laptop can help optimize file access and improve overall system performance. By reorganizing fragmented files, your laptop can read and write data more efficiently, resulting in faster response times and smoother operation.
Removing Malware and Viruses
Malware and viruses can significantly impact the performance and security of your Dell laptop. These malicious software can slow down your system, cause crashes, steal personal information, and even grant unauthorized access to your data. It’s important to regularly scan for and remove malware and viruses to ensure the optimal performance and security of your device. Here’s how you can remove malware and viruses from your Dell laptop:
1. Install Antivirus Software: Start by installing reputable antivirus software on your Dell laptop. There are many options available, both free and paid, such as Avast, Norton, and Bitdefender. Update the antivirus software to its latest version and perform a full system scan to detect and remove any malware or viruses.
2. Use Anti-Malware Tools: In addition to antivirus software, it’s recommended to have dedicated anti-malware tools installed on your Dell laptop. These tools specialize in detecting and removing various types of malware, including adware, spyware, and ransomware. Examples of popular anti-malware tools include Malwarebytes, Spybot Search & Destroy, and HitmanPro.
3. Keep Operating System and Software Updated: Regularly updating your operating system and software is crucial for staying protected against the latest security threats. Enable automatic updates for your Dell laptop’s operating system and configure your applications to update automatically when new versions are available. Updated software often includes bug fixes and security patches that can help keep malware and viruses at bay.
4. Practice Safe Browsing Habits: Avoiding suspicious websites and refraining from downloading files from untrustworthy sources is a key step in preventing malware infections. Be cautious when clicking on links in emails or messages, and always verify the legitimacy of websites before entering personal information or downloading files.
5. Perform Regular Scans: Schedule regular scans with your antivirus and anti-malware software to proactively detect and remove any potential threats. Set up automated scans that occur at times when your Dell laptop is typically idle, such as during the night.
In case your Dell laptop is already infected with malware or viruses, it’s essential to take immediate action to remove them. Malware infections can be stubborn, so if you encounter difficulties in removing them, consider seeking professional assistance or consulting the support resources provided by your antivirus software provider or Dell.
By removing malware and viruses from your Dell laptop, you not only improve its performance but also safeguard your personal information and ensure a secure computing environment.
Adjusting Power Settings
The power settings on your Dell laptop can have a significant impact on its performance and battery life. By adjusting the power settings, you can optimize the balance between performance and power consumption based on your usage needs. Here’s how you can adjust the power settings on your Dell laptop:
1. Power Plans: Windows provides preconfigured power plans that allow you to quickly switch between different power settings. The default power plans include “Balanced”, “Power Saver”, and “High Performance”. To access the power plans, right-click on the battery icon in the taskbar and select “Power Options”. Choose a power plan that suits your needs, or customize the existing plans to adjust specific settings.
2. Customize Power Options: Within each power plan, you can customize various power settings to fine-tune your Dell laptop’s performance and power consumption. To access these settings, click on “Change plan settings” next to your selected power plan. From here, you can adjust settings such as display brightness, display timeout, sleep mode, and processor power management. Experiment with different settings to find a balance that meets your needs.
3. Power Saving Features: Windows and Dell laptops offer additional power-saving features that can prolong battery life and reduce power consumption. For example, you can enable the “Hibernate” option instead of “Sleep” mode to save more power when your laptop is not in use for an extended period. You can also adjust settings for Wi-Fi and Bluetooth to conserve power when not in use.
4. Optimize Graphics Performance: Graphics settings can also impact power consumption, especially for laptops equipped with dedicated graphics cards. Consider adjusting the graphics settings to a lower performance mode or using integrated graphics instead of dedicated graphics when running less demanding tasks.
By adjusting the power settings on your Dell laptop, you can optimize its performance and battery life according to your preferences and requirements. Keep in mind that certain power settings may impact performance, so it’s important to strike the right balance and adjust settings based on your immediate needs.
Conclusion
Improving the performance of your Dell laptop is essential for a smooth and efficient user experience. By implementing the strategies discussed in this article, you can optimize your laptop’s speed, responsiveness, and overall functionality. Whether you’re facing issues related to disk space, startup programs, drivers, hardware, visual effects, disk fragmentation, or malware, there are practical solutions available to address these concerns.
Start by clearing up disk space by uninstalling unnecessary programs, deleting temporary files, removing duplicates, and moving files to external storage. Next, manage startup programs to streamline the boot process and reduce unnecessary background tasks. Perform regular disk cleanups to remove temporary files and improve storage efficiency.
Keeping your drivers up to date is crucial for compatibility and performance enhancements. Take advantage of built-in Windows utilities, visit the official Dell support website, or use third-party software to update drivers effectively. If needed, consider upgrading hardware components like RAM, storage drive, processor, or graphics card to further boost performance.
Disabling visual effects can significantly improve your laptop’s speed and responsiveness, minimizing unnecessary strain on system resources. Additionally, regular disk defragmentation and malware/virus removal help optimize file access and ensure a secure computing environment.
Lastly, adjusting power settings can optimize battery life and performance based on your specific needs and usage patterns. Customizing power plans and utilizing power-saving features can enhance efficiency and extend battery longevity.
Remember, each Dell laptop model may have specific instructions or variations in settings, so consult the user manual or the Dell support website for detailed guidance relevant to your device.
By implementing these strategies, you can breathe new life into your Dell laptop and enjoy a faster, more efficient computing experience. Regular maintenance and optimization are key to keeping your laptop running smoothly and ensuring it meets your performance expectations.