Introduction
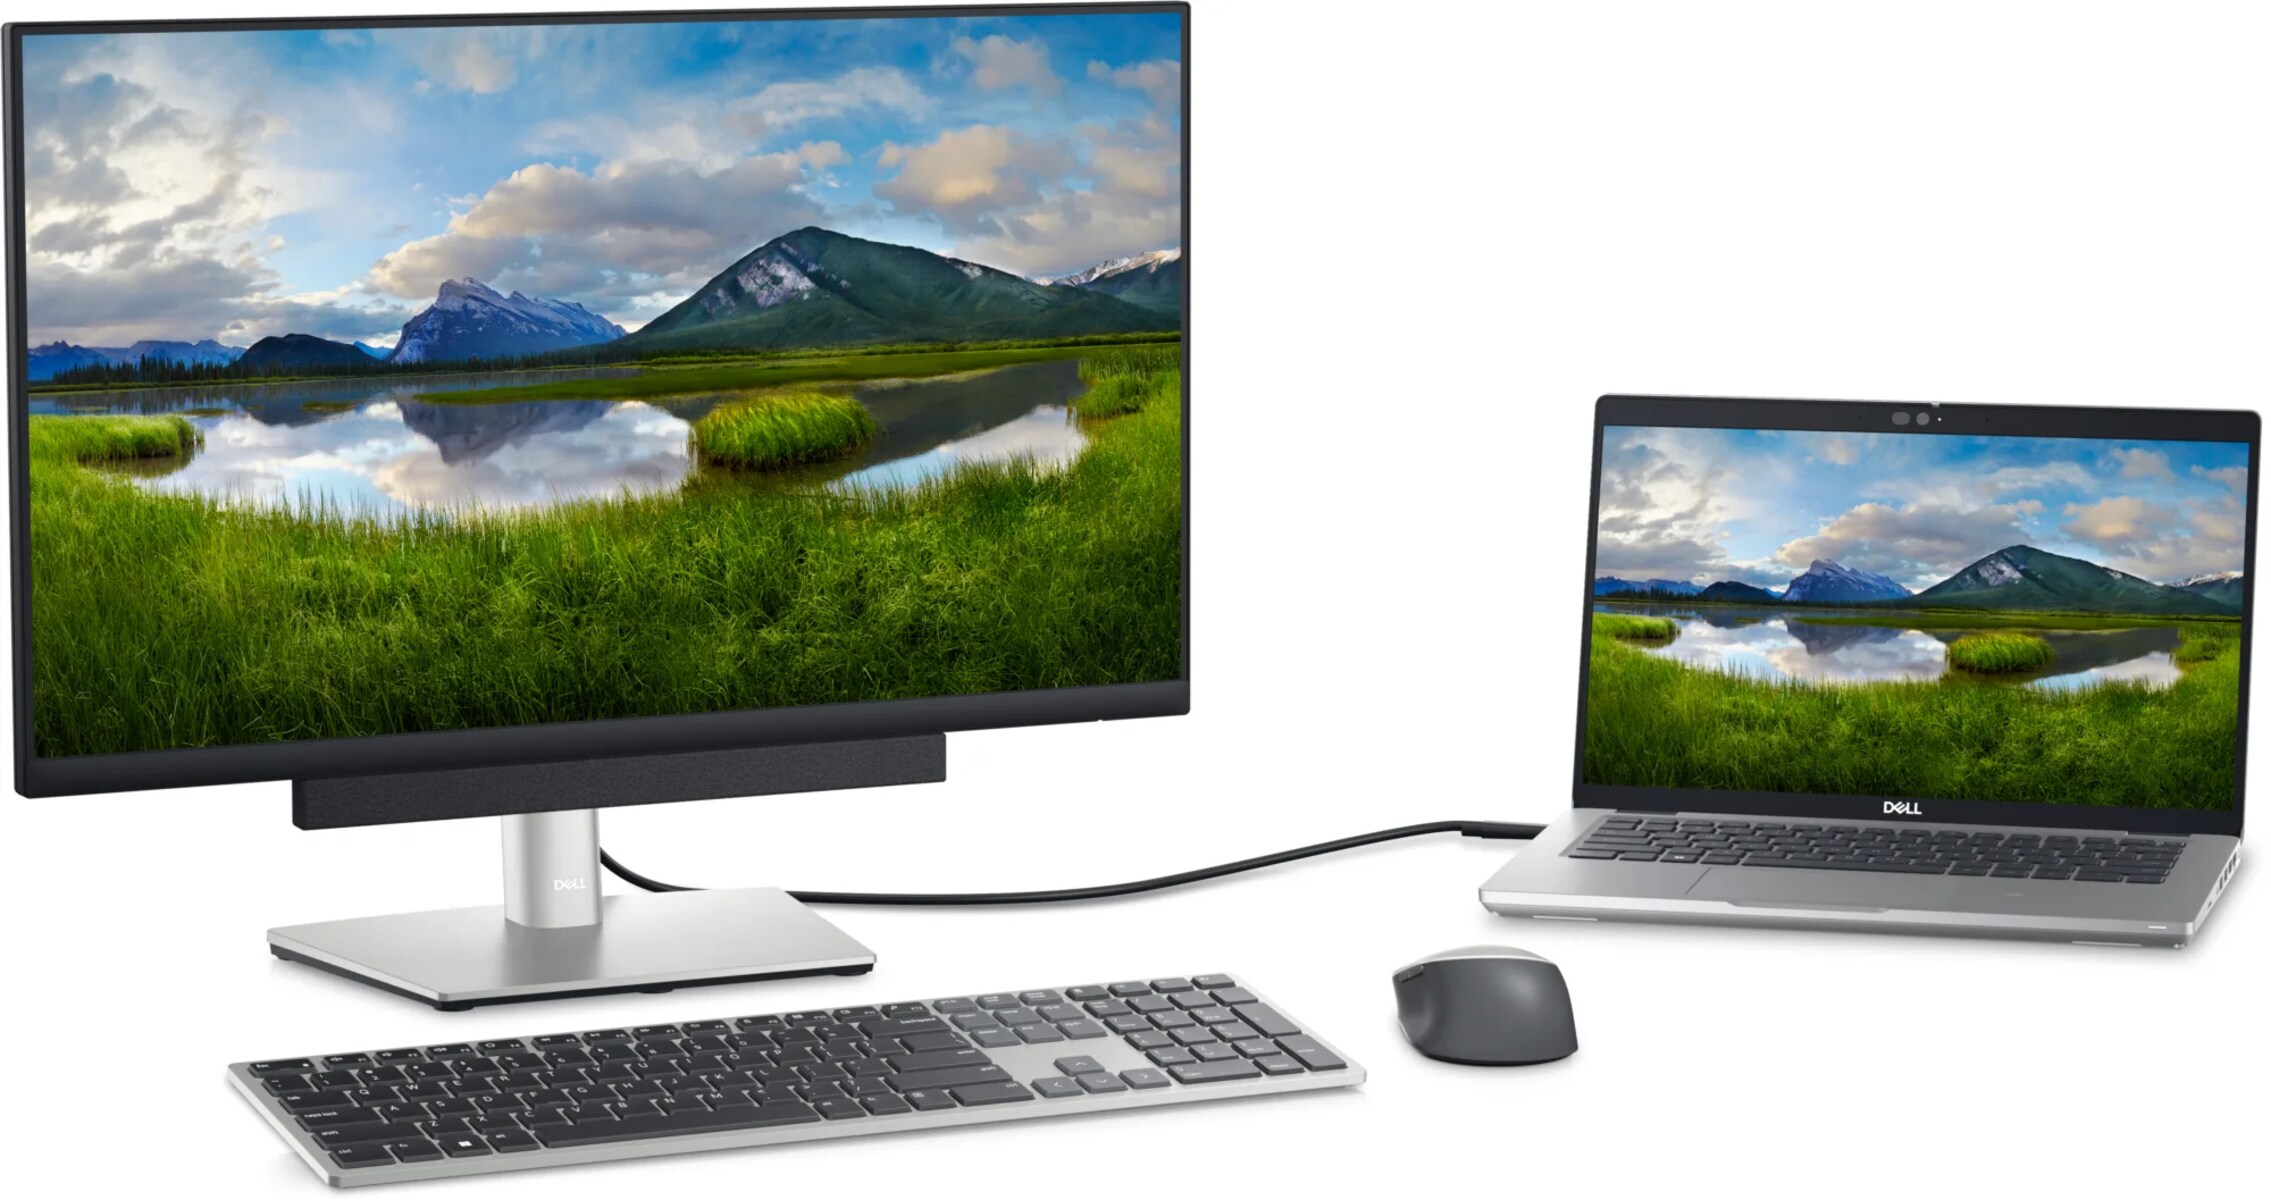
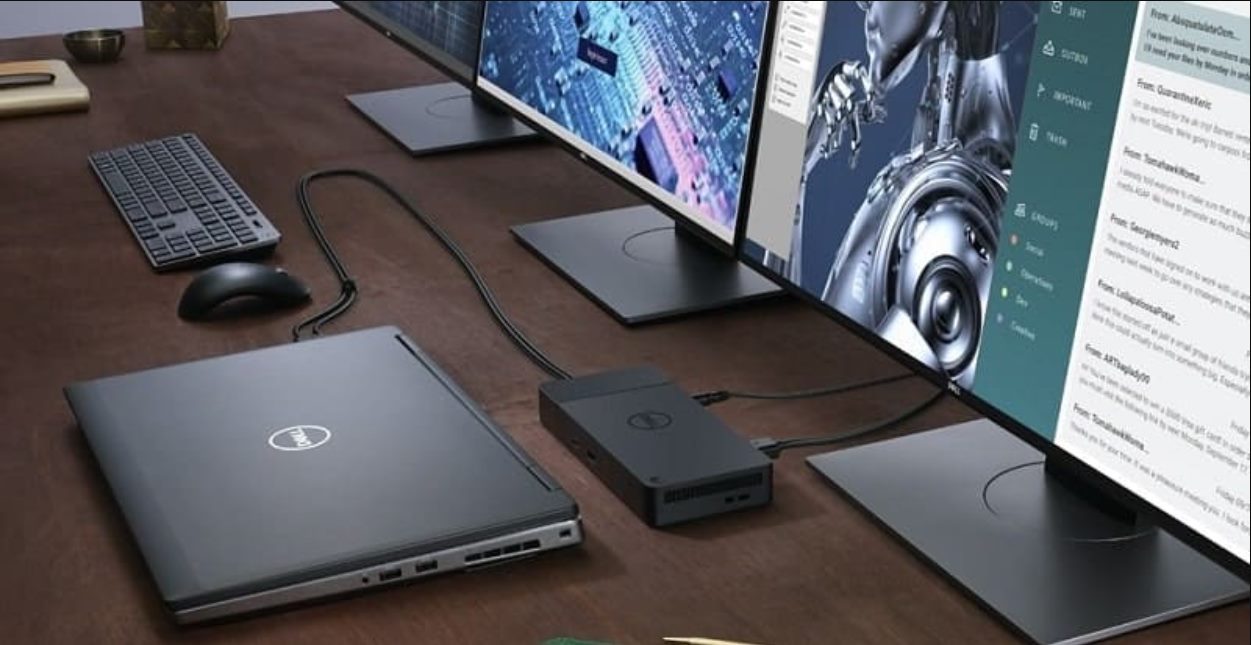
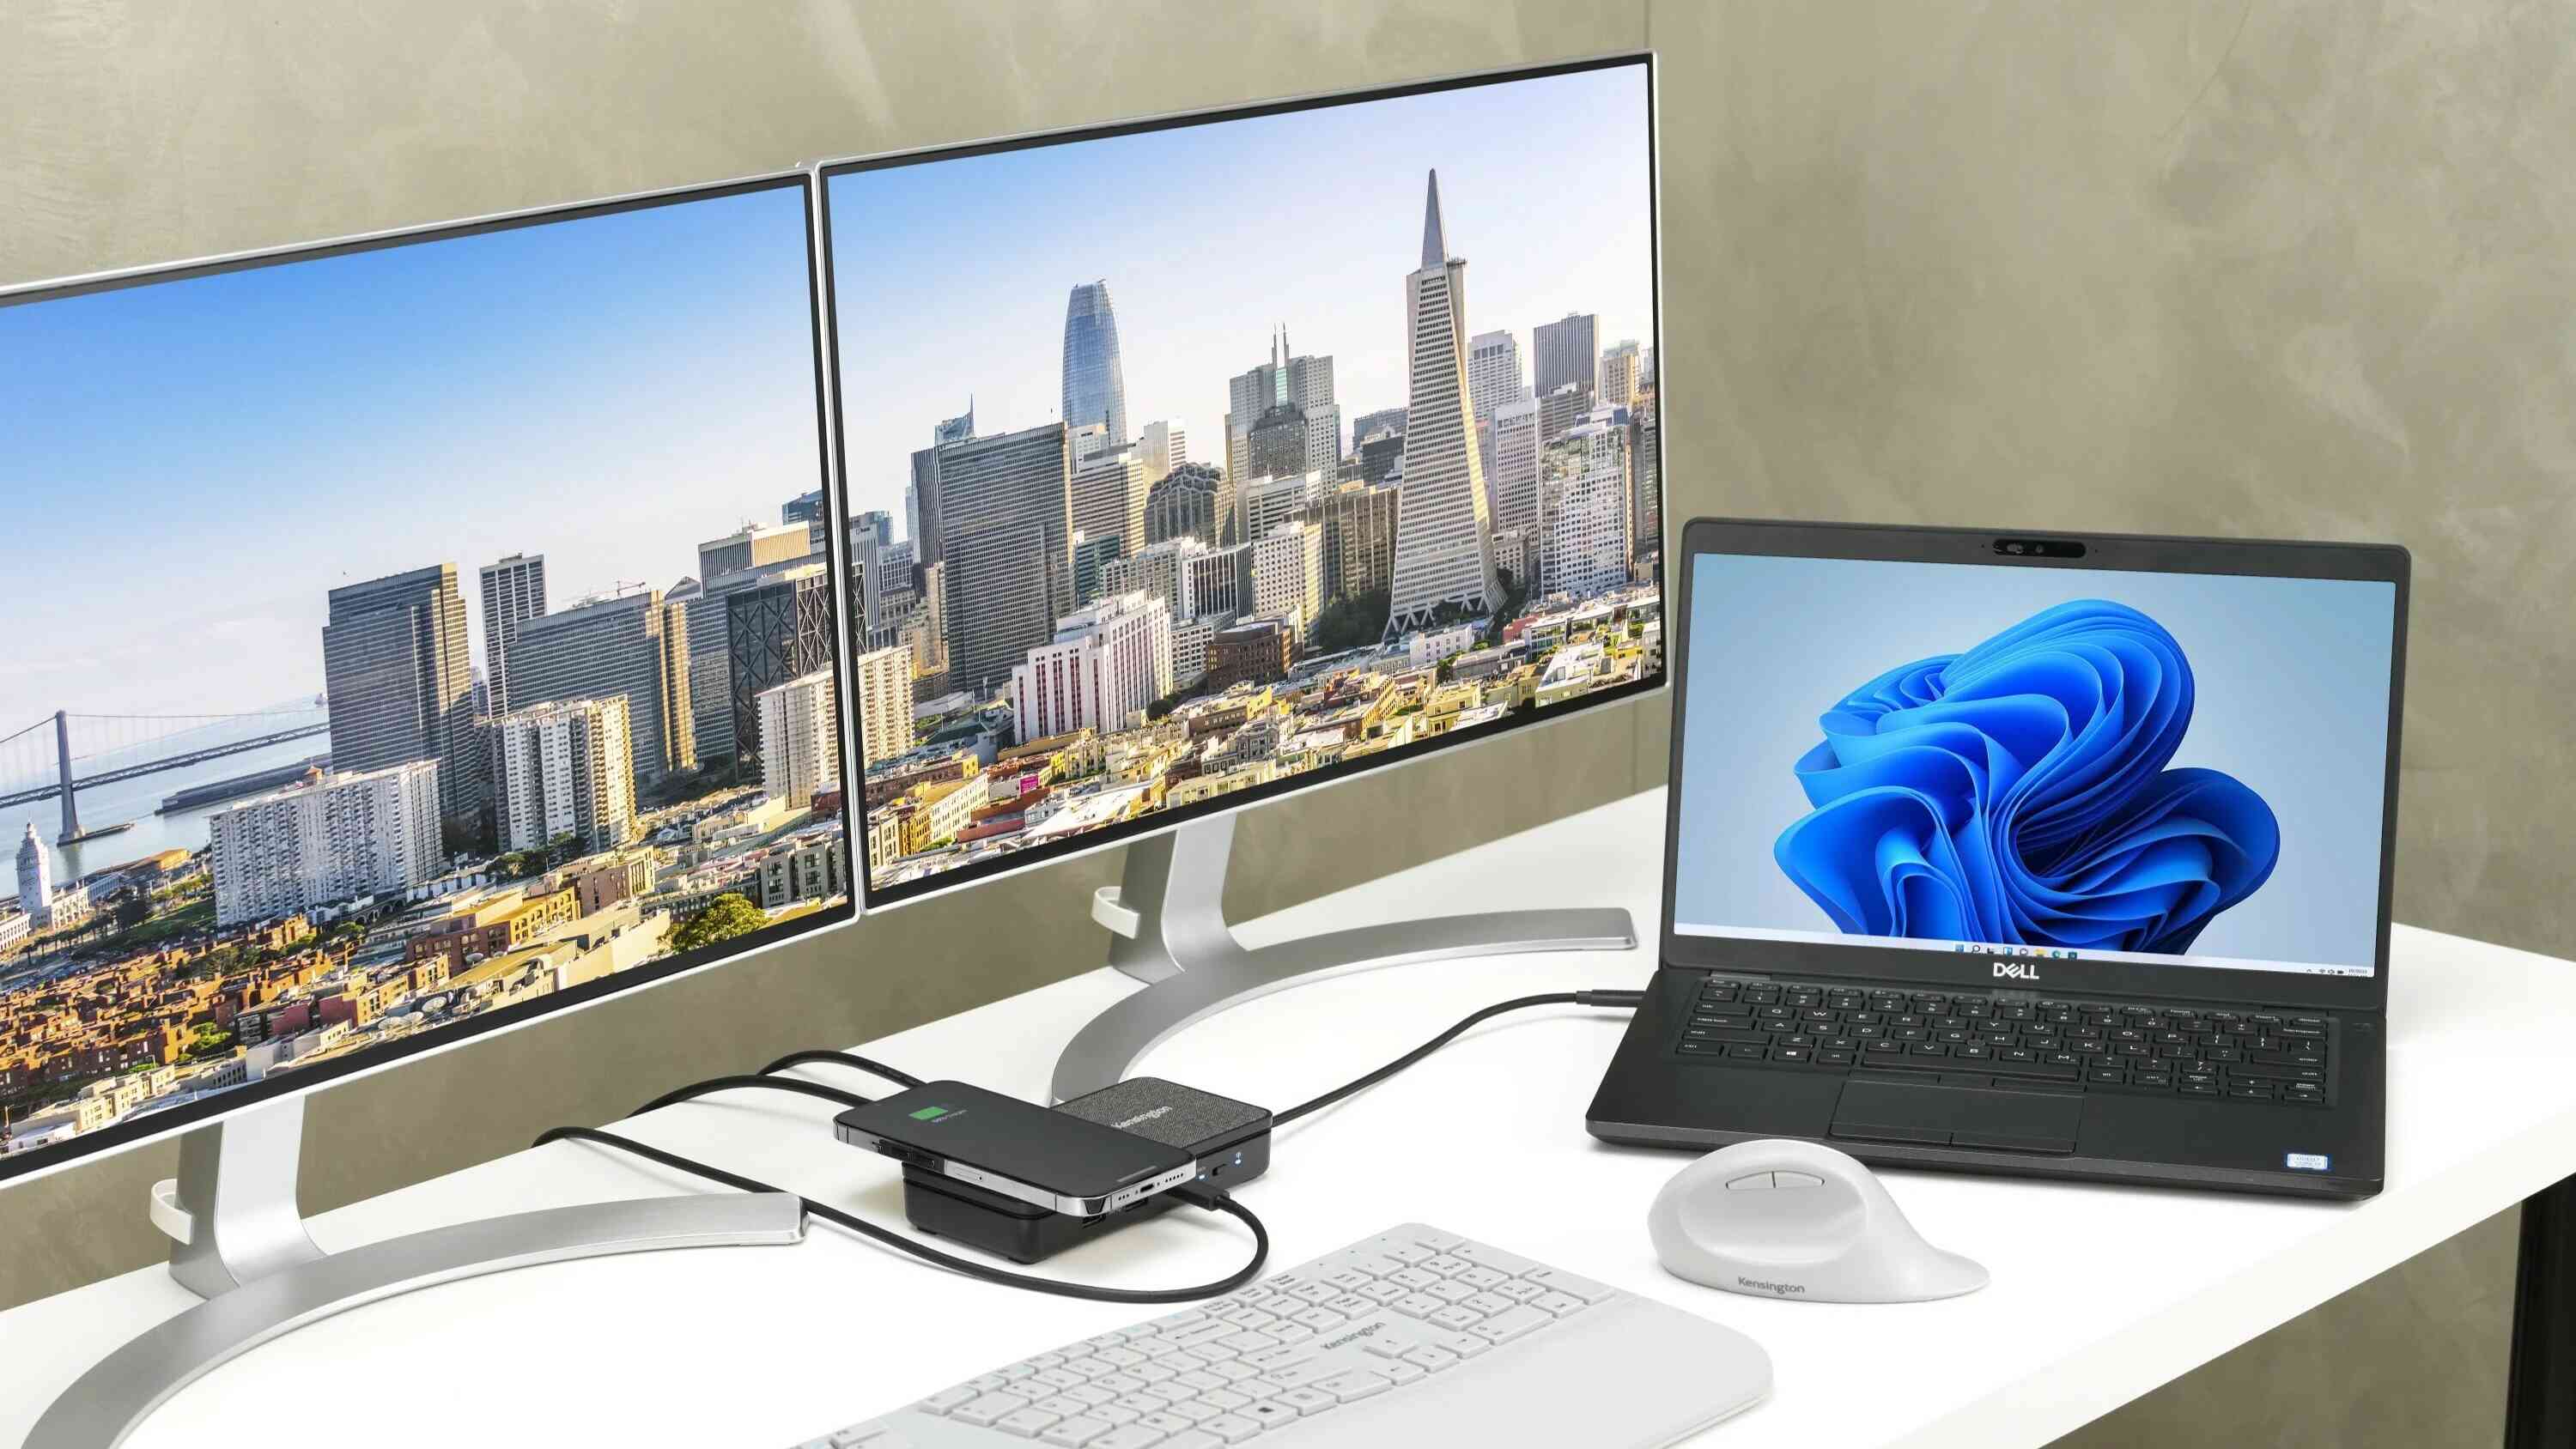
Connecting your Dell laptop to a monitor can greatly enhance your productivity and improve your overall viewing experience. Whether you want to extend your desktop, mirror your screen, or simply enjoy a larger display, using an HDMI connection is often the best choice. HDMI (High-Definition Multimedia Interface) allows for seamless transmission of audio and video signals between your laptop and monitor, providing high-quality visuals and sound.
In this article, we will guide you through the step-by-step process of connecting your Dell laptop to a monitor using an HDMI cable. We will also address common issues and provide troubleshooting tips to ensure a successful connection.
Before we dive into the steps, it is important to note that not all Dell laptops and monitors have HDMI ports. Make sure to check the specifications of your laptop and monitor to ensure compatibility. If your laptop or monitor does not have an HDMI port, there may be alternative connection options available such as VGA or DisplayPort.
Now, let’s get started and learn how to connect your Dell laptop to a monitor using HDMI!
Step 1: Check Your Laptop and Monitor Compatibility
Before you begin the process of connecting your Dell laptop to a monitor with HDMI, it’s essential to ensure that both your laptop and monitor are equipped with HDMI ports. This will determine whether they are compatible for a seamless connection.
First, let’s check your laptop. Most modern Dell laptops come with at least one HDMI port, usually located on the side or back of the device. Take a moment to inspect your laptop for the HDMI port, which is a small rectangular slot labeled “HDMI”. If you cannot locate the HDMI port, refer to your laptop’s user manual or look up the specifications online for confirmation.
Next, let’s turn our attention to your monitor. Look for the HDMI port on the back or side of the monitor, which is typically labeled “HDMI IN”. If you are unsure, consult your monitor’s user manual or research the specifications online.
If your laptop and monitor both have HDMI ports, congratulations! They are compatible for an HDMI connection. However, if either the laptop or monitor lacks an HDMI port, you may need to consider alternative connection options or adapters, such as VGA or DisplayPort.
Now that you have confirmed the compatibility of your Dell laptop and monitor, you can proceed to the next steps to connect them using an HDMI cable. Keep in mind that these steps may vary slightly depending on the specific model of your Dell laptop and monitor, so always consult the user manual or manufacturer’s instructions for accurate guidance.
Step 2: Power Off Your Laptop and Monitor
Before you start connecting your Dell laptop to a monitor using an HDMI cable, it is important to power off both devices. This ensures a safe and successful connection without the risk of damaging the ports or experiencing any technical issues.
Begin by shutting down your laptop. Save any ongoing work, close all applications, and click on the “Start” menu in the lower-left corner of your screen. From there, select “Shut down” to power off your laptop completely. Wait for a few moments to ensure that your laptop has shut down entirely.
Next, you need to power off your monitor. Locate the power button on your monitor, which is usually located on the front or sides, and press it to turn off the monitor. If your monitor doesn’t have a power button, simply unplug it from the power source.
It is important to note that some monitors may have a standby mode instead of completely powering off. In this case, you can either turn off the monitor’s standby mode or unplug it for the duration of the connection process.
By ensuring that both your laptop and monitor are powered off, you minimize the risk of any electrical damage or interference during the connection process. This step sets the foundation for a safe and smooth connection experience. Before moving on to the next step, double-check that both devices are powered off completely.
Now that your laptop and monitor are properly powered off, you can proceed to the next steps to connect them using an HDMI cable. Remember to leave the devices powered off until instructed to power them back on in later steps.
Step 3: Locate the HDMI Port on Your Dell Laptop
In order to connect your Dell laptop to a monitor using an HDMI cable, you need to locate the HDMI port on your laptop. This port is where you will plug in one end of the HDMI cable to establish the connection.
The HDMI port on your Dell laptop is typically located on the side or back of the device. It is a small rectangular slot labeled “HDMI”, and it might be accompanied by the HDMI logo. The exact location of the HDMI port may vary depending on the model of your Dell laptop.
If you are having trouble finding the HDMI port, consult your laptop’s user manual or visit the Dell support website for assistance. You can also try searching online for the specific model of your Dell laptop along with the term “HDMI port location” to find visual guides or videos that can help you locate it.
Once you have identified the HDMI port on your Dell laptop, take a moment to ensure that it is clear of any dust or debris. If necessary, use a soft cloth or compressed air to gently clean the port before proceeding. This will help maintain a secure and reliable connection.
Now that you have located the HDMI port on your Dell laptop, you are ready to move on to the next step and connect the HDMI cable. Make sure to keep your laptop powered off until instructed to power it back on later in the process.
Step 4: Connect the HDMI Cable to Your Laptop
Now that you have located the HDMI port on your Dell laptop, it’s time to connect one end of the HDMI cable to establish the connection between your laptop and the monitor.
Take the HDMI cable and insert one end of it into the HDMI port on your Dell laptop. Make sure the connector is aligned properly with the port and gently push it in until it is securely connected. The HDMI cable should fit snugly into the port without any forceful pushing or wiggling.
Once the HDMI cable is connected to your laptop, make a mental note of the port number or label it as “Laptop” if you plan to connect multiple devices in the future. This will help you easily identify which HDMI port is being used on your laptop.
It is crucial to handle the HDMI cable with care to avoid any damage to the cable or the laptop’s HDMI port. Avoid excessive bending or twisting of the cable, and try to keep it away from any potential hazards or sharp objects that might cause harm.
Now that you have successfully connected one end of the HDMI cable to your Dell laptop, you are ready to proceed to the next step where you will locate the HDMI port on your monitor and connect the other end of the HDMI cable.
Step 5: Locate the HDMI Port on Your Monitor
In order to complete the connection between your Dell laptop and monitor using an HDMI cable, you now need to locate the HDMI port on your monitor. This is where you will plug in the other end of the HDMI cable.
The HDMI port on your monitor is typically located on the back or side of the device. Look for a small rectangular slot labeled “HDMI IN”, which is where the HDMI cable will be inserted. The HDMI port may also have the HDMI logo or be color-coded for easier identification.
If you are having trouble finding the HDMI port on your monitor, refer to the user manual provided by the manufacturer. Additionally, you can search online for the specific model of your monitor along with the term “HDMI port location” to find visual guides or video tutorials that can assist you.
Once you have located the HDMI port on your monitor, ensure that it is clear of any dust or debris. Use a soft cloth or compressed air to gently clean the port if necessary. A clean port will help establish a secure and reliable connection.
Before proceeding to connect the HDMI cable, make sure your monitor is powered off. This will prevent any potential issues or damage when plugging in the cable.
Now that you have located the HDMI port on your monitor, and ensured it is clean and powered off, you are ready to connect the other end of the HDMI cable. Continue to the next step for instructions on how to do so.
Step 6: Connect the HDMI Cable to Your Monitor
With the HDMI port on your monitor located, it’s time to connect the other end of the HDMI cable to establish the connection between your Dell laptop and monitor.
Take the HDMI cable and insert the other end into the HDMI port on your monitor. Ensure that the connector is aligned correctly with the port and gently push it in until it is securely connected. The HDMI cable should fit snugly into the port without any forceful pushing or wiggling.
Once the HDMI cable is connected to your monitor, make a mental note of the port number or label it as “Monitor” if you plan to connect multiple devices in the future. This will help you easily identify which HDMI port is being used on your monitor.
Similar to connecting the HDMI cable to your laptop, handle the cable with care while connecting it to your monitor. Avoid bending or twisting the cable excessively, and ensure it is kept away from any potential hazards or sharp objects that could cause damage.
Now that you have successfully connected both ends of the HDMI cable, one to your Dell laptop and the other to your monitor, you are ready to proceed to the next step and power on your laptop and monitor.
Note: Some monitors may have multiple HDMI ports. If your monitor has multiple HDMI inputs, you will need to select the corresponding HDMI input on your monitor’s menu or using the input selection button on the monitor itself. Refer to your monitor’s user manual for specific instructions.
Step 7: Power On Your Laptop and Monitor
Now that you have successfully connected the HDMI cable between your Dell laptop and monitor, it’s time to power on both devices. This allows the laptop and monitor to recognize and establish a connection using the HDMI interface.
Start by powering on your Dell laptop. Press the power button to turn it on and wait for the operating system to load. Depending on your laptop’s settings, you may need to enter your username and password to access the desktop.
Next, power on your monitor. Locate the power button, typically located on the front or side of the monitor, and press it to turn on the monitor. If your monitor doesn’t have a physical power button, check the monitor’s user manual for instructions on how to power it on.
After powering on both your laptop and monitor, it may take a few moments for the laptop to detect the external display. Your laptop’s screen may momentarily flicker or go black as it configures the display settings.
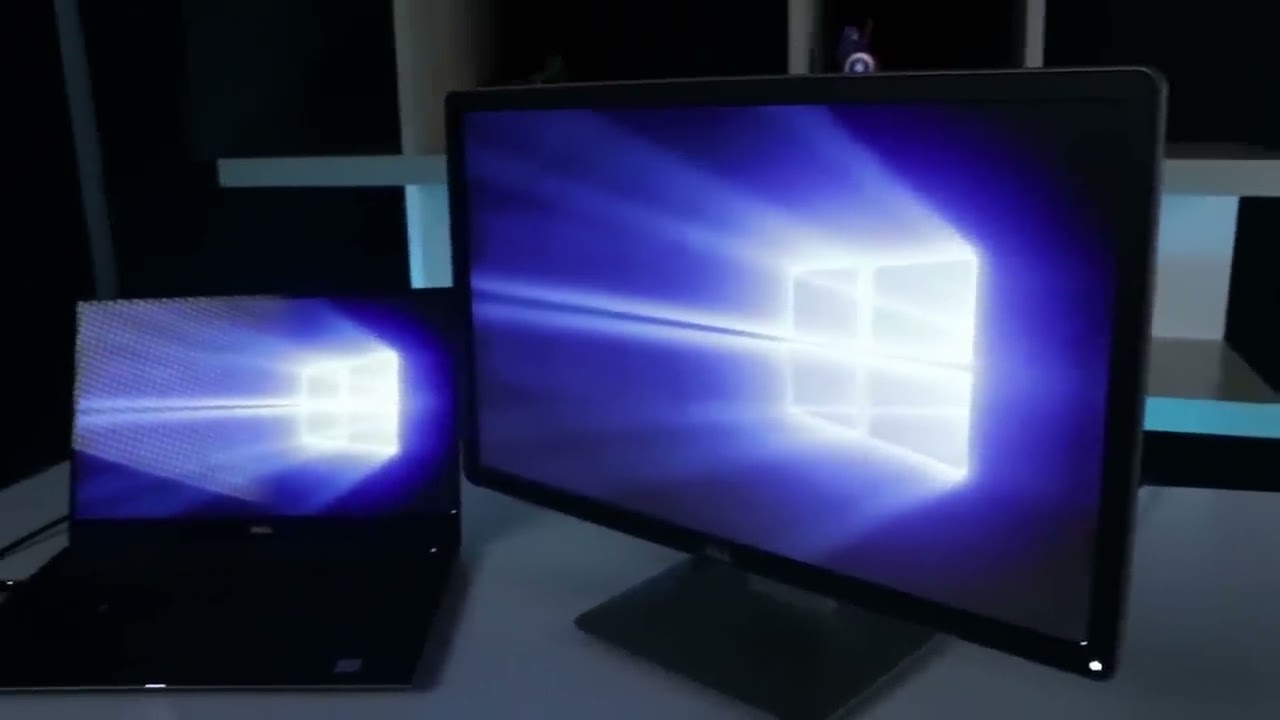
Once the laptop and monitor have successfully powered on, you should see your laptop’s desktop extended or mirrored on the monitor. If not, don’t worry. Proceed to the next step to configure display settings on your laptop.
Note: In some cases, you may need to manually switch the display output to the connected monitor. This can be done by pressing the “Windows” key + “P” key on your keyboard to open the display settings and selecting the appropriate display option.
Now that both your laptop and monitor are powered on, proceed to the next step to configure the display settings on your laptop for optimal viewing experience.
Step 8: Configure Display Settings on Your Laptop
After powering on both your Dell laptop and monitor, it’s important to configure the display settings to ensure optimal visuals and functionality.
On your laptop, right-click on the desktop and select “Display settings” from the drop-down menu. This will open the display settings window, where you can customize various aspects of your display.
In the display settings window, you will see two displays labeled as “1” and “2”. The “1” denotes your laptop’s built-in display, while the “2” represents the external monitor you just connected via HDMI.
To configure the display settings, you have several options:
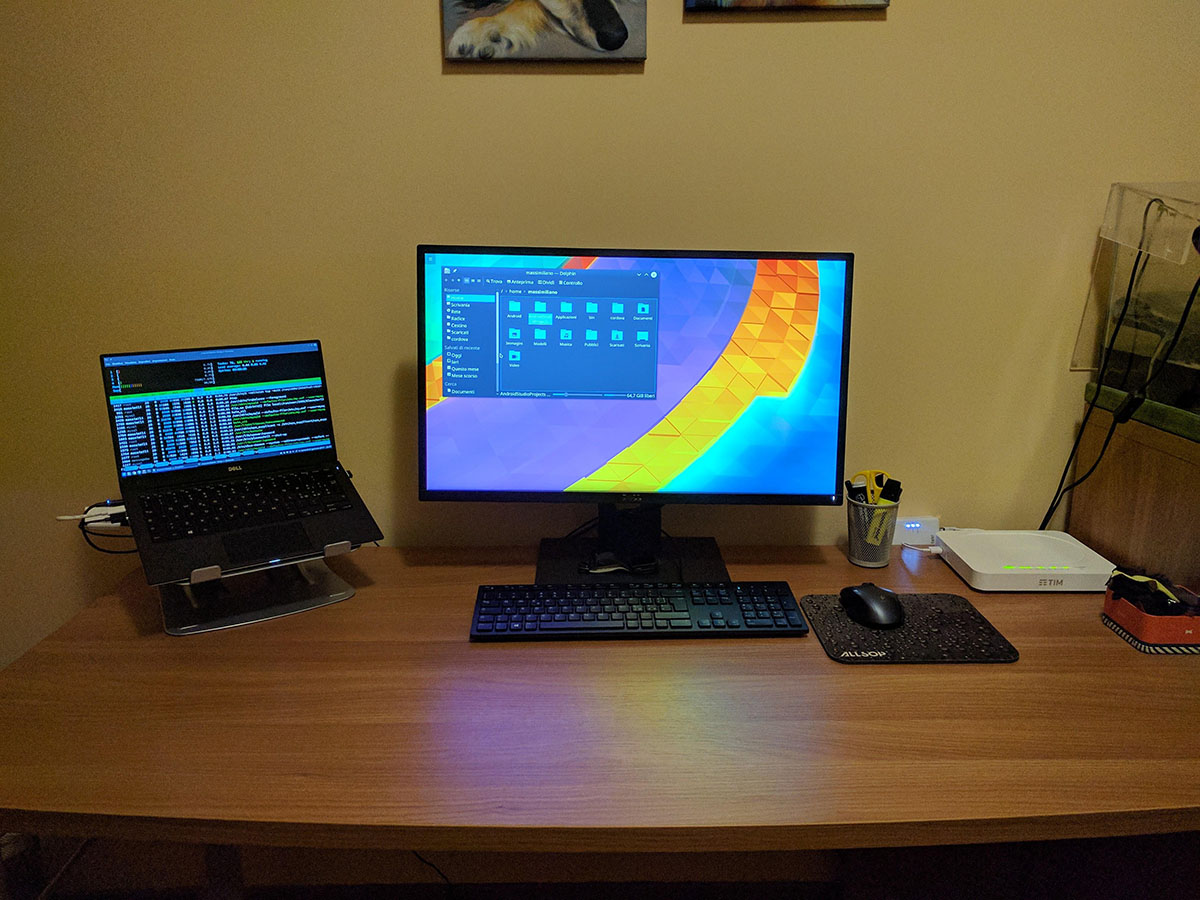
- Extend display: This option allows you to use the external monitor as an extended display, giving you additional screen space. Drag the “2” display icon to the desired position relative to the “1” display icon. This setup is ideal for multitasking or working with multiple windows simultaneously.
- Mirror display: This option duplicates the laptop’s screen on the external monitor, showing the same content on both displays. It is useful for presentations or situations where you want the same content to be visible to both you and your audience.
- Select primary display: If you prefer to use the external monitor as the primary display, where the taskbar and desktop icons appear, select the “2” display icon and check the box that says “Make this my main display”.
Additionally, you can adjust the resolution, orientation, and other display settings specific to the external monitor by clicking on the “Advanced display settings” or “Display adapter properties” link, depending on your operating system.
Once you have configured the display settings to your preference, click “Apply” and then “OK” to save the changes.
Now, the external monitor should display the content from your laptop according to the selected display settings. Adjust the angle or position of the monitor if needed for a comfortable viewing experience.
With the display settings configured, you are now ready to test the connection between your Dell laptop and the monitor to ensure it is working properly.
Step 9: Test the Connection between Your Laptop and Monitor
Now that you have completed the previous steps and configured the display settings on your Dell laptop, it’s time to test the connection between your laptop and the external monitor. This will ensure that everything is functioning correctly and that you can enjoy a seamless display experience.
Start by checking if the content on your laptop’s screen is being mirrored or extended onto the external monitor as intended. If you chose to extend the display, you should be able to drag windows or applications from your laptop’s screen to the monitor, effectively expanding your workspace.
Next, play a video or open any visual content on your laptop to verify that the audio and video signals are being transmitted properly to the external monitor. Make sure the audio is coming from the monitor’s speakers or connected audio devices instead of your laptop’s speakers.
If you encounter any issues, such as a black screen on the monitor or no audio playback, try the following troubleshooting steps:
- Double-check all cable connections to ensure they are secure and properly plugged in.
- Restart both your laptop and monitor to refresh the connection.
- Access your laptop’s display settings and make sure the external monitor is set as the primary display or configured correctly.
- Update your laptop’s graphics drivers to the latest version, as outdated drivers can sometimes cause compatibility issues.
- Try using a different HDMI cable or testing the monitor with another device to isolate the problem.
If the above solutions do not resolve the issue, consult the user manual for your laptop and monitor or contact the manufacturer’s customer support for further assistance.
Once you have successfully tested the connection and verified that your laptop and monitor are working together flawlessly, you can start enjoying the benefits of a larger display and improved productivity.
Congratulations! You have successfully connected your Dell laptop to a monitor using an HDMI cable, configured the display settings, and tested the connection. Now, you can make the most out of your dual-monitor setup and enhance your computing experience.
Troubleshooting: Common Issues and Solutions
While connecting your Dell laptop to a monitor using an HDMI cable is usually a straightforward process, you may encounter some common issues along the way. Here, we will discuss these issues and provide potential solutions to help you troubleshoot and resolve them.
1. No display on the external monitor: If you are not seeing any content on the external monitor, first ensure that both the laptop and monitor are powered on and the HDMI cable is securely connected at both ends. Try restarting both devices and double-checking the display settings on your laptop. If the issue persists, test the connection with a different HDMI cable or connect the monitor to another device to rule out any hardware problems.
2. No audio from the monitor: If you’re not getting audio through the monitor’s speakers, check the audio settings on your laptop. Right-click on the speaker icon in the taskbar and select “Playback devices”. Ensure that the monitor’s speakers are set as the default playback device. Additionally, confirm that the volume on the monitor itself is turned up and not muted.
3. Incorrect display configuration: If the content is not displayed as you intended, such as being mirrored instead of extended, access the display settings on your laptop. Right-click on the desktop and select “Display settings”. From there, you can adjust the display mode to extend or mirror as desired. You can also drag and rearrange the monitor icons to match the physical arrangement of your displays.
4. Flickering or unstable display: If you notice flickering, screen artifacts, or an unstable display, try adjusting the screen resolution and refresh rate in the display settings. Set them to the recommended values for your monitor. You can also update the graphics drivers on your laptop, as outdated or incompatible drivers can cause display issues.
5. Poor image quality: If the image quality on the external monitor is not satisfactory, ensure that you have selected the appropriate display settings, including the correct resolution and color depth. Adjust these settings in the display settings menu to achieve the desired image quality. Additionally, verify that your HDMI cable is of good quality and capable of transmitting high-definition signals.
If you have tried all the troubleshooting steps and are still experiencing issues, consult the user manual for your laptop and monitor or reach out to the manufacturer’s customer support for further assistance. They will be able to provide specific guidance tailored to your devices.
Remember, troubleshooting can vary depending on the specific models and configurations of your Dell laptop and monitor, so it’s always best to refer to the appropriate documentation or seek professional assistance when needed.
Conclusion
Connecting your Dell laptop to a monitor using an HDMI cable can greatly enhance your productivity and provide a more immersive viewing experience. By following the step-by-step instructions provided in this guide, you should now be able to successfully connect your laptop to an external monitor.
Remember to check the compatibility of your Dell laptop and monitor, locate the HDMI ports on both devices, and power them off before connecting the HDMI cable. Once connected, power on your laptop and monitor, configure the display settings, and test the connection to ensure everything is working properly.
If you encounter any issues during the process, refer to the troubleshooting section for common problems and their solutions. By following these troubleshooting steps, you can overcome potential hurdles and enjoy a seamless connection between your laptop and monitor.
Keep in mind that the specific steps and configurations may vary depending on your Dell laptop and monitor models. Always refer to the user manuals and manufacturer’s instructions for accurate and tailored guidance.
By connecting your Dell laptop to a monitor, you can expand your workspace, improve productivity, and enjoy larger visuals for gaming, movies, and other multimedia tasks. So go ahead, connect your Dell laptop to a monitor, and take your computing experience to the next level!


