Introduction
Welcome to our guide on how to switch HDMI on Apple TV! HDMI (High Definition Multimedia Interface) is a popular digital audio/video interface used to connect various devices to your television. If you’re new to Apple TV, or simply want to switch between different HDMI inputs on your TV, this guide will walk you through the steps.
Apple TV is a streaming device that allows you to access a wide range of entertainment options, including movies, TV shows, and music, directly on your television. With its sleek design and user-friendly interface, Apple TV has become a popular choice among consumers.
While most TVs automatically detect and switch to the correct HDMI input when you connect a device, there may be times when you need to manually switch between different HDMI inputs. For example, if you have multiple devices connected to your TV, such as a gaming console or a Blu-ray player, you may need to switch to the specific HDMI input to access content from your Apple TV.
In this guide, we will walk you through the steps to switch HDMI on Apple TV. Whether you’re a new Apple TV user or simply need a refresher, don’t worry – the process is straightforward and easy to follow.
So, let’s get started and learn how to switch HDMI on your Apple TV!
What is HDMI?
HDMI, which stands for High Definition Multimedia Interface, is a digital audio/video interface that allows for the transmission of high-quality audio and video signals between devices. It has become the standard connection type for home entertainment systems, computers, gaming consoles, and other multimedia devices.
HDMI cables are designed to carry both audio and video signals in a single cable, eliminating the need for separate audio and video cables. This makes it convenient and easy to connect devices to your TV or monitor with one cable, reducing clutter and simplifying setup.
One of the main advantages of HDMI is its ability to transmit high-definition (HD) content. HDMI supports various HD formats, including 720p, 1080p, and even 4K Ultra HD, delivering crisp and sharp image quality. Additionally, HDMI supports surround sound formats like Dolby Digital and DTS, providing an immersive audio experience.
HDMI is also known for its compatibility and versatility. It is widely supported by manufacturers and is backward compatible with older versions, ensuring that you can connect your devices seamlessly. HDMI ports can be found on most modern TVs, monitors, projectors, gaming consoles, Blu-ray players, and other multimedia devices, making it a widely used and accessible connectivity option.
Another great feature of HDMI is its ability to transmit data bidirectionally. This means that HDMI can send and receive data, allowing for interactive features and communication between devices. For example, you can use HDMI-CEC (Consumer Electronics Control) to control multiple HDMI-connected devices using a single remote control.
In summary, HDMI is a versatile digital audio/video interface that simplifies the connection between devices and offers high-quality audio and video transmission. Its compatibility, support for HD formats, and bidirectional data transmission make it an ideal choice for home entertainment systems and multimedia setups.
What is Apple TV?
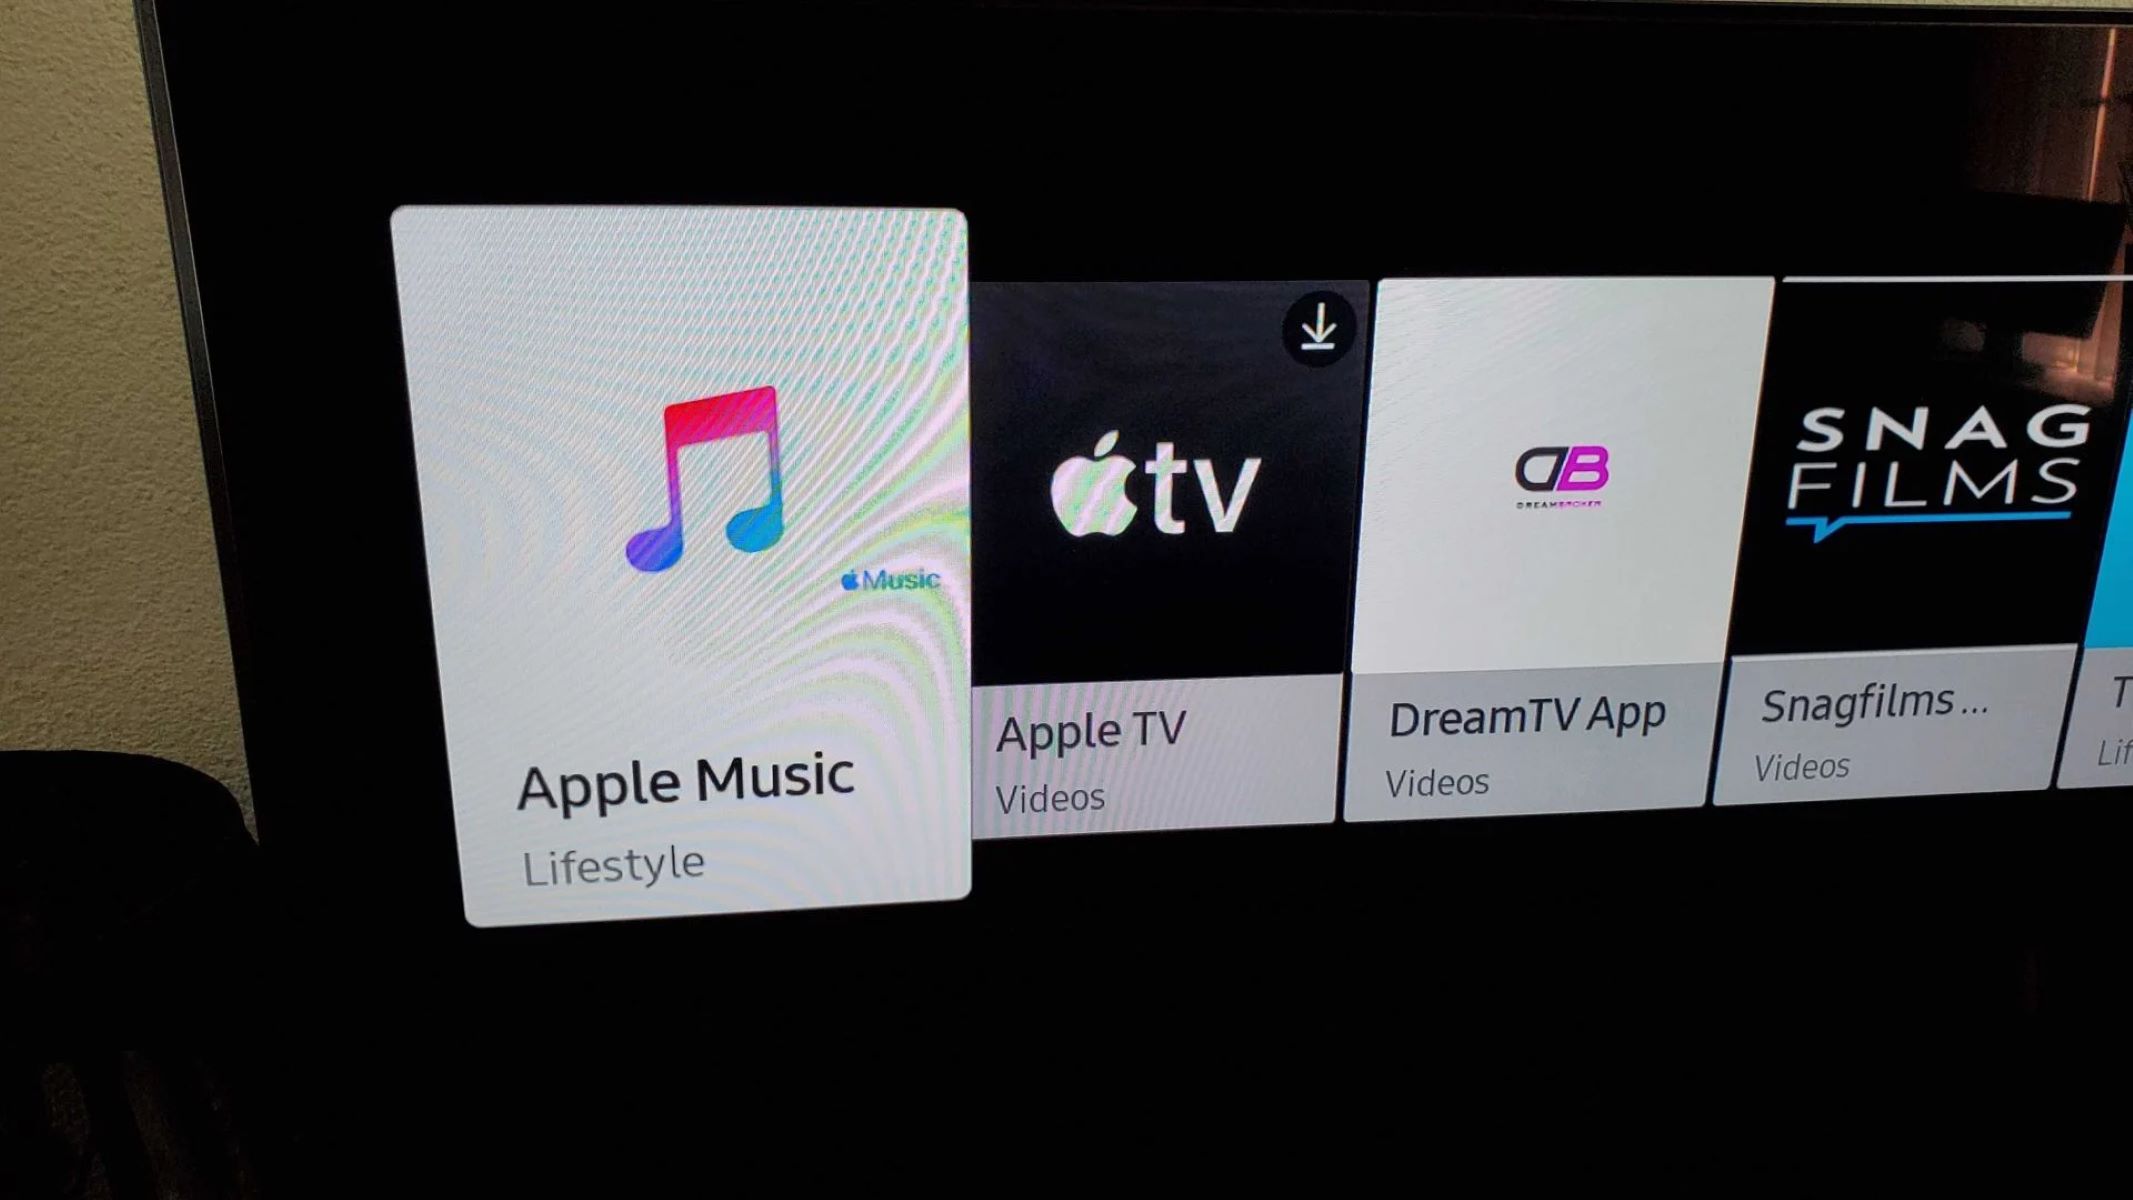
Apple TV is a streaming media player device developed by Apple Inc. It allows users to access various forms of digital content, including movies, TV shows, music, and apps, and stream them directly to their television screens.
Unlike traditional cable or satellite TV, Apple TV does not rely on a broadcast signal. Instead, it uses an internet connection to stream content from various online platforms, such as iTunes, Netflix, Hulu, and YouTube. This gives users the freedom to choose what they want to watch and when they want to watch it.
Apple TV provides a user-friendly interface that organizes content into different apps and channels, making it easy to navigate and discover new media. It also offers features like Siri voice control, allowing users to search for content, control playback, and access other functions using their voice.
In addition to streaming movies and TV shows, Apple TV also supports gaming. Users can download and play games from the App Store, either using the included Siri Remote or by connecting compatible gaming controllers. This expands the entertainment options and provides a more interactive experience for users.
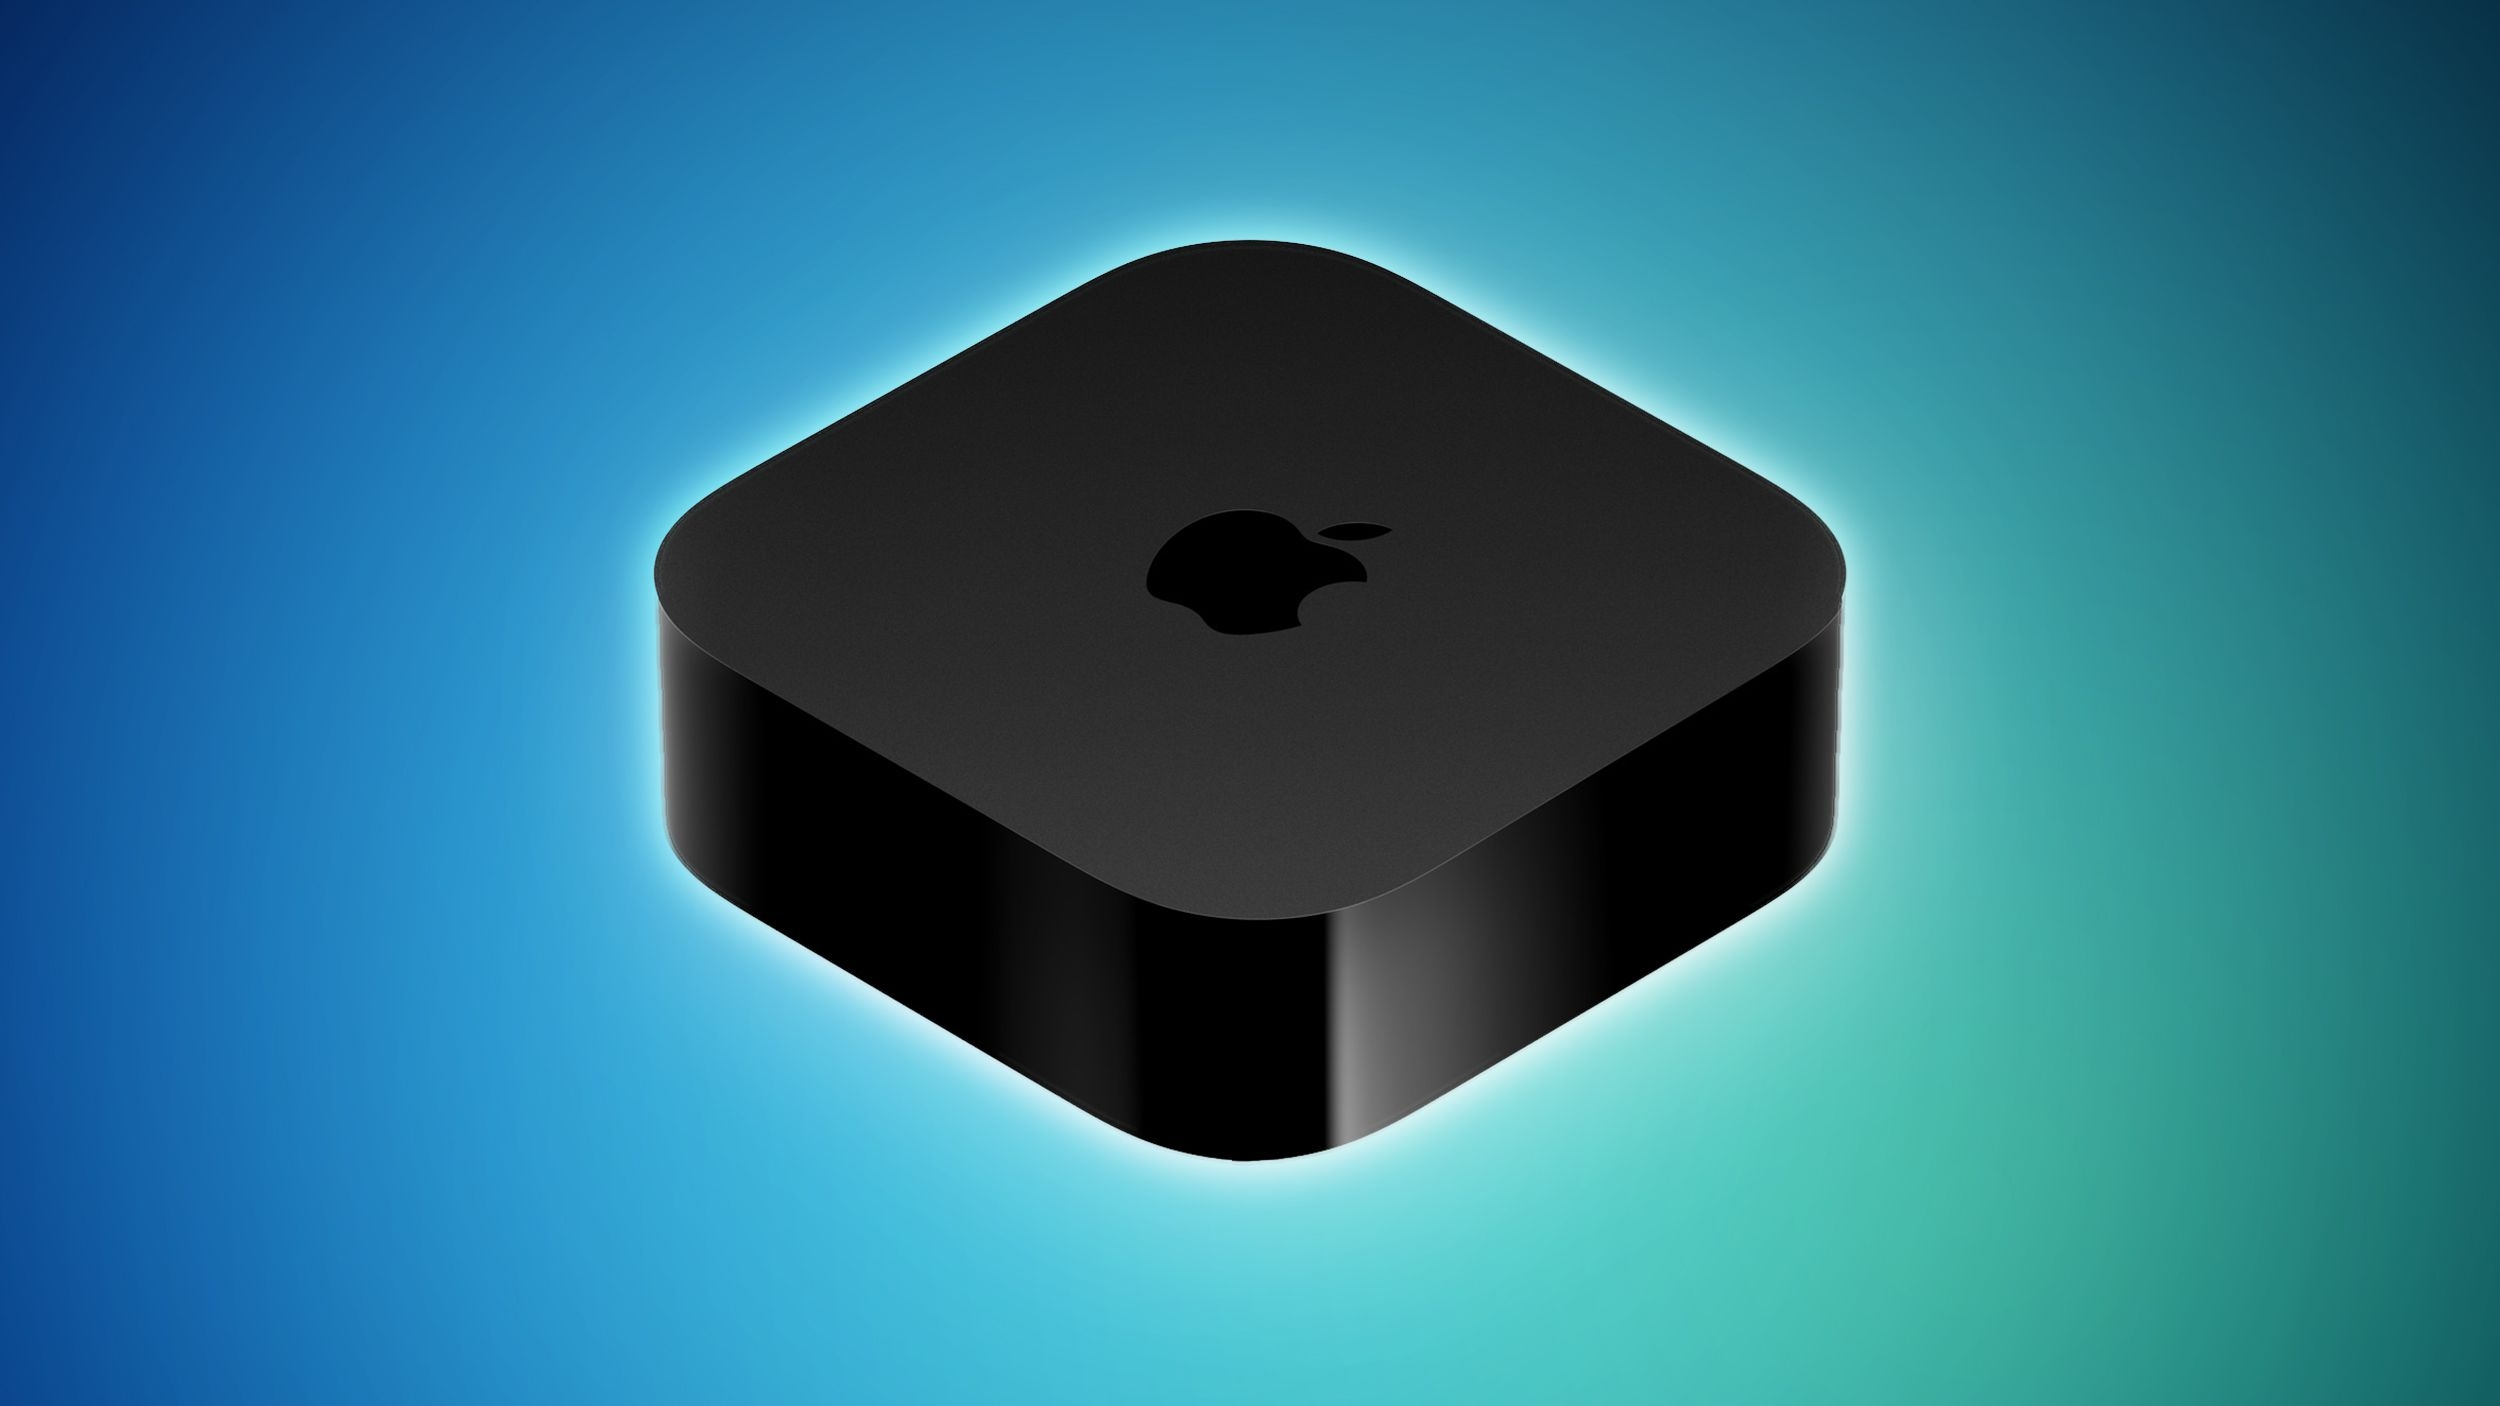
Apple TV offers multiple generations of devices, each with its own features and capabilities. The latest models support high-definition (HD) and 4K HDR (High Dynamic Range) video formats, ensuring stunning visuals and enhanced colors. They also come with larger storage capacities, enabling users to store and access their personal media libraries.
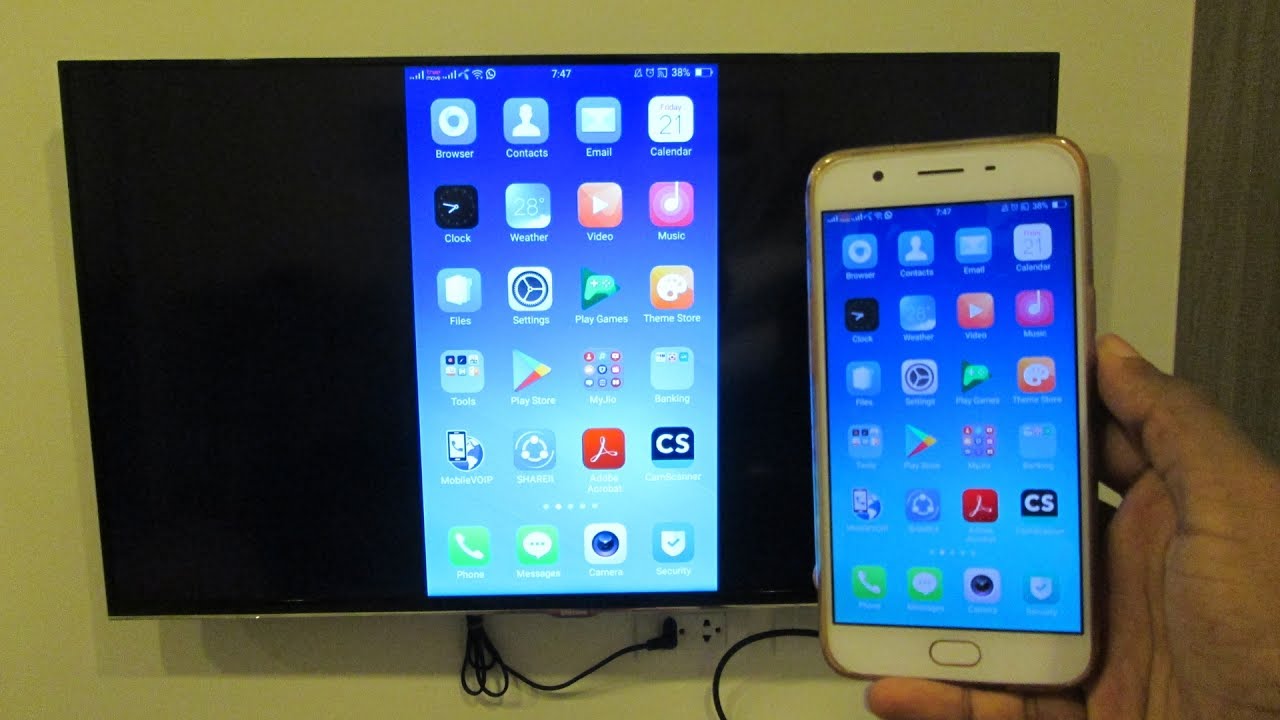
Furthermore, Apple TV integrates seamlessly with other Apple devices and services. Users can stream content from their iPhones, iPads, and Macs to their Apple TV using AirPlay, allowing for a seamless media playback experience across different devices. It also works harmoniously with other Apple services like Apple Music and iCloud, enhancing the overall ecosystem.
In summary, Apple TV is a versatile streaming media player that brings a wide range of digital content and entertainment options to your TV screen. With its user-friendly interface, support for streaming services and gaming, and integration with other Apple devices and services, Apple TV offers a comprehensive entertainment solution for users.
Why switch HDMI on Apple TV?
Switching HDMI on your Apple TV may be necessary for several reasons, providing you with flexibility and control over your viewing experience. Here are a few reasons why you might need to switch HDMI inputs on your Apple TV:
Accessing different devices: If you have multiple devices connected to your TV, such as a gaming console, Blu-ray player, or cable box, switching to the appropriate HDMI input allows you to access and enjoy content from your Apple TV. This means you can easily switch between different devices and enjoy a variety of entertainment options.
Enhanced audio and video quality: Some TVs have specific HDMI inputs that offer better audio and video quality or support advanced features like HDR (High Dynamic Range). By switching to these inputs, you can take advantage of the full capabilities of your TV and enjoy a superior viewing experience with your Apple TV.
Compatibility issues: In certain cases, there may be compatibility issues between your Apple TV and your TV or AV receiver. By switching to a different HDMI input, you may be able to resolve these compatibility issues and ensure that your Apple TV is working optimally with your setup.
Troubleshooting: If you’re experiencing issues with your Apple TV, such as no audio or video output, switching HDMI inputs can help identify if the problem lies with the HDMI connection or another factor. By testing different inputs, you can troubleshoot and address any connectivity or hardware problems you may encounter.
Separate audio and video connections: In some cases, you may want to connect your Apple TV to a separate audio receiver or soundbar for better audio quality. By switching to the appropriate HDMI input, you can connect the audio output of your Apple TV to the audio receiver, ensuring that you get the desired audio setup for your entertainment system.
In summary, switching HDMI inputs on your Apple TV provides you with the flexibility to access different devices, enhance audio and video quality, address compatibility issues, troubleshoot problems, and connect to separate audio systems. It allows you to customize your viewing experience and optimize the performance of your Apple TV within your home entertainment setup.
Step 1: Connect Apple TV to HDMI
The first step in switching HDMI on your Apple TV is to ensure that it is properly connected to your TV using an HDMI cable. Follow these simple steps to connect your Apple TV to HDMI:
- Identify the HDMI port on your TV: Take a look at the back or side of your TV and find the HDMI port where you will connect your Apple TV. Most modern TVs have multiple HDMI ports labeled as HDMI 1, HDMI 2, etc.
- Connect the HDMI cable: Take one end of the HDMI cable and insert it into the HDMI port on the back of your Apple TV. Make sure it is securely inserted to avoid any connection issues. Then, take the other end of the HDMI cable and insert it into the corresponding HDMI port on your TV.
- Verify the input source: On your TV remote, locate the input/source button. Press this button to cycle through the different input sources available on your TV. Keep pressing until you reach the HDMI input that matches the port you connected your Apple TV to. This will vary depending on your TV model.
- Power on your Apple TV: Connect your Apple TV to a power source using the included power cable. Press the power button on the Apple TV or use the remote control to power it on. You should see the Apple TV interface appear on your TV screen, indicating a successful connection.
That’s it! You have successfully connected your Apple TV to HDMI. Now, you can proceed to the next steps to switch to the appropriate HDMI input and set up your Apple TV.
Step 2: Locate the HDMI input button on your TV remote
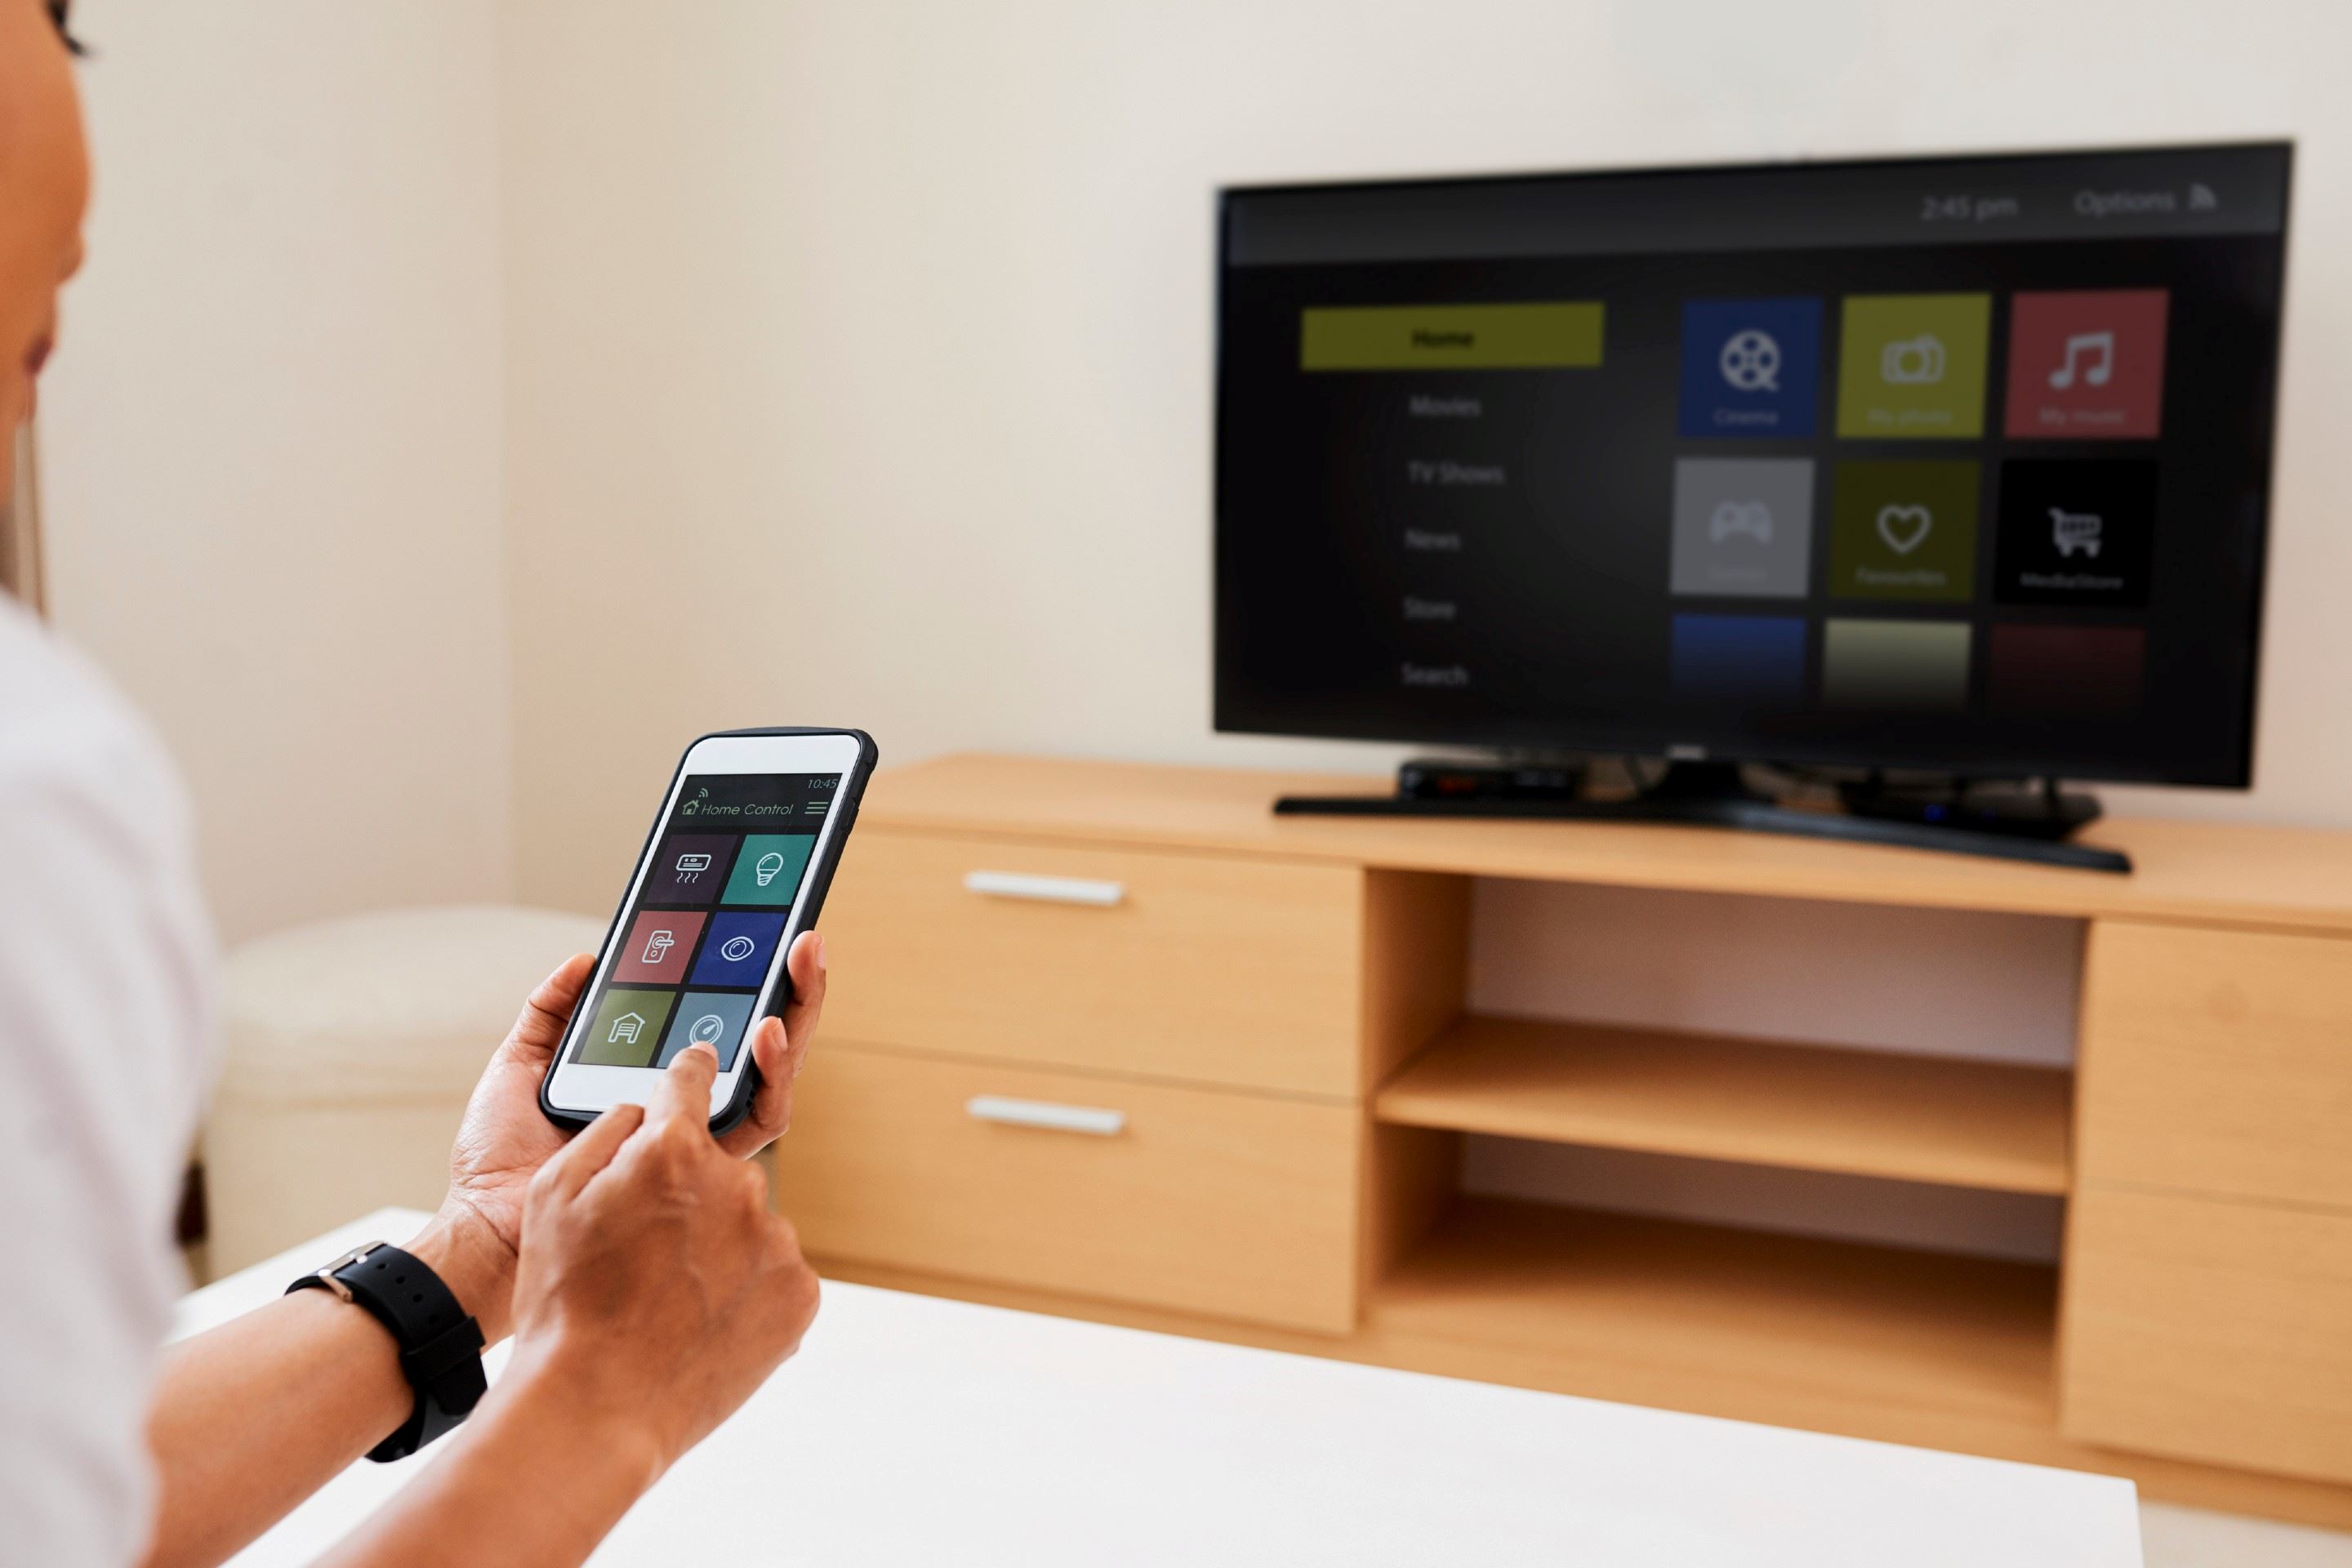
Once you have connected your Apple TV to an HDMI port on your TV, the next step is to locate the HDMI input button on your TV remote. This button allows you to switch to the specific HDMI input that your Apple TV is connected to. Follow these steps to find the HDMI input button:
- Grab your TV remote: Ensure you have your TV remote handy as you’ll need it to access the input settings.
- Look for the input/source button: On most TV remotes, you will find an input or source button. This button is usually labeled “Input,” “Source,” “TV/Video,” or something similar. Look for a button with one of these labels.
- Check the remote layout: The location of the input/source button may vary depending on the brand and model of your TV. It is usually located near the navigation or arrow buttons, and it might also have an icon resembling a rectangle with an arrow pointing into it.
- Press the input/source button: Once you have located the input/source button, press it to access the input menu on your TV screen. This menu will display the different input options available on your TV.
- Select the HDMI input: Using the arrow buttons on your remote, navigate to the HDMI input option that corresponds to the HDMI port where your Apple TV is connected. Each HDMI input may be labeled with a number or a descriptive name, depending on the TV model. Select the HDMI input by pressing the enter or OK button on your remote.
After selecting the appropriate HDMI input, your TV should switch to that input, and you should see the Apple TV interface or the content from your Apple TV displayed on the screen. If you don’t see anything, make sure your Apple TV is powered on and that the HDMI cable is securely connected.
Now that you have located the HDMI input button on your TV remote and selected the correct HDMI input, you are ready to proceed to the next step and set up your Apple TV.
Step 3: Switch to the appropriate HDMI input on your TV
Now that you have connected your Apple TV to an HDMI port and located the HDMI input button on your TV remote, it’s time to switch to the specific HDMI input that your Apple TV is connected to. Follow these steps to switch to the appropriate HDMI input:
- Take hold of your TV remote: Make sure you have your TV remote within reach.
- Press the input/source button: Locate the input/source button on your TV remote, which you identified in the previous step. Press this button to bring up the input/source menu on your TV screen.
- Navigate to the HDMI input: Using the arrow buttons on your TV remote, navigate through the input/source menu until you find the HDMI input option that corresponds to the HDMI port where your Apple TV is connected. It may be labeled HDMI 1, HDMI 2, or with a descriptive name.
- Select the HDMI input: Once you have highlighted the correct HDMI input, press the enter or OK button on your TV remote to select it. Your TV should switch to the chosen HDMI input, and you should see the Apple TV interface or content displayed on the screen.
- Verify the connection: Take a moment to ensure that your Apple TV is functioning properly and that both audio and video are being transmitted correctly. Check that the cables are securely connected and that the TV settings are adjusted accordingly.
Please note that the exact steps and button labels may vary depending on the brand and model of your TV. If you’re having trouble locating the HDMI input or switching to the correct input, refer to your TV’s user manual or consult the manufacturer’s website for specific instructions.
Once you have successfully switched to the appropriate HDMI input, you are ready to set up your Apple TV and enjoy your favorite content on the big screen.
Step 4: Set up Apple TV
With your Apple TV connected to the appropriate HDMI input on your TV, it’s time to complete the setup process and start using your Apple TV. Follow these steps to set up your Apple TV:
- Select your language: When you power on your Apple TV, you will be prompted to select your preferred language. Use the remote control to navigate and select your language.
- Connect to Wi-Fi: Next, you will need to connect your Apple TV to your Wi-Fi network. Select your network from the list of available networks, enter your Wi-Fi password using the on-screen keyboard, and wait for your Apple TV to connect to the network.
- Sign in with your Apple ID: If you have an Apple ID, you can sign in to your account on your Apple TV. This will allow you to access your purchased content, enable iCloud services, and personalize your Apple TV experience. If you don’t have an Apple ID, you can create one directly on the Apple TV.
- Set up Home Sharing (optional): If you have other Apple devices, like an iPhone, iPad, or Mac, you can enable Home Sharing to access your shared content on your Apple TV. Follow the on-screen instructions to enable Home Sharing using your Apple ID.
- Choose your settings: Customize your Apple TV settings according to your preferences. You can choose options like enabling or disabling automatic app downloads, adjusting audio and video settings, enabling screen savers, and more. Navigate through the settings menu using the remote control and make the desired changes.
- Install apps and start streaming: Once you have completed the initial setup process, you can start exploring the App Store on your Apple TV to download and install apps for streaming movies, TV shows, music, games, and other media. Simply navigate to the App Store and select the apps you want to install. Sign in to any content streaming services using your credentials to access your favorite content.
Congratulations! You have successfully set up your Apple TV. Now you can enjoy a wide range of entertainment options, whether it’s streaming movies and TV shows, playing games, or listening to music, all directly on your TV.
If you encounter any issues during the setup process or have questions about specific features on your Apple TV, refer to the Apple Support website or consult the user manual for further assistance.
Conclusion
Switching HDMI on your Apple TV is a simple process that allows you to access your favorite content and enjoy a seamless viewing experience. By following the steps outlined in this guide, you can easily connect your Apple TV to the appropriate HDMI input on your TV and complete the setup process.
HDMI provides high-quality audio and video transmission, making it a popular choice for connecting devices to your TV. Apple TV, with its streaming capabilities and integration with other Apple devices, offers a convenient way to access a wide range of digital content on your television screen.
Remember to properly connect your Apple TV to an HDMI port on your TV and use the HDMI input button on your TV remote to switch to the correct input. This allows you to access your Apple TV’s interface and enjoy its features and content.
After switching to the appropriate HDMI input, you can proceed with setting up your Apple TV, selecting your language, connecting to Wi-Fi, signing in with your Apple ID, and customizing your settings. Once set up, you can download apps, stream movies and TV shows, play games, and explore a world of entertainment options right from your Apple TV.
If you encounter any difficulties during the setup or have specific questions related to your Apple TV, don’t hesitate to consult the Apple Support website or refer to the user manual for further assistance.
Now that you have successfully switched HDMI on your Apple TV and completed the setup process, sit back, relax, and enjoy the endless entertainment possibilities that Apple TV brings to your home.