Introduction
Connecting a Dell monitor to a laptop can greatly enhance your productivity and improve your overall computing experience. Whether you want to extend your laptop’s screen or use the monitor as the main display, this guide will walk you through the process step by step.
Having a larger screen can be especially beneficial for tasks that require multitasking or complex visuals, such as video editing, graphic design, or gaming. Additionally, connecting a monitor can provide a more comfortable viewing experience, reducing eye strain and allowing for better posture.
Before diving into the steps, it’s important to note that Dell monitors are compatible with various laptops, including Dell laptops as well as other brands. However, it’s essential to check the specifications and compatibility of your laptop and monitor to ensure a seamless connection.
In this guide, we will provide a comprehensive overview of the process, from checking compatibility to troubleshooting common issues. By the end of this article, you’ll have all the information you need to successfully connect your Dell monitor to your laptop.
Step 1: Check the Compatibility
Before you begin the process of connecting your Dell monitor to your laptop, it’s crucial to ensure that they are compatible with each other. Compatibility can depend on factors such as the type of ports available on both devices and the supported resolutions.
The first step is to check the specifications of your Dell monitor and laptop. Look for the available ports on the monitor, such as HDMI, DisplayPort, VGA, or USB-C. Then, check your laptop’s documentation or specifications to see which ports it has.
If your laptop and monitor have the same type of port, such as HDMI or DisplayPort, the connection process will be straightforward. However, if they have different ports, you may need to use an adapter or converter cable to make the connection.
It’s worth noting that Dell monitors usually come with multiple port options, making it easier to find a suitable connection for your laptop. Additionally, Dell provides compatibility information on their website or in the product manuals, so be sure to check those resources as well.
Another important consideration is the supported resolutions of both your laptop and monitor. Ensure that the monitor’s resolution is compatible with your laptop’s graphics capabilities. It’s best to match or exceed your laptop’s native resolution to avoid any display issues or a decrease in picture quality.
Lastly, consider the age of your laptop and monitor. Older devices may have different connector types or limited compatibility options, so it’s essential to research and gather the necessary cables and adapters if needed.
By checking the compatibility between your Dell monitor and laptop, you can avoid potential frustrations and ensure a smooth and seamless connection process. Once you’ve confirmed compatibility, you’re ready to move on to the next step of gathering the necessary cables and adapters.
Step 2: Gather the Necessary Cables and Adapters
Once you’ve confirmed the compatibility between your Dell monitor and laptop, the next step is to gather the necessary cables and adapters to establish a connection. The specific cables and adapters required will depend on the ports available on your laptop and monitor.
Start by identifying the ports on your laptop and monitor. If both devices have the same type of port, such as HDMI or DisplayPort, then you’ll only need a cable that matches that port type. For example, if both your laptop and monitor have HDMI ports, a standard HDMI cable will suffice.
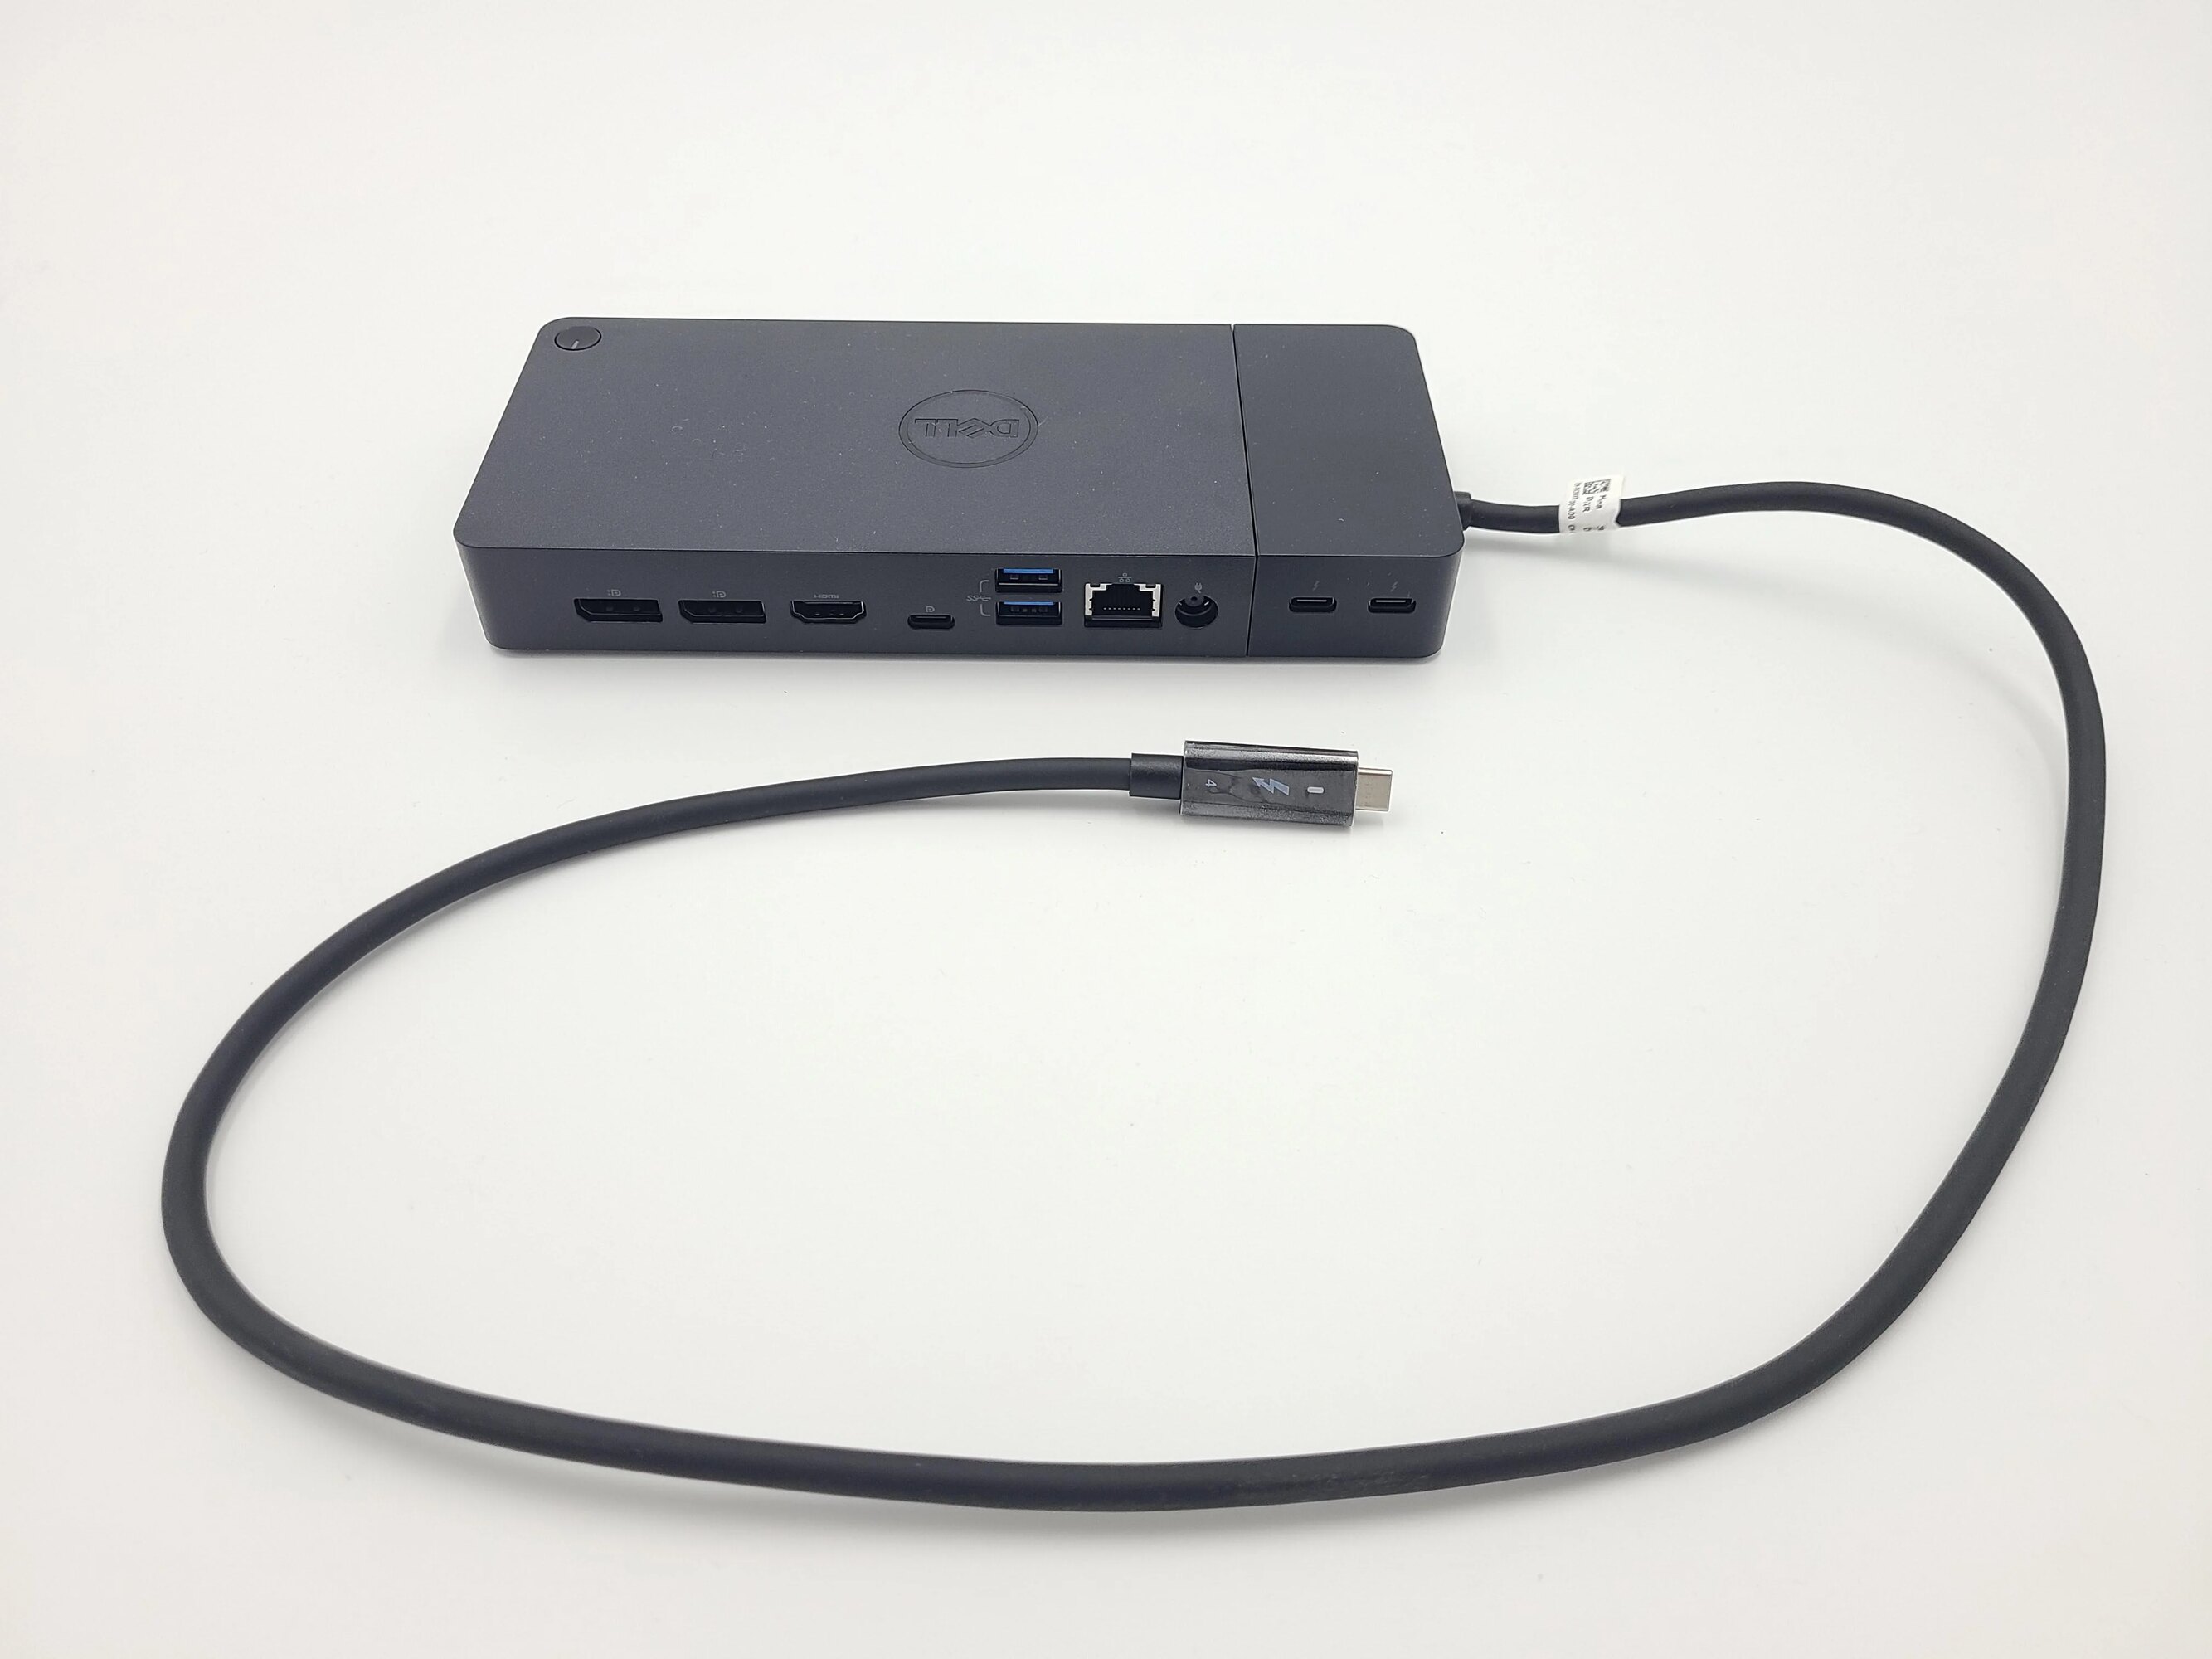
If your laptop and monitor have different port types, you will need an adapter or converter cable. For instance, if your laptop has a USB-C port and your monitor has an HDMI port, you’ll need a USB-C to HDMI adapter or cable. Make sure to select a reliable and high-quality adapter or converter cable to ensure a stable and optimal connection.
When it comes to adapters, there are several options available. Some popular choices include HDMI to VGA adapters, DisplayPort to HDMI adapters, and USB-C to DisplayPort adapters. Choose an adapter based on the available ports on your laptop and monitor.
It’s also worth considering the length of the cables needed. Measure the distance between your laptop and monitor to determine the appropriate cable length. It’s generally recommended to choose a slightly longer cable to allow for flexibility in positioning the devices.
In some cases, your Dell monitor may come with the necessary cables or adapters in the package. Check the product documentation or the Dell website to confirm if any cables or adapters are included. If not, you can easily purchase them from a computer hardware store or online retailers.
Gathering the necessary cables and adapters is a crucial step in the process of connecting your Dell monitor to your laptop. Ensure that you have all the required cables and adapters ready before proceeding to the next step.
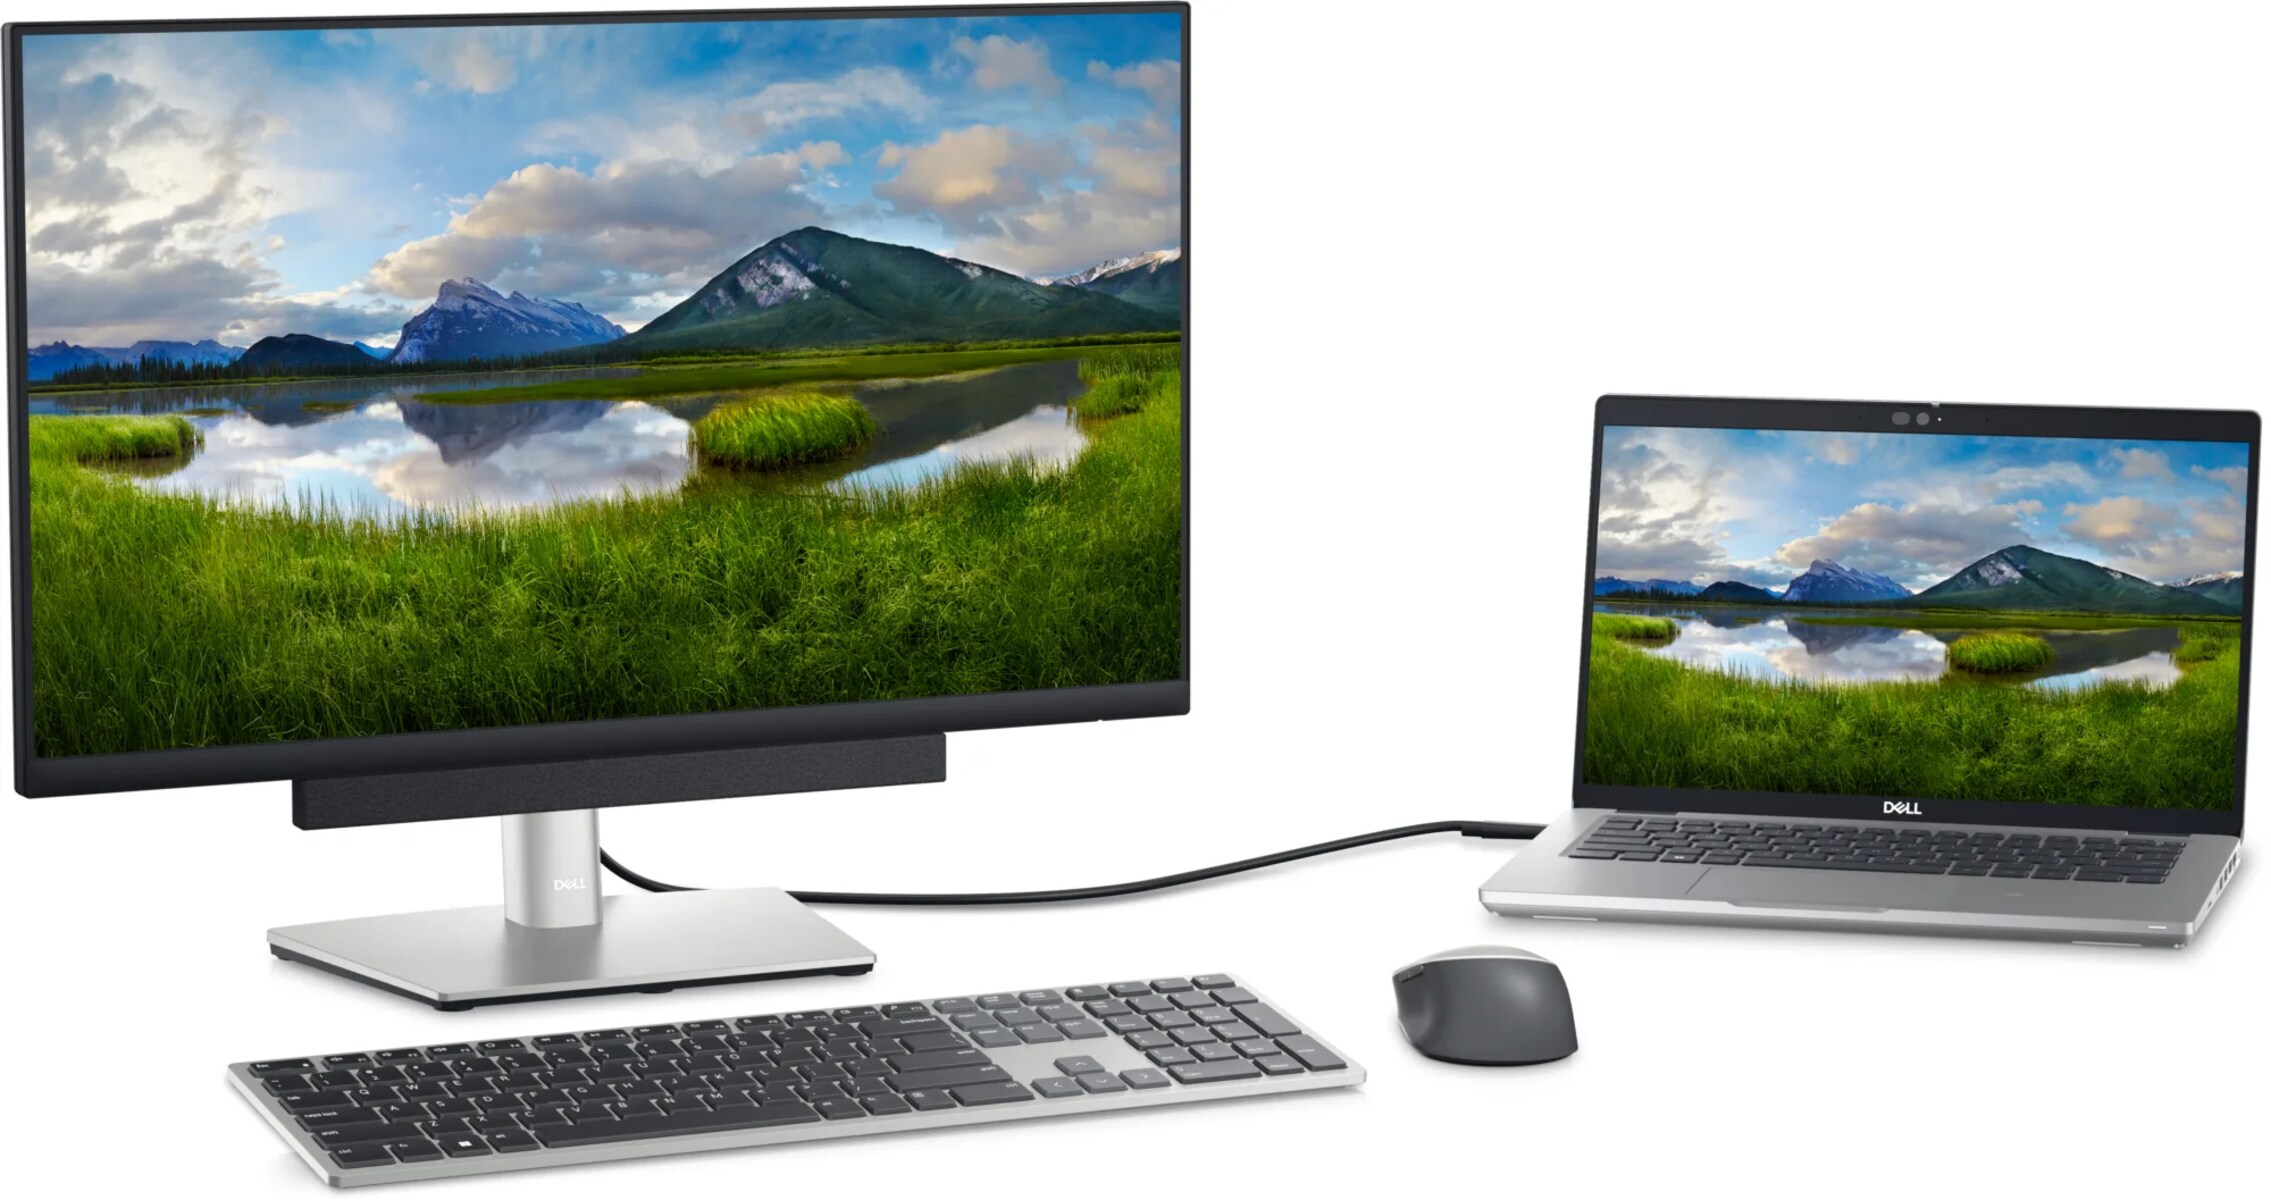
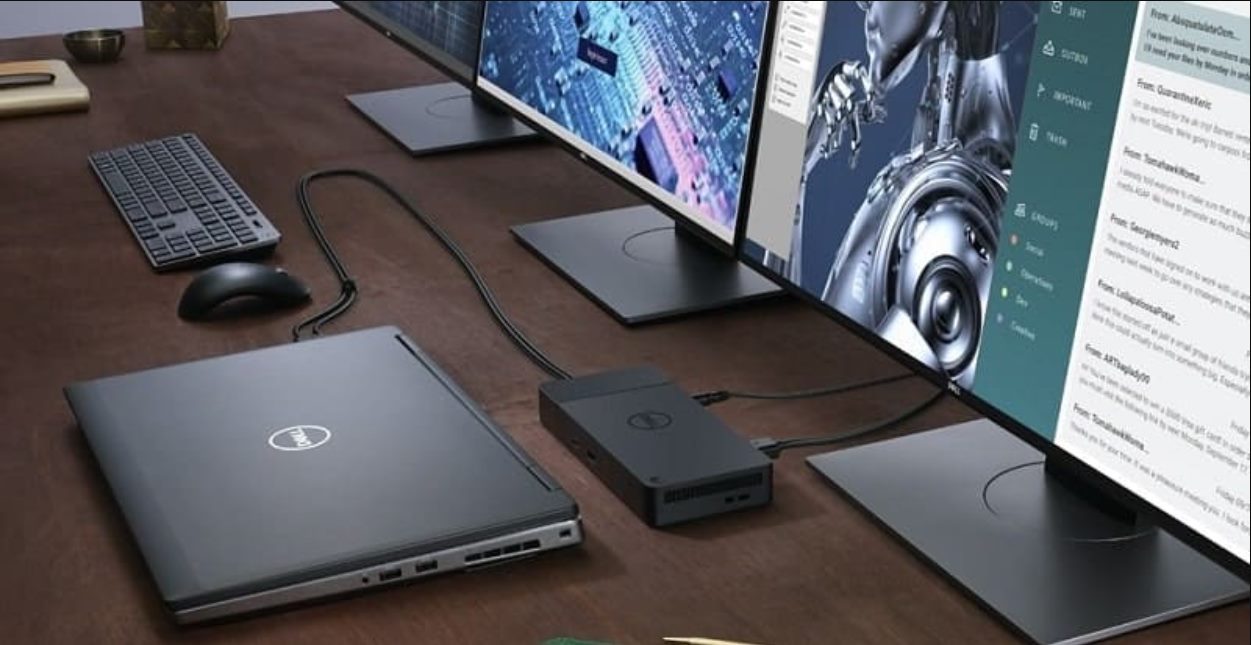
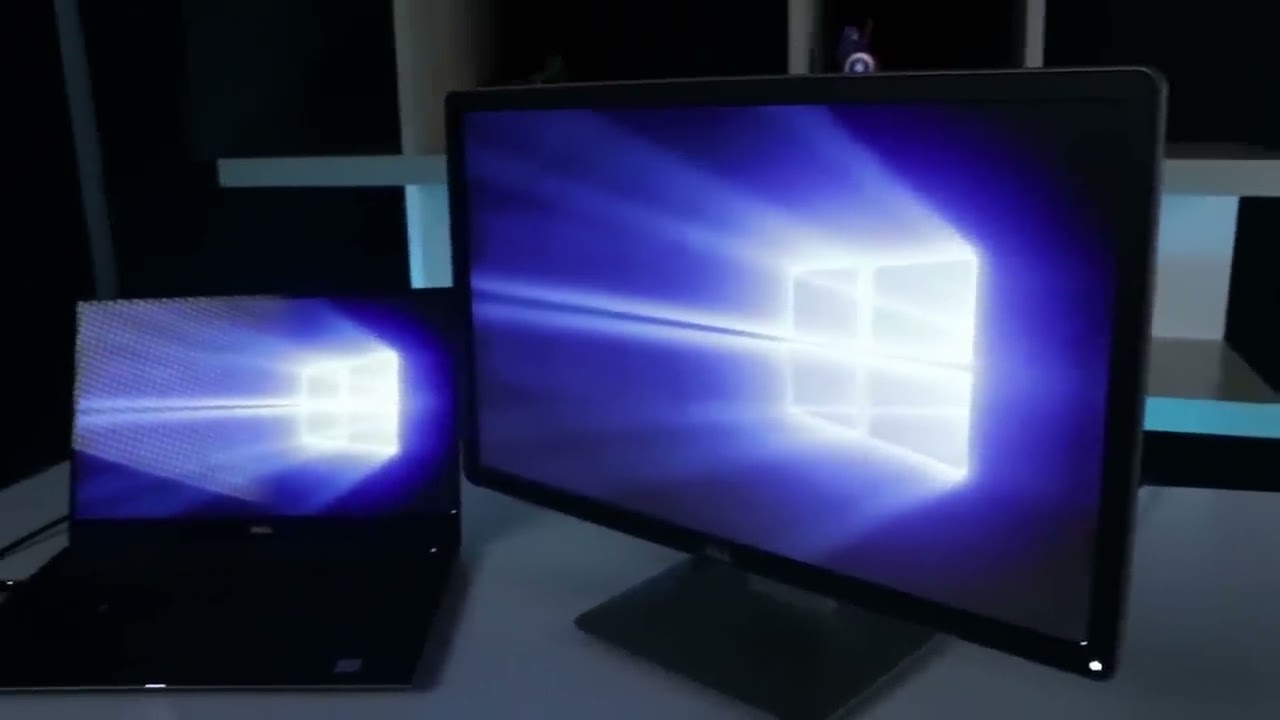
Step 3: Connect the Monitor to the Laptop
With the necessary cables and adapters gathered, you’re now ready to connect your Dell monitor to your laptop. Follow these steps to establish a successful connection:
- Turn off both your laptop and your monitor. This will prevent any potential issues during the connection process.
- Locate the appropriate ports on both your laptop and monitor. If you’re using adapters, connect them to the respective ports.
- Take the cable and connect one end to the port on your laptop. Ensure that the cable is securely inserted into the port.
- Connect the other end of the cable to the matching port on your Dell monitor. Again, ensure a snug and secure connection.
- Turn on your monitor and then power on your laptop. Wait for them to fully boot up.
- Once both devices are powered on, they should automatically detect each other. However, in some cases, you may need to manually select the monitor as the display output.
- On your laptop, go to the display settings. Depending on your operating system, this can typically be accessed through the Control Panel, System Preferences, or the Settings app.
- In the display settings, you should see the option to detect external displays. Click on the button to detect and identify the connected Dell monitor.
- Once the monitor is detected, you can adjust additional display settings as per your preference, such as resolution, screen orientation, and multiple display options (extend, duplicate, or second screen only).
After following these steps, your Dell monitor should be successfully connected to your laptop. You can now enjoy a larger screen and enhance your productivity or entertainment experience.
If you encounter any issues, double-check the cable connections, ensure the devices are powered on, and verify that the correct display settings are selected. If problems persist, refer to the troubleshooting section or consult the Dell support resources for further assistance.
Step 4: Adjust Display Settings
Once you have successfully connected your Dell monitor to your laptop, the next step is to adjust the display settings to optimize your viewing experience. By fine-tuning the settings, you can ensure that the monitor is functioning correctly and that the visuals are clear and crisp.
Here are a few key settings to consider:
- Resolution: Adjust the resolution to match the capabilities of your Dell monitor. Higher resolutions offer sharper images and more screen real estate, but keep in mind that your laptop’s graphics card must be able to support the chosen resolution.
- Brightness and Contrast: Customize the brightness and contrast levels according to your preference and the lighting conditions in your environment. Find a balance that allows for comfortable viewing without causing eye strain.
- Color Settings: Some monitors offer customizable color settings that allow you to adjust the color temperature, saturation, and hue. Experiment with these settings to achieve the desired color accuracy and vibrancy.
- Multiple Display Options: If you want to extend your display to the Dell monitor or use it as the primary display, you can configure the multiple display options in your laptop’s display settings. Choose between extending the desktop, duplicating the screen, or using the external monitor as the only display.
- Screen Orientation: If your monitor supports rotation, you can adjust the screen orientation to landscape or portrait mode, depending on your preference and the type of content you are working with.
While adjusting display settings, keep in mind that it may take some trial and error to find the optimal configuration for your specific needs and preferences. Take the time to experiment with different settings and make adjustments as necessary.
Remember that these settings can be accessed through the display settings on your laptop. Depending on your operating system, you can usually access this through the Control Panel, System Preferences, or the Settings app.
By adjusting the display settings, you can ensure that your Dell monitor and laptop are working harmoniously and providing you with the best possible viewing experience.
Step 5: Troubleshooting Common Issues
While connecting a Dell monitor to your laptop is typically a straightforward process, you may encounter some common issues along the way. Here are a few troubleshooting steps to help you overcome these issues:
- No signal on the monitor: If your monitor displays a “No Signal” message, check the cable connections to ensure they are secure. Try disconnecting and reconnecting the cables, making sure they are properly inserted into the ports. Additionally, verify that the monitor is powered on and set to the correct input source.
- Incorrect display resolution: If the resolution on your Dell monitor doesn’t match the desired settings, go to your laptop’s display settings and adjust the resolution to match the monitor’s native resolution. If the monitor’s native resolution is not available in your laptop’s settings, ensure that you have installed the latest graphics card drivers.
- No sound from the monitor: If you’re using an HDMI connection and there is no sound coming from your Dell monitor, check the sound settings on your laptop. Ensure that the monitor is selected as the audio output device. If necessary, install any required audio drivers for the monitor.
- Display issues or flickering: If you notice any display issues, such as flickering or distorted visuals, try adjusting the refresh rate in your laptop’s display settings. Set it to the recommended refresh rate for your monitor. If the problem persists, check for any available updates for your graphics card drivers.
- Adapters not working: If you’re using adapters to connect your laptop and monitor, ensure that they are compatible and functioning properly. Check for any loose connections, and if possible, try using different adapters or cables to troubleshoot the issue.
If you continue to experience difficulties or encounter other issues, it’s recommended to consult the support resources provided by Dell. They may have specific troubleshooting guides or customer support that can assist you in solving the problem.
Remember, patience and persistence are key when troubleshooting. Take your time to explore different solutions and reach out for assistance if needed. With some troubleshooting and adjustments, you’ll be on your way to successfully connecting your Dell monitor to your laptop.
Conclusion
Connecting a Dell monitor to your laptop can significantly enhance your computing experience by providing a larger screen, improved visual clarity, and the ability to multitask more efficiently. By following the step-by-step guide outlined in this article, you can easily connect your Dell monitor to your laptop and enjoy the benefits of a dual-monitor setup.
Remember to start by checking the compatibility between your monitor and laptop, ensuring that they have matching or compatible ports and supported resolutions. Gather the necessary cables and adapters to establish a successful connection, taking into account any potential need for adapters or converter cables.
Once you have the cables and adapters ready, proceed with connecting the monitor to the laptop, ensuring secure connections and powering on both devices. Adjust the display settings on your laptop to optimize the visuals on the Dell monitor, including resolution, brightness, contrast, and color settings.
In the event of any issues, consult the troubleshooting steps provided to address common problems such as no signal, incorrect resolution, no sound, display issues, or adapter complications. If problems persist, don’t hesitate to contact Dell support for further assistance.
With the steps outlined in this guide, you are now equipped with the knowledge to successfully connect your Dell monitor to your laptop. Enjoy the benefits of a larger and more immersive display, allowing you to boost productivity, indulge in multimedia content, and achieve a more enjoyable computing experience.