Introduction
Adding a second SSD to your PC can significantly enhance its performance and storage capacity. Whether you are looking to boost your gaming experience, improve your productivity, or simply need more space to store files and applications, installing a second SSD is a relatively simple and affordable solution.
With a second SSD, you can enjoy faster loading times, improved multitasking capabilities, and seamless data transfers. Plus, it gives you the flexibility to separate your operating system and programs from your files, resulting in better overall system performance.
In this guide, we will walk you through the step-by-step process of installing a second SSD in your PC. Whether you have prior computer hardware experience or are a beginner, this guide will provide you with all the information you need to successfully complete the installation.
Before we begin, it’s important to note that the process may vary slightly depending on your PC’s make and model, as well as the type of SSD you are installing. Be sure to consult your PC’s user manual and the manufacturer’s instructions for the SSD before proceeding.
Now, without further ado, let’s dive into the exciting world of upgrading our PCs by installing a second SSD!
Step 1: Gather the necessary tools and materials
Before you begin the installation process, it’s essential to gather all the tools and materials you will need. Having everything prepared ahead of time will ensure a smooth and efficient installation. Here’s a list of what you’ll need:
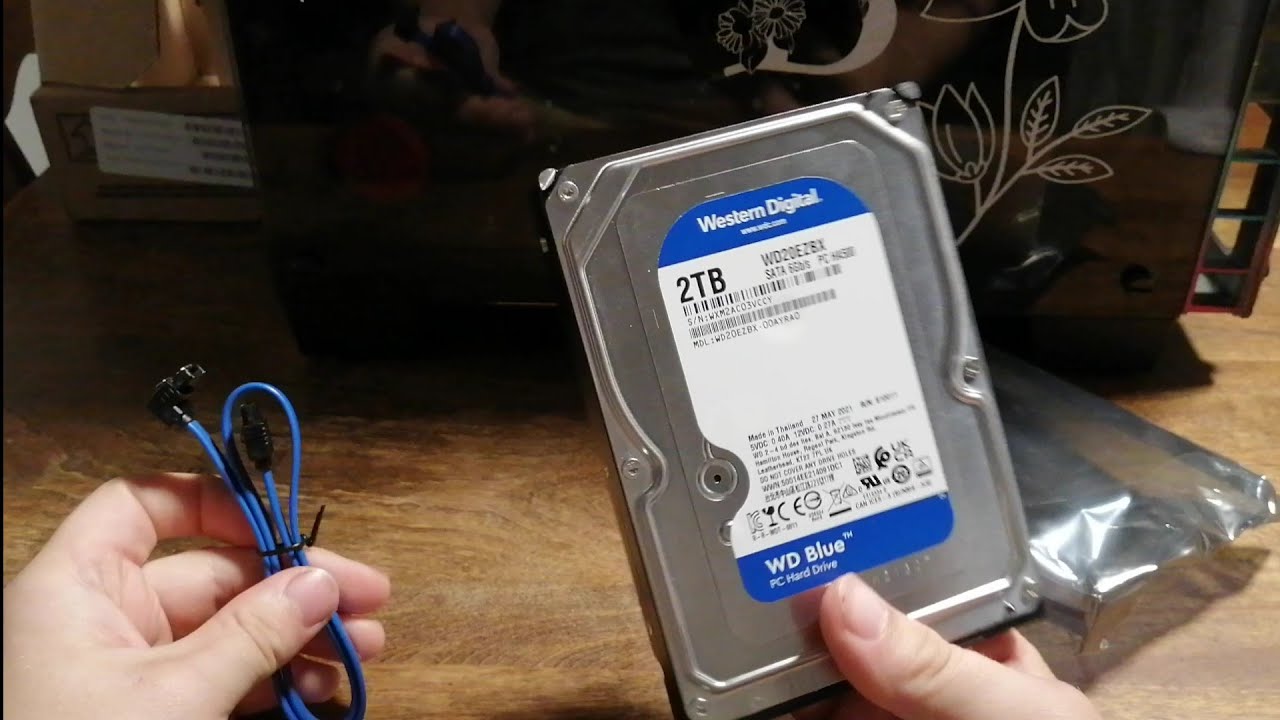
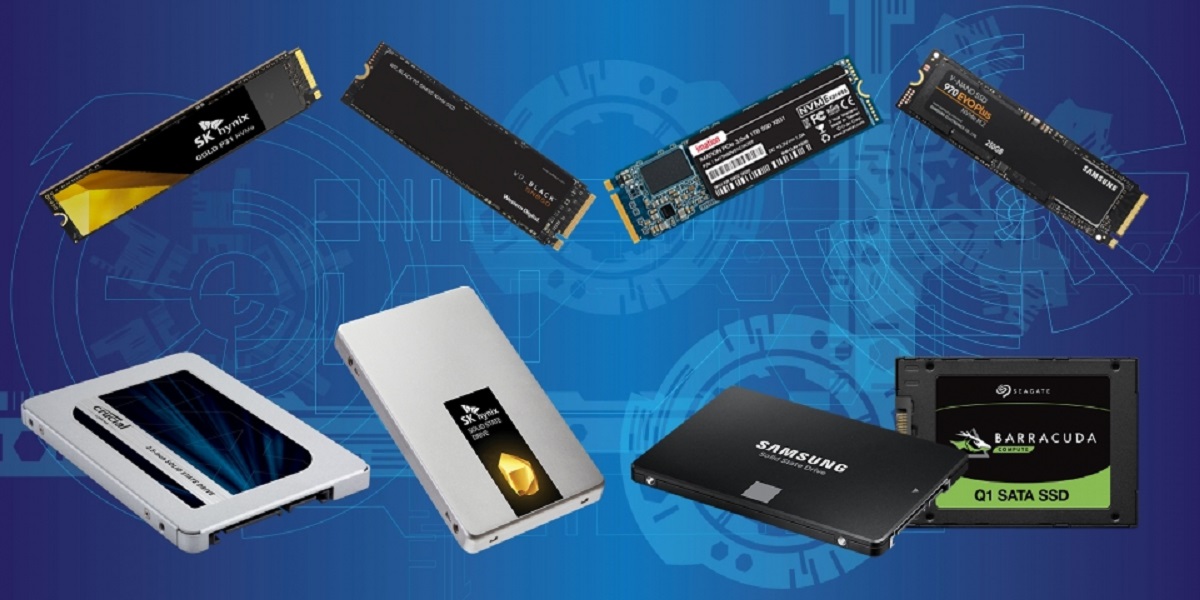
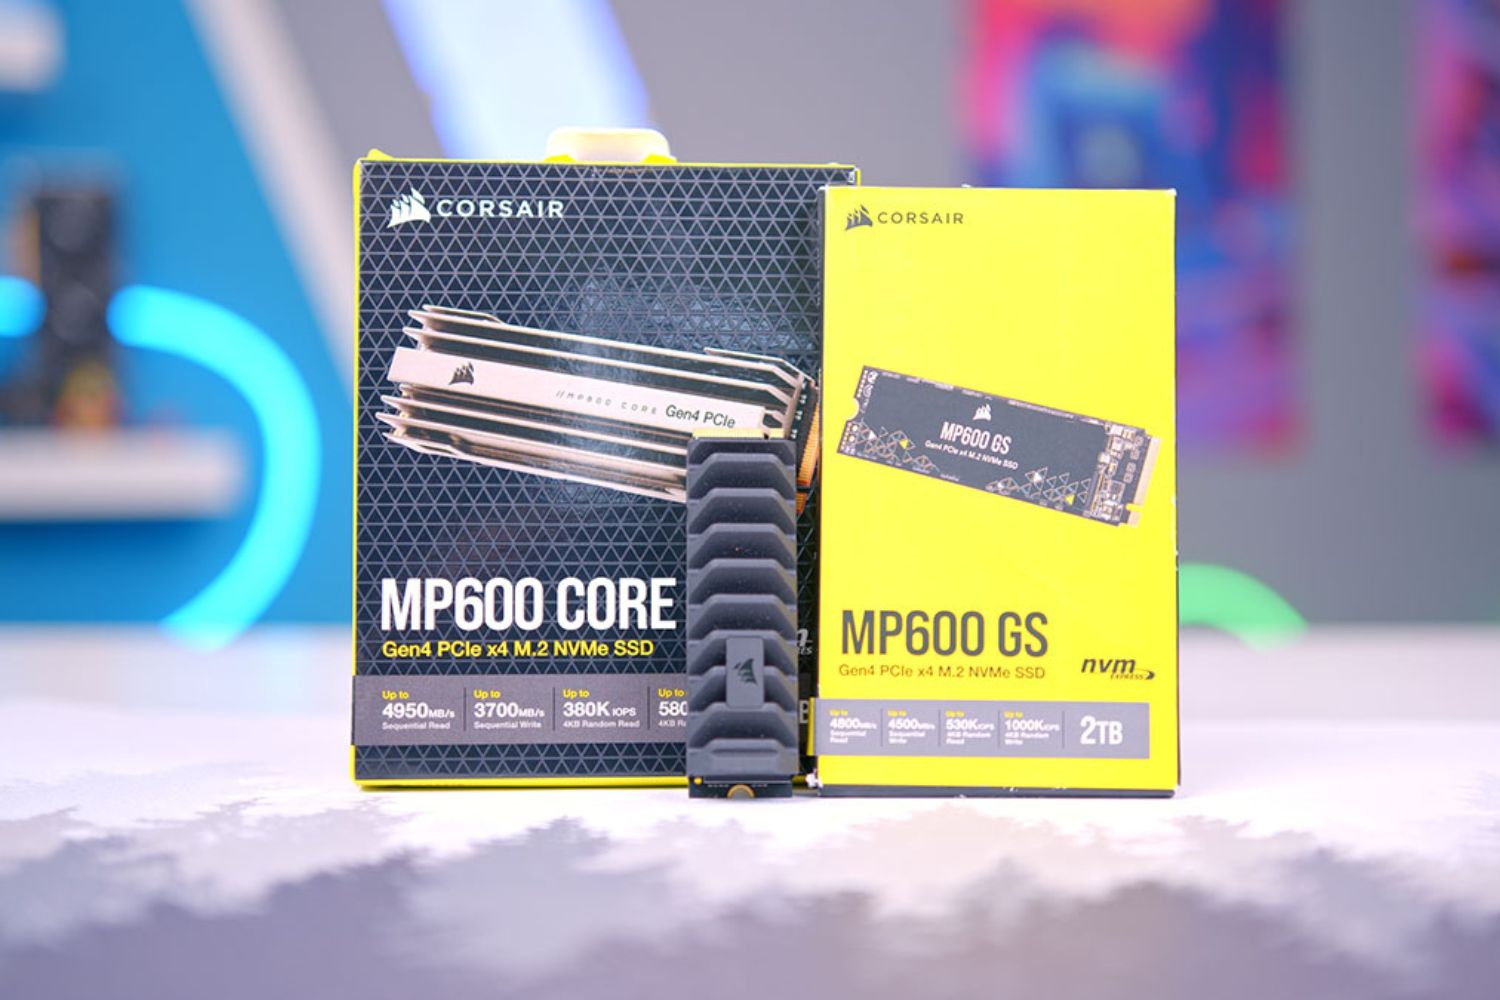
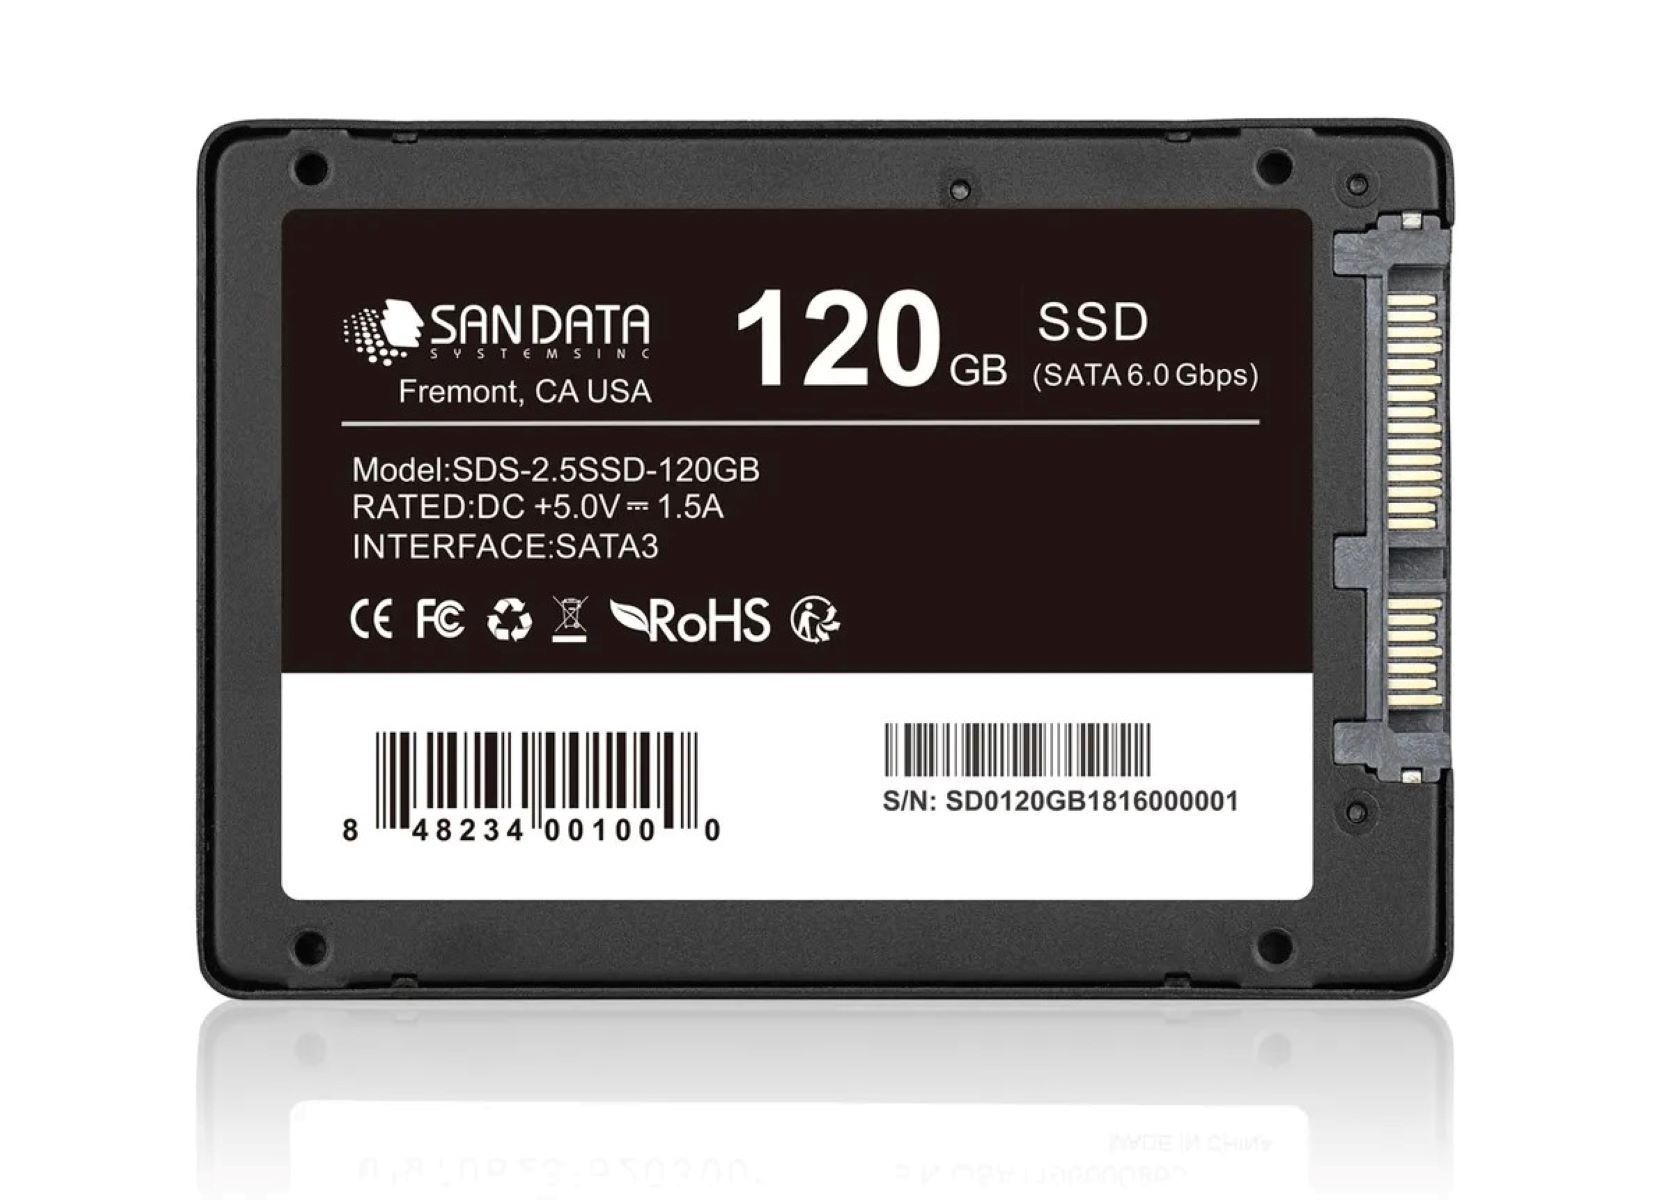
- A second SSD: Make sure the SSD is compatible with your PC and has the appropriate form factor (e.g., 2.5-inch or M.2).
- Screwdriver: Most PCs require a Phillips screwdriver for removing and securing screws. Check your PC’s manual to confirm the type of screwdriver needed.
- SATA and power cables: Ensure you have the necessary cables to connect the second SSD to your PC’s power supply and motherboard. These cables are typically included with the SSD or already present in your PC.
- Anti-static wrist strap: To protect your PC components from static electricity, it’s advisable to wear an anti-static wrist strap while handling the SSD and working inside your PC.
- Documentation and user manual: Keep the user manual for your PC and the SSD handy. These documents will provide guidance specific to your system and SSD.
Once you have gathered all the tools and materials, double-check to ensure that you have everything needed for the installation. It’s better to be fully prepared than to realize you are missing a crucial component midway through the process.
Now that you have everything ready, we can move on to the next step: preparing for the installation.
Step 2: Prepare for installation
Before diving into the physical installation, it’s important to take some preparatory steps to ensure a successful installation process. Here’s what you need to do:
- Back up your data: Before making any changes to your PC, it’s always a good idea to back up your important files and data. This will help prevent any potential loss of data during the installation process.
- Power off and unplug your PC: For safety purposes, make sure to turn off your PC and unplug it from the power source. This will help prevent any electrical mishaps or damage to your system.
- Find a suitable location: Choose a clean and well-ventilated area to work on your PC. Make sure you have enough space to maneuver and access the internal components without any obstructions.
- Ground yourself: To prevent any damage from static electricity, ground yourself by touching a metal object or wearing an anti-static wrist strap. This will help discharge any built-up static electricity from your body.
- Read the user manual: Familiarize yourself with the instructions provided in the user manual of your PC and the second SSD. Pay attention to any specific guidelines or precautions mentioned.
By following these preparatory steps, you’ll ensure a smooth transition into the installation process. Taking the time to prepare will mitigate any potential risks and help you approach the installation with confidence.
Now that you’ve prepared the groundwork, it’s time to move on to the next step: unplugging and opening the PC case.
Step 3: Unplug and open the PC case
Now that you’re prepared, it’s time to unplug and open your PC case. This will allow you to access the internal components and proceed with the installation of the second SSD. Follow these steps:
- Ensure your PC is powered off and unplugged from the power source.
- Place your PC on a sturdy surface with ample room to work.
- Locate the screws or fasteners securing the PC case. These are usually located on the back or side of the case.
- Using the appropriate screwdriver, carefully remove the screws or fasteners and set them aside.
- Gently slide off or lift the side panel of the PC case, exposing the internal components.
- Take a moment to familiarize yourself with the internal layout of your PC. Note the locations of the existing storage drives, cables, and connectors.
It’s important to handle your PC case with care during this process. Avoid applying excessive force or causing any damage to the case or internal components. If you encounter any resistance while opening the case, double-check for any hidden screws or latches that might be holding the panel in place.
Once the PC case is open, we can proceed to the next step: locating and inserting the second SSD.
Step 4: Locate and insert the second SSD
With the PC case open, you can now locate the appropriate spot to insert the second SSD. Follow these steps:
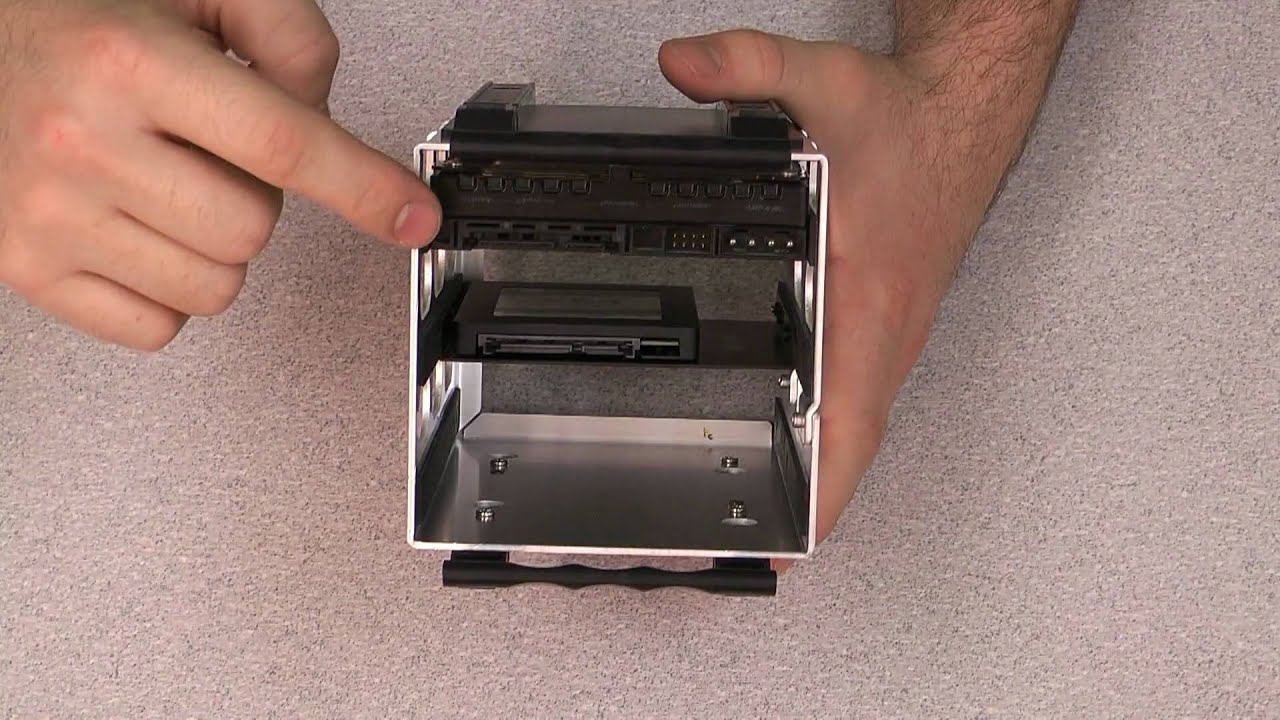
- Refer to your PC’s user manual or manufacturer’s instructions to identify the available storage drive bays. These are typically located in the front or side of the case.
- If there is a removable bracket or tray in the storage drive bay, remove it by unscrewing or unlatching it carefully.
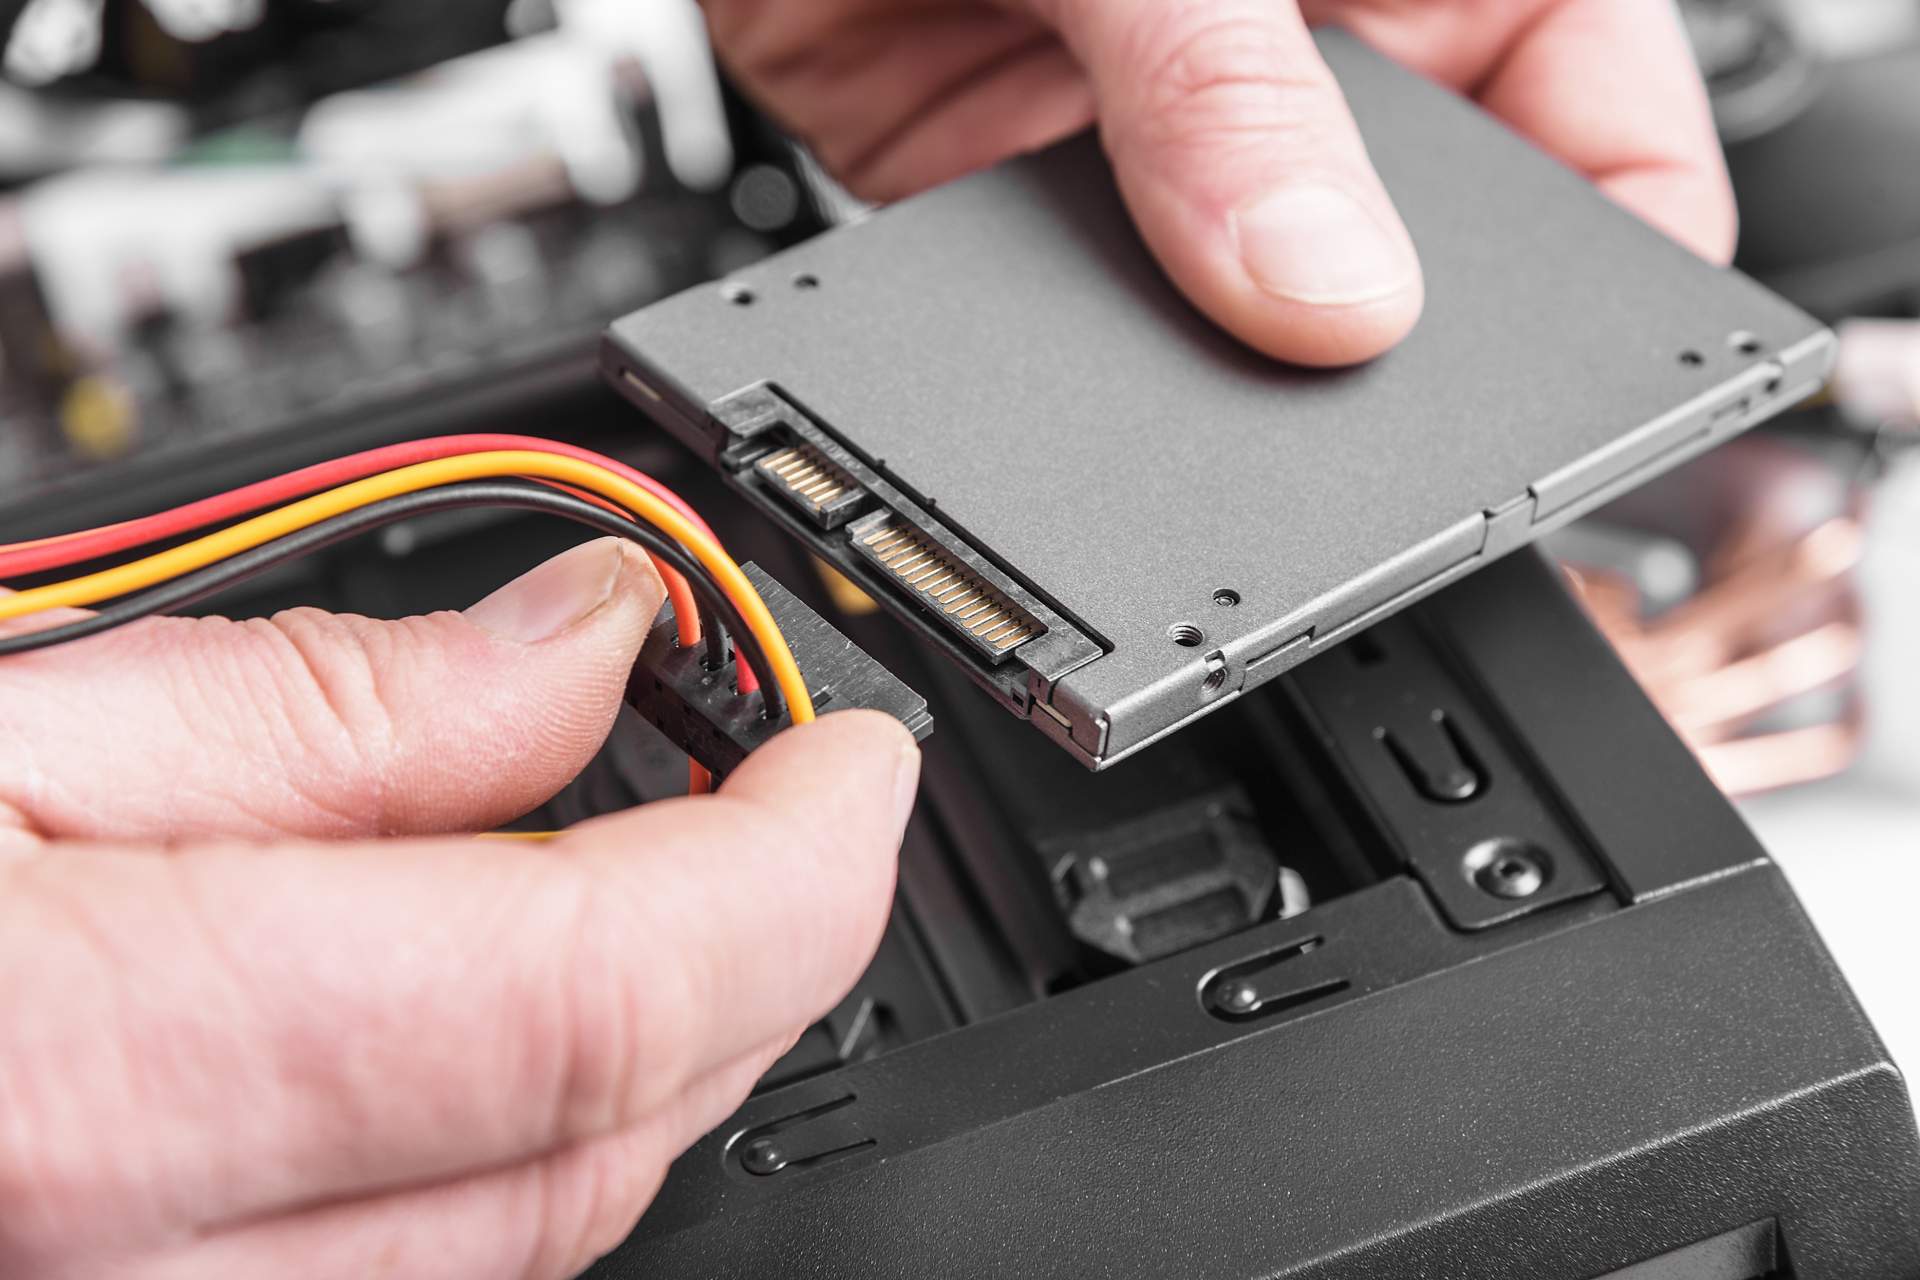
- Take your second SSD and align it with the connection ports in the drive bay. Ensure that it is oriented correctly, matching the shape and placement of the connectors.
- Gently slide the SSD into the drive bay until it is firmly seated. If necessary, use the mounting holes or brackets provided with the SSD to secure it in place.
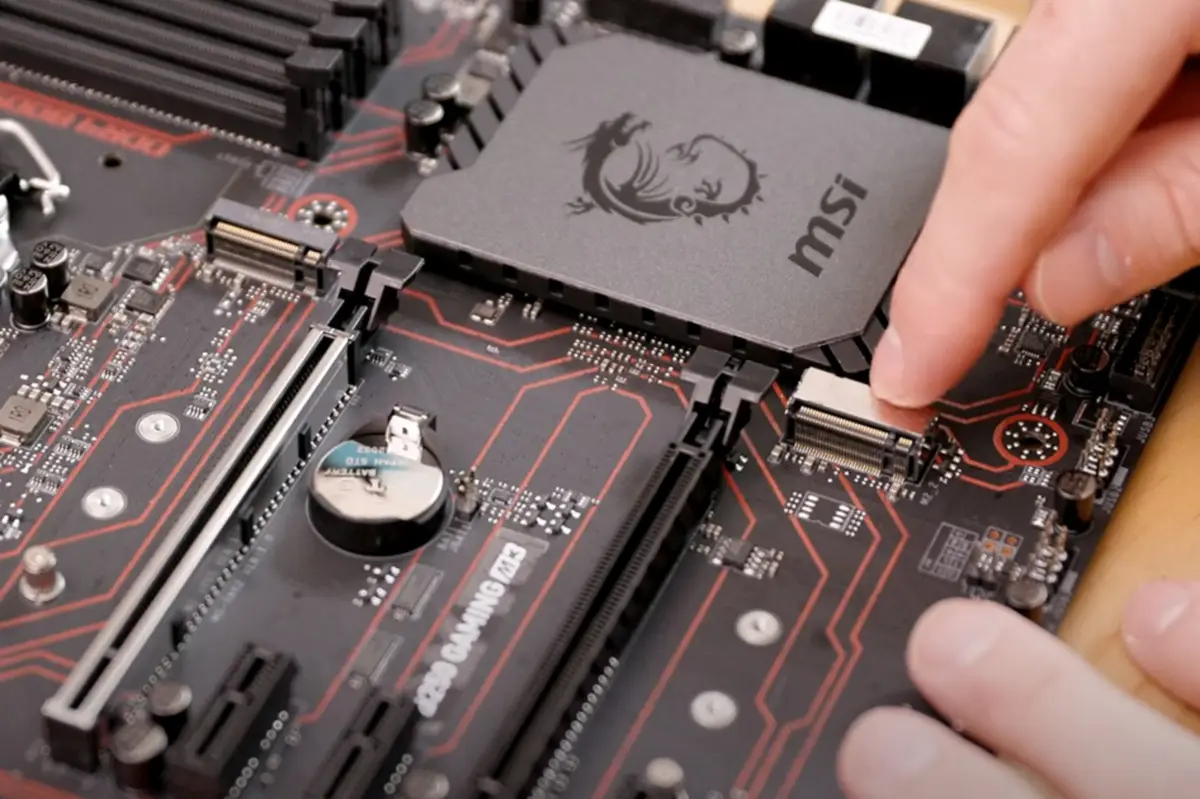
- If you are installing an M.2 SSD, locate the M.2 slot on your motherboard. Carefully insert the SSD into the slot at a slight angle, then press it down until it is secured in place.
Take care not to apply excessive force while inserting the SSD. It should fit snugly and align properly with the connectors. If the SSD does not fit or the connectors are not aligned, double-check that you are inserting it into the correct location and orientation.
Once the second SSD is securely in place, we can move on to the next step: connecting the necessary cables.
Step 5: Connect the cables
Now that the second SSD is inserted into the drive bay, it’s time to connect the necessary cables to ensure it functions properly. Follow these steps:
- Locate the SATA data cable that came with your second SSD. It is a thin, flat cable with connectors on both ends.
- Attach one end of the SATA data cable to the SATA port on your second SSD. The port will be clearly labeled and generally located on the side or back of the SSD.
- Find an available SATA port on your motherboard and attach the other end of the SATA data cable to it. The SATA ports on the motherboard are typically color-coded and labeled.
- Next, locate the SATA power cable. This cable provides power to the SSD.
- Connect one end of the SATA power cable to an available power connector from your power supply unit (PSU).
- Lastly, connect the other end of the SATA power cable to the power connector on the second SSD. The power connector on the SSD is usually located alongside the data connectors.
Ensure that the cables are securely connected without applying excessive force. Double-check that the SATA data cable is securely plugged into both the second SSD and the motherboard, while the SATA power cable is firmly connected to the power supply unit and the second SSD.
By connecting the necessary cables, you are providing both data and power connectivity to your second SSD, enabling it to function properly within your PC setup.
Now that the cables are connected, it’s time to move on to the next step: securing the second SSD in place.
Step 6: Secure the second SSD
Now that the second SSD is properly connected, it’s important to secure it in place to prevent any movement or damage. Follow these steps:
- If your PC case has brackets or mounting holes specifically designed for SSDs, use them to secure the second SSD. Insert the screws provided with your PC case into the mounting holes or brackets and tighten them gently to hold the SSD in place.
- If your PC case does not have dedicated SSD mounting options, you can use zip ties or adhesive mounts to secure the SSD. Carefully position the SSD in a suitable location within the PC case and secure it using your preferred method.
When securing the second SSD, ensure that it is stable and not putting undue pressure on any components or cables. Verify that the SSD is aligned properly and not touching any other components that could cause interference.
Properly securing the second SSD will help prevent any accidental disconnections or damage during regular use and transportation. It also helps improve overall airflow and organization within the PC case.
Now that the second SSD is secured, we can move on to the next step: closing the PC case and preparing for the final steps of the installation process.
Step 7: Close the PC case
After securing the second SSD and ensuring everything is in place, it’s time to close the PC case. Follow these steps:
- Double-check that all cables are neatly organized and properly connected, with no loose or dangling wires.
- Gently slide the side panel back into position or lower it onto the case, ensuring it aligns with the screw holes or latches.
- Secure the side panel by tightening the screws or fasteners you removed earlier. Use the appropriate screwdriver to tighten them securely but not excessively.
- Double-check that the case is tightly closed and secure from all sides.
Ensure that the case is closed properly to provide protection and maintain the integrity of your PC’s components. A securely closed case also helps to minimize dust accumulation and maintain proper airflow within the system.
Once the PC case is closed, you’re ready to power on your PC and proceed with the final steps of configuring the second SSD.
Now that the PC case is closed, you’re one step closer to enjoying the benefits of your new second SSD. In the next step, we’ll power on the PC and configure the second SSD for optimal performance.
Step 8: Power on and configure the second SSD
Now that the second SSD is installed and the PC case is closed, it’s time to power on your computer and configure the new SSD for optimal performance. Follow these steps:
- Plug in your PC and power it on. Wait for the operating system to load.
- Once your PC has booted up, go to your computer’s BIOS or UEFI settings by pressing the designated key during startup. The key to access these settings may vary depending on your motherboard, but it is often displayed on the boot screen.
- In the BIOS or UEFI settings, navigate to the “Boot” or “Drives” section. Locate the newly installed second SSD in the list of available drives.
- Select the second SSD as the primary boot device or adjust the boot order to prioritize it if desired. This step is optional and depends on your specific preferences and requirements.
- Save the changes made to the BIOS or UEFI settings and exit the settings menu. Your PC will restart.
- Once your PC has restarted, your operating system should recognize the new second SSD. You can now proceed to format or partition the SSD as needed.
- Use your operating system’s disk management tools to format the SSD, assign a drive letter, or create partitions as required. Take the necessary precautions to avoid formatting or modifying any existing drives or partitions.
- Once the formatting is complete, your PC is ready to take advantage of the increased storage and performance provided by the second SSD. You can now start using it to store files, install applications, or transfer data.
Remember to regularly back up important data stored on both the new second SSD and your primary storage drive to prevent any unexpected data loss.
Congratulations! You have successfully installed and configured a second SSD in your PC. Enjoy the improved performance and expanded storage capacity!
Conclusion
Congratulations on successfully installing a second SSD in your PC! By following the step-by-step instructions provided in this guide, you have enhanced your computer’s performance and storage capacity. The second SSD will enable faster loading times, improved multitasking capabilities, and seamless data transfers.
Throughout the installation process, we covered various essential steps, from gathering the necessary tools and materials to configuring the second SSD. Ensuring that you have all the required components and carefully following the instructions will result in a successful installation.
Remember, always refer to your PC’s user manual and the manufacturer’s instructions specific to your SSD for any additional guidance. Each PC and SSD may have slight nuances that require specific attention and adjustments.
Adding a second SSD to your PC can have a significant impact on your computing experience, whether you’re a gamer seeking faster load times or a professional needing additional storage for large files and applications. The increased performance and storage capacity will provide you with a smoother and more efficient workflow.
As you continue to explore the possibilities of your upgraded PC, be sure to monitor your SSD’s health and regularly back up your important data. This will help safeguard your files and ensure the long-term reliability of your system.
Thank you for choosing this installation guide. We hope it has been helpful and that you enjoy the benefits of your new second SSD!