Introduction
Integrated Graphics and Graphics Cards are two essential components in modern computer systems that are responsible for displaying visual output on the screen. Integrated Graphics, also known as onboard graphics, refers to the graphics processing capabilities integrated into the computer’s motherboard. On the other hand, a Graphics Card, also called a video card or GPU (Graphics Processing Unit), is a separate hardware component specifically designed to handle graphics-intensive tasks.
Traditionally, the use of Integrated Graphics or a dedicated Graphics Card was mutually exclusive – you could only use one or the other. However, advancements in technology have made it possible to utilize both Integrated Graphics and Graphics Cards simultaneously, offering benefits in terms of performance and functionality. By using both, you can enhance your computer’s graphics capabilities, optimize resource allocation, and even drive multiple displays.
In this article, we will delve into the world of integrated graphics and graphics cards, exploring the benefits of utilizing both simultaneously. We will then provide a step-by-step guide to help you set up and configure your system to use both Integrated Graphics and a dedicated Graphics Card at the same time.
Understanding Integrated Graphics and Graphics Card
Before we dive into the process of using Integrated Graphics and a Graphics Card simultaneously, it’s important to have a clear understanding of what these components are and how they function.
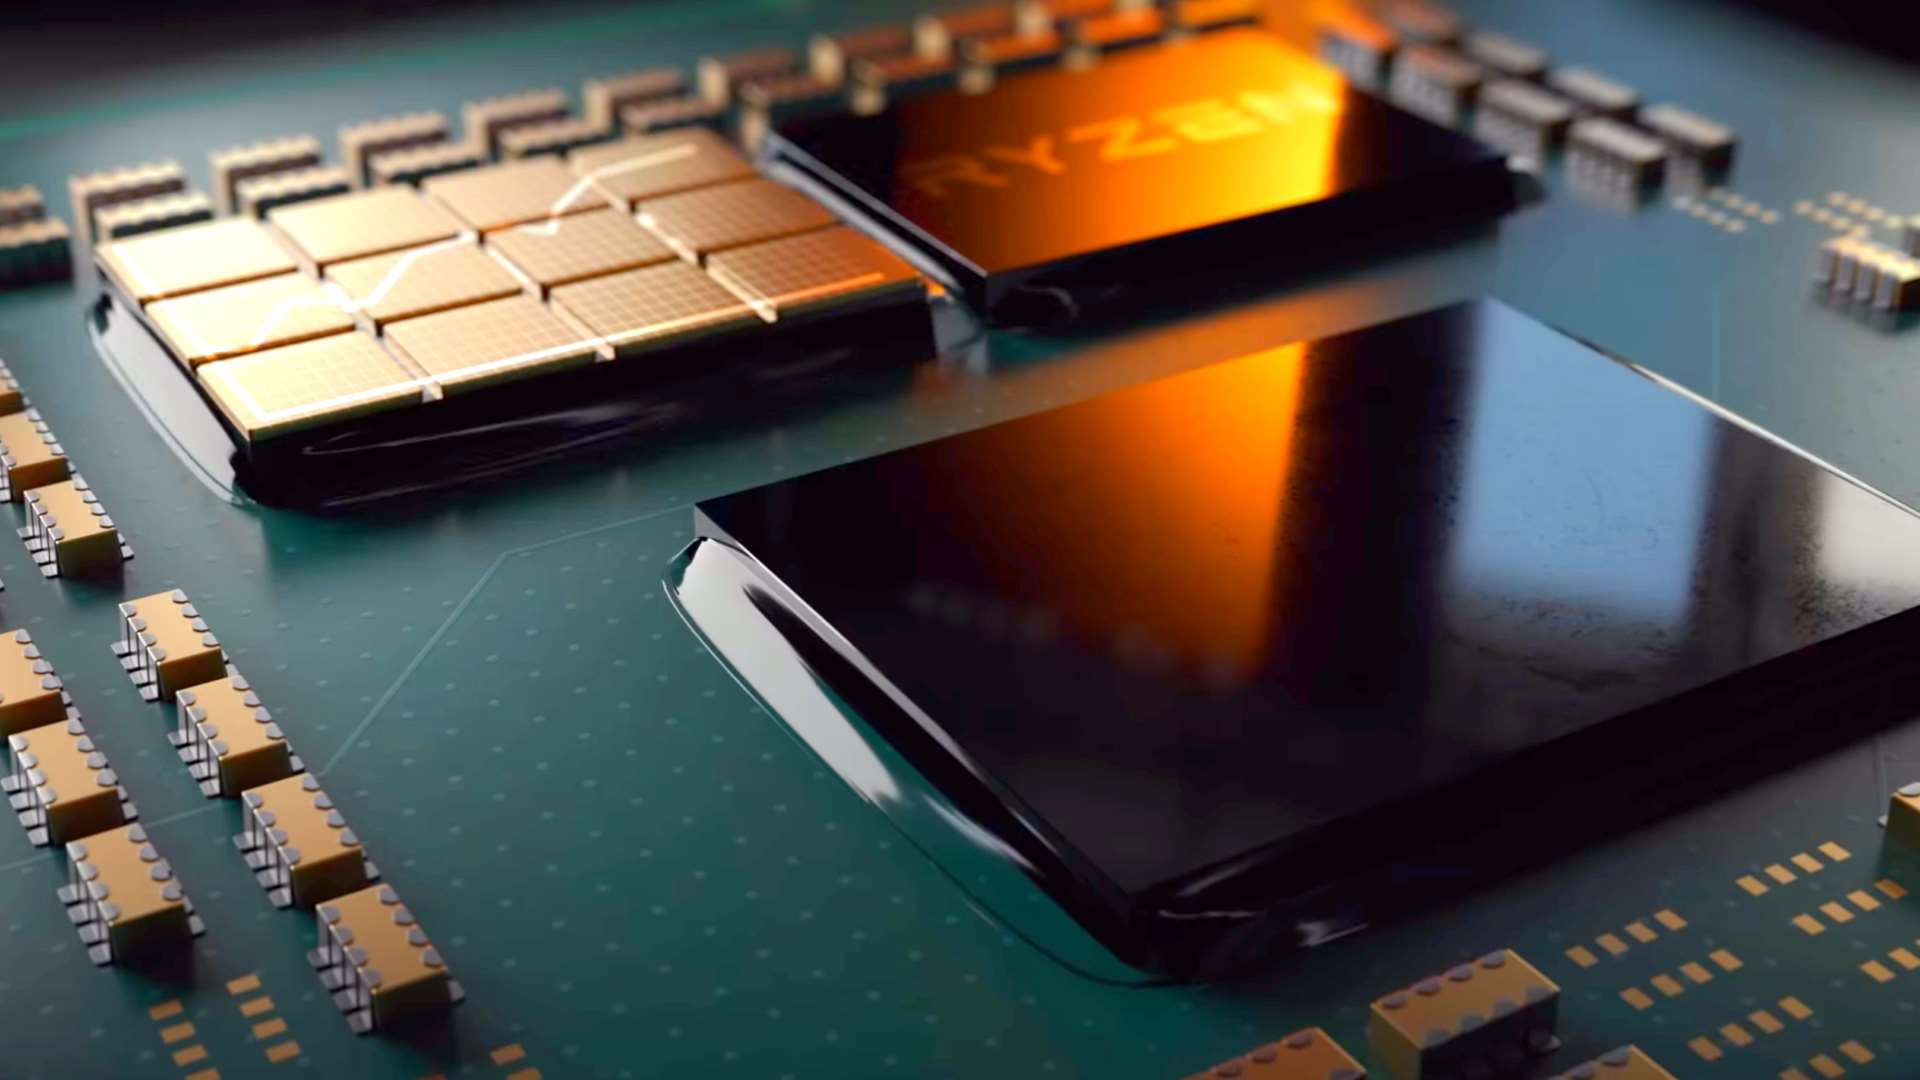
Integrated Graphics, as mentioned earlier, are graphics processing capabilities integrated into the computer’s motherboard. These graphics processors are typically less powerful compared to dedicated graphics cards but are sufficient for handling everyday computing tasks like web browsing, document editing, and multimedia playback. Integrated Graphics utilize a portion of the computer’s system memory (RAM) for video memory, which can impact overall system performance.
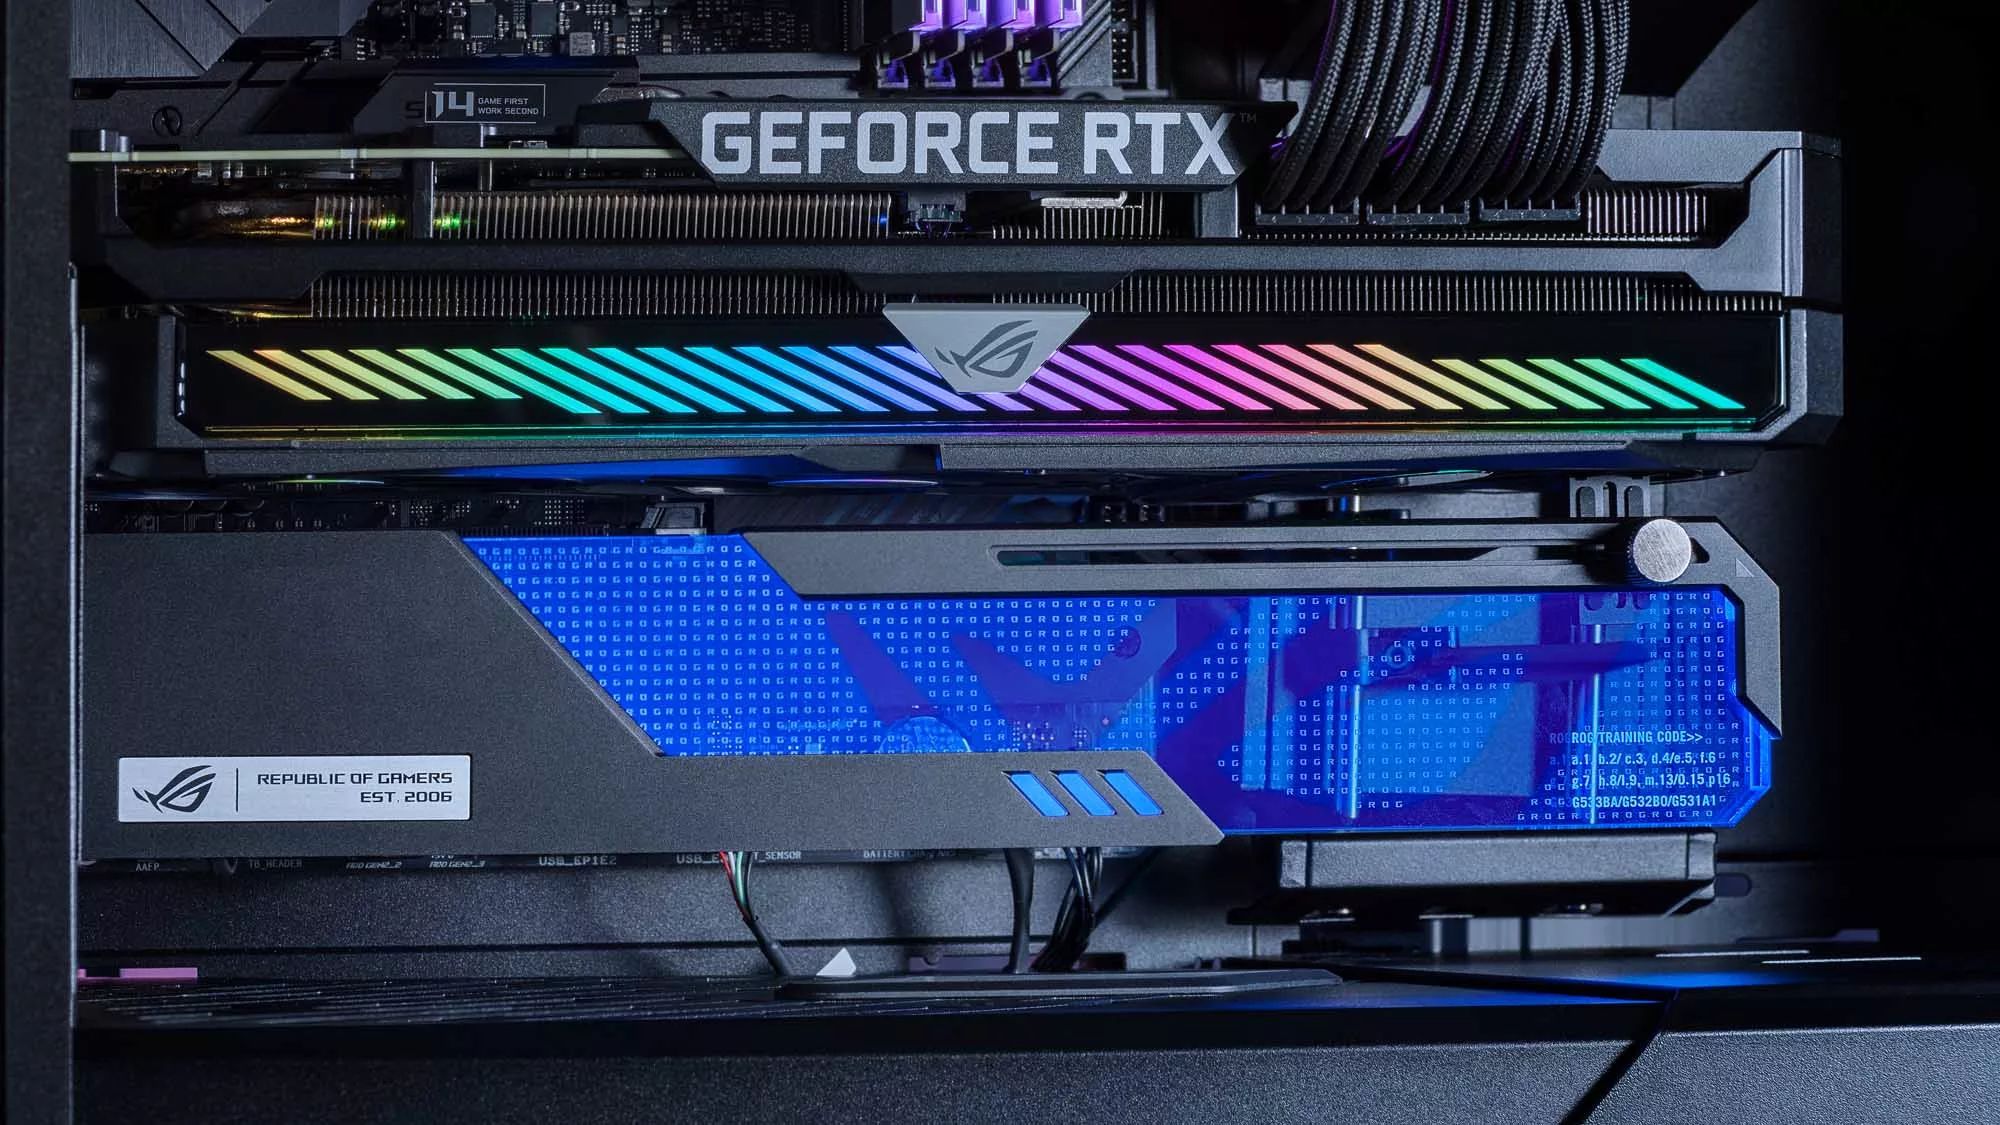
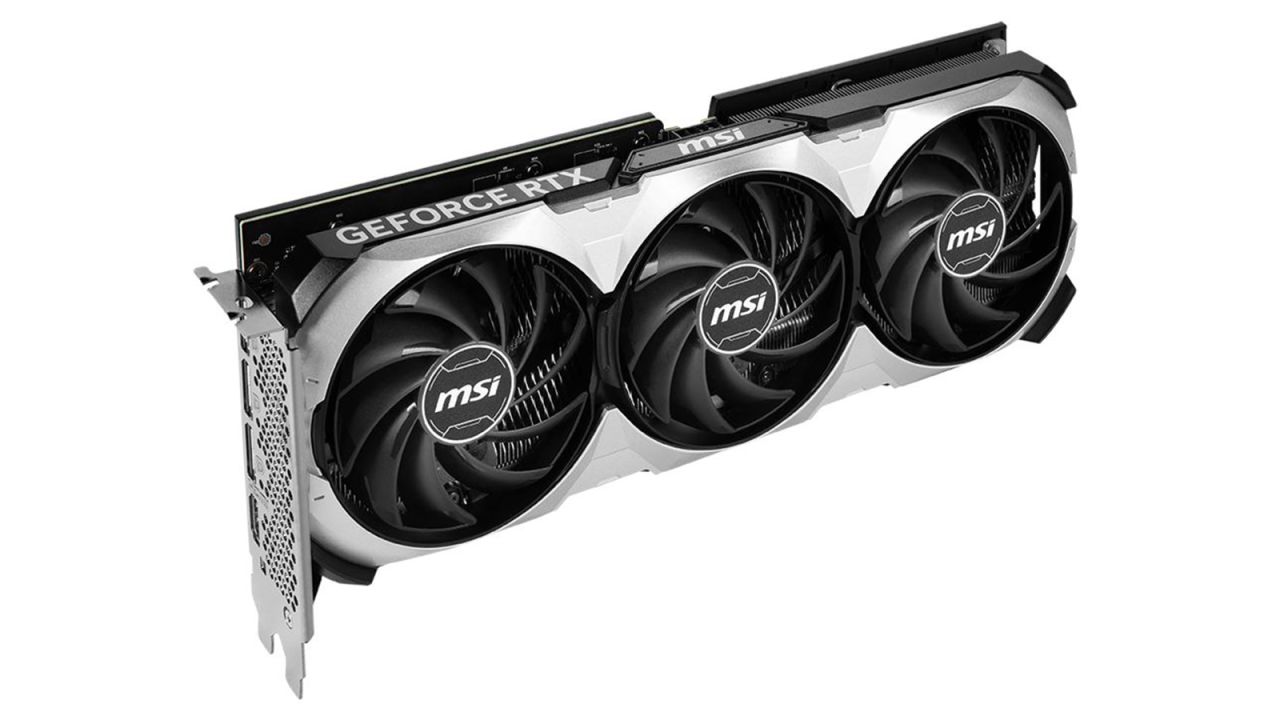
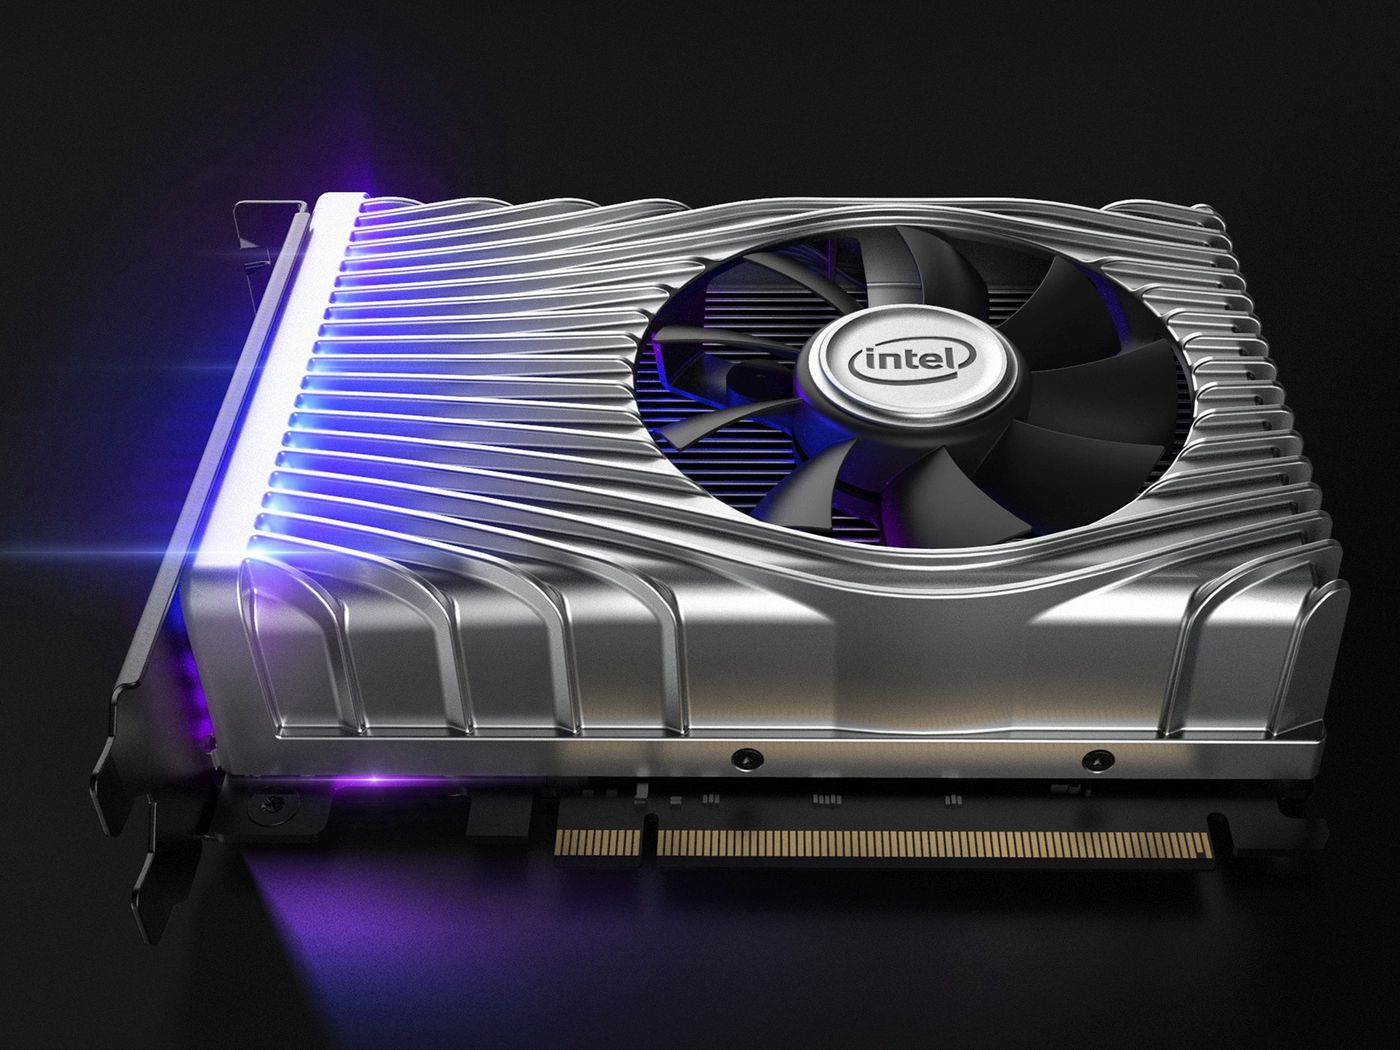
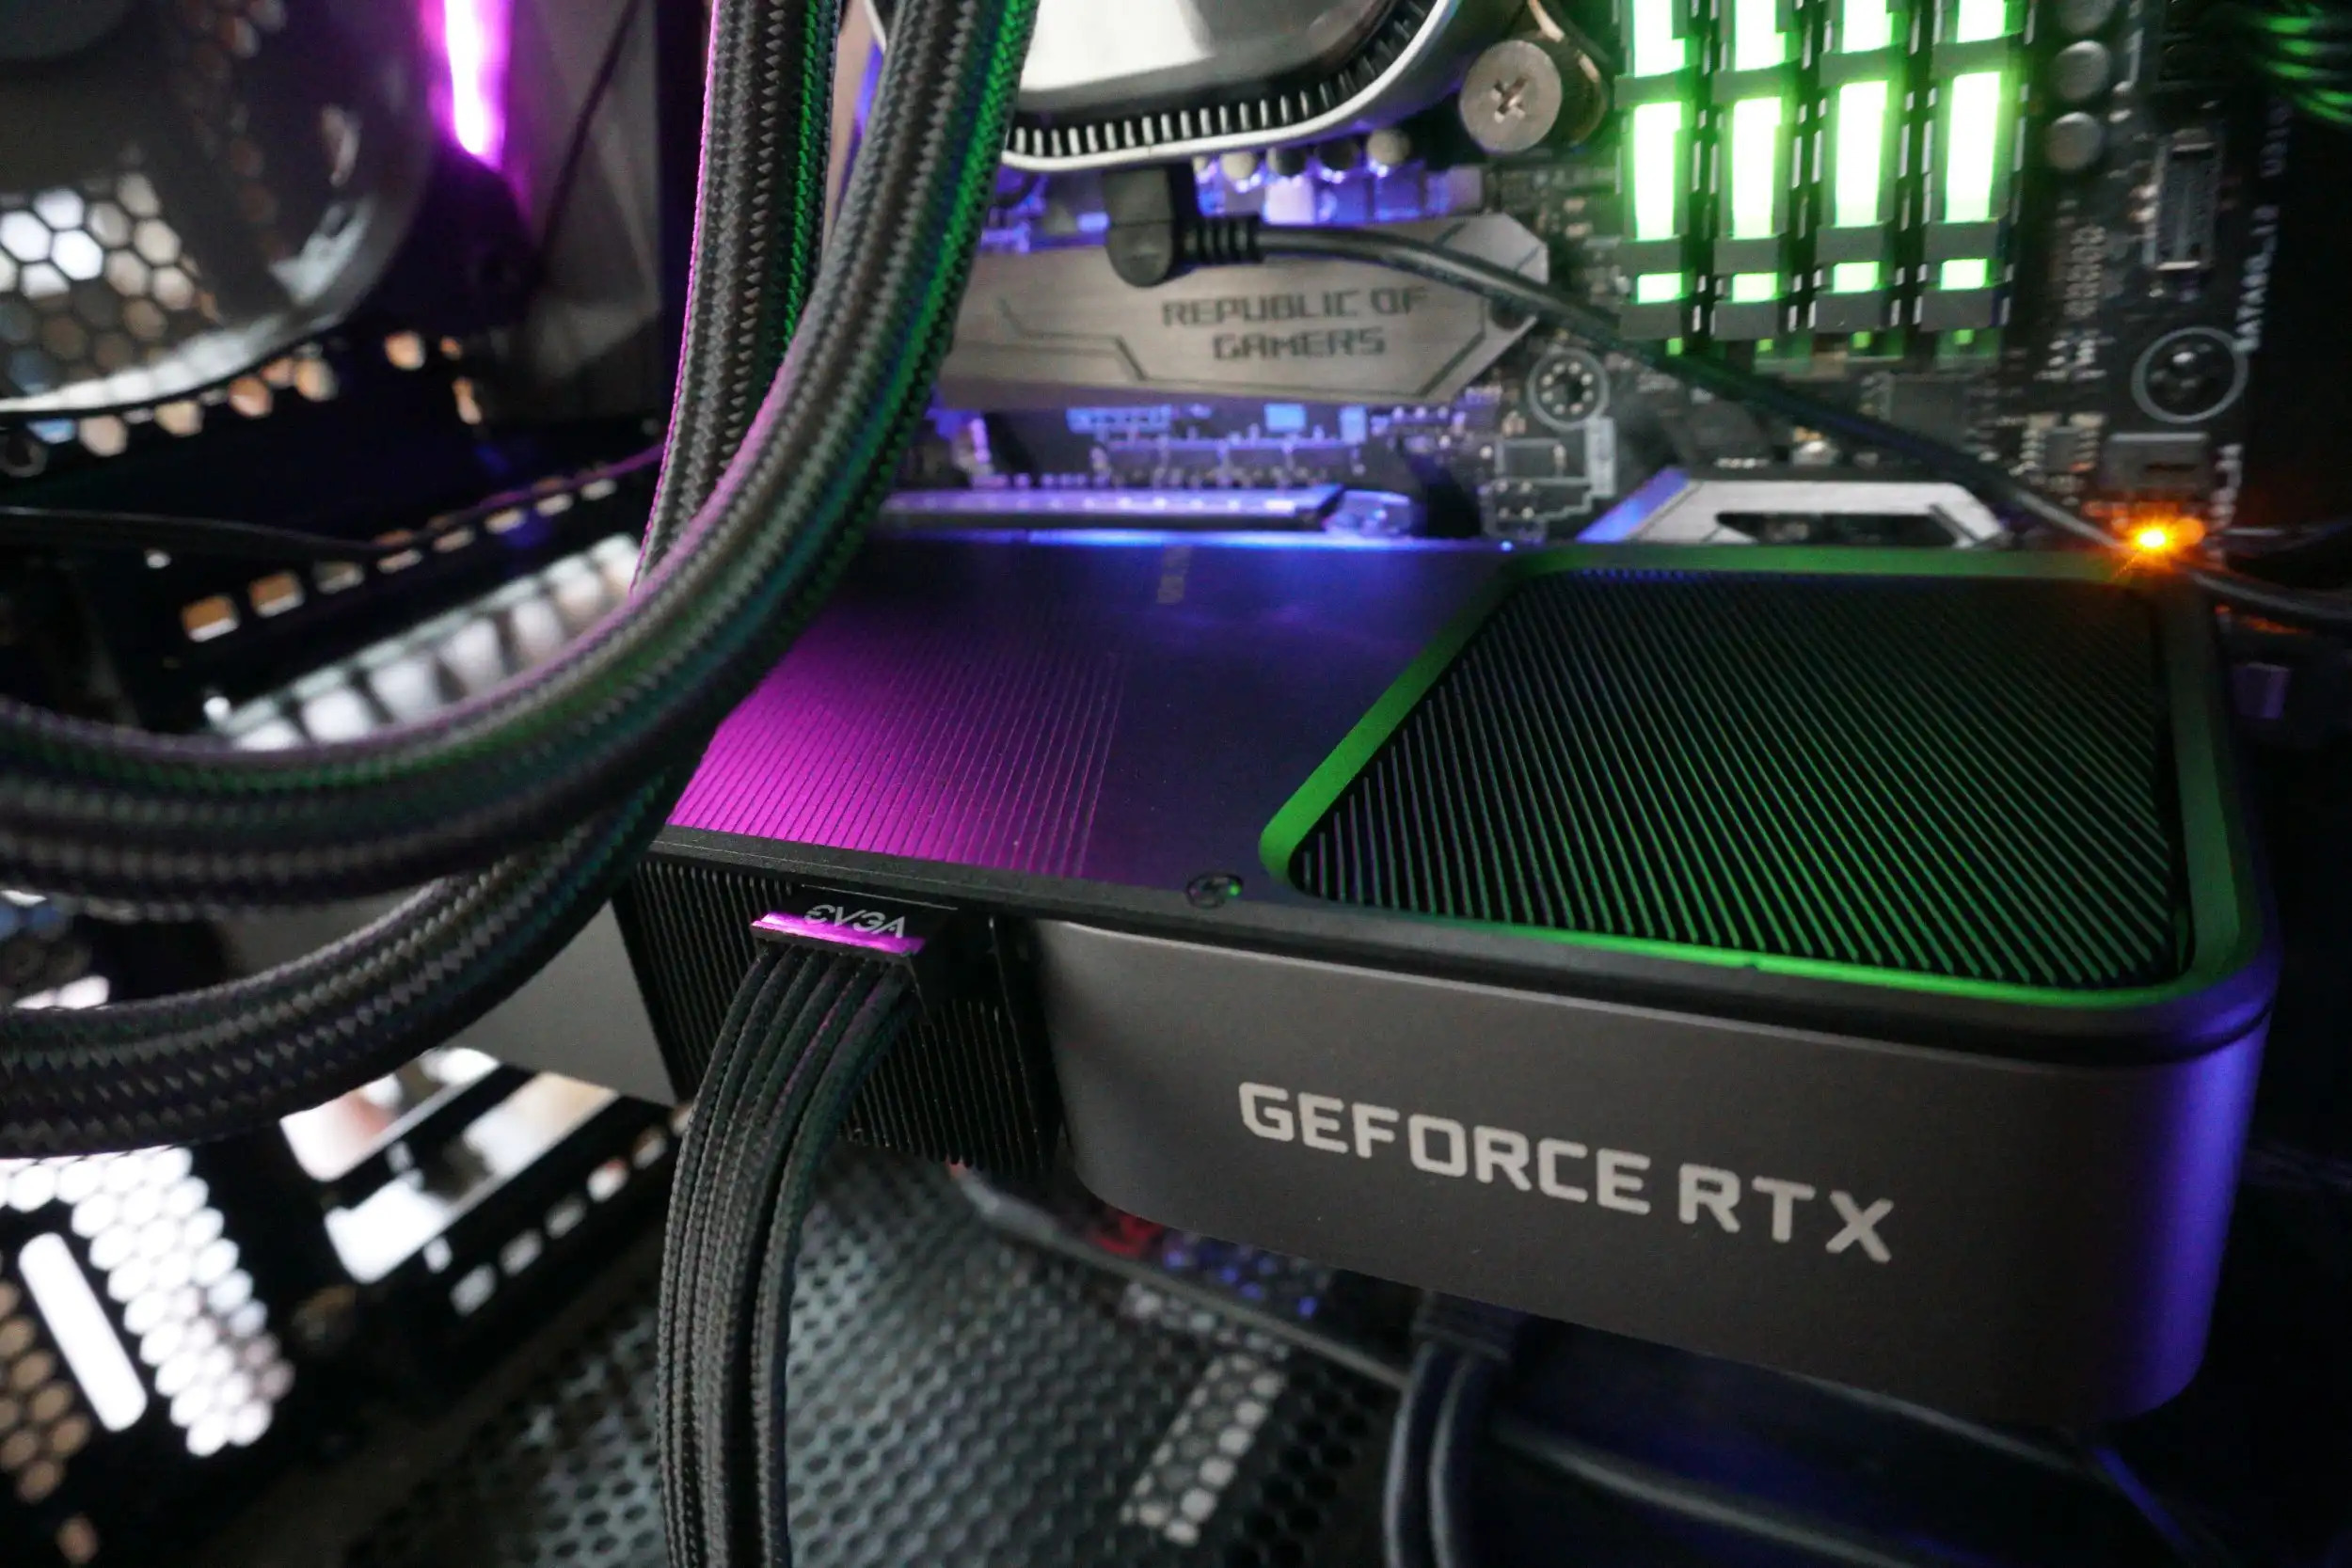
On the other hand, a Graphics Card is a separate hardware component that connects to the motherboard via an expansion slot. Graphics Cards come with their own dedicated memory, known as video memory, which allows them to handle more demanding graphics-intensive tasks such as gaming, video editing, and 3D rendering. They are equipped with a dedicated graphics processing unit (GPU) that offloads graphics processing from the main CPU, improving overall system performance for graphics-related tasks.
Graphics Cards come in various models and offer different levels of performance, depending on factors like GPU architecture, memory capacity, and clock speed. High-end Graphics Cards often feature advanced cooling solutions, multiple video outputs, and additional features like real-time ray tracing and deep learning capabilities.
Both Integrated Graphics and Graphics Cards serve their own purposes. Integrated Graphics are a cost-effective solution for everyday computing needs, while Graphics Cards provide superior performance for graphics-intensive tasks. Using them together can offer a balance between power efficiency and high-performance graphics processing.
It’s worth noting that utilizing both Integrated Graphics and a Graphics Card simultaneously is only possible if your computer system supports this feature. The availability of integrated graphics and the ability to use a dedicated graphics card may vary depending on the motherboard and BIOS settings. Therefore, it’s essential to check your system’s specifications and configuration before attempting to set up a dual graphics setup.
Benefits of Using Integrated Graphics and Graphics Card Simultaneously
Combining the power of Integrated Graphics and a Graphics Card brings several advantages to the table. Let’s explore some of the key benefits of using both simultaneously:
- Improved Performance: By utilizing both Integrated Graphics and a Graphics Card, you can distribute the graphics processing workload more efficiently. This can result in improved overall system performance, allowing for smoother gameplay, faster video rendering, and better multitasking capabilities.
- Enhanced Graphics Quality: Integrated Graphics are often limited in their graphical capabilities, especially when it comes to rendering complex graphics in modern applications and games. By utilizing a dedicated Graphics Card, you can experience enhanced graphics quality, including more detailed textures, realistic lighting effects, and higher frame rates.
- Extended Display Options: Using both Integrated Graphics and a Graphics Card allows you to connect multiple monitors to your system. This can be particularly useful for professionals who require a larger workspace or gamers who want to immerse themselves in a multi-monitor gaming setup.
- Optimized Resource Allocation: With a dual graphics setup, you can assign specific tasks to each graphics processor based on their capabilities. For instance, you can use Integrated Graphics for less demanding applications while dedicating the Graphics Card to handle resource-intensive tasks like gaming or video editing. This helps optimize system resource allocation and ensures a smoother and more responsive user experience.
- Cost-Effectiveness: Integrated Graphics are generally less expensive than high-end Graphics Cards. By utilizing both simultaneously, you can enjoy the benefits of improved graphics performance without having to invest in an expensive graphics card. This makes a dual graphics setup a cost-effective solution for users who require enhanced graphics capabilities without breaking the bank.
Incorporating both Integrated Graphics and a Graphics Card in your system provides a balance between power efficiency and enhanced graphics performance. It allows you to leverage the strengths of each component, resulting in a more versatile and capable computer system.
Step-by-Step Guide to Using Integrated Graphics and Graphics Card at the Same Time
Setting up and configuring a dual graphics setup using Integrated Graphics and a Graphics Card may require some adjustments in your system settings. Here is a step-by-step guide to help you get started:
- Check Compatibility: Before proceeding, make sure that your computer system supports the use of both Integrated Graphics and a Graphics Card simultaneously. Refer to your motherboard’s documentation or manufacturer’s website to determine if this feature is available.
- Configure BIOS Settings: Access your computer’s BIOS settings by restarting your system and pressing the designated key (generally DEL or F2) during the boot process. Navigate to the “Integrated Graphics” or “Primary Graphics” setting and select “IGP” or “Auto” to enable the use of Integrated Graphics alongside a Graphics Card. Save the changes and exit the BIOS.
- Install and Update Graphics Card Drivers: Make sure you have the latest drivers installed for your Graphics Card. Visit the manufacturer’s website and download the appropriate drivers for your card model and operating system. Install the drivers and follow any on-screen instructions. It is recommended to regularly update your graphics card drivers to ensure compatibility and performance optimizations.
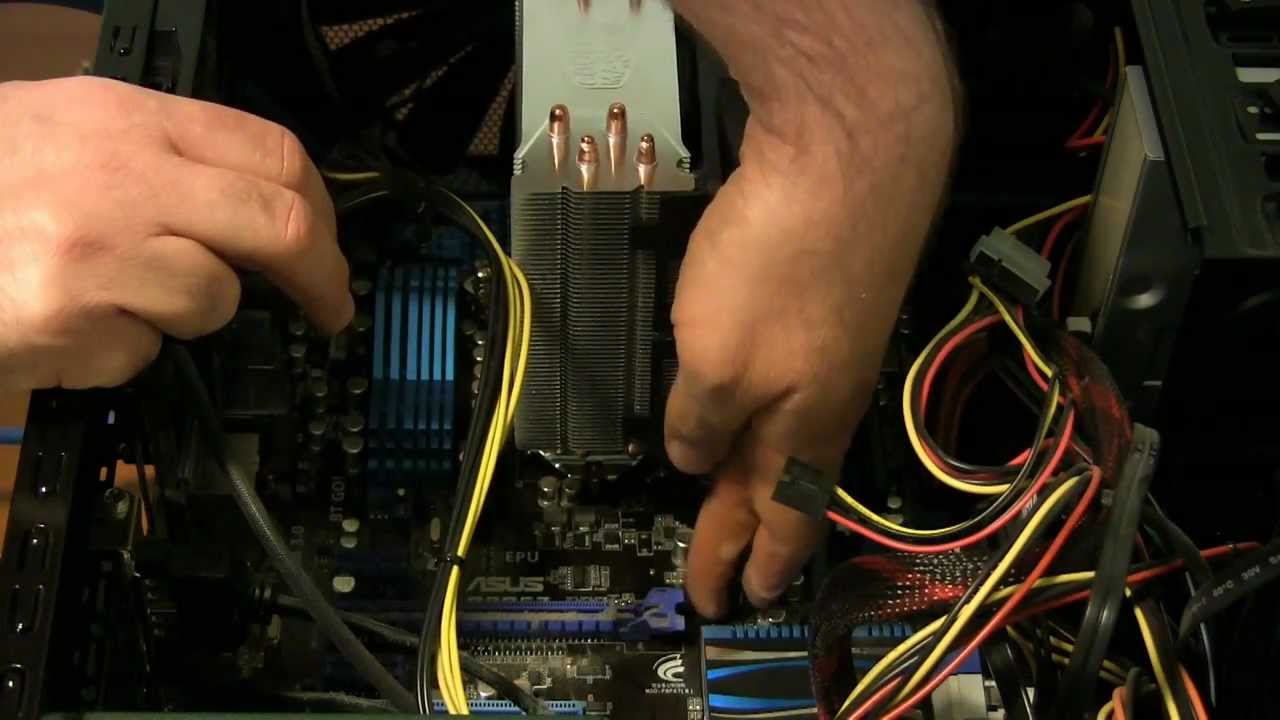
- Connect the Monitor: Connect your primary monitor to the output ports on your Graphics Card. If you plan to use multiple monitors, connect the additional displays accordingly. For the Integrated Graphics, connect the secondary monitor to the video ports on your motherboard.
- Configure Display Settings: Once the physical connections are established, go to your computer’s display settings. In the display settings, you should see options to set up multiple displays. Configure the desired display arrangement, resolution, and orientation to suit your preferences.
- Test the Dual Graphics Setup: With both Integrated Graphics and the Graphics Card connected and configured, it’s time to test your setup. Open applications or games that require graphics-intensive processing and observe if the Graphics Card is actively utilized. You can monitor GPU usage using third-party software like MSI Afterburner or GPU-Z.
By following these steps, you should be able to successfully use Integrated Graphics and a Graphics Card simultaneously. Remember that the availability of these settings and the specific steps may vary depending on your system configuration, so refer to the respective manufacturer’s documentation if you encounter any difficulties during the setup process.
Check Compatibility
Before attempting to use Integrated Graphics and a Graphics Card simultaneously, it is crucial to ensure that your computer system supports this feature. Checking compatibility will help you determine if your motherboard and BIOS settings allow for the concurrent use of both graphics processors.
Start by referring to your motherboard’s documentation or visiting the manufacturer’s website to gather information about your specific motherboard model. Look for details regarding the supported features, including the ability to utilize Integrated Graphics alongside a dedicated Graphics Card.
Another important factor to consider is the compatibility between the Graphics Card and your motherboard. Ensure that the Graphics Card is compatible with the available expansion slots on your motherboard, such as PCI Express or AGP, and that it meets the power requirements of your system.
Additionally, check if there are any specific BIOS settings that need to be enabled or configured to enable the simultaneous usage of Integrated Graphics and a Graphics Card. Accessing the BIOS settings can usually be done by restarting your system and pressing a designated key (such as DEL or F2) during the boot process. Look for options related to primary graphics or integrated graphics to ensure they are set to “Auto” or “IGP.”
Keep in mind that compatibility and available options may vary depending on your specific motherboard and BIOS version. Therefore, it is essential to consult the motherboard’s documentation or reach out to the manufacturer’s support for more precise information about the compatibility of your system.
By thoroughly checking compatibility beforehand, you can proceed with confidence, knowing that your computer system is capable of utilizing both Integrated Graphics and a Graphics Card simultaneously.
Configure BIOS Settings
Configuring the BIOS settings is an essential step in using Integrated Graphics and a Graphics Card simultaneously. By accessing the BIOS, you can enable the necessary options to support the concurrent usage of both graphics processors.
To begin, restart your computer and enter the BIOS setup. Depending on your system, you may need to press a specific key during the boot process, such as DEL, F2, or Esc. Refer to your motherboard’s documentation or the on-screen prompts for the correct key.
Once you are in the BIOS setup, navigate to the graphics-related settings. Look for options such as “Primary Graphics,” “Integrated Graphics,” or “IGP” settings. The naming and location of these settings can vary depending on your motherboard’s manufacturer and BIOS version.
Ensure that the setting is configured to “IGP” or “Auto” to enable the use of Integrated Graphics alongside the dedicated Graphics Card. This setting allows the system to allocate resources to both graphics processors and enables them to work simultaneously.
It is crucial to save the changes before exiting the BIOS setup. Look for the option to save and exit, usually labeled as “Save Changes and Exit.” The system will then restart with the updated BIOS settings.
Keep in mind that BIOS settings can be complex, and making incorrect changes or adjusting unsupported settings can result in system instability. If you are unsure about any settings or require assistance, it is recommended to consult your motherboard’s documentation or seek guidance from the manufacturer’s customer support.
By configuring the BIOS settings appropriately, you are taking a vital step towards enabling the simultaneous usage of Integrated Graphics and a Graphics Card in your computer system.
Install and Update Graphics Card Drivers
Installing and updating the drivers for your Graphics Card is crucial to ensure optimal performance and compatibility when using Integrated Graphics and a dedicated Graphics Card simultaneously. Here’s how to proceed:
1. Identify the Graphics Card: Determine the make and model of your Graphics Card. This information can usually be found on the card itself or in the documentation that came with it. Alternatively, you can use system information tools like CPU-Z or GPU-Z.
2. Visit the Manufacturer’s Website: Go to the official website of the Graphics Card manufacturer. Look for a section dedicated to drivers or support. Locate the drivers section specifically for your Graphics Card model and operating system.
3. Download the Latest Drivers: Download the latest drivers for your Graphics Card. Make sure to select the correct operating system and version. It is always recommended to obtain the most recent drivers to benefit from bug fixes, performance improvements, and compatibility enhancements.
4. Uninstall Previous Drivers (if necessary): If you already have older graphics drivers installed, it is advisable to uninstall them before proceeding with the installation of the new drivers. This can be done through the “Device Manager” on Windows or using the software provided by the Graphics Card manufacturer.
5. Install the Drivers: Open the downloaded driver file and follow the on-screen instructions. Typically, an installation wizard will guide you through the process. Read the instructions carefully and select the desired options. Once the installation is complete, restart your computer to apply the changes.
6. Update Drivers Regularly: To ensure optimal performance and compatibility, it is important to keep your Graphics Card drivers up to date. Regularly visit the manufacturer’s website or use their software (if available) to check for driver updates. Install any new updates to take advantage of the latest improvements.
By installing and updating the drivers for your Graphics Card, you not only ensure compatibility with Integrated Graphics but also gain access to the latest features and enhancements provided by the manufacturer.
Connect the Monitor
Connecting your monitor(s) properly is crucial for using Integrated Graphics and a Graphics Card simultaneously. Here are the steps to follow:
1. Determine Available Ports: Identify the available video output ports on both your Graphics Card and the motherboard. Graphics Cards commonly feature display options such as HDMI, DisplayPort, DVI, or VGA. The motherboard typically has video ports for Integrated Graphics, such as HDMI or VGA.
2. Primary Monitor Connection: Connect your primary monitor to one of the video output ports on your Graphics Card. This is usually the monitor you will use for most of your tasks. Use the appropriate cable (HDMI, DisplayPort, DVI, or VGA) that matches the ports available on the monitor and the Graphics Card. Make sure the connection is secure.
3. Secondary Monitor Connection: If you plan to use a secondary monitor, connect it to the video output ports on your motherboard. These ports are dedicated to Integrated Graphics. Once again, use the appropriate cable and ensure the connection is secure.
4. Power On the Monitors: Turn on both monitors and ensure they receive power. Check the monitor settings to verify that it is receiving input from the correct source (e.g., HDMI, VGA).
5. Multiple Monitor Settings: Go to your computer’s display settings to configure the setup for multiple monitors. Access the settings through the operating system’s control panel or system preferences. In this section, you can adjust the display mode, resolution, and other relevant settings for each monitor.
6. Extended Display or Mirrored Display: Select the desired display mode based on your preferences. “Extended Display” allows you to use each monitor as a separate workspace, while “Mirrored Display” shows the same content on both monitors. You can rearrange the monitors’ position and set a primary display if needed.
7. Test the Configuration: Once the monitors are connected and properly set up, test the dual graphics setup by opening applications or games that require graphics processing. Verify that the Graphics Card is active and the displays are functioning as expected.
It’s important to note that the availability of multiple monitors support may depend on your Graphics Card’s specifications and driver capabilities. Ensure that your Graphics Card and drivers support the desired number of monitors before attempting to connect them.
By properly connecting and configuring your monitors, you can take full advantage of Integrated Graphics and a Graphics Card working together seamlessly.
Configure Display Settings
Once you have connected your monitors, it’s time to configure the display settings to ensure optimal resolution, arrangement, and functionality. Here are the steps to configure the display settings:
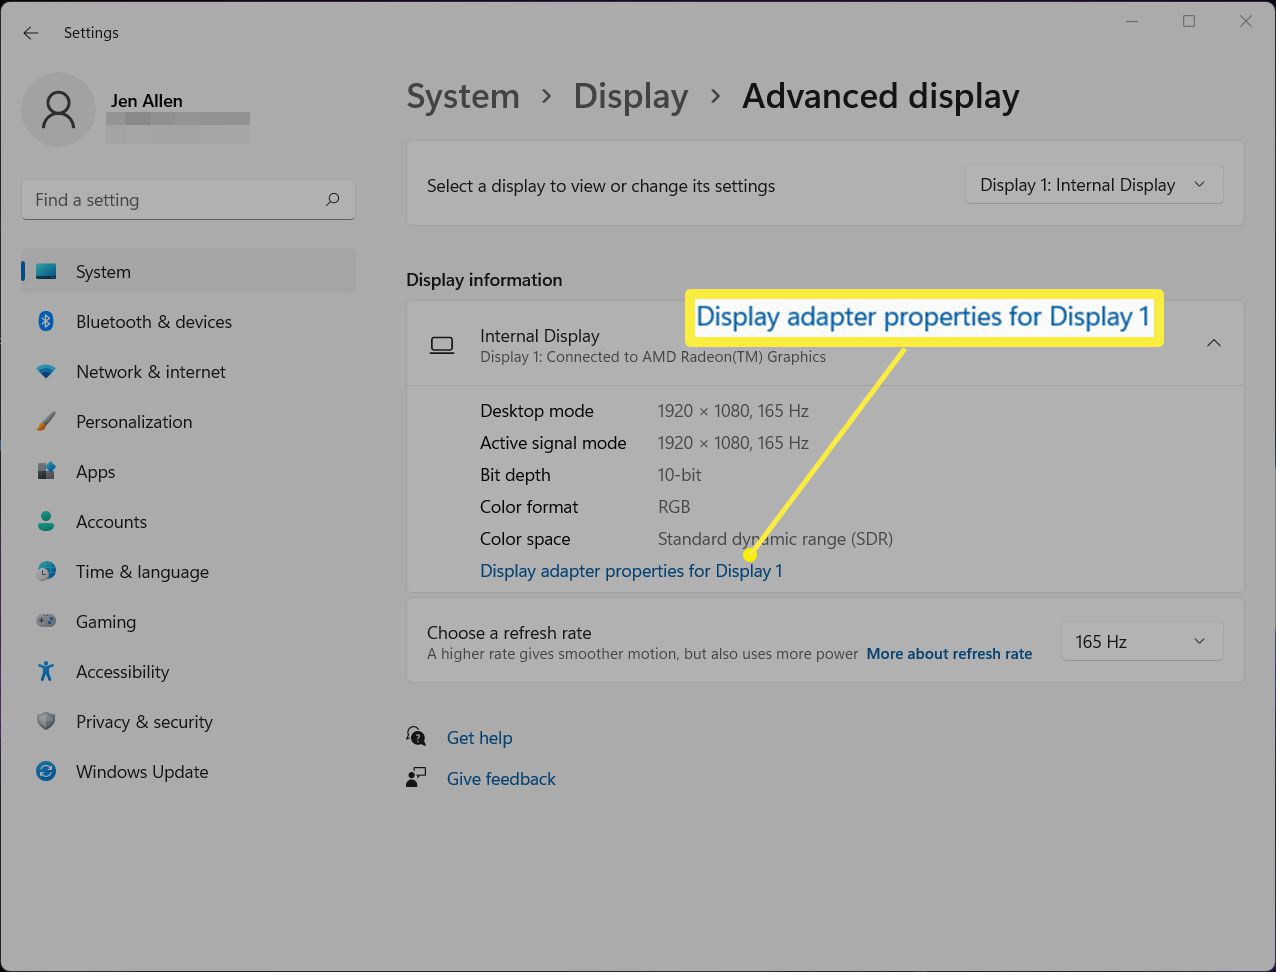
1. Access Display Settings: Open the display settings menu on your computer. This can typically be done through the operating system’s control panel or system preferences. Alternatively, you can right-click on the desktop and select “Display settings” or “Screen resolution.”
2. Identify Monitors: In the display settings, you should see a visual representation of your connected monitors. Each monitor will be labeled with a number or name to help you identify them. Note the order in which the monitors are listed.
3. Adjust Resolution: Adjust the resolution for each monitor individually. Choose the desired resolution from the available options. Higher resolutions offer sharper visuals, but keep in mind that they may require more graphics processing power. Ensure that the selected resolutions are supported by both the Graphics Card and the monitors.
4. Arrange Monitors: Arrange the monitors to match their physical placement on your desk or workspace. Drag and drop the monitor icons in the display settings to align them correctly. You can also adjust the orientation (landscape or portrait mode) of each monitor if needed.
5. Set Primary Monitor (if desired): If you have a preference for a particular monitor to be your primary display, designate it as the primary monitor in the display settings. This means that the primary monitor will host the taskbar and have certain default settings, such as the desktop background.
6. Multiple Display Modes: Depending on your operating system, you may have additional display modes to choose from, such as “Extend,” “Duplicate,” or “Mirror.” The “Extend” mode allows you to use each monitor as a separate workspace, while the “Duplicate” or “Mirror” mode shows the same content on all monitors.
7. Apply and Save Settings: After adjusting the necessary display settings, apply the changes and save the settings. This will ensure that the configuration is saved and reflected each time you use the dual graphics setup.
8. Test Functionality: Test the functionality of your dual graphics setup by dragging windows between monitors, playing videos or games, and performing other graphics-intensive tasks. Verify that the displays are functioning as expected and the content appears correctly on each monitor.
It’s important to note that the display settings and available options may vary depending on your operating system and Graphics Card drivers. Consult the relevant documentation or the manufacturer’s website for specific instructions and troubleshooting guidelines.
By properly configuring the display settings, you can optimize your dual graphics setup for a seamless and productive multi-monitor experience.
Test the Dual Graphics Setup
After setting up Integrated Graphics and a Graphics Card simultaneously and configuring the display settings, it is essential to test the dual graphics setup to ensure that both components are working harmoniously. Here’s how to perform a thorough test:
1. Run Graphics-Intensive Applications: Launch graphics-intensive applications or games that heavily rely on the graphics processing power of the Graphics Card. Pay attention to any improvements in performance, graphics quality, and responsiveness compared to using Integrated Graphics alone.
2. Monitor GPU Usage: Use monitoring software like MSI Afterburner or GPU-Z to monitor the GPU usage of the Graphics Card. While running graphics-intensive tasks, observe whether the Graphics Card is actively utilized and if its performance aligns with your expectations.
3. Cross-Check Display Arrangement: Ensure that the display arrangement you configured in the display settings matches the physical placement of your monitors. Drag windows across different monitors, maximize applications on individual displays, and verify that the content is displayed correctly on each monitor.
4. Test Multiple Monitor Functionality: Take advantage of the extended display capabilities by testing various multi-monitor functionalities. Open different applications on different monitors, move windows between monitors, and verify that the mouse cursor moves seamlessly between displays. Test video playback simultaneously on different monitors to ensure there are no issues with synchronization or performance.
5. Check Resolution and Scaling: Verify that the selected resolutions and scaling settings are properly applied to each monitor. Ensure that text, images, and other on-screen content appear crisp and legible on all displays.
6. Verify Graphics Card Recognition: Open the device manager or system information tool to ensure that the Graphics Card is detected by the system and properly recognized. Check the drivers and ensure that they are up to date.
7. Stress Test and Overheating: If you want to push your dual graphics setup to its limits, consider running a stress test utility like FurMark or 3DMark to assess the stability and heat generation of your system. Monitor the Graphics Card’s temperature to ensure it remains within acceptable limits during prolonged usage.
By thoroughly testing the dual graphics setup, you can ensure that both Integrated Graphics and the Graphics Card are functioning as intended. This allows you to maximize the benefits of the combined performance and enhance your overall computing experience.
Conclusion
Utilizing Integrated Graphics and a Graphics Card simultaneously offers several benefits, including improved performance, enhanced graphics quality, extended display options, optimized resource allocation, and cost-effectiveness. By following the step-by-step guide outlined in this article, you can successfully set up and configure a dual graphics setup in your computer system.
From checking compatibility and configuring BIOS settings to installing and updating Graphics Card drivers, connecting monitors, configuring display settings, and testing the dual graphics setup, each step is crucial to ensure optimal performance and functionality.
Remember to verify the compatibility of your motherboard and Graphics Card, and consult the documentation or manufacturer’s support for specific instructions relating to your system. Moreover, keep your Graphics Card drivers up to date to benefit from the latest features and improvements.
By combining the power of Integrated Graphics and a Graphics Card, you can experience improved graphics performance, smoother multitasking, and the ability to drive multiple displays. This dual graphics setup allows you to strike a balance between power efficiency and high-performance graphics processing, catering to various computing needs from everyday tasks to resource-intensive applications and games.
Utilize the outlined steps and guidelines to unleash the full potential of your Integrated Graphics and Graphics Card, unleash your creativity, and elevate your computing experience to new heights.
Additional Tips and Troubleshooting
While setting up and using Integrated Graphics and a Graphics Card simultaneously can be a straightforward process, it’s essential to keep a few additional tips in mind. Here are some extra tips and troubleshooting suggestions to enhance your dual graphics setup:
- Updating BIOS: Consider updating the BIOS firmware of your motherboard to the latest version. New BIOS updates often improve compatibility and add support for additional features, including dual graphics setups.
- Power Supply: Ensure that your power supply unit (PSU) can provide sufficient power for both the Graphics Card and the rest of the system. High-end Graphics Cards require a robust power supply to function optimally.
- Monitor Connections: Double-check the physical connections of your monitors to the Graphics Card and motherboard. Sometimes, loose or improperly connected cables can cause display issues or connectivity problems.
- Driver Clean-Up: If you encounter issues or conflicts with graphics drivers, consider performing a clean install of the drivers. First, uninstall all existing drivers using the manufacturer’s driver removal tool or a dedicated software utility, and then proceed with a fresh installation of the latest drivers.
- Temperature Monitoring: Keep an eye on the temperature of your Graphics Card during heavy usage. High temperatures can lead to decreased performance or even damage the card. Ensure proper ventilation and consider additional cooling solutions if necessary.
- Manufacturer Support: If you come across any persistent issues or difficulties, reach out to the manufacturer’s technical support. They can provide specialized guidance and troubleshooting steps tailored to your specific hardware and software configuration.
- Disable Integrated Graphics: If you encounter compatibility issues or prefer to use the Graphics Card exclusively, you may need to disable Integrated Graphics in the BIOS settings. However, be aware that doing so will limit your ability to use Integrated Graphics in the future.
Remember that every computer system is unique, and various factors, such as hardware configuration, software compatibility, and driver versions, can affect the performance and functionality of your dual graphics setup. By following these tips and troubleshooting suggestions, you can overcome potential hurdles and ensure a smooth and efficient dual graphics experience.