Possible reasons why your graphics card isn’t being detected
Having a graphics card that isn’t being detected can be a frustrating experience, especially if you’re experiencing graphical issues or are unable to run certain applications or games. There could be several reasons why your graphics card isn’t being detected by your computer. Let’s explore some of the common causes and potential solutions:
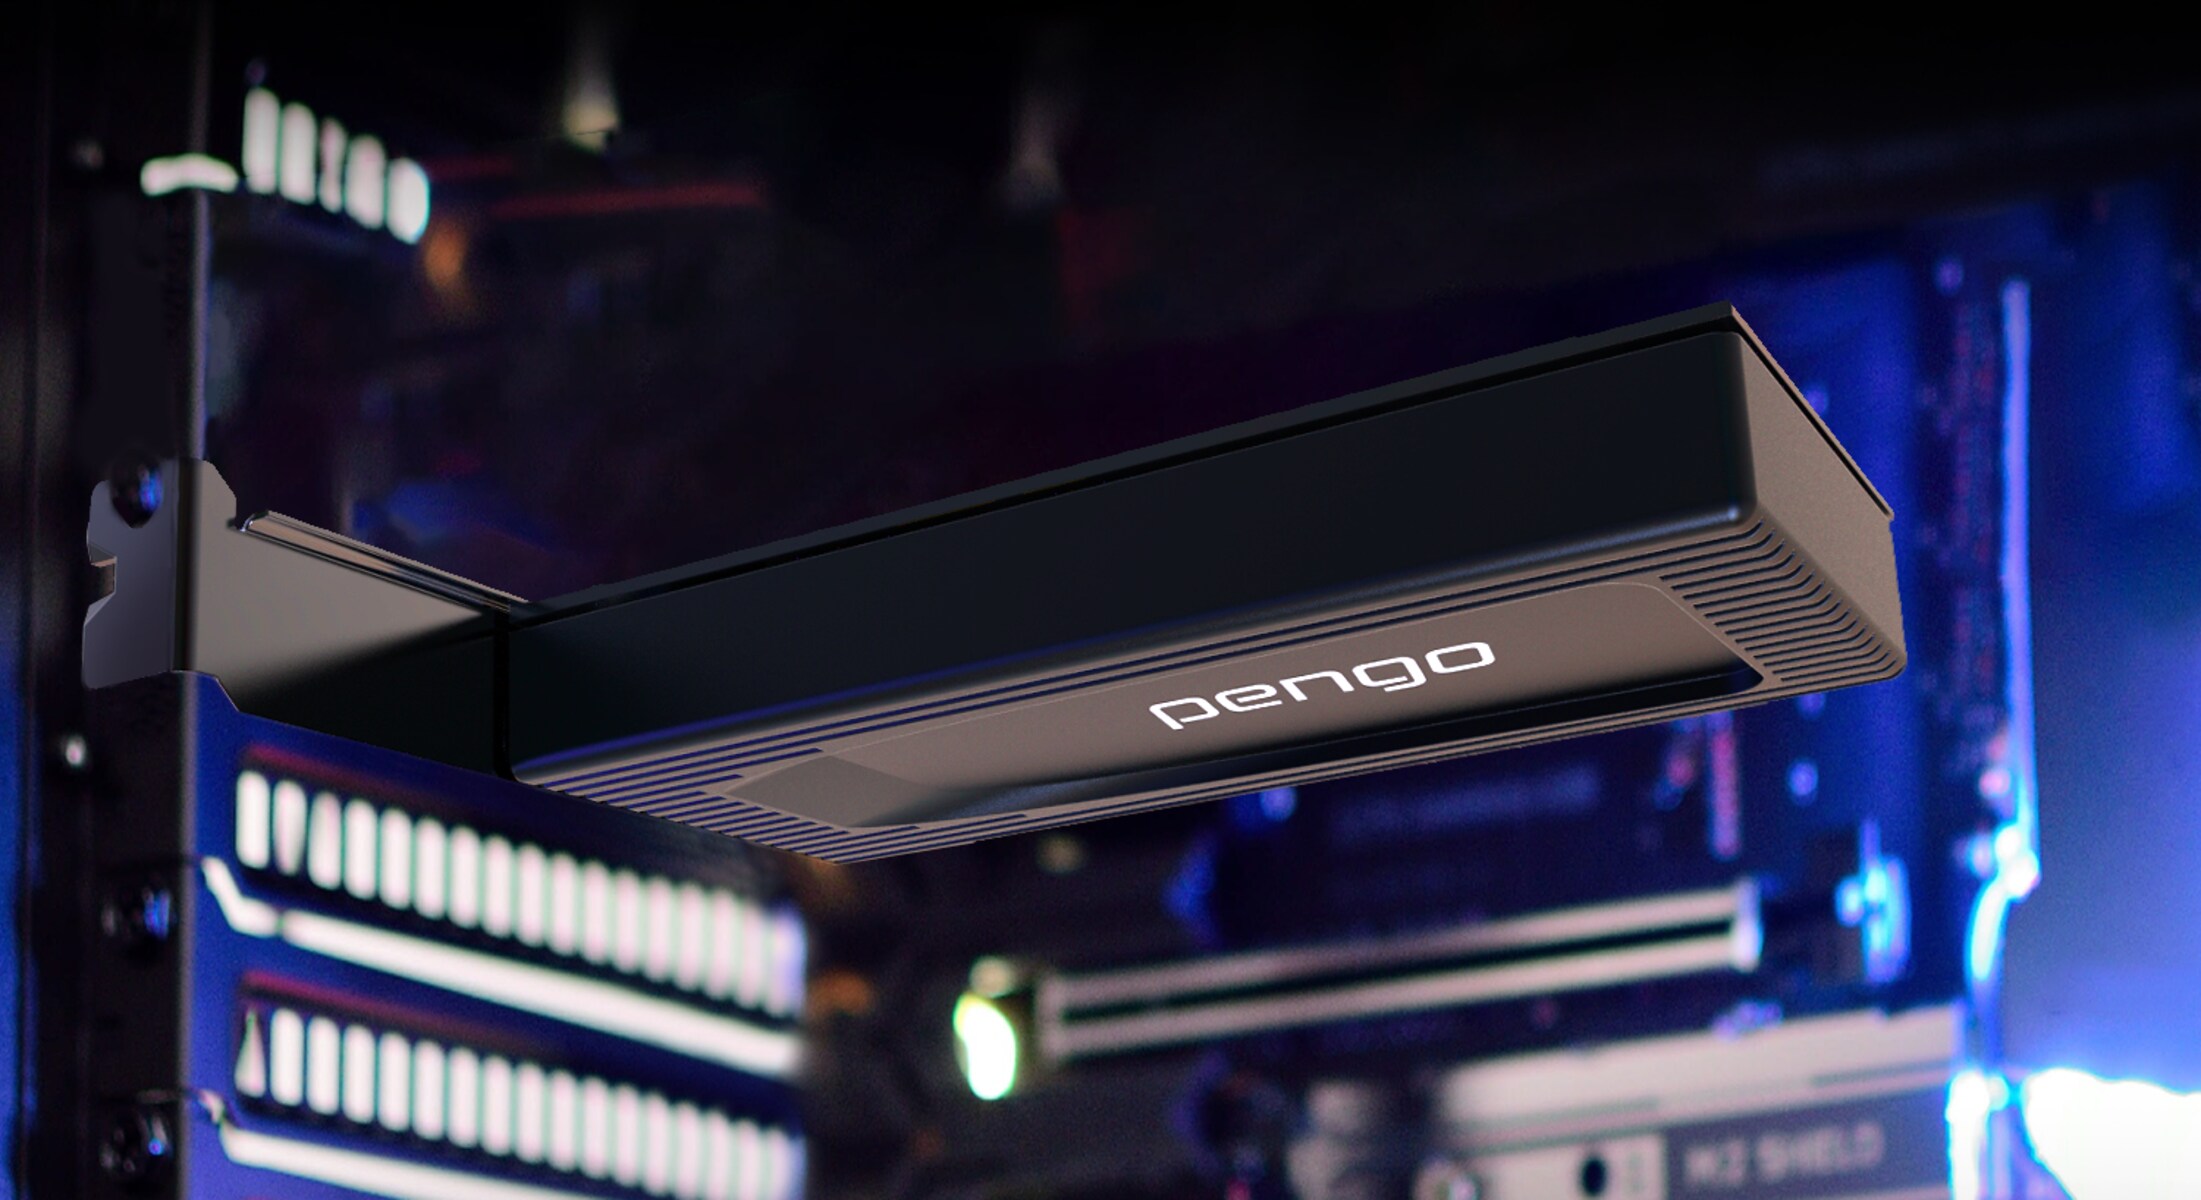
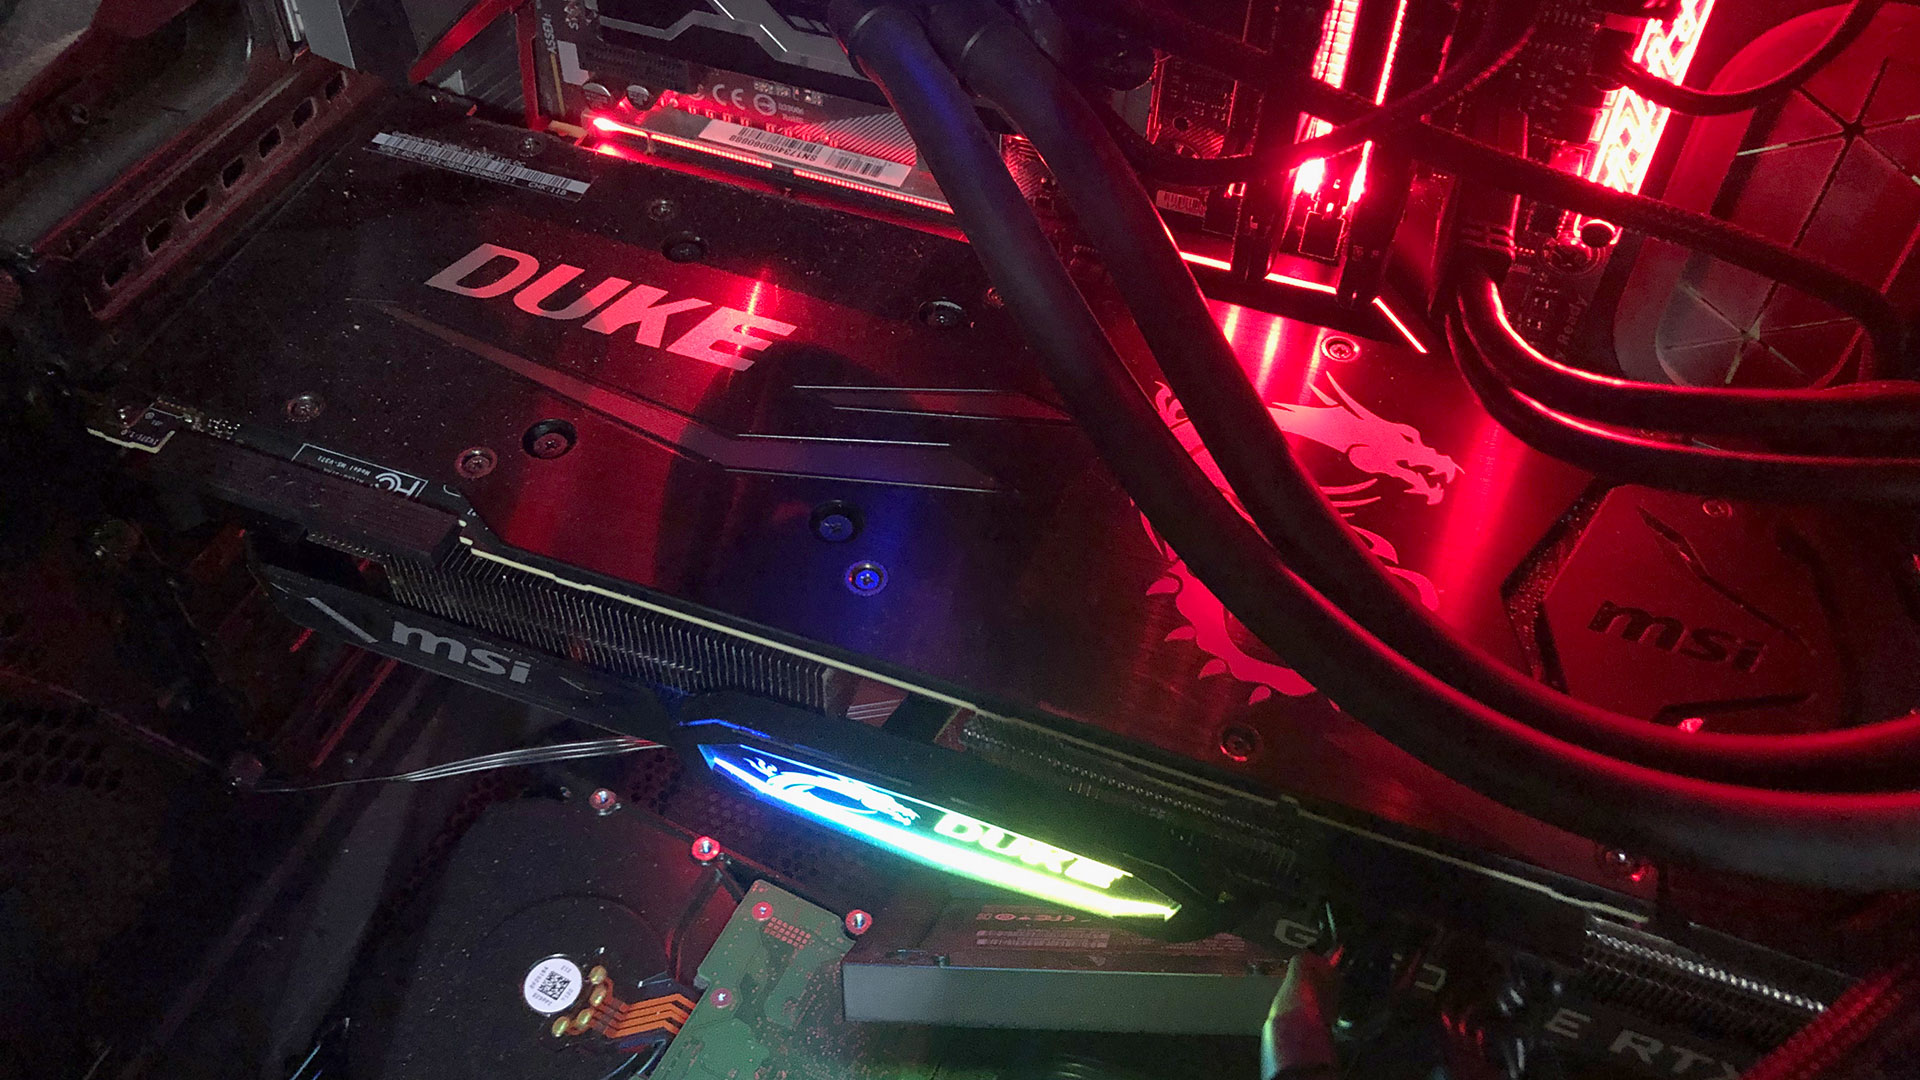
1. Faulty or insecure connection: One of the first things to check is whether your graphics card is securely connected to the motherboard. Over time, the card may become loose due to vibrations or improper installation. Open your computer case and ensure that the card is properly seated in the PCI-E slot.
2. Compatibility issues: It’s essential to ensure that your graphics card is compatible with your system. Check your motherboard’s specifications and make sure it supports the type of graphics card you have installed. If your card requires additional power, ensure that it is connected properly.
3. Outdated drivers: Graphics card drivers play a crucial role in allowing your operating system to recognize and utilize the graphics card’s capabilities. Outdated or incompatible drivers can prevent your card from being detected. Visit the manufacturer’s website to download and install the latest drivers for your specific card model.
4. BIOS settings: Sometimes, incorrect BIOS settings can cause your graphics card to go undetected. Access your computer’s BIOS menu by pressing a specific key (usually F2 or Del) during startup. Look for any settings related to graphics or PCI-E, and ensure they are configured correctly. Be cautious when making changes in the BIOS, as incorrect settings can cause other issues.
5. Integrated graphics: If your computer has integrated graphics, there may be conflicts with your dedicated graphics card. In the BIOS settings, you may need to disable the integrated graphics to prioritize the dedicated card. Consult your computer’s manual or manufacturer for instructions on how to do this.
6. Dust or dirt: Over time, dust or dirt can accumulate on your graphics card and PCI-E slot, leading to connectivity issues. Carefully clean your graphics card and the slot using compressed air or a soft brush. Be gentle and avoid using any liquid cleaners.
7. Test on another system: To determine if there is a hardware issue with your graphics card, try installing it in another computer that meets the necessary requirements. If it is still not detected in the second system, there may be a problem with the card itself, and you should consider contacting customer support for further assistance.
These are some of the possible reasons why your graphics card isn’t being detected. By following these troubleshooting steps, you can identify and resolve the issue yourself in many cases. However, if you’ve exhausted all options and are still unable to detect your graphics card, it may be necessary to seek professional help or contact the manufacturer’s support team for expert guidance.
Check if your graphics card is securely connected
If your graphics card isn’t being detected by your computer, one of the first and simplest things to check is whether it is securely connected. Over time, due to vibrations or improper installation, the card may become loose, causing it to go undetected. Ensuring a secure connection can often resolve the issue. Here are some steps to check if your graphics card is securely connected:
1. Power off your computer: Before checking the connection, it is important to turn off your computer and unplug it from the power source. This will prevent any accidental damage and ensure your safety while working inside the computer case.
2. Open your computer case: Depending on your computer model, you may need to remove a side panel or top cover to access the internal components. Refer to your computer’s manual or manufacturer’s website for specific instructions on how to open the case.
3. Locate the graphics card: Look for the graphics card, which is typically inserted into a PCI-E slot on the motherboard. It will have one or more cables connected to it for power and display connections.
4. Check the seating: Gently press on the graphics card to ensure it is firmly seated in the PCI-E slot. It should not move or wiggle. If it feels loose, carefully remove the card by releasing the lock or lever, and then reinsert it, making sure it is properly aligned with the slot.
5. Secure the mounting bracket: Many graphics cards have a mounting bracket on the rear of the case that helps hold the card in place. Make sure the bracket is securely attached to the case by tightening the screws, if necessary.
6. Reconnect the power and display cables: Check that all power cables and display cables are securely connected to the graphics card. Sometimes, a loose cable connection can result in the card not being detected. Remove and reinsert the cables to ensure a tight connection.
7. Close the computer case: Once you have ensured that the graphics card is securely connected and all cables are properly attached, carefully close the computer case by reattaching the side panel or top cover.
8. Power on your computer: Plug your computer back into the power source and turn it on. Monitor the system startup to see if the graphics card is now being detected. Check your device manager or graphic card control panel software to verify if it is recognized by your computer.
By checking if your graphics card is securely connected, you can eliminate one potential cause for it not being detected. Remember to follow proper safety precautions, take your time, and be gentle when working inside the computer case. If the issue persists, move on to other troubleshooting steps to identify the underlying cause.
Ensure that your graphics card is compatible with your system
When your graphics card is not being detected, it’s important to consider whether it is compatible with your system. Incompatibility can prevent the card from being recognized and functioning properly. Here are some steps to ensure that your graphics card is compatible with your system:
1. Check your motherboard specifications: Your motherboard plays a crucial role in determining the compatibility of your graphics card. Refer to your motherboard’s manual or visit the manufacturer’s website to find the specifications and supported graphics card types. Check if your graphics card matches the recommended or supported card models.
2. Consider the power requirements: Graphics cards often require additional power beyond what the PCI-E slot provides. Make sure your power supply unit (PSU) can handle the power demands of your graphics card. Check the PSU’s wattage and ensure it meets or exceeds the minimum requirements mentioned by the graphics card manufacturer.
3. Check physical dimensions: Graphics cards come in various sizes, ranging from compact to larger models. Measure the space available in your computer case and compare it to the dimensions of your graphics card. Ensure that there is enough room for the card to fit comfortably without any physical interference with other components.
4. Consider the interface compatibility: Check the interface type of your graphics card, typically PCI-E (PCI Express). Ensure that your motherboard has the appropriate PCI-E slot for your card. Older motherboards may have different interface types, such as AGP or PCI. Make sure your graphics card and motherboard have compatible interface types.
5. Verify the operating system compatibility: Ensure that your operating system is compatible with the graphics card you have. Check the graphics card manufacturer’s website for driver support and compatibility information. Some graphics cards may not have drivers available for older operating systems, or they may require specific patches or updates.
6. Consider other system requirements: Graphics cards may have additional system requirements, such as minimum RAM, specific CPU models, or certain versions of DirectX. Check the graphics card manufacturer’s specifications to confirm that your system meets these requirements.
7. Update your BIOS: In some cases, a BIOS update may be required to support certain graphics card models. Visit your motherboard manufacturer’s website to check for any available BIOS updates. Be cautious when updating the BIOS, as improper procedures can cause system instability or other issues.
By ensuring that your graphics card is compatible with your system, you can avoid compatibility-related issues and help ensure proper detection and functionality. If you find that your graphics card is not compatible, you may need to consider upgrading your system components or opting for a different graphics card model that meets the necessary requirements.
Update your graphics card drivers
Outdated or incompatible drivers can be a common reason why your graphics card is not being detected by your system. Drivers are software that allow your operating system to communicate with and utilize the capabilities of your graphics card. Updating your graphics card drivers can help resolve detection issues and ensure optimal performance. Here’s how to update your graphics card drivers:
1. Identify your graphics card model: To update your drivers, you need to know the exact model of your graphics card. You can find this information by checking the manufacturer’s label on the card itself or by using system information tools like CPU-Z or GPU-Z.
2. Visit the manufacturer’s website: Go to the website of your graphics card manufacturer, such as NVIDIA, AMD, or Intel. Look for the “Drivers” or “Support” section of the website.
3. Locate the drivers for your specific card model: Navigate to the drivers section and search for your graphics card model. Ensure that you select the correct operating system version (e.g., Windows 10, macOS) and architecture (32-bit or 64-bit) to download the compatible drivers.
4. Download and install the latest drivers: Once you’ve found the drivers for your graphics card model and system, download the latest version. Save the driver file to a location on your computer where you can easily access it. Double-click the downloaded file and follow the on-screen instructions to install the drivers.
5. Use driver update software (optional): Alternatively, you can use third-party driver update software, such as Driver Booster or Driver Easy, to automatically scan and update your graphics card drivers. These programs can detect and install the latest drivers for your system, simplifying the process.
6. Restart your computer: After installing the new drivers, it’s recommended to restart your computer to ensure that the changes take effect and the new drivers are properly loaded.
7. Check for graphics card detection: Once your computer has restarted, check if your graphics card is now being detected by your system. You can do this by accessing the device manager on Windows or the system profiler on macOS and verifying if your graphics card is listed under the appropriate category.
Regularly updating your graphics card drivers can not only help with detection issues but also improve performance and stability. It’s recommended to periodically check for driver updates, especially when experiencing graphics-related problems or when installing new software or games that may require updated drivers.
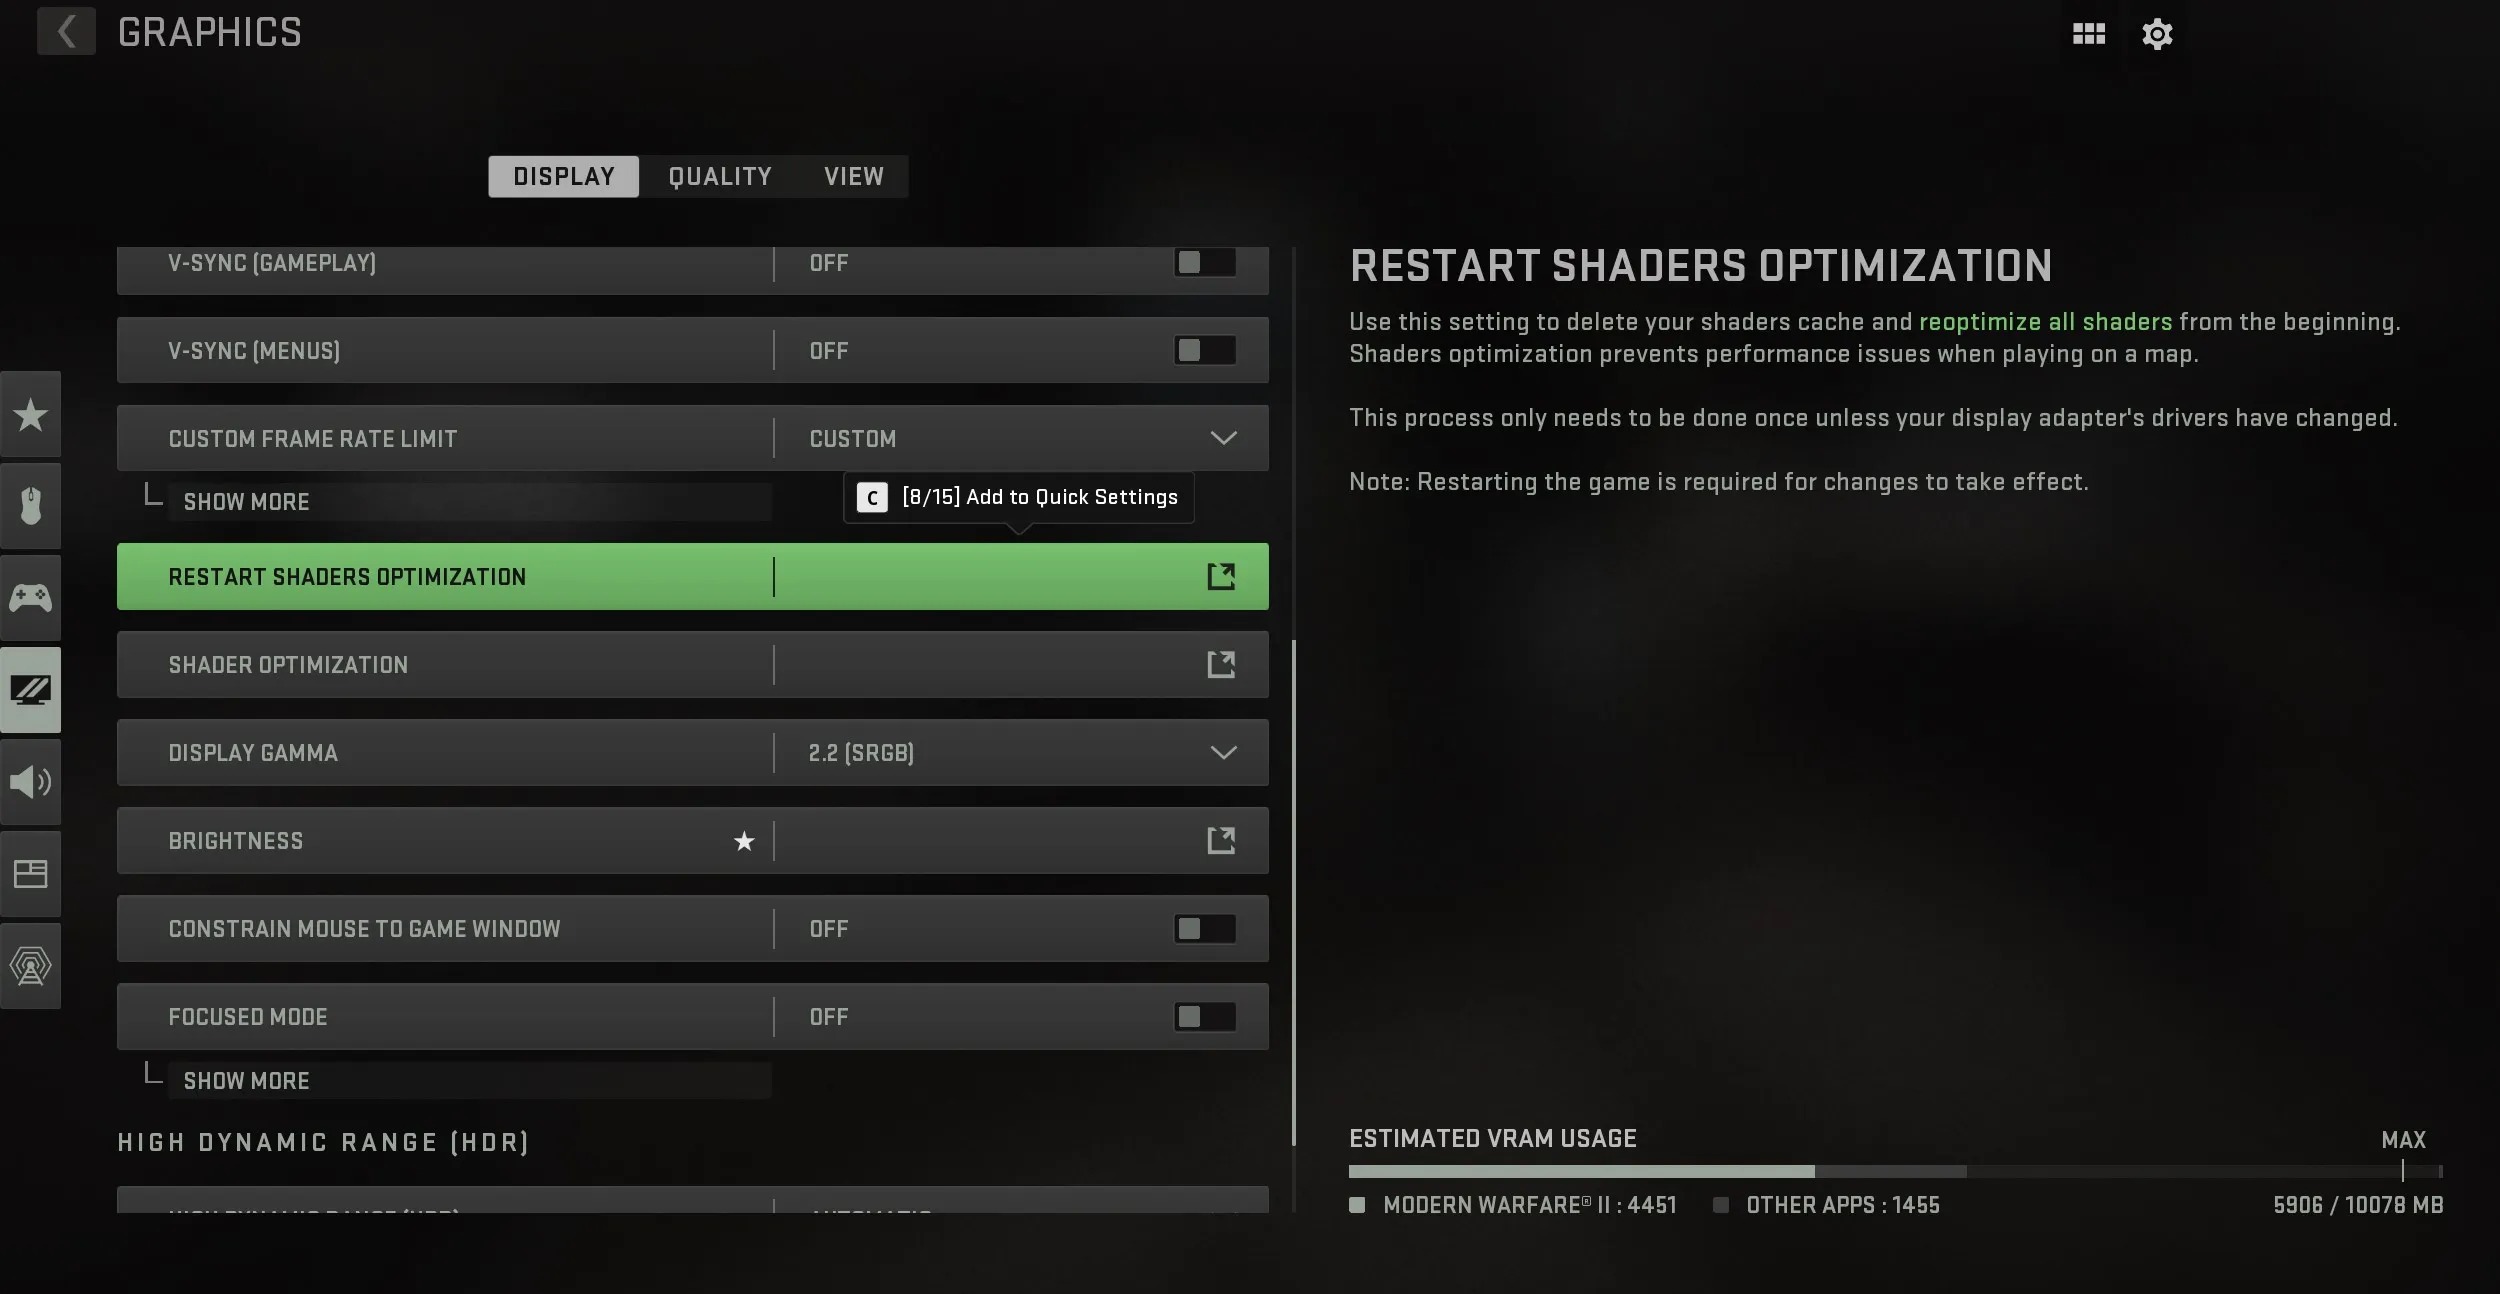
Check your BIOS settings
Your computer’s BIOS (Basic Input/Output System) settings can sometimes affect the detection and functionality of your graphics card. Incorrect settings or conflicts within the BIOS can prevent your graphics card from being recognized by the system. Here are the steps to check your BIOS settings:
1. Access the BIOS menu: Restart your computer and look for the key to access the BIOS menu. It is usually displayed on the screen during the boot process, often with a message like “Press [key] to enter BIOS” (e.g., F2, Del, Esc). Press the specified key to enter the BIOS menu.
2. Navigate to the graphics or PCI-E settings: The exact location and naming of the settings may vary depending on the BIOS version and manufacturer. Look for options related to graphics or PCI-E configuration. It could be under the “Advanced,” “System Configuration,” or “Peripherals” section.
3. Ensure proper PCI-E settings: Check the PCI-E settings to ensure they are configured correctly. Look for options like “Graphics Configuration,” “Primary Display Adapter,” or “PCI-E Slot Configuration.” Make sure the option is set to detect and utilize your graphics card as the primary display adapter.
4. Disable integrated graphics (if applicable): If your computer has integrated graphics (i.e., a graphics processor built into the motherboard or CPU), disabling it in the BIOS can prevent conflicts and ensure the dedicated graphics card is properly recognized. Look for an option like “Integrated Graphics” or “Onboard Graphics.” Set it to “Disabled” if available.
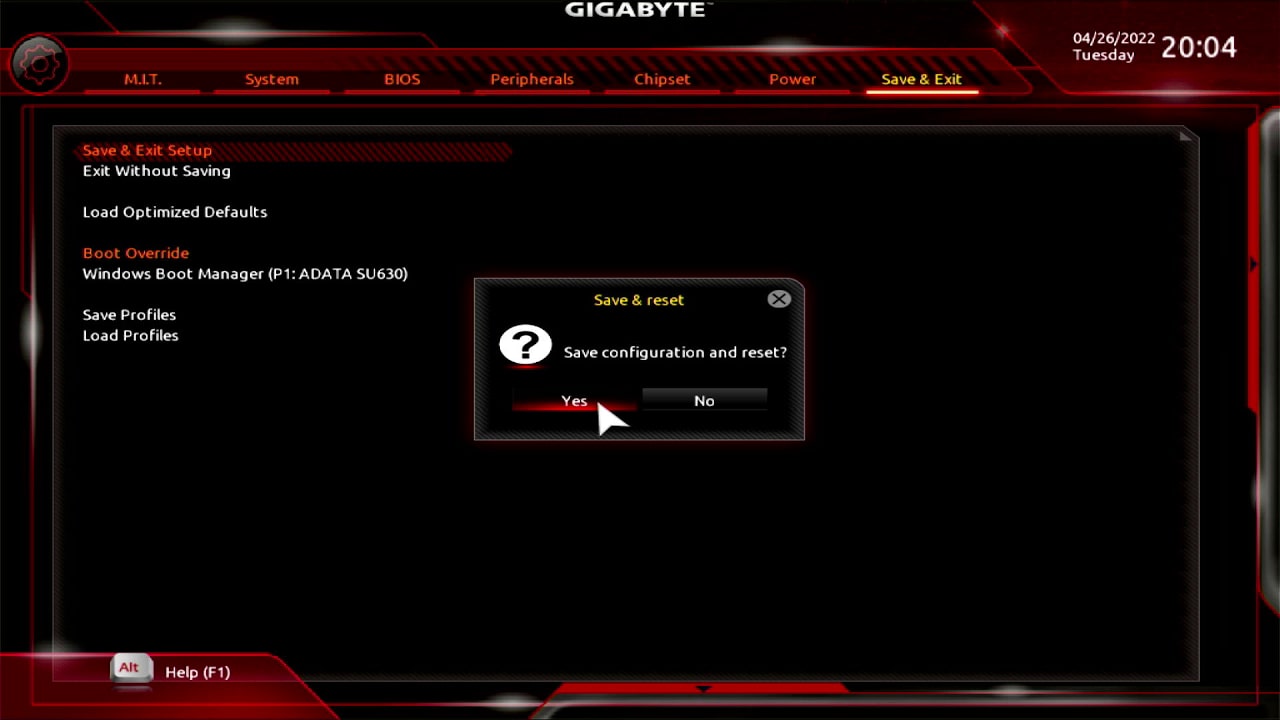
5. Save and exit the BIOS: Once you have made the necessary changes, navigate to the option to save the changes and exit the BIOS. Usually, it is labeled as “Save Changes and Exit” or “Exit and Save Settings.” Confirm your choice and allow the computer to restart.
6. Check for graphics card detection: After your computer restarts, check if your graphics card is now being properly detected by the system. Open device manager in Windows or the system profiler on macOS to verify if your graphics card is listed under the appropriate category.
7. Reset the BIOS settings (if needed): If you encountered any issues or instability after modifying the BIOS settings, you can reset the BIOS to its default configuration. Refer to your motherboard’s manual or the manufacturer’s website for instructions on how to perform a BIOS reset.
It is essential to exercise caution when making changes in the BIOS, as incorrect settings can cause system instability or other problems. If you are unsure about any specific BIOS settings or encounter difficulties, consult your motherboard’s manual or seek assistance from the manufacturer’s support team.
Disable integrated graphics (if applicable)
If your computer has integrated graphics, meaning it has a built-in graphics processor on the motherboard or CPU, conflicts between the integrated graphics and your dedicated graphics card can occur. Disabling the integrated graphics can help ensure that your system recognizes and utilizes your dedicated graphics card properly. Here’s how to disable integrated graphics in both Windows and the BIOS:
Disabling integrated graphics in Windows:
1. Right-click on the desktop and select “Display settings” or “Graphics properties.”
2. Navigate to the “Display” or “Adapter” tab.
3. Look for an option to “Disable” or “Turn off” the integrated graphics. It might be labeled as “Switchable Graphics,” “Primary Display,” or “Graphics Adapter.”
4. Select the option to disable the integrated graphics and apply the changes.
5. Restart your computer for the changes to take effect.
Disabling integrated graphics in the BIOS:
1. Restart your computer and access the BIOS menu by pressing the designated key during startup (e.g., F2, Del, Esc).
2. Look for an option related to “Integrated Graphics” or “Onboard Graphics.”
3. Set the option to “Disabled” or “Off.”
4. Save the changes and exit the BIOS. Your computer will restart.
After disabling the integrated graphics, your system should prioritize and utilize your dedicated graphics card as the primary display adapter. This can help resolve conflicts and ensure the proper functioning of your graphics card.
Note: Disabling the integrated graphics may cause the display to temporarily go black. Ensure that your dedicated graphics card is properly connected, and if you encounter any issues, you can revert the changes by re-enabling the integrated graphics.
If you’re unsure about how to proceed or encounter difficulties during the process, referring to your computer’s manual or reaching out to the manufacturer’s support team can provide additional guidance and assistance.
Clean your graphics card and PCI slot
Dust and dirt build-up can hinder the proper functioning of your graphics card and interfere with its detection by the system. Cleaning your graphics card and PCI slot can help eliminate connectivity issues and improve overall performance. Here’s how to clean your graphics card and PCI slot:
1. Power off your computer: Shut down your computer and unplug it from the power source. This ensures your safety and prevents any accidental damage to the components.
2. Open your computer case: Depending on your computer model, remove the side panel or top cover to gain access to the internal components. Refer to your computer’s manual or manufacturer’s website for specific instructions on how to open the case.
3. Locate the graphics card: Identify the graphics card, which is inserted into the PCI-E slot on the motherboard. Note the position and orientation of the card for later reinstallation.
4. Remove the graphics card: Gently press down on the locking mechanism or lever on the PCI-E slot to release the graphics card. Carefully remove it from the slot, handling it by the edges to avoid touching sensitive components.
5. Clean the graphics card: Use a can of compressed air to blow away dust and dirt from the surfaces of the graphics card. Pay particular attention to the fan blades, heatsink, and any visible vents. Avoid using liquids or abrasive materials as they can damage the components.
6. Clean the PCI slot: With the graphics card removed, use compressed air to blow out any dust or debris from the PCI-E slot on the motherboard. Be careful not to bend or damage the pins inside the slot during cleaning.
7. Reinstall the graphics card: Carefully align the graphics card with the PCI-E slot and insert it firmly. Press down until the locking mechanism clicks into place. Ensure that the card is securely seated and level with the slot.
8. Close the computer case: Gently close the computer case by reattaching the side panel or top cover. Make sure it is properly aligned and secure.
9. Power on your computer: Plug your computer back into the power source and turn it on. Check if your graphics card is now being detected correctly by monitoring the system startup or checking the device manager.
Regularly cleaning your graphics card and PCI slot helps maintain optimal performance and reduces the risk of overheating. It is recommended to clean your components every few months or whenever you notice excessive dust build-up. By keeping your system clean, you can prolong the lifespan of your graphics card and ensure reliable performance.
Test your graphics card on another system
If you’re still experiencing issues with your graphics card not being detected on your current system, it is worth considering testing it on another system. This will help determine if the problem lies with the graphics card itself or if there are other factors affecting its detection. Follow these steps to test your graphics card on another system:
1. Find another compatible system: Look for another computer that meets the necessary hardware requirements to support your graphics card. Ensure that the system has an available PCI-E slot and a compatible power supply.
2. Power down both systems: Shut down both your current system and the system you will be testing on. Unplug them from their power sources to ensure safety.
3. Open the computer case of the test system: Depending on the computer model, remove the side panel or top cover to access the internal components. Refer to the computer’s manual or manufacturer’s website for specific instructions on how to open the case.
4. Locate the PCI-E slot: Identify the PCI-E slot on the motherboard where you will be installing the graphics card. Take note of the slot position and orientation for later reference.
5. Insert the graphics card: Carefully align the graphics card with the PCI-E slot and firmly insert it. Ensure that the card is securely seated and level with the slot. If necessary, secure it with the locking mechanism or screw provided.
6. Close the computer case: Gently close the computer case by reattaching the side panel or top cover. Make sure it is properly aligned and secure.
7. Power on the test system: Plug the test system back into the power source and turn it on. Monitor the system startup to see if the graphics card is detected by the BIOS and operating system.
8. Install the necessary drivers: If the graphics card is detected on the test system, proceed to install the appropriate graphics card drivers. Visit the manufacturer’s website and download the latest drivers for your specific card model and operating system.
9. Test the graphics card: Once the drivers are installed, you can test the graphics card’s performance by running graphic-intensive applications, games, or benchmarking software. Monitor the performance and stability of the card during these tests.
If the graphics card is successfully detected and functions properly on the test system, it indicates that the card itself is unlikely to be the issue. The problem may lie with compatibility or other factors specific to your original system. In such cases, you can further investigate and troubleshoot your original system or seek professional assistance to identify the underlying cause of the detection issue.
If the graphics card fails to be detected or exhibits issues on the test system as well, it suggests a problem with the graphics card itself. In such situations, you may need to consider contacting the manufacturer’s customer support for further assistance or explore options for repair or replacement.
Contact customer support for further assistance
If you’ve tried the troubleshooting steps mentioned above and your graphics card is still not being detected, it’s time to reach out to the customer support team for further assistance. The manufacturer’s support team is equipped with the expertise and resources to help diagnose and resolve complex issues. Here’s what you can do:
1. Gather necessary information: Before contacting customer support, gather important information about your graphics card, such as the model number, serial number, and any error messages you have encountered. This will help them better understand your situation and provide more accurate assistance.
2. Visit the manufacturer’s website: Go to the website of your graphics card manufacturer and look for the support or contact section. Many manufacturers offer online support resources, including FAQs, troubleshooting guides, and community forums, which may provide answers to common issues.
3. Initiate contact: Use the provided contact methods, such as phone, email, or live chat, to reach out to the customer support team. Clearly explain your issue, the steps you have already taken to troubleshoot, and any error messages or symptoms you have observed.
4. Follow their guidance: The customer support representative may ask you additional questions to understand the situation better. Be patient and cooperative during the troubleshooting process. They may provide specific instructions, recommend additional tests, or even refer you to an authorized service center if necessary.
5. Provide requested information: If the customer support team requests specific information or diagnostic logs, promptly provide them with the requested details. This will assist them in diagnosing the issue more accurately and expediting the resolution process.
6. Document your interactions: Keep a record of your communication with customer support, including the date, time, and name of the representative you spoke with. This documentation can be helpful for reference or escalation if the issue persists or if you need to follow up later.
7. Explore warranty options: If your graphics card is still under warranty, inquire about the warranty coverage and potential solutions. The customer support team can guide you through the warranty claim process or advise on any repair or replacement options available to you.
By contacting customer support, you tap into the expertise of professionals who specialize in resolving hardware and software issues. Their guidance and assistance can help identify the root cause of the detection problem and provide the necessary steps to rectify it. Remember to remain patient and give them accurate information so that they can provide you with tailored support for your specific situation.