Introduction
Welcome to the world of Firestick and laptops! Connecting your Firestick to your laptop opens up a whole new level of entertainment possibilities. Whether you want to stream your favorite movies, TV shows, or videos from your Firestick onto a bigger screen or use your laptop as a secondary display, the HDMI connection between the two devices can make it happen.
Connecting your Firestick to your laptop via HDMI allows you to take advantage of the larger screen and more powerful audio capabilities of your laptop while enjoying the convenience of the streaming capabilities of the Firestick. This combination offers a seamless and enhanced viewing experience.
In this article, we will guide you through the step-by-step process of connecting your Firestick to your laptop using an HDMI cable. We will also cover the necessary adjustments you may need to make to ensure the best display and audio settings for a perfect viewing experience.
Before we dive into the steps, let’s quickly discuss the equipment you will need to connect your Firestick to your laptop:
- A Firestick device
- A laptop with an HDMI port
- An HDMI cable
With these items ready, let’s move on to the next section to begin the connection process.
Step 1: Gather the necessary equipment
Before you can connect your Firestick to your laptop, you need to gather the necessary equipment. Here’s what you’ll need:
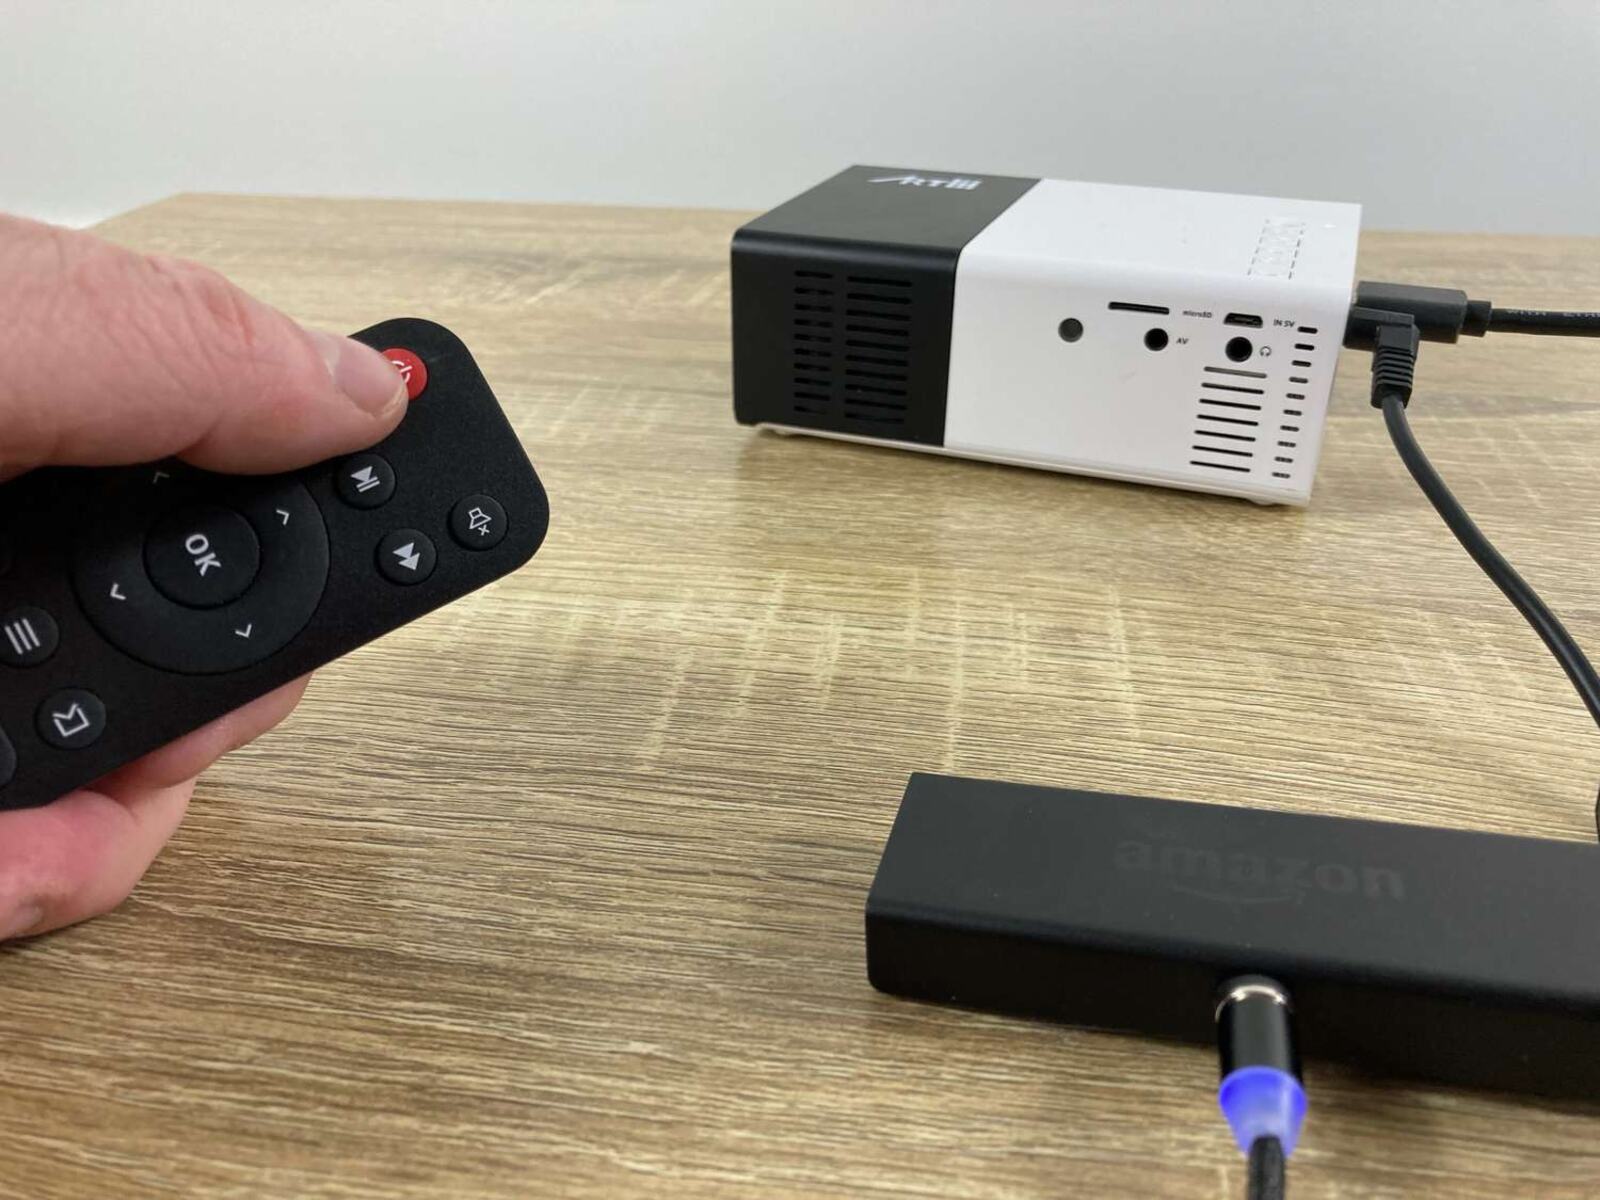
- Firestick device: Make sure you have the Firestick device itself. This small, portable device plugs into the HDMI port of your laptop and allows you to stream content from various online platforms.
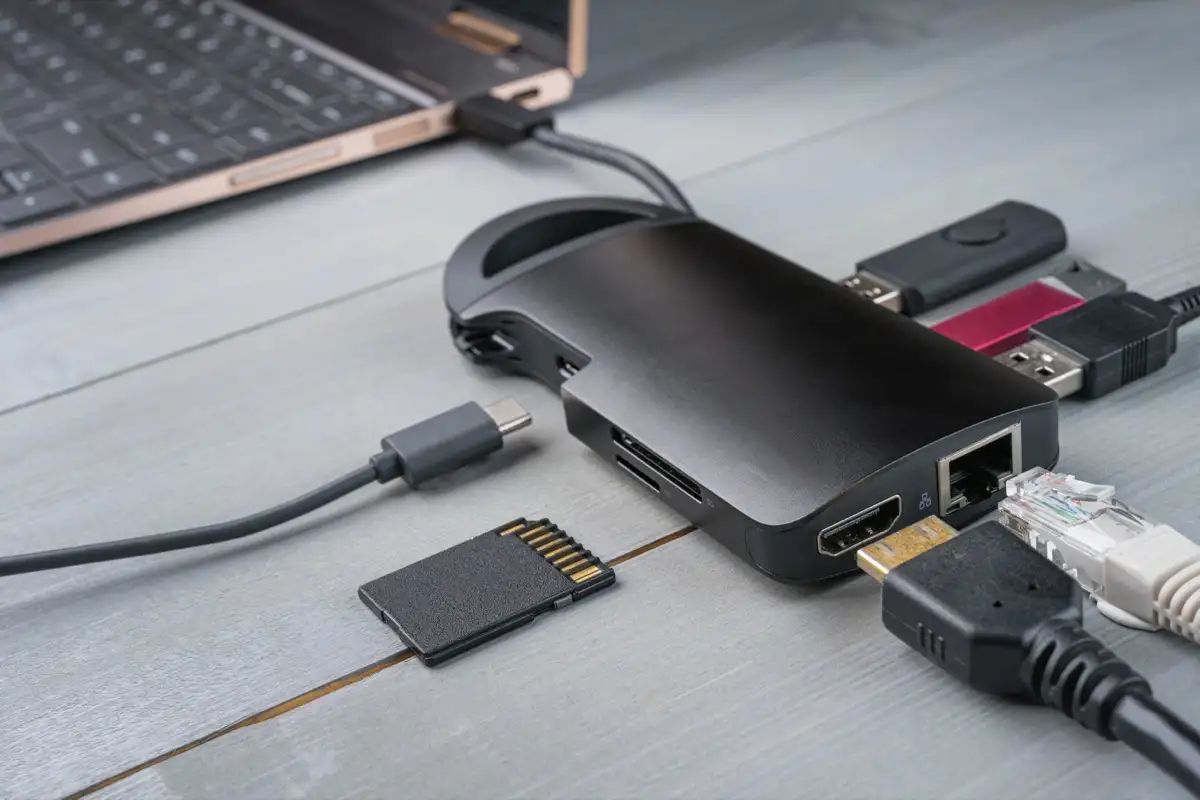
- Laptop with an HDMI port: Ensure that your laptop has an HDMI port. This is crucial because it’s the primary connection point for the Firestick.
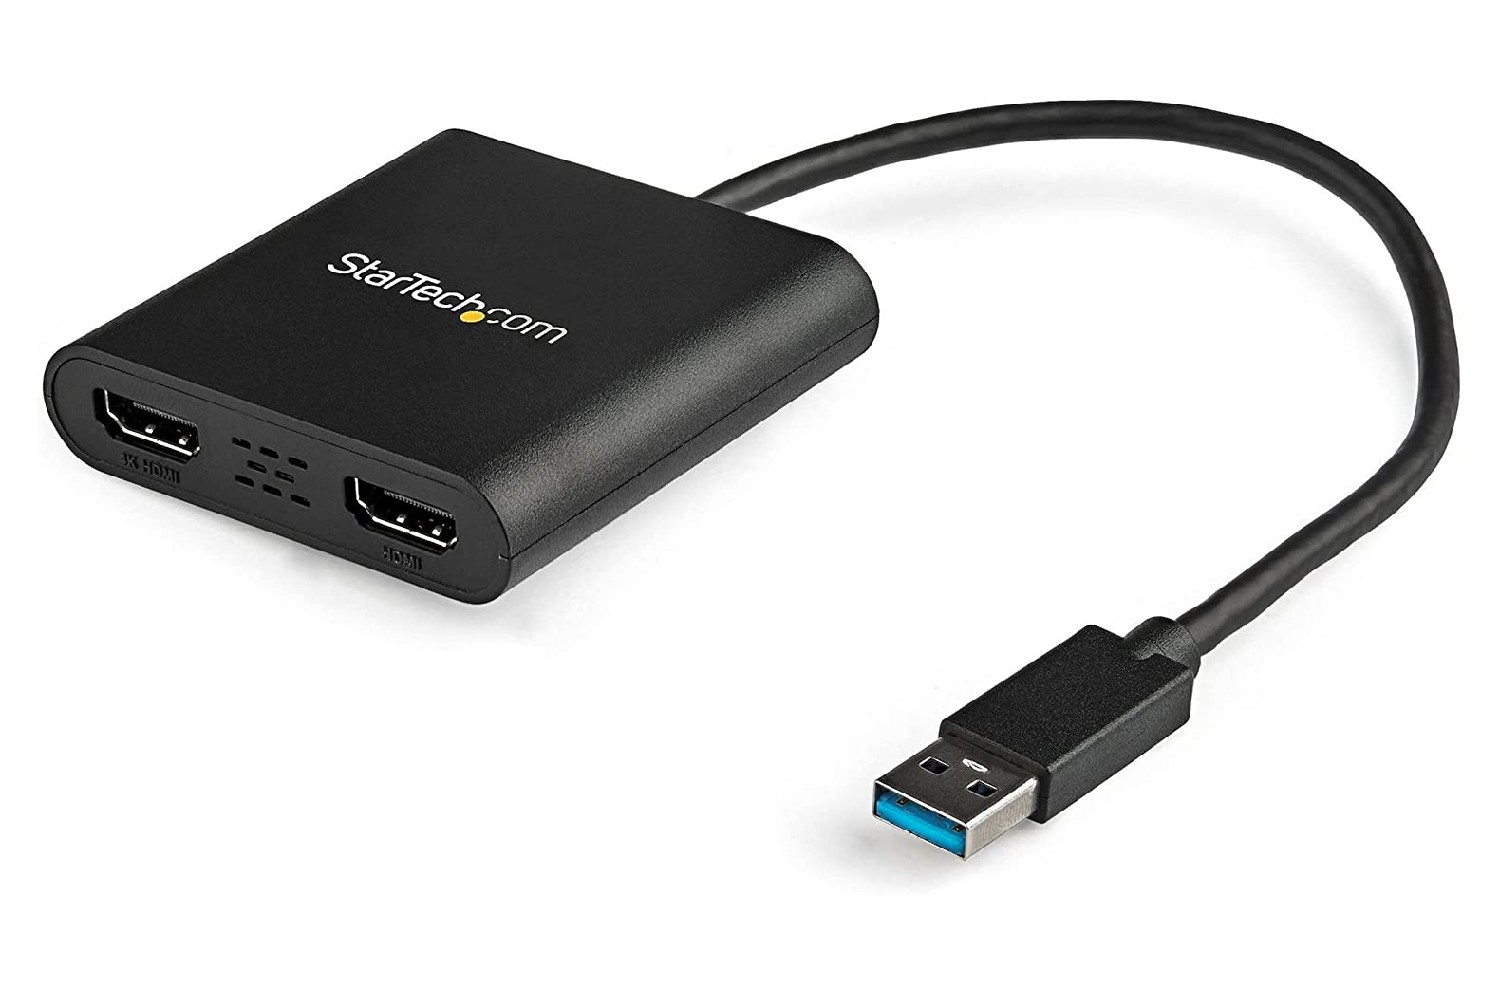
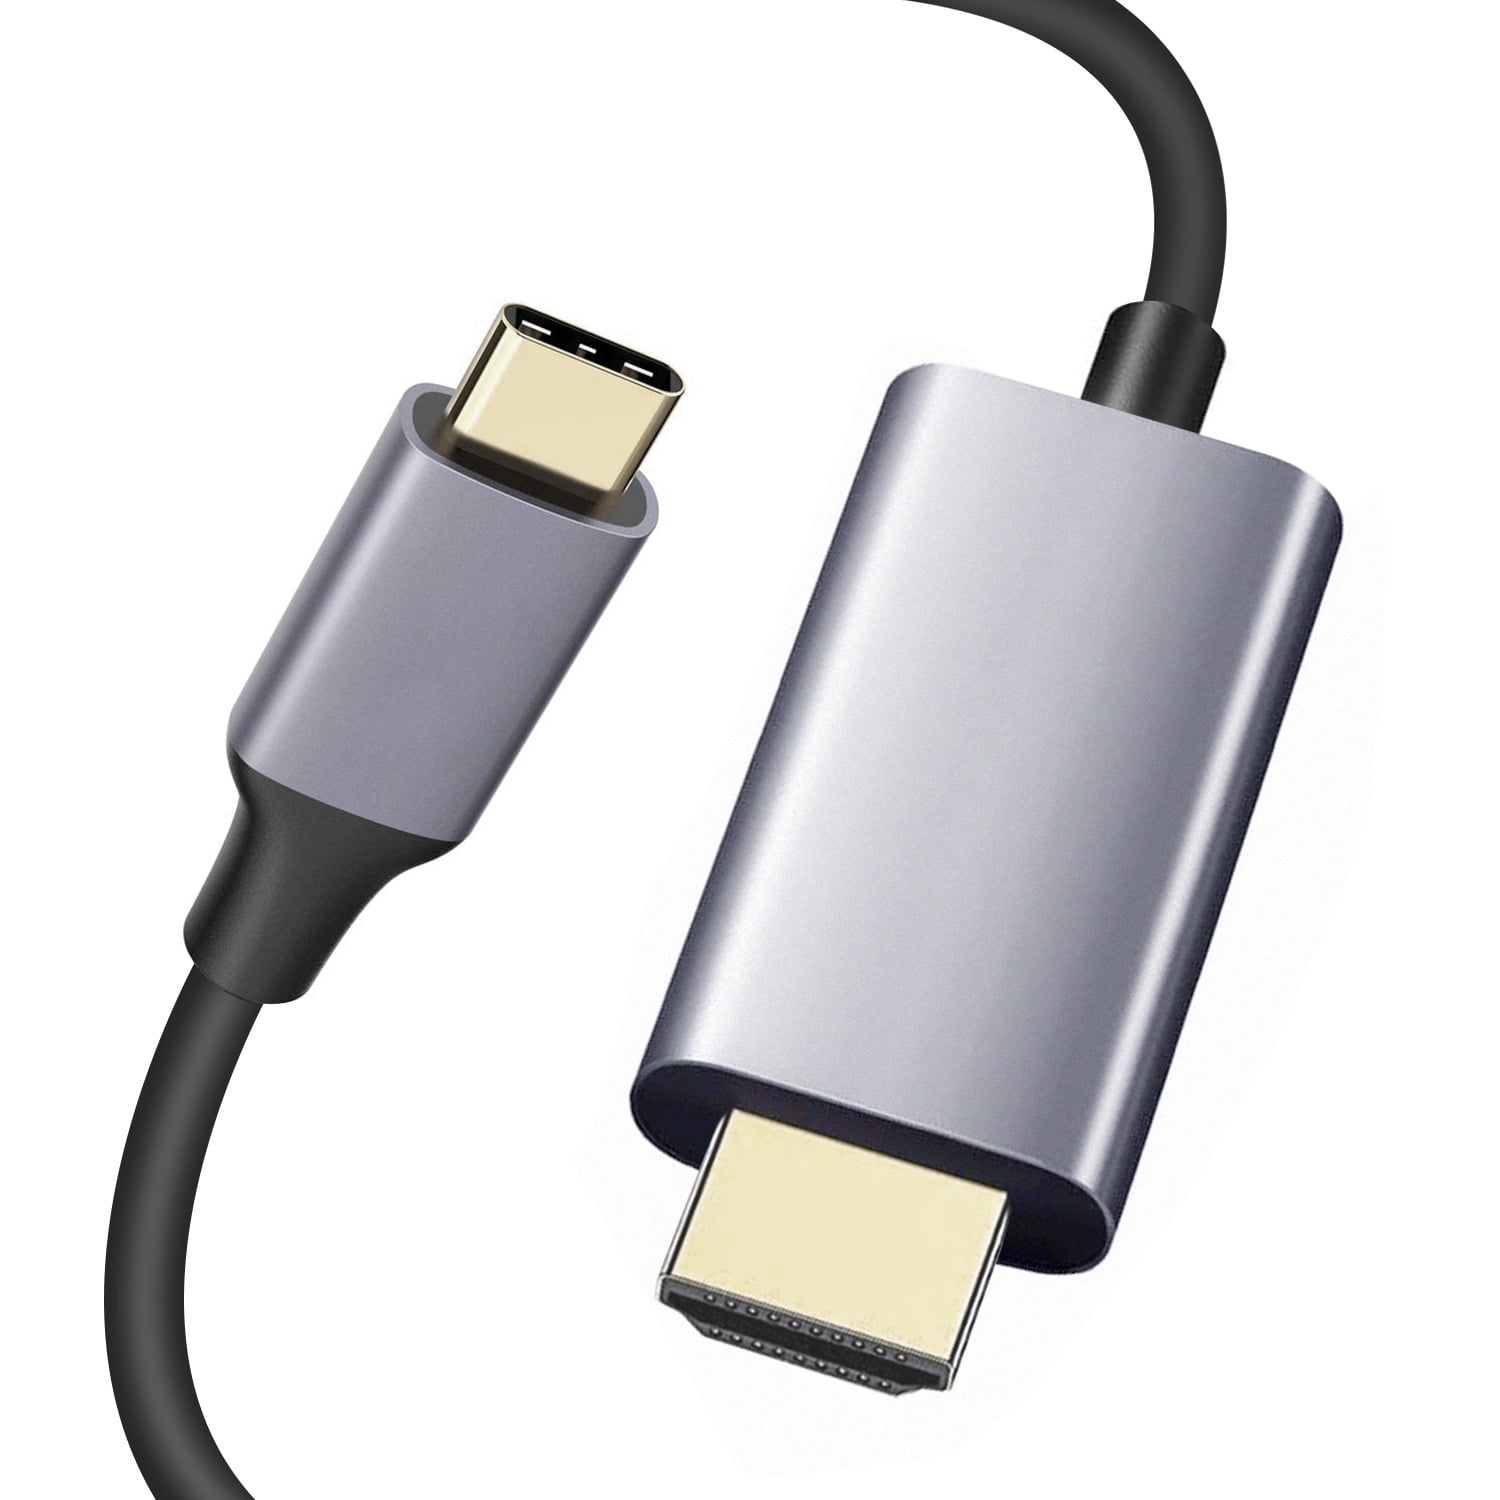
- HDMI cable: You’ll need an HDMI cable to establish the connection between the Firestick and your laptop. The HDMI cable carries both the video and audio signals, ensuring a high-quality viewing experience.
Once you have these three items ready, you’re all set to move on to the next step: connecting your Firestick to your laptop with the HDMI cable.
Note: It’s essential to check the compatibility of your laptop’s HDMI port with the Firestick device. Most laptops have HDMI ports, but some older models may not. Additionally, ensure that your HDMI cable is in good condition and will fit both the laptop and the Firestick device.
Now that you have your equipment ready, let’s move on to the next section, where we’ll guide you through the process of connecting your Firestick to your laptop using the HDMI cable.
Step 2: Connect the Firestick to your laptop with HDMI
Now that you have gathered all the necessary equipment, it’s time to connect your Firestick to your laptop using the HDMI cable. Follow these steps:
- Locate the HDMI port on your laptop. It is usually on the sides or back of the laptop, marked with the HDMI logo. Plug one end of the HDMI cable into this port.
- Take the other end of the HDMI cable and connect it to the HDMI port on your Firestick device. It is usually on the side or back of the device.
- Ensure that both ends are securely plugged in and the HDMI cable is fitted snugly into the ports.
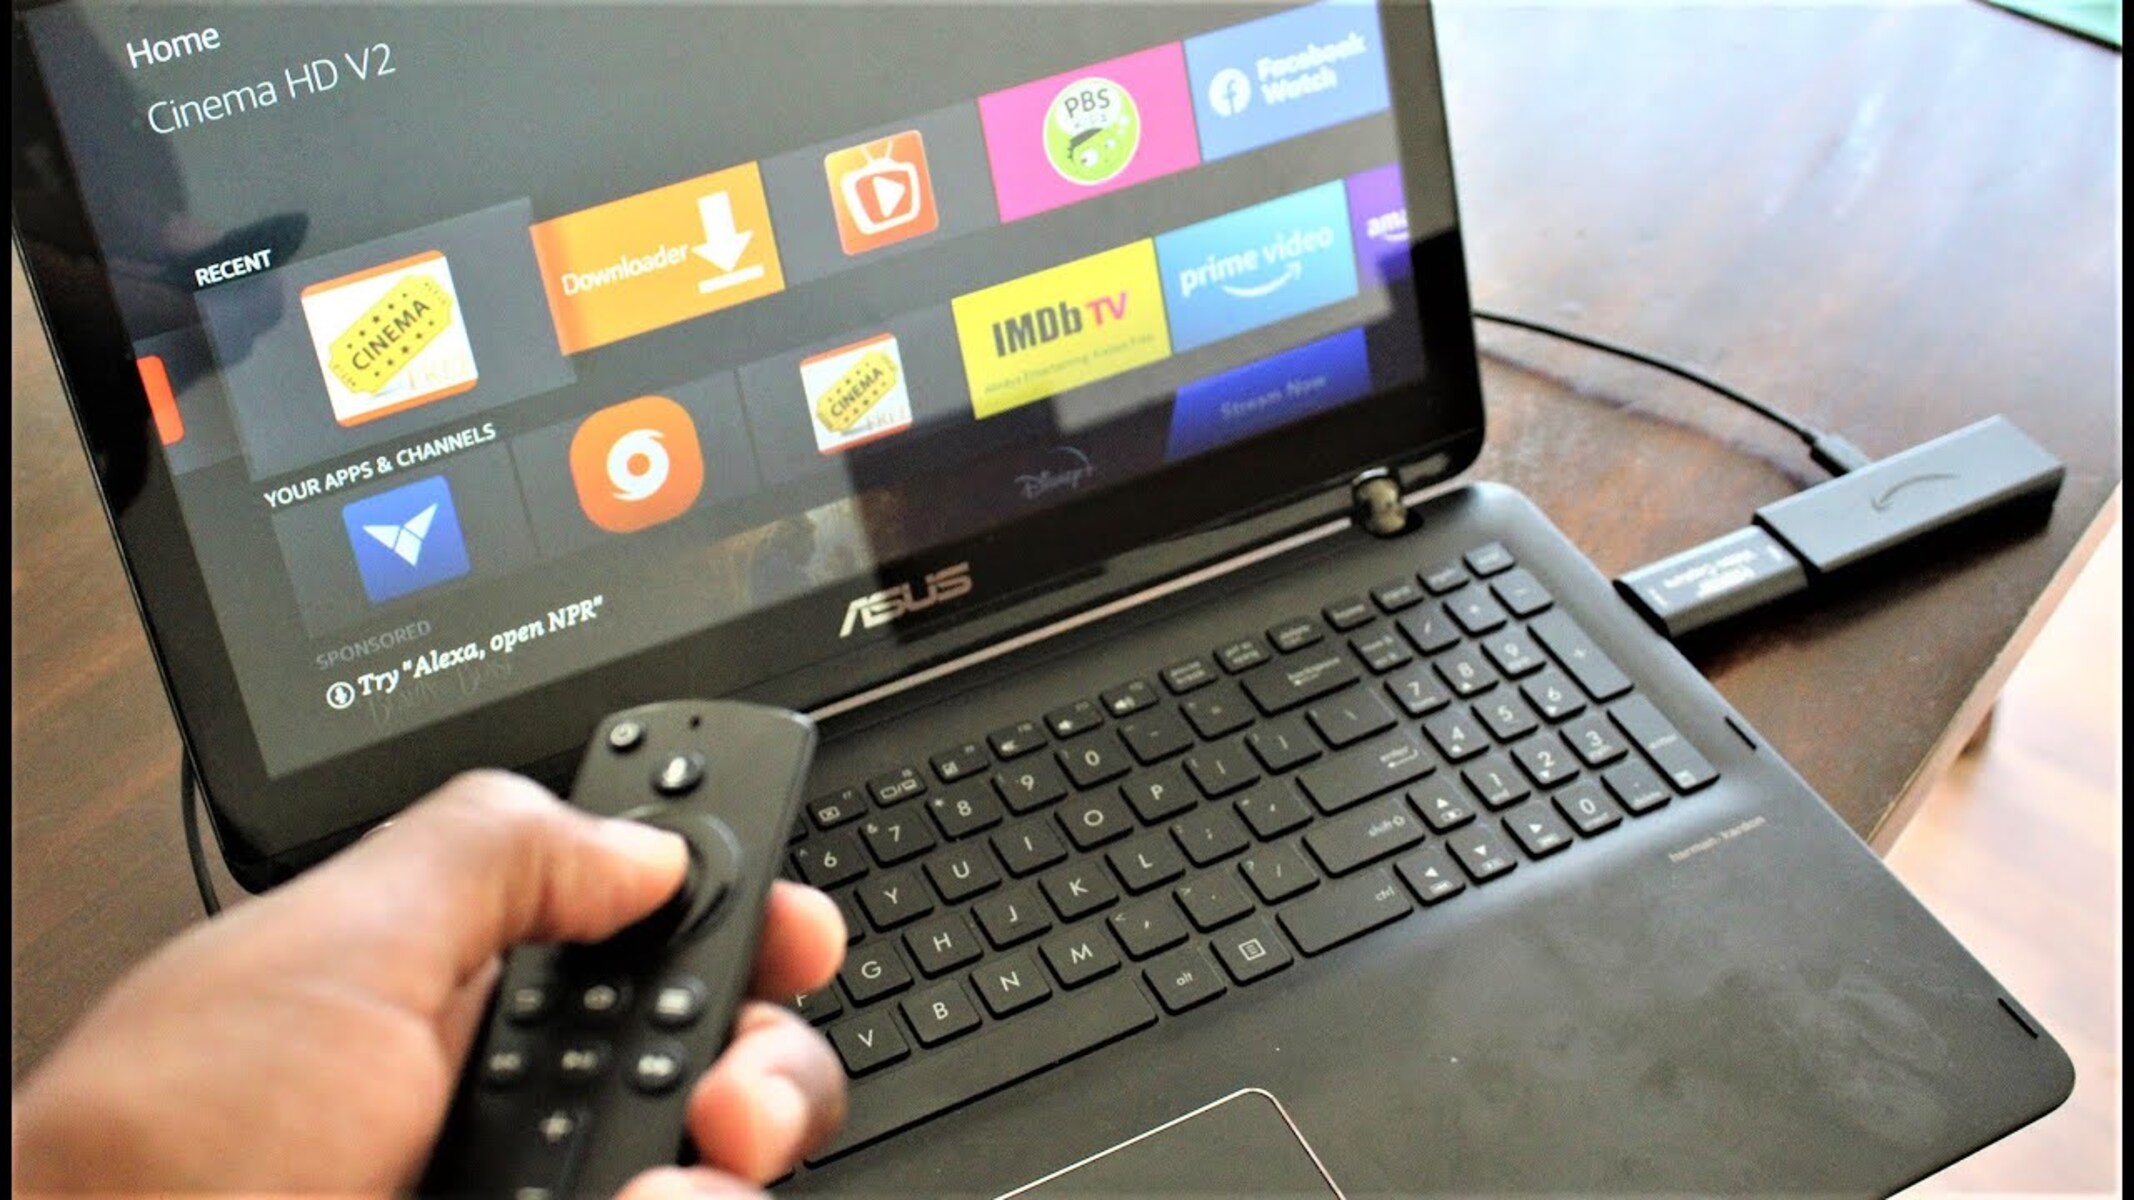
Once you’ve connected the Firestick to your laptop with the HDMI cable, your laptop should detect the Firestick signal automatically. In some cases, you may need to adjust the display settings on your laptop to make the connection work properly.
Now that you have successfully connected your Firestick to your laptop using the HDMI cable, let’s move on to the next step: adjusting the display settings.
Step 3: Adjust the display settings
After successfully connecting your Firestick to your laptop with the HDMI cable, it’s time to adjust the display settings to ensure optimal viewing quality. Follow these steps to adjust the display settings:
- On your laptop, right-click on the desktop and select “Display settings” or “Screen resolution” from the context menu.
- A window will open displaying the current display settings. Look for the option to change the display mode or extend the display.
- Select the option that allows you to extend the display to the connected Firestick. This will enable you to use your laptop screen as a secondary display.
- Once you’ve selected the appropriate display mode, click “Apply” to save the changes. Your laptop screen should now act as an extended display for the Firestick.
It’s important to note that you may need to adjust the resolution settings to match your desired display quality. To do this:
- Go back to the display settings window on your laptop.
- Click on “Advanced display settings” or a similar option.
- Look for the resolution settings and select the resolution that best suits your preferences.
- Click “Apply” to save the changes.
By adjusting the display settings and resolution, you can ensure that the visuals from your Firestick are projected accurately and in the best possible quality on your laptop screen.
Now that you have adjusted the display settings on your laptop, it’s time to move on to the next step: setting up the audio output.
Step 4: Set up audio output
Setting up the audio output correctly is essential to complete the connection between your Firestick and laptop. Here’s how you can do it:
- On your laptop, navigate to the sound settings. You can typically find this in the system tray, or you can search for it in the control panel or settings menu.
- Once you’re in the sound settings, select the playback devices tab.
- Look for the device that represents your Firestick connection. It is likely to be named “HDMI” or have a similar label.
- Select the Firestick HDMI device as the default audio playback device.
- If there are any additional audio settings available, such as volume levels or enhancements, adjust them according to your preferences.
- Save the changes and exit the sound settings.
By setting the Firestick HDMI device as the default audio playback device, you ensure that the audio from the Firestick is channeled through your laptop’s speakers or headphone jack. This allows you to enjoy the sound from your Firestick content through your laptop’s audio output.
Now that you have set up the audio output, you’re ready to enjoy your Firestick content on your laptop with both visual and audio components seamlessly integrated.
If you encounter any issues with audio output or need to troubleshoot common problems, don’t worry. The next step will cover troubleshooting tips and solutions.
Step 5: Troubleshooting common issues
While connecting your Firestick to your laptop using HDMI is a straightforward process, you may encounter some common issues along the way. Here are a few troubleshooting tips to help you overcome these issues:
- No display on the laptop screen: Ensure that both ends of the HDMI cable are securely connected. Try using a different HDMI port on your laptop or a different HDMI cable if possible. Also, check the display settings on your laptop to ensure it is set to extend or duplicate the display.
- No audio from the laptop speakers: Check the sound settings on your laptop and ensure the Firestick HDMI device is set as the default audio playback device. Verify that the volume is not muted, and make sure the audio cable connection is secure.
- Poor display or audio quality: Adjust the display and resolution settings on your laptop to match your preferred quality. Additionally, check the settings on your Firestick to ensure it is set to output the best possible video and audio signals.
- Compatibility issues: Ensure that your laptop and Firestick are compatible with each other. Check the system requirements and compatibility specifications for both devices. If they are not compatible, you may need to consider alternate methods of connecting, such as using a different display or streaming device.
- Update software and drivers: Make sure your laptop’s operating system, Firestick firmware, and graphic drivers are up to date. Outdated software can cause compatibility issues and hinder the proper functioning of the connection.
If you’ve tried these troubleshooting tips and the issues persist, consult the user manuals or support resources provided by your laptop and Firestick manufacturer for further assistance. They may have specific guidance and solutions for the issues you’re experiencing.
Remember, troubleshooting may require some trial and error, but with patience and persistence, you can overcome any obstacles and enjoy a seamless connection between your Firestick and laptop.
With troubleshooting covered, let’s wrap up this guide and summarize the key points.
Conclusion
Connecting your Firestick to your laptop using an HDMI cable can significantly enhance your entertainment experience. Whether you want to enjoy streaming content on a larger screen or take advantage of your laptop’s audio capabilities, this connection offers convenience and flexibility.
In this guide, we walked you through the step-by-step process of connecting your Firestick to your laptop with an HDMI cable. We discussed gathering the necessary equipment, connecting the devices, adjusting display settings, setting up audio output, and troubleshooting common issues.
Remember to gather the Firestick device, a laptop with an HDMI port, and an HDMI cable before getting started. Once you’ve made the physical connection, adjust the display settings on your laptop to extend or duplicate the display, and set up the audio output to direct the sound through your laptop’s speakers or headphones.
If you encounter any issues, follow the troubleshooting tips we provided and ensure that you have the latest software and drivers. If the problems persist, consult the user manuals or support resources provided by your laptop and Firestick manufacturer for further assistance.
Now that you’re equipped with the knowledge and guidance to connect your Firestick to your laptop with HDMI, get ready to enjoy an immersive viewing and audio experience like never before. Sit back, relax, and enjoy your favorite content on the big screen with enhanced sound quality!