Introduction
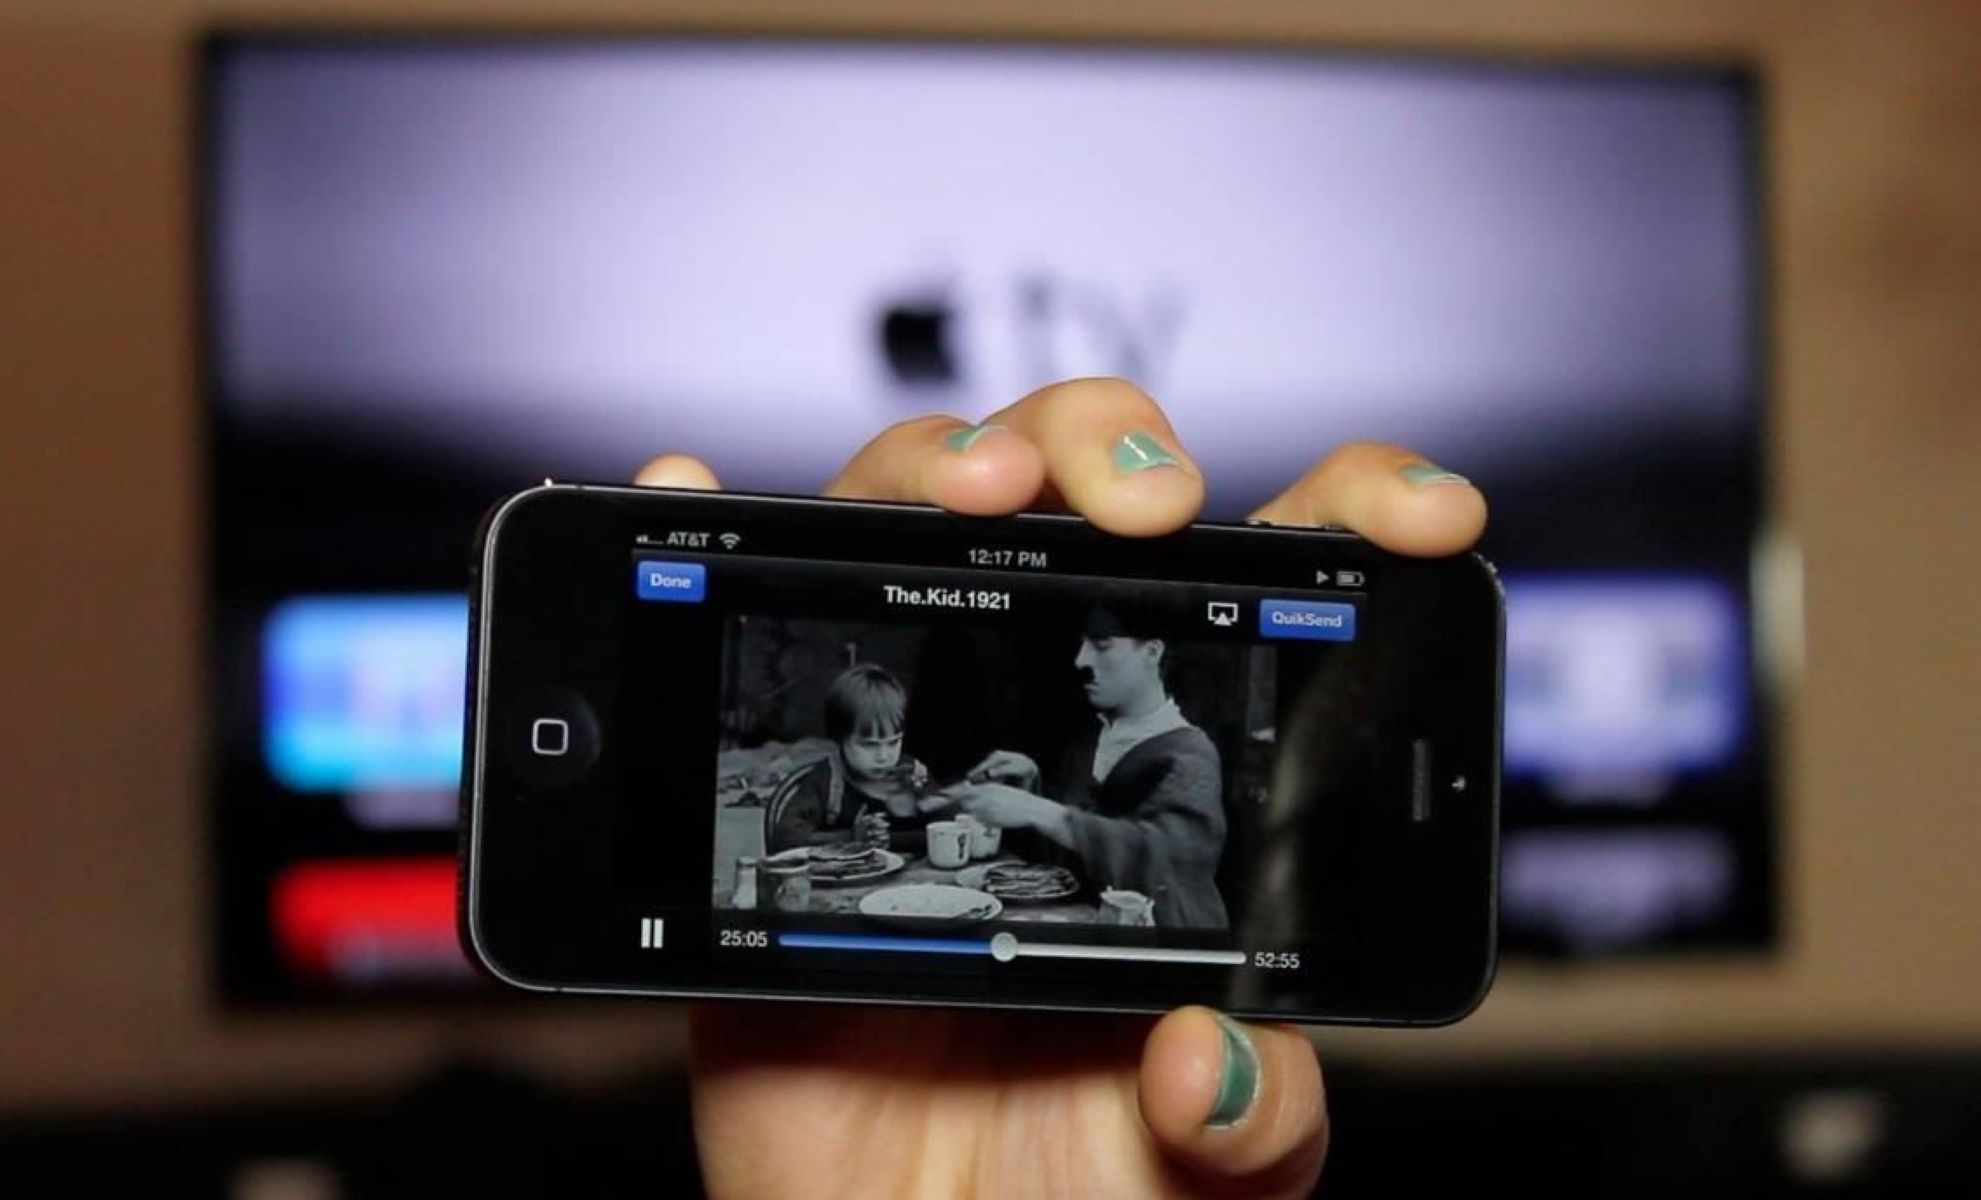
Connecting your phone to your TV allows you to enjoy the immersive experience of watching Netflix on a larger screen. By utilizing an HDMI cable, you can easily stream movies and TV shows from your phone to your television. In this guide, we will walk you through the step-by-step process of connecting Netflix to your TV using HDMI.
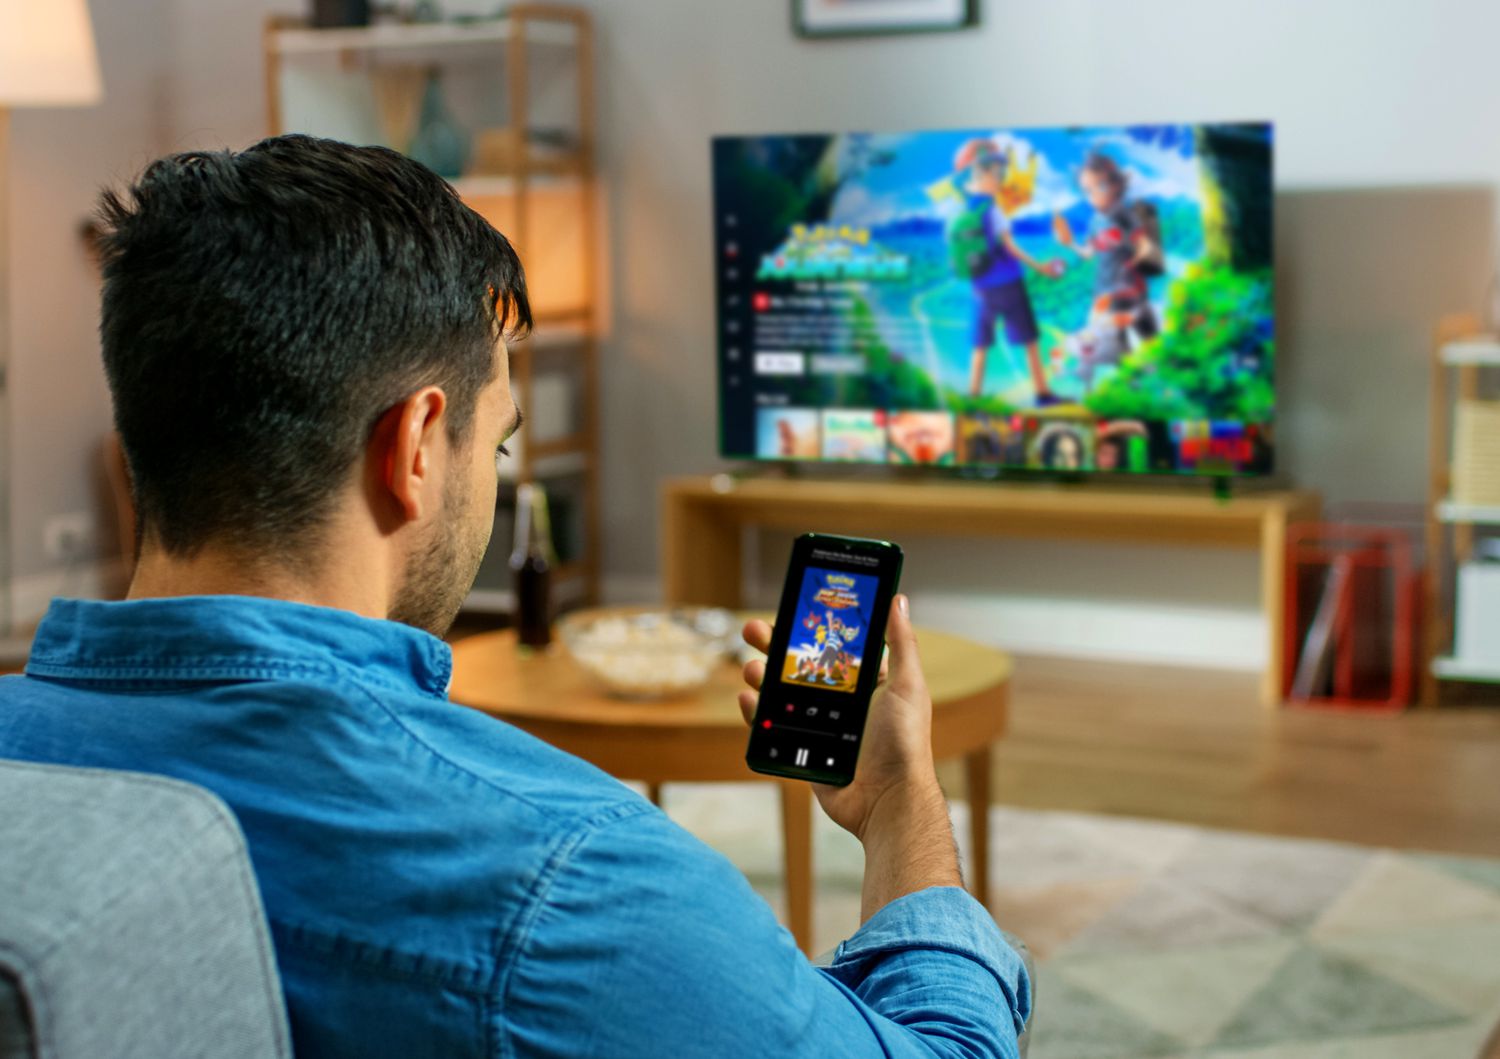
Streaming Netflix through your phone opens up a world of entertainment possibilities right at your fingertips. Whether you want to binge-watch your favorite series, discover new movies, or simply enjoy a cinematic experience from the comfort of your living room, connecting Netflix to your TV is a simple and convenient solution.
However, before you dive into the setup process, there are a few things to consider. Firstly, you need to ensure that both your TV and phone are equipped with HDMI compatibility. HDMI (High-Definition Multimedia Interface) is the industry standard for transmitting high-quality audio and video signals between devices, making it the ideal connection method for streaming Netflix.
Additionally, you will need to gather the necessary hardware, including an HDMI cable, to establish the connection between your phone and TV. Once you have everything you need, you can proceed with setting up your TV and phone, adjusting the audio and video settings, and finally, streaming Netflix content on your TV.
By following the steps outlined in this guide, you’ll be able to seamlessly connect Netflix to your TV, unlocking a captivating viewing experience like never before. So, let’s get started on this exciting journey of transforming your phone into a powerful entertainment hub!
Step 1: Check for HDMI Compatibility
The first step in connecting your phone to your TV with HDMI is to ensure that both of your devices have HDMI compatibility. HDMI is the standard interface used to transmit high-definition audio and video signals between different devices, making it the perfect choice for streaming Netflix.
To check if your TV has HDMI compatibility, look for HDMI ports on the back or side of the TV. These ports are typically labeled as “HDMI,” and they come in different versions, such as HDMI 1.4 or HDMI 2.0. Newer TVs tend to have multiple HDMI ports, allowing you to connect multiple devices simultaneously.
Next, check if your phone supports HDMI connectivity. Most modern smartphones have the capability to output audio and video through an HDMI connection, but it’s always best to verify this in your phone’s specifications or consult the manufacturer’s website.
If your TV and phone are both HDMI compatible, you can proceed to the next step. However, if your TV does not have HDMI ports or your phone does not support HDMI output, there may be alternative connection options available, such as using a VGA or DVI cable, or utilizing wireless streaming devices like Chromecast or Apple TV.
It’s crucial to note that HDMI provides the highest quality audio and video transmission, delivering a truly immersive experience. Therefore, if possible, it is recommended to use an HDMI connection to achieve optimal Netflix streaming quality.
Before moving on to the next step, ensure that you have an HDMI cable that is compatible with both your phone and TV. There are different types of HDMI cables available, such as HDMI Standard, HDMI High-Speed, or HDMI Premium High-Speed, with varying capabilities and features. Choose a high-quality cable that suits your needs and budget to ensure a reliable and smooth connection.
Once you have confirmed the HDMI compatibility of your TV and phone, and gathered the necessary HDMI cable, you are ready to move on to the next step of the setup process.
Step 2: Get the Necessary Hardware
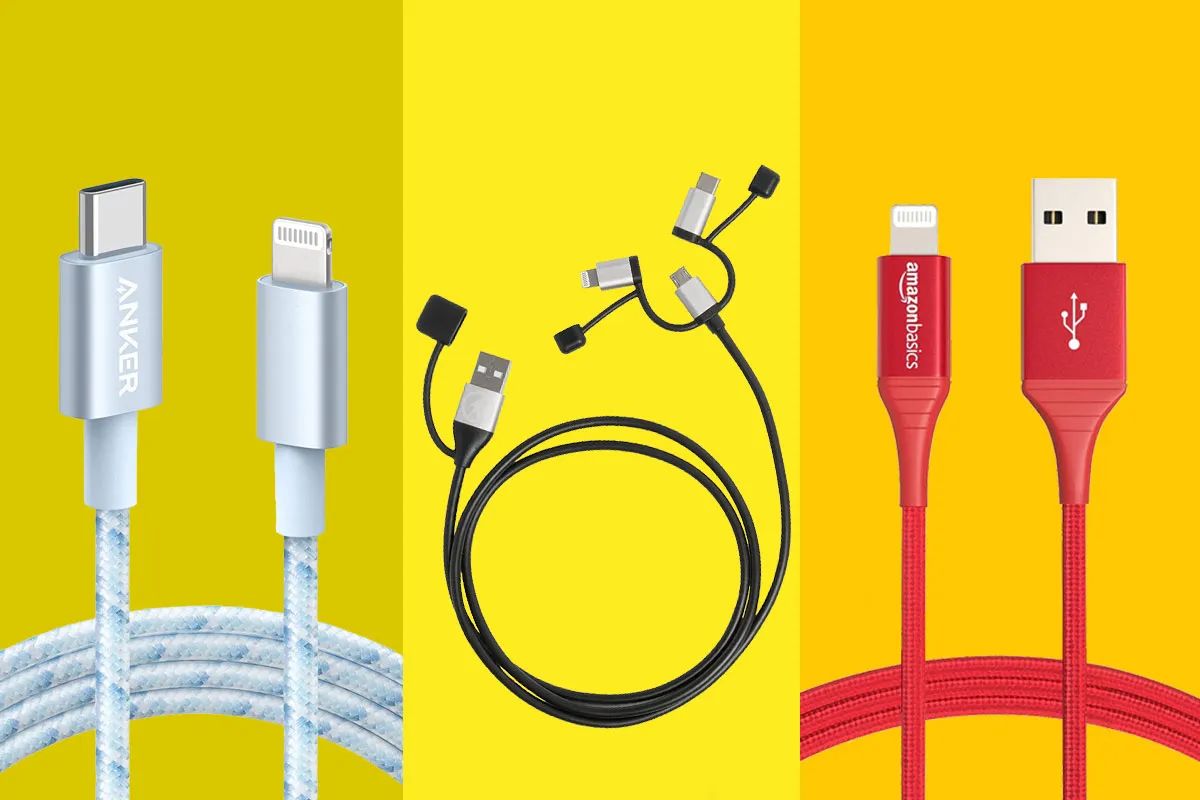
Now that you have confirmed the HDMI compatibility of your TV and phone, it’s time to gather the necessary hardware for connecting Netflix to your TV. The primary component you will need is an HDMI cable, which serves as the physical connection between your phone and TV.
HDMI cables come in various lengths, so choose one that suits the distance between your phone and TV. It’s recommended to opt for a cable that is slightly longer than needed to allow flexibility in positioning the devices.
When selecting an HDMI cable, consider the version and features that best support your needs. For most applications, a standard HDMI cable will work just fine. However, if you plan on watching ultra-high-definition content, it’s advisable to invest in a high-speed HDMI cable that supports 4K resolution and HDR (High Dynamic Range) for enhanced picture quality.
In addition to the HDMI cable, you may also need an HDMI adapter or converter if your phone doesn’t have a built-in HDMI port. Check the specifications of your phone and explore the available options to ensure compatibility.
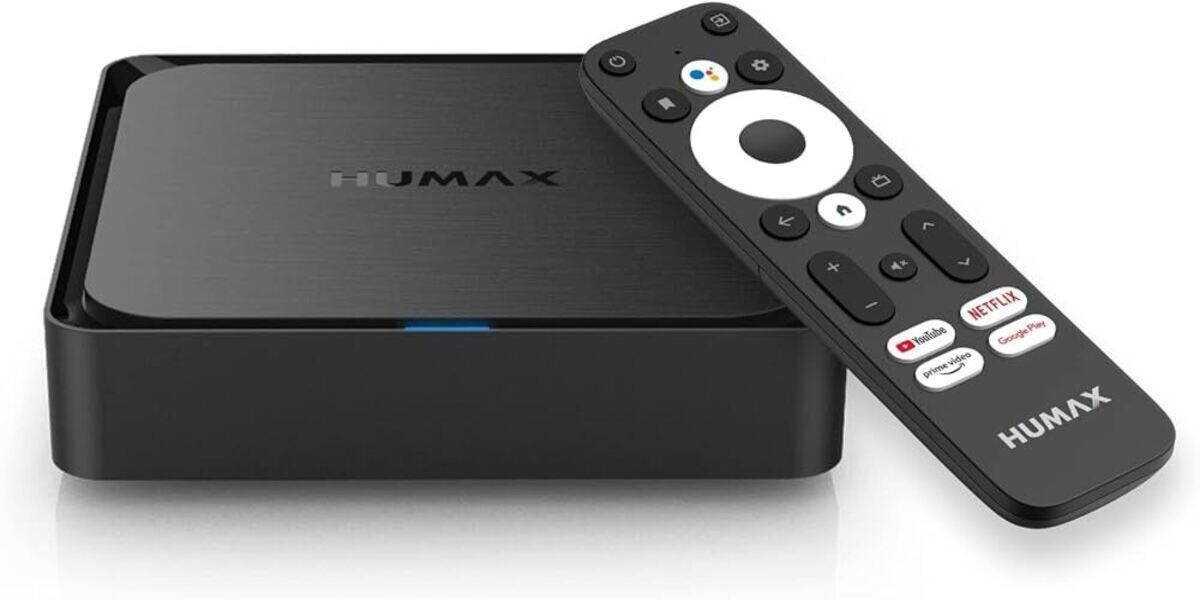
If you prefer a wireless connection, there are devices available, such as screen mirroring dongles, that can transmit your phone’s screen to your TV without the need for an HDMI cable. Examples of such devices include Google Chromecast, Apple TV, or Roku Streaming Stick.
Lastly, consider using a stable and secure HDMI switch or splitter if you want to connect multiple devices to your TV. These devices allow you to switch between different HDMI inputs or split the HDMI signal to connect multiple devices simultaneously.
Once you have all the necessary hardware, including the HDMI cable and any additional adapters or devices, you are now ready to proceed with the physical connection between your phone and TV.
Step 3: Connect the HDMI Cable
With the necessary hardware in hand, it’s time to connect the HDMI cable between your phone and TV. Follow these steps to establish the physical connection:
- Locate the HDMI port on your TV. It is usually located on the back or side panel. Depending on your TV model, there may be multiple HDMI ports available.
- Take one end of the HDMI cable and plug it into the HDMI port on your TV. Ensure that it is securely inserted.
- Next, find the HDMI port on your phone or the HDMI adapter if necessary. Some phones may have a micro HDMI or USB-C port, for which you’ll need the corresponding adapter.
- Connect the other end of the HDMI cable to the HDMI port on your phone or adapter. Again, make sure it is properly inserted.
- If you are using an adapter, connect the adapter to your phone first, and then connect the HDMI cable to the adapter.
- Once both ends of the HDMI cable are securely connected, power on your TV and switch it to the corresponding HDMI input. Some TVs have labeled the HDMI ports, so choose the one where you connected the cable.
- On your phone, ensure that the display output is set to HDMI or screen mirroring mode. The exact steps may vary depending on your phone’s operating system, but generally, you can find this option in the Display or Connection settings.
- If you have a wireless streaming device like Chromecast or Apple TV, follow the manufacturer’s instructions to connect it to your TV via HDMI and set it up to stream content from your phone.
Once the HDMI cable is connected, you have successfully established the physical connection between your phone and TV. Now, it’s time to move on to the next step and set up your TV and phone accordingly to ensure a seamless Netflix streaming experience.
Step 4: Set Up Your TV and Phone
After connecting the HDMI cable between your phone and TV, it’s important to properly set up both devices to ensure smooth operation and optimal viewing experience when streaming Netflix.
Follow these steps to set up your TV and phone:
- Turn on your TV and navigate to the HDMI input you connected your phone to.
- Using your TV remote, access the TV’s settings menu. This is typically done by pressing the “Menu” or “Settings” button.
- Within the settings menu, locate the HDMI settings and make sure they are configured correctly. Depending on your TV, you may need to enable features like HDMI-CEC (Consumer Electronics Control) to allow your phone to control some TV functions.
- Adjust the picture and sound settings on your TV to your preference. You can set the picture mode, brightness, contrast, and other parameters to optimize the viewing experience.
- On your phone, ensure that it is connected to a stable Wi-Fi network for smooth streaming. This is crucial for uninterrupted Netflix playback.
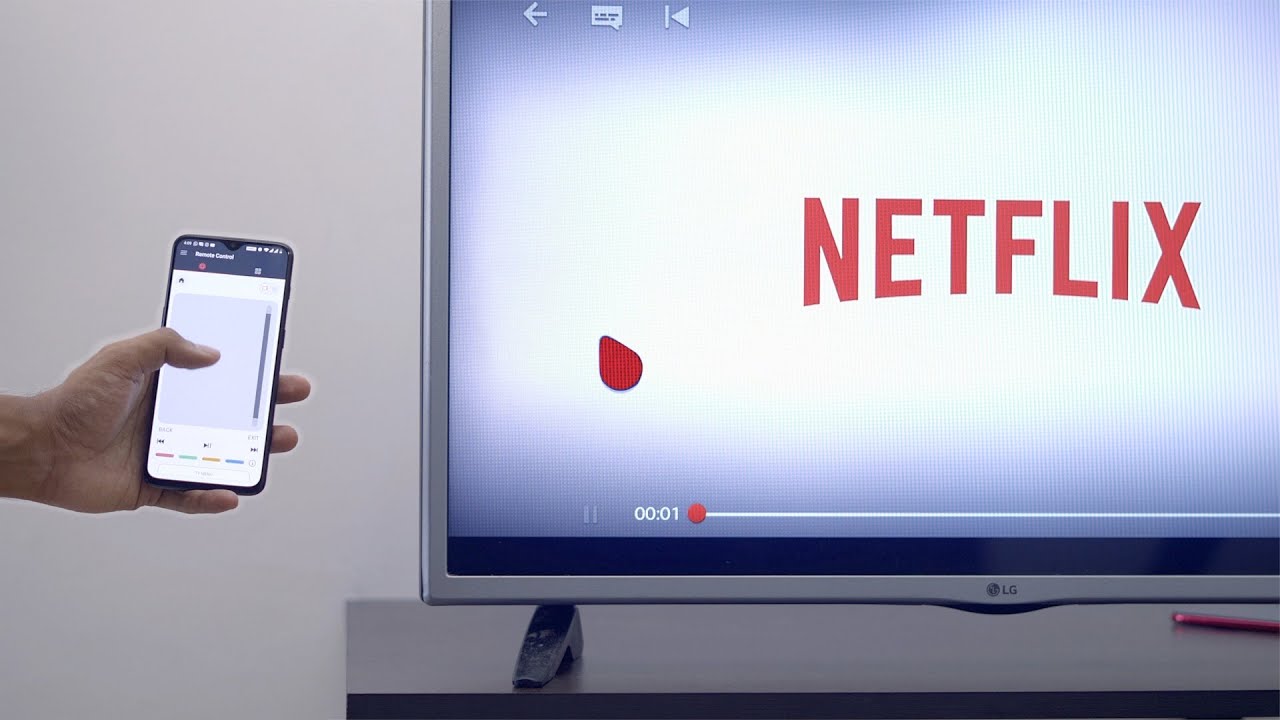
- Adjust the screen mirroring settings on your phone, if necessary. Some phones may have a dedicated screen mirroring option in the settings, while others may require you to enable it within the display settings.
- Ensure that both your phone and TV are connected to the same Wi-Fi network. This is necessary for communication between the devices and allows for a seamless streaming experience.
- If you are using a wireless streaming device like Chromecast or Apple TV, follow the manufacturer’s instructions to set it up and connect it to the same Wi-Fi network as your phone.
By properly setting up your TV and phone, you can ensure that they are ready for streaming Netflix content. Once the setup is complete, you can move on to the next step and adjust the audio and video settings to further enhance your viewing experience.
Step 5: Adjust the Audio and Video Settings
After setting up your TV and phone for streaming Netflix, it’s important to fine-tune the audio and video settings to ensure an immersive and enjoyable viewing experience. Follow these steps to adjust the settings:
- On your TV, access the settings menu using the remote control.
- Locate the audio settings and adjust them according to your preference. You can adjust the volume, balance, equalizer settings, and other audio parameters to optimize the sound quality.
- If available, enable any audio enhancement features such as virtual surround sound, Dolby Atmos, or DTS:X, to enhance the audio immersion.
- Next, navigate to the video settings in the TV menu.
- Adjust the display settings to your preference. You can modify parameters such as brightness, contrast, color temperature, and sharpness to optimize the visual quality.
- If your TV supports it, enable any video enhancement features like HDR (High Dynamic Range) or motion smoothing to enhance the picture quality and smoothness of motion.
- On your phone, access the Netflix app and navigate to the settings.
- Adjust the playback settings within the Netflix app, such as video quality and subtitles preferences, to your liking.
By adjusting the audio and video settings on both your TV and phone, you can create a personalized and immersive streaming experience. Take the time to explore and experiment with different settings to find what works best for you.
Once the audio and video settings are adjusted, you are now ready to stream Netflix content on your TV. Proceed to the next step to learn how to access and stream your favorite shows and movies.
Step 6: Stream Netflix on Your TV
Now that you’ve set up your TV and adjusted the audio and video settings, it’s time to start streaming Netflix on your TV. Follow these steps to access and enjoy your favorite shows and movies:
- Ensure that your TV is powered on and set to the correct HDMI input that you connected your phone to.
- On your phone, open the Netflix app. If you don’t have the app installed, download it from the app store and sign in to your Netflix account.
- Browse through the available content and choose what you want to watch.
- Tap on the selected content to open the playback screen.
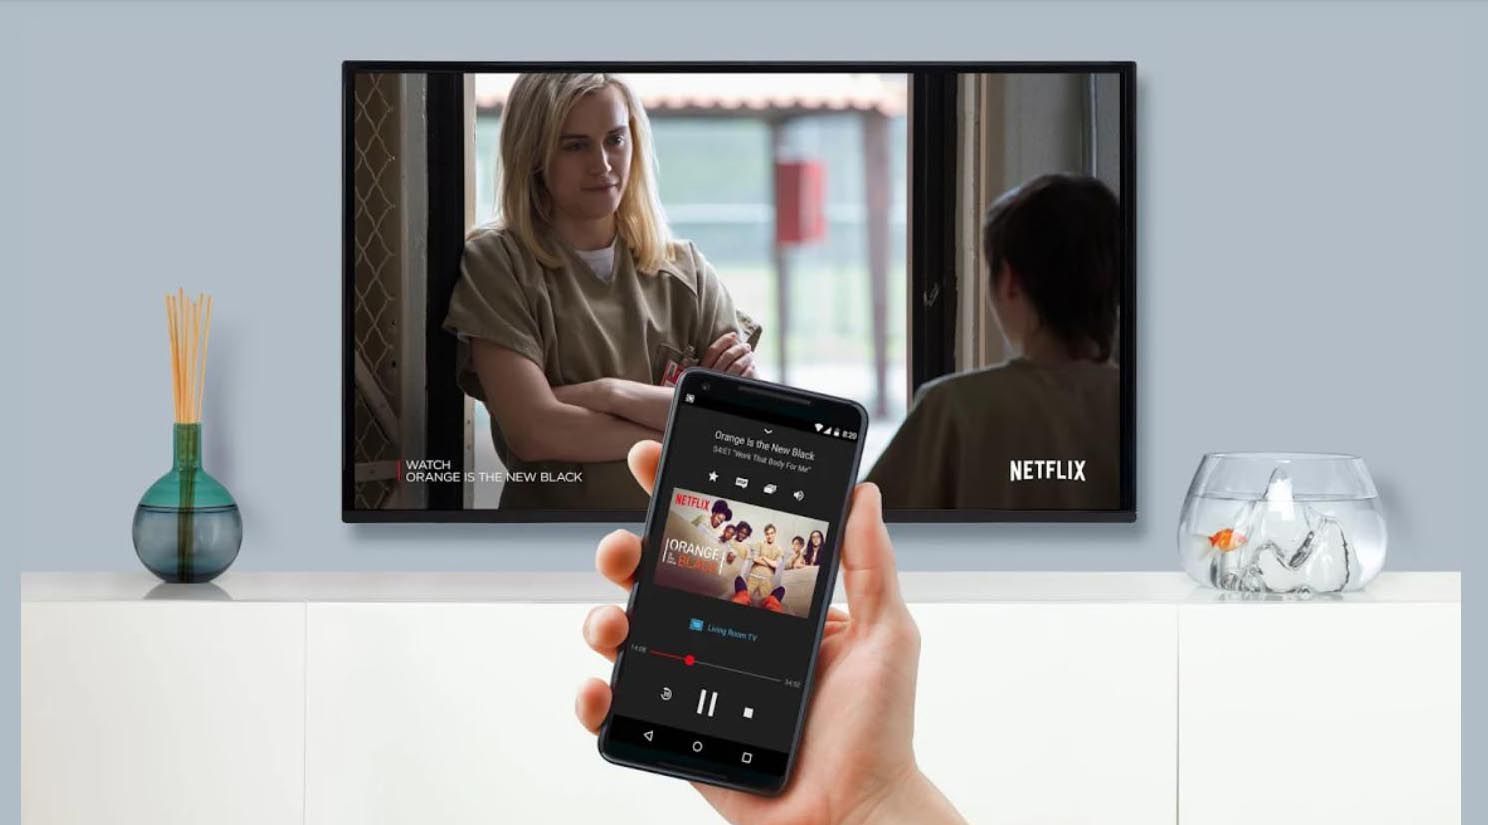
- On the playback screen, look for the cast icon, which typically resembles a rectangle with three curved lines in the bottom-left or bottom-right corner.
- Tap on the cast icon and select your TV from the list of available devices. This will initiate the connection between your phone and TV.
- After a few moments, the content should start playing on your TV. You can control the playback using your phone as a remote, including pausing, skipping, or adjusting the volume.
- Enjoy watching your chosen content on the big screen and immerse yourself in the cinematic experience.
It’s worth noting that the exact steps may vary depending on the model of your TV and the version of the Netflix app. Additionally, some TVs may have built-in Netflix apps, eliminating the need for screen mirroring or casting from your phone.
Now that you’ve successfully navigated the process of connecting and streaming Netflix on your TV, you can relax and indulge in endless hours of entertainment. Grab your favorite snacks, settle into your comfortable spot, and immerse yourself in the world of movies and TV shows brought to you on your big-screen TV.
Conclusion
Streaming Netflix on your TV from your phone using an HDMI connection opens up a whole new world of entertainment possibilities. With just a few simple steps, you can transform your phone into a powerful streaming device, bringing your favorite movies and TV shows to the big screen.
In this guide, we covered each step involved in connecting and streaming Netflix on your TV through HDMI. We started by checking for HDMI compatibility on both your TV and phone, ensuring that you have the necessary hardware for the connection. Then, we walked through connecting the HDMI cable, setting up your TV and phone, adjusting the audio and video settings, and finally, streaming Netflix on your TV.
By following these steps, you can enjoy a seamless and immersive viewing experience. Take the time to explore the different settings and features available on your TV and phone to personalize your streaming experience to your liking.
Remember, HDMI provides the highest quality audio and video transmission, ensuring that you enjoy sharp visuals and crisp sound while streaming Netflix. However, if your devices do not support HDMI connectivity, consider exploring alternative options such as VGA or DVI cables or utilizing wireless streaming devices like Chromecast or Apple TV.
Now that you have the knowledge and know-how, it’s time to grab your HDMI cable, set up your TV and phone, and indulge in a binge-watching session of your favorite Netflix shows and movies. Sit back, relax, and enjoy the immersive experience that streaming on your TV brings.
Happy streaming!