Introduction
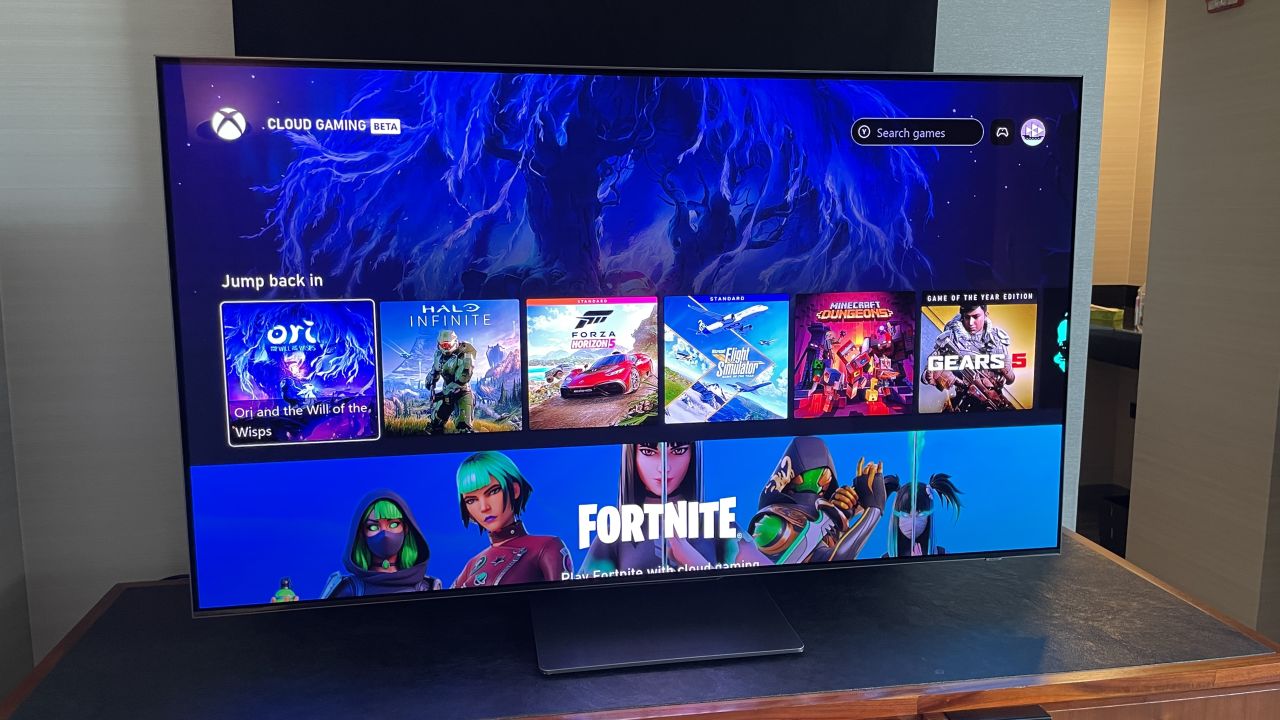
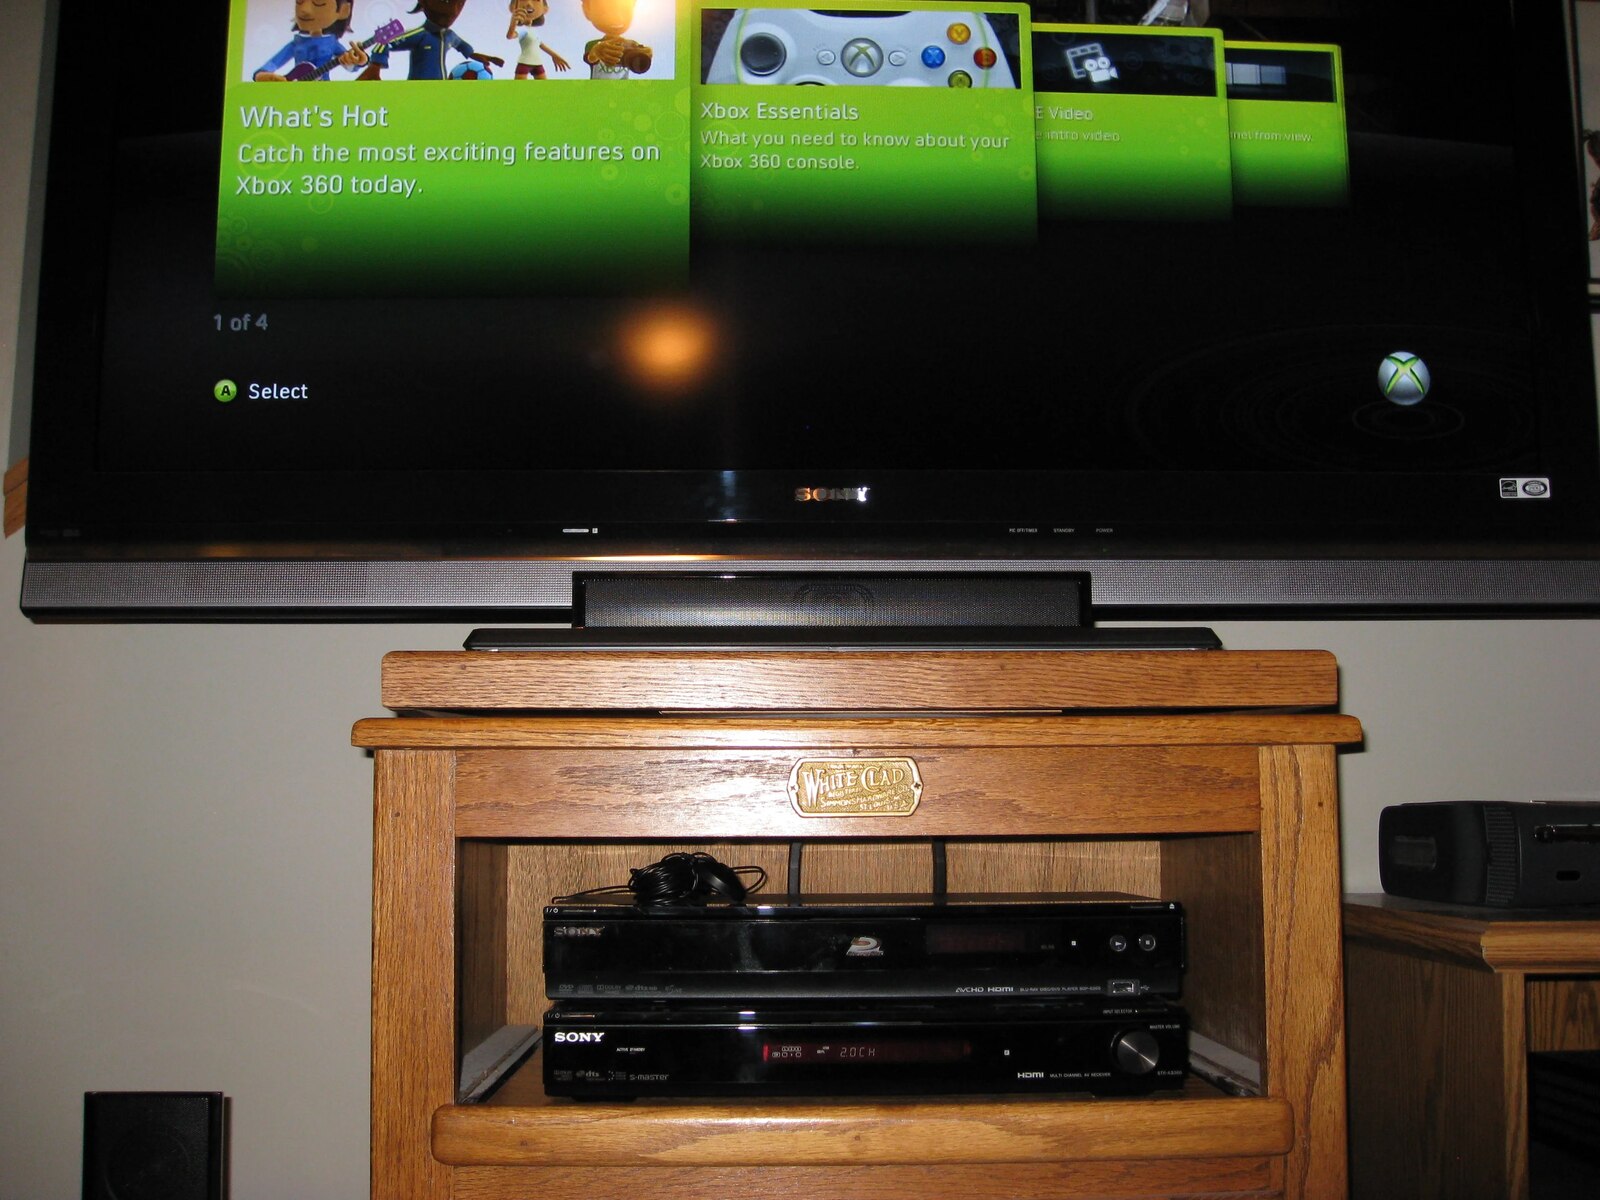
In today’s digital age, gaming has become an integral part of our lives, providing entertainment and a means of escape from reality. The Xbox 360, a popular gaming console, offers a diverse range of games and features that can immerse players in thrilling virtual worlds. However, what if you want to take your gaming experience to the next level by connecting your Xbox 360 to your laptop? Well, you’ve come to the right place! In this guide, we will walk you through the steps to connect your Xbox 360 to your laptop using an HDMI cable.
Connecting your Xbox 360 to your laptop offers several advantages. It allows you to enjoy your favorite games on a larger screen, make use of the laptop’s superior display quality, and even record or stream your gameplay if desired. Moreover, it can be a convenient option for those who have limited access to a television or prefer the privacy of gaming on their laptops.
Before we delve into the process, it’s essential to ensure the compatibility of your Xbox 360 and laptop. Not all laptops have an HDMI input, so make sure to check if your laptop supports external HDMI input before proceeding.
Step 1: Check compatibility
The first step in connecting your Xbox 360 to your laptop is to ensure that both devices are compatible with each other. Not all laptops have the necessary ports or capabilities to connect to an external gaming console. Follow these simple steps to determine the compatibility:
- Check for an HDMI input: Look for an HDMI input port on your laptop. This port is typically labeled as “HDMI” and looks like a small rectangle with rounded corners. If your laptop doesn’t have an HDMI input, it may not be possible to connect your Xbox 360 using this method.
- Verify the HDMI version: HDMI ports on laptops can vary in terms of their version. The Xbox 360 uses HDMI version 1.4, so ensure that your laptop’s HDMI port supports this version to ensure proper compatibility and optimal performance.
- Confirm audio support: Along with video, the HDMI cable carries audio signals as well. Check if your laptop’s HDMI port supports audio transmission. Some laptops may require additional configuration to enable audio via HDMI.
If your laptop meets all the compatibility requirements mentioned above, you’re already one step closer to connecting your Xbox 360. However, if your laptop lacks an HDMI input or doesn’t support the required specifications, don’t worry! There are alternative methods available, such as using a capture card or utilizing a VGA or DVI adapter to connect your Xbox 360 to your laptop’s display.
Step 2: Gather the necessary equipment
Before you can proceed with connecting your Xbox 360 to your laptop, make sure you have all the required equipment on hand. Here’s a list of the things you’ll need:
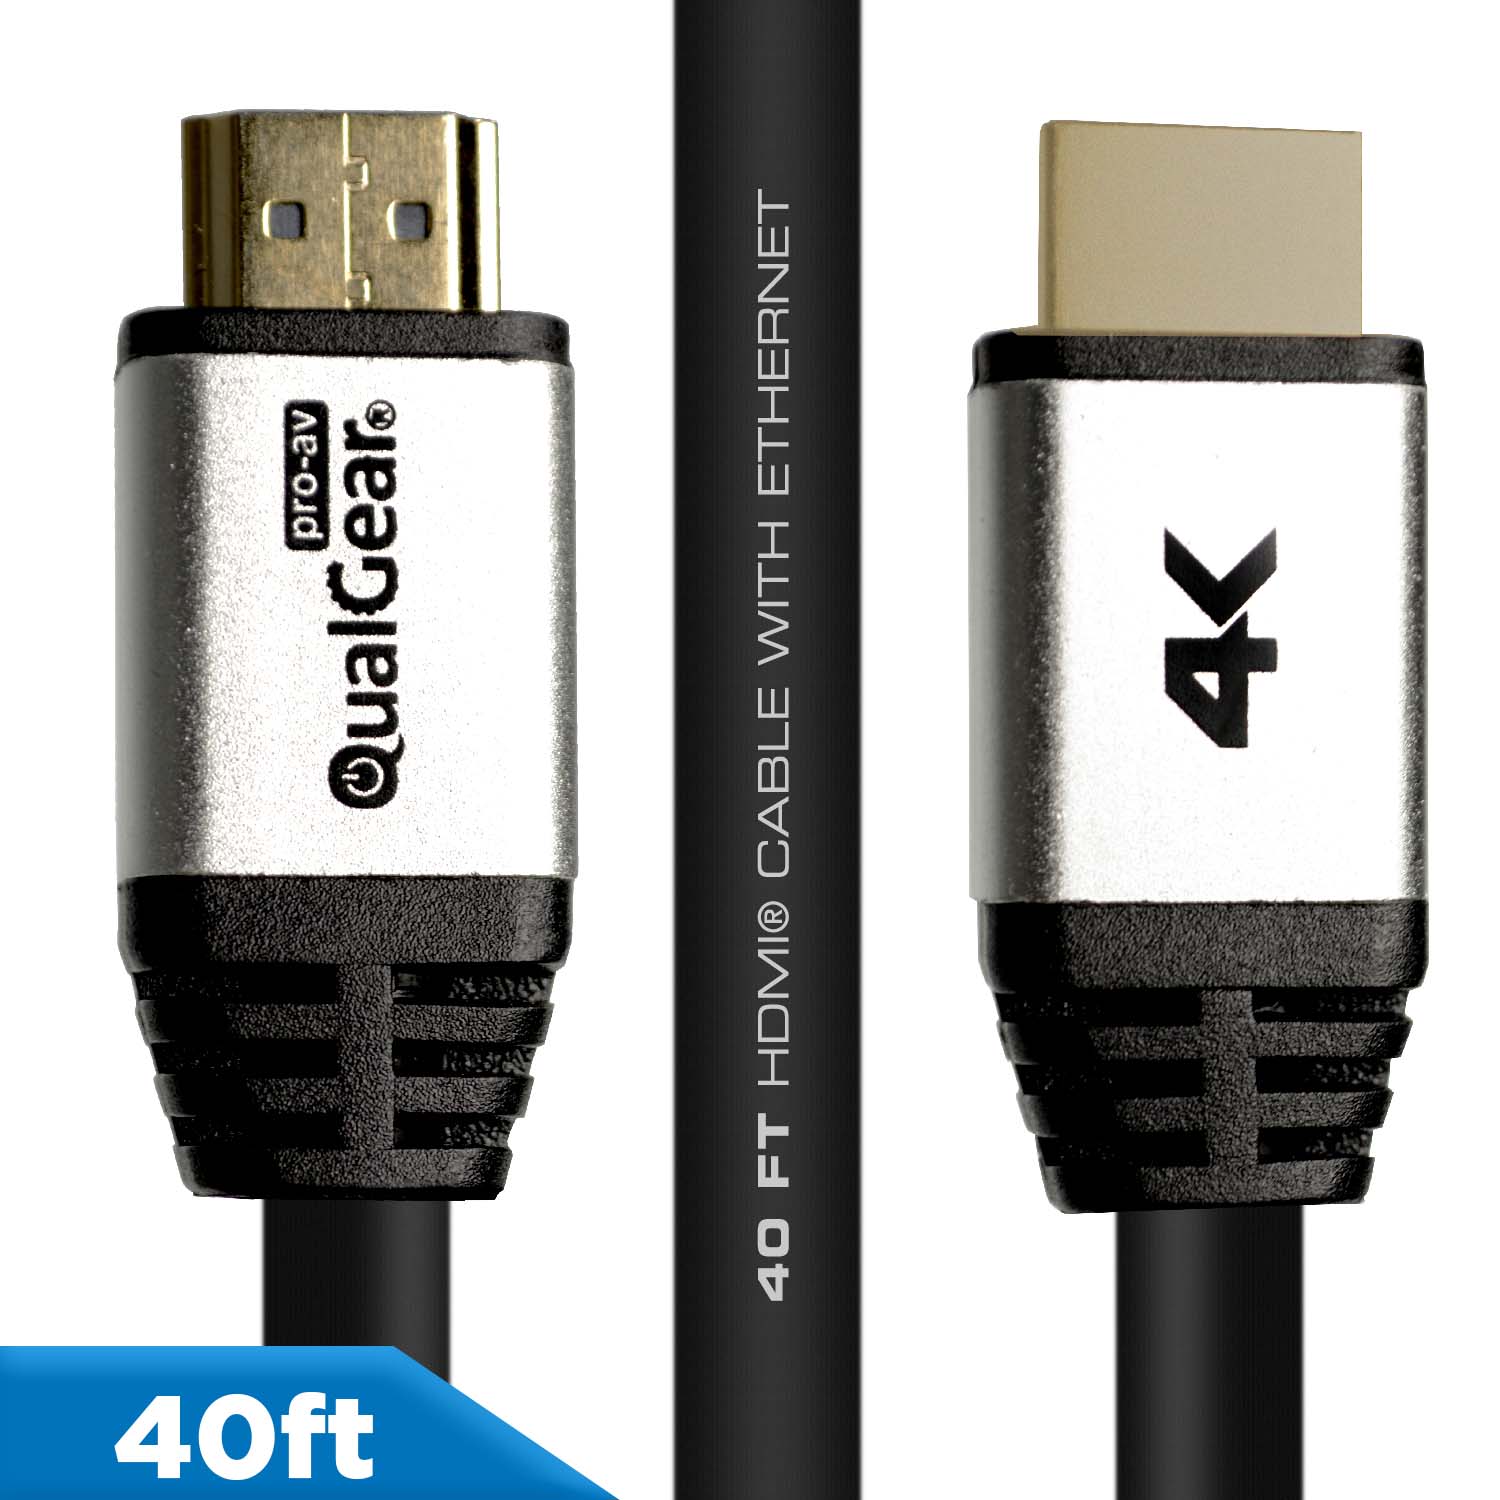
- HDMI cable: To establish the connection between your Xbox 360 and laptop, you’ll need an HDMI cable. Ensure that the cable is of sufficient length to reach from your console to your laptop comfortably.
- Xbox 360 AV cable (optional): If you want to retain the functionality of connecting your Xbox 360 to a TV in the future, it’s a good idea to have an Xbox 360 AV cable as a backup. This cable comes included with the console and contains composite and component video outputs.
- External speakers or headphones (optional): While the HDMI cable carries audio signals, some laptops may not automatically route the audio through their own speakers. If you prefer to use external speakers or headphones for audio output, make sure you have them available.
Ensure that all the equipment is in proper working condition and free from any damage or defects. If you don’t have any of the required items, consider purchasing or borrowing them before moving forward with the connection process.
Once you have gathered all the necessary equipment, you’re ready to proceed with connecting your Xbox 360 to your laptop. Let’s move on to the next step!
Step 3: Connect the Xbox 360 to the laptop using HDMI
Now that you have all the required equipment, let’s move on to the actual process of connecting your Xbox 360 to your laptop using an HDMI cable. Follow these steps:
- Power off your Xbox 360: Before connecting any cables, make sure your Xbox 360 is powered off to avoid any potential damage.
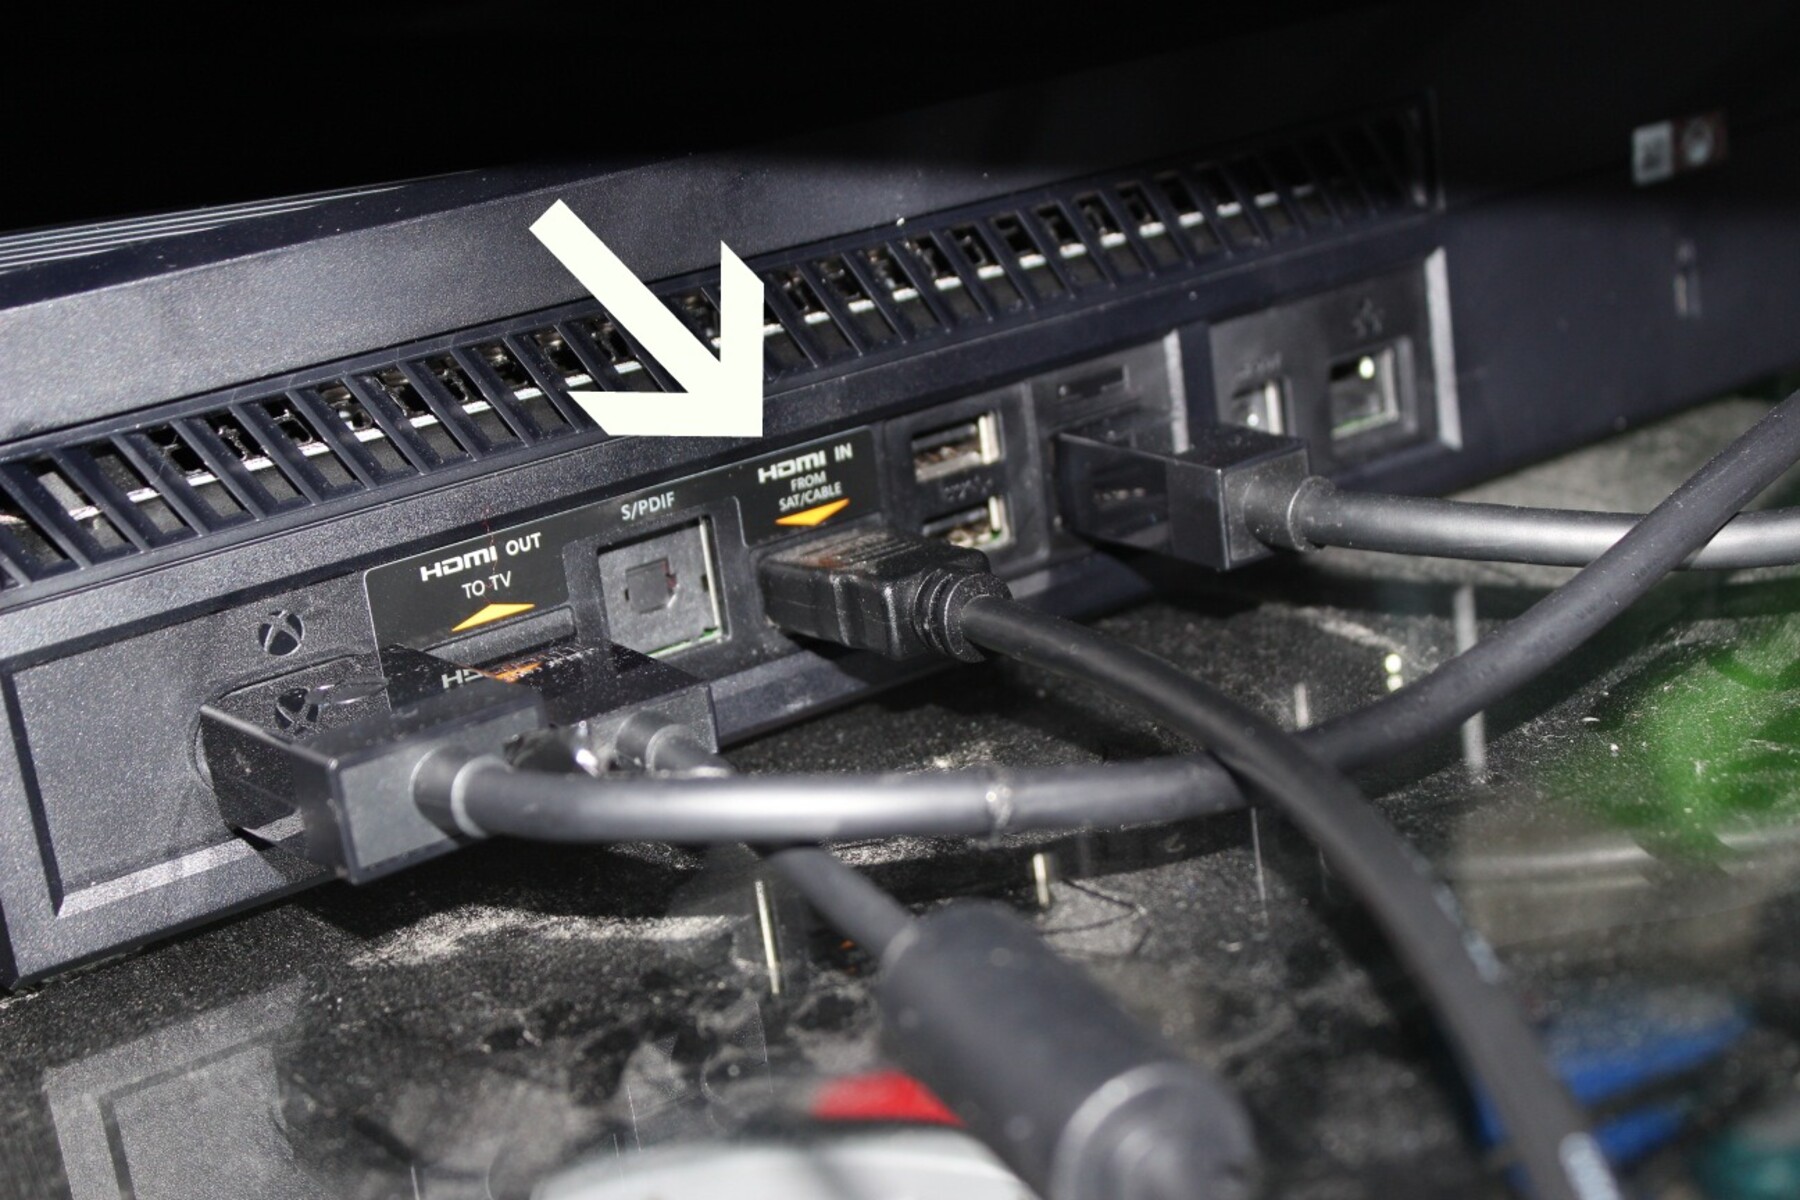
- Locate the HDMI port on your laptop: Look for the HDMI input port on your laptop. It is usually located on the side or back of the device and may be labeled as “HDMI”.
- Connect one end of the HDMI cable to the Xbox 360: Take one end of the HDMI cable and plug it into the HDMI output port on the back of your Xbox 360 console.
- Connect the other end of the HDMI cable to your laptop: Insert the other end of the HDMI cable into the HDMI input port on your laptop. Make sure the connection is secure.
- Power on your Xbox 360: Turn on your Xbox 360 console and wait for it to boot up. It might take a few moments for the console to detect the connection with your laptop.
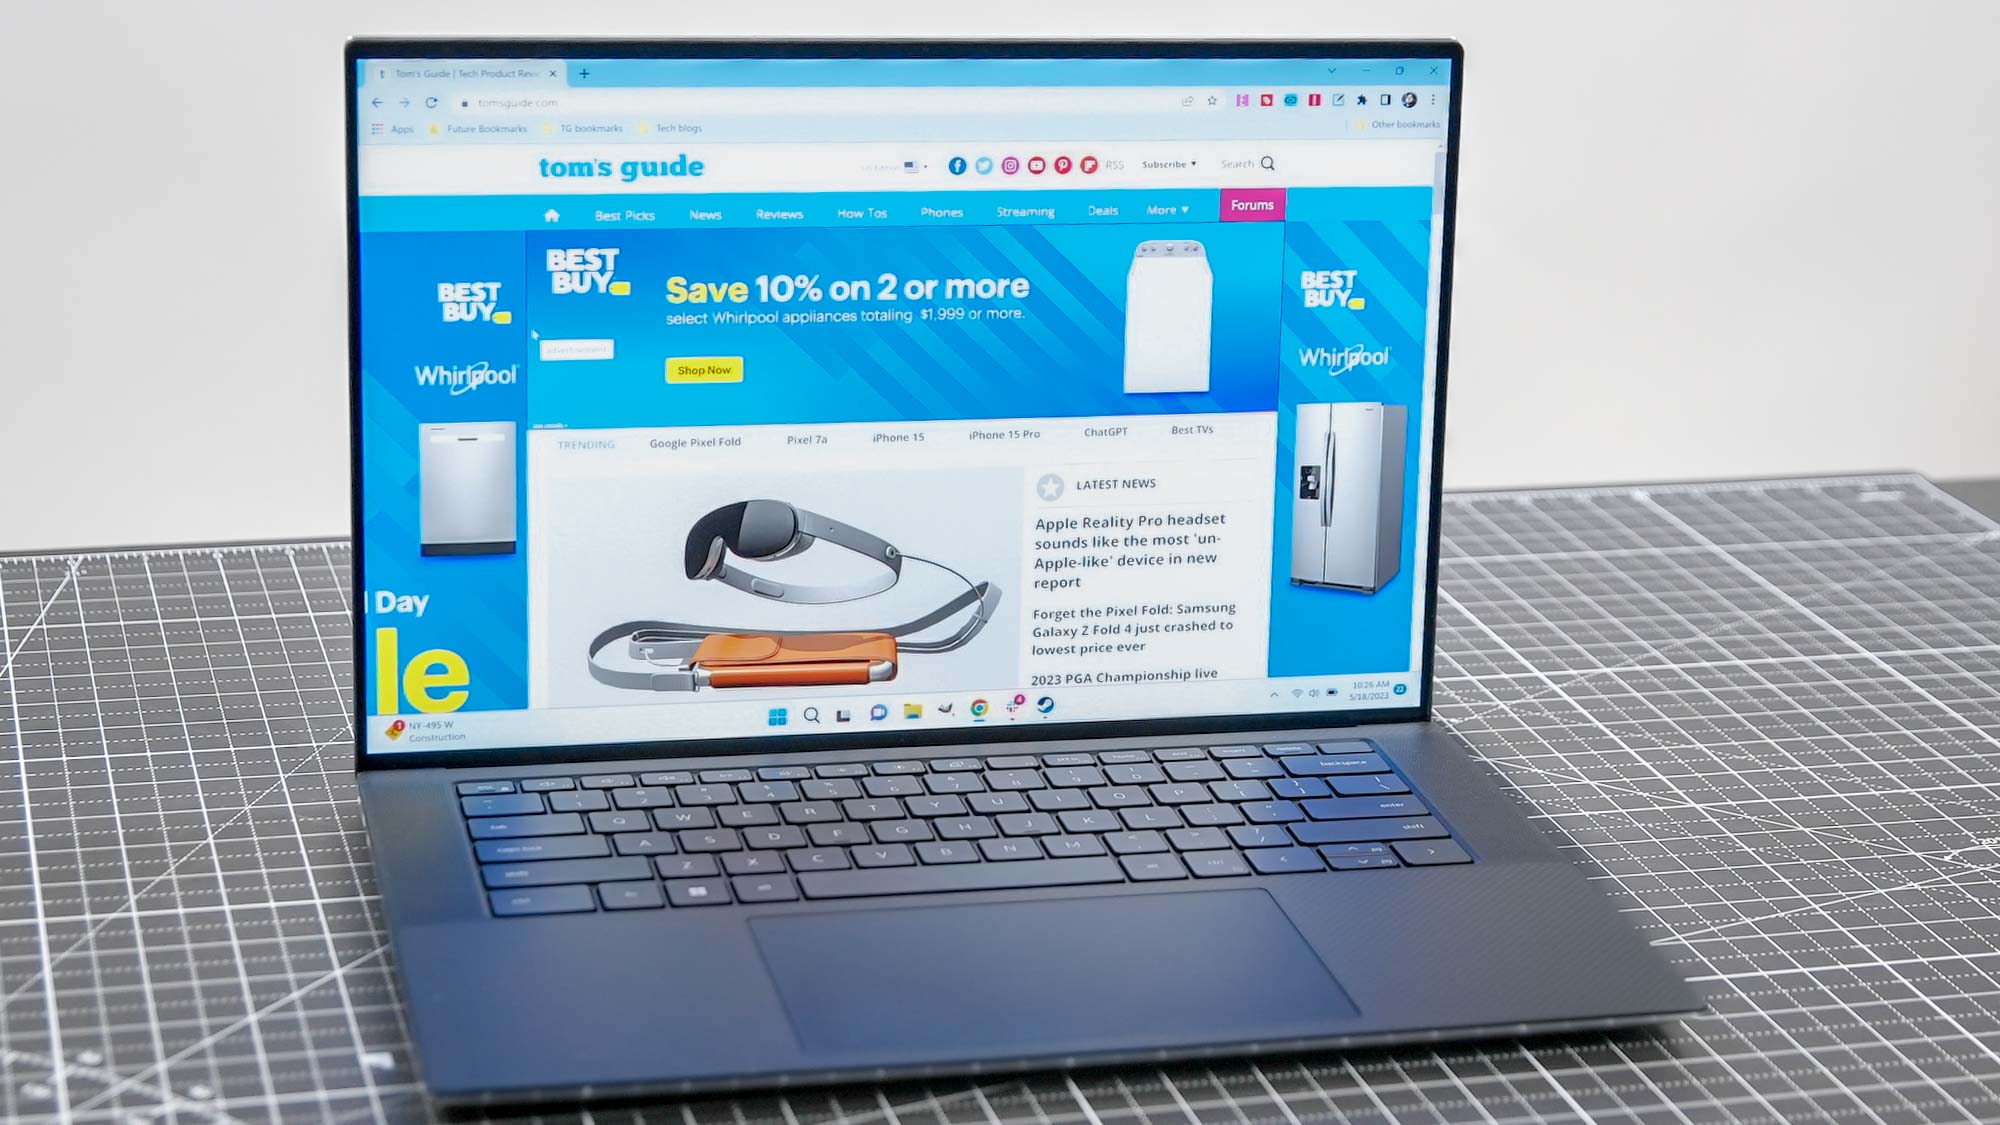
Once the connection is established, you should see the display from your Xbox 360 appear on your laptop screen. If it doesn’t display automatically, you may need to adjust your laptop’s display settings. We’ll cover that in the next step.
Connecting your Xbox 360 to your laptop using an HDMI cable opens up a whole new world of gaming possibilities. You can now enjoy your favorite games on a larger screen with enhanced visual quality. But there’s more to do to optimize your gaming experience, so let’s proceed to the next step.
Step 4: Adjust display settings
After connecting your Xbox 360 to your laptop using an HDMI cable, you may need to adjust the display settings to ensure optimal visuals. Follow these steps:
- Right-click on your desktop: Go to your laptop’s desktop and right-click anywhere on the screen. This will open a context menu.
- Select “Display settings” or “Screen resolution”: From the context menu, choose the option that allows you to adjust the display settings or screen resolution. This might vary depending on your laptop’s operating system.
- Identify the external display: In the display settings window, you should see two different displays listed. One will be your laptop’s built-in display, and the other will be the external display connected via HDMI, represented as “Display 2” or something similar.
- Select the external display: Click on the external display (Display 2) to select it. You can then modify various settings for the display.
- Adjust resolution and orientation: Choose the desired screen resolution for the external display. It is recommended to match the resolution with the native resolution of your laptop’s screen for the best quality. Additionally, you can also change the screen orientation if needed.
- Apply the settings: Once you have made the necessary changes, click on the “Apply” button to apply the new display settings. You may be prompted to confirm the changes.
After applying the new display settings, your laptop’s screen should now display the Xbox 360’s visuals with the adjusted resolution and orientation. Take a moment to ensure that the visuals look crisp and fit the screen properly.
Now, you’re almost ready to start gaming on your connected Xbox 360. There’s just one more important step to cover, which is configuring the sound settings. Let’s move on to the final step.
Step 5: Configure sound settings
While connecting your Xbox 360 to your laptop using an HDMI cable primarily transfers both video and audio signals, some laptops may not automatically route the audio through their own speakers. To ensure that the sound is properly routed and you can enjoy immersive gameplay, follow these steps to configure the sound settings:
- Right-click on the volume icon: Locate the volume icon in the system tray on your laptop’s taskbar. Right-click on the volume icon to open a menu.
- Select “Playback devices” or “Sounds”: From the menu, choose the option that allows you to access the playback devices or sound settings. This may vary depending on your laptop’s operating system.
- Choose the external playback device: In the playback devices or sound settings window, you should see a list of audio playback devices. Look for the one that represents your laptop’s HDMI output or the connected Xbox 360.
- Set as default device: Select the HDMI or Xbox 360 playback device and click on the “Set as Default” or “Set Default Device” button. This will ensure that all audio is routed through this device.
- Test the audio: To confirm that the audio is properly configured, click on the “Test” button or play a sound or music file. You should hear the sound through your laptop’s speakers or headphones.
Once you have completed these steps, the sound from your Xbox 360 should now play through the speakers or headphones connected to your laptop. If you encounter any issues or if the sound is not working as expected, double-check the audio settings or consult the laptop’s user manual for troubleshooting steps.
Now that you have successfully connected your Xbox 360 to your laptop and configured the sound settings, you’re all set to start gaming! Simply power on your console, launch your favorite game, and enjoy the immersive experience on your laptop’s larger screen. Happy gaming!
Step 6: Start gaming!
After going through all the steps to connect your Xbox 360 to your laptop, it’s finally time to dive into the exciting world of gaming! Follow these final steps to start your gaming session:
- Power on your Xbox 360: Ensure that your Xbox 360 console is powered on and connected to your laptop via the HDMI cable.
- Select a game: Choose from your collection of Xbox 360 games or browse the online store to find a thrilling game to play.
- Launch the game: Insert the game disc into your Xbox 360 console or launch the game digitally from your library. Your laptop’s screen will display the game visuals, and the sound will be routed through the laptop’s speakers or headphones if configured correctly.
- Grab your controller: Pick up your Xbox 360 controller or connect a compatible controller to your laptop. The controller will be your key to navigating the game and experiencing all the thrilling gameplay moments.
- Enjoy the gaming experience: Immerse yourself in the virtual world of the game and enjoy all the intense action, gripping storylines, and exciting challenges that Xbox 360 games have to offer.
Whether you’re playing a fast-paced first-person shooter, an immersive role-playing game, or a competitive sports game, gaming on your Xbox 360 with your laptop’s larger screen can elevate your experience to the next level. Feel the adrenaline rush, strategize, and have fun as you embark on memorable gaming adventures.
Remember to take breaks, hydrate, and maintain proper gameplay etiquette. It’s important to prioritize your well-being even in the midst of intense gaming sessions. Now, gear up, get ready, and let the gaming marathon begin!