Introduction
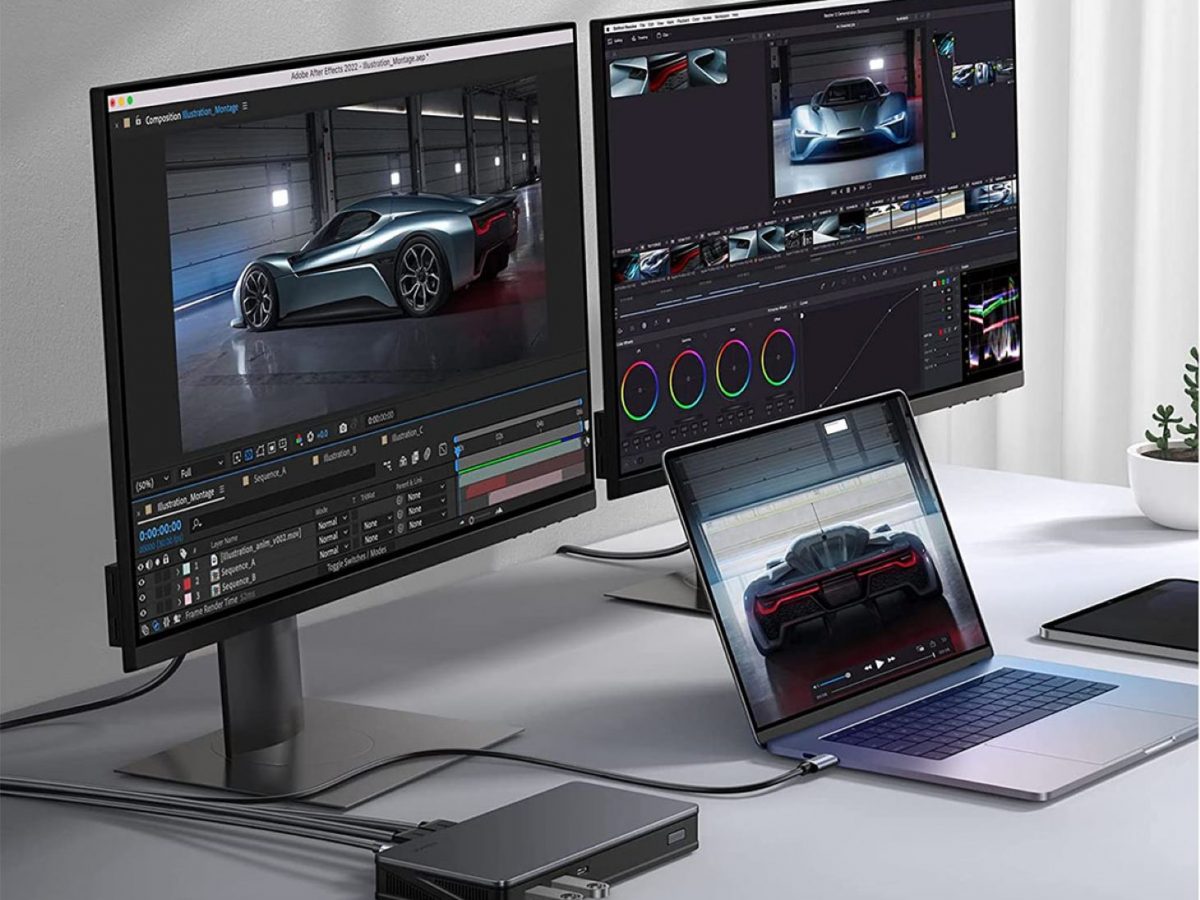
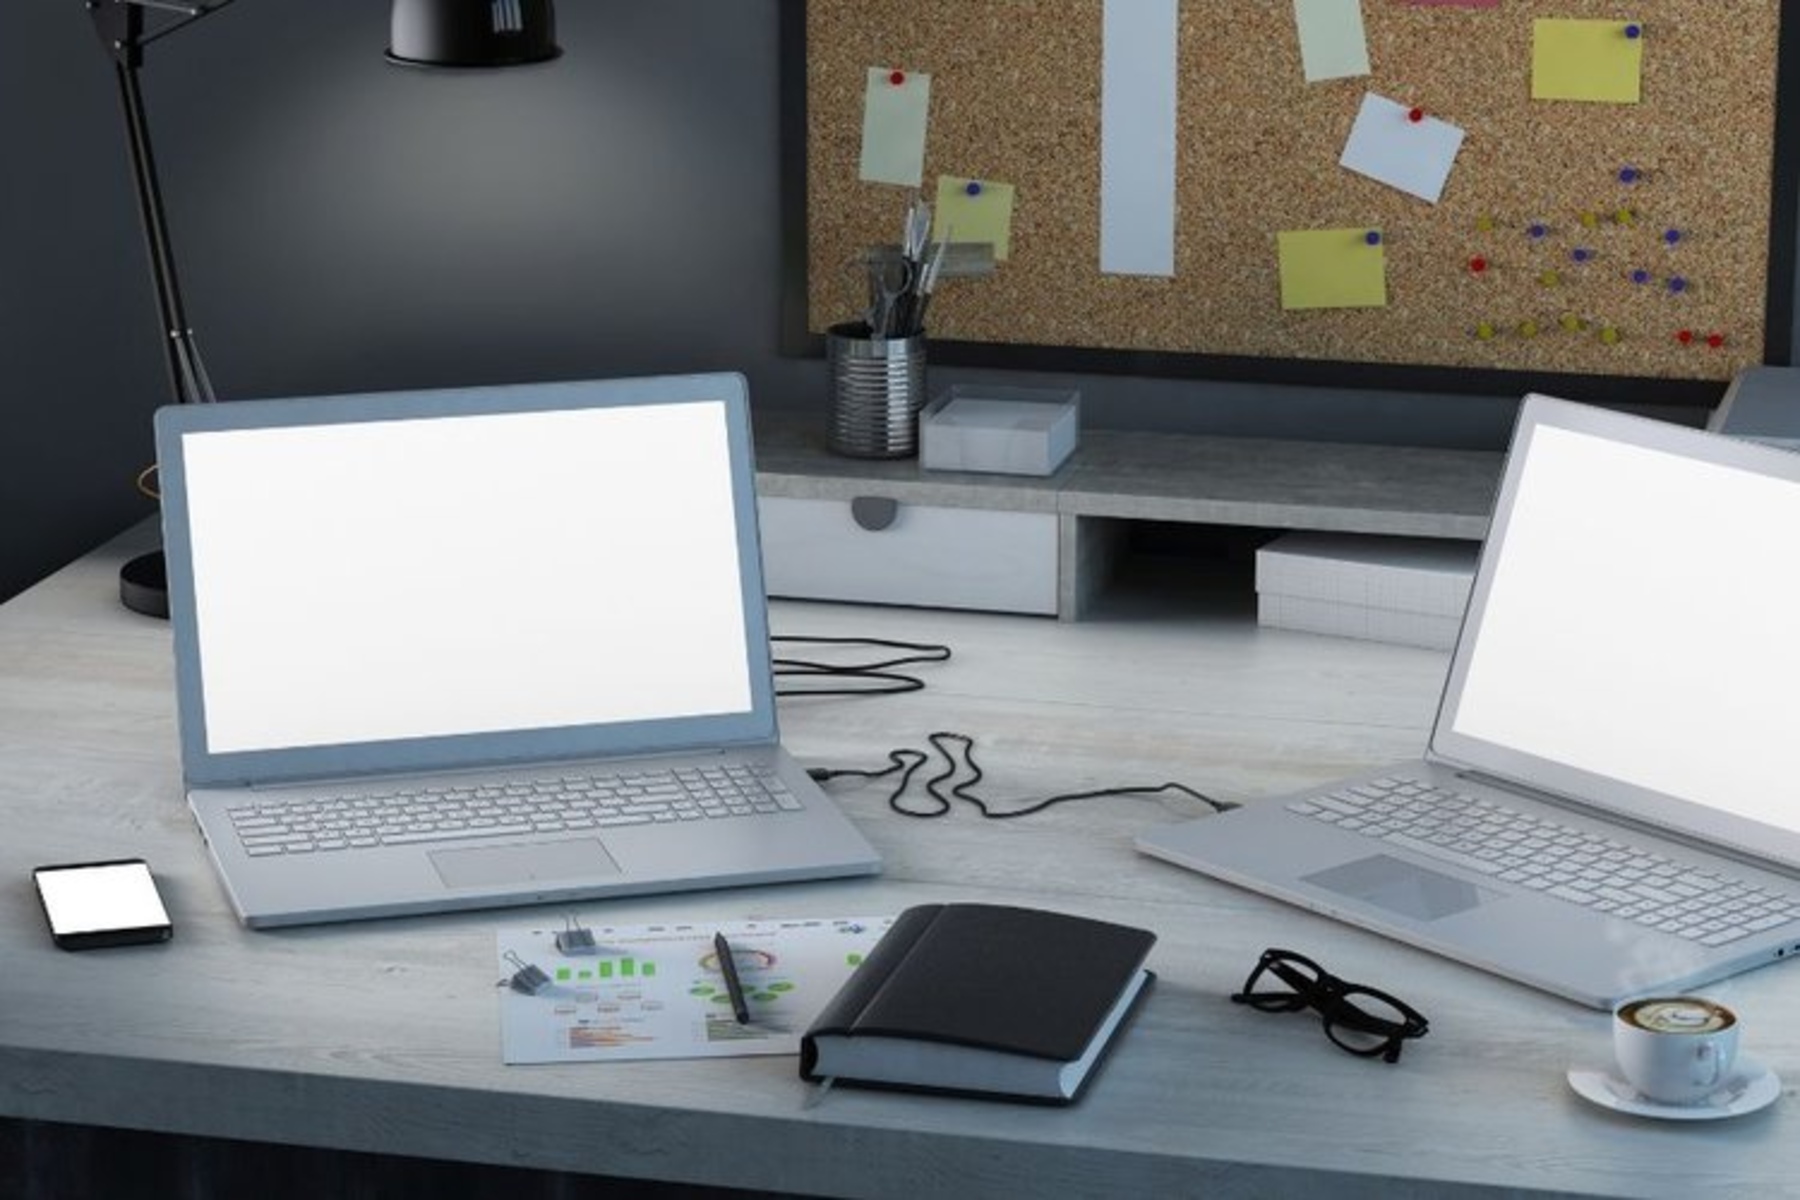
Connecting two laptops together using an HDMI cable is a simple and convenient way to share information, collaborate on projects, or enjoy multimedia content on a larger screen. HDMI, or High-Definition Multimedia Interface, is a widely used standard for transmitting audio and video signals between devices.
Whether you’re looking to mirror your laptop’s display on another laptop or extend your screen across multiple devices, the HDMI connection provides a seamless solution. In this guide, we will walk you through the step-by-step process of connecting two laptops together using an HDMI cable.
Before we dive into the details, it’s important to ensure that both laptops have an HDMI port. Most modern laptops come equipped with an HDMI port, but it’s always a good idea to verify beforehand. If one of the laptops doesn’t have an HDMI port, you may need to consider alternative methods of connection such as VGA or USB-C.
Once you have confirmed that both laptops have an HDMI port, the next step is to gather the necessary equipment. In addition to the HDMI cable, you may also need an HDMI adapter if your laptops have different HDMI connector types. These adapters are readily available at electronics stores or online retailers.
Now that we have covered the basics, let’s move on to the step-by-step process of connecting two laptops together using an HDMI cable. Follow along with each step to ensure a successful and hassle-free connection.
Step 1: Gather the necessary equipment
Before you can connect two laptops together with an HDMI cable, you’ll need to gather a few essential items:
- HDMI cable: Ensure that you have a high-quality HDMI cable that is long enough to reach between the two laptops. The cable should be compatible with the HDMI ports on both laptops. If you’re unsure about which type of HDMI cable to use, refer to the manufacturer’s specifications or consult with a knowledgeable salesperson.
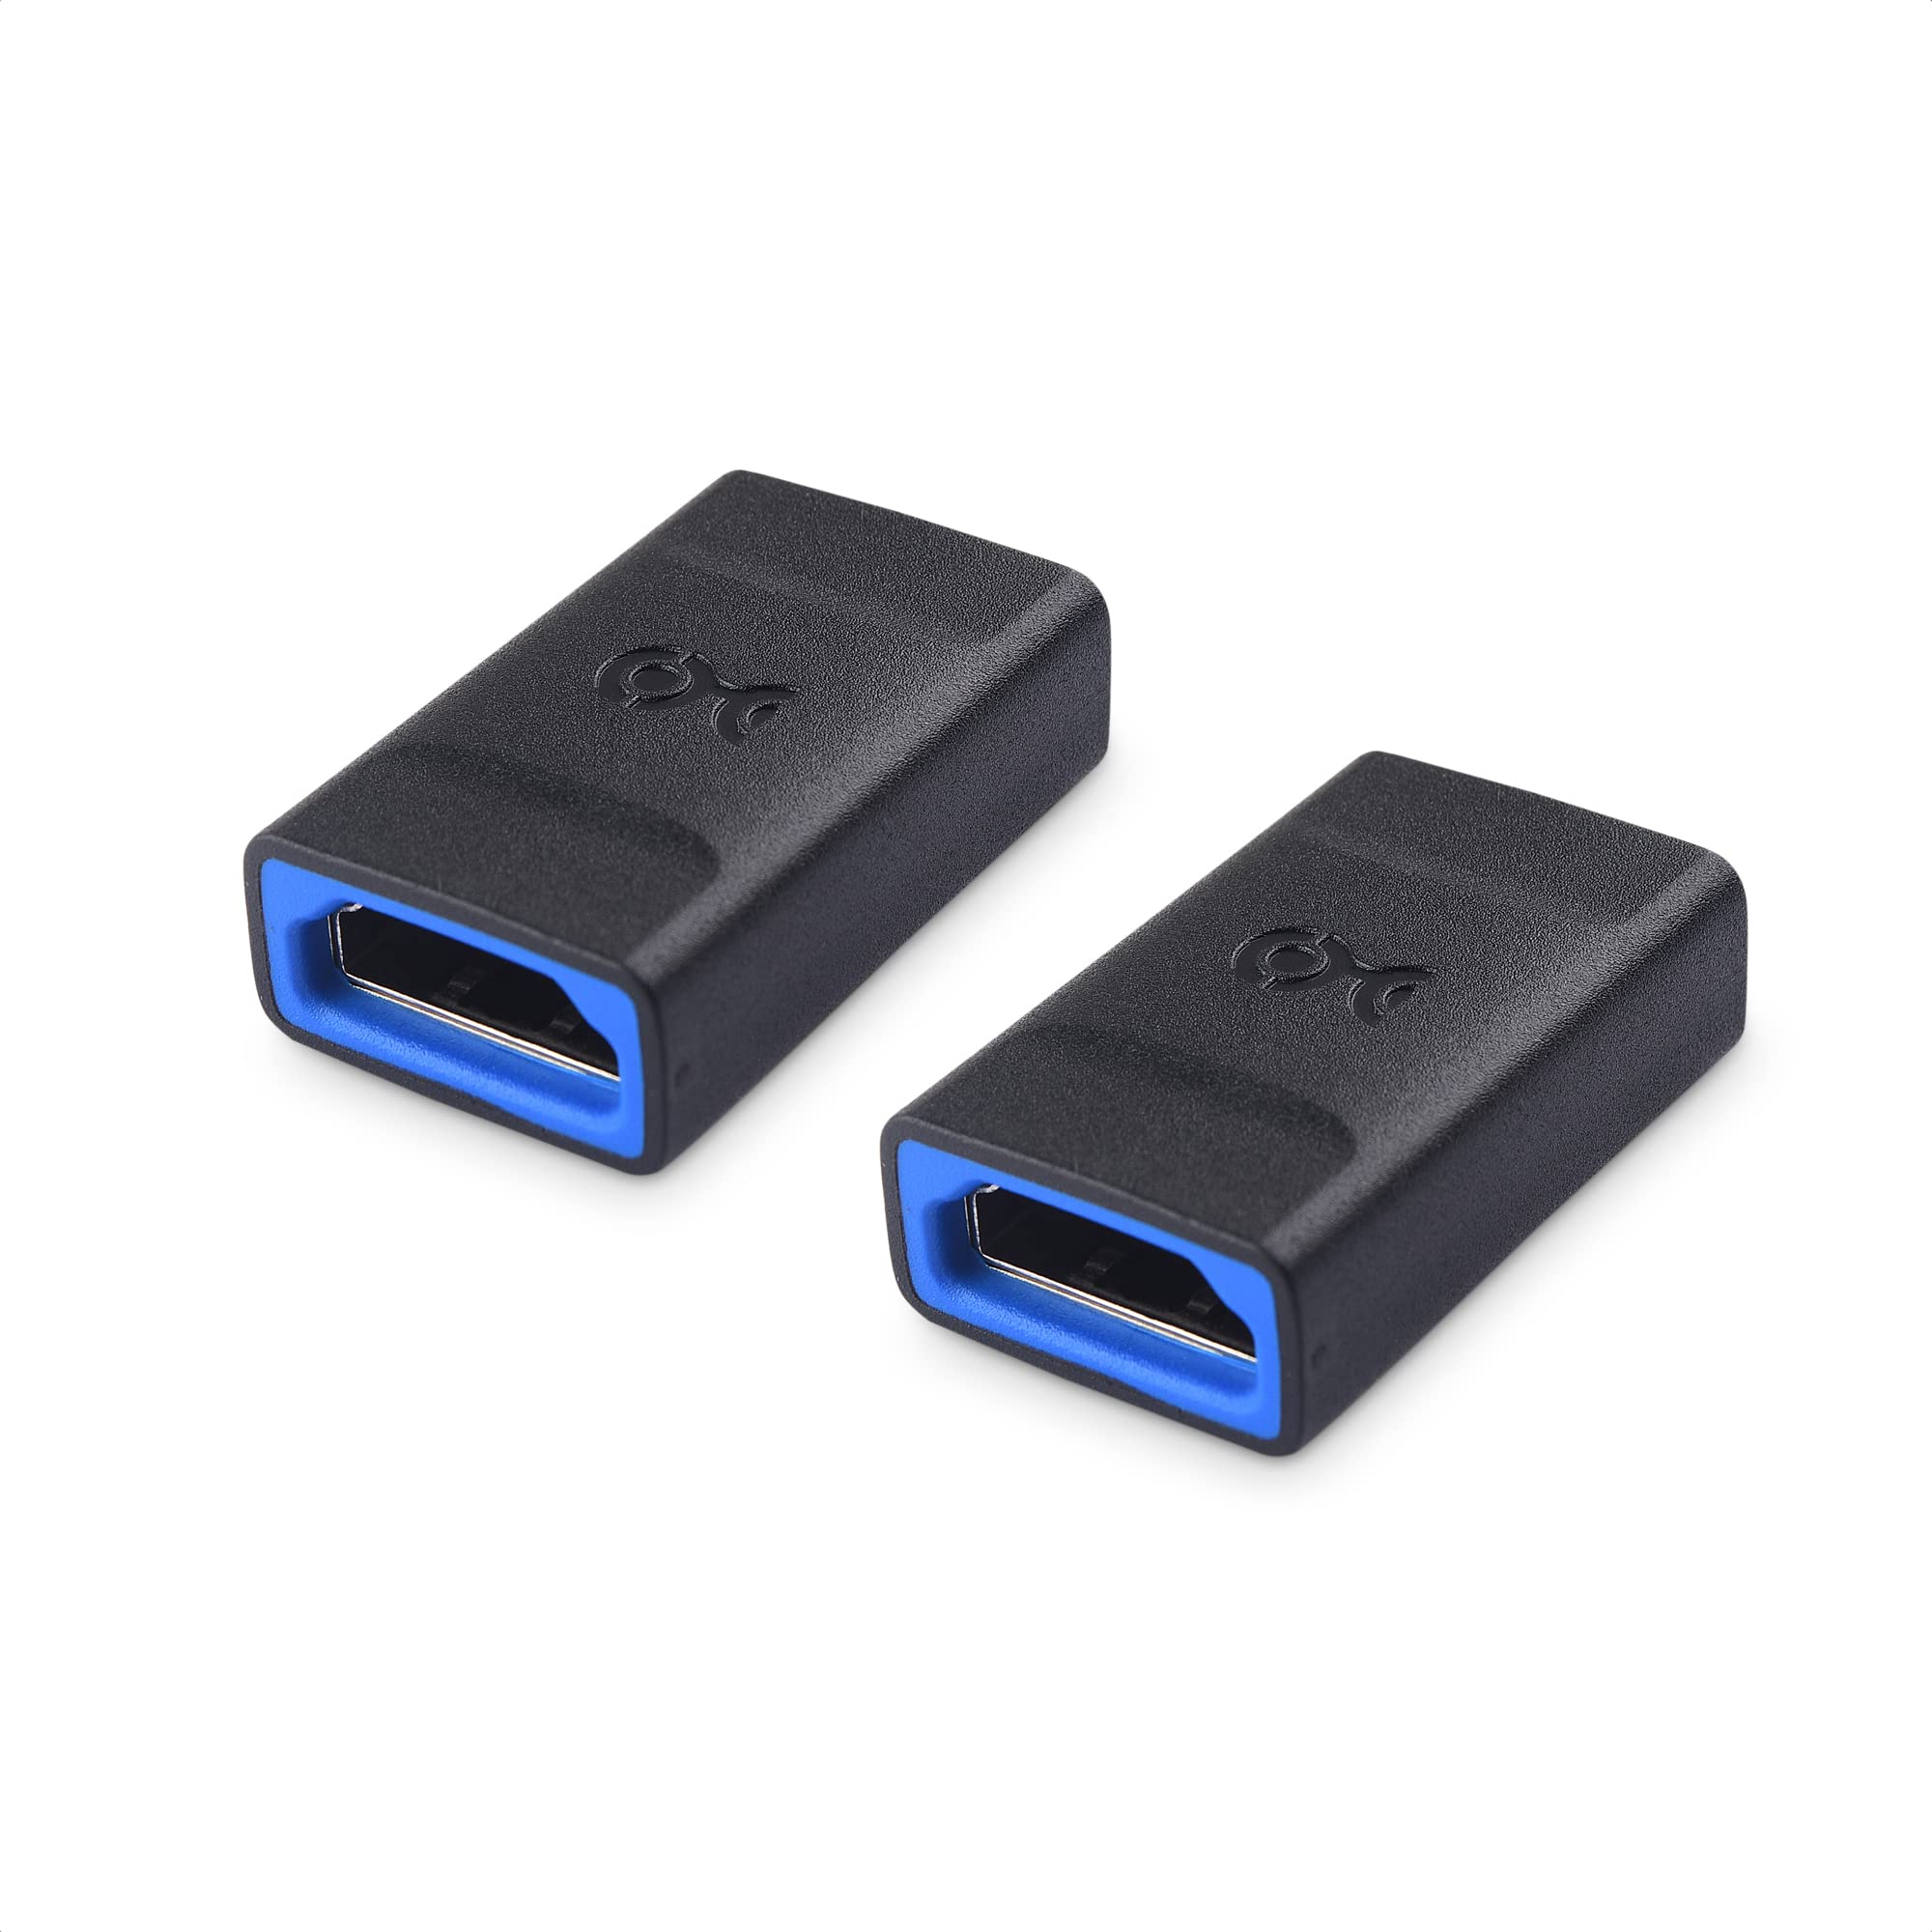
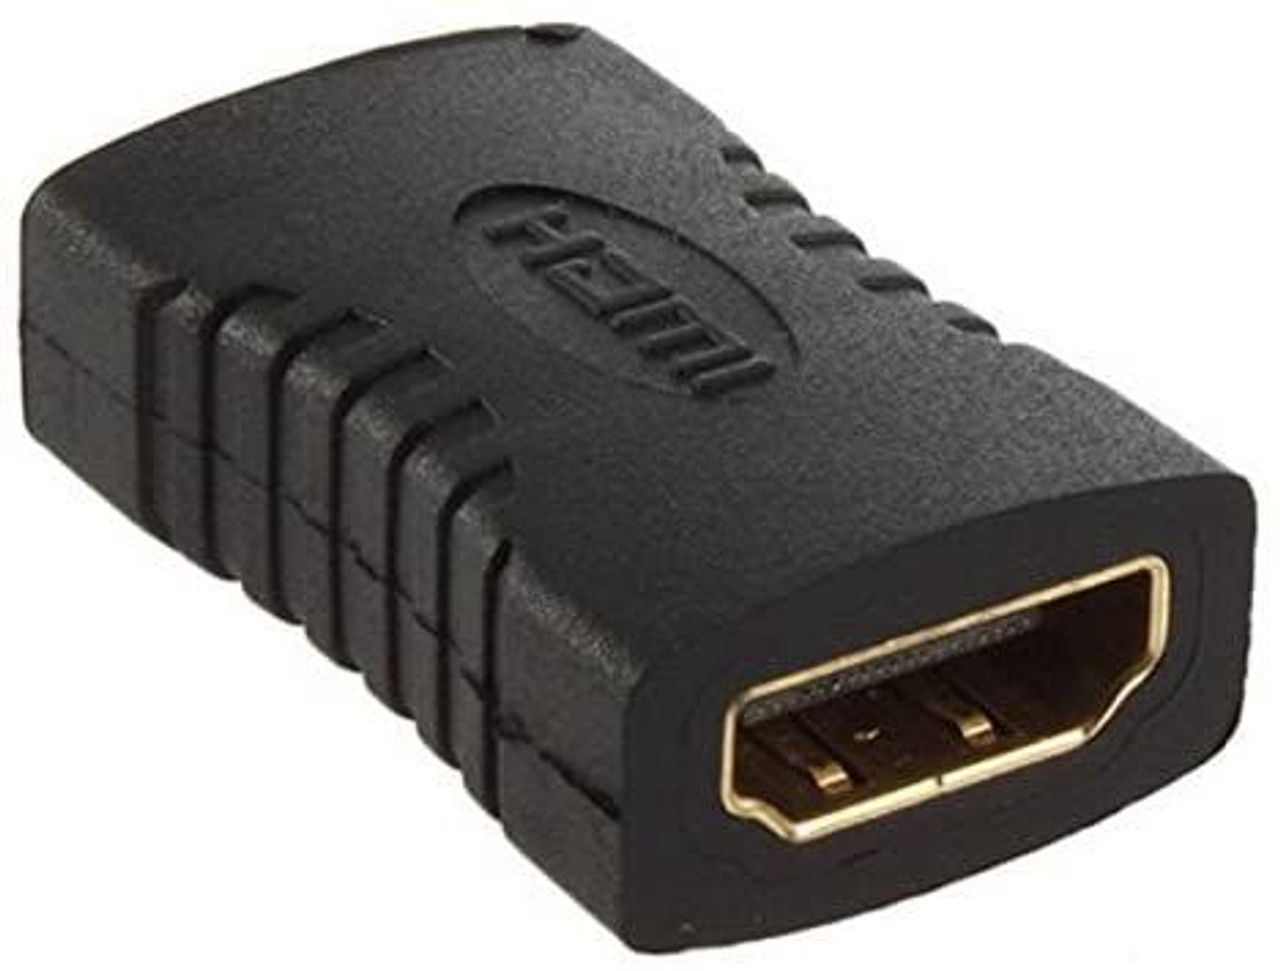
- HDMI adapter (if necessary): If the HDMI ports on your laptops have different connector types, you may need an HDMI adapter. For example, if one laptop has a standard HDMI port and the other has a mini-HDMI or micro-HDMI port, you’ll need the corresponding adapter to make the connection possible. Make sure to choose the correct adapter based on the port types.
- Power supply: Although not directly related to the HDMI connection, it’s important to have a power supply available for both laptops. Connecting two laptops together and using them simultaneously can drain the batteries quickly. It’s always a good idea to have both laptops connected to their power sources to ensure uninterrupted usage.
- Optional: Audio cable: If you want to transmit audio from one laptop to the other, you may require an additional audio cable. Some laptops don’t automatically route audio through the HDMI connection, so using an audio cable, such as a 3.5mm stereo cable, can help you achieve both video and audio transmission between the laptops.
By gathering these necessary equipment items, you’ll be well-prepared for the next steps of connecting the two laptops together using an HDMI cable. With the right tools in hand, you can proceed confidently and dive into the process of establishing a connection between the laptops.
Step 2: Check the HDMI ports on your laptops
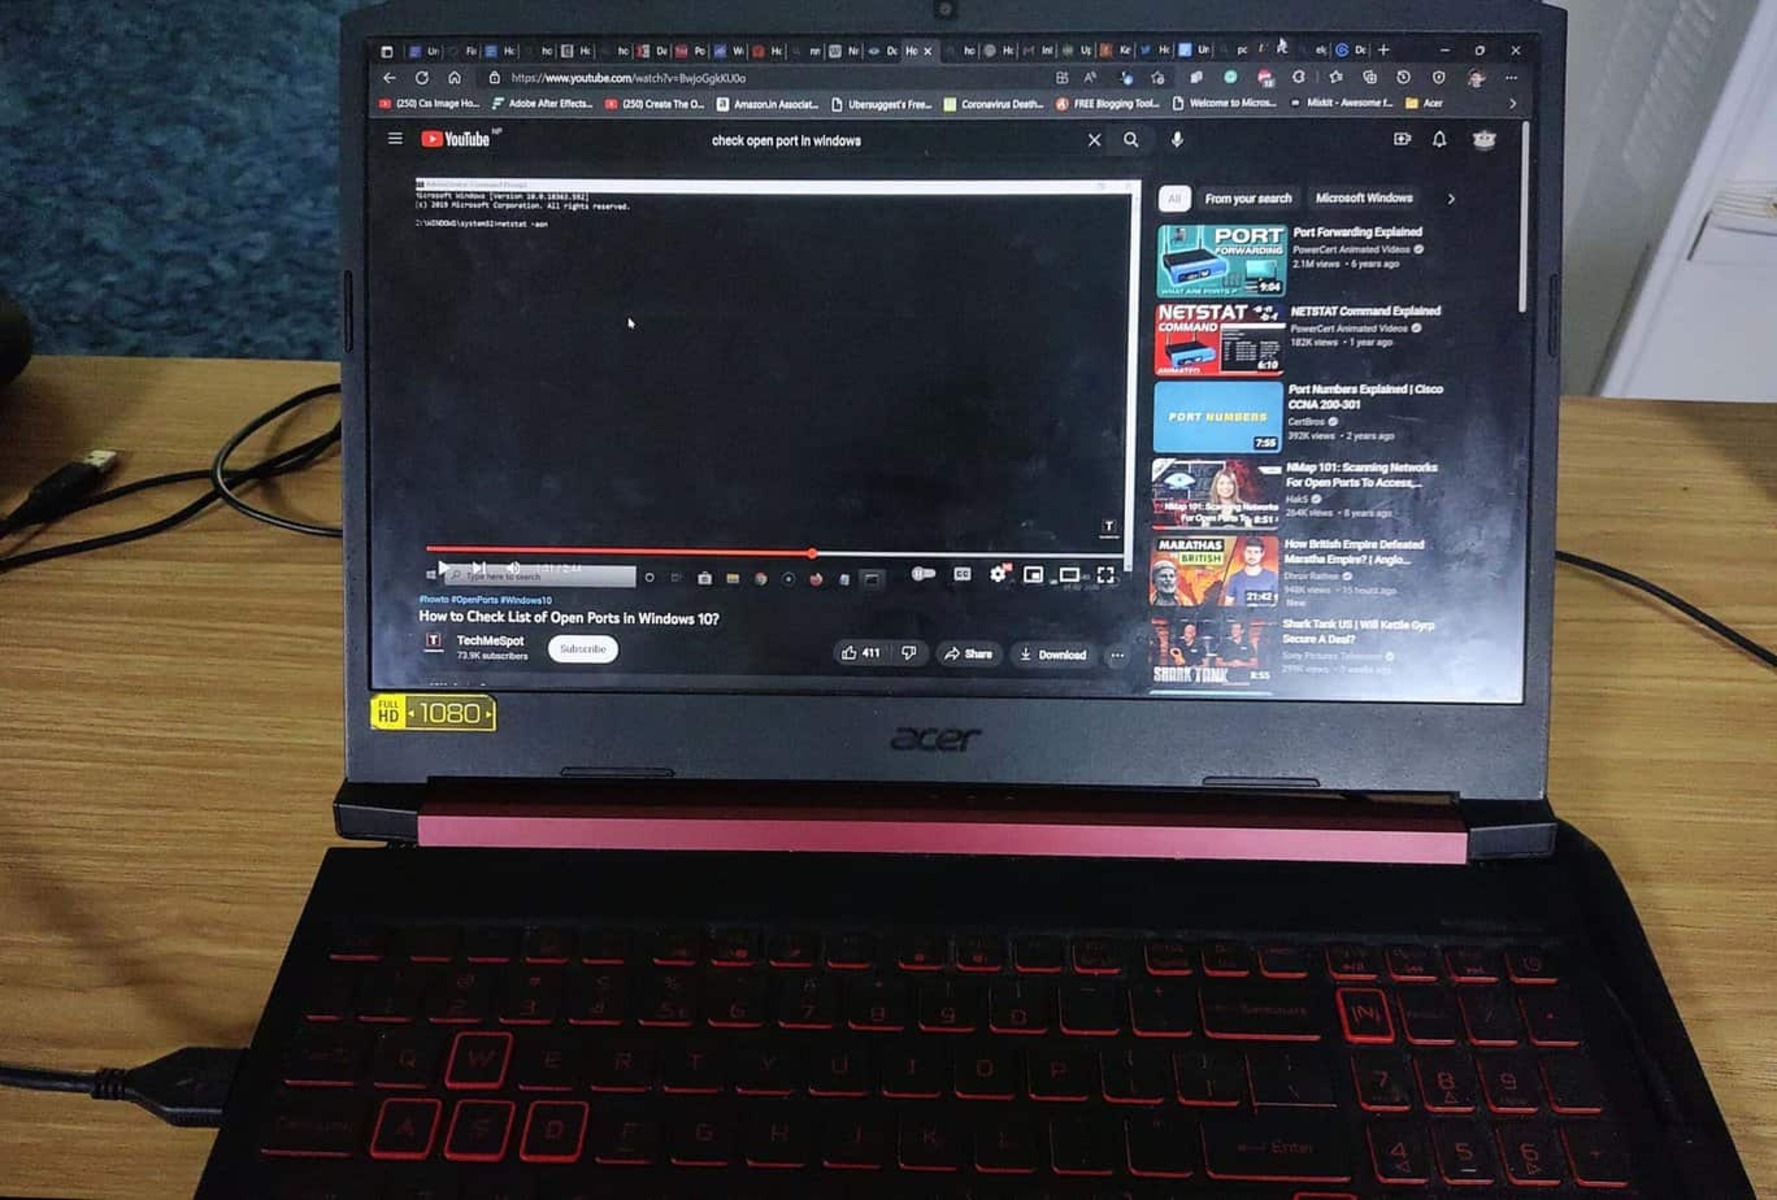
Before connecting the two laptops together with an HDMI cable, it’s essential to verify that both laptops have HDMI ports and determine their location. Most laptops have at least one HDMI port, but it’s always best to confirm to avoid any confusion or frustration.
Here’s how you can check the HDMI ports on your laptops:
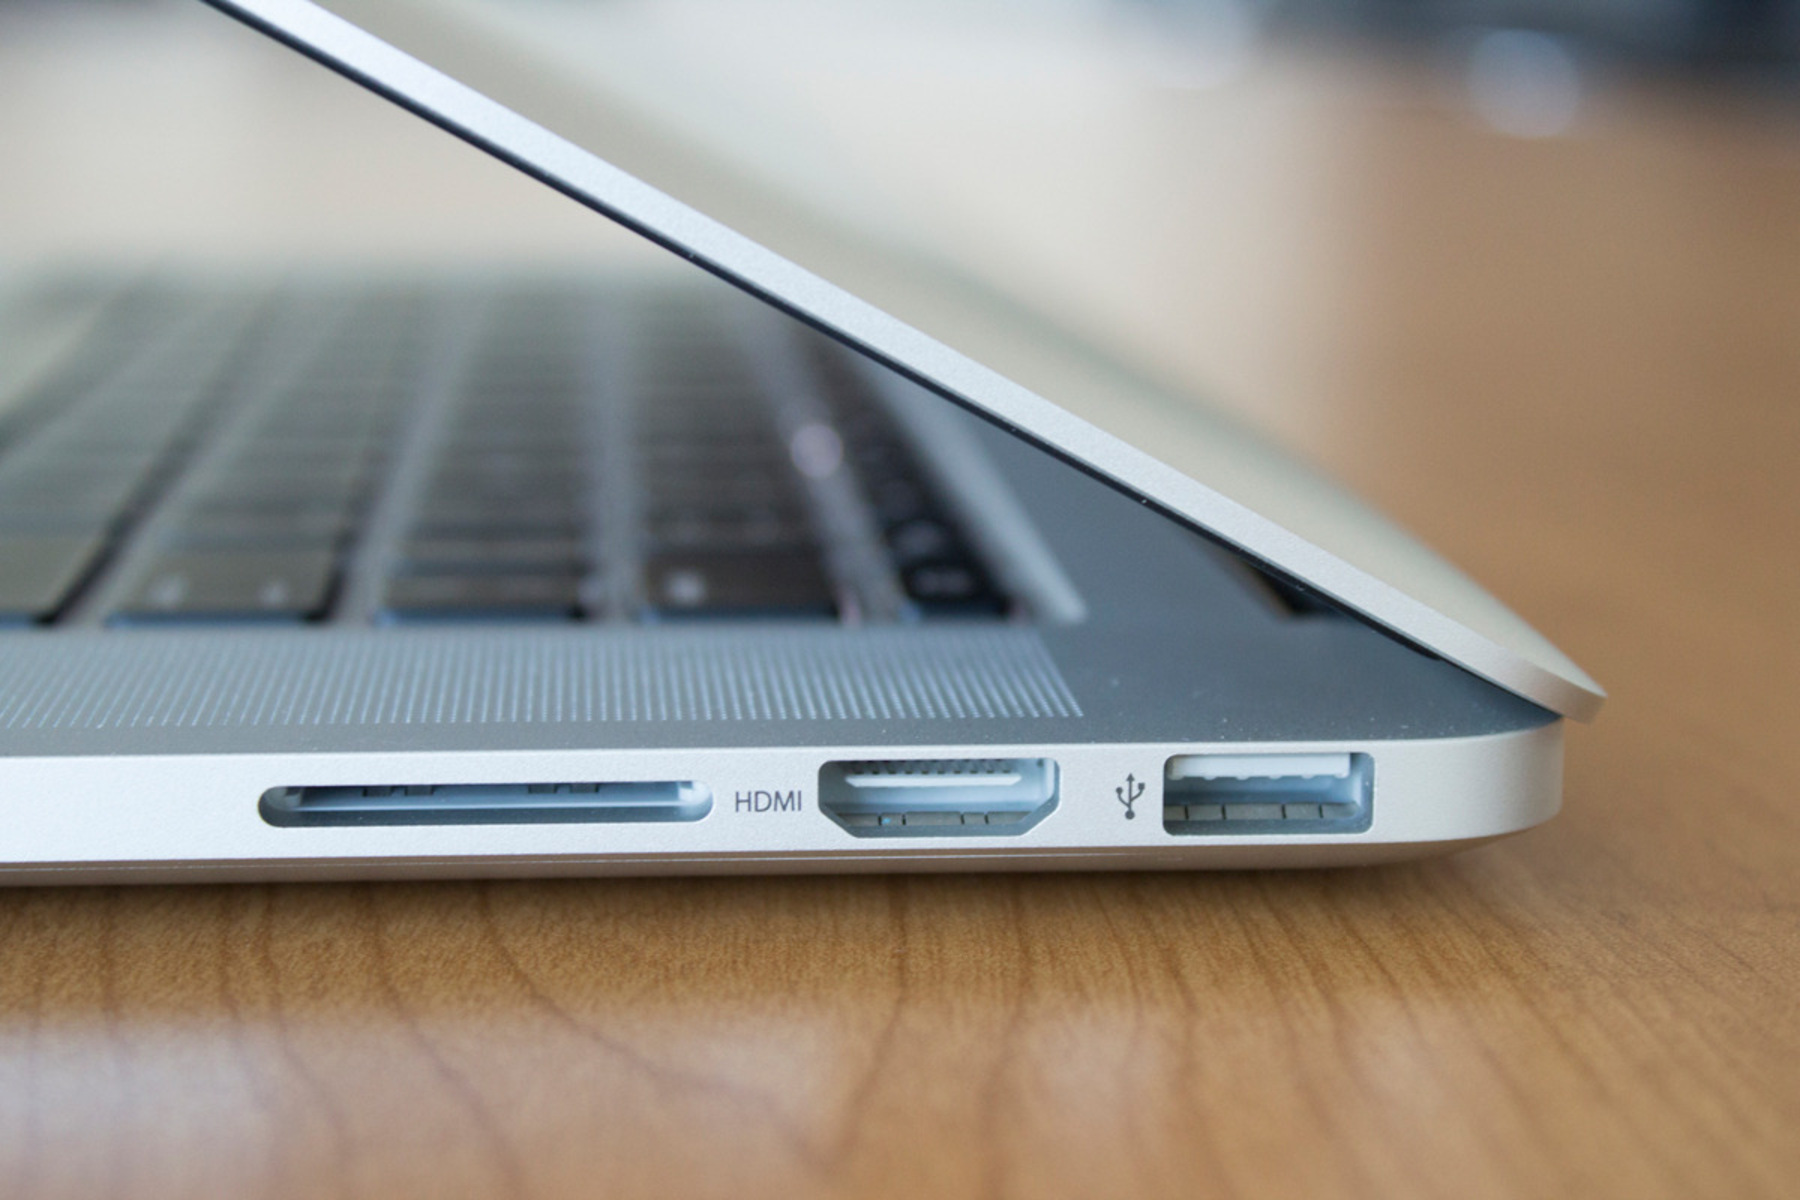
- Inspect the sides or back of your laptops: Start by visually examining the sides or back of each laptop. Look for a small rectangular port that is similar in size and shape to the HDMI connector on the cable. This port is where you will connect the HDMI cable to establish a physical connection between the laptops.
- Refer to the user manual: If you’re having trouble locating the HDMI port, consult the user manual that came with each laptop. The manual will typically provide a detailed diagram or description of the laptop’s ports and their respective locations. Look for any references to an HDMI port or connector.
- Search online: If you don’t have the user manual or are unable to find the necessary information, you can search for the laptop’s specifications online. Simply enter the laptop’s model name or number followed by “specifications” into your preferred search engine. The search results should provide a detailed list of the laptop’s features, including the presence and location of an HDMI port.
Once you have identified the HDMI ports on both laptops, take a moment to familiarize yourself with their locations. This will make it easier to connect the HDMI cable later on and ensure a proper and secure connection.
By confirming the presence and location of the HDMI ports, you can proceed confidently to the next step of connecting the two laptops together using an HDMI cable.
Step 3: Connect the HDMI cable to the laptops
With the HDMI ports identified, it’s time to connect the HDMI cable to both laptops, establishing a physical connection between them. Follow the steps below to ensure a proper and secure connection:
- Power off both laptops: Before connecting the HDMI cable, it’s a good idea to power off both laptops. This will prevent any potential issues that may arise from connecting or disconnecting the cable while the laptops are powered on.
- Locate the HDMI ports: Refer back to the previous step to remember the location of the HDMI ports on each laptop. Position the laptops side by side, ensuring easy access to the ports for both devices.
- Insert one end of the HDMI cable: Take one end of the HDMI cable and insert it into the HDMI port of the first laptop. The HDMI connector should fit snugly into the port. Make sure to align the connector with the port orientation to prevent any damage.
- Connect the other end of the HDMI cable: Take the remaining end of the HDMI cable and insert it into the HDMI port of the second laptop. Again, ensure a secure fit and proper alignment of the connector with the port.
- Check the connection: Once both ends of the HDMI cable are securely connected, verify that the connection is established by gently tugging the cable. It should be firmly in place and not easily dislodged. Additionally, visually inspect the connection to ensure it appears secure and properly aligned.
With the HDMI cable successfully connected to both laptops, you have completed an important step in the process of connecting the two laptops together. The physical connection will lay the foundation for sharing the display and content between the devices. Now, it’s time to move on to the next step and configure the display settings.
Step 4: Configure the display settings
After connecting the laptops with an HDMI cable, it’s important to configure the display settings to ensure the desired outcome. Depending on the operating system and graphics settings, the steps may vary slightly. Here’s a general guide on how to configure the display settings:
- Access the display settings: Open the “Display” or “Graphics” settings on both laptops. You can usually find these settings in the Control Panel or System Preferences.
- Select the external display option: Look for an option to detect or select the external display. In most cases, the laptops will automatically detect the HDMI connection and display it as an available option. If not, look for a “Detect Displays” or “Extend Display” option.
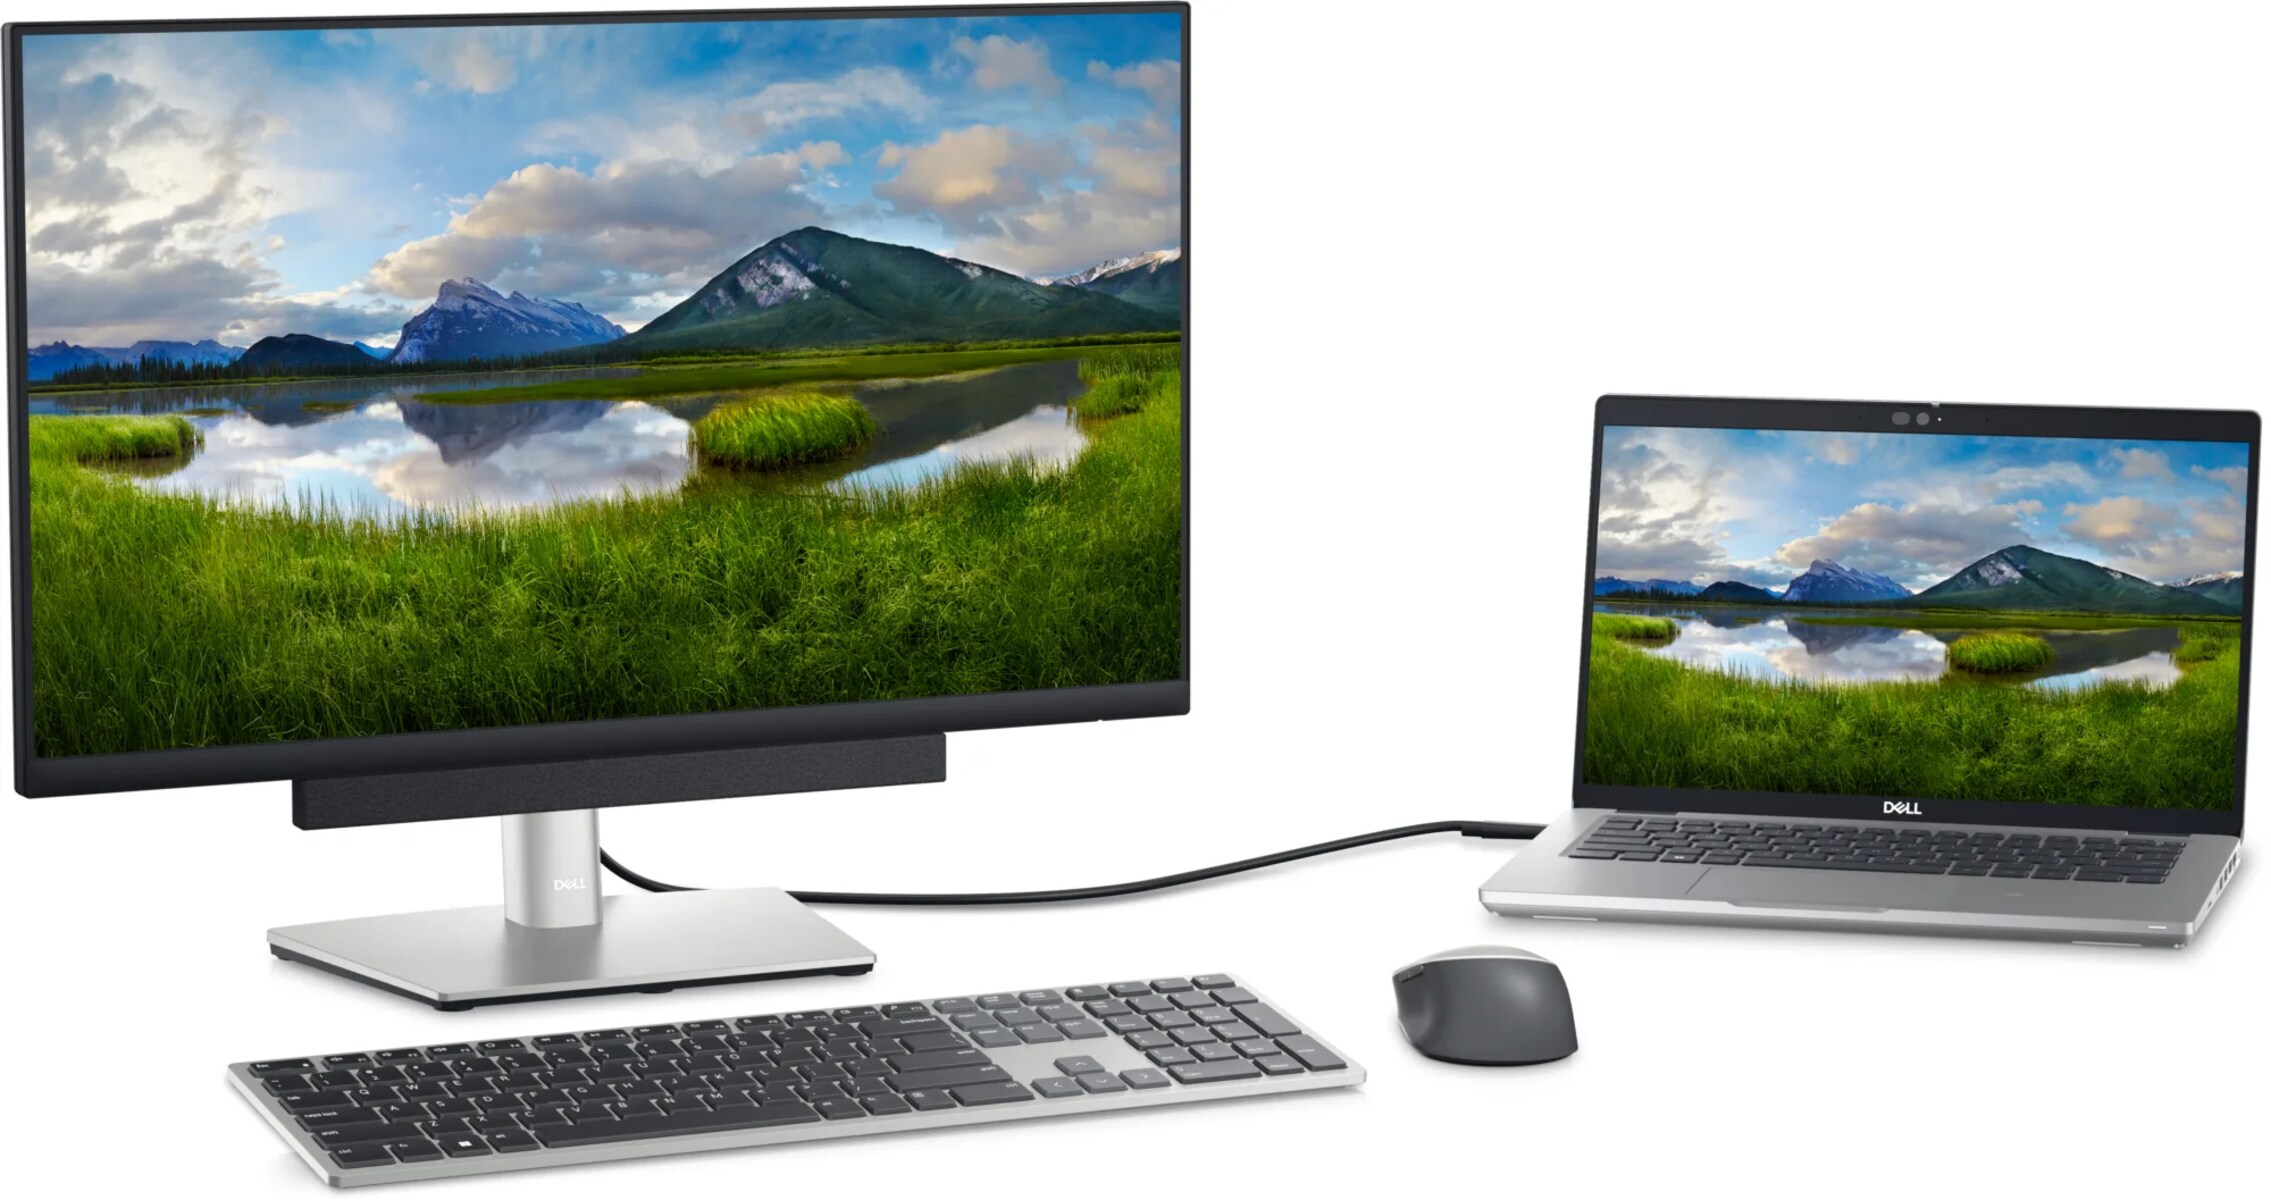
- Choose the desired display mode: Once you’ve selected the external display option, choose the desired display mode. You can typically choose between “Duplicate,” which mirrors the same content on both laptops, or “Extend,” which extends the desktop across both screens. Select the appropriate display mode based on your preferences.
- Adjust the display resolution: Depending on the laptops’ screen resolutions, you may need to adjust the display resolution to optimize the viewing experience. Select a resolution that suits your needs and ensures proper visibility of the content on the extended display.
- Apply and save the settings: After configuring the display settings, apply the changes on both laptops and save the settings. This will activate the new display configuration and ensure that it remains in effect the next time you connect the laptops using the HDMI cable.
By properly configuring the display settings, you’ll be able to share the laptop’s screen and collaborate more effectively. Whether you’re giving a presentation, working on a project together, or enjoying multimedia content, the correctly configured display settings will enhance the viewing experience on both laptops.
Step 5: Adjust audio settings (if necessary)
While connecting two laptops together using an HDMI cable usually transmits both audio and video signals, there are instances where the audio might not automatically route through the HDMI connection. In such cases, you may need to adjust the audio settings to ensure audio playback on the desired laptop. Follow these steps to adjust the audio settings:
- Access the audio settings: Open the “Sound” or “Audio” settings on both laptops. You can usually find these settings in the Control Panel or System Preferences.
- Choose the HDMI audio output: Look for an option to select the audio output device. In the audio settings, you should see a list of available output devices. Choose the option that corresponds to the HDMI connection or mentions “HDMI” in its description.
- Set the HDMI audio as default (if needed): If the laptops have multiple audio output options, you may want to set the HDMI audio as the default device. This ensures that the audio is automatically routed through the HDMI connection whenever it’s connected between the laptops. Look for an option to set the default audio device and select the HDMI option if available.
- Adjust the volume and other audio settings: Once you’ve selected the HDMI audio output, you may want to adjust the volume level and other audio settings according to your preferences. Use the volume slider or other relevant controls in the audio settings to make any necessary adjustments.
- Test the audio playback: After making the adjustments, test the audio playback on both laptops. Play a sound or video file that has audio and ensure that the sound is coming from the desired laptop. If you’re experiencing any issues, double-check the audio settings and connections to ensure everything is properly configured.
By adjusting the audio settings as necessary, you can ensure that the sound is properly routed through the HDMI connection between the laptops. Whether you’re watching a movie, playing music, or engaging in a video conference, having synchronized audio between the devices will enhance the overall experience.
Step 6: Troubleshooting common issues
While connecting two laptops together using an HDMI cable is generally straightforward, there may be times when you encounter common issues. Here are some troubleshooting steps to help you resolve these issues:
- No display on the external screen: If you’re not seeing any display on the external screen, ensure that the HDMI cable is securely connected to both laptops. Double-check the display settings on both laptops to ensure they are configured correctly. Try restarting the laptops and reconnecting the HDMI cable.
- No audio through HDMI: If you’re not getting audio through the HDMI connection, check the audio settings on both laptops. Confirm that the HDMI audio output is selected and, if necessary, set it as the default audio device. Verify that the volume is not muted or set too low. You may also try disconnecting and reconnecting the HDMI cable.
- Poor video quality or resolution: If you’re experiencing poor video quality or resolution, first check the HDMI cable for any visible damage or loose connections. Ensure that the cable you’re using supports the required resolution. Adjust the display settings on both laptops to select the appropriate resolution. If the issue persists, try using a different HDMI cable or consider updating the graphics drivers.
- Audio and video out of sync: If you’re noticing a delay between the audio and video playback, check if the laptops have any audio delay settings enabled. Adjust the audio delay settings to synchronize the audio and video playback. Restart the laptops and reconnect the HDMI cable to see if that resolves the issue.
- Unsupported HDMI port: In some cases, you may encounter laptops with HDMI ports that are not fully compatible with each other. This can result in connectivity issues or limited functionality. If you suspect an unsupported HDMI port, check the manufacturer’s documentation or contact their support for guidance on alternative connection methods.
If you’re still experiencing issues despite troubleshooting, it’s recommended to consult the laptops’ user manuals or seek assistance from technical support. They can provide more specific guidance based on the laptops’ make and model.
By troubleshooting common issues and resolving them, you can ensure a smooth and successful connection between the laptops using an HDMI cable. Remember to remain patient and thorough in your troubleshooting process, and enjoy the benefits of a functional and convenient setup.
Conclusion
Connecting two laptops together using an HDMI cable is a convenient way to share information, collaborate on projects, or enjoy multimedia content on a larger screen. By following the steps outlined in this guide, you can easily establish a connection and maximize the potential of your laptops.
In the first step, we emphasized the importance of gathering the necessary equipment, including an HDMI cable and, if needed, an HDMI adapter. Paying attention to these details ensures a seamless connection between the laptops.
Next, we highlighted the significance of checking the HDMI ports on your laptops. Identifying their locations saves time and effort during the connection process.
Then, we walked you through the process of connecting the HDMI cable to the laptops, emphasizing the need for a secure and proper connection. Ensuring both ends are firmly inserted guarantees a stable connection throughout your usage.
In step 4, we discussed configuring the display settings to suit your needs. Adjusting the display mode and resolution ensures an optimal viewing experience when using an extended display setup.
Step 5 focused on adjusting audio settings if necessary. By selecting the HDMI audio output and testing the audio playback, you can enjoy synchronized sound between the laptops.
Finally, in step 6, we touched upon common troubleshooting issues that may arise during the connection process. We provided helpful tips to resolve issues with display, audio, video quality, and other potential challenges.
By following these steps and troubleshooting any issues that may arise, you can successfully connect two laptops together using an HDMI cable. This opens up a world of possibilities for collaboration, presentation, and multimedia consumption.
Remember to consult the user manuals or seek technical support if you encounter any persistent issues. Enjoy the seamless connectivity and enhanced productivity that connecting two laptops together can bring!